Introduction
Upgrading your motherboard and CPU can significantly improve the performance and capabilities of your computer. Whether you’re a gamer looking to boost your frame rates, a video editor in need of faster rendering speeds, or simply want a smoother multitasking experience, upgrading these components is a wise investment.
However, before diving into the process of upgrading, there are some important factors to consider. This guide will walk you through the steps to successfully upgrade your motherboard and CPU, ensuring a smooth and efficient transition.
First and foremost, it’s crucial to determine if your current motherboard and CPU are compatible with the desired upgrade options. Different motherboard manufacturers use varying form factors and socket types, so you need to ensure that your new components will fit and work together seamlessly.
Additionally, you should consider your budget and the specific requirements of your computer usage. Different CPUs offer varying levels of performance and features, so it’s essential to choose one that aligns with your needs. Likewise, the motherboard you select should have the necessary expansion slots and ports for any additional devices or components you plan to install.
Another important consideration is the power supply. Upgrading your motherboard and CPU may require more power, so it’s essential to ensure your power supply can handle the increased demand. Check its wattage and ensure that it has the necessary connectors for the new components.
Lastly, backing up your data is crucial before starting the upgrade process. While rare, there’s always a slight risk of data loss during hardware upgrades. Ensure you have a recent backup of all your important files to avoid any potential loss or inconvenience.
Now that we’ve covered the key considerations, let’s move on to the step-by-step guide on upgrading your motherboard and CPU.
Things to Consider Before Upgrading
Before diving into the process of upgrading your motherboard and CPU, there are several important factors to consider. These considerations will help ensure a successful upgrade and save you from potential frustrations down the line.
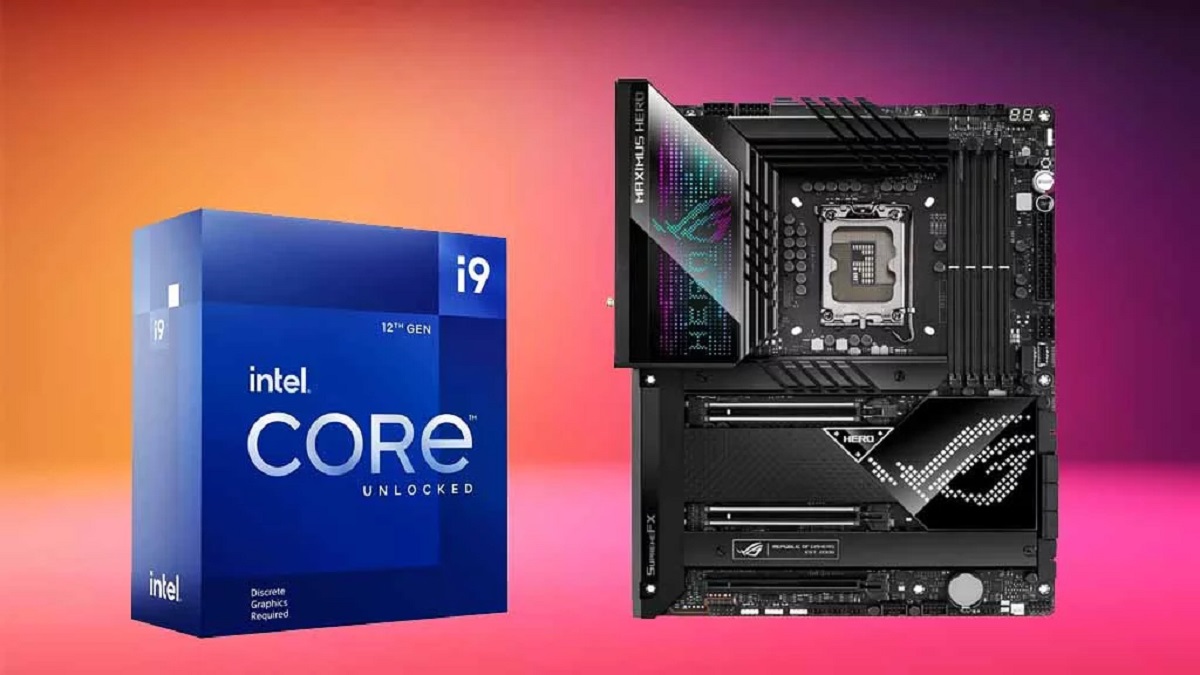
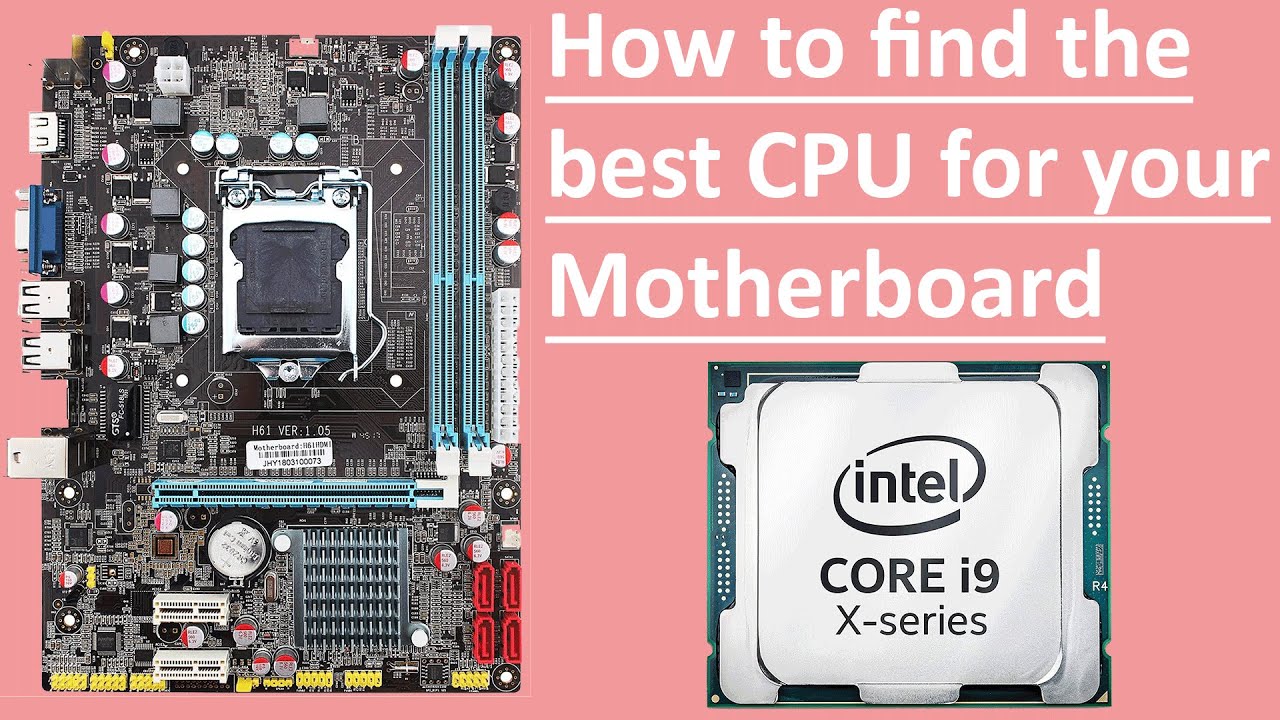
1. Compatibility: One of the most critical factors to consider is compatibility. Different motherboards have varying form factors and socket types, so it’s essential to ensure that your new motherboard and CPU are compatible with each other. Check the specifications of both components to ensure they will work together seamlessly.
2. Budget: Upgrading your motherboard and CPU can be a significant investment. It’s essential to set a budget and determine what you can afford. Research different options and find a balance between performance and price that suits your needs.
3. Performance Requirements: Consider your specific computing needs. If you’re a gamer, you’ll want a CPU and motherboard combination that can handle the latest games and deliver high frame rates. For professionals working with resource-intensive tasks like video editing or 3D rendering, a powerful CPU and motherboard with ample expansion options are essential. Evaluate your requirements and choose components accordingly.
4. Expansion Slots and Ports: Take note of the number and type of expansion slots and ports on both the motherboard and CPU. Ensure they meet your requirements for connecting additional devices such as graphics cards, storage drives, and peripherals.
5. Power Supply: Upgrading to a more powerful motherboard and CPU may require a higher wattage power supply. Check the power requirements of your new components and ensure that your power supply can handle the increased demand. Also, ensure that your power supply has the necessary connectors for the new components.
6. Cooling: Upgrading your CPU or motherboard can increase power consumption and heat output. Consider the cooling solutions available in your case and ensure they can effectively handle the increased thermal load. Upgrading to a more powerful cooling solution may be necessary to prevent overheating and ensure system stability.
7. Operating System Compatibility: Check if your current operating system is compatible with the new motherboard and CPU. Some upgrades may require a fresh installation of the operating system or driver updates to ensure optimal compatibility and performance.
By taking these factors into account before the upgrade, you’ll be better prepared to choose components that will work together smoothly and meet your specific needs. This thoughtful approach will help ensure a successful and satisfying upgrade experience.
Step-by-Step Guide to Upgrading Your Motherboard and CPU
Upgrading your motherboard and CPU may seem like a complex task, but with the right preparation and careful execution, it can be a straightforward process. Follow this step-by-step guide to ensure a successful upgrade:
1. Gather Necessary Tools and Equipment:
Before you begin, make sure you have all the necessary tools and equipment. You will likely need a screwdriver, thermal paste, an antistatic wristband (optional but recommended), and any additional cables or connectors required by your new motherboard or CPU.
2. Backup Your Data:
As a precautionary measure, create a backup of all your important data. This will safeguard your files in case of any unexpected issues during the upgrade process.
3. Disconnect Power and Peripherals:
Turn off your computer and unplug it from the power source. Disconnect all peripherals and remove any attached cables to ensure a clean and safe workspace.
4. Remove the Old Motherboard and CPU:
Carefully remove the side panel of your computer case to gain access to the internal components. Locate and detach any screws or clips holding the motherboard in place. Begin by disconnecting all cables, including the power cables, data cables, and front panel connectors. Next, locate and remove the CPU cooling fan, if applicable. Unscrew the CPU cooler bracket and carefully lift the CPU cooler off the old CPU. Finally, gently release the CPU lock and lift the CPU out of its socket.
5. Prepare the New Motherboard and CPU:
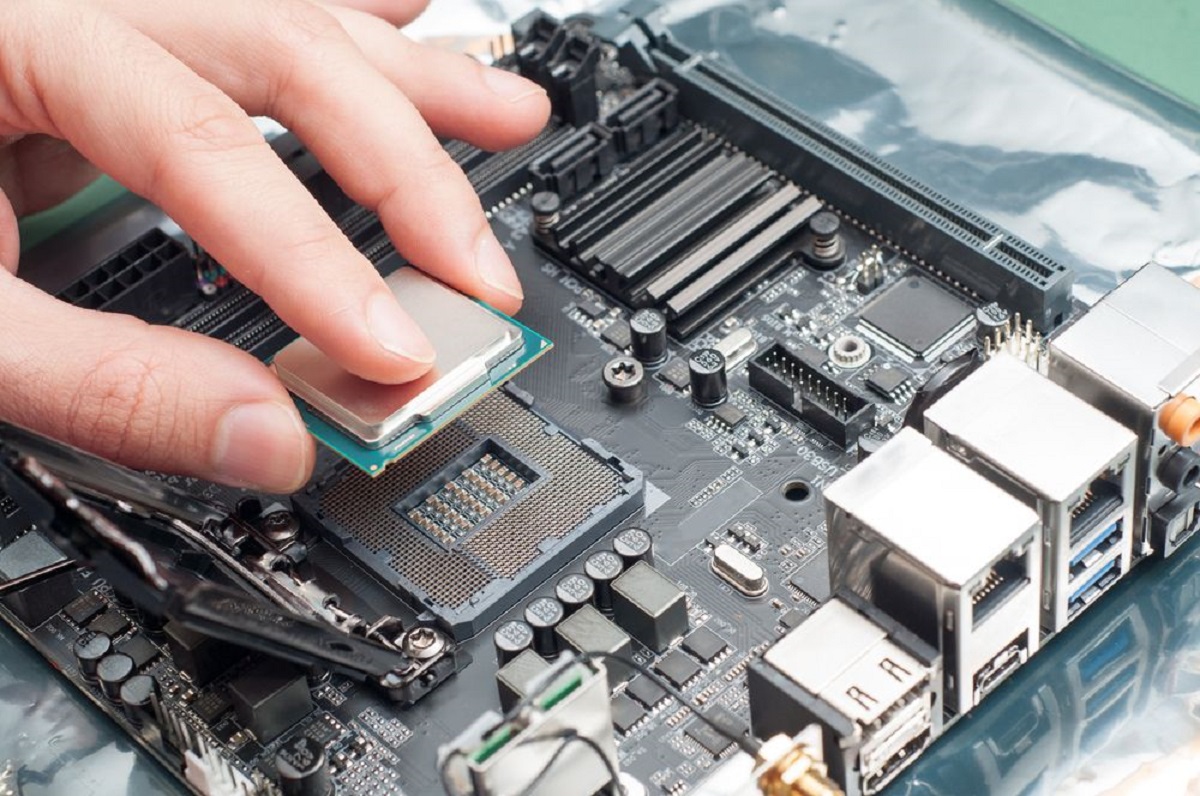
Once the old components are removed, it’s time to prepare the new motherboard and CPU. Remove the CPU socket cover on the new motherboard. Apply a thin layer of thermal paste to the center of the CPU. Carefully align the CPU with the socket and gently place it in. Lock the CPU into place by re-engaging the CPU lock mechanism. Install the CPU cooler according to the manufacturer’s instructions, ensuring it makes proper contact with the CPU.
6. Install the New Motherboard and CPU:
Position the new motherboard into the case and align it with the screw holes. Carefully secure it in place using screws or clips. Reattach all the cables you disconnected earlier, ensuring they are securely connected to the appropriate ports and headers.
7. Connect Cables and Peripherals:
Reconnect the power cables and any other necessary cables to the new motherboard. Make sure all connections are secure and properly aligned. Reattach any peripherals or devices you unplugged earlier.
8. Power On and Test the New Setup:
Finally, plug in your computer, power it on, and check if everything is functioning properly. Monitor the startup process and enter the motherboard’s BIOS if necessary to ensure all components are detected. If everything looks good, proceed with installing the operating system and necessary drivers.
By following these steps diligently, you can successfully upgrade your motherboard and CPU. Take your time, double-check your connections, and refer to the manuals provided with your components for any specific instructions. With a bit of patience, you’ll have a brand-new motherboard and CPU powering your computer in no time.
Gather Necessary Tools and Equipment
Before you begin the process of upgrading your motherboard and CPU, it’s essential to gather all the necessary tools and equipment. Having the right tools on hand will make the process much more convenient and efficient. Here’s what you’ll need:
Screwdriver: A screwdriver with the appropriate head size is essential for removing and installing screws on your computer case and motherboard. Make sure to have both a Phillips head and a flathead screwdriver to cover any screw types you may encounter.
Thermal Paste: When installing a new CPU, it’s important to have a high-quality thermal paste. This paste helps in transferring heat from the CPU to the CPU cooler effectively. Look for renowned brands and ensure that the thermal paste is non-conductive and suitable for your specific CPU model.
Antistatic Wristband: While not mandatory, using an antistatic wristband can protect your components from potential static electricity damage. It helps to prevent static electricity discharged from your body from damaging sensitive electronic components. It’s especially important if you’re working in a carpeted area or during dry weather conditions.
Additional Cables and Connectors: Depending on your specific motherboard and CPU upgrade, you may require additional cables or connectors. Check the documentation provided with your new components to identify any additional cables needed for proper installation and connectivity. This may include SATA cables, RGB headers, or a specific power cable.
Component Manuals: Always keep the manuals for your motherboard and CPU handy. These manuals provide invaluable guidance on installation procedures, cable connections, and BIOS settings. If you encounter any difficulties or uncertainties during the upgrade process, referring to the manuals can often provide the necessary information.
Clean and Organized Workspace: Creating a clean and organized workspace is crucial when working with delicate computer components. Clear your work area of any debris or unnecessary objects. Consider using an antistatic mat or working on a non-conductive surface. This will minimize the risk of accidental damage and help you keep track of small screws or connectors.
Gathering these tools and equipment before starting the upgrade process will save you valuable time and prevent frustration. It’s important to have everything you need readily available so that you can focus on executing the upgrade smoothly and efficiently.
Backup Your Data
Before embarking on the upgrade process for your motherboard and CPU, taking the time to back up your data is essential. While extremely rare, there’s always a small risk of data loss during hardware upgrades. Creating a backup ensures that your important files, documents, and media are safeguarded and can be easily restored if anything goes wrong. Here’s how to backup your data:
1. Identify Important Files: Take some time to identify the files that are crucial to you. These may include documents, photos, videos, music, and any other personal or work-related data that you can’t afford to lose. Ensure that you have all the necessary files on hand that you’ll want to restore later.
2. Choose a Backup Method: Decide on the backup method that best suits your needs. There are several options available, including external hard drives, cloud storage services, network-attached storage (NAS) devices, or even a combination of these. Consider factors such as storage capacity, accessibility, and ease of use when selecting the backup method.
3. External Hard Drive Backup: If you have an external hard drive, connecting it to your computer is a straightforward option. Use backup software or manually copy and paste your important files onto the external hard drive. Ensure that you have enough storage capacity on the external drive to accommodate all your data.
4. Cloud Storage Backup: Cloud storage services like Dropbox, Google Drive, and OneDrive offer a convenient way to back up your data. Sign up for an account with your preferred cloud storage service provider, install their software or app on your computer, and select the files you want to sync or backup to the cloud. Ensure that you have sufficient storage space or consider purchasing additional storage if needed.
5. Network-Attached Storage Backup: If you have a network-attached storage (NAS) device, you can utilize its backup capabilities. Set up the NAS on your network and configure it to automatically backup your important files. This solution offers the advantage of centralized storage accessible to multiple devices on your network.
6. Schedule Regular Backups: It’s a good practice to schedule regular backups of your data. This ensures that you always have an up-to-date copy of your important files. Whether you choose daily, weekly, or monthly backups, set a schedule that works for you and stick to it.
7. Verify and Test Your Backup: Once the backup process is complete, it’s essential to verify that your data has been successfully backed up. Take some time to ensure that all your important files are present and accessible. Also, consider performing a test restore of a few files to verify that you can retrieve them without any issues.
By taking the time to back up your data before upgrading your motherboard and CPU, you provide yourself with a safety net in case anything unexpected happens during the process. It offers peace of mind knowing that your important files are protected and can be easily restored, allowing you to proceed with the upgrade process confidently.
Disconnect Power and Peripherals
Before you begin the process of upgrading your motherboard and CPU, it’s essential to disconnect the power supply and peripherals from your computer. This step ensures your safety and prevents any potential damage to the components during the upgrade. Here’s how to properly disconnect the power and peripherals:
1. Shut Down Your Computer: Save any open files and close all running applications. Properly shut down your computer using the operating system’s shutdown option. This ensures that all processes are safely terminated before disconnecting any power sources.
2. Unplug the Power Cord: Locate the power cord connected to the back of your computer’s power supply unit (PSU). Carefully unplug it from the power outlet. Ensure you unplug the cord completely to eliminate any chance of accidental power supply while working on the motherboard and CPU.
3. Disconnect Peripherals: Now, focus on disconnecting any peripherals connected to your computer. This includes USB devices such as keyboards, mice, printers, cameras, and external hard drives. Gently unplug their cables from the respective ports on your computer. Take care not to force any connections or damage any connectors.
4. Remove USB Dongles: If you have any USB dongles, such as wireless adapters or Bluetooth dongles, connected to your computer, remove them before continuing. These dongles typically protrude from the USB ports and can cause interference or accidentally get damaged during the upgrade process.
5. Disconnect Display Cables: If you have a dedicated graphics card, locate the cable connecting your monitor to the graphics card’s video output. This could be a VGA, DVI, HDMI, or DisplayPort cable. Carefully unplug the cable from both the graphics card and the monitor.
6. Remove Other Cables: Check for any other cables attached to your computer, such as audio cables, Ethernet cables, or power cables connected to external devices. Disconnect these cables as well, making sure to handle them gently and avoid tugging or pulling excessively.
7. Mark Cable Connections: Before removing any internal cables connected to your motherboard, take a moment to mark them or take pictures for reference. This will help ensure that you can easily reconnect them to the appropriate ports when installing the new motherboard and CPU later on.
By disconnecting the power supply and peripherals, you eliminate the risk of electrical shock and accidental damage during the motherboard and CPU upgrade process. Take care to handle all cables and connectors gently to avoid any strain or damage. With these precautions in place, you can proceed to the next steps of the upgrade process confidently.
Remove the Old Motherboard and CPU
Once you have disconnected the power supply and peripherals, it’s time to remove the old motherboard and CPU from your computer. This step is crucial for safely and effectively replacing these components with the new ones. Follow the steps below to remove the old motherboard and CPU:
1. Prepare Your Workspace: Ensure you are working in a clean and well-lit area. Lay down an antistatic mat or work on a non-conductive surface to prevent any static electricity damage to the sensitive components.
2. Open the Computer Case: Remove the side panel of your computer case to gain access to the internal components. Refer to the case manual if you are unsure how to remove the panel, as different cases may have different mechanisms.
3. Locate and Disconnect Cables: Begin by disconnecting all cables connected to the old motherboard. This includes power cables, data cables (such as SATA or IDE cables), front panel connectors, and any additional expansion card cables.
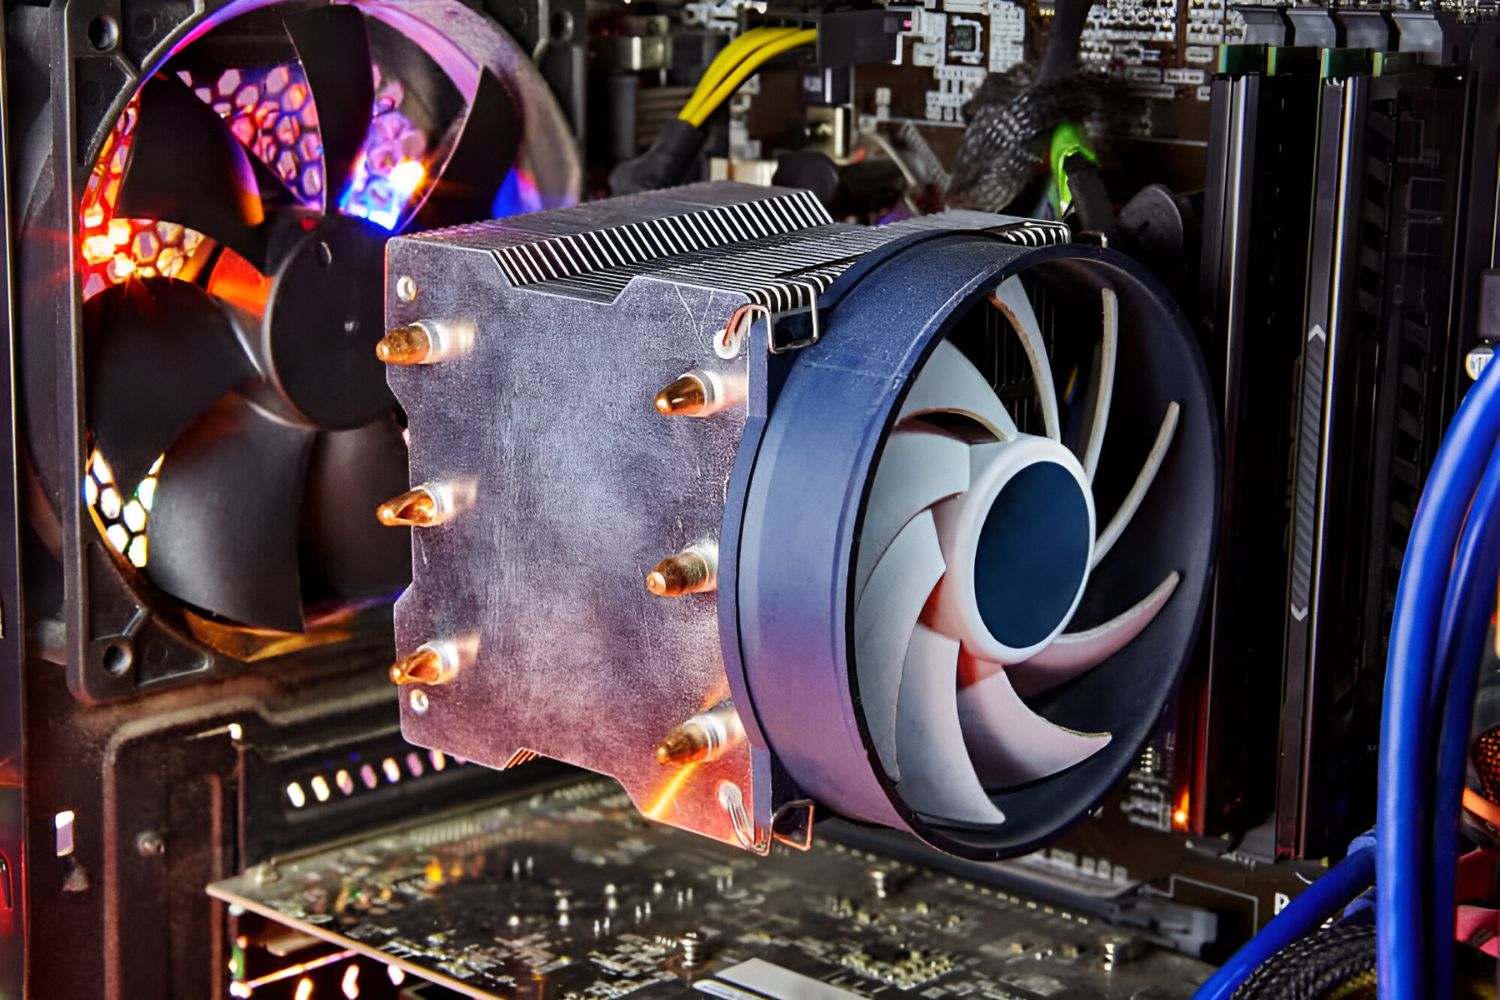
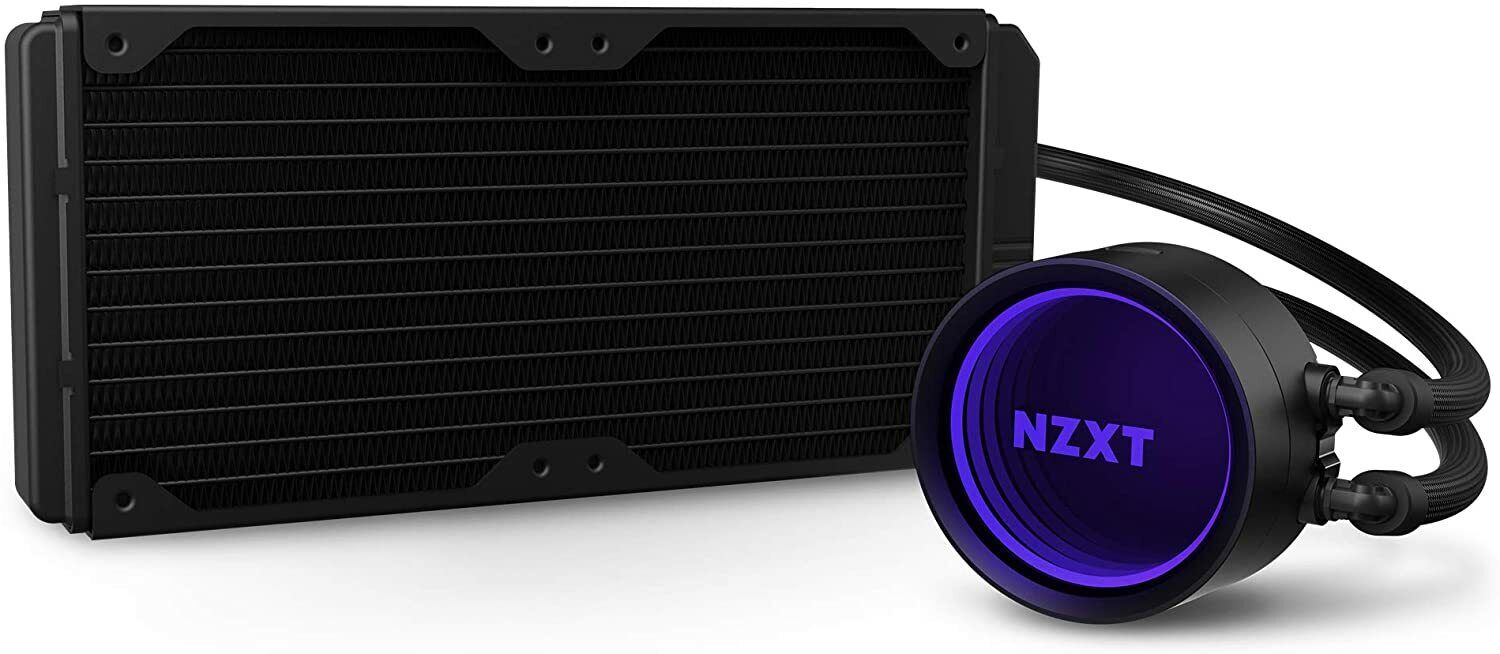
4. Remove the CPU Cooling Solution: If you have a CPU cooling solution installed (such as a CPU fan or liquid cooler), carefully remove it according to the manufacturer’s instructions. This may involve detaching any mounting brackets, screws, or clips.
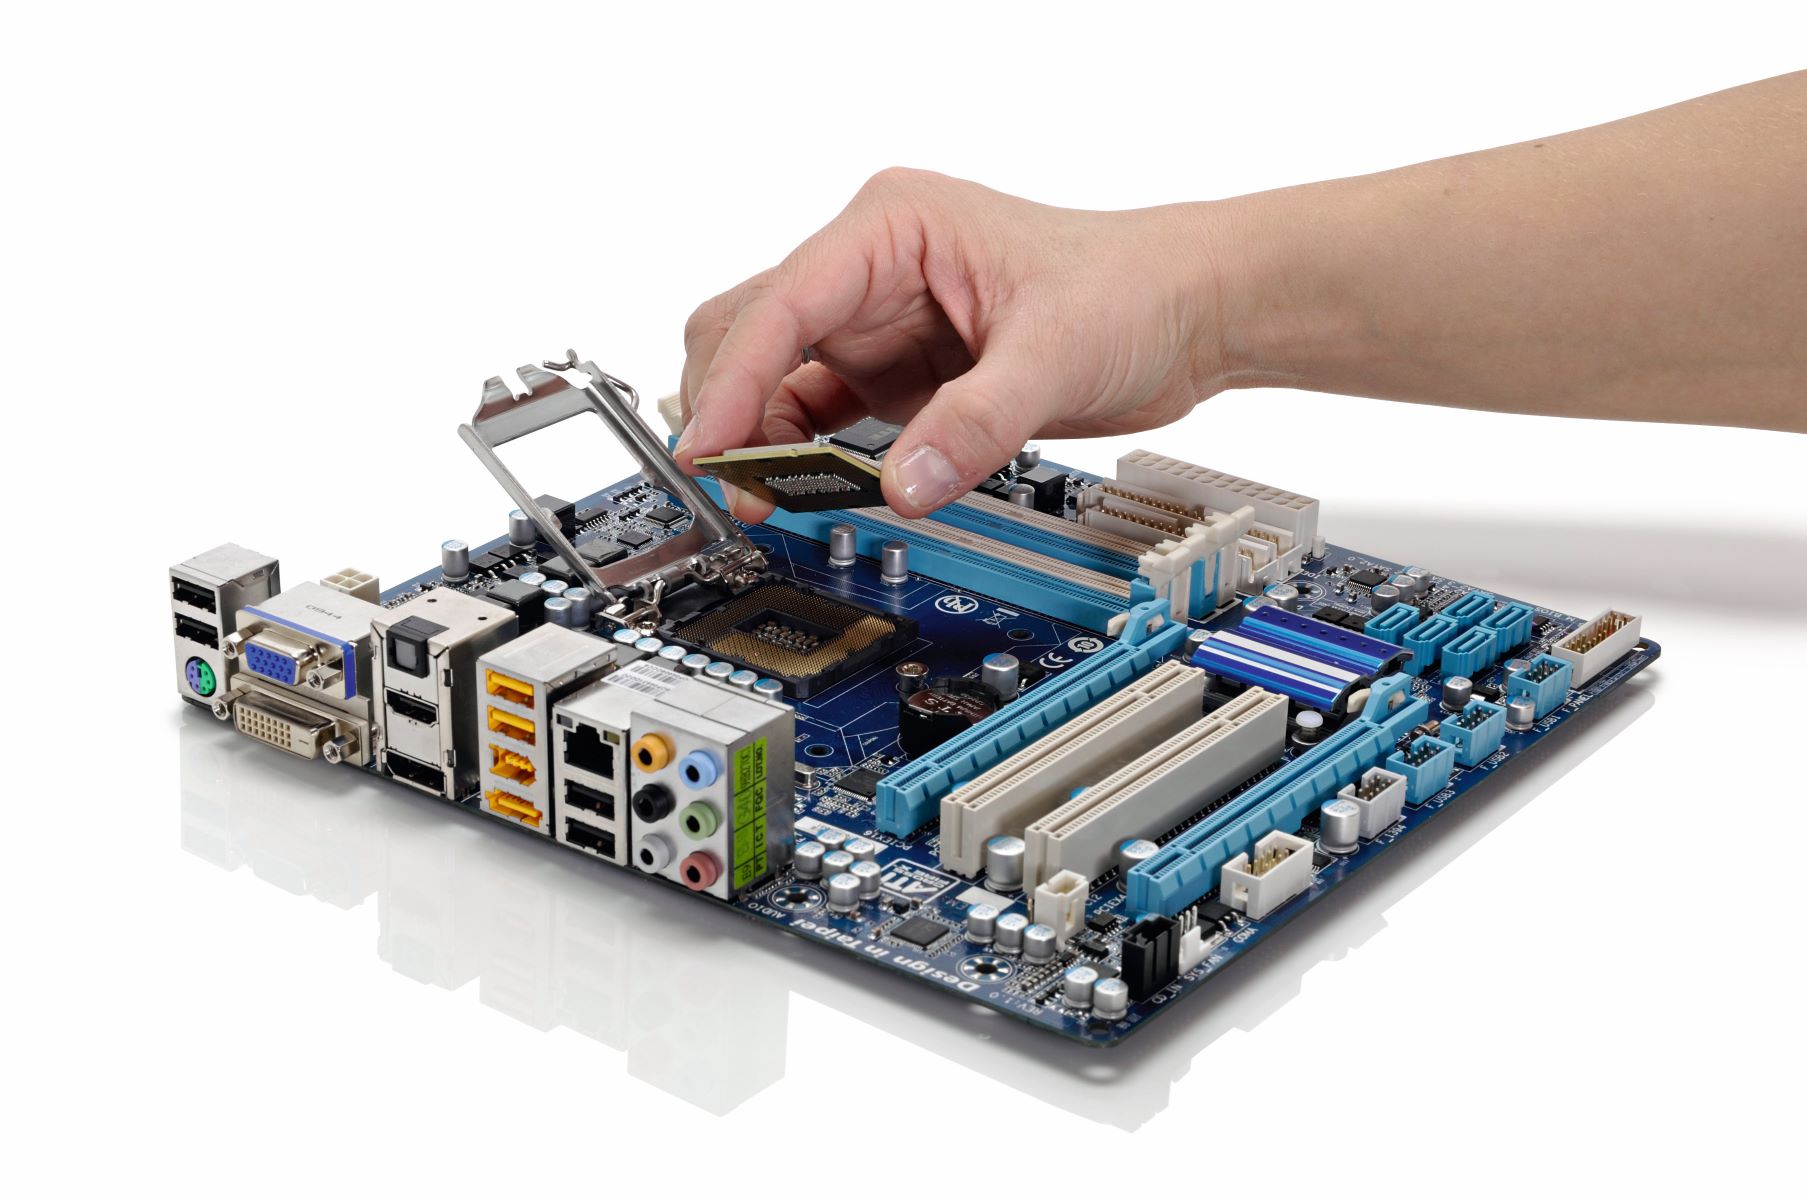
5. Release the CPU Lock: Locate the CPU socket on the motherboard. Gently release the CPU lock lever or mechanism, typically found on one side of the socket. This will allow you to lift the CPU out of its socket.
6. Lift the CPU Carefully: Use your fingertips to lift the CPU out of its socket. Be careful not to touch the delicate pins on the underside of the CPU. Place the CPU in an antistatic bag or on the antistatic mat for safekeeping.
7. Remove the Motherboard: Locate the screws or clips holding the motherboard in place and remove them. Carefully lift the motherboard out of the computer case, ensuring that no cables or components are still attached or tangled.
8. Inspect the Old Motherboard: Take a moment to inspect the old motherboard for any signs of physical damage or wear. This will help you identify any potential issues that may have caused the need for an upgrade.
By following these steps, you can safely remove the old motherboard and CPU from your computer. Remember to handle the components with care, avoiding any unnecessary force or accidental damage. With the old components removed, you’re ready to prepare the new motherboard and CPU for installation in the next steps of the upgrade process.
Prepare the New Motherboard and CPU
With the old motherboard and CPU safely removed, it’s time to prepare the new components for installation. Properly preparing the new motherboard and CPU ensures a smooth and successful upgrade process. Follow the steps below to prepare the new motherboard and CPU:
1. Unpack and Inspect: Begin by unpacking the new motherboard and CPU. Carefully examine them for any physical damage or defects. Check for any loose components, bent pins, or discoloration that may indicate a problem. Refer to the manuals and documentation provided by the manufacturer for any specific instructions or precautions.
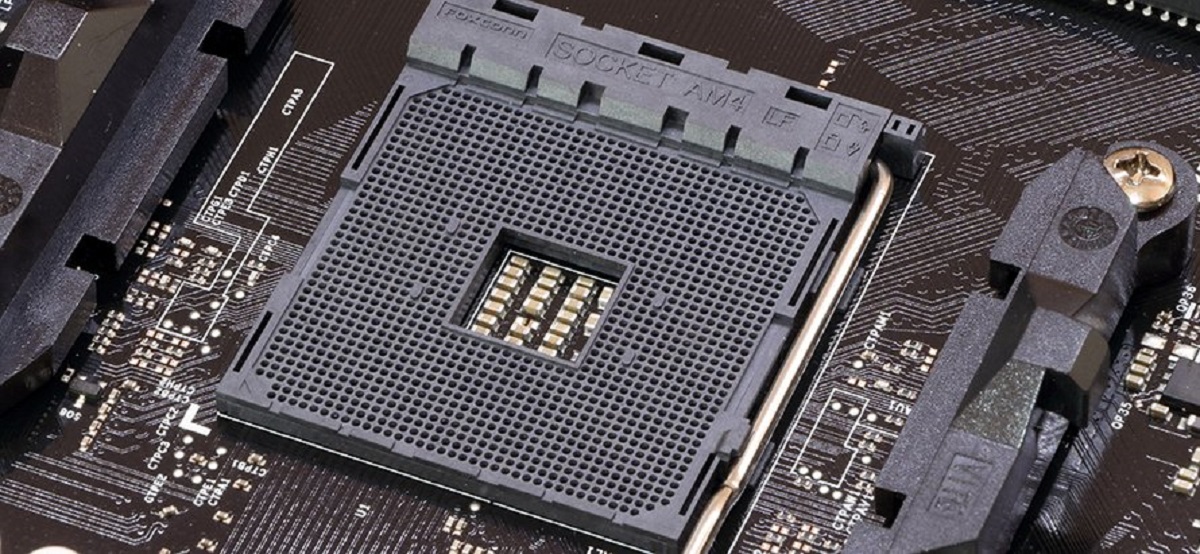
2. Install the CPU: Locate the CPU socket on the new motherboard. Remove any covers or protectors from the socket. Identify the alignment markers on both the CPU and the socket. Align these markers and gently place the CPU into the socket. Avoid applying excessive pressure and ensure that the CPU is inserted correctly. Once inserted, secure the CPU using the lever or locking mechanism provided on the motherboard.
3. Apply Thermal Paste: Before installing the CPU cooler, apply a small amount of thermal paste to the center of the CPU. The thermal paste helps to ensure proper heat transfer between the CPU and the cooler. Use a pea-sized amount of thermal paste, as excessive application can lead to poor heat dissipation. Spread the thermal paste evenly using a clean, plastic applicator or the provided spatula.
4. Install the CPU Cooler: Attach the CPU cooler according to the manufacturer’s instructions. This may involve securing mounting brackets, engaging clips, or using screws. Ensure that the cooler is properly aligned with the CPU and that enough pressure is applied to create a solid connection. Double-check that all necessary cables, such as fan power cables, are properly connected to the motherboard.
5. Install Memory (RAM): Identify the memory slots on the new motherboard. Align the memory module with the slot and gently insert it at a slight angle. Apply light pressure until the module clicks into place. Repeat this process for each memory module, ensuring that they are properly seated and secure. Refer to the motherboard manual for any specific recommendations regarding memory installation.
6. Install Necessary Components: Depending on your specific needs, you may need to install additional components on the motherboard before proceeding. This may include expansion cards such as graphics cards or sound cards. Follow the manufacturer’s instructions to properly install these components in the compatible slots on the motherboard.
7. Double-Check Connections: Ensure that all necessary cables are connected to the motherboard, including the power supply cables, data cables, and front panel connectors. Double-check the connections to ensure they are properly aligned and securely attached. Refer to the motherboard manual for specific instructions and illustrations if needed.
8. Perform a Final Inspection: Before installing the new motherboard and CPU into the computer case, perform a final inspection to make sure everything is properly prepared. Verify that the CPU cooler is securely attached, the memory modules are properly seated, and all cables are connected as needed. This will minimize any potential issues during the installation process.
By properly preparing the new motherboard and CPU, you ensure a solid foundation for the rest of the upgrade process. Taking the time to align components correctly, apply thermal paste, and double-check connections will contribute to a successful motherboard and CPU upgrade experience.
Install the New Motherboard and CPU
With the new motherboard and CPU properly prepared, it’s time to install them into your computer case. This step signifies a major milestone in the upgrade process, as you transition from planning and preparation to the physical installation. Follow the steps below to install the new motherboard and CPU:
1. Position the Motherboard: Carefully position the new motherboard inside the computer case, aligning it with the standoffs or screw holes. Ensure that the I/O shield on the back of the case correctly aligns with the motherboard’s ports. It’s crucial to align the mounting holes accurately to avoid any misalignment or short circuits.
2. Secure the Motherboard: Once the motherboard is properly positioned, use screws or clips to secure it in place. Tighten the screws or engage the clips firm enough to hold the motherboard securely, but avoid overtightening, as it can damage the motherboard.
3. Connect Power Cables: Locate the main power connector on the new motherboard. Attach the corresponding power cable from the power supply unit (PSU) to the motherboard. Ensure that the power connector is fully seated and properly aligned. Additionally, connect the auxiliary power cables, such as the CPU power connector, if necessary.
4. Install Data Cables: Connect the necessary data cables from the storage devices, such as hard drives or solid-state drives, to the appropriate connectors on the motherboard. If you have optical drives or additional storage devices, connect their data cables as well. Ensure that the cables are properly aligned and securely attached, avoiding any forceful tugs or bending.
5. Connect Front Panel Connectors: Locate the front panel connectors on the new motherboard. These connectors include the power button, reset button, power LED, and HDD LED. Consult the motherboard manual for the precise location and pin layout of these connectors. Attach the corresponding cables from the computer case to the appropriate connectors on the motherboard.
6. Install Expansion Cards: If you have additional expansion cards, such as graphics cards or sound cards, install them into the appropriate expansion slots on the motherboard. Ensure that the cards are properly aligned with the slots and push them firmly into place. Secure the cards using the screws or clips provided with the motherboard or expansion cards.
7. Check Cable Connections: Double-check all cable connections to ensure that they are secure and properly aligned. Inspect each cable for any signs of damage or loose connections. Take your time to avoid any potential issues derived from loose cables or improper connections.
8. Reattach CPU Cooling Solution: If you removed the CPU cooling solution during preparation, reattach it to the CPU following the manufacturer’s instructions. Ensure that the cooler is properly aligned and tightened for optimal heat dissipation. Confirm that all necessary cables, such as fan power cables, are securely connected to the motherboard.
By following these steps, you can successfully install the new motherboard and CPU into your computer case. Take care to align components correctly, securely attach cables, and ensure a stable connection. Proper installation sets the stage for a functional and efficient system once the upgrade is complete.
Connect Cables and Peripherals
After installing the new motherboard and CPU, the next step in the upgrade process is to connect the necessary cables and peripherals. This ensures proper functionality and enables communication between the components of your computer. Follow these steps to connect cables and peripherals effectively:
1. Power Cables: Connect the main power cable from the power supply unit (PSU) to the motherboard’s power connector. Ensure that it is firmly inserted and properly aligned. Additionally, attach any auxiliary power cables, such as the CPU power connector, if required by your motherboard.
2. Data Cables: Connect the data cables to the storage devices, such as hard drives or solid-state drives. Ensure that the cables are properly aligned and securely attached to both the motherboard and storage devices. Also, connect any additional data cables required for optical drives or other storage devices.
3. Front Panel Connectors: Connect the front panel connectors from the computer case to the appropriate pins on the motherboard. This includes connectors for the power button, reset button, power LED, HDD LED, and any other buttons or indicators on the front panel. Consult the motherboard manual for the precise pin layout and connector placement.
4. USB and Audio Connectors: Connect any USB and audio connectors from the computer case to the corresponding headers on the motherboard. These connectors typically include USB ports, headphone jacks, microphone jacks, and other audio inputs and outputs. Refer to the motherboard manual for the exact location and labeling of these headers.
5. Graphics Card: If you have a dedicated graphics card, insert it into the appropriate expansion slot on the motherboard. Ensure that the card is properly aligned and securely seated in the slot. Attach any necessary power cables from the PSU to the graphics card to provide it with the required power.
6. Network and Peripherals: Connect the Ethernet cable to the network port on the motherboard if you are using a wired network connection. Additionally, connect any other peripherals, such as printers, scanners, or external storage devices, to the USB ports or other relevant ports on the motherboard.
7. Monitor: Connect your monitor to the appropriate video output on the motherboard or dedicated graphics card. Use the appropriate cable, such as HDMI, DisplayPort, or VGA, depending on the available ports and your monitor’s compatibility.
8. Power On: Plug in your computer and switch on the PSU. Press the power button on the front panel to start your computer. Verify that all connected peripherals and devices are properly recognized by checking the BIOS or the operating system. If necessary, install drivers or updates to ensure their proper functioning.
By carefully connecting the necessary cables and peripherals, you create the essential connections for proper communication and functionality within your upgraded computer system. Double-check all connections to ensure they are secure and properly aligned. Once everything is connected, you’re ready to power on and test your new setup.
Power On and Test the New Setup
After connecting all the necessary cables and peripherals, it’s time to power on your computer and test the new setup. This step ensures that your upgraded motherboard and CPU are functioning properly and allows you to verify that all components are working as expected. Follow these steps to power on and test your new setup:
1. Verify Connections: Before powering on, double-check all the connections you made in the previous step. Ensure that all cables and peripherals are properly attached and aligned. Pay particular attention to power cables and data cables, as loose connections can cause issues.
2. Switch on the Power Supply Unit: Locate the power switch on your power supply unit (PSU) and turn it on. This supplies power to the computer system.
3. Press the Power Button: Locate the power button on the front panel of your computer case and press it to start the system. The computer should begin the boot-up process, and the fans should start spinning.
4. Observe the Startup Process: Keep an eye on the monitor as the computer starts. You should see the motherboard manufacturer’s logo or the BIOS/UEFI screen. If you don’t see anything on the screen, ensure that the monitor is properly connected and turned on. If the problem persists, double-check your connections and make sure the graphics card, if applicable, is properly seated.
5. Enter BIOS/UEFI: If the startup process proceeds without any issues, you may have the option to enter the BIOS/UEFI. This is typically done by pressing a designated key, such as Del or F2, during the startup process. Enter the BIOS/UEFI and ensure that all hardware components, including the new motherboard and CPU, are being recognized.
6. Check Temperature and Fan Speeds: While in the BIOS/UEFI, check the hardware monitoring section to verify that the CPU temperature and fan speeds are within safe ranges. This ensures proper cooling and prevents overheating.
7. Test System Stability: If everything appears normal in the BIOS/UEFI, exit and allow the computer to continue booting into the operating system. Test the system stability by performing normal tasks, such as web browsing, using applications, or running benchmark tests to put the upgraded components through their paces.
8. Install Operating System Updates and Drivers: If everything is working smoothly, ensure that your operating system is up to date with the latest updates. Install any necessary drivers for the new motherboard and CPU from the manufacturer’s website or the provided installation media.
9. Monitor Performance and Resolving Issues: Monitor the performance of your upgraded system over time, paying attention to any potential crashes, compatibility issues, or abnormal behavior. If you encounter any issues, refer to the motherboard and CPU documentation, forums, or contact technical support for further assistance in troubleshooting.
By following these steps and testing the new setup, you can ensure that the upgraded motherboard and CPU are functioning correctly and have a stable and reliable system. Taking the time to verify connections, monitor system temperatures, and test stability will help you identify and resolve any potential issues that may arise during the testing process.
Troubleshooting Common Issues
During the process of upgrading your motherboard and CPU, you may encounter some common issues that can affect the functionality of your system. However, most issues can be resolved with some troubleshooting. Here are some common issues and their possible solutions:
1. No Power: If your computer doesn’t power on at all, double-check that all power cables are securely connected to the motherboard and power supply. Ensure that the power supply switch is turned on. If the issue persists, try a different power outlet or test the power supply with a power supply tester.
2. No Display: If you have no display on your monitor, make sure the monitor is properly connected to the graphics card or motherboard. Verify that the monitor is powered on and that the cables are functioning correctly. If you have a dedicated graphics card, ensure that it is properly seated in the PCIe slot and connected to the power supply.
3. Overheating: If you notice that your CPU is running at high temperatures or the system is overheating, verify that the CPU cooler is properly attached and that the thermal paste is applied correctly. Ensure that the fans are spinning, and the airflow inside the case is adequate. Consider upgrading your cooling solution if necessary.
4. Memory Issues: If you experience frequent system crashes or stability issues, it could be due to faulty RAM modules or incompatible memory configurations. Test each memory module individually to identify any defective modules. Ensure that the memory modules are properly seated in the motherboard’s memory slots and that they are compatible with your motherboard’s specifications.
5. BIOS/UEFI Issues: If you encounter issues accessing the BIOS/UEFI or settings not saving correctly, try resetting the BIOS/UEFI settings to default. Update the motherboard’s BIOS/UEFI firmware to the latest version, referring to the manufacturer’s website for instructions. Be cautious when updating the BIOS/UEFI, as an incorrect update process can cause permanent damage.
6. Device Detection and Driver Issues: If certain devices or components are not detected or functioning properly, ensure that the necessary drivers are installed. Visit the manufacturer’s website to download and install the latest drivers for your motherboard and other components. Check the device manager for any devices with yellow exclamation marks, indicating driver issues.
7. Booting Issues: If you experience issues with the system booting or error messages during boot, check the boot order in the BIOS/UEFI settings. Ensure that the boot drive is properly connected and recognized by the system. If necessary, repair or reinstall the operating system to address any boot-related issues.
8. Compatibility Issues: Incompatible components can cause various issues. Double-check that all components, such as the CPU, RAM, and graphics card, are compatible with your motherboard and each other. Verify that the power supply can provide sufficient power for all components and that all connectors match properly.
If you encounter any other issues during or after the motherboard and CPU upgrade, consult the motherboard and CPU documentation, online forums, or contact technical support for further assistance. Troubleshooting can sometimes be technical and require specific steps depending on your system’s configuration, so be prepared to gather information and provide details to effectively resolve any issues.
Conclusion
Upgrading your motherboard and CPU is a significant step towards improving the performance and capabilities of your computer. By following the step-by-step guide and considering important factors beforehand, you can successfully upgrade these components and enjoy a more powerful computing experience.
Throughout the process, it’s crucial to gather the necessary tools and equipment, back up your data, and disconnect the power and peripherals to ensure a safe and seamless upgrade. Properly preparing the new motherboard and CPU, including installing the CPU, applying thermal paste, and securing the components, sets the stage for a successful upgrade.
Connecting the cables and peripherals correctly and testing your new setup verifies the functionality of the upgraded components. Powering on the system, entering the BIOS/UEFI, and monitoring the system’s stability are vital steps in ensuring a smooth transition and addressing any potential issues.
During the upgrade process, it’s common to encounter troubleshooting scenarios. Knowing how to troubleshoot common issues such as power problems, display or overheating issues, memory or driver-related issues, and compatibility concerns will help you overcome obstacles and optimize your system’s performance.
Remember, patience, attention to detail, and thoroughness are key throughout the entire upgrade process. Being mindful of compatibility, following the instructions provided by manufacturers, and seeking assistance when needed will contribute to a successful upgrade experience.
By upgrading your motherboard and CPU, you’re investing in the future of your computer system. Enjoy the enhanced performance, increased capabilities, and improved overall experience that come with these upgraded components. With proper care and maintenance, your upgraded system will continue to serve you well for years to come.


