Introduction
Welcome to the world of computer hardware optimization! One crucial component that heavily impacts a computer’s performance is Random Access Memory (RAM). It plays a vital role in storing and accessing data for the processor. If you’re seeking ways to upgrade the overall speed and efficiency of your computer, updating the RAM speed in the BIOS can make a significant difference.
But what exactly is RAM speed? In simple terms, it refers to the rate at which data can be read from or written to the RAM modules. The higher the RAM speed, the faster the data transfer, resulting in smoother system performance. Updating the RAM speed in the BIOS allows you to harness the full potential of your RAM modules, ensuring optimal performance and reducing bottlenecks.
Now, you might be wondering why updating the RAM speed in the BIOS is necessary. When you first purchase a computer, the default RAM settings are usually configured for compatibility rather than performance. Manufacturers often set conservative default speeds to ensure stability across a wide range of systems. However, these settings might not fully utilize the potential of your RAM modules.
By updating the RAM speed in the BIOS, you can unlock the true capabilities of your RAM modules. This means faster data transfer, reduced latency, and improved overall system performance. Whether you’re a gamer looking for smoother gameplay or a professional needing a more efficient computing experience, updating the RAM speed can significantly enhance your computing experience.
In the next sections, we will guide you through the process of checking your current RAM speed, determining if a BIOS update is required, preparing for the update, performing the update, and verifying the RAM speed after the update. We’ll also cover some troubleshooting tips to help you overcome common issues that may arise during the update process. So let’s begin!
What is RAM Speed?
RAM speed, also known as memory clock speed or RAM frequency, refers to the rate at which data can be read from or written to the RAM modules in your computer. It is measured in megahertz (MHz) and represents the number of cycles the RAM can perform in one second.
The RAM speed is determined by the memory controller, which is integrated into the computer’s motherboard or CPU. The higher the RAM speed, the faster the data transfer between the RAM and the processor, resulting in improved overall system performance.
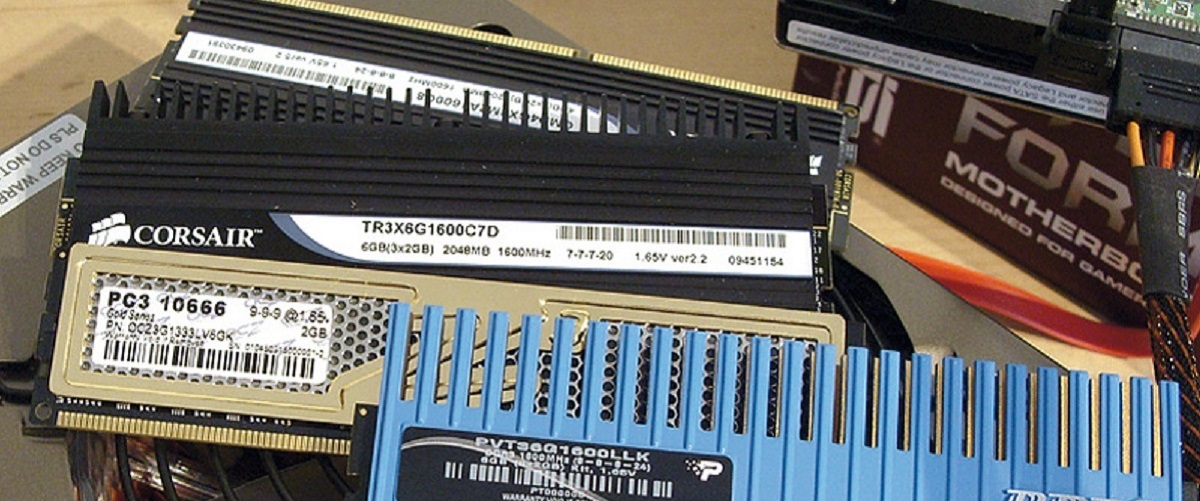
RAM speed is often referred to in conjunction with DDR (Double Data Rate) technology. DDR RAM doubles the number of data transfers per clock compared to traditional SDRAM (Synchronous Dynamic Random Access Memory). So, when you hear terms like DDR3-1600 or DDR4-3200, the number after DDR represents the generation, while the number after the hyphen denotes the maximum effective data transfer rate in megabytes per second (MT/s).
It’s important to note that RAM speed alone doesn’t determine the overall performance of your computer. Other factors, such as processor speed, storage type (SSD or HDD), and graphics card, also contribute to the system’s overall speed. However, upgrading your RAM speed can have a significant impact on multitasking capabilities, data-intensive processes, and overall system responsiveness.
When considering RAM upgrades or optimizations, it’s essential to ensure compatibility with your system. Different motherboard models and CPU architectures support various RAM generations and speeds. Checking your computer’s specifications or consulting the manufacturer’s documentation can help determine the maximum supported RAM speed.
It’s worth mentioning that overclocking is another option to increase RAM speed. Overclocking involves adjusting the RAM frequency beyond its default specifications. However, it’s a complex process that may void warranties and requires careful monitoring to avoid system instability or component damage. Updating the RAM speed in the BIOS is a safer and more straightforward method for most users to achieve better performance.
Now that we understand what RAM speed is and its significance let’s move on to the next section, where we’ll explore how to check the current RAM speed in your system.
Why Update RAM Speed in BIOS?
Updating the RAM speed in the BIOS can yield significant performance benefits for your computer. Here are a few reasons why you should consider updating the RAM speed:
- Improved System Performance: Updating the RAM speed allows for faster data transfer between the RAM and the processor. This results in quicker access to data, reducing loading times for applications, games, and files. The increased speed can also enhance multitasking capabilities, allowing you to run multiple applications simultaneously without significant performance degradation.
- Optimal RAM Utilization: Manufacturers often configure default RAM settings in the BIOS for compatibility rather than performance. By updating the RAM speed, you can ensure that your RAM modules are operating at their maximum potential. This ensures that you’re taking full advantage of the available memory bandwidth, resulting in smoother and more efficient system operation.
- Bottleneck Reduction: System performance can be hindered by bottlenecks, where one component is significantly slower than others, causing data flow congestion. By updating the RAM speed, you can minimize the chances of RAM becoming a bottleneck in your system. Faster memory access and data transfer rates reduce latency and allow the processor to access data more quickly, thus improving overall system responsiveness.
- Enhanced Gaming Experience: Gamers often require high-performance systems to enjoy smooth gameplay. Updating the RAM speed can provide a noticeable boost to gaming performance. Faster memory access means quicker loading times, reduced stuttering, and improved frame rates. This can result in a more immersive and enjoyable gaming experience.
- Professional Applications: If you work with resource-intensive applications such as video editing software, 3D modeling, or graphic design tools, increasing the RAM speed can significantly improve productivity. These applications often require fast data transfer rates, and updating the RAM speed can ensure smoother and faster operation, reducing rendering times and improving overall workflow efficiency.
- Future-Proofing: Updating the RAM speed in the BIOS can be seen as a future-proofing measure. As software and applications become more demanding, having faster RAM can help your system keep up with the latest advancements. By ensuring your RAM is operating at its full potential, you can extend the longevity and usability of your computer without the need for frequent hardware upgrades.
With these benefits in mind, it becomes clear why updating the RAM speed in the BIOS is a worthy optimization step. In the next section, we will guide you through the process of checking the current RAM speed in your system to determine if a BIOS update is required. Let’s dive in!
Checking the Current RAM Speed
Before updating the RAM speed in the BIOS, it’s important to check the current speed of your RAM modules. This will help you determine if a BIOS update is necessary to achieve the desired performance boost. Here are a few methods you can use to check the current RAM speed:
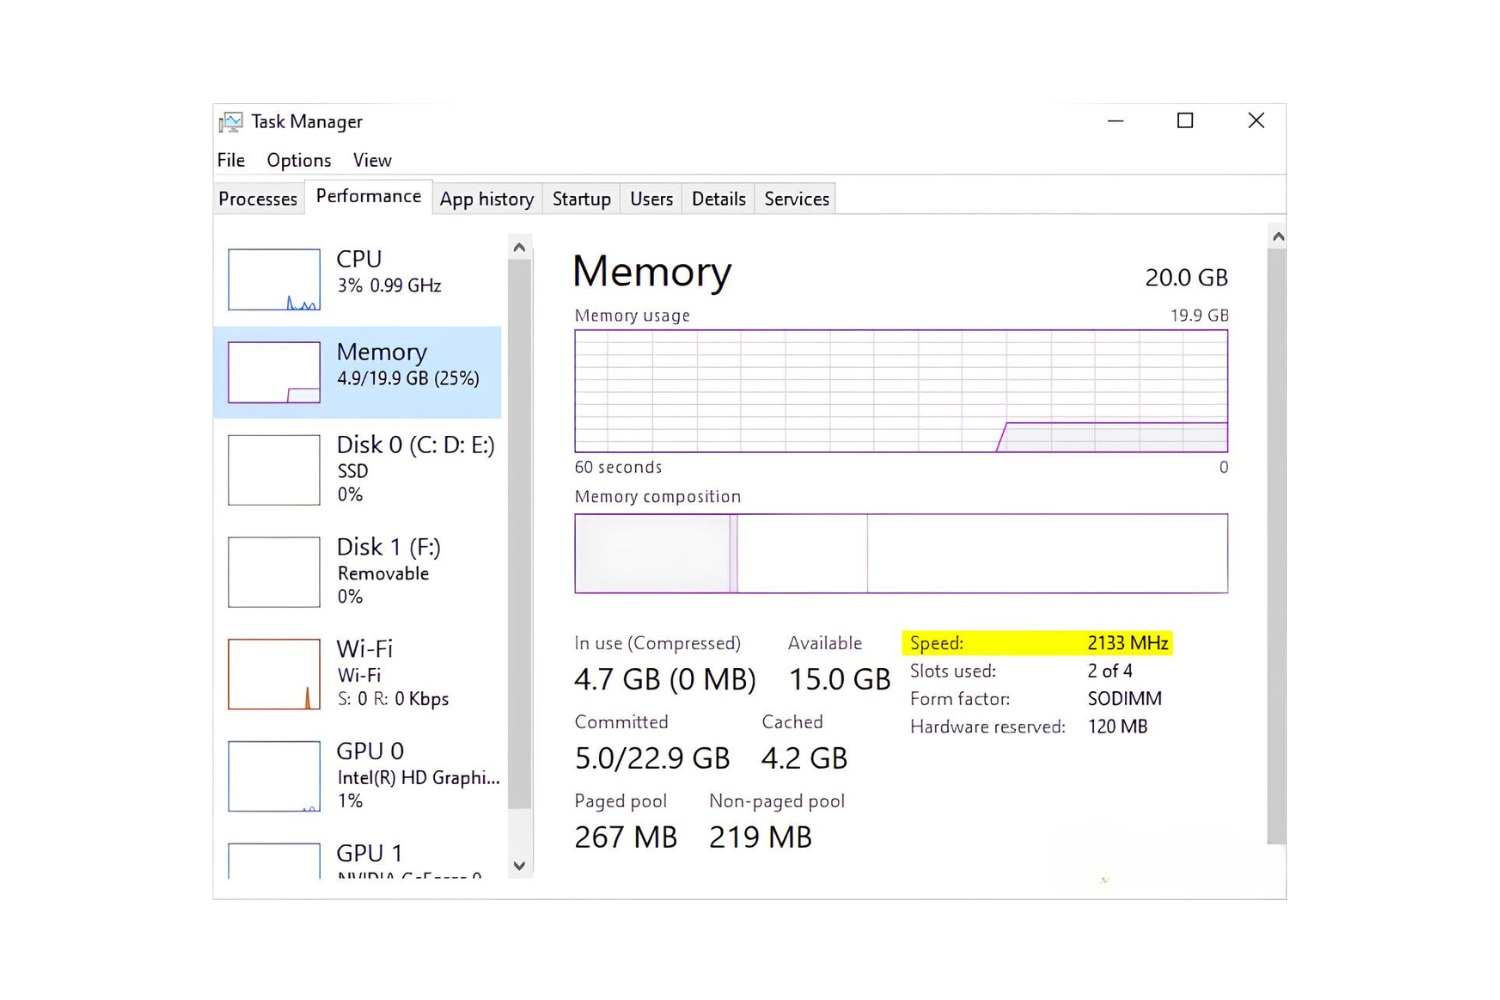
- Task Manager (Windows): On Windows systems, you can quickly check the RAM speed using the Task Manager. Right-click on the taskbar and select “Task Manager” from the menu. In the Task Manager window, navigate to the “Performance” tab. Under the “Memory” section, you will find the “Speed” value, indicating the current RAM speed.
- System Information (Windows): Another way to check the RAM speed on Windows is through the System Information utility. Press the Windows key + R to open the Run dialog box. Type “msinfo32” (without quotes) and press Enter. In the System Information window, navigate to “Components” > “Memory” and look for the “Speed” value, which displays the current RAM speed.
- About This Mac (macOS): macOS users can check the RAM speed by clicking on the Apple menu and selecting “About This Mac.” In the Overview tab, click on “System Report.” In the left sidebar, select “Memory” to view detailed information about your RAM modules. Look for the “Speed” value to see the current RAM speed.
- Third-Party Software: There are several third-party software tools available that provide detailed information about your computer’s hardware, including RAM speed. Examples include CPU-Z, HWiNFO, and Speccy. These tools offer comprehensive information and can be useful if you require in-depth analysis of your system’s hardware components.
Once you have determined the current RAM speed, compare it to the specifications of your RAM modules. If the current speed is significantly lower than the maximum supported speed, updating the RAM speed in the BIOS can likely provide a performance boost.
It’s important to note that not all BIOS versions allow you to manually adjust the RAM speed. In some cases, the RAM speed may be automatically managed by the motherboard, and updating the BIOS may be required to access those settings. In the next section, we will cover the steps to determine if a BIOS update is necessary and how to prepare for the update process. Let’s move on!
Checking If BIOS Update is Required
Before proceeding with updating the RAM speed in the BIOS, it’s important to determine if a BIOS update is required. Here are a few steps to help you ascertain if a BIOS update is necessary:
- Check the System Manufacturer’s Website: Visit the website of your computer’s manufacturer and navigate to the support or downloads section. Look for any available BIOS updates for your specific model. Manufacturers often release BIOS updates to address compatibility issues, improve system stability, and provide additional features or optimizations.
- Review the BIOS Release Notes: Once you find a BIOS update for your computer, review the release notes provided by the manufacturer. Look for any mention of improved RAM compatibility, performance enhancements, or specific fixes related to the RAM modules. Pay attention to any prerequisites or cautionary instructions mentioned in the release notes.
- Check the Current BIOS Version: Determine the current BIOS version installed on your computer. You can typically find this information by accessing the BIOS settings during the system’s startup. This is usually done by pressing a specific key (such as F2, Del, or Esc) during the boot process. Once in the BIOS settings, look for a section that displays the BIOS version information.
- Compare the Current BIOS Version to the Available Update: Compare the current BIOS version to the version mentioned in the available BIOS update. If the current version is older than the available update, it indicates that a BIOS update is required to access the latest features and optimizations for your system, including potential RAM speed adjustments.
- Consider the Risks and Benefits: Before proceeding with a BIOS update, it’s essential to understand the risks involved. BIOS updates, when not done correctly, can lead to system instability or even permanent damage to the motherboard. However, if a BIOS update specifically addresses RAM compatibility or speed improvements, the benefits may outweigh the risks. Evaluate your specific situation and determine if the potential performance gains are worth the update.
It’s important to follow the manufacturer’s instructions carefully when updating the BIOS. This typically involves downloading the BIOS update file, creating a bootable USB drive, and going through a step-by-step process to install the update. Be sure to have a stable power source and avoid interrupting the update process to prevent any issues.
Once you have determined that a BIOS update is required and have taken necessary precautions, you can proceed with the preparations for the update process. In the next section, we will guide you through the necessary steps to prepare for a BIOS update. Let’s get started!
Preparing for BIOS Update
Before performing a BIOS update to update the RAM speed, it’s essential to take a few key steps to ensure a smooth and successful update process. Here are the necessary preparations:
- Backup Important Data: Before proceeding with any BIOS update, it’s crucial to back up your important data. While the likelihood of data loss during a BIOS update is minimal, it’s always better to be safe than sorry. Create copies of your important files and ensure they are stored safely on an external storage device or cloud storage.
- Read the Manufacturer’s Instructions: Visit the manufacturer’s website and locate the documentation or guide specifically for BIOS updates. Read through the instructions carefully, ensuring that you understand each step of the update process. Follow the manufacturer’s instructions precisely, as each system may have specific requirements or nuances.
- Verify Power Source: It’s extremely important to have a stable power source during the BIOS update process. Ensure that your computer is plugged into a reliable power outlet, or if using a laptop, ensure that it is fully charged. An interruption in power during the update process can lead to irreversible damage to the motherboard or corruption of the BIOS firmware.
- Connect to a Stable Internet Connection: In some cases, the manufacturer may provide BIOS updates that can be installed directly from within the BIOS settings through an internet connection. If this is the case, make sure you have a stable and reliable internet connection to avoid any interruptions during the update process.
- Gather Necessary Tools: Depending on the manufacturer’s instructions, you may need specific tools or software to perform the BIOS update. These tools could include a USB flash drive for creating a bootable drive or manufacturer-specific update software. Make sure you have these tools readily available before starting the update process.
- Take Note of Current BIOS Settings: Before proceeding with the update, it’s wise to document or take note of any specific BIOS settings or configurations that you have customized. This will help you restore those settings after the update process is complete and ensure that your system functions as desired.
- Disable Overclocking: If you have previously overclocked your system, it is recommended to disable any overclocking settings before performing the BIOS update. Overclocking can lead to system instability during the update process, potentially causing complications or failures. Once the update is complete, you can re-enable overclocking if desired.
By following these preparation steps, you minimize the risk of encountering issues during the BIOS update process and increase the chances of a successful update. Once you have completed these preparations, you are ready to proceed with updating the BIOS to achieve the desired RAM speed. In the next section, we will guide you through the actual BIOS update process step by step. Let’s move forward!
Updating BIOS for RAM Speed
Updating the BIOS is a critical step in changing the RAM speed settings to optimize performance. Follow these steps to update the BIOS:
- Download the Latest BIOS Update: Visit the manufacturer’s website and navigate to the support or downloads section. Locate the latest BIOS update for your specific model and download it onto your computer. Make sure to choose the correct update for your system and follow the instructions provided by the manufacturer.
- Create a Bootable USB Drive: In some cases, you may need to create a bootable USB drive to perform the BIOS update. The manufacturer’s instructions will guide you on how to create the bootable drive. Ensure that the USB drive is formatted correctly and contains the necessary files for the update.
- Restart Your Computer: After preparing the bootable USB drive, restart your computer. Enter the BIOS settings by pressing the appropriate key during the boot process. The key to access the BIOS settings is usually displayed on the screen during startup or mentioned in the manufacturer’s documentation.
- Navigate to the BIOS Update Section: Once in the BIOS settings, locate the section related to BIOS updates. The location of this section may vary depending on the motherboard manufacturer and BIOS version. Refer to the manufacturer’s instructions to find the correct section for updating the BIOS.
- Select the BIOS Update File: In the BIOS update section, choose the option to update the BIOS and browse for the downloaded update file. Select the file and proceed with the update process. Follow the on-screen prompts, ensuring accuracy and confirming any warnings or prompts presented.
- Wait for the BIOS Update to Complete: The update process may take several minutes to complete. During this time, it’s crucial to avoid interrupting the process or powering off the computer. Doing so can result in permanent damage to the motherboard or corrupt the BIOS firmware. Patiently wait for the process to finish.
- Restart and Verify the BIOS Update: After the BIOS update is complete, the system will automatically restart. Once the computer is booted up, enter the BIOS settings again to verify that the update was successful. Navigate to the appropriate section and ensure that the BIOS version matches the updated version mentioned in the manufacturer’s instructions.
- Restore Custom BIOS Settings: If you had previously customized any BIOS settings, now is the time to restore them. Refer to your notes or documentation to reapply your desired settings. Take care to prioritize stability and proper RAM speed settings for optimal performance.
By following these steps, you can update the BIOS to adjust the RAM speed settings and unlock the full potential of your system’s RAM modules. Remember to always refer to the manufacturer’s instructions and exercise caution during the update process to ensure a successful outcome.
Once the BIOS update is complete and verified, it’s time to check the new RAM speed settings. In the next section, we will explore how to verify the updated RAM speed after the BIOS update. Let’s proceed!
Verifying RAM Speed After Update
After updating the BIOS to adjust the RAM speed settings, it’s essential to verify that the desired RAM speed has been successfully applied. Here’s how you can verify the RAM speed:
- Restart Your Computer: Start by restarting your computer to ensure that the new BIOS settings are applied successfully.
- Enter the BIOS Settings: During the boot process, enter the BIOS settings by pressing the appropriate key. This key may vary depending on your motherboard manufacturer and BIOS version. Look for an on-screen prompt or consult the manufacturer’s documentation to determine the correct key.
- Navigate to the RAM Settings: Once in the BIOS settings, navigate to the section that controls RAM settings. This section might be named “DRAM Configuration,” “Memory Settings,” or similar, depending on your motherboard manufacturer and BIOS version.
- Check the RAM Speed: Within the RAM settings section, you will find the option to view or modify the RAM speed. Look for a value labeled as “DRAM Frequency,” “Memory Clock,” or similar. The value displayed here should match the desired RAM speed that you intended to set during the BIOS update process.
- Save and Exit: If the displayed RAM speed matches the desired speed, save the changes and exit the BIOS settings. This will apply the new RAM speed settings and restart the computer.
- Verify in Operating System: Once your computer has rebooted, you can also verify the RAM speed from within your operating system. On Windows, you can use tools like CPU-Z or HWiNFO to check the RAM speed. On macOS, you can use the “System Report” tool to view detailed information about your RAM, including the speed.
- Monitor System Performance: After verifying the RAM speed, monitor your system’s performance to assess if the new RAM speed is delivering the desired improvements. Test applications, games, or tasks that previously stressed your system’s RAM. Look for smoother performance, reduced latency, and overall system responsiveness.
If the verified RAM speed matches the desired speed, congratulations! You have successfully updated the BIOS and adjusted the RAM speed to optimize your system’s performance. Enjoy the improved capabilities and enhanced user experience. However, if the RAM speed doesn’t match the desired speed or you encounter any issues, it may be necessary to revisit the BIOS settings and ensure that the correct parameters are set. Consult the manufacturer’s documentation or seek further assistance if needed.
In the next section, we will provide some troubleshooting tips to help you address common issues that may arise during the BIOS update process or when adjusting the RAM speed. Let’s continue!
Troubleshooting Common Issues
During the BIOS update process or when adjusting the RAM speed, it’s possible to encounter some common issues. Here are a few troubleshooting tips to help you address these issues:
- Incorrect BIOS Update: If you mistakenly download and install the wrong BIOS update for your system, it can lead to compatibility issues or even render your computer unusable. To avoid this, always double-check the BIOS update file and ensure it matches your specific model and version. If you’ve installed the wrong update, consult the manufacturer’s support or seek professional assistance to rectify the situation.
- Failed BIOS Update: Occasionally, a BIOS update may fail to complete properly, resulting in a partially updated or non-functional BIOS. If this happens, remain calm and avoid turning off or restarting your computer. Consult the manufacturer’s documentation or support for specific instructions on recovering from a failed BIOS update. Some motherboards have built-in recovery mechanisms, such as a backup BIOS or the ability to flash the BIOS using a specific key combination.
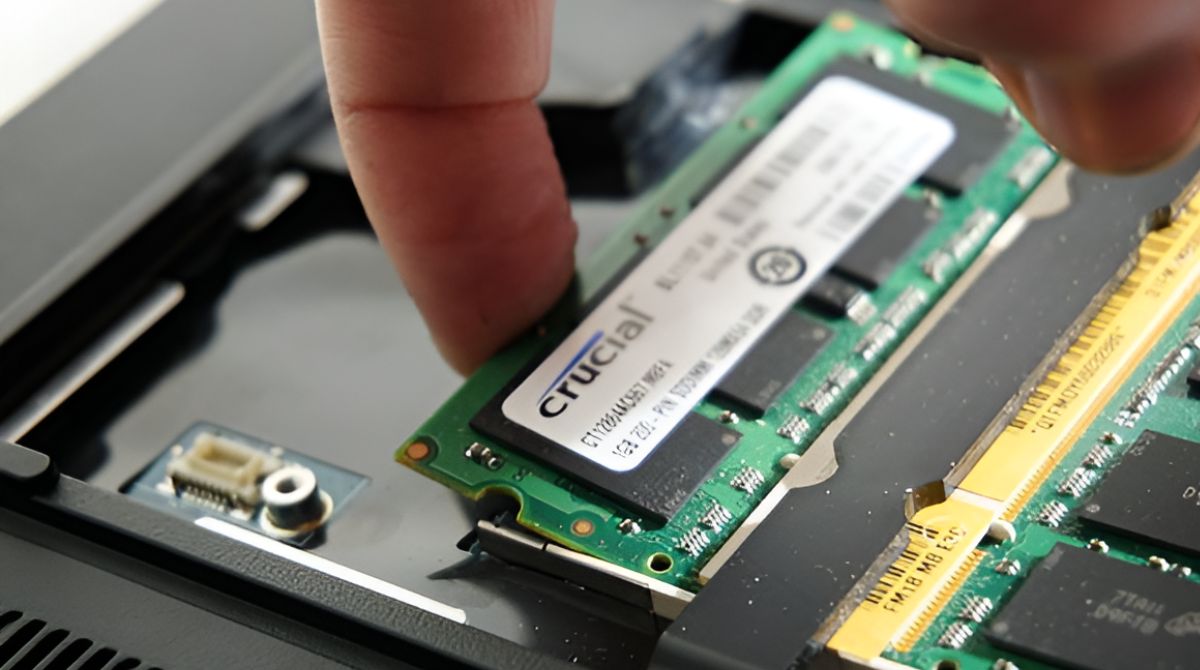
- RAM Incompatibility: If you’ve updated the BIOS and adjusted the RAM speed, but are still experiencing issues or instability, it’s possible that the RAM modules are not compatible with your motherboard. Ensure that the RAM modules are correctly installed and seated, following the manufacturer’s guidelines. If the problem persists, consult the motherboard and RAM manufacturer’s documentation, and consider trying different RAM modules to determine if compatibility is the root cause.
- Overheating: Increasing the RAM speed can potentially lead to increased system heat generation. If you notice that your computer is overheating or experiencing thermal throttling after adjusting the RAM speed, ensure that your system’s cooling system is functioning properly. Check that all fans are working, heat sinks are clear of dust, and thermal paste is correctly applied between the CPU and the heat sink. In extreme cases, you may need to consider upgrading your cooling solution to handle the increased heat load.
- System Instability: If your system becomes unstable or crashes frequently after adjusting the RAM speed, it could indicate that the RAM speed has been set too high for your specific modules or motherboard. In this case, enter the BIOS settings and try reducing the RAM speed to a lower value. This will help you find a stable configuration that utilizes the RAM’s full potential without causing instability. Experiment with different settings and stress test your system to ensure stability before settling on a final configuration.
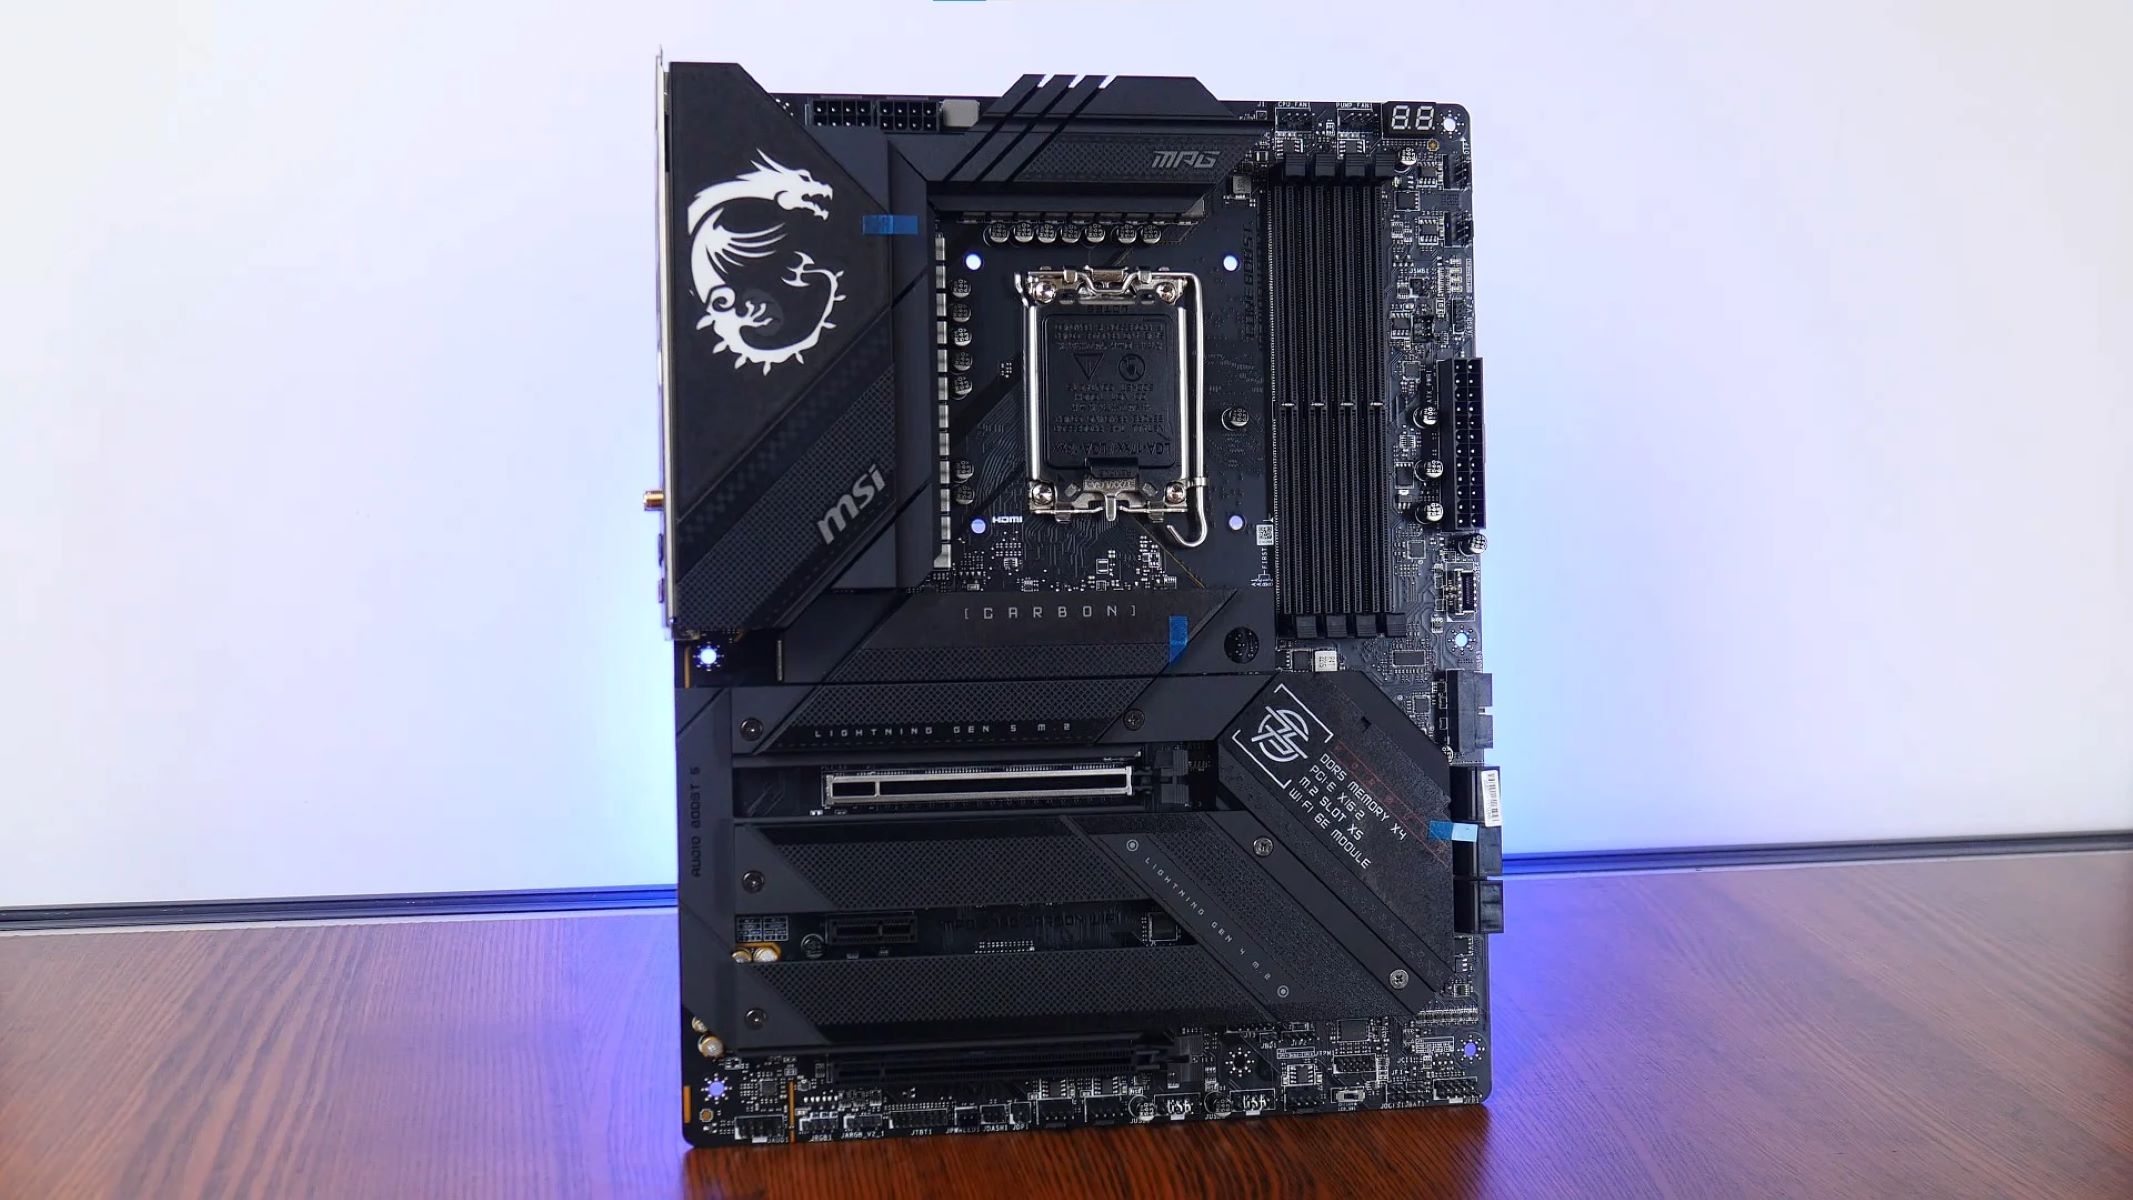
- Motherboard Compatibility: In some cases, certain motherboard models may have limitations or known issues related to updating the BIOS or adjusting the RAM speed. Consult the manufacturer’s documentation, community forums, or support channels to check if your specific motherboard has any compatibility concerns or recommended settings for RAM speed adjustments.
If you encounter any issues during the BIOS update process or when adjusting the RAM speed that you’re unable to resolve, it’s recommended to seek assistance from the manufacturer’s support or professional technicians who are experienced in handling such situations. They can provide tailored guidance and assistance based on your unique system configuration and requirements.
Now that you have some troubleshooting tips at your disposal, you’re better equipped to handle any common issues that may arise. If you’ve successfully addressed any obstacles, congratulations! Your system should now be running smoothly with the updated RAM speed. In the concluding section, we’ll wrap up the key points and provide a final summary.
Conclusion
Updating the RAM speed in the BIOS is a valuable optimization technique to enhance your computer’s performance. By adjusting the RAM speed, you can unlock the full potential of your RAM modules, leading to faster data transfer, reduced latency, and improved overall system responsiveness.
In this guide, we covered the basics of RAM speed, why updating the RAM speed in the BIOS is necessary, and how to check the current RAM speed in your system. We also explored the steps to determine if a BIOS update is required, preparations for the update process, and detailed instructions on how to update the BIOS for RAM speed adjustments.
Verifying the RAM speed after the update is crucial to ensure that the desired settings have been applied successfully. We discussed various methods to verify the RAM speed both within the BIOS settings and through operating system tools.
Additionally, we offered troubleshooting tips for common issues that may arise during the BIOS update process or when adjusting the RAM speed. It’s important to follow these tips and seek assistance from the manufacturer or professionals if encountering any difficulties that you are unable to resolve independently.
By following the guidelines outlined in this article, you can optimize your computer’s performance by updating the RAM speed in the BIOS. Enjoy the benefits of faster data transfer, improved multitasking capabilities, and an overall smoother computing experience. Remember to always consult the manufacturer’s documentation and exercise caution when updating the BIOS, as any mistakes could result in irreparable damage to your system.
Thank you for reading this guide, and we hope it has been helpful in your journey to enhance your computer’s performance through updating the RAM speed in the BIOS. Here’s to a faster and more efficient computing experience!