Introduction
Welcome to the world of RAM overclocking and optimization! If you’ve recently upgraded your computer’s memory or are simply looking to get the most out of your RAM, you’ve come to the right place. In this guide, we will explore various techniques to help you achieve a RAM speed of 3200MHz, optimizing your system’s performance and enhancing your overall computing experience.
Random Access Memory (RAM) plays a crucial role in your computer’s ability to handle multiple tasks simultaneously. Increasing the speed at which your RAM operates can result in improved system responsiveness, faster data transfer rates, and smoother multitasking. Running your RAM at a higher frequency, such as 3200MHz, can provide significant performance gains, particularly for gaming, video editing, and other memory-intensive tasks.
However, achieving a RAM speed of 3200MHz is not always as simple as plug-and-play. Hardware and software compatibility, as well as BIOS settings, play a vital role in determining the maximum frequency at which your RAM can operate. In this guide, we will walk you through the necessary steps to ensure compatibility, update your BIOS, enable XMP profiles, and manually adjust your RAM settings to achieve optimal performance.
It’s important to note that while overclocking your RAM can provide performance benefits, it also comes with potential risks. Overclocking can put additional stress on your system and may void your warranty if not done correctly. Therefore, it is crucial to follow the steps outlined in this guide carefully and monitor your system’s stability during the process.
Are you ready to unleash the full potential of your RAM? Let’s dive in and explore the methods to get your RAM running at 3200MHz!
Understanding RAM
Before we delve into the process of optimizing your RAM to run at 3200MHz, it’s essential to have a basic understanding of what RAM is and how it functions within your computer system.
Random Access Memory, commonly referred to as RAM, is a type of volatile memory that stores data and instructions that your computer’s processor needs to access quickly. It acts as a temporary workspace for your system, allowing for faster and more efficient data processing compared to other storage devices.
RAM comes in different capacities, ranging from a few gigabytes (GB) to several terabytes (TB). The amount of RAM you have affects your system’s ability to handle multiple tasks simultaneously. The more RAM you have, the smoother your computer will run when running resource-intensive applications.
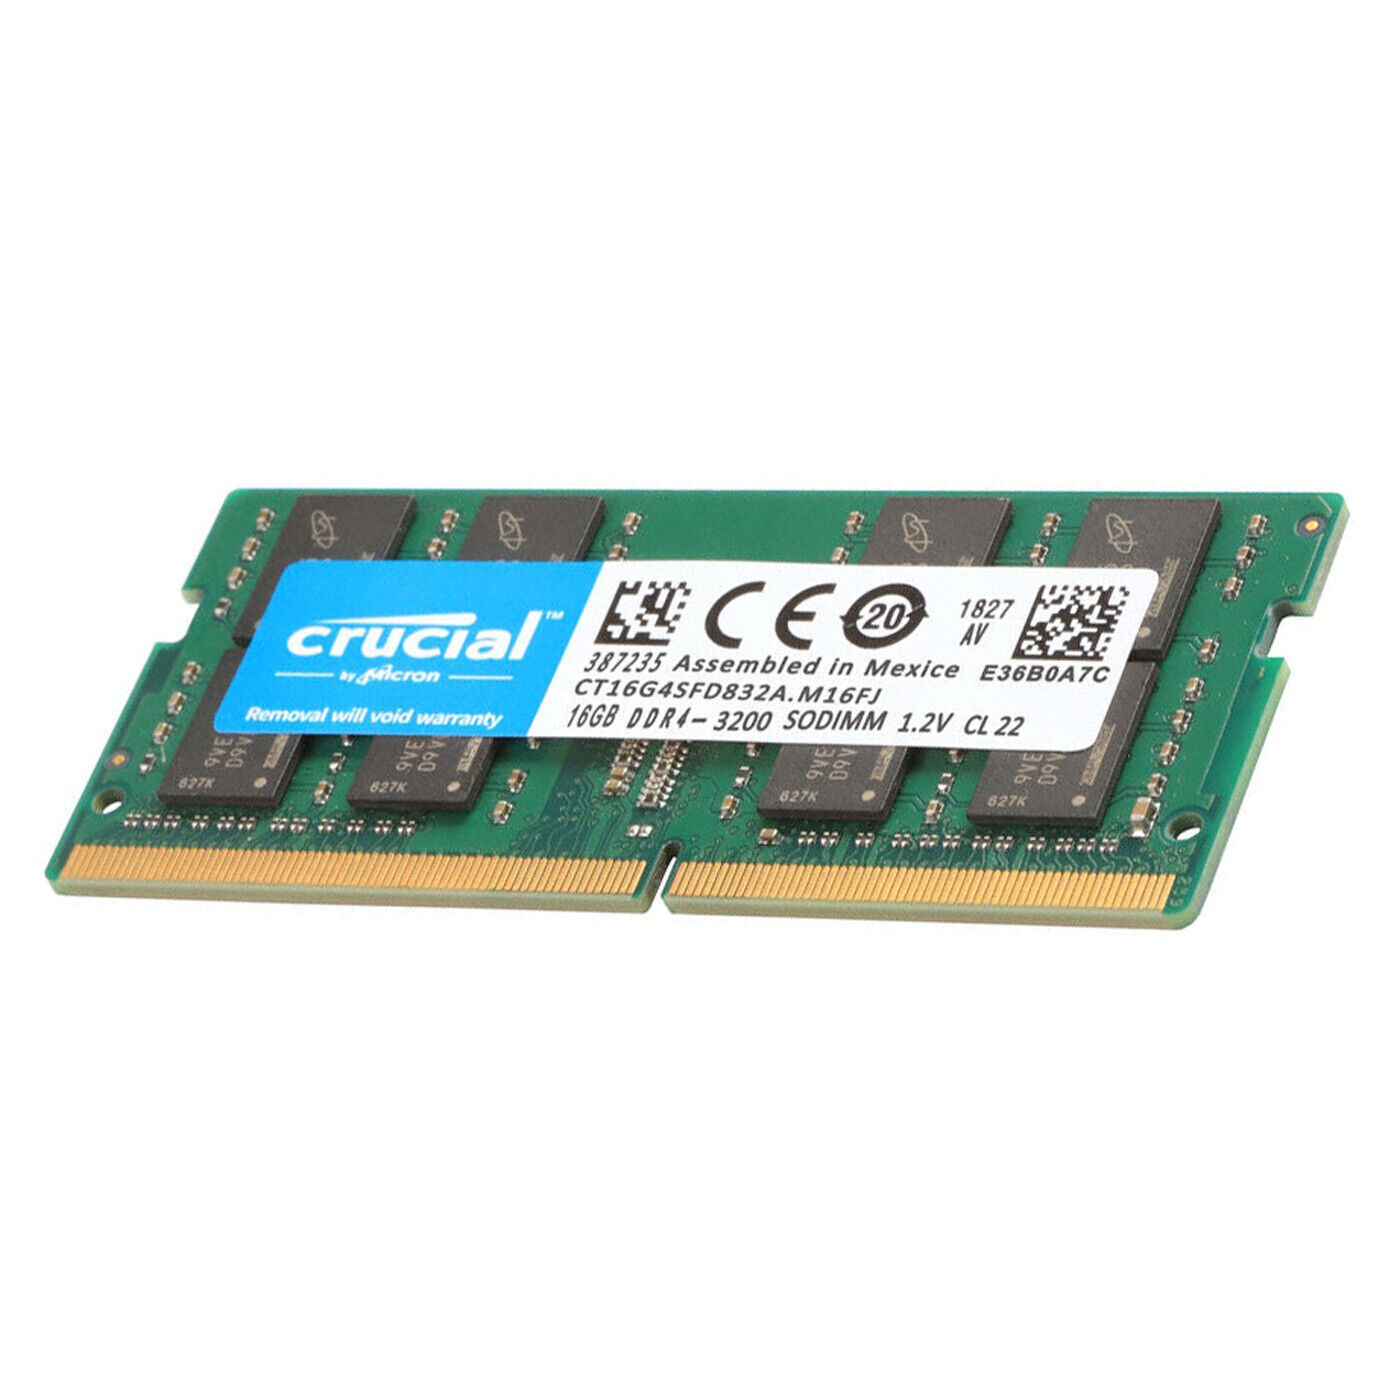
RAM operates at a specific frequency, measured in megahertz (MHz). This frequency determines how quickly your RAM can access and transfer data. Higher frequencies, such as 3200MHz, indicate faster data transfer rates and improved system performance.
It’s important to ensure that your motherboard and CPU support the desired RAM frequency. Not all systems are capable of running RAM at high frequencies right out of the box. Compatibility is crucial for achieving optimal performance.
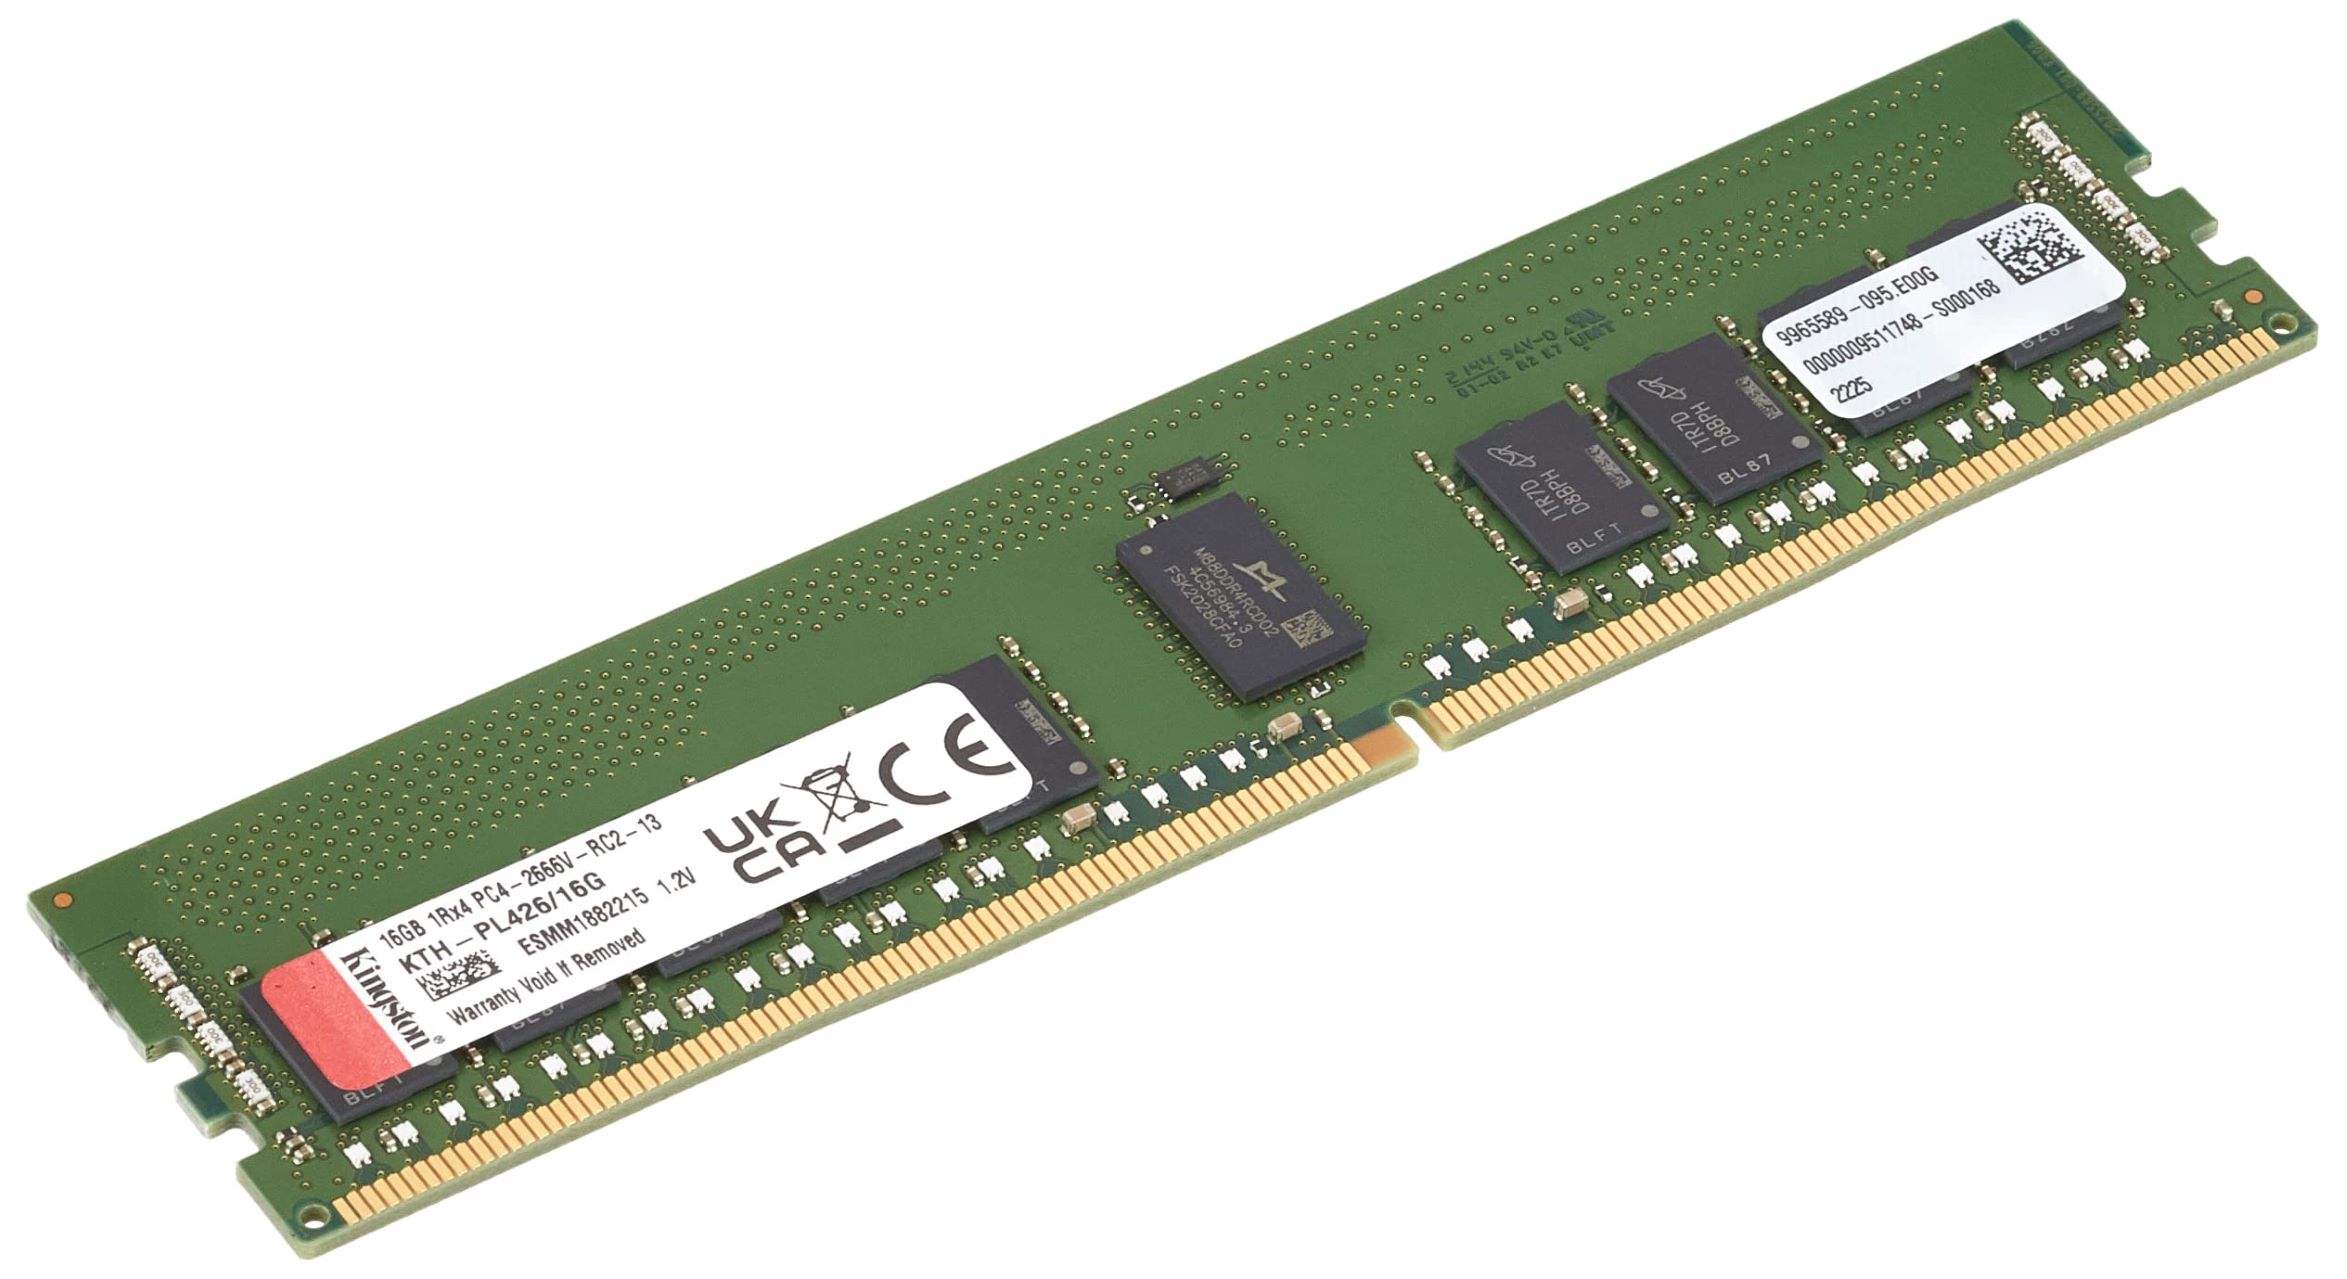
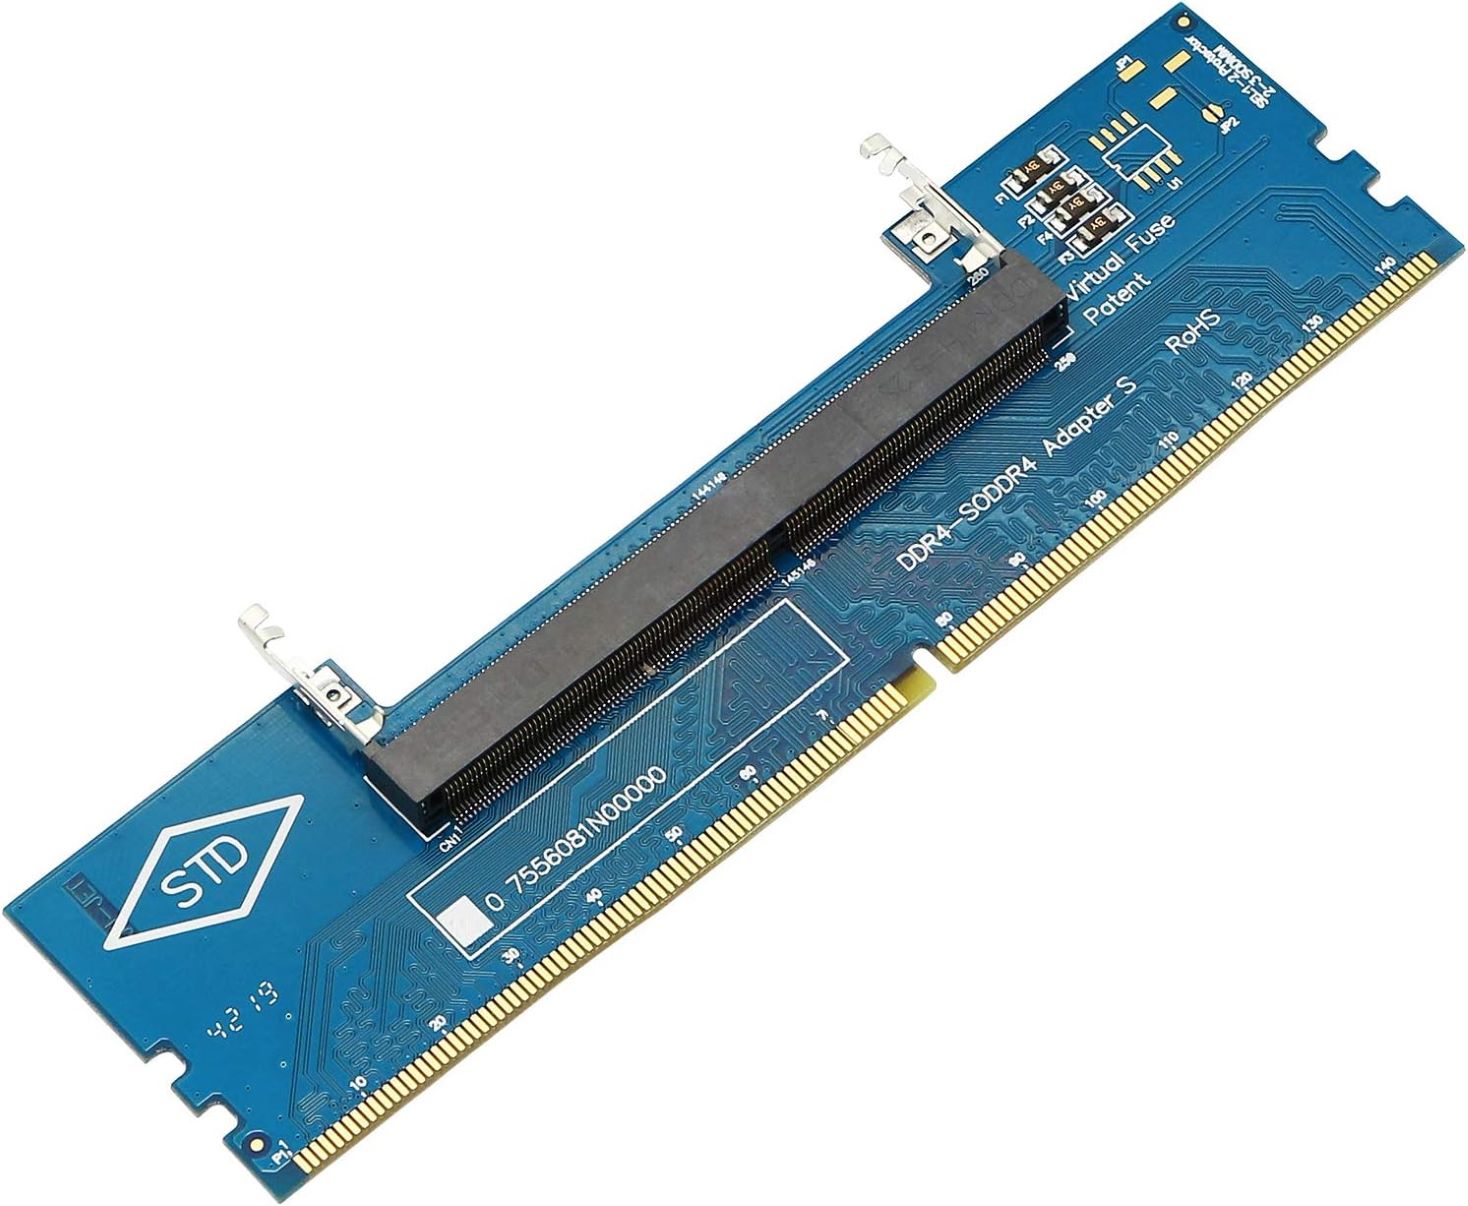
When selecting RAM for your system, you’ll come across various types, such as DDR3 and DDR4. DDR4 is the latest standard and provides better efficiency and higher frequency support. However, it’s essential to check your motherboard’s specifications to ensure it supports the DDR4 standard before making a purchase.
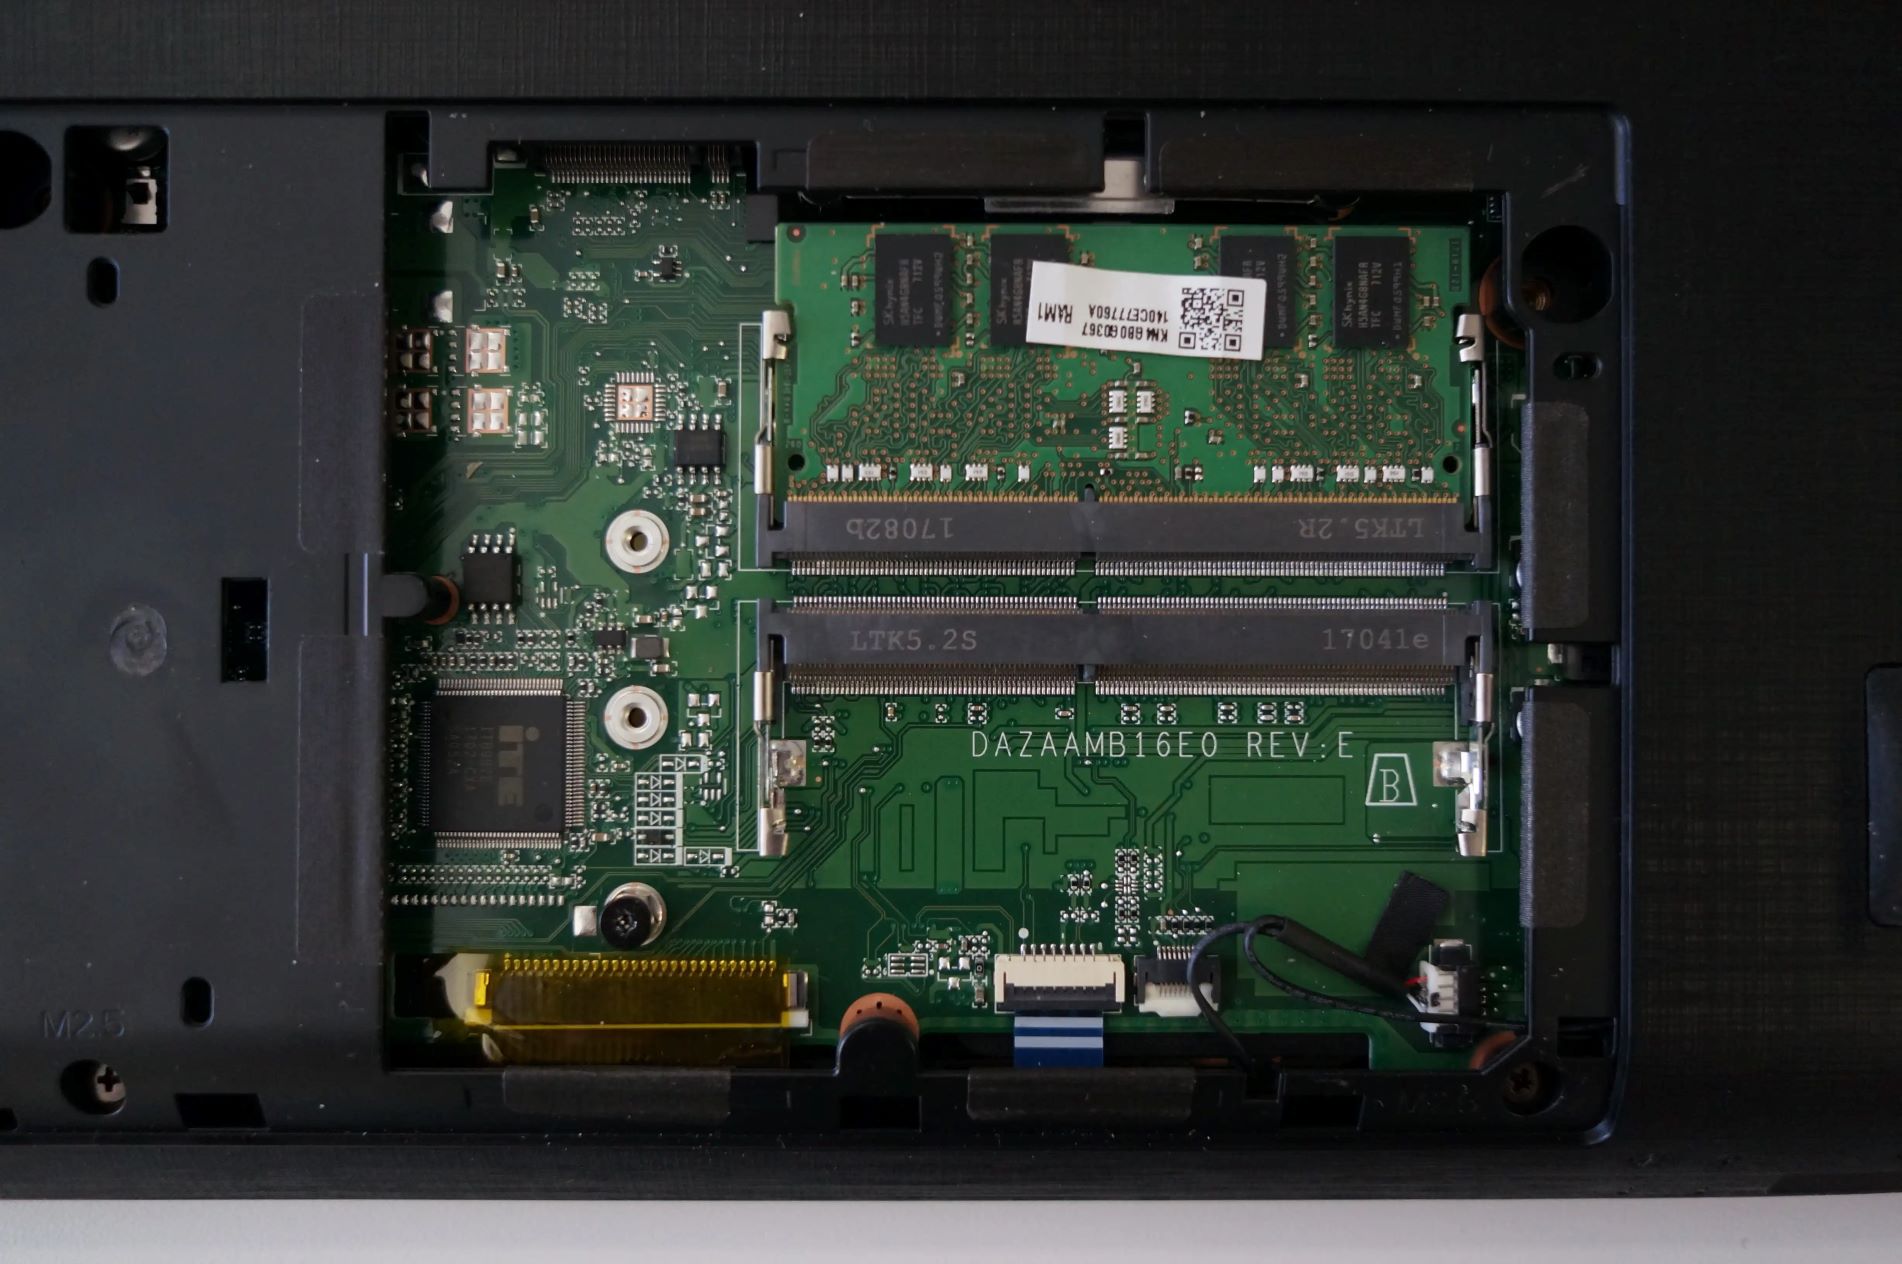
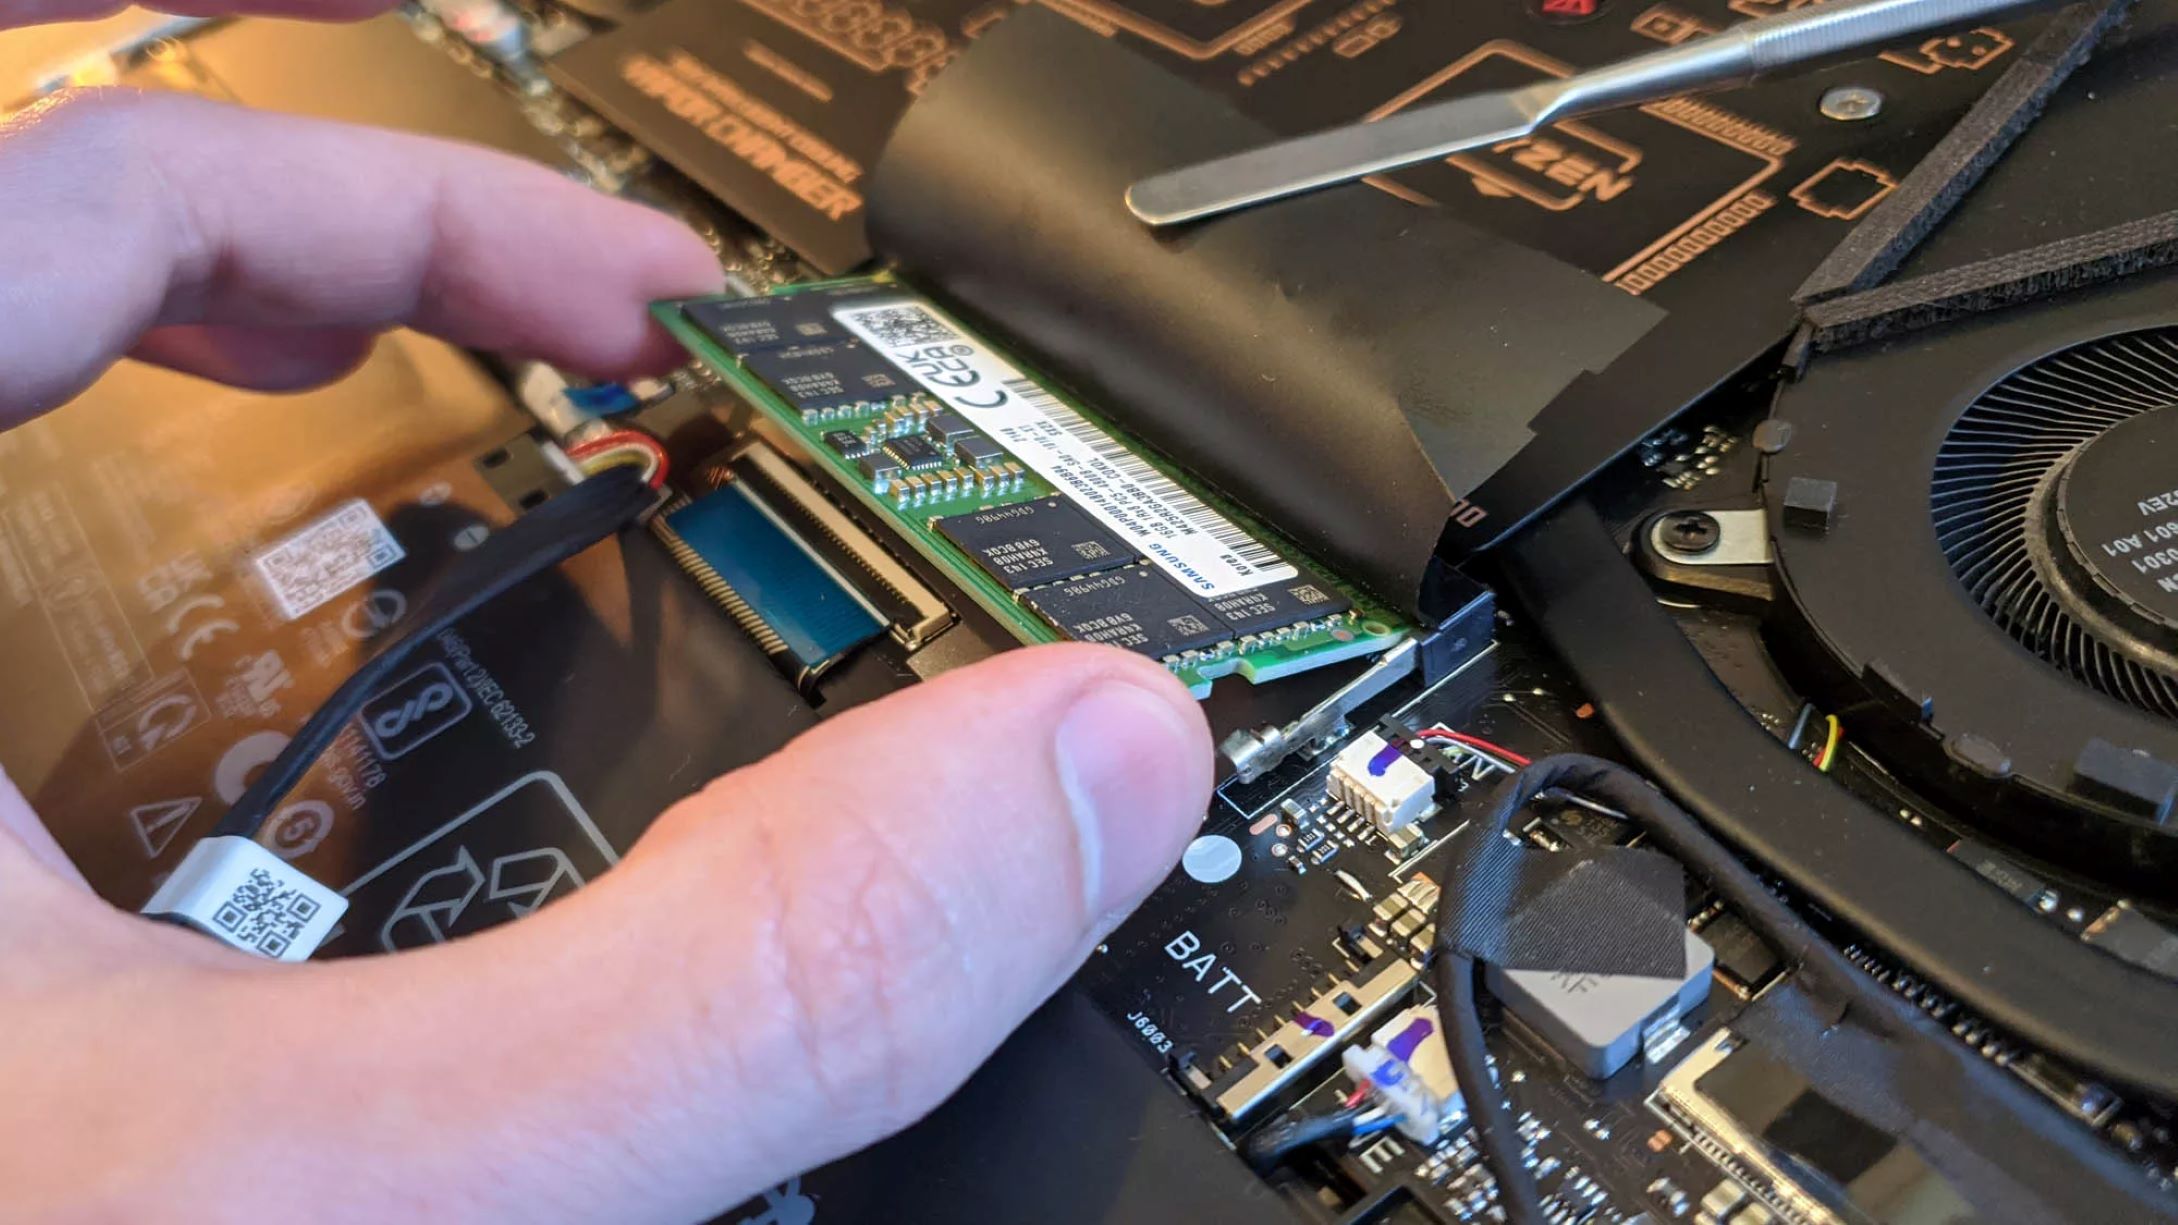
Furthermore, RAM modules come in different configurations, such as single-channel, dual-channel, and quad-channel. Dual-channel RAM provides better performance than single-channel RAM as it allows for parallel data transfer between memory modules. For optimal performance, it is recommended to install RAM modules in pairs or the recommended configuration specified by your motherboard manufacturer.
Understanding the basics of RAM and its role in your system will help you make informed decisions when optimizing its performance. In the next sections, we’ll explore the steps required to check compatibility, update your system’s BIOS, and adjust your RAM settings to achieve a frequency of 3200MHz.
Checking Compatibility
Before attempting to run your RAM at 3200MHz, it’s crucial to ensure that your system supports such high frequencies. Checking compatibility involves verifying if your motherboard and CPU can handle the desired RAM speed.
First, check your motherboard’s specifications and documentation. Look for information regarding supported RAM frequencies, as well as specific requirements for achieving those frequencies. Some motherboards may require specific BIOS versions or firmware updates to run RAM at higher speeds.
Next, check your CPU specifications. Most modern CPUs, especially those in the Intel Core and AMD Ryzen series, support high-speed RAM frequencies. However, it’s essential to verify the maximum supported RAM frequency stated by the CPU manufacturer. Ensure that your CPU is capable of handling 3200MHz RAM speed.
It’s also important to consider the number of RAM slots and the maximum capacity supported by your motherboard. If you already have RAM modules installed, check their speed and capacity to ensure compatibility with the desired 3200MHz frequency.
If you are planning to upgrade your RAM, make sure you purchase modules that are compatible with your motherboard and CPU. Check the manufacturer’s specifications and recommendations to ensure seamless compatibility and optimal performance.
Additionally, some motherboards have specific RAM slot configurations to achieve higher frequencies. Consult the motherboard’s manual or website for information on which slots should be populated to achieve the desired RAM speed. Incorrect slot configurations may result in the RAM running at lower frequencies.
Furthermore, consider the voltage requirements. Higher frequency RAM modules often require more voltage to operate efficiently. Ensure that your motherboard supports the required voltage for running the RAM at 3200MHz. Incompatible voltage settings can lead to system instability or even damage to the RAM modules.
Checking compatibility is a crucial step before attempting to run your RAM at higher speeds. It ensures that your system components can handle the desired frequency without any issues. In the next sections, we’ll explore the steps to update your system’s BIOS and enable XMP profiles to achieve optimal RAM performance.
Updating the BIOS
Updating your system’s BIOS (Basic Input/Output System) is an essential step in optimizing your RAM’s performance. The BIOS is a firmware that initializes and controls your computer’s hardware components, including the RAM. Keeping your BIOS up to date ensures compatibility with the latest hardware and can unlock additional features and improvements.
Before proceeding with a BIOS update, it’s crucial to ensure that you have the correct update for your specific motherboard model. Visit the manufacturer’s website and locate the support or downloads section. Look for the BIOS updates related to your motherboard model and download the latest version.
Once you have downloaded the BIOS update file, follow the manufacturer’s instructions to perform the update. Most motherboards have a utility called “BIOS Flash Utility” that allows you to update the BIOS from within the operating system. Others may require creating a bootable USB drive and updating the BIOS from a separate environment.
Before initiating the update, it is highly recommended to create a backup of your current BIOS settings if the option is available. This ensures that you can revert to the previous BIOS version if any issues arise during the update process.
Once the update process begins, let it complete without interrupting or powering off your system. It may take several minutes for the update to finish, and your computer might reboot multiple times during the process. Avoid performing any other tasks or using the computer until the BIOS update is complete.
After the update is successful, restart your computer and enter the BIOS setup. Consult your motherboard’s manual for the specific key combination required to access the BIOS setup. Once inside the BIOS, verify that the update was applied successfully and that the BIOS version displayed matches the one you just installed.
Updating the BIOS not only ensures compatibility with higher RAM frequencies but also fixes bugs, improves stability, and enhances overall system performance. With an updated BIOS, you are one step closer to achieving optimal RAM performance at 3200MHz.
In the next sections, we will explore how to enable XMP profiles and manually adjust the RAM settings to reach the desired frequency.
Enabling XMP Profile
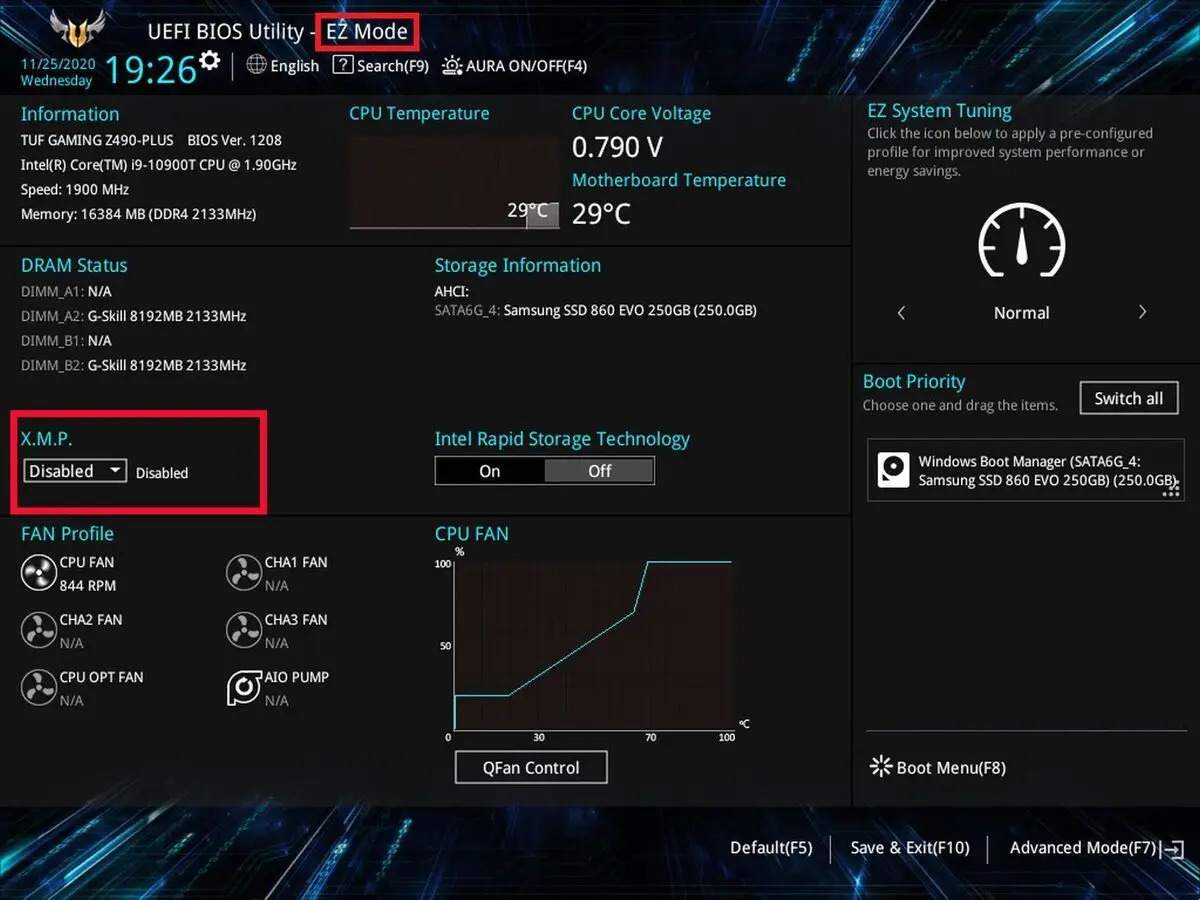
One of the easiest ways to achieve the desired RAM speed of 3200MHz is by enabling the XMP (Extreme Memory Profile) feature in your system’s BIOS. XMP is an Intel-developed technology that allows RAM modules to operate at their rated speeds by automatically configuring the optimal settings.
To enable XMP, restart your computer and enter the BIOS setup by pressing the designated key combination during the boot process. The specific key combination may vary depending on your motherboard’s manufacturer, so consult the manual or look for on-screen prompts.
Once you’re in the BIOS setup, navigate to the memory settings or overclocking section. Look for an option related to “XMP” or “Memory Profile.” Enable this option to activate the XMP feature.
With XMP enabled, the BIOS will automatically detect the XMP profile stored in the RAM modules. This profile contains the optimized settings for running the RAM at its rated speed, in this case, 3200MHz. Save and exit the BIOS setup to apply the changes.
Upon rebooting, the RAM should now be running at 3200MHz. You can verify this by using system monitoring software or checking the BIOS settings again to confirm that the frequency is correctly set.
It’s important to note that not all RAM modules have XMP profiles, especially if you have older or budget-oriented modules. In such cases, the XMP option may not be available in the BIOS, and manual adjustments will be necessary to achieve the desired frequency.
Enabling XMP is a straightforward and convenient method to achieve optimal RAM performance without the need for manual adjustments. However, if enabling XMP doesn’t result in the desired frequency or stability issues arise, manual adjustment of the RAM settings may be required.
In the next section, we will explore the steps to manually adjust the RAM settings to achieve a speed of 3200MHz.
Manually Adjusting the RAM Settings
If enabling XMP did not result in the desired RAM speed of 3200MHz, or if you don’t have XMP profiles available for your RAM modules, you can manually adjust the RAM settings in the BIOS to achieve the desired frequency. This process involves tweaking various parameters to optimize the RAM’s performance.
Start by entering the BIOS setup by restarting your computer and pressing the designated key combination during the boot process. Look for the memory settings or overclocking section, where you can adjust the RAM parameters.
The main parameters you’ll want to modify are the frequency (set it to 3200MHz), the voltage, and the timings. The voltage refers to the power supplied to the RAM modules, while the timings represent the delay between different operations within the RAM. Both can significantly affect stability and performance.
Begin by adjusting the frequency setting to 3200MHz. Depending on your motherboard, you may need to select the frequency directly or use a multiplier to achieve the desired speed. Save the changes and exit the BIOS.
Next, you’ll want to modify the RAM voltage. Increasing the voltage can help stabilize the RAM at higher frequencies. However, it’s crucial to proceed with caution and avoid excessive voltage increases, as it can potentially damage the RAM modules or other components in your system. Start by increasing the voltage incrementally and testing for stability. Monitor system temperatures closely during this process.
The last parameter to adjust is the timings. RAM timings represent the delay in clock cycles for different operations, such as read and write operations. Lower timings generally mean better performance, but tightening them too much can cause instability. Experiment with adjusting the timings incrementally, testing for stability after each adjustment. Be prepared to revert to default settings if stability issues arise.
After making changes to the RAM settings, save and exit the BIOS. Upon rebooting, the RAM should now be running at the desired frequency of 3200MHz. Use system monitoring software or check the BIOS settings to confirm that the frequency is correctly set.
It’s important to note that manual adjustment of RAM settings may require some trial and error. Not all systems and RAM modules can achieve the same frequency or timings. Monitor your system for stability issues and consider running stress tests to ensure optimal performance.
In the next section, we will discuss how to test the stability of your RAM at the desired frequency.
Testing Stability
After setting your RAM to run at 3200MHz, it’s crucial to test its stability to ensure that your system can handle the increased frequency without errors or crashes. Testing stability helps identify any issues and allows you to make necessary adjustments to achieve optimal performance.
There are several tools available to test the stability of your RAM. One popular option is Memtest86, a reliable and widely-used diagnostic tool specifically designed to test RAM. It checks for errors by performing comprehensive tests on your RAM modules, simulating different usage scenarios.
To use Memtest86, you’ll need to create a bootable USB drive with the program installed. Follow the instructions on the Memtest86 website to download the tool and create the bootable USB drive.
Restart your computer and boot from the USB drive. Memtest86 will start automatically and begin testing your RAM. The process may take some time, depending on the size and speed of your RAM modules. It’s recommended to let the test run for at least several complete passes to ensure thorough testing.
If Memtest86 detects any errors, it’s an indication of unstable RAM. In such cases, you may need to make adjustments to the RAM settings, such as reducing the frequency, loosening the timings, or increasing the voltage. Test the stability again after each adjustment to identify the optimal settings for your system.
In addition to Memtest86, you can also use various benchmarking tools and stress tests to assess the performance and stability of your system. These tests simulate real-world scenarios and put your RAM under heavy load, helping you identify any potential instability.
Keep in mind that stability testing is an ongoing process. Even if your system passes an initial test, it’s a good practice to periodically retest your RAM to ensure long-term stability, especially after making any changes to the RAM settings or hardware configurations.
By thoroughly testing the stability of your RAM at the desired frequency, you can ensure optimal performance and minimize the risk of system crashes or data corruption. With a stable system, you can enjoy the benefits of running your RAM at 3200MHz.
In the next section, we will provide some troubleshooting tips to help address common issues encountered during the optimization process.
Troubleshooting Tips
While optimizing your RAM to run at 3200MHz can greatly enhance your system’s performance, you may encounter certain issues along the way. Here are some troubleshooting tips to help you address common problems during the optimization process:
1. Verify RAM compatibility: Double-check that your RAM modules are compatible with your motherboard and CPU. Ensure that they are supported for the desired frequency and timings.
2. Update motherboard drivers: Make sure you have the latest drivers installed for your motherboard. Manufacturers often release driver updates that can improve compatibility and stability.
3. Reset BIOS settings: If you’re experiencing instability or boot issues after adjusting the RAM settings, try resetting the BIOS to its default settings. This can help resolve any conflicting configurations.
4. Clear CMOS: If resetting the BIOS doesn’t resolve the issues, consider clearing the CMOS (Complementary Metal-Oxide-Semiconductor) by removing the motherboard’s CMOS battery or using the provided clear CMOS jumper. This will reset the BIOS to its factory defaults.
5. Test individual RAM modules: If you have multiple RAM modules installed, try removing one at a time and testing the system stability. This can help identify if a specific module is causing the issues.
6. Increase DRAM voltage: If your system is not stable after enabling XMP or manually adjusting the RAM settings, try increasing the DRAM voltage slightly. Be cautious and monitor system temperatures to prevent damage.
7. Update BIOS firmware: If you encounter compatibility or stability issues, ensure that you have the latest BIOS firmware version installed for your motherboard. Manufacturers often release updates that address such issues.
8. Seek manufacturer support: If all else fails, don’t hesitate to reach out to the manufacturer’s support team. They can provide specific guidance and assist you in troubleshooting any issues you may encounter.
Remember, optimization and troubleshooting processes can vary depending on your specific hardware and software configurations. It’s crucial to approach each issue with caution and make incremental changes to minimize the risk of system instability or damage.
By following these troubleshooting tips, you can overcome common hurdles and ensure that your RAM operates optimally at 3200MHz, providing you with improved system performance.
In the final section, we will conclude our guide and summarize the key points discussed.
Conclusion
Congratulations! You have successfully learned how to optimize your RAM and achieve a speed of 3200MHz. By following the steps outlined in this guide, you can enhance your system’s performance and enjoy smoother multitasking, faster data transfer rates, and improved overall computing experience.
We began by understanding the basics of RAM and the importance of running it at higher frequencies for optimal performance. We then explored the process of checking compatibility with your motherboard and CPU to ensure they can handle the desired RAM speed.
Updating the BIOS was the next step, as it plays a vital role in ensuring compatibility and unlocking additional features. Enabling the XMP profile, if available, simplifies the process by automatically configuring the optimal settings for your RAM.
If XMP profiles were not available or didn’t yield the desired frequency, we discussed how to manually adjust the RAM settings in the BIOS. This gives you more control over the frequency, voltage, and timings to achieve the desired performance level.
Testing the stability of your RAM at the desired frequency is crucial to identify any issues and make necessary adjustments. Using tools like Memtest86 and stress tests helps ensure that your system is stable and can handle the increased RAM speed.
Finally, we provided troubleshooting tips to help you address common issues that may arise during the optimization process. These tips assist in resolving compatibility conflicts, instability, or other challenges that you may encounter along the way.
Remember to proceed with caution, monitor system temperatures, and make incremental changes when adjusting your RAM settings. Each system is unique, and the optimization process may require some trial and error to find the optimal configurations for your hardware.
Now that you have the knowledge to optimize your RAM, go ahead and unleash its full potential. Enjoy the increased performance and responsiveness that a RAM speed of 3200MHz brings to your system!