Introduction
RAM (Random Access Memory) is a crucial component in any computer system, playing a vital role in the overall performance and speed of your device. When it comes to achieving full RAM speed, it’s important to understand how it impacts your system and what factors can affect its performance. By optimizing and maximizing your RAM speed, you can significantly enhance the overall responsiveness and efficiency of your computer.
In this article, we will explore the significance of RAM speed and provide you with practical tips and techniques to achieve the full potential of your RAM. Whether you’re a casual user looking to improve daily tasks or a power user indulged in resource-intensive applications and gaming, understanding and optimizing RAM speed can make a noticeable difference in your computing experience.
We will delve into various factors that influence RAM speed, including the hardware specifications of your computer, the type and frequency of your RAM modules, and the configuration settings. Additionally, we will discuss different methods you can employ to upgrade and enhance your RAM speed, from upgrading your RAM modules to adjusting RAM timings and enabling XMP/DOCP profiles. We will also touch upon the importance of updating your motherboard BIOS to ensure compatibility and optimal performance with the latest RAM technologies.
By the end of this article, you will have a comprehensive understanding of RAM speed and the necessary knowledge to boost and unlock the full potential of your RAM for a faster and more efficient computing experience. So, let’s dive in and uncover the secrets to achieving full RAM speed!
Why RAM Speed Matters
RAM speed plays a critical role in the performance of your computer. It determines how quickly your system can access and retrieve data from the RAM modules, significantly impacting overall responsiveness and efficiency. Here are a few key reasons why RAM speed matters:
- Faster Application Loading Times: When you open an application or switch between multiple programs, your computer needs to retrieve data from the RAM. With higher RAM speed, this process is accelerated, leading to faster loading times and seamless multitasking.
- Improved Gaming Performance: Gamers, in particular, can benefit from faster RAM speed. Modern games require a substantial amount of RAM to store game files, textures, and assets. Faster RAM speed allows for quicker data transfer between the RAM and the graphics card, resulting in smoother gameplay and reduced lag.
- Efficient File and Data Processing: Whether you’re editing large multimedia files or running complex simulations, faster RAM speed enables faster data processing. This is especially crucial for tasks that involve heavy multitasking or require immense computational power.
- Enhanced System Stability: In addition to improving performance, RAM speed can also contribute to system stability. Faster RAM speed ensures that your computer can handle the data flow efficiently, reducing the chances of crashes, freezes, and other performance-related issues.
- Compatibility and Future-Proofing: As technology advances, software and applications become more demanding, requiring higher RAM speeds to run optimally. Investing in faster RAM now can ensure compatibility with future software updates and extend the lifespan of your computer.
It’s important to note that RAM speed alone is not the sole factor determining your computer’s overall performance. The CPU, storage drives, and graphics card also play crucial roles. However, RAM speed acts as a bottleneck for data retrieval, so optimizing it can lead to noticeable improvements in various aspects of your computing experience.
Now that we understand the significance of RAM speed, let’s explore the factors that can influence its performance and the steps you can take to achieve optimal RAM speed in the next sections.
Factors Affecting RAM Speed
Several factors can influence the speed and performance of your RAM. Understanding these factors can help you identify areas where improvements can be made. Here are the key factors that affect RAM speed:
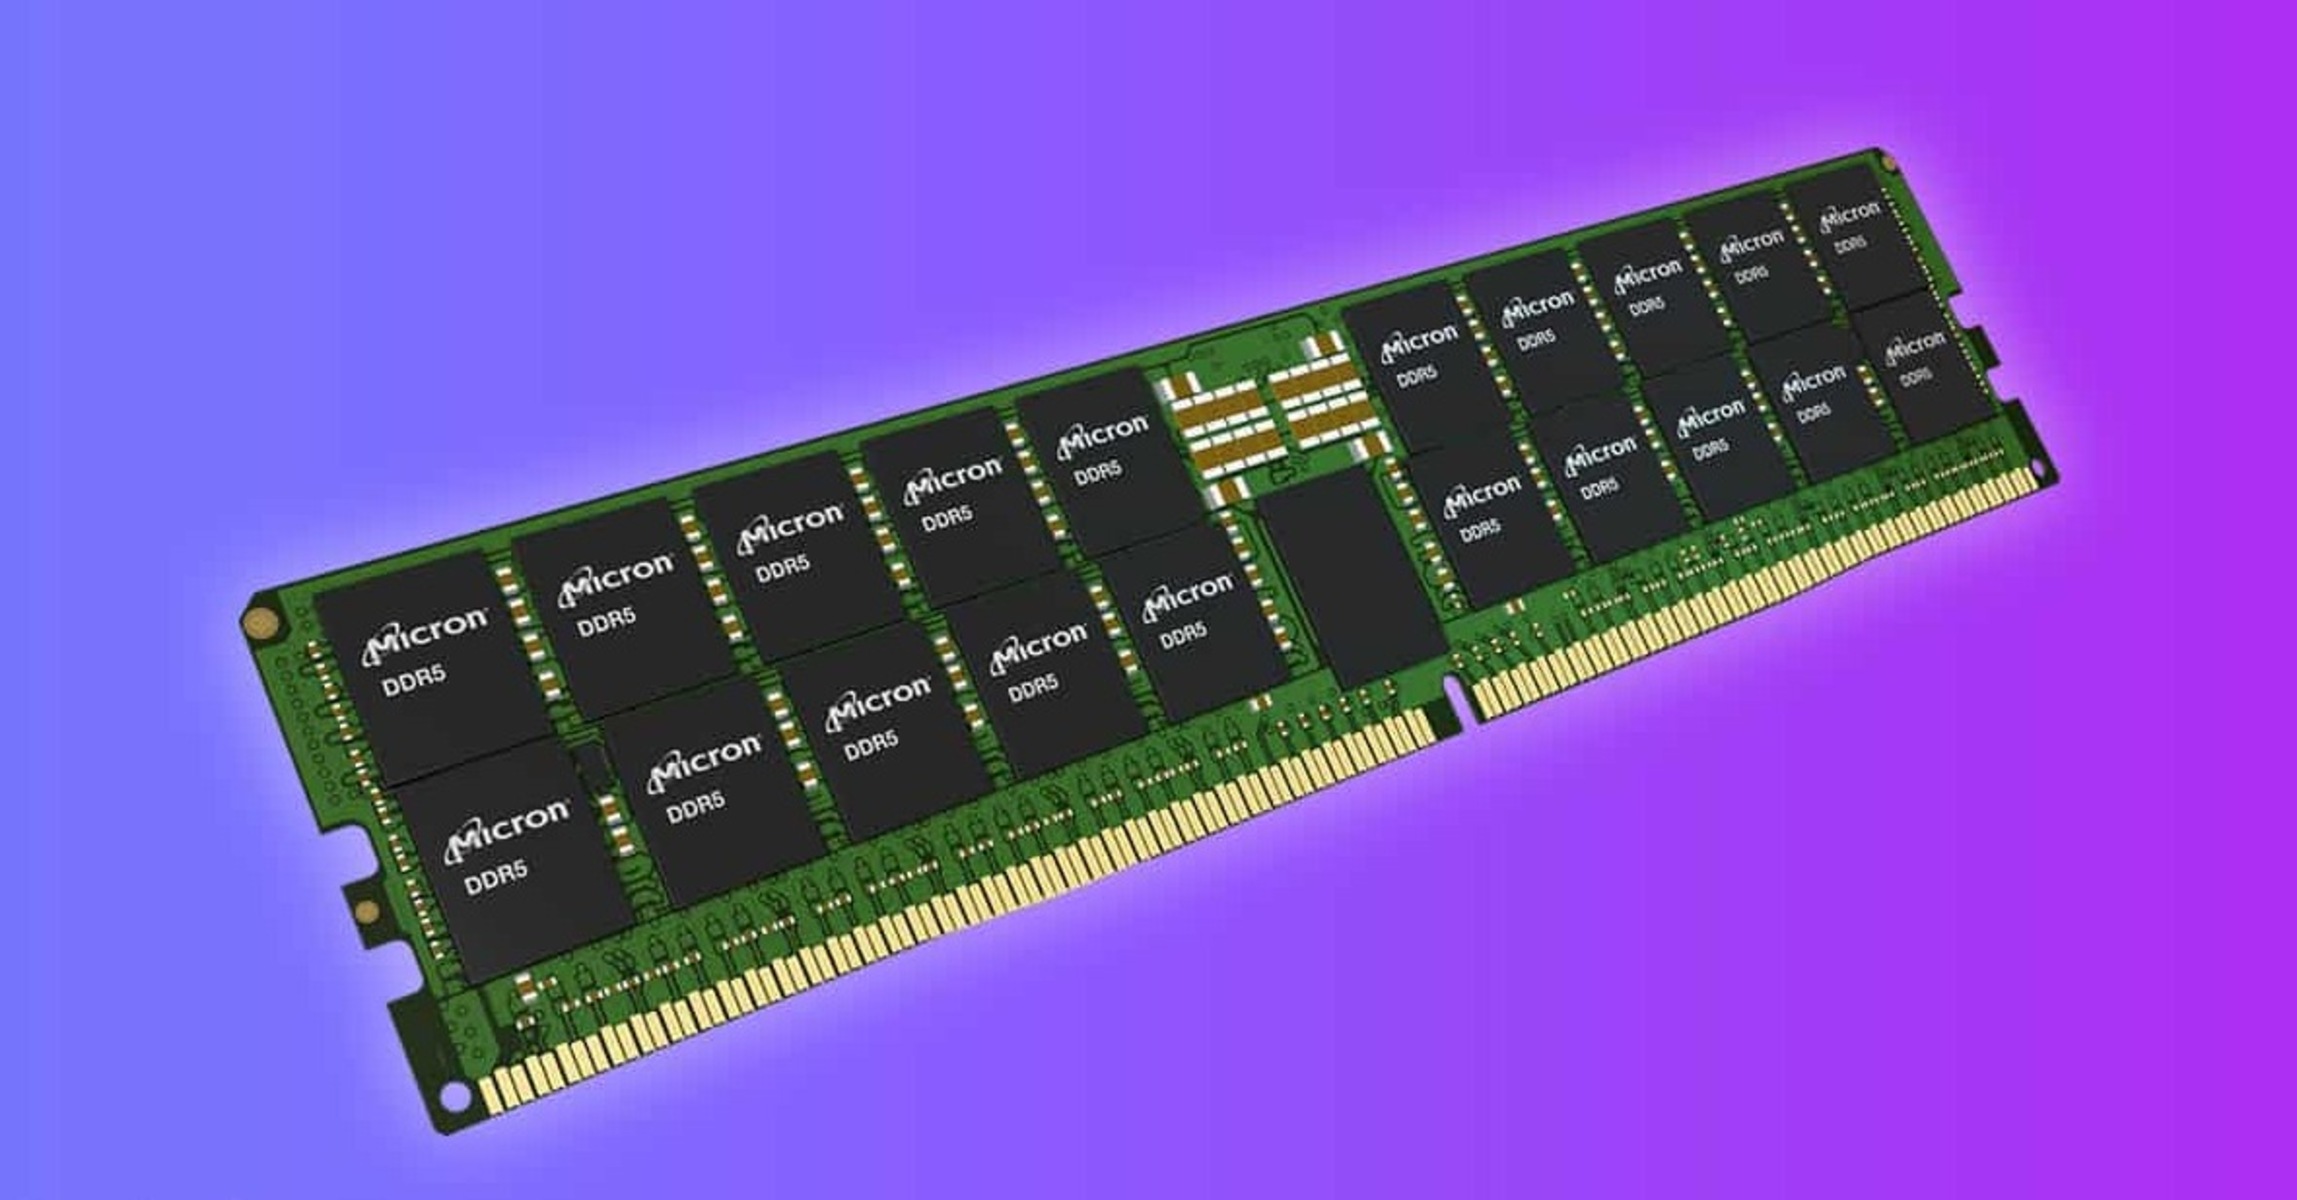
- RAM Module Specifications: The type and specifications of your RAM modules have a direct impact on their speed. The two most common types of RAM are DDR3 and DDR4, with DDR4 being faster and more efficient. Additionally, the frequency of your RAM modules, measured in Megahertz (MHz), determines their speed. Higher-frequency RAM modules provide faster data transfer rates.
- CPU Compatibility: Your computer’s CPU (Central Processing Unit) plays a crucial role in determining RAM speed. The CPU’s memory controller dictates the maximum speed at which the RAM can operate. It’s important to ensure that your CPU is compatible with the RAM modules you plan to use to avoid any compatibility issues.
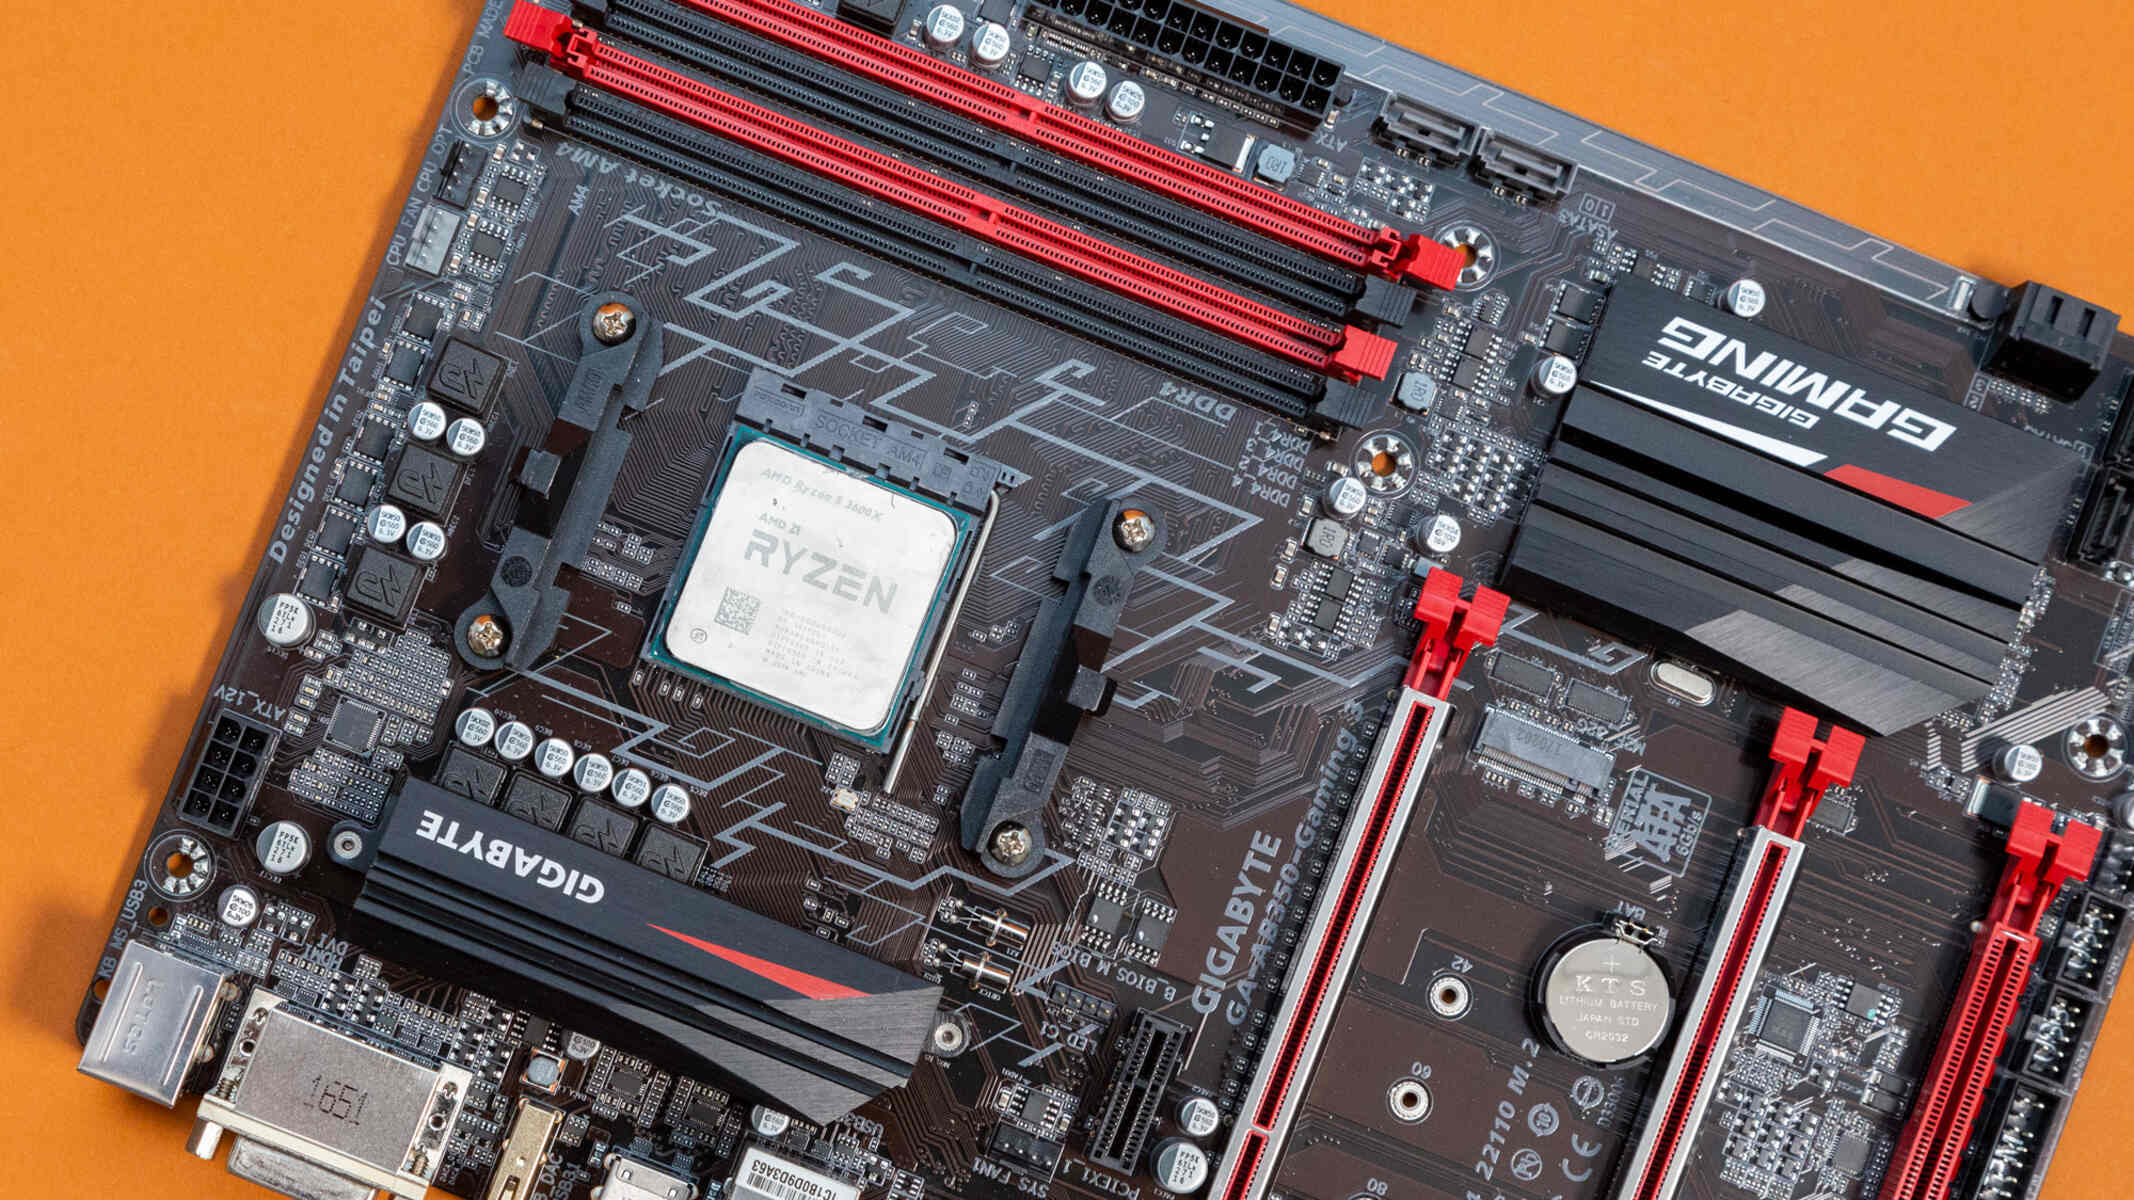
- Motherboard Support: The motherboard acts as the foundation for your computer system and determines the supported RAM speed. It is essential to check the specifications of your motherboard to ensure it can handle the desired RAM speed. Some motherboards may require specific BIOS settings or firmware updates to achieve higher RAM speeds.
- RAM Configuration: The configuration of your RAM modules can also impact their speed. Dual-channel or quad-channel configurations allow for faster data transfer rates compared to single-channel configurations. It’s important to consider the specifications and capabilities of your motherboard when configuring your RAM modules for optimal performance.
- System Load and Multitasking: The tasks and applications running on your computer can affect RAM speed. Running multiple intensive programs simultaneously or working with large files can place a heavy load on your RAM, potentially affecting its performance. It’s important to manage your system’s resources effectively and close unnecessary applications or processes to free up RAM for better performance.
It’s worth noting that while faster RAM can improve overall performance, the gains are typically more noticeable in certain types of applications, such as gaming or resource-intensive tasks. For general day-to-day computing tasks, the difference in RAM speed may not be as pronounced.
In the following sections, we will explore various techniques and methods to maximize your RAM speed, regardless of your specific hardware and requirements.
Checking Your Current RAM Speed
Before making any changes or optimizations to your RAM speed, it’s important to determine your current speed. This will help you assess the potential improvements and track the effectiveness of any adjustments you make. Here are some methods to check your current RAM speed:
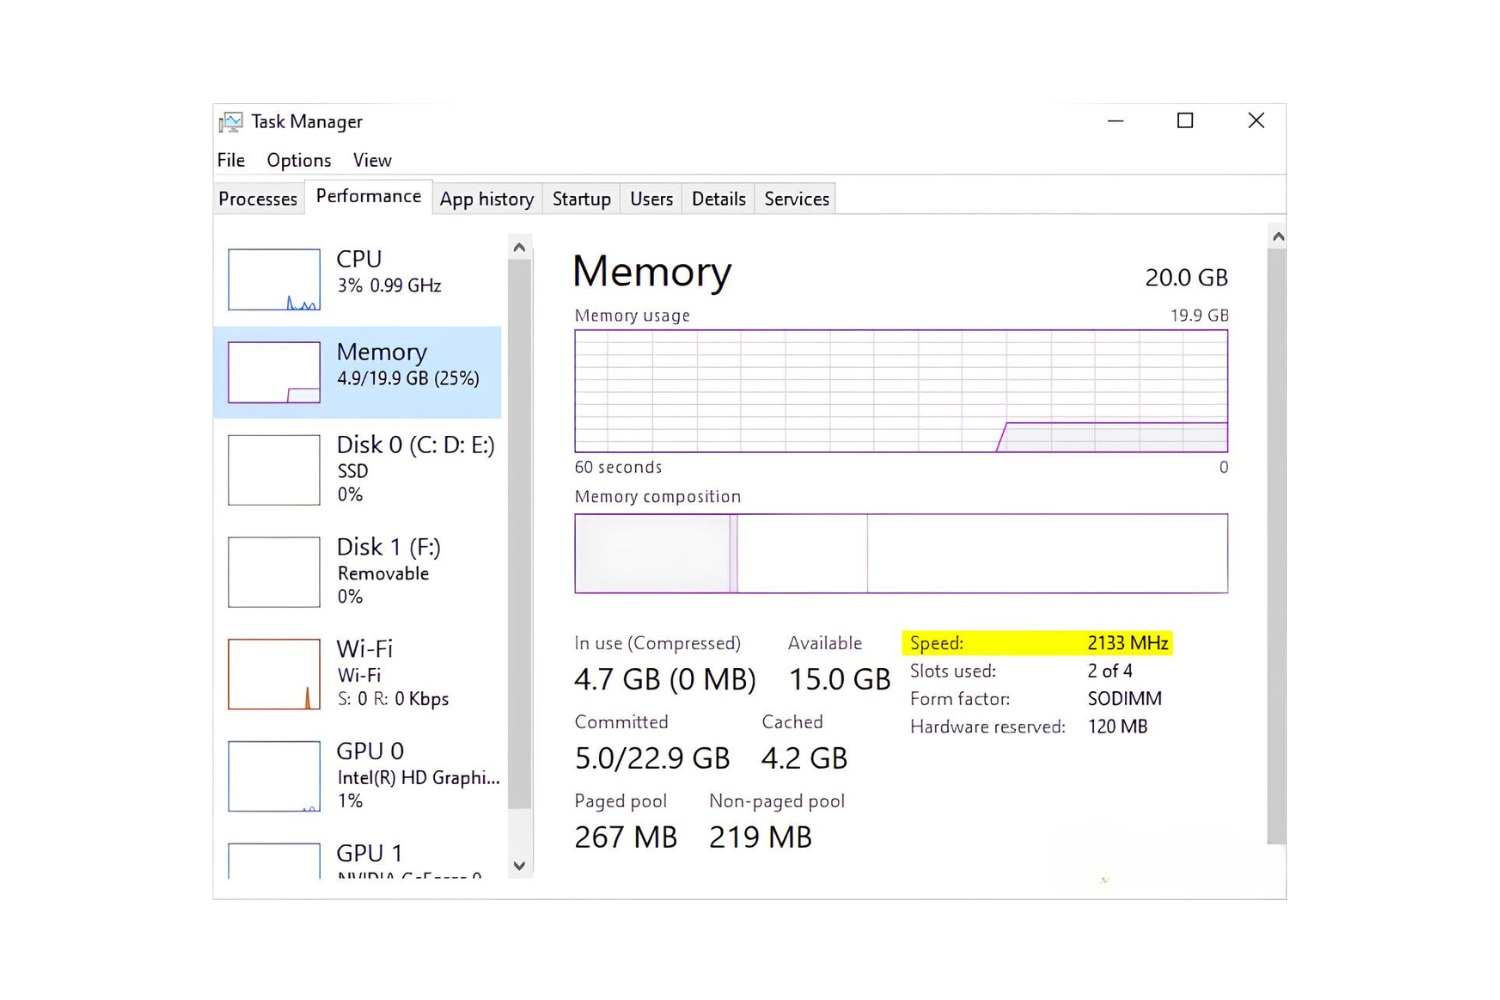
- Task Manager (Windows): On Windows, you can use the built-in Task Manager to check your RAM speed. Right-click on the taskbar and select “Task Manager” or press “Ctrl+Shift+Esc” to open it. In the Task Manager window, go to the “Performance” tab, click on “Memory,” and you should see the speed listed under “Speed.”
- System Information (Windows): Another way to check RAM speed on Windows is by using the System Information utility. Press “Windows Key + R” to open the Run dialog box, type “msinfo32,” and press Enter. In the System Information window, navigate to “System Summary” and look for the “BaseBoard Manufacturer” and “BaseBoard Product” fields. Note down this information and search for the motherboard specifications online to find the supported RAM speed.
- About This Mac (MacOS): If you’re on a Mac, you can find your RAM speed by going to the Apple menu and selecting “About This Mac.” In the window that appears, click on the “System Report” button. In the System Information window, navigate to “Hardware” and click on “Memory.” The “Speed” field will indicate your current RAM speed.
- Third-Party Software: There are also third-party software programs available that can provide detailed information about your system, including RAM speed. Popular options include CPU-Z, Speccy, and HWiNFO, among others. These tools can provide comprehensive information about your RAM speed and other hardware specifications.
Once you have determined your current RAM speed, you can compare it to the specifications of your RAM modules to see if you are already running at optimal speed or if there is room for improvement. In the next sections, we will explore different methods to upgrade, optimize, and maximize your RAM speed for enhanced performance.
Upgrading Your RAM
If your current RAM speed is not meeting your performance requirements or if you have older generation RAM modules, upgrading to faster and more efficient RAM can provide a significant boost in speed and overall system performance. Here are the steps to upgrade your RAM:
- Identify the Compatible RAM: Before purchasing new RAM modules, you need to ensure compatibility with your motherboard. Check the specifications of your motherboard to determine the supported RAM type, frequency, and maximum capacity. This information will help you choose the appropriate RAM modules for your system.
- Choose the Right RAM: Once you have identified the compatible RAM, choose the amount of RAM and the speed you desire. Higher frequencies, such as DDR4 with higher MHz ratings, provide faster data transfer rates. Consider your specific needs, budget, and the requirements of your applications when making your selection.
- Power Off and Unplug: Before installing the new RAM modules, shut down your computer and unplug all power cables. This will ensure safety and prevent any damage to you or your system components.
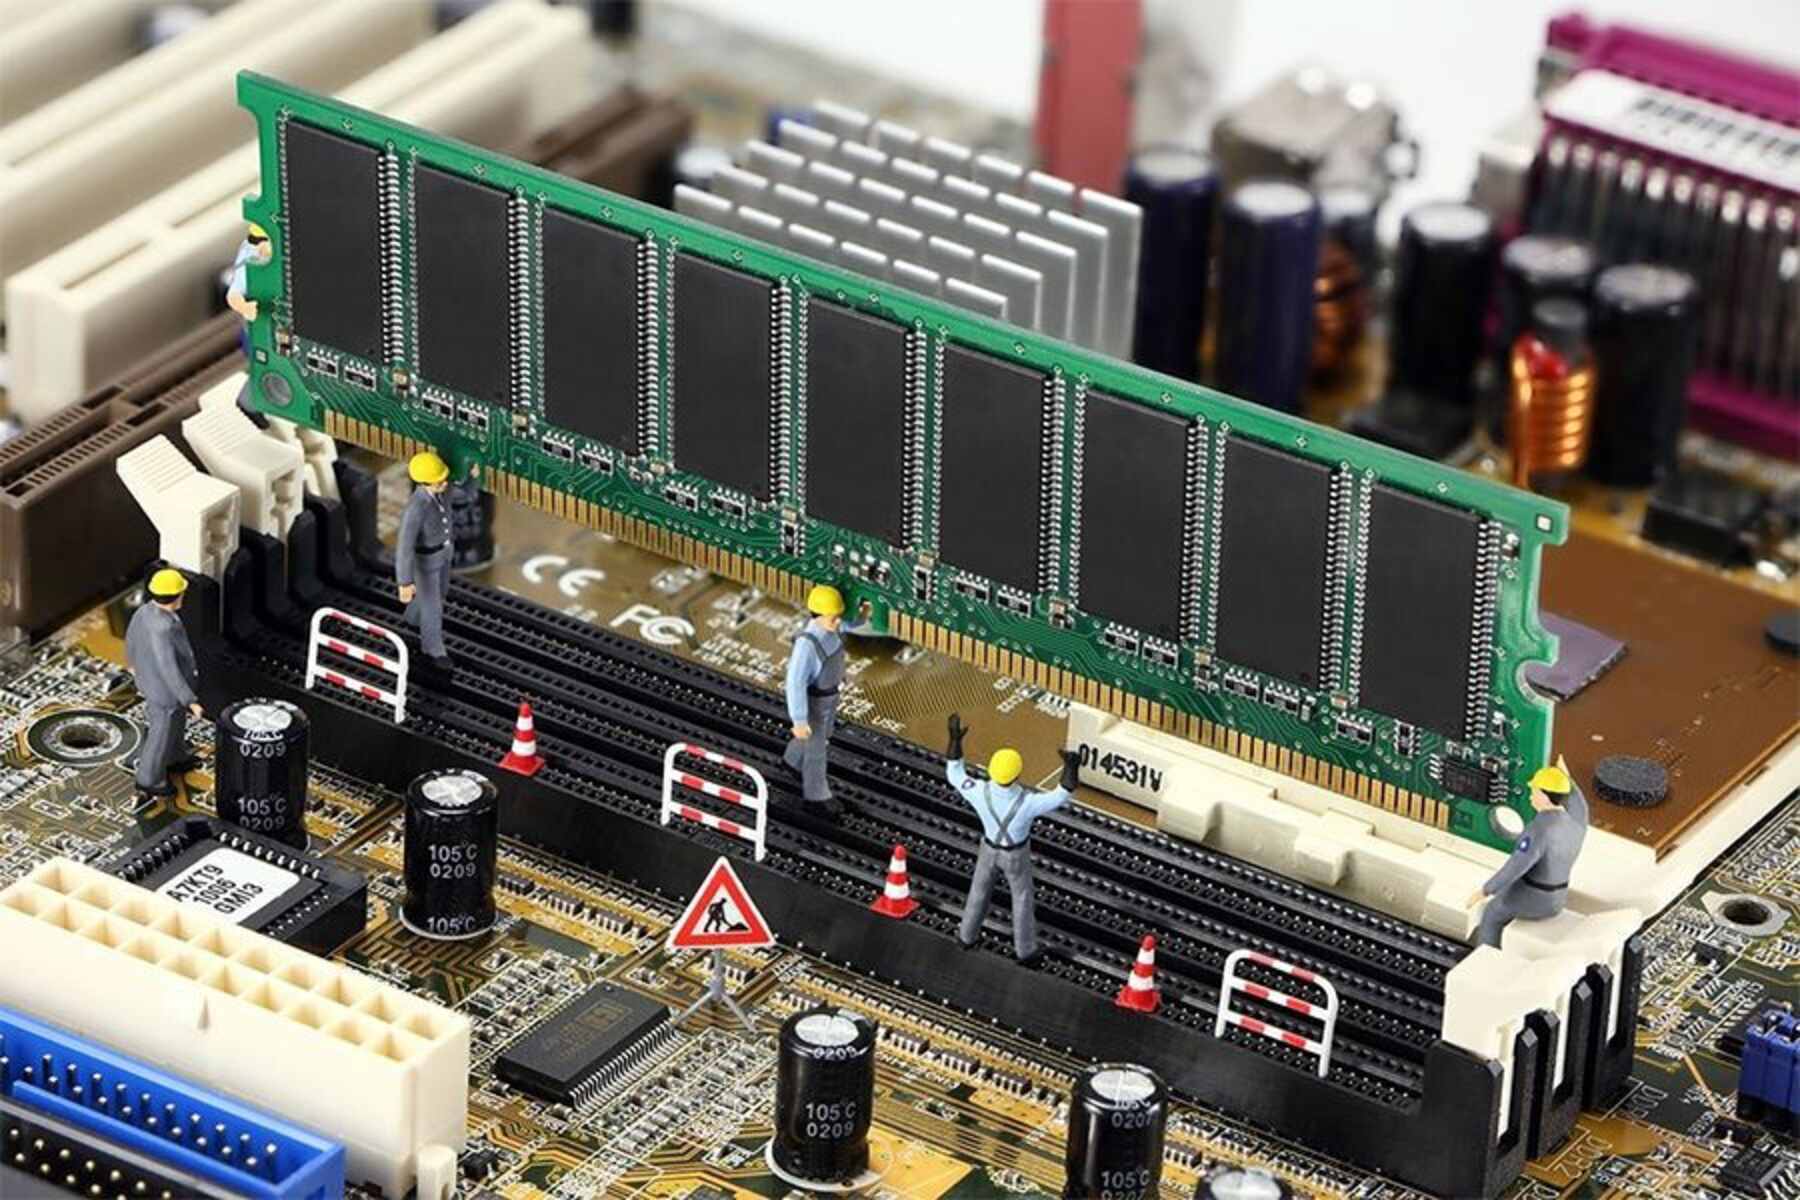
- Access the RAM Slots: Open your computer case and locate the RAM slots on your motherboard. Most motherboards have clips on either side of the slots that need to be gently released to remove the existing RAM modules.
- Remove Old RAM and Install New RAM: Once the clips are released, carefully remove the old RAM modules from the slots. Align the notch on the new RAM module with the slot and firmly press it down until it clicks into place. Ensure that both clips on the sides lock into position.
- Power On and Verify: After installing the new RAM, close the computer case and reconnect all power cables. Power on your computer and go to the system information utility to verify that the new RAM has been recognized and is operating at the desired speed.
Upgrading your RAM can yield noticeable improvements in system performance, especially if you were previously using lower-speed or lower-capacity modules. However, it’s important to note that upgrading RAM alone may not always result in significant speed improvements if other hardware components, such as the CPU or storage drive, are limiting the overall system performance. Therefore, it’s essential to ensure a balanced system configuration for optimal performance.
In the next sections, we will explore additional techniques to further enhance your RAM speed, including overclocking, adjusting RAM timings, and enabling XMP/DOCP profiles.
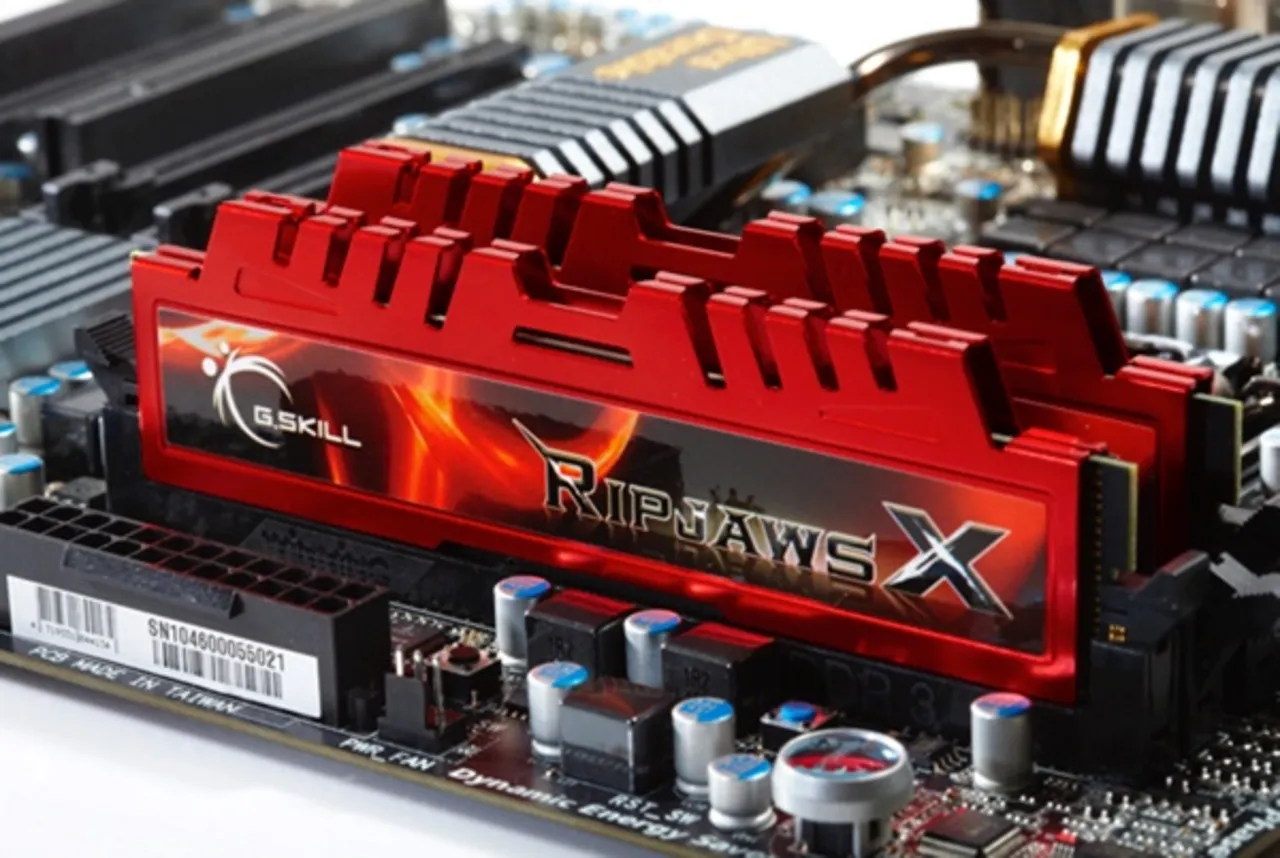
Overclocking Your RAM
Overclocking your RAM involves increasing its operating frequency beyond the default specifications. This can result in improved RAM speed and overall system performance. However, overclocking is an advanced technique that should be approached with caution, as it can potentially cause instability or hardware damage if not done correctly.
Here are the steps to overclock your RAM:
- Research Your RAM: Before attempting to overclock your RAM, research the specifications and capabilities of your particular RAM modules. Check the recommended safe overclocking limits and ensure your motherboard and CPU are compatible with the desired overclocked speed.
- Adjust BIOS Settings: Reboot your computer and access the BIOS settings by pressing the designated key during the boot process (often Delete, F2, or F10). Locate the RAM frequency settings, which might be under the “Advanced” or “Overclocking” menu. Increase the frequency in small increments and save the changes before exiting the BIOS.
- Test Stability: After overclocking, stress-test your system to ensure stability. Software like Prime95 or MemTest86 can help you identify any instability issues. If stability problems occur, go back to the BIOS and decrease the RAM frequency or increase the RAM voltage slightly to find a stable configuration.
- Monitor Temperatures: When overclocking RAM, it’s important to monitor the system temperatures. Higher frequencies can generate more heat, so ensure your system has proper cooling. Excessive temperatures can lead to system instability or damage to the RAM modules.
Keep in mind that not all RAM modules are capable of achieving high overclocked frequencies. Some lower-end modules may have limited overclocking potential. Additionally, the actual performance gains from overclocking can vary, and the improvements may not always be significant for all types of applications or tasks.
If you’re uncertain about overclocking or feel uncomfortable modifying BIOS settings, it’s best to seek guidance from experienced individuals or consult the support documentation of your motherboard or RAM manufacturer.
In the next sections, we will explore other methods to optimize your RAM speed, such as adjusting RAM timings, enabling XMP/DOCP profiles, and updating your motherboard BIOS.
Adjusting RAM Timings
RAM timings, also known as RAM latency, refer to the delay between different operations performed by the RAM. Adjusting these timings can impact the overall speed and efficiency of your RAM. The timings are usually represented by a series of numbers, such as 16-18-18-36, each representing a different aspect of RAM performance.
Here are the steps to adjust your RAM timings:
- Access BIOS: Restart your computer and access the BIOS settings by pressing the designated key during the boot process (usually Delete, F2, or F10). The RAM timings settings are typically found within the “Advanced” or “Overclocking” section.
- Understand RAM Timings: Familiarize yourself with the different RAM timing values and their meanings. These values can include CAS latency (CL), tRCD, tRP, and tRAS. Each value represents a specific timing aspect, such as the delay for column access or row precharge.
- Modify Timings: Adjust the values of each timing parameter to lower values, if possible, without causing system instability. Lower values generally indicate faster performance. However, keep in mind that aggressive timings can lead to instability if your RAM or system is not capable of handling them.
- Test Stability: After modifying the RAM timings, stress-test your system to ensure stability. Use software such as Prime95 or MemTest86 to check for any stability issues or errors. If stability problems occur, revert to the previous timings or increase the timing values for better stability.
- Find the Optimal Balance: Finding the optimal balance between aggressive timings and system stability may require some trial and error. Experiment with different timings and stress-test your system each time until you find the best combination for your specific hardware.
It’s important to note that the potential performance gains from adjusting RAM timings may not always be significant, especially for everyday computing tasks. However, in certain scenarios, such as high-demand applications or memory-intensive tasks, optimized RAM timings can provide noticeable improvements in overall performance and responsiveness.
Lastly, not all RAM modules or motherboards offer extensive flexibility in adjusting RAM timings. Some modules have limited options, while others may have advanced options specifically designed for overclocking and fine-tuning.
In the next section, we will discuss another method to optimize your RAM speed – enabling XMP/DOCP profiles – which can offer a convenient way to achieve optimal performance with minimal manual adjustments.
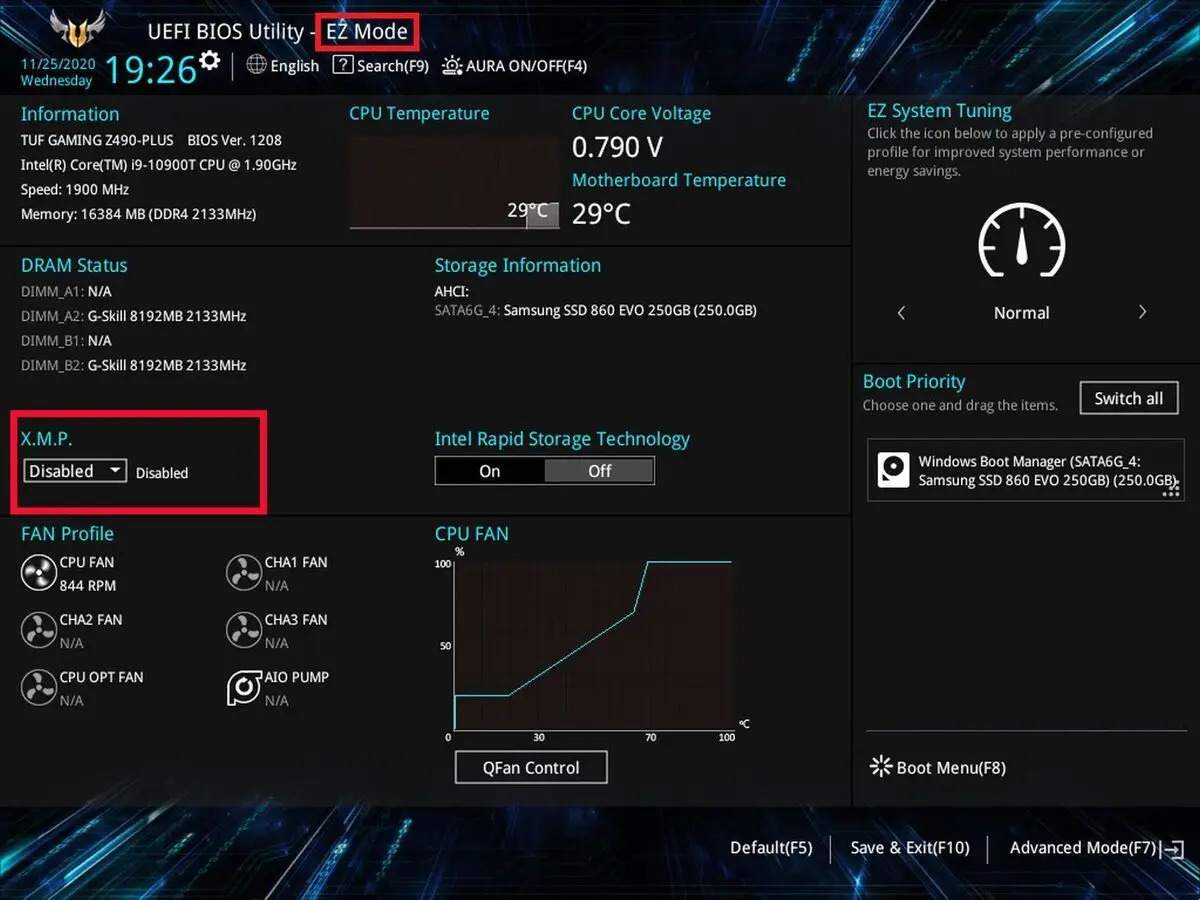
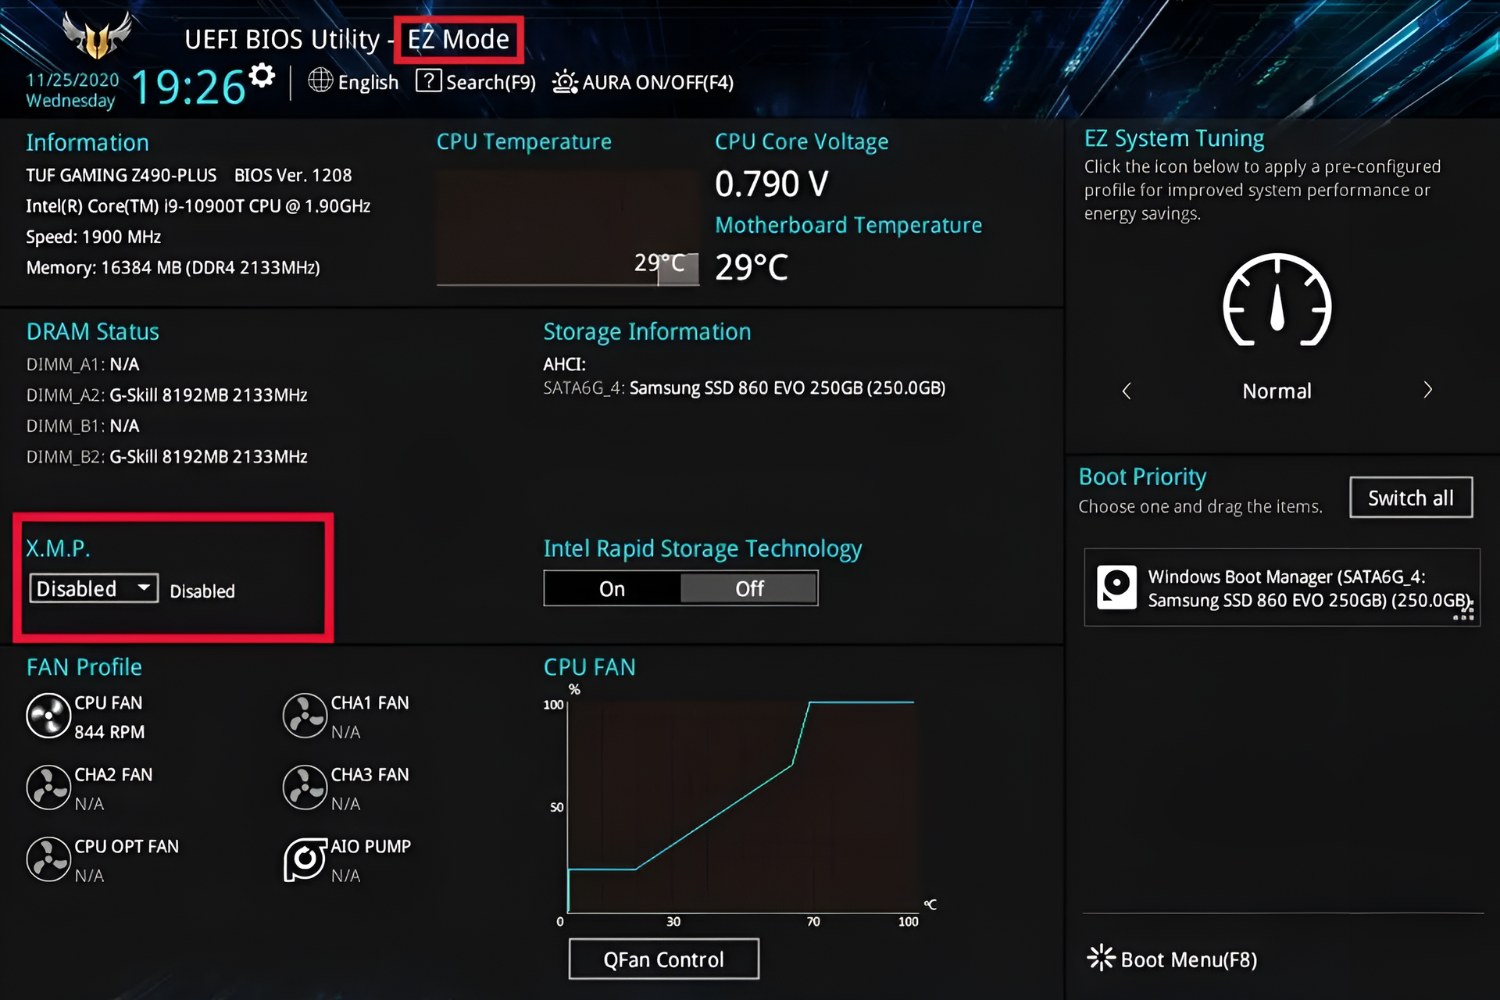
Enabling XMP/DOCP Profiles
XMP (Extreme Memory Profile) and DOCP (Direct Overclock Profile) are settings available in the BIOS of most modern motherboards. These profiles allow you to enable pre-configured settings for your RAM, ensuring optimal performance without manually adjusting individual timings and frequencies.
Here are the steps to enable XMP/DOCP profiles:
- Access BIOS: Restart your computer and access the BIOS settings by pressing the designated key during the boot process (typically Delete, F2, or F10).
- Locate RAM Settings: Navigate to the section of the BIOS where RAM and memory settings are located. The precise location and naming may vary depending on your motherboard manufacturer, but it is commonly found under “Memory,” “DRAM Timing Control,” or “Overclocking.”
- Enable XMP/DOCP Profile: Look for an option that allows you to enable XMP or DOCP profiles. This setting may be labeled differently depending on your motherboard manufacturer. Select the appropriate XMP/DOCP profile that matches the specifications of your RAM modules.
- Save Changes and Exit: Save the changes you made in the BIOS and exit. Your computer will restart, and the XMP/DOCP profile will be applied.
- Check Stability: After enabling the XMP/DOCP profile, test the stability of your system. Monitor for any signs of instability, crashes, or errors. If issues arise, it may indicate that the XMP/DOCP profile is not fully compatible with your specific hardware configuration.
Enabling XMP/DOCP profiles provides a convenient way to achieve optimal RAM performance without the need for manual adjustments. These profiles are pre-configured by the RAM manufacturer to ensure stable and optimal performance at advertised speeds.
It’s important to note that not all RAM modules and motherboards support XMP/DOCP profiles. Before attempting to enable these profiles, ensure that your RAM modules are XMP/DOCP compatible, and your motherboard supports these features. Checking the motherboard’s manual or consulting the manufacturer’s website can provide information on XMP/DOCP compatibility.
In the next section, we will discuss the significance of updating your motherboard BIOS and how it can impact RAM speed and performance.
Updating Your Motherboard BIOS
Updating your motherboard’s BIOS (Basic Input/Output System) is an important step to ensure compatibility with the latest hardware technologies, including RAM modules. A BIOS update can offer improved stability, performance optimizations, and support for higher RAM speeds. Here are the steps to update your motherboard BIOS:
- Identify Your Motherboard: Determine the make and model of your motherboard. This information can usually be found printed on the motherboard itself or in the motherboard’s user manual.
- Visit the Manufacturer’s Website: Go to the manufacturer’s website and navigate to the support section. Locate the page or section dedicated to your specific motherboard model.
- Download the Latest BIOS Update: Look for the latest BIOS update available for your motherboard model. Download the update file and save it to a USB flash drive or any other appropriate storage device.
- Access BIOS and Update: Restart your computer and enter the BIOS settings by pressing the designated key during the boot process. Consult your motherboard’s manual or the manufacturer’s website for the correct key to access the BIOS. Once in the BIOS, navigate to the section where BIOS updates are performed.
- Perform the BIOS Update: Follow the instructions provided by the manufacturer to perform the BIOS update. This typically involves selecting the downloaded update file from the USB flash drive or storage device, confirming the update, and waiting for the process to complete. It is crucial not to interrupt the update process to avoid potential damage to your motherboard.
- Reboot and Verify: After the BIOS update is complete, restart your computer, and enter the BIOS settings once again. Verify that the BIOS version has been successfully updated to the latest version.
Updating your motherboard BIOS can provide compatibility improvements and enhancements that can positively impact RAM speed. It ensures that your motherboard is equipped with the latest firmware and drivers needed to unlock the full potential of your RAM modules. However, it’s essential to exercise caution when performing a BIOS update, as incorrect procedures or power interruptions can lead to irreversible damage to your motherboard.
Before proceeding with a BIOS update, carefully read the instructions provided by the motherboard manufacturer and follow them diligently. If you are uncertain about the update process or need assistance, it is recommended to seek guidance from the manufacturer’s support or consult with an experienced technician.
Now that we’ve covered various methods to achieve optimal RAM speed, you can utilize these techniques to enhance the overall performance and responsiveness of your computer.
Conclusion
Achieving the full speed and potential of your RAM is crucial for optimizing the performance and responsiveness of your computer. Throughout this article, we have explored various methods and techniques to enhance your RAM speed.
We started by understanding the importance of RAM speed and how it directly affects tasks such as application loading times, gaming performance, file processing, system stability, and future-proofing. RAM speed is influenced by several factors, including RAM module specifications, CPU compatibility, motherboard support, and system load.
We then discussed how to check your current RAM speed using built-in system tools or third-party software. This step is essential for assessing your starting point and tracking your progress as you make optimizations.
Next, we explored the possibilities of upgrading your RAM modules to faster and more efficient ones. Upgrading your RAM can provide significant speed improvements, especially if you are currently using older or lower-speed modules.
We also tackled the advanced technique of overclocking your RAM, which involves increasing its operating frequency for enhanced performance. Overclocking should be approached with caution and requires careful monitoring to ensure stability and prevent system damage.
Adjusting RAM timings is another method we discussed, allowing you to fine-tune the delay between different RAM operations for optimized performance. However, the gains from adjusting timings may not always be significant for everyday computing tasks.
Enabling XMP/DOCP profiles offers a convenient way to achieve optimal RAM performance without the need for manual adjustments. These pre-configured settings provided by the RAM manufacturer can help maximize performance with minimal effort.
Lastly, we highlighted the importance of updating your motherboard BIOS to ensure compatibility, stability, and support for higher RAM speeds. A BIOS update can unlock the full potential of your RAM and pave the way for future hardware technologies.
By implementing these techniques and tailoring them to your specific hardware configuration and requirements, you can optimize your RAM speed and experience noticeable improvements in system performance and responsiveness.
Remember, optimizing your RAM speed is just one aspect of achieving overall system performance. It’s important to consider a balanced configuration, including other hardware components such as the CPU, storage drives, and graphics card, to ensure optimal performance. Regular monitoring and maintenance of your system can also help keep it running smoothly.
With these insights and techniques at your disposal, you can now take control of your RAM speed and unlock the full potential of your computer for a faster and more efficient computing experience.