Introduction
Welcome to the world of RAM speed optimization! In this article, we will explore various techniques to help you unleash the full potential of your RAM. As a crucial component in any computer system, RAM (Random Access Memory) plays a vital role in determining your system’s performance and responsiveness.
Imagine a scenario where you are running resource-intensive tasks or trying to play the latest graphics-intensive games, only to experience sluggish performance and frustrating delays. In such cases, optimizing your RAM speed can significantly enhance your overall computing experience.
Understanding how RAM speed works and the methods to harness its true power is essential for any computer enthusiast or individual seeking improved system performance. Whether you are a seasoned tech expert or a curious beginner, this guide will provide you with the necessary knowledge and practical tips to optimize your RAM speed.
In this article, we will delve into different aspects of RAM speed optimization, including how to check your RAM speed in Windows, adjusting RAM speed in the BIOS, updating BIOS for optimal performance, overclocking RAM to achieve higher speeds, configuring RAM in a dual-channel setup, clearing RAM for improved performance, and avoiding common RAM bottlenecks.
But before we jump into the specifics, let’s take a moment to understand the importance of RAM speed and its impact on your system’s performance.
RAM speed refers to the rate at which data can be read from or written to the RAM modules. It determines how quickly your computer can access and store data, ensuring faster application loading times, smoother multitasking, and improved overall responsiveness.
Now that you have a basic understanding of RAM speed and its significance, let’s move on to the practical steps you can take to optimize your system’s RAM for peak performance. Whether you want to fine-tune your existing RAM setup or explore advanced techniques to overclock your RAM, this guide will provide you with the insights you need to take your system to the next level.
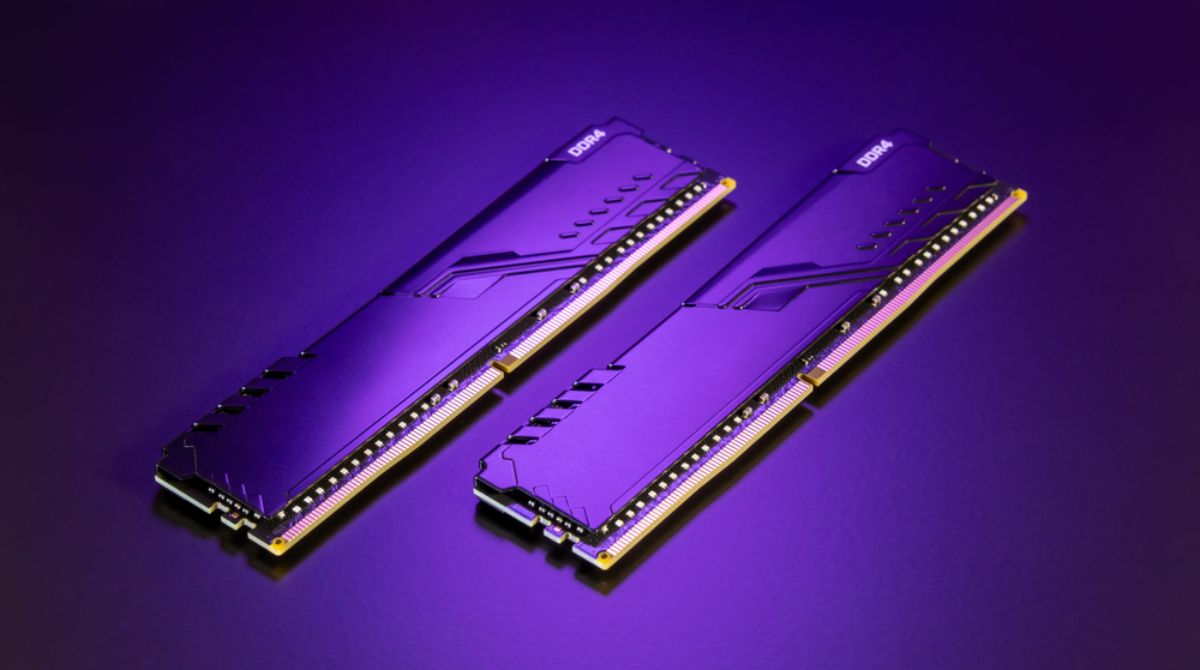
Understanding RAM Speed
RAM speed is often expressed in terms of clock speed, measured in MHz (megahertz). It indicates the number of cycles per second that the RAM can perform. The higher the clock speed, the faster the RAM can process and transfer data.
When data is stored in RAM, it can be quickly accessed and retrieved, allowing for faster execution of tasks. RAM speed plays a crucial role in determining how quickly your computer can load applications, handle large files, and perform multitasking operations. A higher RAM speed can result in improved system responsiveness, reduced lag, and overall smoother computing experience.
It is important to note that RAM speed alone does not determine the overall system performance. The effectiveness of RAM speed also depends on other factors, such as the CPU, storage speed, and software optimization. However, optimizing the RAM speed can contribute significantly to overall system performance and user experience.
One common misconception is that increasing RAM capacity will automatically improve system speed. While having more RAM can certainly help in handling larger workloads and multitasking, upgrading the RAM speed can further enhance the data transfer rate and overall responsiveness of your system.
It’s also important to consider the compatibility of the RAM speed with your motherboard. Not all motherboards can support high-speed RAM modules. Before investing in high-speed RAM, ensure that your motherboard is compatible with the desired RAM speed.
Additionally, RAM speed can have a significant impact on gaming performance. In situations where the CPU and GPU are capable of handling high-end games, a faster RAM speed can prevent bottlenecks and ensure smooth gameplay by minimizing loading times and reducing frame rate drops.
While faster RAM speeds are generally beneficial, it is crucial to find a balance based on your system’s requirements and budget. Higher speed RAM modules tend to be more expensive, so it’s essential to evaluate how much of a performance boost you truly need for your specific tasks.
Now that you have a better understanding of RAM speed and its impact on overall system performance, let’s explore how to check the current RAM speed of your system in Windows.
Checking RAM Speed in Windows
Before making any changes to your system’s RAM speed, it’s important to determine the current speed of your RAM modules. Windows provides a few methods to check the RAM speed, allowing you to easily assess the effectiveness of your current RAM setup.
Method 1: Task Manager
One of the easiest ways to check the RAM speed in Windows is through the Task Manager:
- Right-click on the taskbar and select “Task Manager” from the menu.
- In the Task Manager window, click on the “Performance” tab.
- Under the “Performance” tab, select “Memory” from the left-hand side panel.
- In the right-hand panel, you will find the “Speed” field, displaying the current speed of your RAM modules.
Method 2: System Information
Another way to check the RAM speed is through the System Information window:
- Open the Start menu and search for “System Information”.
- Click on the “System Information” app from the search results to open the window.
- In the System Information window, navigate to “System Summary” in the left-hand side panel.
- Look for the “Installed Physical Memory (RAM)” section and find the “Speed” field, which indicates the current RAM speed.
Method 3: Third-Party Software
If you prefer a more detailed analysis of your system’s RAM speed, you can use third-party software such as CPU-Z or Speccy. These tools provide comprehensive information about your computer hardware, including the RAM speed.
Simply download and install your preferred software, then launch it to access the RAM speed information from the appropriate section or tab.
By following these methods, you can easily determine the current speed of your RAM modules. Armed with this information, you can now proceed to make any necessary adjustments to optimize the RAM speed for improved system performance.
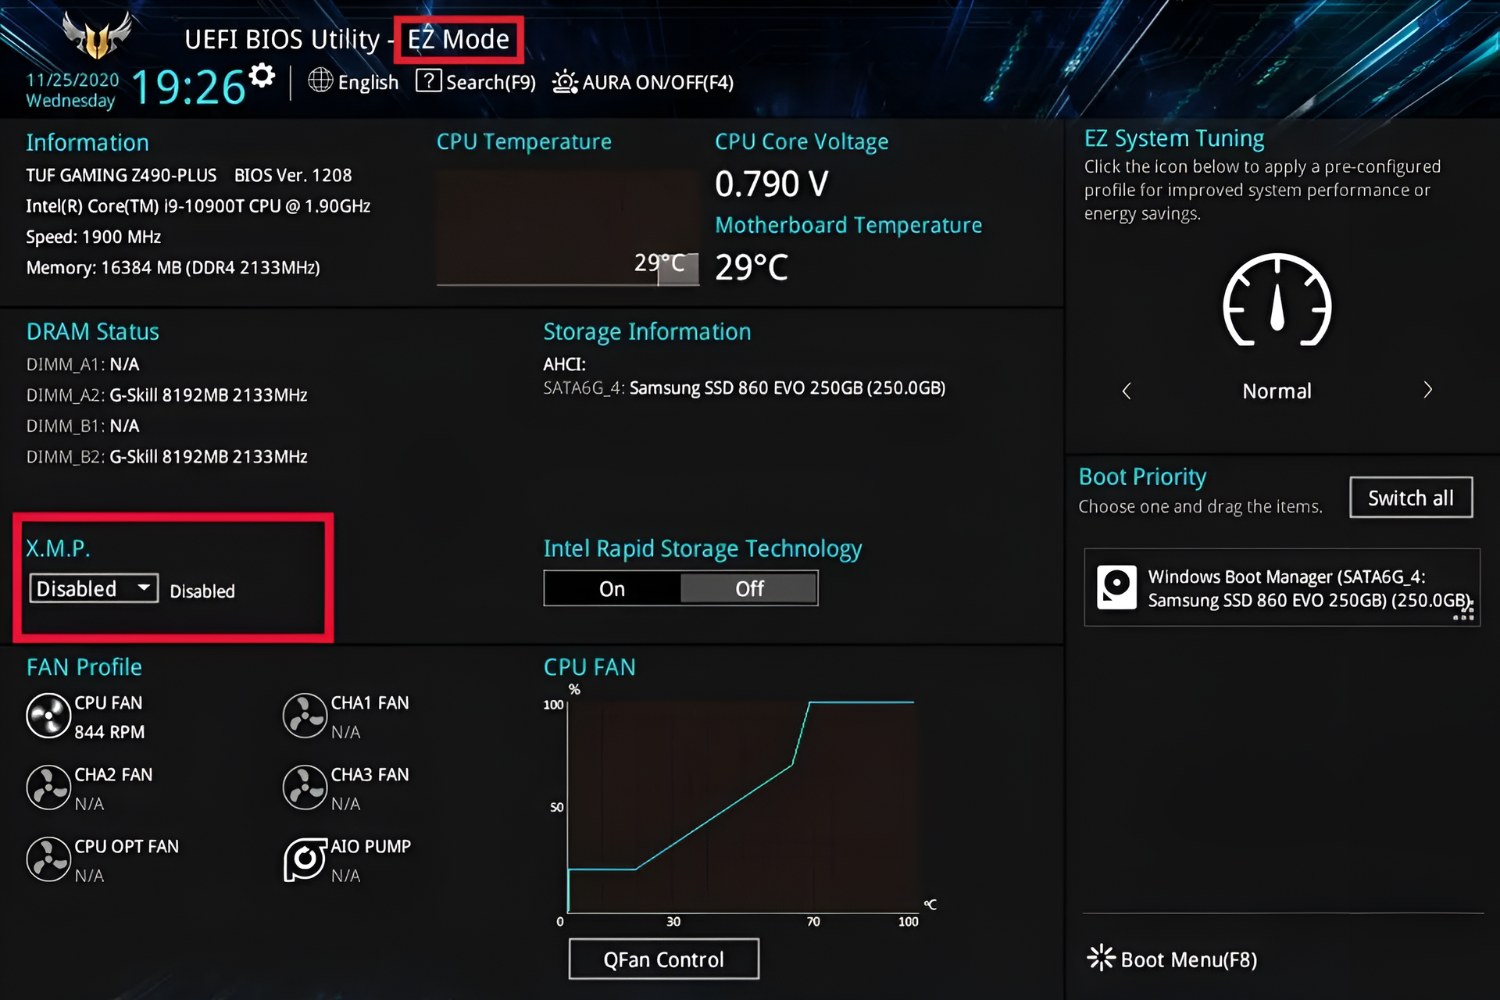
Adjusting RAM Speed in BIOS
One of the most effective ways to optimize your RAM speed is by adjusting the settings in your computer’s BIOS (Basic Input/Output System). The BIOS is a firmware that is built into the motherboard and contains essential settings for the hardware components, including RAM.
Adjusting the RAM speed in the BIOS allows you to take full control of your system’s memory performance. Here’s how you can do it:
- Restart your computer and access the BIOS settings. The key to enter the BIOS may vary depending on your motherboard manufacturer. Common keys include F2, Del, or Esc. Keep pressing the appropriate key during startup until the BIOS menu appears.
- Navigate through the BIOS using the arrow keys on your keyboard to find the “Advanced” or “DRAM Configuration” section. The exact location of the settings may differ depending on your motherboard.
- Look for options related to RAM speed, such as “Memory Frequency” or “DRAM Frequency.” Select the appropriate option.
- In the submenu, you’ll find a list of available RAM speed options. Choose the desired speed based on the capabilities of your RAM modules and the compatibility with your motherboard.
- Save the changes and exit the BIOS. Most BIOS menus will have a dedicated key (usually F10) to save and exit.
After adjusting the RAM speed in the BIOS, your system will boot up with the new settings. You can verify the changes by checking the RAM speed again using one of the methods mentioned in the previous section.
It’s important to note that not all systems and motherboards allow manual adjustment of RAM speed. In some cases, the BIOS may only provide limited options or default to an optimal setting based on your hardware configuration.
Adjusting the RAM speed in the BIOS requires caution and knowledge about your specific system and RAM modules. Incorrect settings can lead to system instability or even cause the system to fail to boot. Make sure to consult your motherboard’s manual or seek assistance from professional technicians if you are unsure about the proper settings.
In the next section, we will discuss the importance of updating your BIOS to optimize RAM speed and system performance.
Updating BIOS to Optimize RAM Speed
Updating your BIOS (Basic Input/Output System) can have a significant impact on your system’s performance, including optimizing RAM speed. The BIOS firmware contains essential settings and instructions for your computer’s hardware components, and updating it can unlock additional features and improvements.
Before proceeding with the BIOS update, it’s crucial to understand the risks involved. An incorrect BIOS update or a power interruption during the process can lead to system instability or even permanent damage to your motherboard. Therefore, it’s important to follow the manufacturer’s instructions and take necessary precautions.
Here are the steps to update your BIOS and potentially optimize your RAM speed:
- Identify your motherboard manufacturer and model. The manufacturer’s logo is usually displayed during system startup. You can also check the BIOS version or use system information tools like CPU-Z to get this information.
- Visit the motherboard manufacturer’s official website and navigate to the support or downloads section.
- Locate the latest BIOS update for your specific motherboard model. Download the update file to your computer.
- Read the accompanying documentation or instructions provided by the manufacturer to understand the update process and any precautions you need to take.
- Create a backup of your current BIOS settings, if possible. Some motherboard manufacturers provide tools or utilities to backup and restore BIOS settings.
- Ensure that your computer is connected to a stable power source to avoid any interruptions during the BIOS update.
- Run the BIOS update file you downloaded and follow the on-screen instructions. This usually involves running an executable file or using a built-in flashing tool provided by the manufacturer.
- Wait for the BIOS update process to complete. Do not power off your computer or interrupt the process until it finishes.
- After the update is complete, restart your computer and enter the BIOS settings again. Verify that the BIOS has been updated to the latest version.
Updating the BIOS can potentially unlock new features, improve stability, and optimize RAM speed. However, it’s essential to note that not all BIOS updates explicitly address RAM speed optimization. Some updates may focus on bug fixes, security enhancements, or compatibility improvements.
It’s recommended to regularly check for updated BIOS versions on your motherboard manufacturer’s website and review the release notes to determine if there are any specific improvements relevant to RAM speed performance or overall system optimization.
Now that we have explored BIOS updates and their impact on RAM speed, let’s move on to the topic of overclocking RAM for achieving higher speeds.
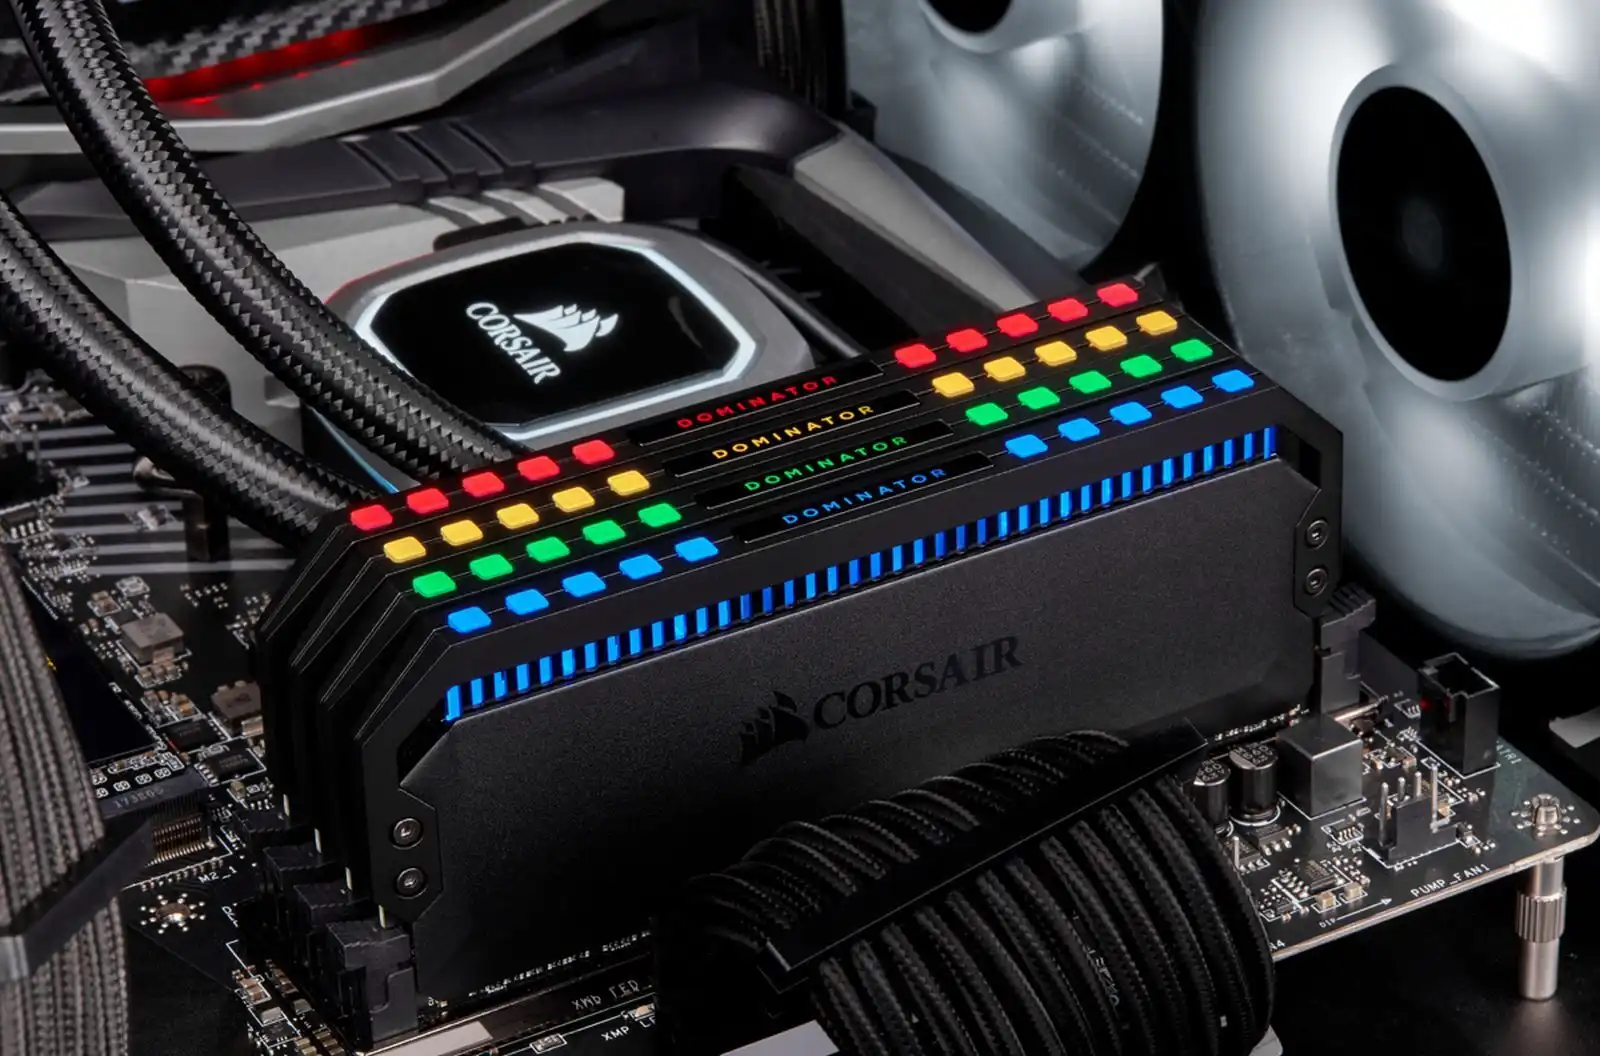
Overclocking RAM for Higher Speeds
If you’re looking to push your RAM speed to its limits, overclocking is the way to go. Overclocking involves increasing the clock speed of your RAM modules beyond their default specifications, allowing for faster data transfer and improved performance. However, it’s important to note that overclocking does come with certain risks and considerations.
Before proceeding with overclocking, it’s crucial to ensure that your RAM modules are capable of handling higher speeds. Not all RAM modules are created equal, and some may have limited overclocking potential. It’s also important to consider the cooling solutions in your system, as overclocking can generate more heat.
Here are the steps to overclock your RAM for higher speeds:
- Enter the BIOS settings of your computer by restarting and pressing the appropriate key (such as F2, Del, or Esc), as indicated during startup.
- Navigate to the “Overclocking” or “Extreme Tweaker” section, which may vary depending on your motherboard manufacturer.
- Look for options related to RAM speed, such as “DRAM Frequency” or “Memory Clock”.
- Gradually increase the RAM speed by selecting a higher frequency option. It’s recommended to increase the speed in small increments, such as 200MHz at a time.
- Save the changes and exit the BIOS to apply the new RAM speed.
- Boot into your operating system to test the stability of the new overclocked RAM speed. You can use stress-testing tools like Prime95 or MemTest86 to ensure stability.
- If your system becomes unstable or experiences crashes, it may indicate that the RAM modules cannot handle the higher speeds. In such cases, go back to the BIOS and decrease the RAM speed to a stable level.
It’s important to note that not all RAM modules will overclock the same way. Some modules may have more overclocking headroom, while others may have limitations due to their specific specifications.
Furthermore, overclocking technically voids the warranty of your RAM modules and can potentially damage or reduce their lifespan, especially if not done correctly. It’s crucial to proceed with caution and take necessary precautions.
Lastly, keeping your system’s temperature in check is important when overclocking RAM. Consider improving cooling solutions, such as adding additional fans or investing in a liquid cooling solution, to maintain stable operating temperatures.
Once you have successfully overclocked your RAM and ensured system stability, you can enjoy the benefits of higher RAM speeds, including faster data transfer, improved application loading times, and enhanced overall system performance.
In the next section, we will discuss the benefits of installing RAM in a dual-channel configuration for optimizing performance.
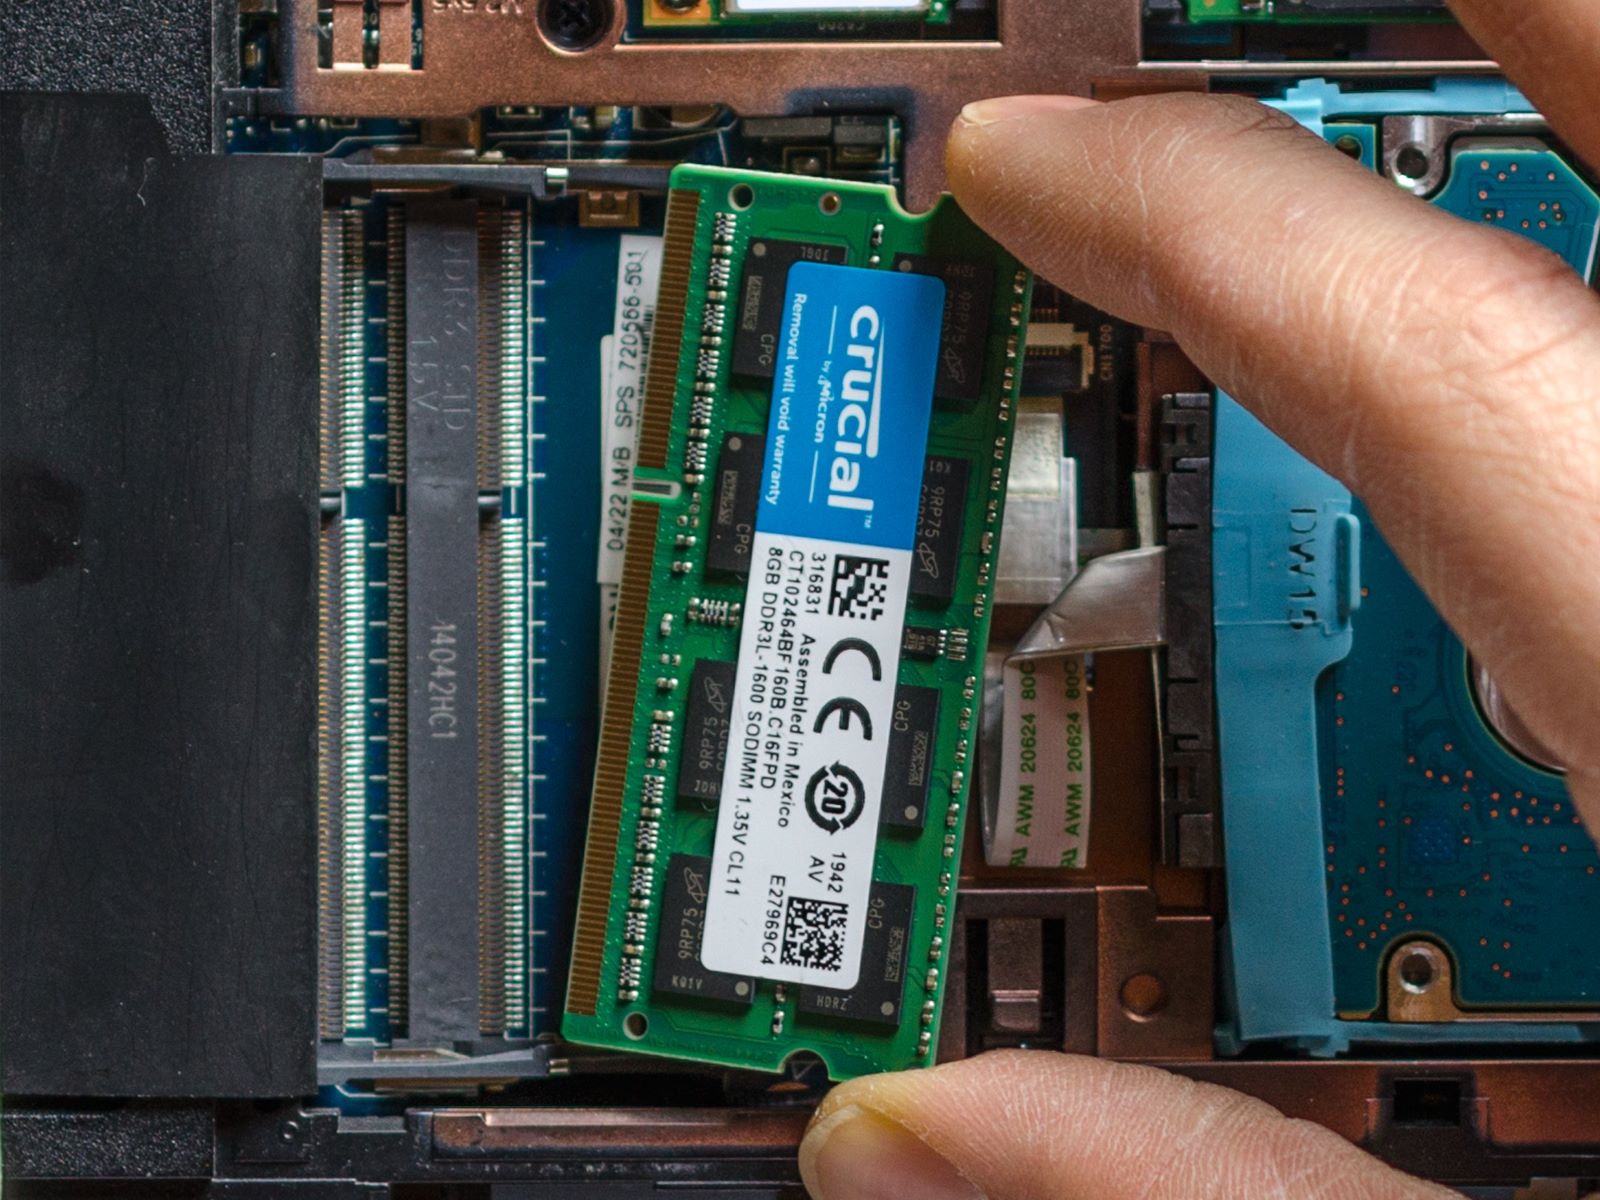
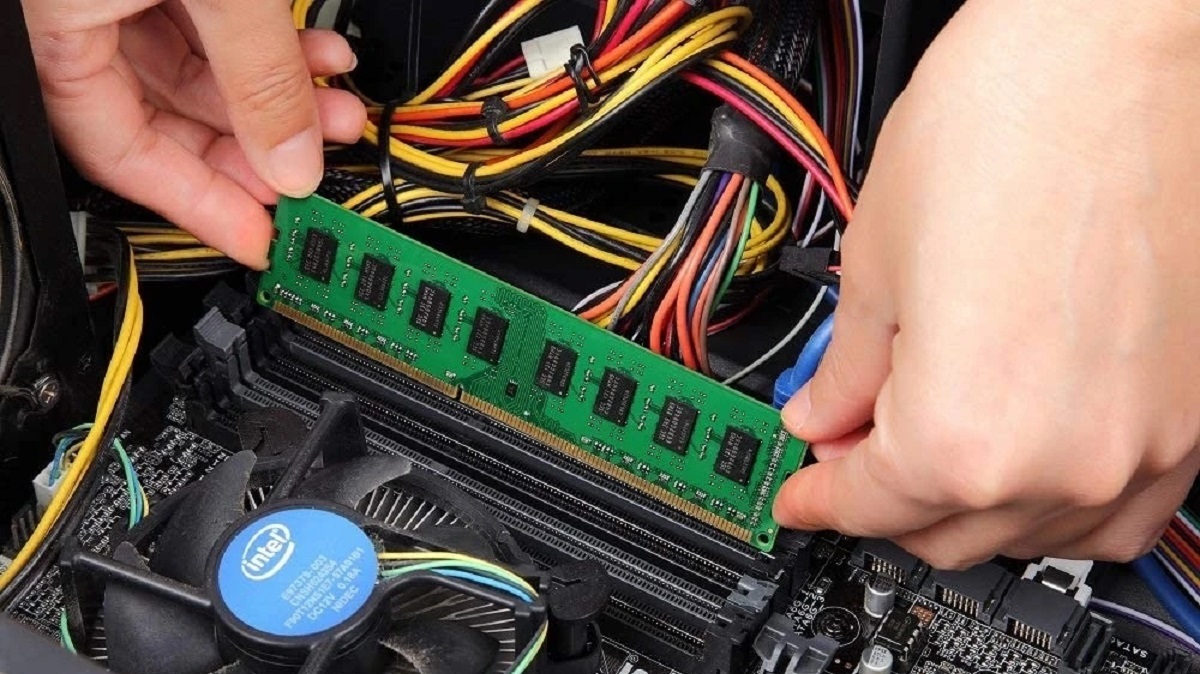
Installing RAM in Dual Channel Configuration
Installing RAM in a dual-channel configuration is a great way to boost your system’s memory performance. Dual-channel memory architecture allows for increased data transfer rates and improved overall system responsiveness. By utilizing two identical RAM modules, your computer can access and process data more efficiently.
Here’s how you can install RAM in a dual-channel configuration:
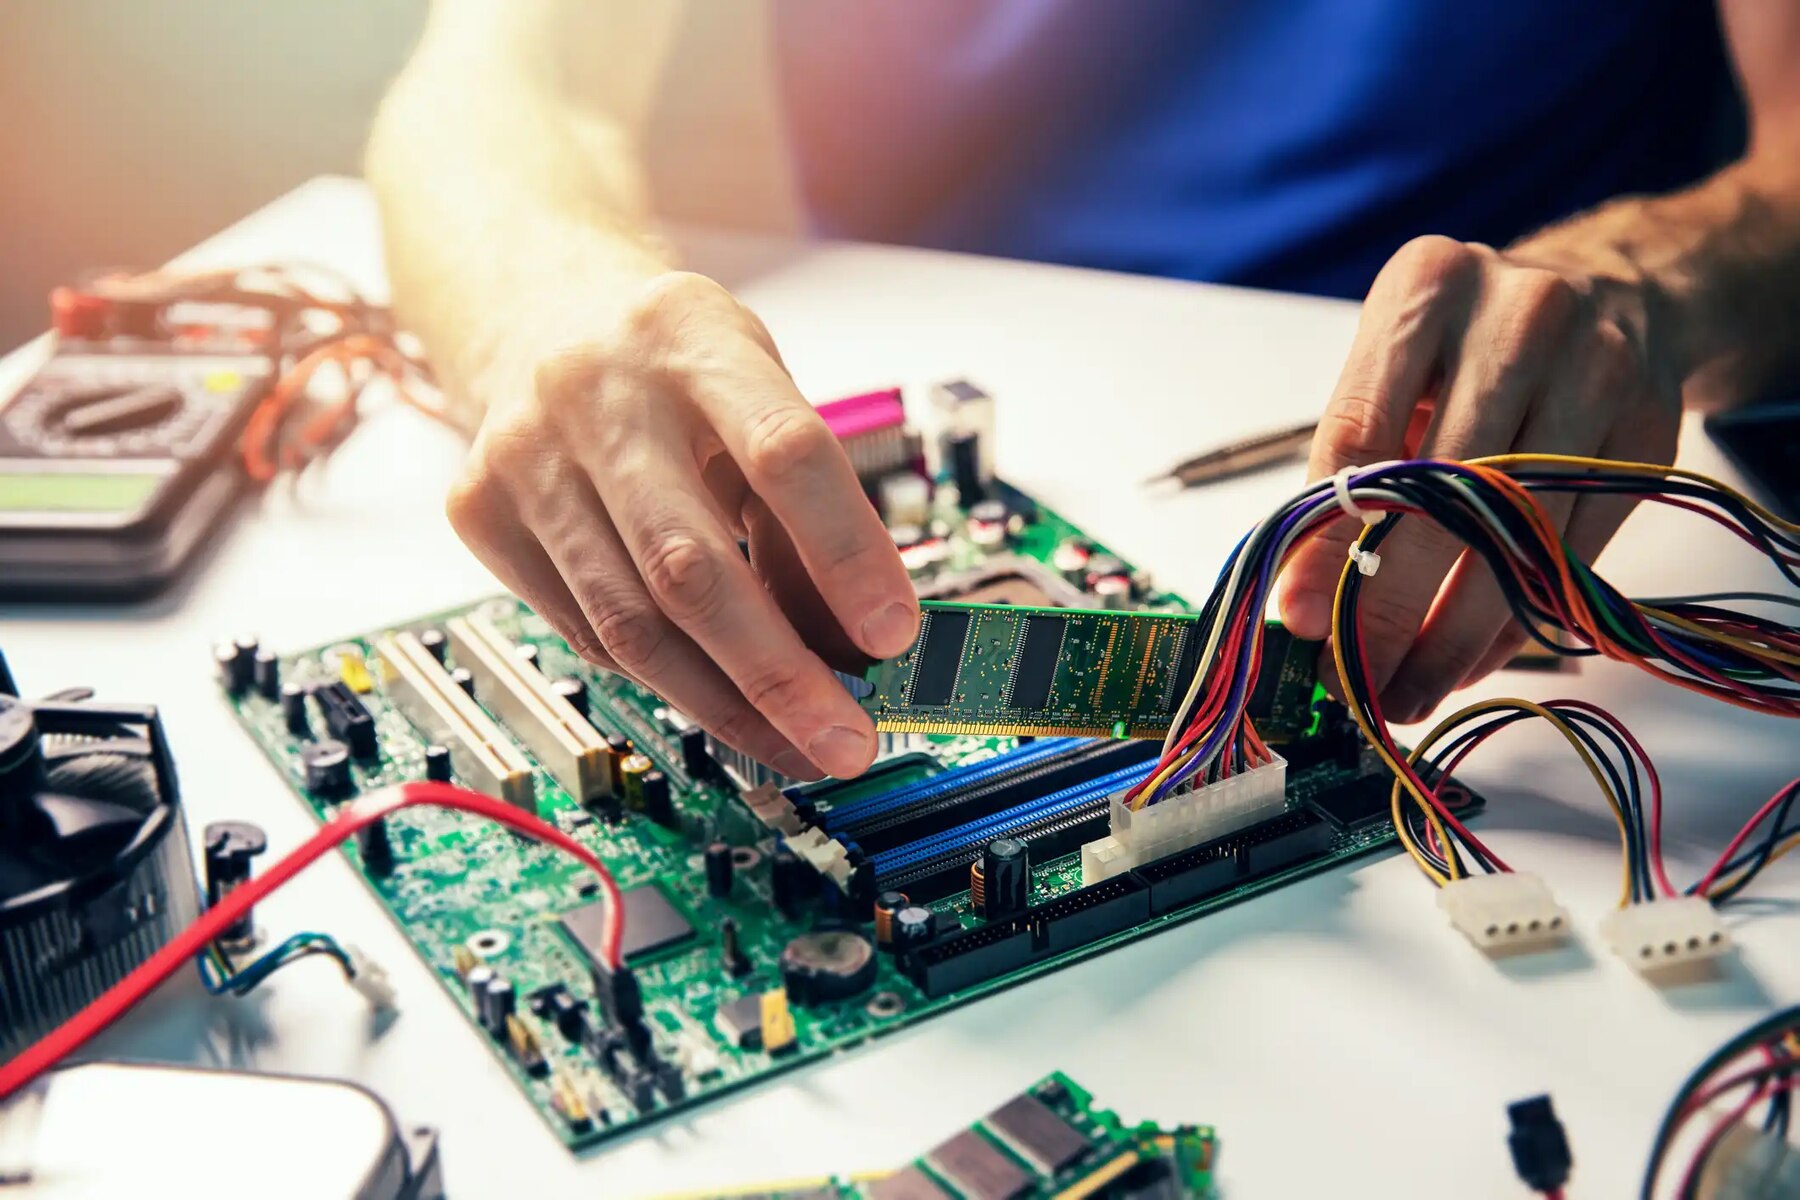
- First, make sure your motherboard supports dual-channel memory. Most modern motherboards have this feature, but it’s always a good idea to check the specifications or consult your motherboard’s manual.
- Identify the RAM slots on your motherboard. Usually, they are color-coded, with two slots belonging to one channel and the other two slots belonging to another channel. Refer to your motherboard’s manual to determine the correct configuration.
- Insert your RAM modules into the corresponding slots. For dual-channel configuration, the identical RAM modules should be placed in the slots of the same color. Typically, the slots are labeled as “Channel A” and “Channel B.”
- Apply gentle pressure to both ends of the RAM module until it clicks into place. Ensure that the module is inserted fully and the locking mechanisms on the sides engage properly.
- Once the RAM modules are installed, power on your computer and enter the BIOS.
- Verify that the RAM is recognized as dual-channel memory in the BIOS settings. Most modern motherboards automatically detect and configure the memory in dual-channel mode.
By installing RAM in a dual-channel configuration, you can take advantage of the increased bandwidth between the RAM modules and the CPU. This allows for faster data transfer rates and improved memory performance, resulting in smoother multitasking, faster application loading times, and enhanced overall system responsiveness.
It’s important to note that for optimal performance, the RAM modules should be identical in terms of capacity, speed, and timings. Mismatched RAM modules can prevent the system from operating in dual-channel mode or decrease overall performance.
If you have previously installed RAM in a single-channel configuration, you can still take advantage of dual-channel memory by adding an identical RAM module to the empty slots on your motherboard. Remember to follow the proper installation steps and ensure compatibility.
In the next section, we will discuss the importance of clearing RAM to improve system performance.
Clearing RAM for Improved Performance
Clearing or freeing up RAM (Random Access Memory) is a technique that can help improve system performance by releasing memory resources and optimizing the available RAM for active processes. Over time, as you use your computer, certain applications and background processes may consume a significant amount of RAM, leading to decreased performance and slower response times. Clearing RAM can help alleviate these issues and improve overall system responsiveness.
Here are a few methods you can use to clear your RAM:
- Restarting your computer: Simply restarting your computer can clear the RAM and free up memory resources. When you restart your computer, all running processes are terminated, and the RAM is reset, resulting in a fresh start with optimal memory availability.
- Using Task Manager: The Task Manager in Windows allows you to identify memory-hungry processes and manually end them to free up RAM. To access the Task Manager, press “Ctrl + Shift + Esc” or right-click on the taskbar and select “Task Manager” from the menu. In the Task Manager, go to the “Processes” or “Details” tab, and identify processes using a significant amount of memory. Right-click on these processes and select “End Task” to terminate them and free up the associated RAM.
- Using third-party memory optimization tools: There are various third-party tools available that claim to optimize and clear RAM automatically. These tools monitor system usage and intelligently free up memory resources when necessary. However, it’s important to choose reputable software from trusted sources to ensure that they are safe and reliable.
- Disabling unnecessary startup programs: Some programs launch automatically when you start your computer and continue running in the background, consuming valuable RAM. Disabling or limiting the number of these startup programs can help free up memory and improve system performance. You can manage startup programs in the “Startup” tab of the Task Manager or by using built-in system configuration tools.
Clearing RAM can be beneficial when you notice a slowdown in your system’s performance or need to allocate more memory to resource-intensive tasks. However, it’s important to note that clearing RAM is a temporary solution and may not provide a drastic improvement in all cases. It’s recommended to optimize your system’s RAM capacity and overall memory usage by closing unnecessary programs and keeping resource usage in check.
By clearing RAM and optimizing memory usage, you can maximize the available resources and ensure that your computer operates efficiently, providing a smooth and responsive computing experience.
In the next section, we will discuss how to avoid common RAM bottlenecks to maintain optimal system performance.
Avoiding RAM Bottlenecks
RAM (Random Access Memory) bottlenecks can occur when the demand for memory exceeds the available capacity, leading to decreased performance and system slowdowns. To maintain optimal system performance, it’s important to avoid RAM bottlenecks and ensure that your computer has enough memory to handle your tasks effectively.
Here are some strategies to help you avoid RAM bottlenecks:
- Upgrade your RAM: The most straightforward solution to avoid RAM bottlenecks is to upgrade your RAM capacity. Adding more RAM allows your computer to handle larger workloads and multitask efficiently. Assess your system’s requirements and consider upgrading to higher capacity RAM modules to accommodate your needs.
- Close unnecessary programs: Having too many programs running simultaneously can consume a significant amount of RAM and lead to bottlenecks. Close unused applications and background processes to free up memory resources and ensure that your active tasks have enough memory to run smoothly.
- Monitor resource usage: Keep an eye on resource usage through the Task Manager or other system monitoring tools. Identify applications or processes that are consuming excessive RAM and consider optimizing or replacing them if their memory usage is consistently high.
- Use efficient memory management techniques: Some operating systems and applications provide memory management tools and settings that can help optimize RAM usage. For example, adjusting virtual memory settings or using memory-hungry applications judiciously can help prevent RAM bottlenecks.
- Optimize software and drivers: Ensure your operating system, applications, and device drivers are updated to the latest versions. Developers often release updates and optimizations that can improve memory usage and overall system performance.
- Implement RAM-compatible hardware: Ensure that all hardware components in your system, such as the CPU, motherboard, and operating system, are compatible with the RAM modules you are using. Mismatched hardware configurations can result in inefficiencies and potential performance bottlenecks.
By following these strategies, you can avoid RAM bottlenecks and maintain optimal system performance. Adequate RAM capacity, efficient memory management, and keeping resource usage in check are key to ensuring that your computer operates smoothly and efficiently.
It’s important to periodically assess your system’s requirements and make necessary adjustments to avoid any performance issues resulting from RAM bottlenecks. Keep an eye on memory usage and be proactive in optimizing your system’s memory resources for optimal performance.
Now that we have covered various techniques to optimize RAM speed and avoid bottlenecks, let’s wrap up our discussion.
Conclusion
Optimizing RAM speed and managing memory resources are essential steps to enhance your computer’s performance and ensure a smooth computing experience. In this article, we’ve explored various techniques to help you unleash the full potential of your RAM.
We began by understanding the importance of RAM speed and how it impacts your system’s overall performance. We then discussed how to check the current RAM speed in Windows using built-in tools such as Task Manager and System Information, as well as third-party software.
Adjusting RAM speed in the BIOS is another effective method to optimize performance. We walked through the steps of accessing the BIOS settings and adjusting RAM speed, while emphasizing the importance of caution and compatibility.
Updating the BIOS can also unlock additional features and improvements, including optimized RAM speed and system performance. We outlined the steps to update your BIOS safely and highlighted the importance of checking for specific RAM-related enhancements in the release notes.
To achieve even higher RAM speeds, overclocking your RAM can be a viable option. We discussed the process of safely overclocking RAM and the considerations involved.
Installing RAM in a dual-channel configuration is a practical way to boost memory performance. We explained the steps for installing RAM modules in the correct slots to take advantage of the increased data transfer rates.
Clearing RAM and avoiding bottlenecks are crucial for maintaining optimal performance. We provided methods for clearing RAM, monitoring resource usage, and avoiding common bottlenecks through hardware upgrades, efficient memory management, and software optimization.
By implementing these techniques, you can enhance your system’s performance, improve multitasking capabilities, reduce lag, and achieve a faster and more responsive computing experience.
Remember to assess your system’s requirements, consider hardware compatibility, and regularly monitor and optimize your RAM usage to ensure peak performance.
With the knowledge gained from this article, you are now equipped with the tools to harness the full potential of your RAM and optimize your computer’s performance.