Introduction
Welcome to this guide on how to change RAM speed in BIOS on MSI motherboards. Your computer’s RAM speed plays a crucial role in determining the overall performance and responsiveness of your system. By adjusting the RAM speed settings in the BIOS, you can optimize it to match the requirements of your specific workload and enhance the overall efficiency of your computer.
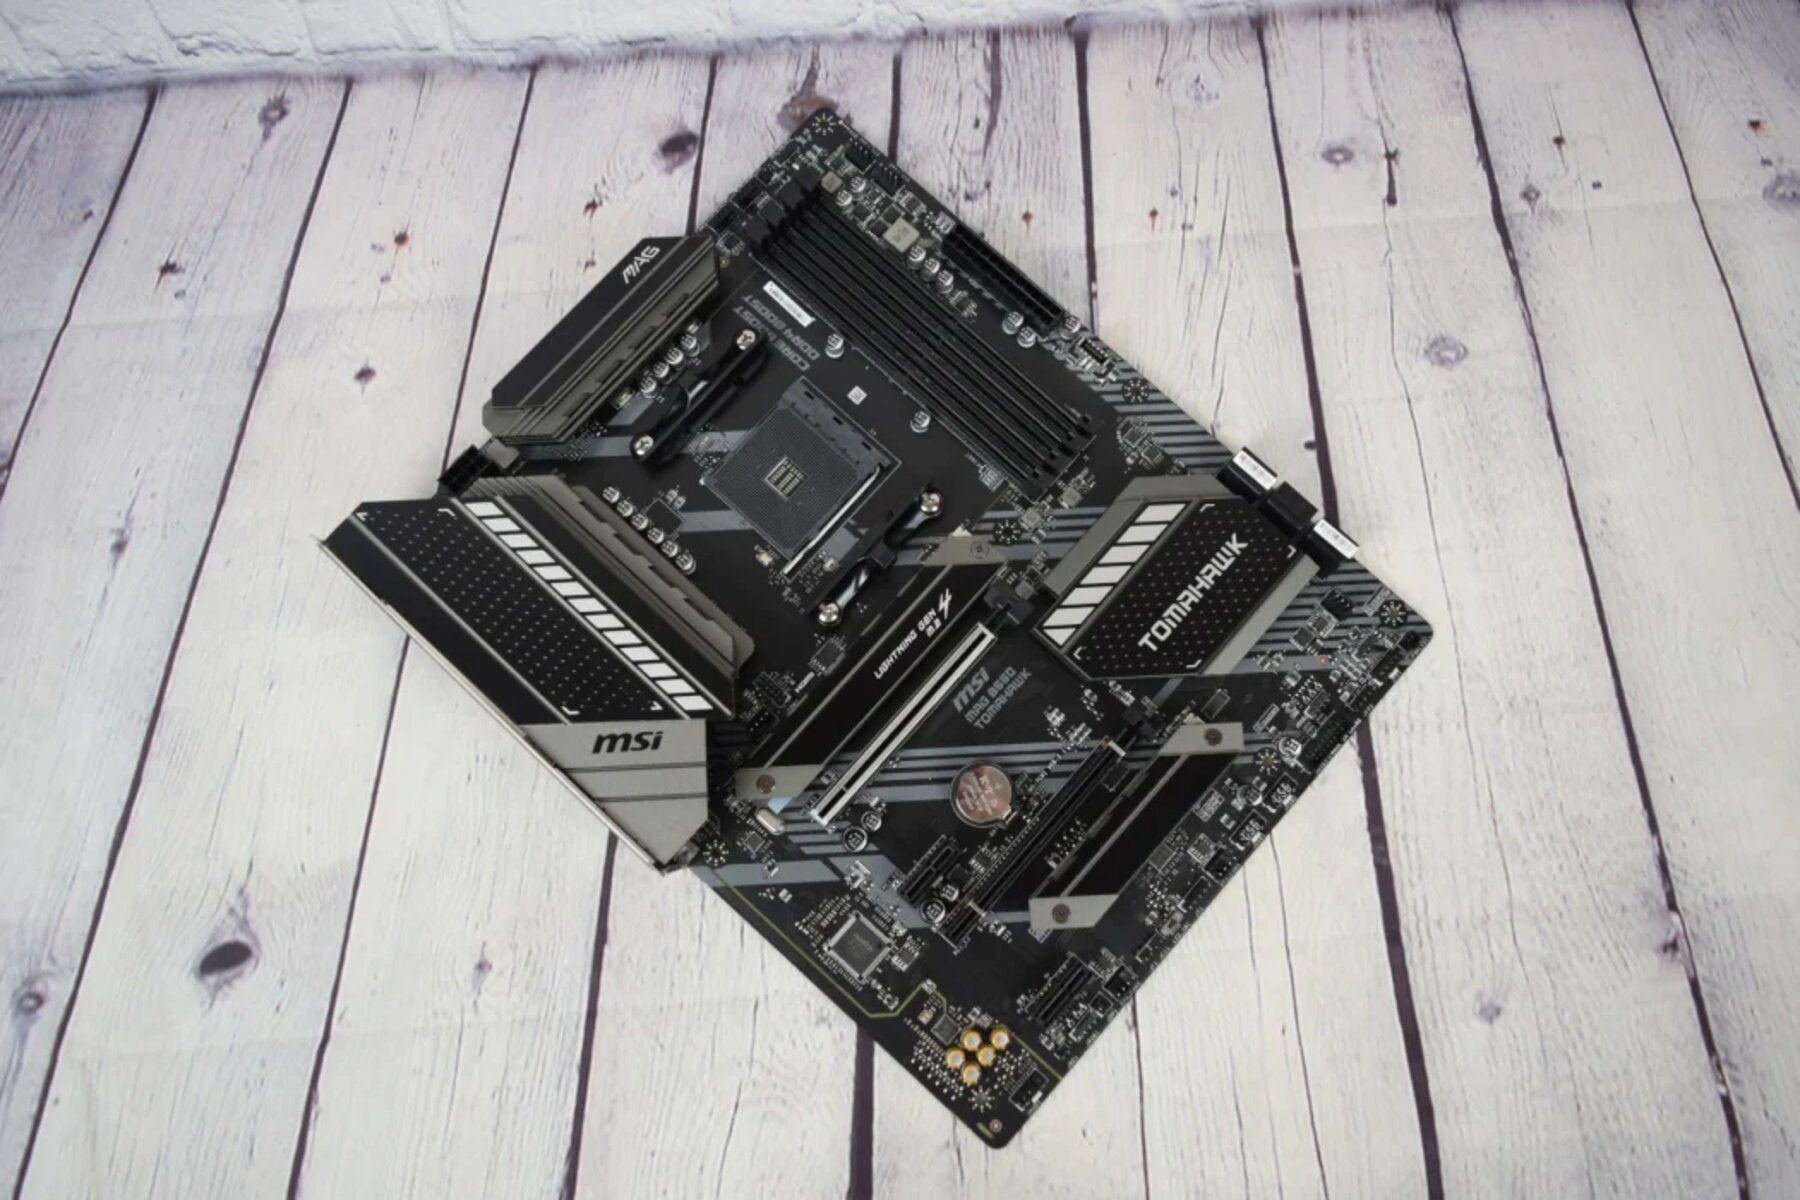
MSI motherboards offer a user-friendly BIOS interface that allows you to manipulate various hardware settings, including RAM speed, to unleash the full potential of your system. While the default RAM speed is usually set to a safe and stable value, you may want to change it to a higher speed to achieve better performance, or lower it to ensure compatibility with certain applications or hardware configurations.
It is important to note that changing the RAM speed in BIOS should be done with caution. Incorrect settings or incompatible RAM modules can lead to system instability and potential data loss. Therefore, it is crucial to follow the steps outlined in this guide carefully and understand the implications of changing the RAM speed settings on your MSI motherboard.
In the following sections, we will walk you through the step-by-step process of accessing the BIOS, navigating to the RAM settings, adjusting the RAM speed, and saving the changes. So, let’s dive in and learn how to change RAM speed in BIOS on MSI motherboards.
Step 1: Accessing BIOS
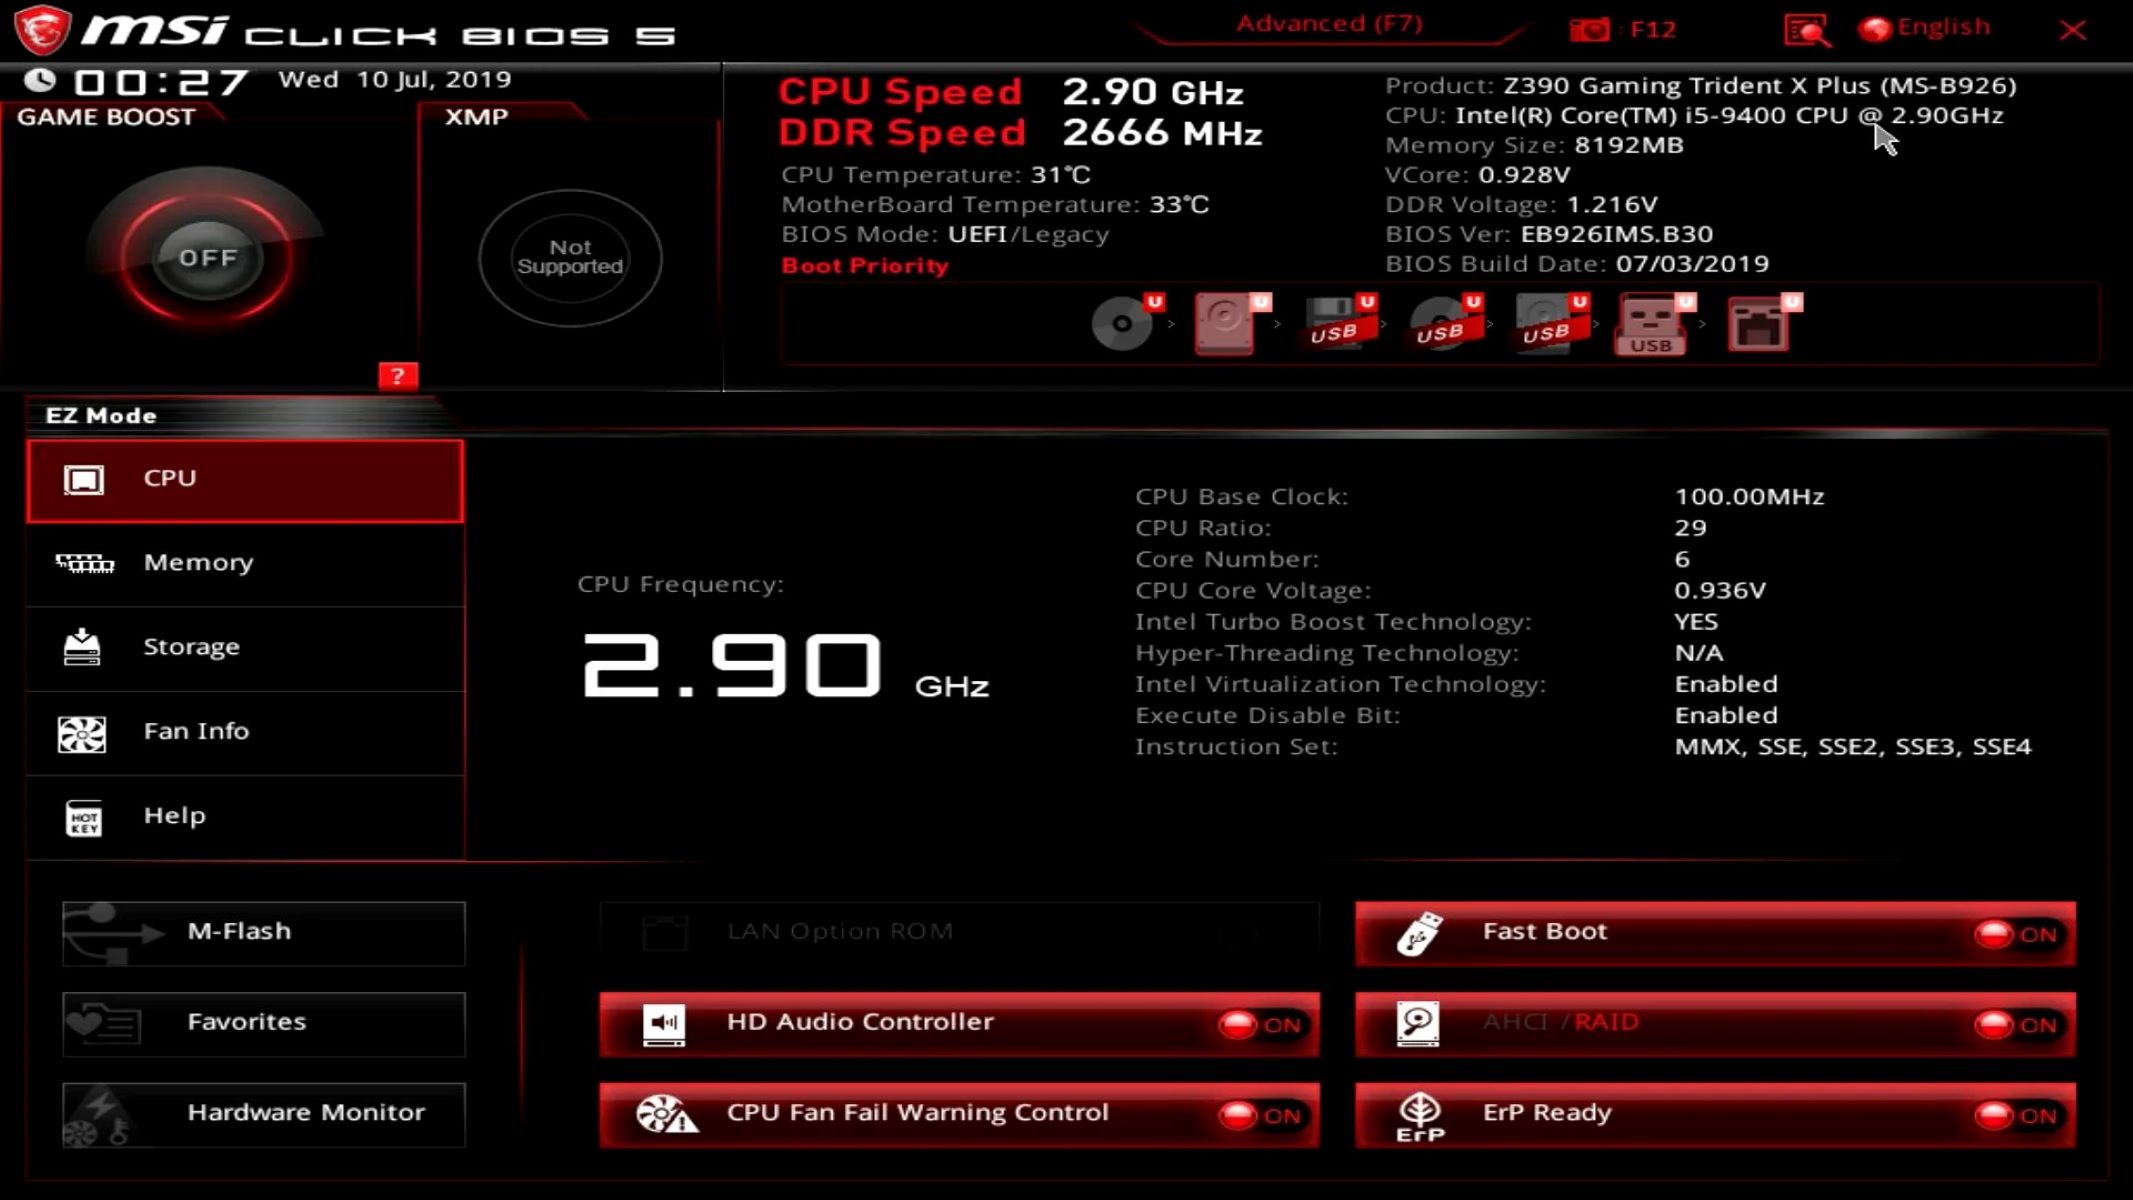
Before you can change the RAM speed in BIOS on your MSI motherboard, you need to access the BIOS settings. The BIOS (Basic Input/Output System) is a firmware interface that allows you to configure and manage various hardware settings of your computer.
To access the BIOS, follow these steps:
- Start or restart your computer. As soon as the computer starts, look for a message on the screen indicating the key or keys you need to press to enter the BIOS setup. The key(s) may vary depending on your MSI motherboard model, but commonly used keys include F2, Del, F12, or Esc.
- Press the designated key(s) repeatedly until you enter the BIOS setup utility. Be sure to do this before the operating system starts loading. If you miss the window of opportunity, you can restart your computer and try again.
- Once you successfully access the BIOS, you will be presented with a menu or interface that allows you to navigate and modify various settings. Use the arrow keys on your keyboard to navigate through the options.
Please note that accessing the BIOS may vary depending on the motherboard model and firmware version. If you are unsure about the key(s) to access the BIOS, refer to the motherboard’s manual or MSI’s official website for specific instructions related to your motherboard model.
Now that you have successfully accessed the BIOS, you can move on to the next step, which is navigating to the RAM settings to change the speed.
Step 2: Navigating to RAM Settings
Once you have accessed the BIOS on your MSI motherboard, you can proceed to navigate to the RAM settings to make changes to the RAM speed.
To navigate to the RAM settings, follow these steps:
- Look for a tab or menu option related to “Settings” or “Advanced Settings” in the BIOS interface. The naming and layout of the BIOS may differ depending on the motherboard model.
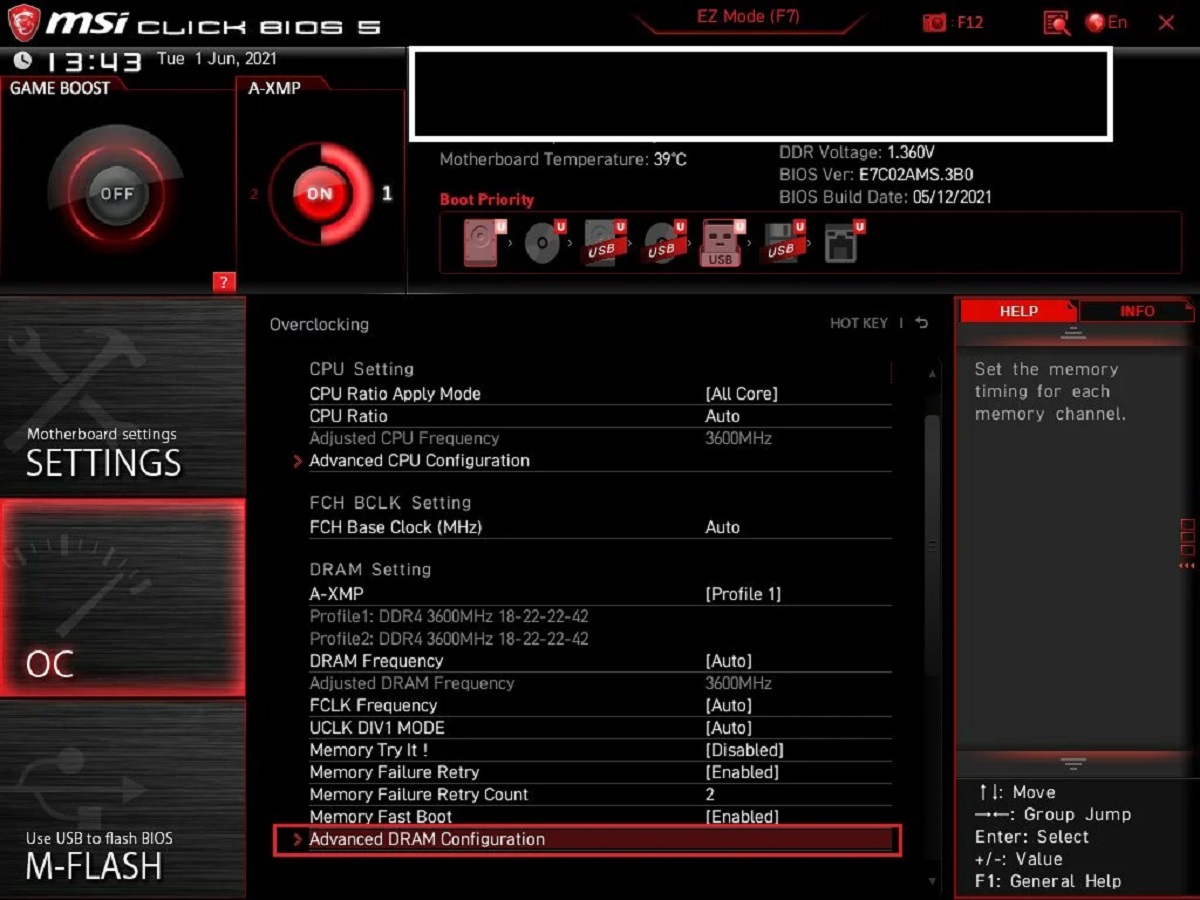
- Within the settings menu, locate and select the option that corresponds to “Memory” or “DRAM” settings. This is where you will find the options related to RAM speed.
- Once you have selected the “Memory” or “DRAM” settings, a new set of options specific to the RAM will be displayed. These options may include the RAM speed, voltage, timings, and other related parameters.
It’s worth mentioning that the BIOS interface can vary across MSI motherboard models. Therefore, the exact location and naming of the options may be slightly different on your specific motherboard. Refer to the motherboard’s manual or MSI’s official website for any specific instructions related to your motherboard model.
Keep in mind that adjusting the RAM speed is an advanced setting, and making incorrect changes can potentially lead to system instability or even damage your hardware. It’s recommended to do thorough research and consult the motherboard manual or MSI support if you are unsure about the specific options or their implications.
With the RAM settings now in front of you, you can proceed to the next step and adjust the RAM speed according to your requirements.
Step 3: Adjusting RAM Speed
Now that you have accessed the RAM settings in the BIOS on your MSI motherboard, it’s time to adjust the RAM speed. Here’s how you can do it:
- Locate the option that allows you to change the RAM speed. This option may be labeled as “DRAM Frequency,” “Memory Speed,” or something similar. The available options will depend on your specific motherboard model and the RAM modules installed on your system.
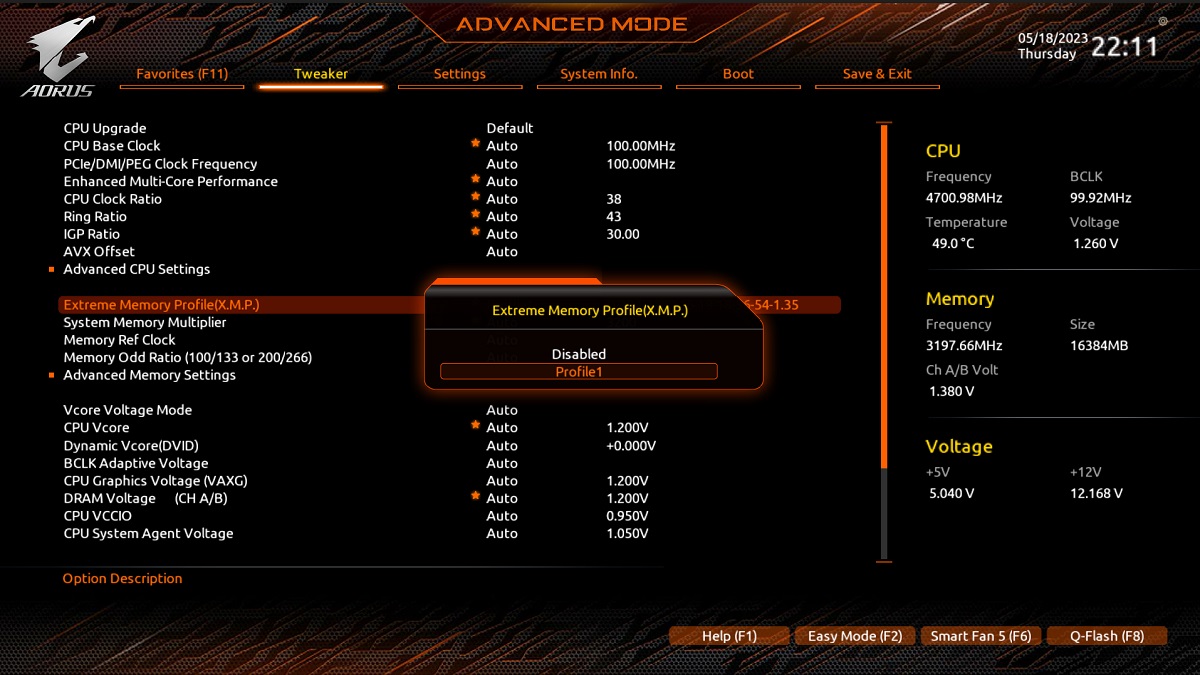
- Use the arrow keys on your keyboard to select the desired RAM speed. You may have different speed options to choose from, such as the default speed, XMP profiles (if supported), or manual settings.
- It’s important to note that the RAM speed is typically listed in megahertz (MHz). Higher MHz values indicate faster RAM speeds, but not all RAM modules or systems can handle higher speeds. Consult your RAM module specifications to ensure that you select a compatible and supported RAM speed for your system.
- Once you have selected the desired RAM speed, press the designated key – often F10 or Esc – to save the changes made to the BIOS settings. This action will prompt a confirmation dialog asking if you want to save and exit the BIOS.
Remember to double-check your settings before saving to avoid any potential issues. It’s also a good idea to take note of the original RAM speed before making any changes, so you can revert back to it if needed.
Keep in mind that adjusting the RAM speed can have an impact on system stability and compatibility. If you experience unexpected issues or instability after changing the RAM speed, try reverting to the default settings or consult MSI support for further assistance.
Now that you have adjusted the RAM speed, it’s time to save the changes and exit the BIOS, which we will discuss in the next step.
Step 4: Saving Changes and Exiting BIOS
After adjusting the RAM speed in the BIOS on your MSI motherboard, it’s important to save the changes and exit the BIOS properly to ensure that the new settings take effect. Here’s how you can do it:
- Once you have adjusted the RAM speed to your desired setting, navigate to the exit or save options within the BIOS menu. This option is typically located at the bottom of the screen.
- Select the option to save and exit the BIOS. This action will prompt a confirmation dialog asking if you want to save the changes made to the BIOS settings.
- Confirm your choice by selecting “Yes” or “Save and Exit.” This action will save the changes you made to the RAM speed and other settings.
- The computer will then restart with the new RAM speed settings in effect. You can verify that the changes have been applied by checking the BIOS settings again or using system monitoring tools.
It’s important to note that improper changes or incorrect settings in the BIOS can lead to system instability and other issues. If you encounter any problems after saving the changes and restarting your computer, you can try restoring the BIOS settings to their default values or resetting the CMOS (Complementary Metal-Oxide-Semiconductor) using the appropriate methods provided by MSI or your motherboard’s documentation.
By following these steps, you should now be able to change the RAM speed in the BIOS on your MSI motherboard. Always exercise caution when adjusting BIOS settings and make sure to research and understand the implications of any changes you make. With the optimized RAM speed, you can experience improved performance and productivity from your computer.
Conclusion
Changing the RAM speed in BIOS on your MSI motherboard can significantly impact the performance and efficiency of your computer. By optimizing the RAM speed to match your specific workload, you can experience smoother multitasking, faster data processing, and improved overall system responsiveness.
In this guide, we covered the step-by-step process of accessing the BIOS, navigating to the RAM settings, adjusting the RAM speed, and saving the changes. Remember, changing the RAM speed is an advanced setting that requires caution and careful consideration. Incorrect settings can lead to system instability or even hardware damage.
Before making any adjustments, it’s essential to research and understand the capabilities of your RAM modules and consult the motherboard manual or MSI support for specific instructions related to your motherboard model.
Always take note of the original RAM speed and settings before making any changes, so you can revert back if needed. Monitor your system after adjusting the RAM speed to ensure stability and compatibility with your hardware and software.
We hope this guide has provided you with the necessary information to successfully change the RAM speed in BIOS on your MSI motherboard. Remember, optimizing your RAM speed can unlock the full potential of your system and enhance your overall computing experience. Enjoy your newfound performance boost!