Introduction
Welcome to this guide on how to enable XMP on an MSI motherboard. If you’re a PC enthusiast or a gamer looking to squeeze out every ounce of performance from your computer, XMP (Extreme Memory Profile) is a feature you shouldn’t overlook. XMP allows you to overclock your RAM (Random Access Memory) to higher speeds without having to manually tweak the settings, making it a convenient and efficient way to improve your system’s performance.
Overclocking your RAM can result in faster data transfer rates, reduced loading times, and improved overall system responsiveness. While XMP is a valuable tool, it’s important to note that not all motherboards support this feature. Therefore, it’s crucial to check the compatibility of your MSI motherboard before attempting to enable XMP.
This guide will walk you through the process of checking your motherboard’s compatibility, updating your BIOS (Basic Input/Output System), enabling XMP in the BIOS settings, testing the stability of your RAM overclock, and troubleshooting any issues that may arise along the way. By the end of this guide, you’ll have a thorough understanding of how to enable XMP on your MSI motherboard, and you’ll be ready to harness the full potential of your RAM.
Before we dive into the steps, it’s essential to highlight the importance of caution and the potential risks involved with overclocking. Overclocking can increase power consumption, generate more heat, and potentially shorten the lifespan of your hardware if not done properly. Therefore, it’s advisable to proceed with caution and be mindful of your system’s temperature and stability throughout the process.
Now that we have an overview of what’s to come, let’s begin by understanding more about XMP, its benefits, and the importance of compatibility with your MSI motherboard.
Understanding XMP
XMP, or Extreme Memory Profile, is an industry-standard feature developed by Intel. It allows your computer’s BIOS to automatically configure and optimize the settings of your RAM modules to achieve higher speeds and better performance. By enabling XMP, you can unlock the full potential of your RAM and maximize its performance without the need for manual overclocking.
RAM modules are usually designed to operate at a specific speed, known as their JEDEC (Joint Electron Device Engineering Council) standard. However, most RAM modules have the capability to run at higher speeds, but this requires adjustments to the timing, voltage, and other settings. XMP profiles contain preconfigured settings that allow your RAM to operate at higher frequencies and with improved timings, providing a significant performance boost.
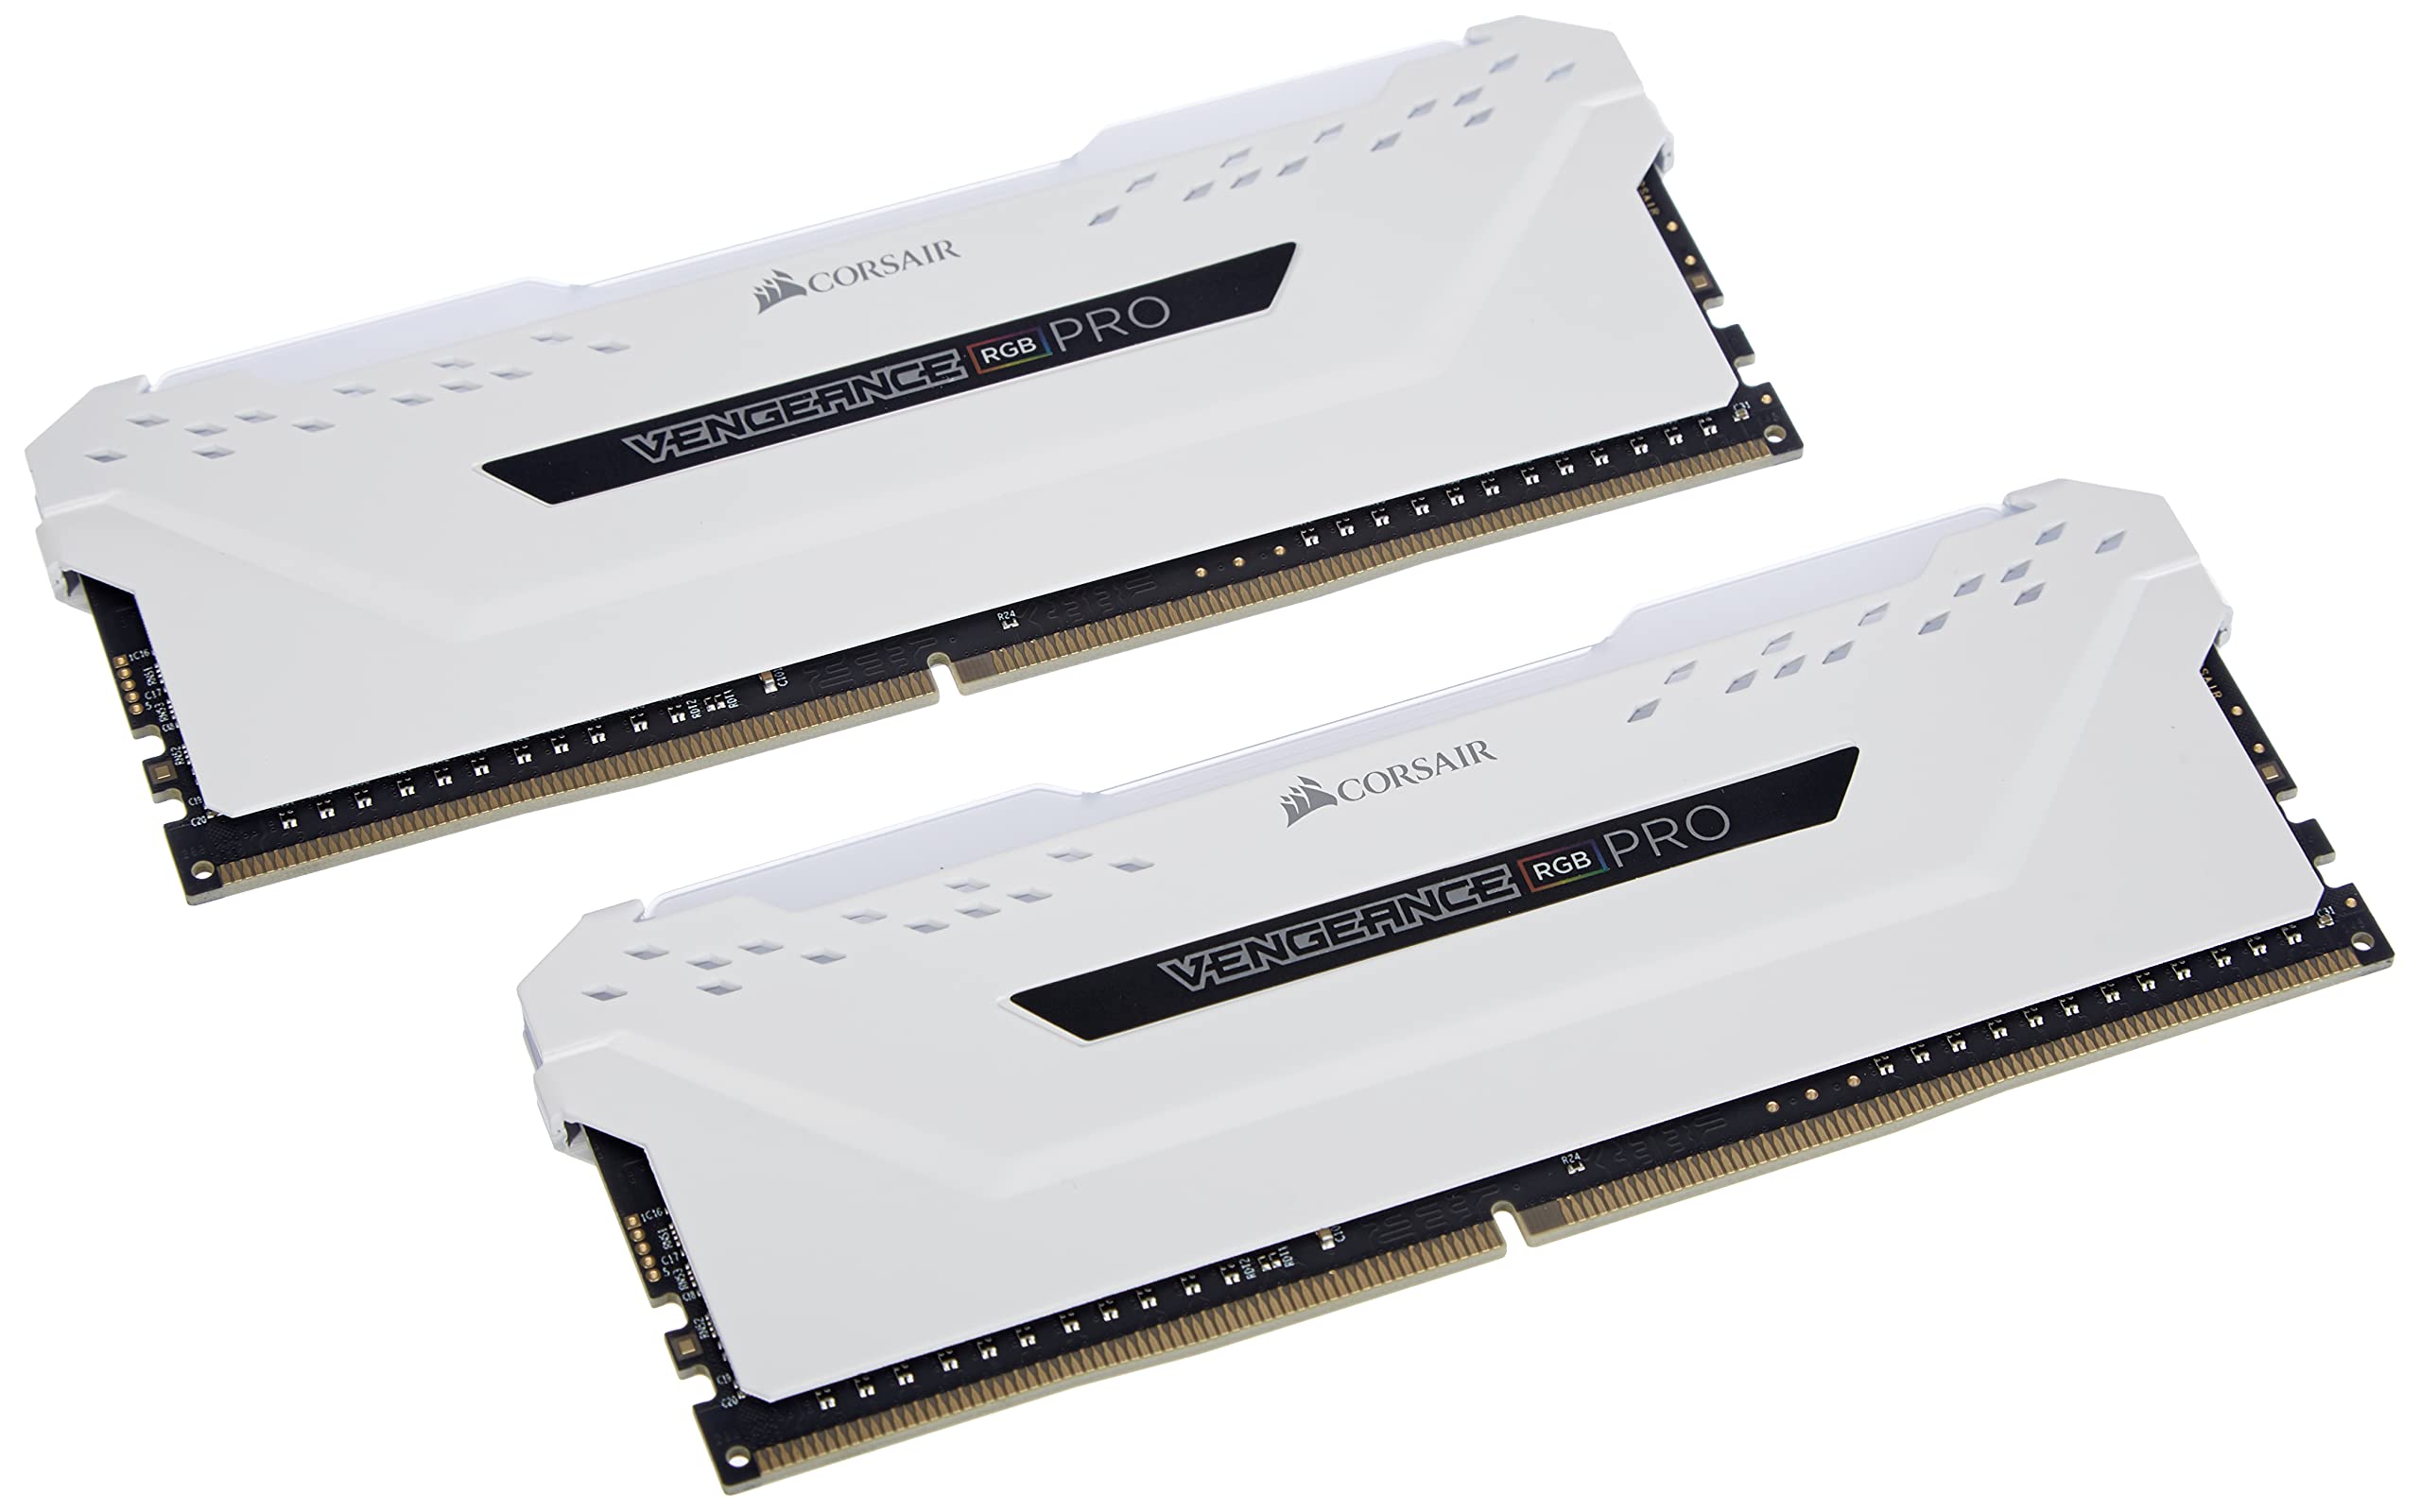
It’s important to note that XMP profiles are specific to the manufacturer and model of your RAM modules. This means that not all RAM will have XMP profiles available, and not all motherboards will support the XMP feature. Therefore, it’s crucial to ensure that both your RAM and motherboard are compatible with XMP before attempting to enable it.
Enabling XMP is particularly beneficial for tasks that require high memory bandwidth, such as gaming, video editing, and rendering. It allows for faster data transfer between the RAM and other components, reducing latency and improving overall system responsiveness. The increased speed provided by XMP can result in faster game loading times, smoother multitasking, and improved performance in resource-intensive applications.
Keep in mind that XMP operates within the safe limits defined by the RAM manufacturer to ensure stability and reliability. However, it’s essential to monitor the temperatures of your RAM modules and ensure they stay within acceptable ranges, especially when running at higher speeds. Additionally, enabling XMP may void your RAM’s warranty, so it’s important to weigh the performance benefits against any potential risks.
Now that we have a better understanding of XMP, its benefits, and the importance of compatibility, let’s move on to checking the compatibility of your MSI motherboard with XMP.
Checking Compatibility
Before enabling XMP on your MSI motherboard, it’s crucial to ensure that both your motherboard and your RAM modules are compatible with XMP. This step is essential to avoid any potential issues or incompatibilities during the process.
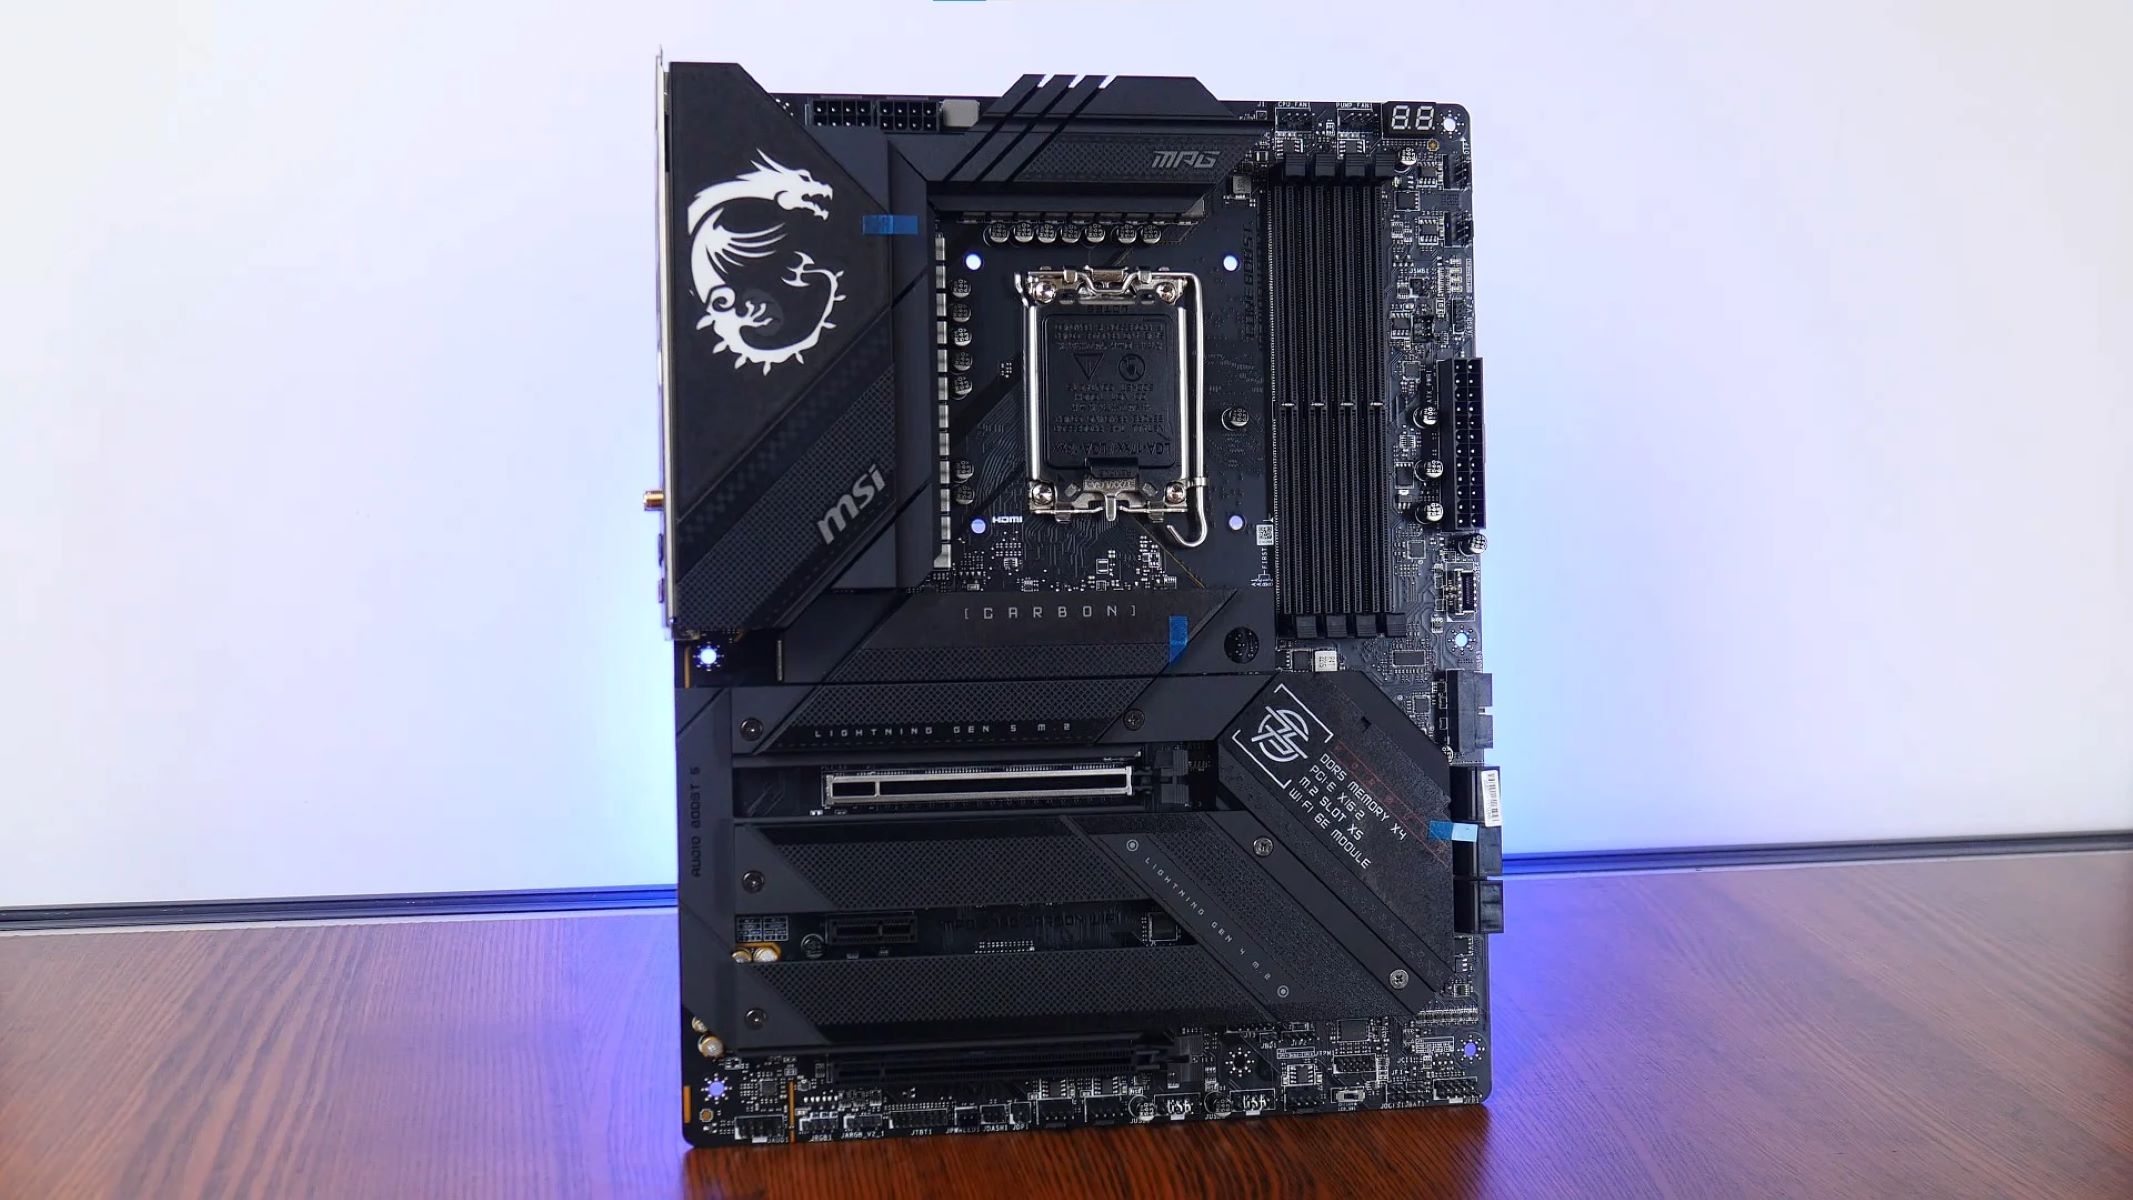
To begin, you’ll need to identify the model of your MSI motherboard. You can usually find this information printed on the motherboard itself or in the documentation that came with your computer. Once you have the model number, visit the official MSI website and search for your motherboard model. Navigate to the specifications page for your motherboard, where you’ll find detailed information about its features and supported technologies.
Look for XMP compatibility in the motherboard’s specifications. It’s important to note that while most MSI motherboards support XMP, there might be certain models or older versions that do not have this feature. Double-checking the compatibility will ensure a smooth and successful enablement of XMP.
Once you’ve confirmed that your motherboard supports XMP, it’s time to check the compatibility of your RAM modules. Refer to the documentation or product specifications for your RAM to determine if it has XMP profiles available. Look for the rated speed, timings, and voltage specifications of your RAM modules. Ensure that these specifications align with the XMP profile settings provided by the manufacturer.
If your RAM modules are not XMP-compatible, you may have limited options for optimizing their performance. In such cases, you may need to manually overclock your RAM and adjust the settings in the BIOS. However, this process requires more advanced knowledge and can potentially have higher risks. Therefore, it is generally recommended to use XMP-compatible RAM modules to fully leverage the benefits of XMP.
By checking the compatibility of your MSI motherboard and RAM modules with XMP, you can ensure a seamless and successful enablement of XMP without any compatibility issues. Now that you have confirmed the compatibility, the next step is to update your motherboard’s BIOS to the latest version to unlock the full potential of XMP.
Updating BIOS
Before enabling XMP on your MSI motherboard, it’s important to ensure that your motherboard’s BIOS is up to date. The BIOS (Basic Input/Output System) is the firmware that controls and initializes your computer’s hardware components. Updating the BIOS can introduce new features, improve system stability, and provide better compatibility with the latest hardware and software.
To update the BIOS of your MSI motherboard, follow these steps:
- Visit the official MSI website and navigate to the support section.
- Enter your motherboard model and search for the latest BIOS version available for download.
- Download the BIOS file to your computer.
- Extract the downloaded file and locate the BIOS update utility. The utility might be a standalone executable file or bundled with a BIOS update tool provided by MSI.
- Follow the instructions provided by the utility to update the BIOS. This usually involves running the utility and selecting the BIOS file for installation.
- During the BIOS update process, make sure not to interrupt the power supply or restart your computer.
- After the update is complete, your computer will restart, and the new BIOS version will be installed.
It’s important to note that updating the BIOS carries some risks, as any interruption or mistake during the process can potentially damage your motherboard. Therefore, it’s crucial to follow the instructions provided by MSI carefully and ensure that your computer’s power supply remains stable throughout the update.
Updating the BIOS may also reset certain settings to their default values, including XMP. Therefore, it’s recommended to take note of your current BIOS settings before the update and reconfigure them afterward if necessary.
With the BIOS successfully updated, you’re now ready to enable XMP in the BIOS settings of your MSI motherboard. This will optimize your RAM performance and unlock its full potential. Let’s proceed to the next section to learn how to enable XMP.
Enabling XMP in BIOS
Now that you have updated the BIOS of your MSI motherboard, it’s time to enable XMP and unleash the full performance of your RAM modules. Enabling XMP in the BIOS is a straightforward process and can be done by following these steps:
- Start your computer and enter the BIOS/UEFI setup. This is typically done by pressing the “Delete” or “F2” key during the boot process. Refer to your motherboard’s manual or look for on-screen prompts for the specific key to press.
- Once you’re in the BIOS setup, navigate to the “OC” (Overclocking) or “Settings” section. The exact location and name of the setting may vary depending on your motherboard model.
- Look for the option related to memory overclocking or XMP. It may be labeled as “Memory Profile,” “DRAM Configuration,” or something similar. Select the option to enter the XMP settings.
- In the XMP settings, you will typically find different profiles available (e.g., XMP 1, XMP 2, XMP off). Select the appropriate XMP profile based on the specifications of your RAM modules. Usually, there will be a label indicating the rated frequency of the XMP profile.
- Save the changes and exit the BIOS setup. This is typically done by pressing the “F10” key or selecting the “Save and Exit” option from the menu.
Upon restarting your computer, the XMP profile will be applied, and your RAM modules will operate at the higher speeds specified in the profile. It’s recommended to monitor the temperature and stability of your system after enabling XMP to ensure everything is functioning properly.
If, for any reason, your computer becomes unstable or fails to boot after enabling XMP, you can try a few troubleshooting steps. First, you can try selecting a lower XMP profile or even disabling XMP altogether. If the issue persists, you may need to manually adjust the RAM settings, such as the frequency or timings, though this requires more advanced knowledge.
Now that you have successfully enabled XMP in the BIOS settings of your MSI motherboard, it’s time to test the stability of your RAM overclock to ensure optimal performance. Let’s move on to the next section to learn how to test the stability of your system.
Testing Stability
After enabling XMP and overclocking your RAM modules on your MSI motherboard, it’s crucial to test the stability of your system to ensure that it can handle the increased performance without encountering any issues. Testing the stability will help you identify any potential instability or errors that may occur during prolonged usage or resource-intensive tasks.
To test the stability of your system after enabling XMP, you can use various software tools such as MemTest86, Prime95, or AIDA64. These tools stress-test the RAM and other components to ensure their stability under heavy loads. Here’s a general outline of how to perform stability testing:
- Make sure your computer is in a well-ventilated area and that the temperatures are within safe limits. Overclocking can generate additional heat, so it’s important to monitor and maintain optimal temperatures.
- Install and run one of the stability testing tools mentioned above. These tools typically have multiple test options available, such as running a specific number of benchmark cycles or customizing the type of stress applied to the system.
- Let the stability testing tool run for an extended period, typically a few hours or even overnight. The longer you test, the more confident you can be in the stability of your system.
- Monitor the system during the stability testing phase. Keep an eye on the CPU and RAM temperatures, as well as system resource usage. If any errors or instability occur, the testing tool will typically report them or cause the system to crash.
- If the stability test passes without any issues, you can be confident that your system is stable and can handle the increased performance that XMP provides. However, keep in mind that stability testing is not a guarantee of absolute stability, as different workloads or environmental factors may still cause occasional errors.
If you encounter errors or instability during stability testing, it’s recommended to revisit the BIOS settings and make adjustments. You can try selecting a lower XMP profile or manually tweaking the RAM timings, frequency, or voltage settings. It may require some trial and error to find the optimal settings for your specific configuration.
By testing the stability of your system after enabling XMP, you can ensure that your system can handle the increased performance without encountering any issues. This step is crucial to maintain the long-term stability and reliability of your computer.
Now that you’ve successfully enabled XMP, tested the stability of your system, and ensured that everything is working as expected, you can enjoy the improved performance and responsiveness of your MSI motherboard. In the next section, we’ll cover some common troubleshooting steps in case you encounter any issues during the XMP enablement process.
Troubleshooting XMP
While enabling XMP on your MSI motherboard is generally a straightforward process, you may encounter some issues along the way. Don’t worry – troubleshooting these issues can help you overcome any obstacles and enjoy the benefits of XMP. Here are some common troubleshooting steps to consider:
- Check for BIOS updates: Ensure that you have the latest BIOS version installed on your motherboard. BIOS updates often address compatibility issues and may provide better stability for XMP profiles.
- Try a different XMP profile: If you experience system instability or boot failures after enabling XMP, try selecting a different XMP profile. Some XMP profiles may be more stable than others, and choosing a lower-rated profile can help achieve a balance between performance and stability.
- Adjust RAM timings and voltages: If issues persist, you can try manually adjusting the RAM timings or voltage settings in the BIOS. It may require some experimentation and knowledge of your RAM’s specifications, but this can help troubleshoot compatibility issues.
- Reset CMOS: If you’ve made multiple changes in the BIOS settings and encounter persistent issues, you can try resetting the CMOS (Complementary Metal-Oxide-Semiconductor) to default settings. This will revert the BIOS settings back to their original state and give you a clean slate to work with.
- Ensure proper RAM placement: Make sure that your RAM modules are properly inserted into their corresponding slots on the motherboard. Improperly seated RAM modules can cause instability issues and prevent XMP from functioning correctly.
- Test each RAM module separately: If you have multiple RAM modules installed, try testing them individually to identify any faulty modules. One faulty module can cause stability issues even if the other modules are working properly.
- Consult manufacturer support: If you’ve exhausted all troubleshooting steps and continue to experience issues, reaching out to MSI’s customer support or the manufacturer of your RAM modules can provide valuable insights and assistance.
Remember, overclocking your RAM always carries some risk, and stability issues can arise even with compatible hardware. It’s essential to carefully monitor temperatures, voltages, and system stability during the troubleshooting process to ensure the longevity and reliability of your system.
By following these troubleshooting steps, you can resolve any issues that may arise when enabling XMP on your MSI motherboard. This ensures that you can fully enjoy the benefits of increased RAM performance without compromising the stability of your system.
With troubleshooting covered, we have come to the end of our guide. You should now have a comprehensive understanding of how to enable XMP on your MSI motherboard and optimize your RAM’s performance. Remember to keep your system’s temperature and stability in check, and enjoy the improved performance boost provided by XMP.
Conclusion
In this guide, we have explored how to enable XMP on an MSI motherboard to unlock the full potential of your RAM and enhance your computer’s performance. By following the steps outlined in this guide, you should now have the knowledge and confidence to utilize XMP on your MSI motherboard.
We began by understanding XMP and its benefits, emphasizing the importance of compatibility between your motherboard and RAM modules. We then discussed how to check the compatibility of your MSI motherboard and RAM modules to ensure a smooth enablement of XMP.
Next, we covered the process of updating the BIOS of your MSI motherboard, a crucial step to maximize the functionality and compatibility of XMP. We then guided you through the process of enabling XMP in the BIOS, allowing your RAM modules to operate at higher frequencies and improved timings.
To ensure stability and reliability, we highlighted the significance of testing the stability of your system after enabling XMP. We provided guidance on using stability testing tools and troubleshooting any issues that may arise during the process.
In the final section, we explored common troubleshooting steps and emphasized the importance of monitoring system temperature and stability to protect the longevity of your hardware.
By following these steps and best practices, you can take full advantage of XMP and enjoy the increased performance and responsiveness that it offers. Remember to be cautious and monitor your system’s temperatures and stability throughout the process.
Thank you for joining us on this guide to enabling XMP on an MSI motherboard. We hope that you found this information helpful, and we wish you the best in optimizing your computer’s performance.