Introduction
Soldering is a crucial skill for anyone working with electronics, and being able to solder a motherboard is particularly valuable. Whether you’re repairing a broken component or customizing your computer, knowing how to solder a motherboard can save you time and money. By soldering, you can establish proper electrical connections between electronic components, allowing them to function effectively. This article will guide you through the process of soldering a motherboard, from necessary tools and safety measures to step-by-step instructions.
Before diving into the process, it’s important to note that soldering requires patience and precision. Taking the time to master the technique will ensure successful solder joints and prevent damage to the motherboard. It’s also essential to prioritize safety while soldering, as the process involves high temperatures and potential exposure to harmful substances.
In this guide, we’ll walk you through the soldering process step-by-step, covering everything from preparing the motherboard for soldering to testing the solder joints. We’ll also discuss common mistakes to avoid, helping you achieve professional results. By the end of this article, you’ll have the knowledge and skills necessary to confidently solder a motherboard.
Safety Measures
When it comes to soldering a motherboard, safety should always be your top priority. Here are some essential safety measures to ensure a secure and risk-free working environment:
- Work in a well-ventilated area: Soldering involves the use of flux and solder, which can release fumes. Ensure that you have proper ventilation to avoid inhalation of these potentially harmful substances. If necessary, consider using a fume extractor or working near an open window.
- Wear protective gear: Protect your eyes with safety glasses or goggles to prevent any accidental splashes of hot solder. Additionally, consider wearing gloves to shield your hands from burns and to avoid direct contact with any hazardous chemicals.
- Keep the workspace clean and organized: A clutter-free workspace minimizes the risk of accidents and helps you maintain better focus. Keep flammable materials, such as paper or fabric, away from your soldering station to prevent potential fire hazards.
- Use a soldering iron stand: When not in use, place your soldering iron on a stable stand equipped with a heat-resistant base. This prevents accidental burns and reduces the chances of the soldering iron falling and causing damage or injury.
- Handle the soldering iron with care: Always treat the soldering iron as if it’s hot, even when it’s not in active use. Avoid touching the tip directly, as it can cause severe burns. Use the appropriate grips or handle when carrying or adjusting the soldering iron.
- Disconnect power: Before working on a motherboard, ensure that all sources of power are disconnected. Unplug the computer and remove any batteries to eliminate the risk of electric shock.
- Practice proper solder disposal: Dispose of used solder and soldering waste safely. Don’t leave excess solder on your workspace as it can cause damage or injury. Collect and dispose of waste material according to local regulations.
By following these safety measures, you can create a secure working environment that minimizes the risk of accidents and injuries. Remember, safety should always be your top priority throughout the soldering process.
Tools and Materials Required
Before you can begin soldering a motherboard, there are several essential tools and materials you’ll need to have on hand. Here’s a list of what you’ll need:
- Soldering Iron: A soldering iron is the primary tool used for soldering. Choose one with an adjustable temperature setting and a fine tip that is suitable for electronics work.
- Solder Wire: Select a high-quality solder wire with the appropriate diameter for your project. Lead-free solder is a popular choice due to its environmentally friendly properties.
- Flux: Flux helps clean the surface and allows the solder to flow smoothly. Consider using a flux pen or flux paste for better control and ease of application.
- Desoldering Pump or Braid: These tools are necessary for removing solder from existing solder joints. They help in repairing or replacing components without damaging the motherboard.
- Soldering Stand: A soldering stand with a heat-resistant base keeps your soldering iron secure and prevents accidental burns.
- Third Hand Tool: This tool holds your motherboard or components in place, providing stability and freeing up your hands for soldering.
- Wire Cutters: Use wire cutters to trim excess wire and remove any unwanted components or connections.
- Heat Shrink Tubing or Electrical Tape: These materials are useful for insulating and protecting soldered connections from short circuits or accidental contact.
- Isopropyl Alcohol and Cotton Swabs: Use isopropyl alcohol to clean the soldered area and remove any flux residue.
- Safety Equipment: Don’t forget to have safety glasses, gloves, and proper ventilation in place for protection.
Having these tools and materials readily available before you start soldering will ensure a smooth and efficient workflow. Remember to choose high-quality tools and materials to achieve professional-level soldering results.
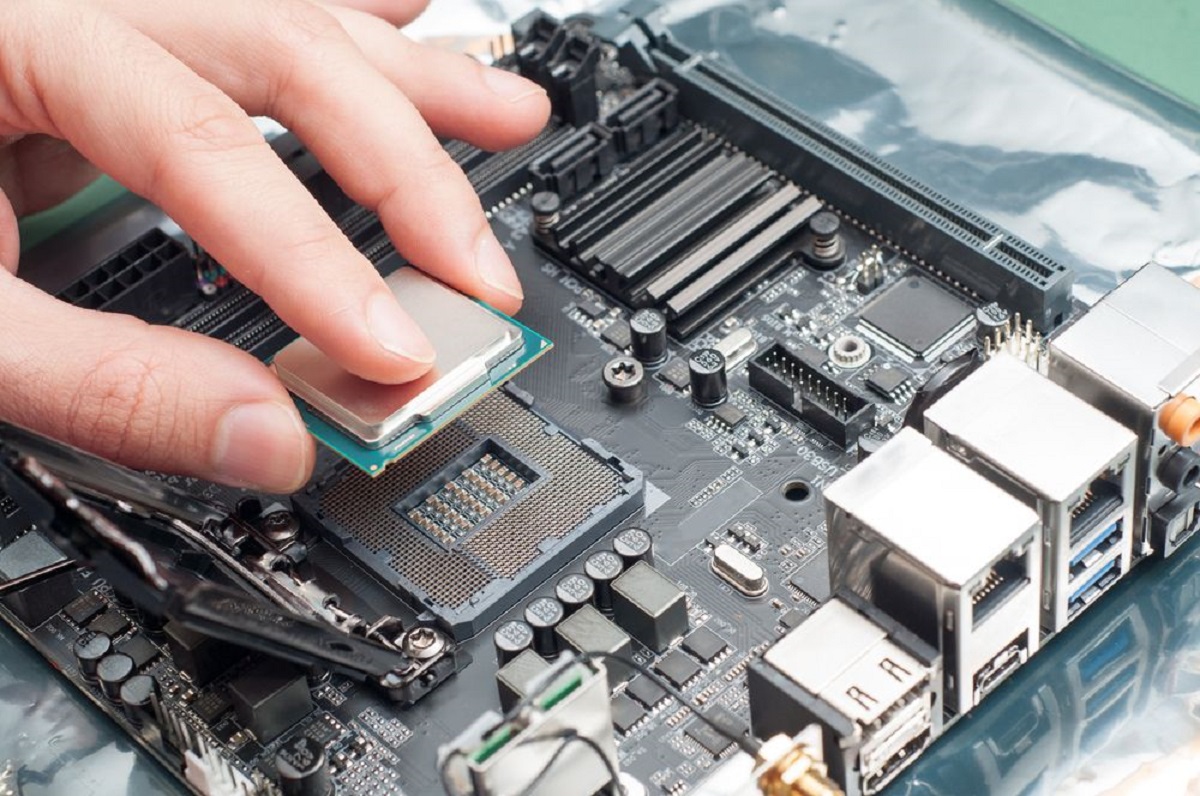
Preparing the Motherboard for Soldering
Before you can start soldering the motherboard, it’s essential to properly prepare the surface and components for a successful soldering process. Follow these steps to ensure your motherboard is ready for soldering:
- Clean the motherboard: Use isopropyl alcohol and cotton swabs to clean the area where you’ll be soldering. Remove any dirt, dust, or debris that could interfere with the soldering process. Ensuring a clean surface will help achieve better solder joints.
- Inspect the motherboard: Carefully examine the motherboard for any visible damage, such as broken traces or damaged pads. Repair any surface-level issues before proceeding with soldering. It’s crucial to have a functioning motherboard before attempting any soldering work.
- Identify the soldering points: Take your time to identify the specific areas or components that you need to solder. This will depend on the purpose of your soldering project, whether it’s repairing a broken connection or adding a new component to the motherboard. Mark these points to ensure accuracy during the soldering process.
- Safely remove components if necessary: If you need to replace or repair a specific component, carefully and safely remove it from the motherboard. Use desoldering techniques such as desoldering pumps or braid to remove excess solder and free the component from the board. Be cautious not to damage the motherboard or nearby components during this process.
- Deburr if needed: If you notice any rough or jagged edges on the soldering points, use a deburring tool or a small file to smoothen them out. This will help create cleaner and more secure solder joints.
- Secure the motherboard: Use a third-hand tool or a suitable clamp to hold the motherboard securely in place. This will prevent any movement or accidental damage while soldering.
By following these steps, you’ll ensure that your motherboard is properly prepared for soldering. Taking the time to clean, inspect, and secure the motherboard will result in more reliable and durable solder joints.
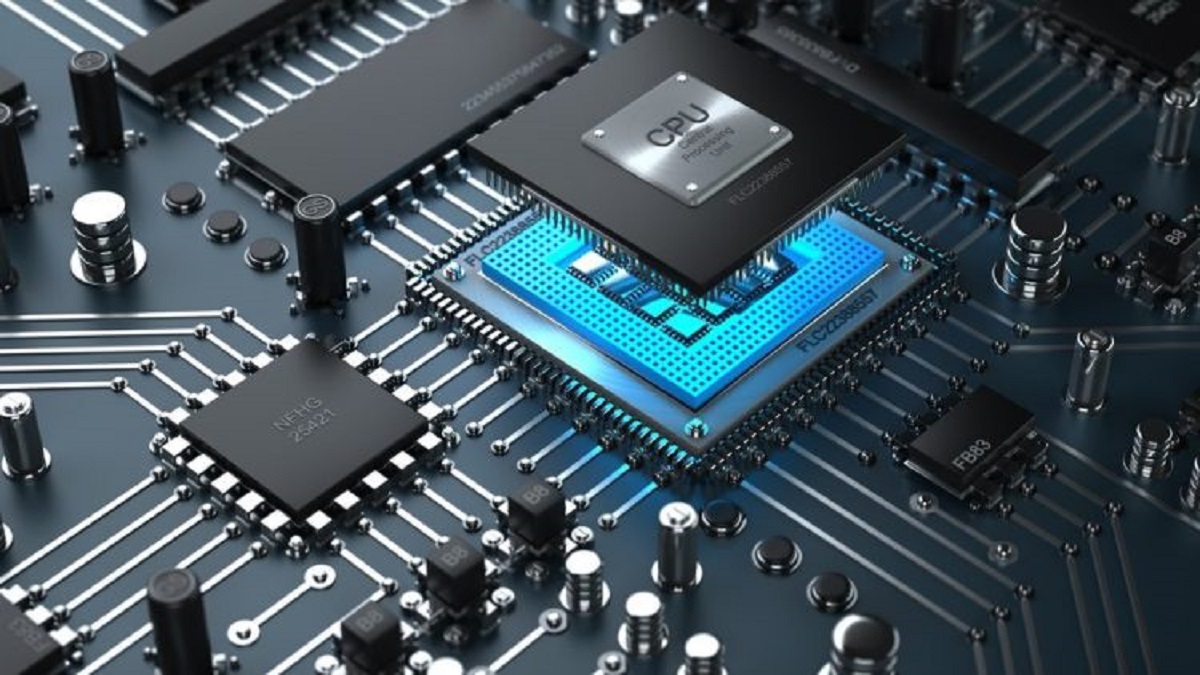
Understanding Soldering Components and Techniques
Before diving into the soldering process, it’s important to familiarize yourself with the key components and techniques involved in soldering a motherboard. This knowledge will help you make informed decisions and improve the quality of your solder joints. Here’s an overview of some essential soldering components and techniques:
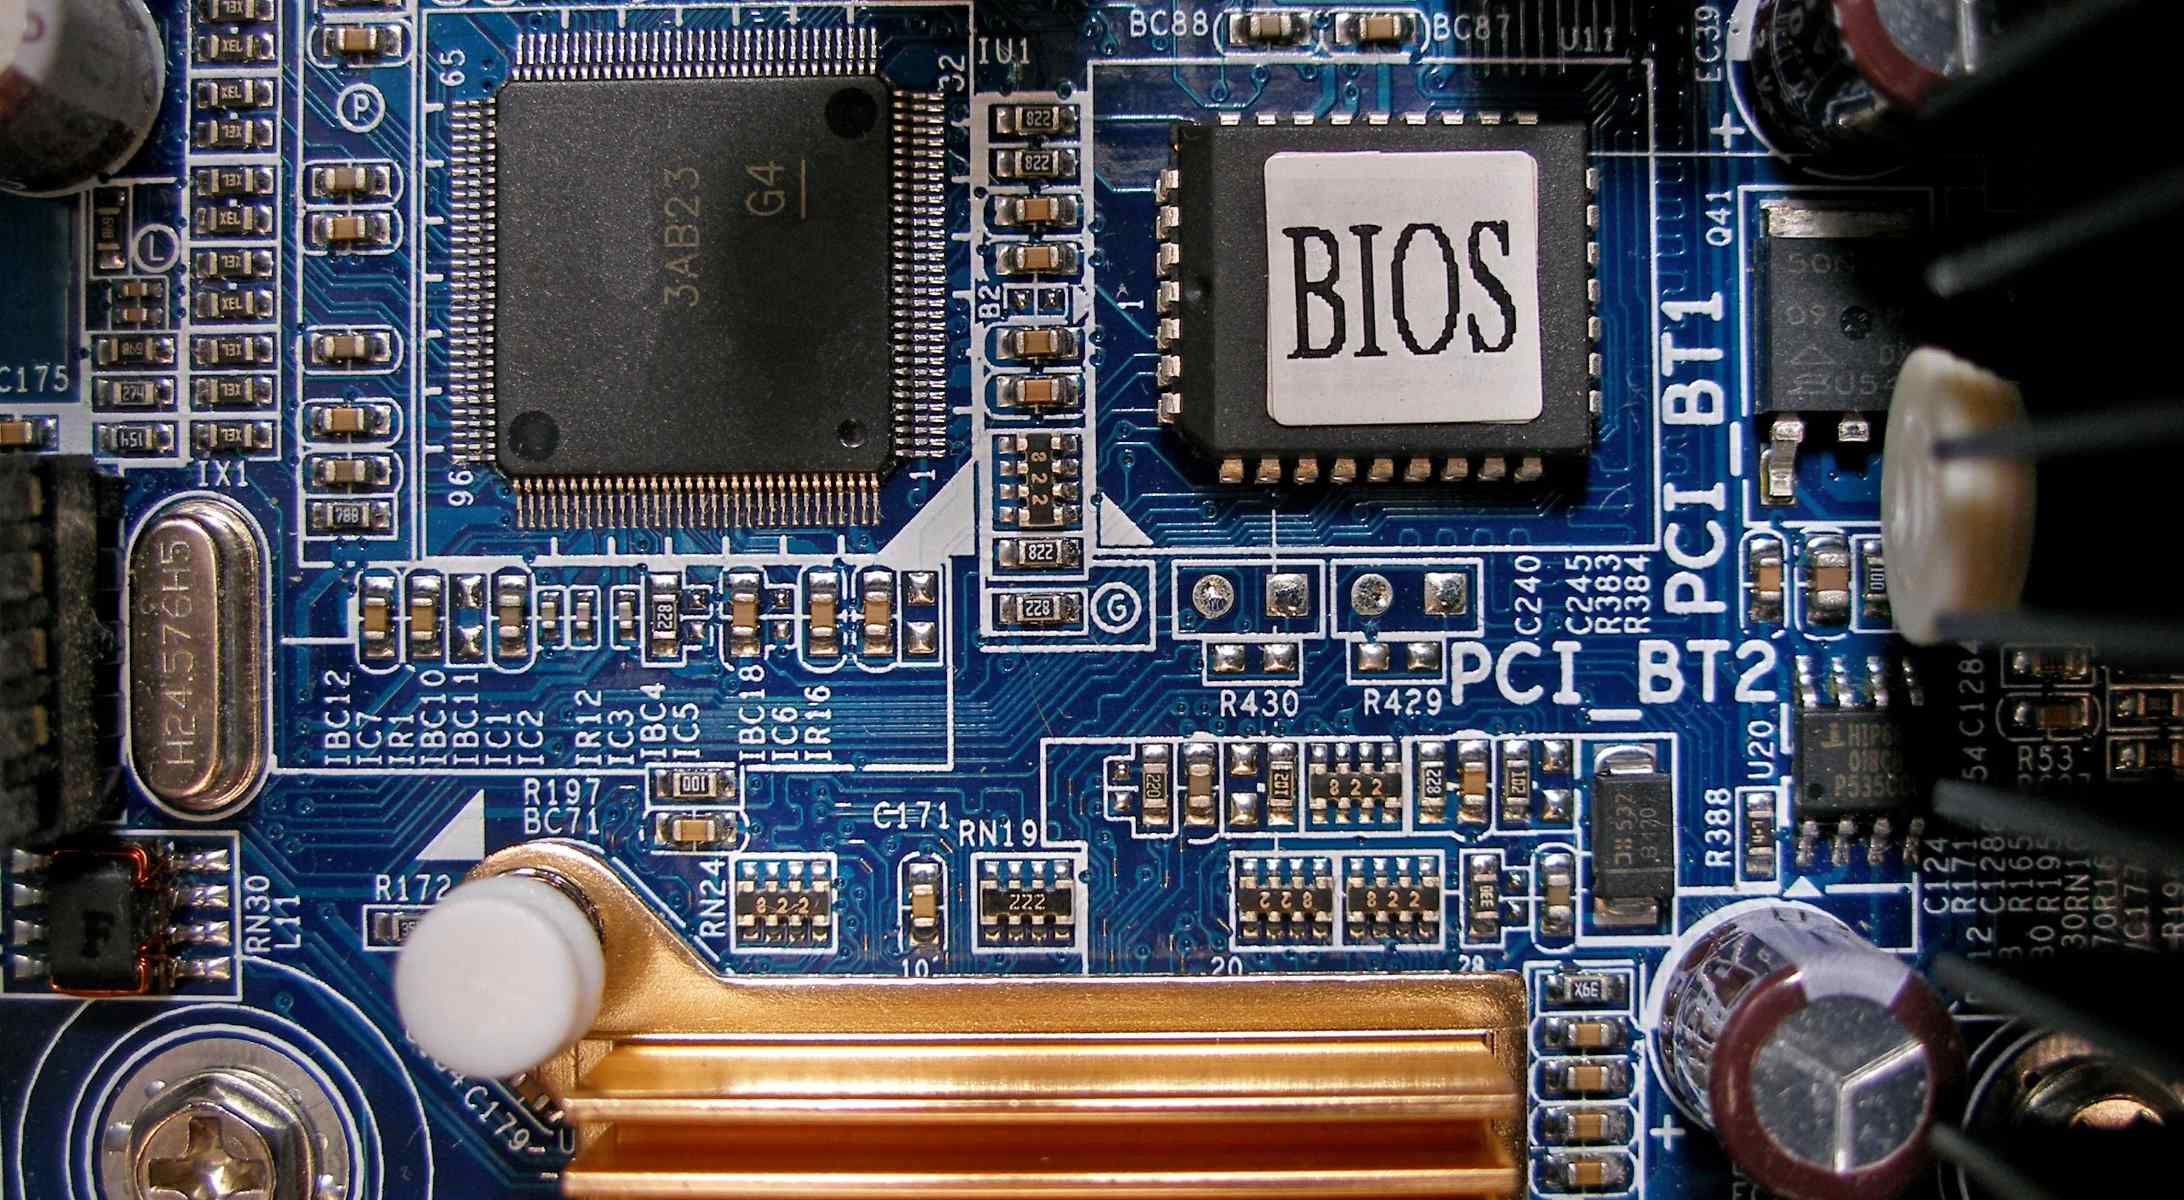
- Solder: Solder is a metal alloy with a low melting point that is used to create electrical connections. It typically consists of tin and lead, although lead-free solder options are now widely available due to environmental concerns.
- Flux: Flux is a chemical compound that helps clean the surface and promote the flow of solder. It removes oxidation, improves wetting, and enhances the formation of strong solder joints. Flux can be in the form of a liquid, paste, or as a core within the solder wire.
- Soldering Iron: A soldering iron is the primary tool used for melting and applying solder. It consists of a handle, heating element, and a replaceable or adjustable tip. Choose a soldering iron that suits your project requirements, with a wattage that can generate sufficient heat.
- Temperature Control: Temperature control is crucial when soldering delicate components on a motherboard. Adjustable soldering irons allow you to set the temperature according to the specific requirements of the components you’re working with.
- Soldering Techniques: Two common soldering techniques used in motherboard soldering are through-hole soldering and surface mount soldering. Through-hole soldering involves inserting components into pre-drilled holes on the motherboard, while surface mount soldering involves soldering components directly onto the surface of the board.
- Wetting: Wetting is the process in which solder flows smoothly onto the surface being soldered. It is influenced by factors such as temperature, cleanliness of the surface, and the presence of flux. Proper wetting ensures a strong and reliable solder joint.
- Heat Control: Controlling the heat during soldering is essential to prevent damage to the components or the motherboard. Avoid applying too much heat for extended periods, as it can lead to overheating and potential damage. Rapidly heat the solder joint, apply solder, and remove the heat as quickly as possible.
By understanding these soldering components and techniques, you’ll have a solid foundation to confidently proceed with soldering the motherboard. Remember to select the appropriate soldering technique based on the components you’re working with and to follow proper heat and temperature control for successful solder joints.
Step-by-Step Guide to Soldering Motherboard
Now that you understand the essentials of soldering, let’s walk through a step-by-step guide to soldering a motherboard:
- Prepare your workstation: Set up your soldering iron, solder, flux, and other necessary tools on your clean and organized workspace. Ensure proper ventilation and have safety equipment within reach.
- Clean the soldering iron: Before starting, clean the soldering iron tip using a wet sponge or brass tip cleaner. This removes any residue or oxidation from previous use, allowing for better heat transfer and solder flow.
- Select the appropriate tip: Choose a soldering iron tip that matches the size and shape required for the soldering job at hand. A chisel or conical tip is commonly used for motherboard soldering, but choose the one that best suits your specific needs.
- Set the temperature: Adjust the temperature of your soldering iron according to the requirements of your components and the solder you are using. Generally, a temperature range of 300-350 degrees Celsius (570-660 degrees Fahrenheit) is suitable for most motherboard soldering jobs.
- Apply flux: Apply a small amount of flux to the soldering point or the component lead that you plan to solder. Flux helps remove oxidation and improves the wetting of solder, ensuring better adhesion and conductivity.
- Heat the soldering point: Bring the tip of the soldering iron to the soldering point and apply gentle pressure. Allow the soldering point to heat up for a few seconds until it reaches the desired temperature.
- Feed the solder: Touch the tip of the solder wire to the heated soldering point, but not directly onto the soldering iron tip. Once the solder melts, flow it around the joint to create a secure connection. Avoid using excessive solder, as it can cause solder bridges or other soldering defects.
- Remove the soldering iron: Lift the soldering iron away from the joint while maintaining a stable position. Allow the joint to cool naturally without any movement or disturbance.
- Inspect the solder joint: Examine the solder joint visually to ensure it is clean, shiny, and properly formed. A good solder joint should have a smooth, cone-shaped appearance and exhibit proper wetting.
- Repeat the process: Repeat the steps for each solder point or component that requires soldering on the motherboard. Take your time and be patient, ensuring that each joint is soldered with care and precision.
By following these step-by-step instructions, you’ll be able to solder your motherboard confidently and effectively. Remember to maintain a steady hand, work in a controlled manner, and inspect each joint for quality and reliability.
Testing the Solder Joints
After soldering the motherboard, it’s crucial to test the solder joints to ensure proper connections and functionality. Here are some methods to test the solder joints:
- Visual Inspection: Start by visually inspecting each solder joint. Look for any signs of poor soldering, such as insufficient solder, cold joints, or solder bridges. A well-executed solder joint should have an evenly distributed and shiny appearance.
- Tug Test: Gently tug on the wires or components that were soldered to check for any loose connections. A properly soldered joint should provide a secure and stable connection without any movement or signs of detachment.
- Continuity Test: Use a multimeter with a continuity function to test the electrical continuity of the solder joints. Place the probes of the multimeter on either side of the solder joint and check if there is a continuous electrical path. If there is no continuity, it indicates a faulty solder joint that needs to be reworked.
- Functionality Test: Once the motherboard is assembled or the repair is complete, power up the device and test its functionality. Check if all the components are working as expected, such as the CPU, RAM, and other peripherals. Monitor for any abnormal behavior or malfunctioning that could be caused by faulty solder joints.
- Post-test Inspection: After completing the functionality test, inspect the solder joints again for any signs of stress, cracks, or other issues that may have occurred during testing. Address any concerns immediately by reworking the solder joint if necessary.
Testing the solder joints ensures that the connections are secure, reliable, and capable of proper electrical conductivity. By incorporating these testing methods, you can identify and rectify any faulty or weak solder joints, improving the overall performance and longevity of the motherboard.
Common Mistakes to Avoid
While soldering a motherboard, it’s important to be aware of common mistakes that can lead to poor solder joints or damage to the motherboard. By avoiding these mistakes, you can ensure better results and a smoother soldering process. Here are some common mistakes to watch out for:
- Excessive Heat: Applying excessive heat for prolonged periods can damage sensitive components or even the motherboard itself. Maintain a balance between sufficient heat for proper solder flow and minimal heat exposure to prevent overheating.
- Poor Preparation: Skipping the essential preparatory steps, such as cleaning the motherboard or identifying the correct soldering points, can lead to unsuccessful soldering and unreliable connections. Take the time to prepare properly before starting the soldering process.
- Insufficient Flux: Flux is crucial for proper wetting and solder flow. Avoid using too little flux or failing to reapply flux when necessary. Insufficient flux can result in poorly formed solder joints, lack of adhesion, and weaker connections.
- Solder Bridges: Be cautious of solder bridges, which occur when solder unintentionally connects two adjacent traces or pins. These bridges can cause electrical short circuits and malfunctioning of components. Use the correct amount of solder and ensure proper separation between adjacent points.
- Inadequate Cleaning: Neglecting to clean the soldered area after soldering can result in residual flux and other contaminants that can corrode or degrade solder joints over time. Always clean the soldered area using isopropyl alcohol and cotton swabs to remove any flux residue.
- Lack of Patience and Precision: Soldering demands patience, precision, and a steady hand. Rushing through the process or applying solder haphazardly can lead to sloppy solder joints, weak connections, and potential damage to the motherboard.
- Failure to Test: Neglecting to test the soldered connections can result in undetected faults or unreliable connections. Always take the time to thoroughly test the solder joints and the overall functionality of the motherboard to ensure everything is working as intended.
By being aware of these common mistakes and taking the necessary precautions, you can avoid these pitfalls and achieve high-quality, reliable solder joints. Remember to be patient, attentive, and diligent in your soldering process to ensure the best results.
Conclusion
Soldering a motherboard may seem daunting at first, but with the right tools, knowledge, and practice, anyone can master this essential skill. By following the step-by-step guide and implementing proper safety measures, you can confidently solder your motherboard and achieve reliable and durable connections.
Remember to prepare the motherboard adequately by cleaning and inspecting it, ensuring that you have the necessary tools and materials on hand. Understanding the different soldering components and techniques will help you make informed decisions during the soldering process.
Testing the solder joints is a crucial step to ensure the integrity of your connections. Conduct thorough visual inspections, perform continuity tests, and test the functionality of the motherboard to identify any faults or issues that may need attention.
Finally, be mindful of common mistakes to avoid, such as excessive heat, poor preparation, and lack of patience. By being patient, precise, and attentive, you can minimize the risk of errors and achieve professional-level results.
Overall, soldering a motherboard is a valuable skill that can save you time and money, whether you’re repairing or customizing your computer. With practice and experience, you’ll become more confident in your soldering capabilities and be able to tackle more advanced projects.
So, grab your tools and soldering iron, follow the guidelines outlined in this article, and embark on your journey to become a skilled solderer. Happy soldering!