Introduction
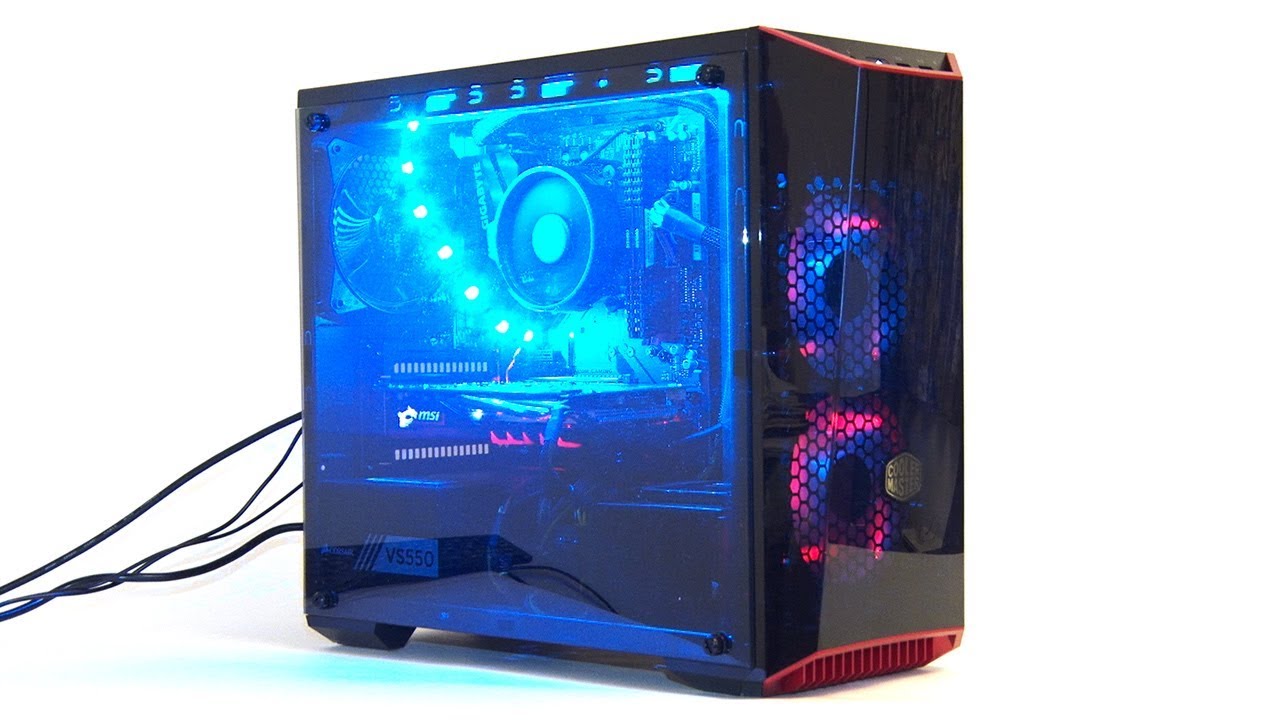
When it comes to computer cooling, case fans play a vital role in maintaining optimal temperatures and ensuring your system runs smoothly. While most case fans are typically powered by the motherboard, you may find yourself wanting more control over their operation. That’s where an on/off switch comes in handy.
In this guide, we’ll show you how to power a case fan using an on/off switch. This allows you to manually control when the fan is running, giving you the flexibility to adjust cooling levels as needed. Whether you’re looking to enhance airflow during gaming sessions or reduce noise during downtime, installing an on/off switch for your case fan is a simple and effective solution.
In the following sections, we’ll walk you through the step-by-step process, from gathering the necessary materials to testing the setup. No prior technical experience is required, making this a project that even beginners can tackle. So, grab your tools and let’s get started on powering your case fan with an on/off switch!
Step 1: Gather all the necessary materials
Before you begin the installation process, it’s important to gather all the necessary materials. Having everything on hand will ensure a smooth and uninterrupted workflow. Here’s a list of what you’ll need:
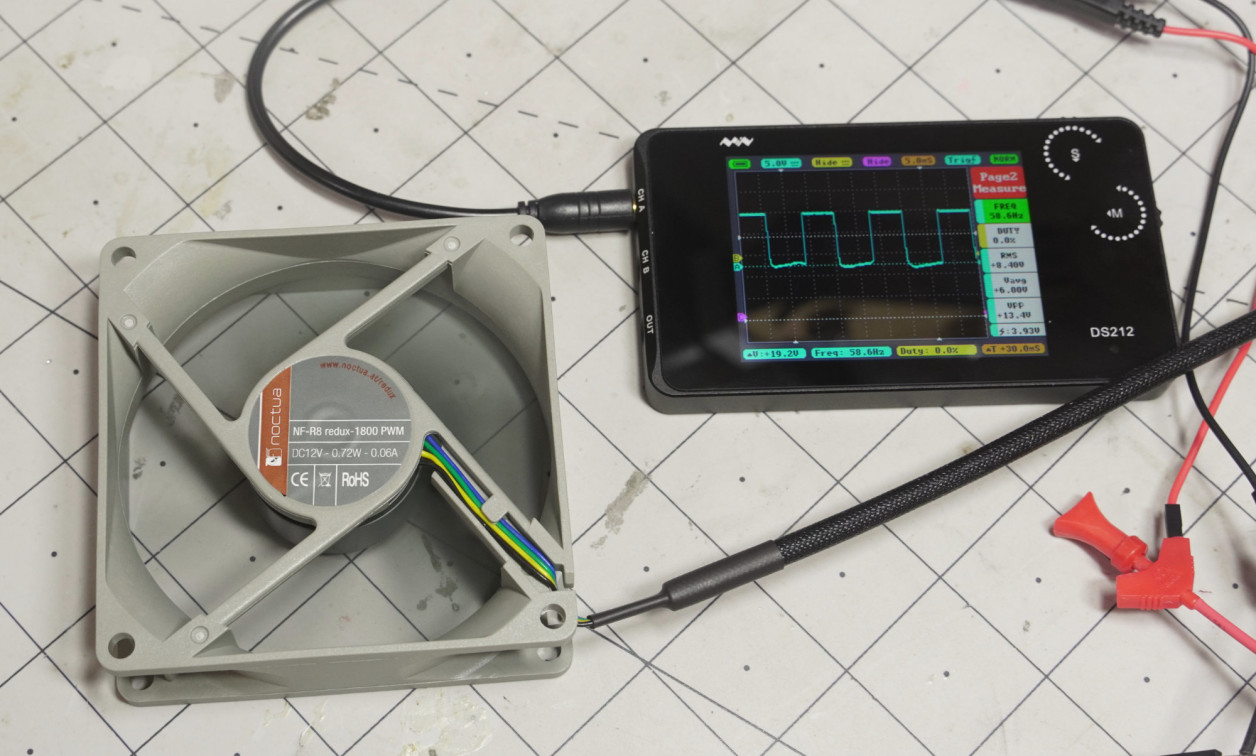
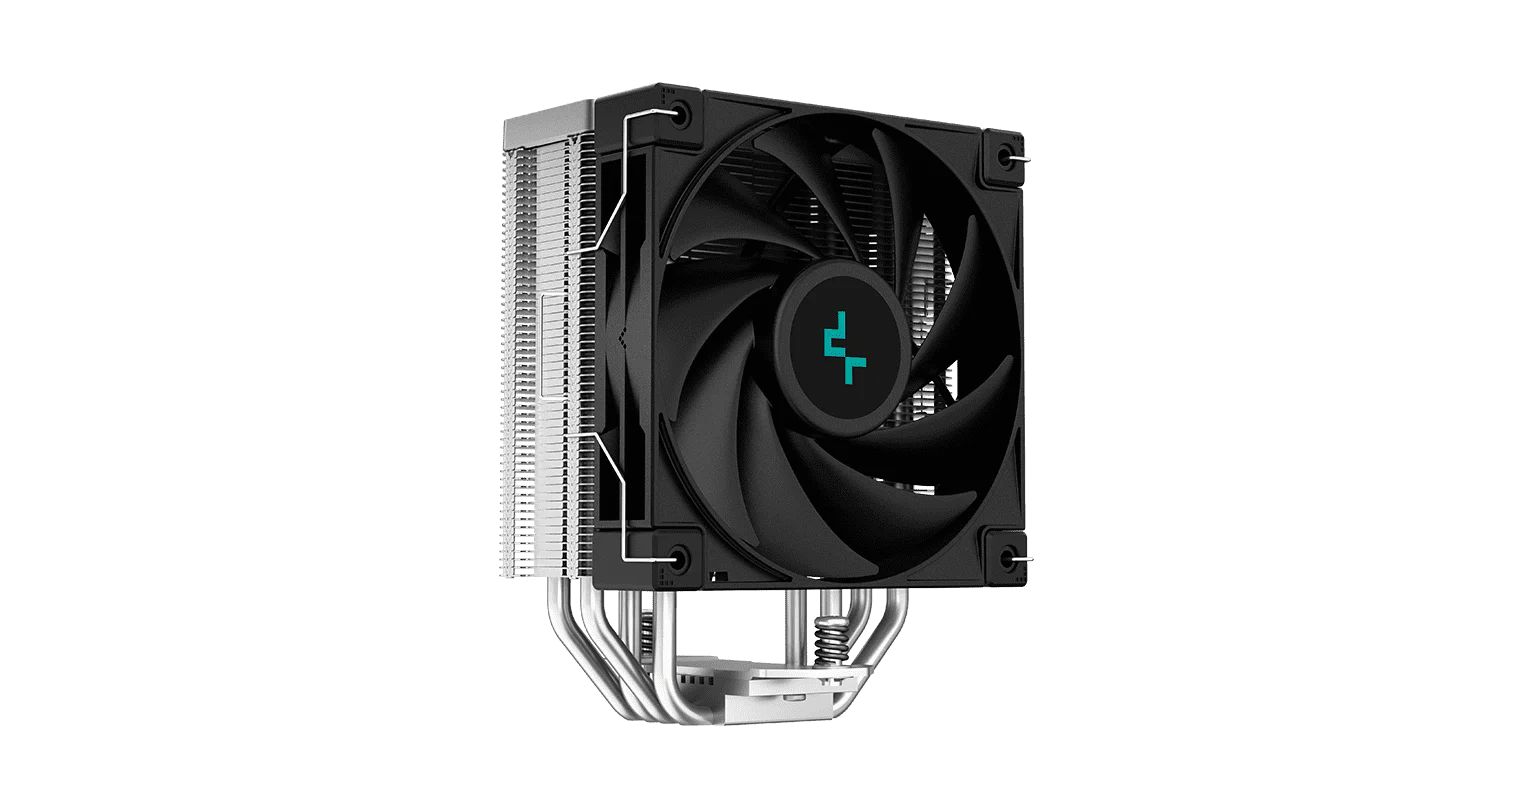
- A case fan: This is the fan you’ll be connecting to the on/off switch. Make sure it’s compatible with your computer case.
- An on/off switch: You can purchase this from your local electronics store or online. Look for a switch that is suitable for your fan’s voltage requirements.
- Wire cutters and strippers: These tools will be used to cut and strip the wires for the connection.
- Soldering iron and solder: If you prefer a more secure connection, you’ll need these tools to solder the wires together. If you’re not comfortable with soldering, don’t worry – there are alternative methods.
- Electrical tape or heat shrink tubing: These will be used to insulate and protect the connections.
- A screwdriver: Depending on the type of case fan you have, you may need a screwdriver to remove and reattach it.
- Optional: Additional wire connectors, zip ties, or adhesive mounts for cable management and securing the wires.
Ensure that you have all these items readily available before proceeding to the next steps. It’s essential to work in a well-lit and organized space to avoid any accidents and to make the installation process easier.
Step 2: Prepare the case fan
Once you have gathered all the necessary materials, it’s time to prepare the case fan for the on/off switch installation. Before proceeding, make sure your computer is powered off and unplugged for safety.
- Locate the case fan: Depending on your computer case, the fan may be positioned in different areas. Common locations include the front, rear, or side panels.
- Remove the case fan: Use a screwdriver to remove any screws or clips holding the fan in place. Carefully disconnect the fan from any power sources or motherboard connectors.
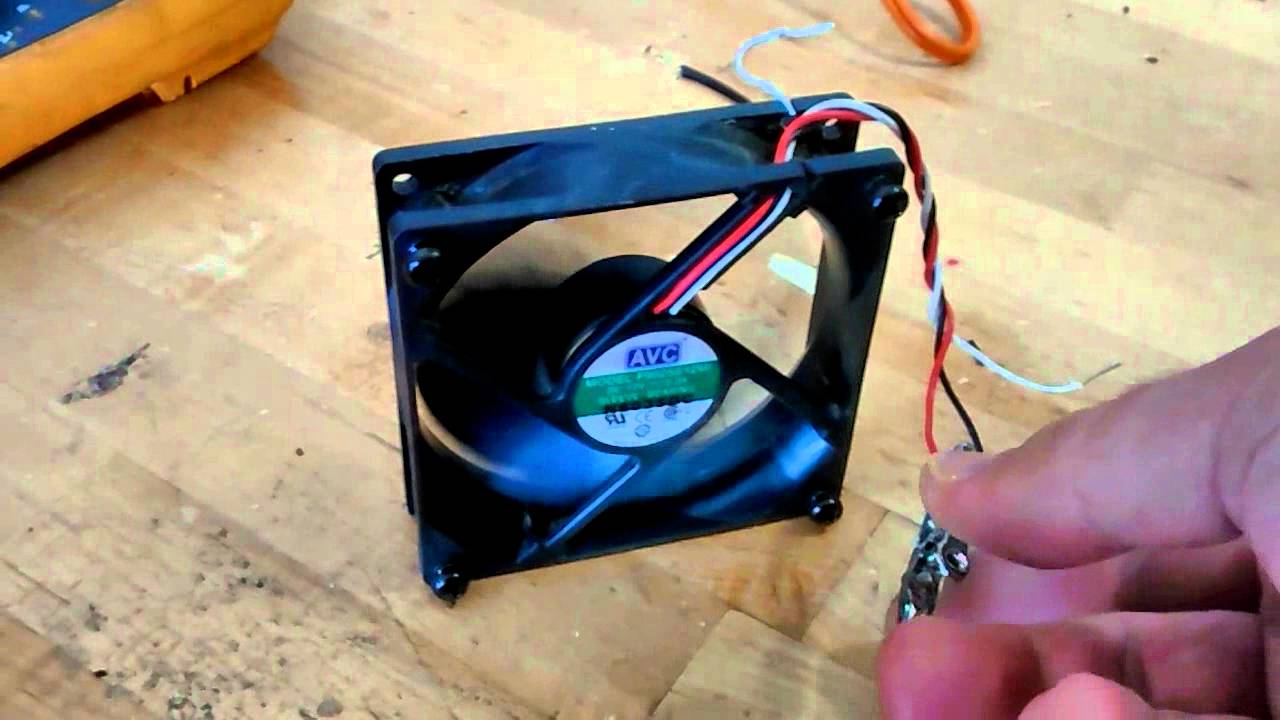
- Identify the fan wires: The case fan will have two wires – one red and one black. The red wire is typically connected to the positive (+) terminal of the fan, while the black wire is connected to the negative (-) terminal.
- Prepare the wires: Using wire cutters and strippers, carefully strip a small section of insulation from both the red and black wires. This will expose the metal conductor within.
- Bypass the motherboard connector (optional): If you’ve decided to completely bypass the motherboard’s power supply for the fan, you can cut off the motherboard connector from the fan wires with wire cutters. However, if you prefer to keep the option of using the motherboard’s power in the future, leave the connector intact.
By following these steps, you will have successfully prepared the case fan for the on/off switch installation. Ensure that the wires are cleanly stripped and ready for connection. Proceed to the next step to prepare the on/off switch.
Step 3: Prepare the on/off switch
With the case fan prepared, it’s now time to focus on preparing the on/off switch. This step involves ensuring the switch is ready for connection and is compatible with your case fan’s voltage requirements. Follow these instructions to complete this step:
- Examine the on/off switch: Take a closer look at the switch you’ve chosen. It should have two terminals – one for the positive (+) wire and one for the negative (-) wire.
- Identify the positive and negative terminals: Look for markings on the switch or refer to the manufacturer’s instructions to identify which terminal is for the positive wire and which is for the negative wire. These terminals might be labeled “POS” and “NEG” or have a “+” and “-” symbol.
- Prepare the switch terminals: Using wire cutters, strip a small section of insulation from the ends of the two wires coming from the case fan. This will expose the metal conductor within.
- Connect the wires to the switch: Once the switch terminals and fan wires are prepared, connect the positive wire to the positive terminal and the negative wire to the negative terminal. Ensure a secure connection by tightly fastening the wires to the switch terminals.
- Insulate the connections: To prevent any electrical shorts or interference, insulate the connections by wrapping each terminal with electrical tape or sliding heat shrink tubing over the exposed wire and heating it to shrink and seal the tubing.
By following these steps, you will have successfully prepared the on/off switch for connecting to the case fan. Double-check the connections to ensure they are secure and free from any exposed wiring. With the switch prepared, move on to the next step to connect the wires from the case fan to the switch.
Step 4: Connect the wires
Now that you have prepared both the case fan and the on/off switch, it’s time to connect the wires. This step involves establishing a secure and proper connection between the two components to ensure the desired functionality. Follow these instructions to complete this step successfully:
- Position the case fan and on/off switch: Decide where you want to install the on/off switch. It is recommended to position it in a convenient and easily accessible location on your computer case.
- Measure the wire length: Determine the required length of wire to connect the on/off switch to the case fan. Leave a bit of extra length to account for any adjustments or movement during installation.
- Cut the wire: Using wire cutters, cut a piece of wire of the required length. Make sure the wire is of sufficient gauge to handle the electrical load of the case fan.
- Strip the wire ends: Strip a small section of insulation from both ends of the wire, exposing the metal conductor within.
- Connect the wires: Connect one end of the wire to the positive terminal of the on/off switch and the other end to the positive wire of the case fan. You can achieve this by either soldering the connections or using wire connectors to secure them.
- Insulate the connections: After the wires are connected, insulate the exposed connections either by wrapping them with electrical tape or using heat shrink tubing.
- Repeat the process for the negative wire: If you desire, you can repeat the process for the negative wire of the case fan, connecting it to the negative terminal of the on/off switch. This will allow you to control both positive and negative power flow to the fan.
Take your time to carefully and securely connect the wires. Ensure that there are no exposed wires and that the connections are insulated properly. By completing this step, you will have successfully established the connection between the case fan and the on/off switch. In the next step, we will focus on mounting the switch onto your computer case.
Step 5: Mount the switch
After connecting the wires, it’s time to mount the on/off switch onto your computer case. Properly securing the switch will ensure convenience and ease of use when controlling the case fan. Follow these steps to complete this step successfully:
- Select a suitable location: Choose a location on your computer case where you can easily access the on/off switch. Ideal spots include the front panel, top panel, or any other convenient location that doesn’t obstruct other components.
- Mark the mounting position: Once you’ve decided on the location, use a pencil or marker to mark the precise area where the switch will be mounted. Ensure it’s centered and aligned properly.
- Prepare the mounting hole: Use an appropriate-sized drill bit to create a hole at the marked position. Make sure the hole is slightly smaller than the switch’s diameter to ensure a snug fit.
- Insert the switch: Gently insert the on/off switch into the mounting hole, starting from the inside of the computer case. Push it until it fits securely and doesn’t move around or wiggle excessively.
- Secure the switch: Depending on the type of switch, you may need to use a retaining nut, screw, or additional hardware to secure it in place. Follow the manufacturer’s instructions to properly fasten the switch and ensure its stability.
- Double-check the switch position: Ensure the switch is aligned and positioned correctly. Make any necessary adjustments to achieve the desired orientation.
By following these steps, you will have successfully mounted the on/off switch onto your computer case. Ensure the switch is secure and properly aligned with your desired position. In the next and final step, we’ll focus on testing the setup to ensure everything is functioning as expected.
Step 6: Test the setup
Now that you have completed the installation of the on/off switch for your case fan, it’s time to test the setup to ensure everything is working as intended. Follow these steps to perform a thorough test of your newly installed switch:
- Make sure your computer is powered off and unplugged before proceeding.
- Double-check all the connections: Inspect the connections between the case fan, on/off switch, and wiring to ensure they are securely connected and properly insulated.
- Plug in your computer: Plug in the power cord and turn on your computer.
- Flip the switch: With your computer powered on, flip the on/off switch to the “on” position. The case fan should start spinning.
- Flip the switch back: Flip the switch to the “off” position, and the case fan should stop spinning.
- Repeat the process: Repeat the on/off switching multiple times to ensure consistent functionality. Observe the behavior of the case fan each time you turn the switch on or off.
- Monitor temperature and airflow: While the case fan is running, monitor the temperature and airflow inside your computer case to ensure the fan is providing the desired cooling effect.
If the fan spins when the switch is in the “on” position and stops when it’s in the “off” position, congratulations! Your setup is successful. If the fan doesn’t respond to the switch, double-check the connections and troubleshoot any potential issues. It’s always a good idea to consult the manufacturer’s instructions or seek assistance if you encounter any difficulties.
With the testing completed and the case fan responding to the on/off switch, you have successfully powered your case fan using the switch. Enjoy the flexibility of controlling the fan’s operation according to your specific needs and preferences.
Conclusion
In conclusion, by following the steps outlined in this guide, you have successfully powered your case fan with an on/off switch. This simple and effective solution allows you to have more control over the fan’s operation, empowering you to adjust cooling levels based on your specific needs and preferences.
Throughout the process, you have learned how to gather the necessary materials, prepare the case fan and on/off switch, connect the wires, mount the switch onto your computer case, and test the setup to ensure proper functionality. With each step, you have gained the knowledge and skills needed to complete the installation successfully.
Having an on/off switch for your case fan offers numerous benefits. You can increase airflow during intensive tasks like gaming or resource-intensive applications, effectively reducing the risk of overheating. Additionally, you can decrease fan speed to minimize noise during periods of lower system usage or when you require a quieter environment.
Remember to always exercise caution when working with electrical components and ensure that your computer is powered off and unplugged before proceeding. If you encounter any difficulties during the installation process or have any doubts, it’s best to consult manufacturer instructions or seek assistance from a professional.
With your newly powered case fan and the capability to control its operation, you can now enjoy an optimized cooling system tailored to your needs. Keep your system running smoothly and efficiently with this DIY solution.