Introduction
Converting an ATX PSU (Power Supply Unit) to a DC power supply can be a cost-effective solution for powering various electronic projects and devices. An ATX PSU, commonly used in desktop computers, provides multiple outputs, including +12V, +5V, and +3.3V. By converting it into a DC power supply, you can utilize these outputs to power different components without the need for an expensive dedicated power supply.
Whether you are a hobbyist, a DIY enthusiast, or a professional electronics engineer, knowing how to convert an ATX PSU to a DC power supply can be a valuable skill. This process allows you to repurpose old or unused power supplies, reducing waste and saving money.
In this guide, we will walk you through the steps to convert an ATX PSU into a DC power supply. We will provide a detailed explanation of each step and highlight the essential tools and materials needed for the conversion. By following this guide, even those with limited electronics knowledge can successfully transform an ATX PSU into a reliable source of DC power.
Materials Needed
Before you begin the process of converting an ATX PSU to a DC power supply, gather the following materials:
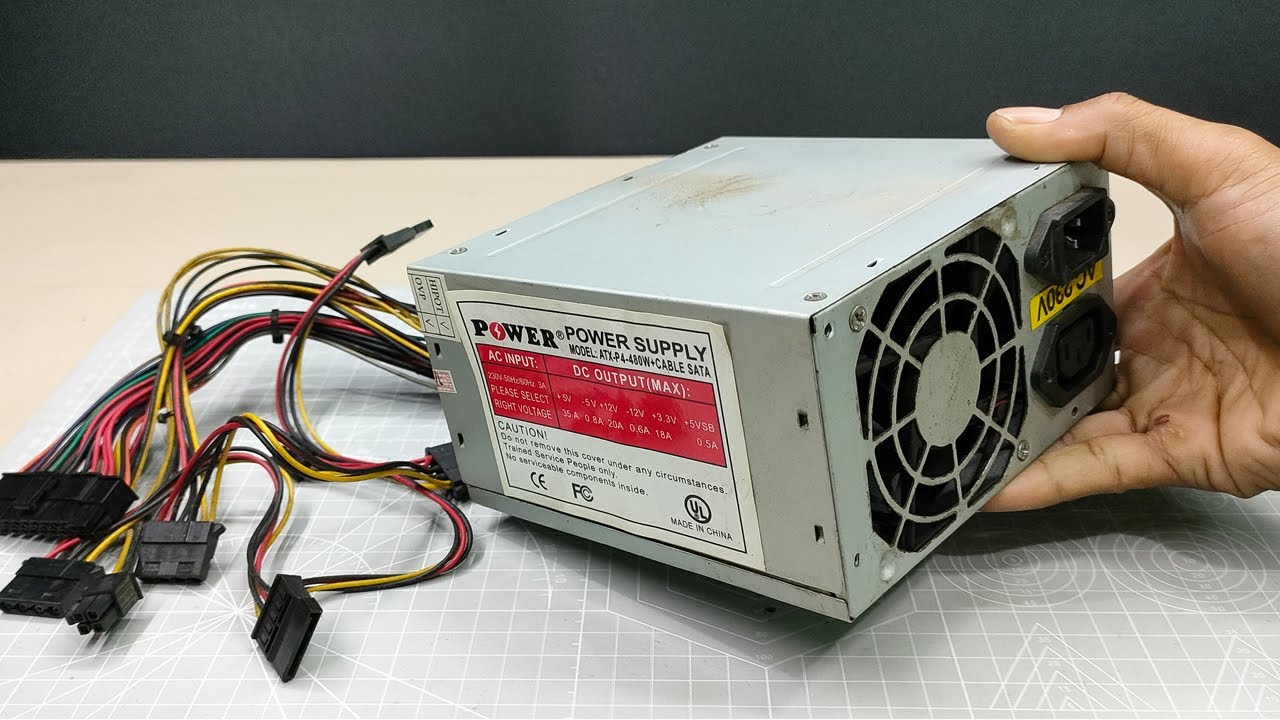
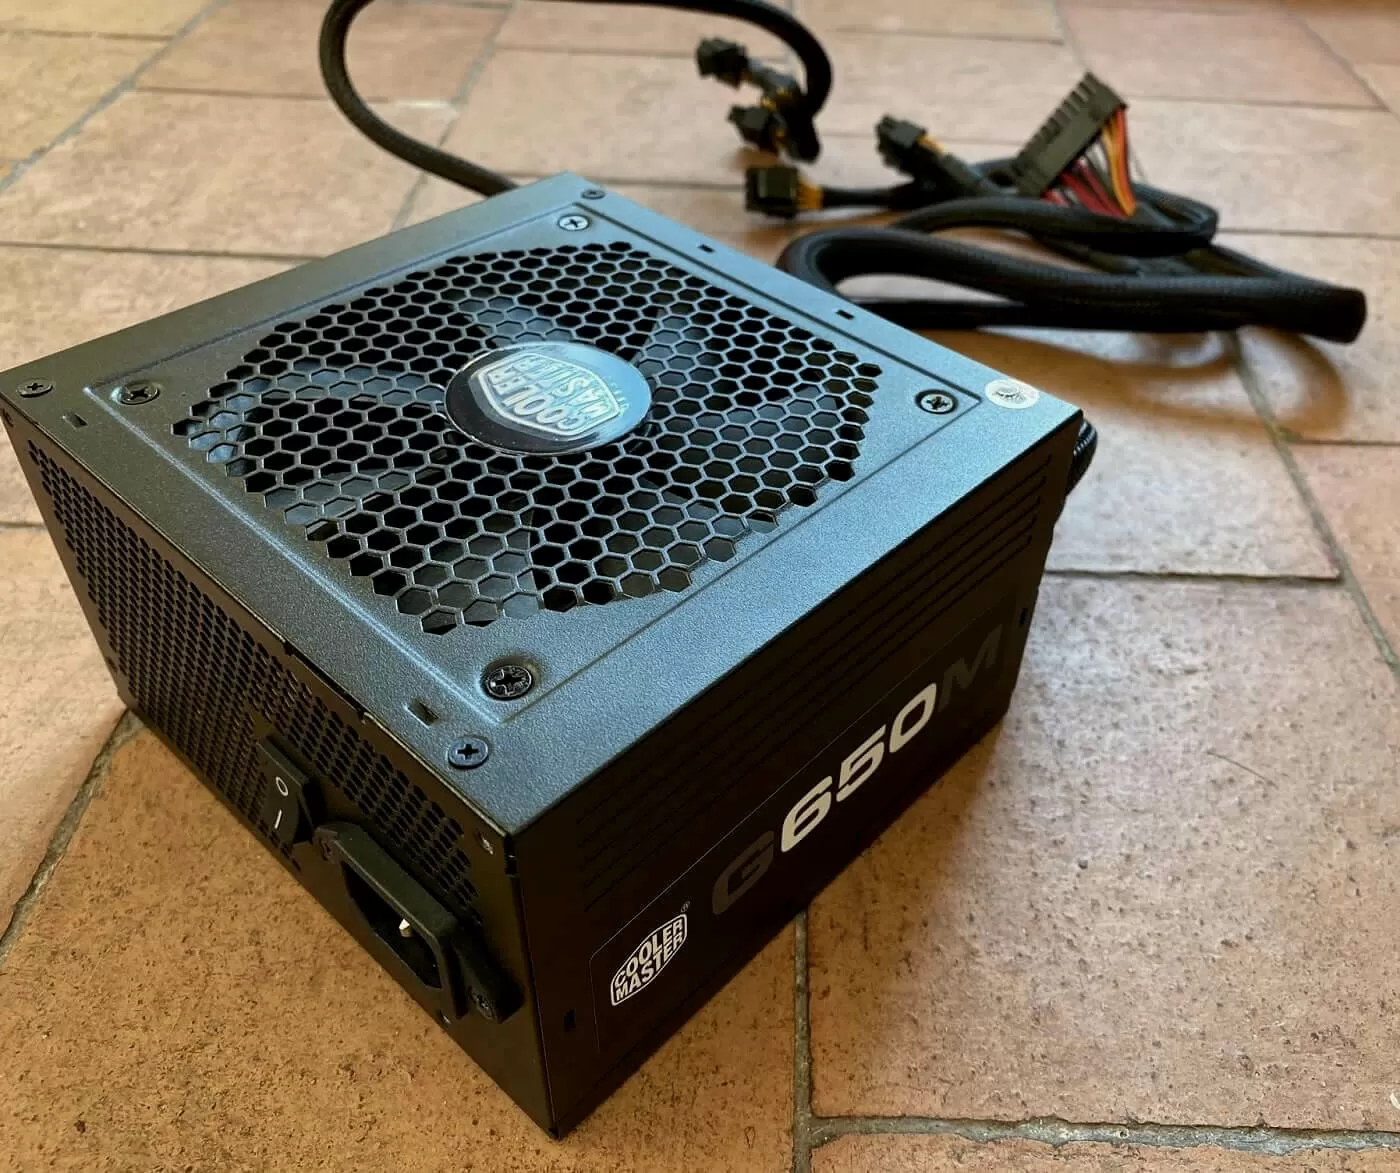
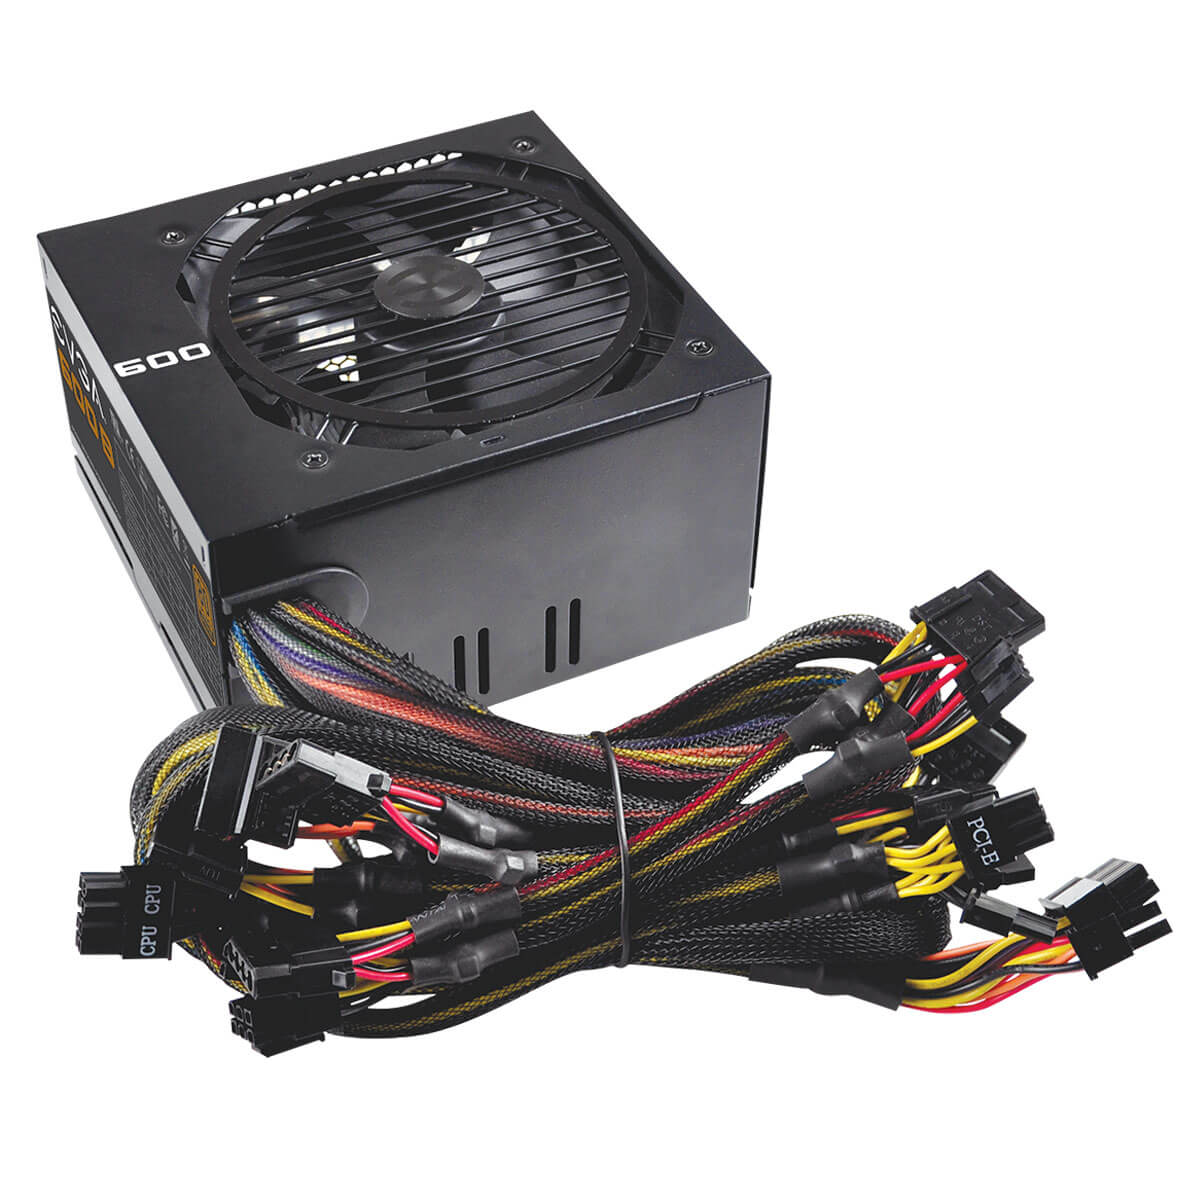
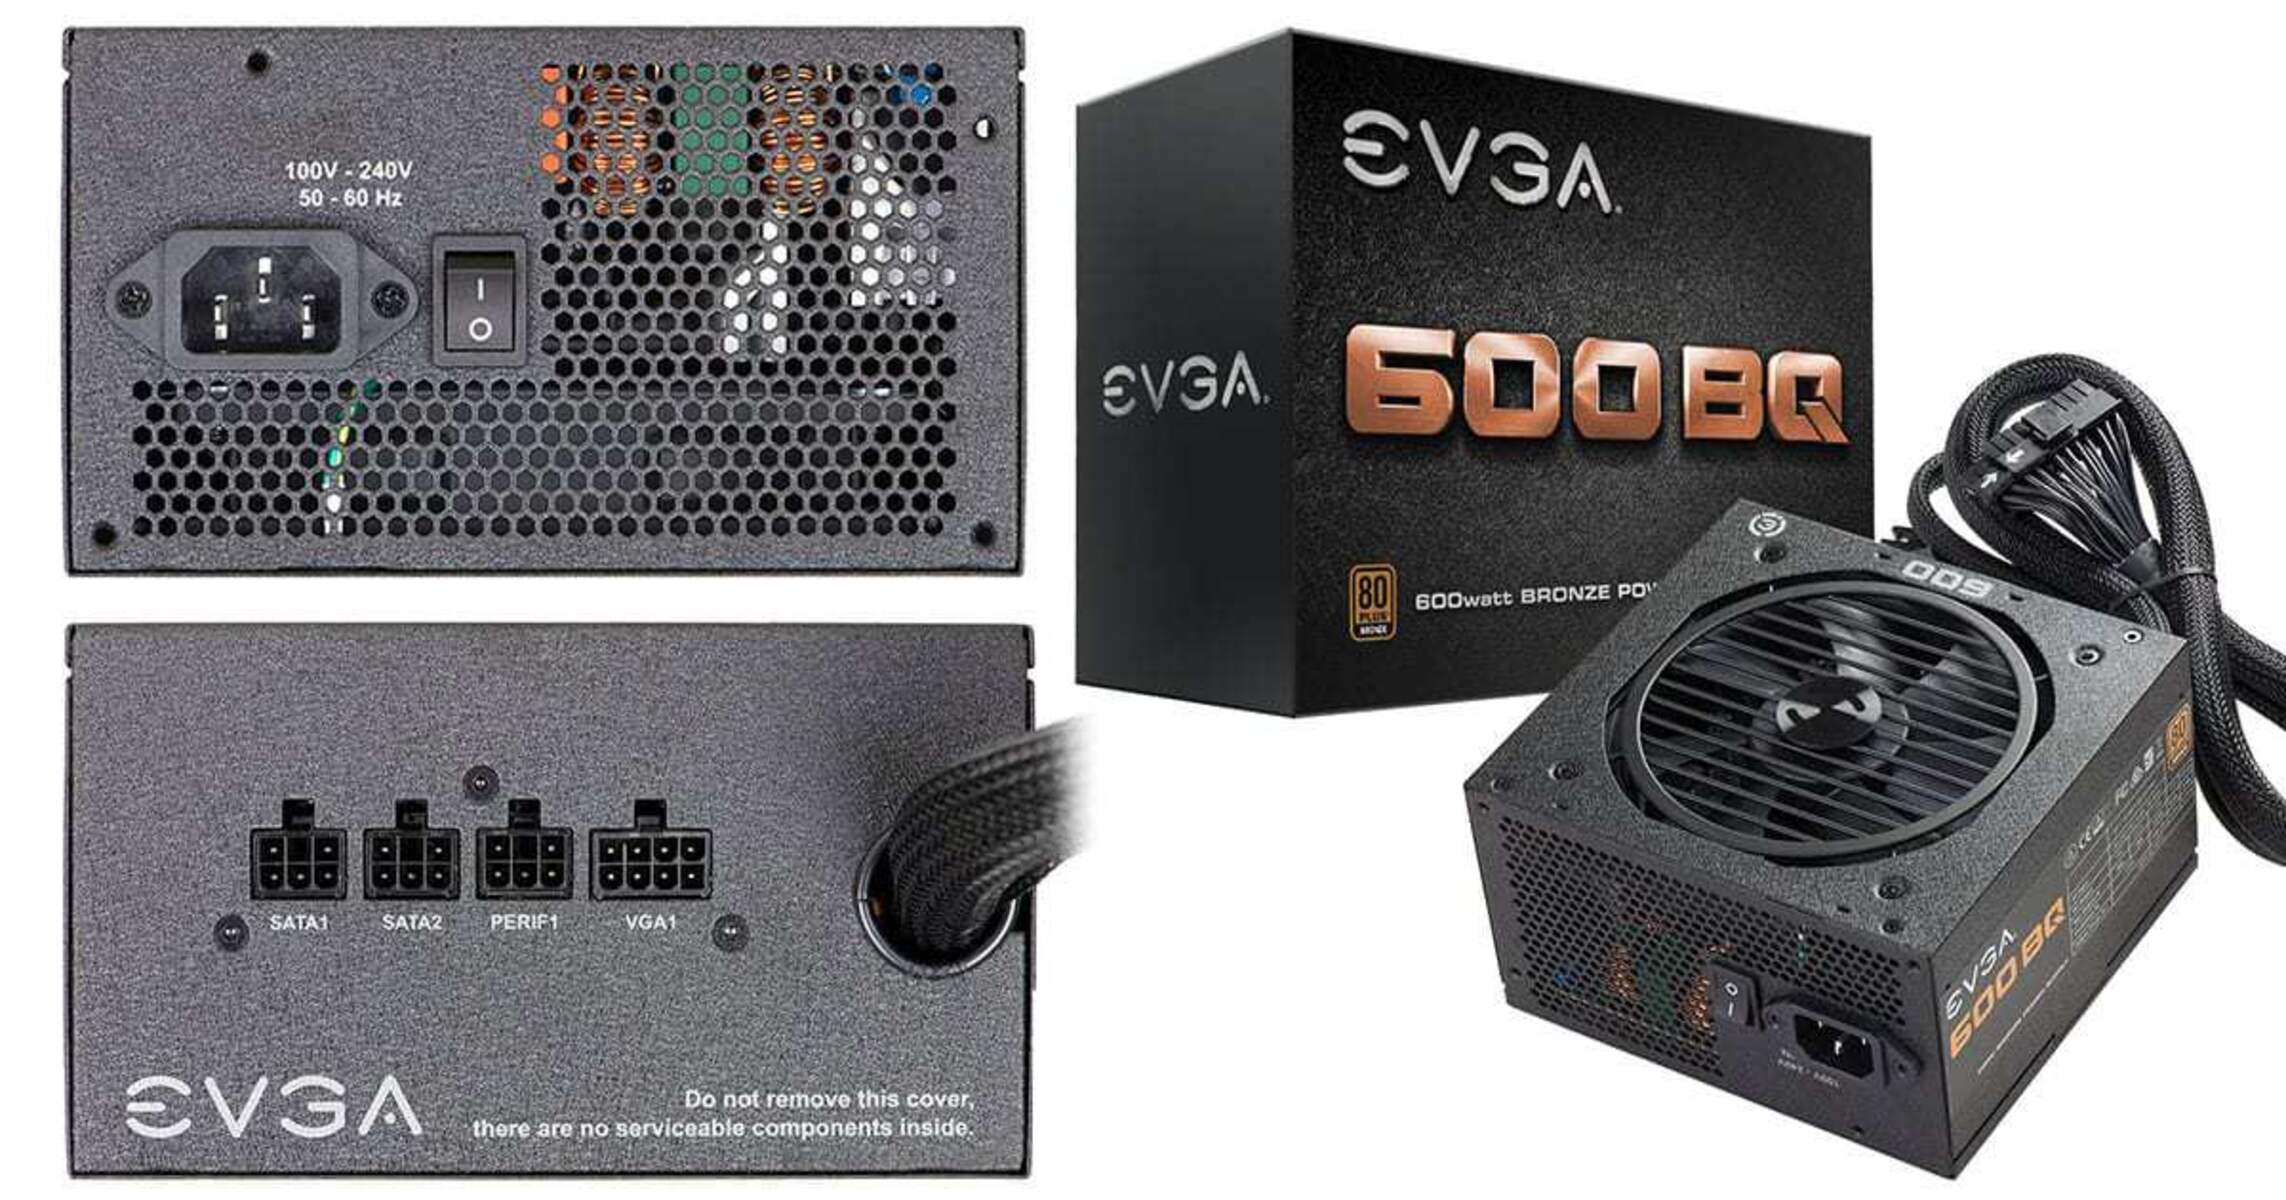
- ATX PSU (Power Supply Unit)
- Soldering iron
- Solder wire
- Wire cutters/strippers
- Heat shrink tubing
- Electrical tape
- Small screwdriver set
- Multimeter
- Heat gun (optional)
The ATX PSU should be a standard computer power supply unit with a wattage suitable for your intended use. It is recommended to use an unused or retired PSU to avoid any potential issues. Ensure that the PSU is in good working condition before proceeding.
A soldering iron is necessary for soldering and connecting wires. Choose a soldering iron with adjustable temperature settings and a thin tip for precision work. Quality solder wire is recommended for reliable connections.
Wire cutters/strippers are essential for cutting and stripping wires during the conversion process. Choose a pair of wire cutters/strippers with appropriate sizes for the wires you’ll be working on.
Heat shrink tubing and electrical tape are used for insulation and protection of soldered connections. Heat shrink tubing can provide a more secure and professional-looking finish, while electrical tape can be used as an alternative if heat shrink tubing is not available.
A small screwdriver set is necessary for disassembling and reassembling the ATX PSU. Choose a set that includes various screwdriver sizes and types to ensure compatibility with different screw heads.
A multimeter is a vital tool for testing and measuring voltage, continuity, and other electrical properties. It is used to verify the accuracy of the converted DC power supply and detect any potential issues.
While not strictly necessary, a heat gun can be useful for shrinking heat shrink tubing if you prefer a faster and more efficient method compared to using an open flame.
By gathering these materials before starting the conversion process, you will have everything you need to successfully convert an ATX PSU to a DC power supply.
Steps to Convert ATX PSU to DC Power Supply
To convert an ATX PSU into a DC power supply, follow these steps:
- Step 1: Gather necessary tools and safety equipment
- Step 2: Disconnecting the PSU from any power source
- Step 3: Disassemble the ATX PSU
- Step 4: Locate the 20/24-pin motherboard connector
- Step 5: Identify the wires needed for DC power output
- Step 6: Disconnect unnecessary wires
- Step 7: Soldering the wires
- Step 8: Insulate the soldered connections
- Step 9: Test the converted DC power supply
- Step 10: Reassemble the ATX PSU
Before starting the conversion process, ensure that you have all the required tools and safety equipment mentioned in the previous section. This includes a soldering iron, solder wire, wire cutters/strippers, heat shrink tubing, electrical tape, a small screwdriver set, a multimeter, and a heat gun (optional).
Prior to disassembling the ATX PSU, make sure it is completely disconnected from any power sources and turned off to prevent electrical shock. Unplug the PSU from the wall outlet and disconnect any additional cables that may be connected to it.
Use the appropriate screwdriver from your set to remove the screws securing the casing of the ATX PSU. Carefully open the casing and set aside the screws in a safe place. Take note of the internal components, such as the cooling fan, capacitors, and circuit boards.
Inside the ATX PSU, locate the 20/24-pin motherboard connector. This connector provides the main power supply to the motherboard in a computer. It usually consists of a single rectangular connector with multiple colored wires coming out of it.
Using the multimeter, identify the wires that correspond to the desired DC voltage outputs. Commonly, the yellow wires provide +12V, the red wires provide +5V, and the orange wires provide +3.3V. Note the color and position of these wires for reference.
Identify any unnecessary wires that you won’t be using for your DC power supply. These may include wires for the peripheral connectors (SATA, Molex), PCIe connectors, or any other unused connectors. Carefully cut and strip the insulation from these wires using the wire cutters/strippers.
Prepare the wires by stripping a small portion of the insulation. Then, solder the wires you identified in Step 5 to the appropriate connectors on the 20/24-pin motherboard connector. Use a soldering iron and solder wire to create secure connections. Take caution not to apply too much heat, which can damage the connectors or other components.
After soldering, slide heat shrink tubing over each soldered connection and use a heat gun to shrink and secure the tubing. If heat shrink tubing is not available, you can use electrical tape to insulate the connections. Make sure to cover all exposed soldered areas to prevent short circuits.
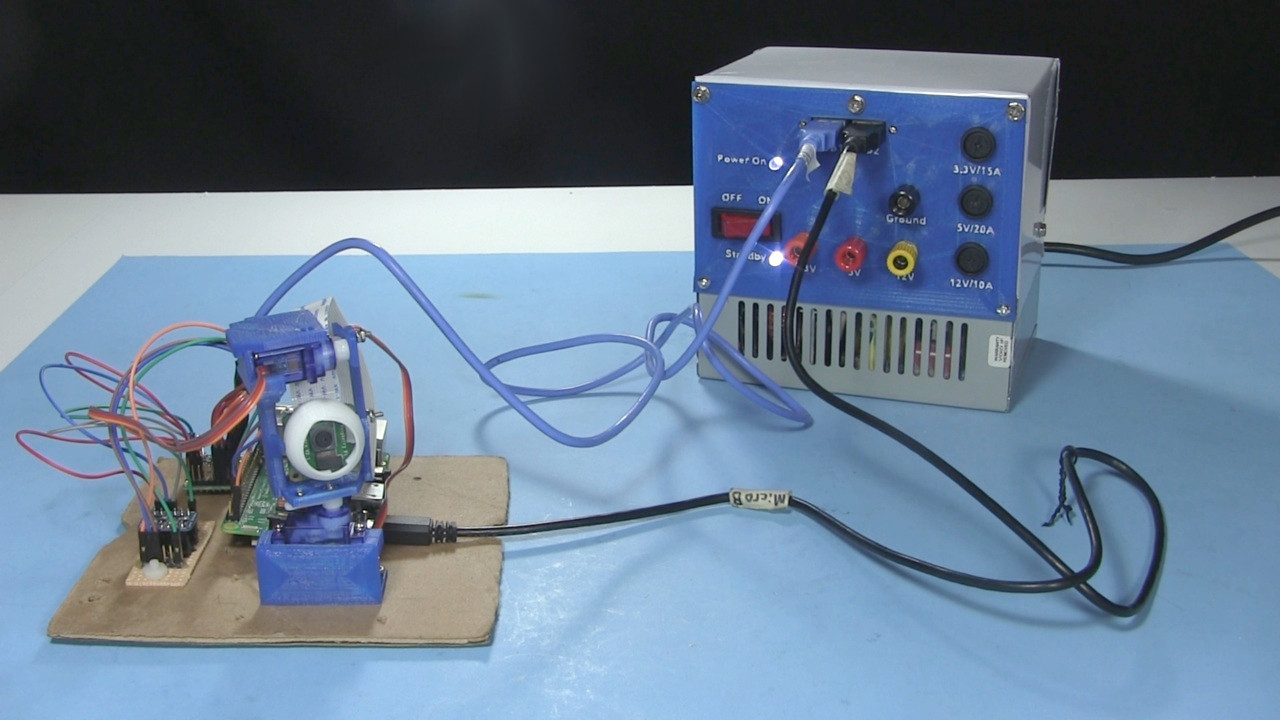
Connect the converted DC power supply to a suitable load or electronic device. Use a multimeter to verify the voltage and stability of the DC outputs. Test each output separately to ensure they are providing the intended voltage.
Once you have confirmed that the converted DC power supply is working correctly, reassemble the ATX PSU by placing the casing back and tightening the screws. Ensure that all components are securely in place before applying power.
By following these steps, you can successfully convert an ATX PSU into a functional and reliable DC power supply for your electronic projects and devices.
Step 1: Gather Necessary Tools and Safety Equipment
Before embarking on the process of converting an ATX PSU to a DC power supply, it is crucial to gather the necessary tools and safety equipment. Having these items on hand will ensure a smooth and efficient conversion process. Here are the tools you will need:
- ATX PSU (Power Supply Unit): Select an ATX PSU with a wattage suitable for your specific needs. Ensure that the PSU is in good working condition before beginning the conversion process.
- Soldering Iron: A soldering iron is essential for creating secure connections between wires. Opt for a soldering iron with adjustable temperature settings for more precise control.
- Solder Wire: Choose high-quality solder wire to ensure reliable and durable connections. Consider the appropriate thickness for your project’s requirements.
- Wire Cutters/Strippers: You will need wire cutters/strippers to accurately cut and strip the wires during the conversion process. These tools are crucial for safely working with electrical components.
- Heat Shrink Tubing: Heat shrink tubing serves as an insulating material for soldered connections. It provides protection against electrical short circuits and helps maintain a neat appearance.
- Electrical Tape: Electrical tape is an alternative to heat shrink tubing. It can be used for insulation and securing connections. However, heat shrink tubing is generally preferred due to its enhanced durability and professional finish.
- Small Screwdriver Set: A small screwdriver set with various sizes and types of screwdrivers is necessary for disassembling and reassembling the ATX PSU. Make sure to match the appropriate screwdriver head to the corresponding screws.
- Multimeter: A multimeter is an invaluable tool for measuring voltage, continuity, and other electrical properties. It is essential for testing and verifying the accuracy of the converted DC power supply.
- Heat Gun: While not essential, a heat gun provides a more efficient and consistent method of shrinking heat shrink tubing. It is a useful tool to have on hand if you prefer this technique over other methods.
When working with electrical components and soldering, it is crucial to prioritize safety. Ensure that you have the appropriate safety equipment, such as safety glasses or goggles and an anti-static wrist strap. Working in a well-ventilated area is also recommended to prevent the inhalation of potentially harmful fumes.
By gathering these tools and safety equipment, you will be fully equipped to proceed with the conversion process, ensuring both efficiency and safety.
Step 2: Disconnecting the PSU from Any Power Source
Before beginning the process of converting an ATX PSU to a DC power supply, it is essential to take necessary precautions by disconnecting the PSU from any power source. This step ensures your safety and prevents the risk of electrical shock. Follow these guidelines to safely disconnect the PSU:
- Unplug the PSU from the wall outlet: Before doing anything else, locate the power cord connected to the ATX PSU and unplug it from the wall outlet. This step ensures that the PSU is no longer receiving power.
- Disconnect any additional cables: In addition to the power cord, check if there are any other cables connected to the PSU. These may include peripheral connectors such as SATA or Molex connectors. Carefully unplug and remove any additional cables to fully disconnect the PSU from external power sources.
Once you have completed these steps, ensure that there is no residual power or charge in the PSU. This can be done by pressing the power button on your computer while the PSU is still disconnected from the power source. Pressing the power button helps discharge any stored energy in the PSU’s capacitors.
It is crucial to exercise caution during this step to prevent any electric shock or damage. Always remember to work in a dry environment and avoid touching any exposed or live electrical components. Additionally, avoid wearing any jewelry or accessories that may conduct electricity.
By disconnecting the PSU from any power source, you create a safe working environment for the subsequent steps of the conversion process. Remember to adhere to safety guidelines throughout the entire process to ensure a successful and risk-free conversion of your ATX PSU to a DC power supply.
Step 3: Disassemble the ATX PSU
After ensuring that the ATX PSU is disconnected from any power source, the next step in converting it to a DC power supply is to disassemble it. Disassembling the PSU allows access to its internal components for further modifications. Follow these steps to safely disassemble the ATX PSU:
- Find the screws: Look for the screws that secure the casing of the ATX PSU. The number and placement of these screws may vary, so carefully examine the outer edges and sides of the PSU to locate them.
- Use the appropriate screwdriver: Once you have identified the screws, use the appropriate screwdriver from your set to remove them. Ensure that the screwdriver properly fits the screw heads to avoid damaging them.
- Open the casing: After removing all the screws, gently pry open the casing of the ATX PSU. Take care not to damage any internal components while doing so.
- Set aside the screws: As you remove the screws, set them aside in a secure place. This will prevent them from getting lost and ensure you have all the necessary screws for reassembling the PSU later.
- Observe the internal components: Once the casing is open, take a moment to observe the internal components of the PSU. Look for the cooling fan, capacitors, circuit boards, and any other noticeable components.
During the disassembly process, it is crucial to handle the PSU and its components with care. Avoid applying excessive force or twisting motions that could damage the delicate circuitry. If you encounter any resistance while removing the casing or screws, double-check for any missed screws or obstructions.
As you disassemble the ATX PSU, take note of the internal layout and the locations of different components. This understanding will be beneficial when identifying the specific wires needed for DC power output in the next steps.
By carefully disassembling the ATX PSU, you gain access to its internal components. This allows for further modifications and adjustments necessary for converting it into a DC power supply. Remember to keep track of all the screws and handle the PSU components with caution to prevent any damage.
Step 4: Locate the 20/24-pin Motherboard Connector
Once you have disassembled the ATX PSU, the next step in converting it to a DC power supply is to locate the 20/24-pin motherboard connector. This connector is a crucial component that provides the main power supply to the motherboard in a computer. Follow these steps to identify the 20/24-pin motherboard connector:
- Inspect the internal components: Take a closer look at the internal components of the ATX PSU. Locate the various connectors and cables that are connected to the motherboard connector.
- Identify the 20/24-pin connector: Look for the rectangular-shaped connector that consists of either 20 or 24 pins. It is usually positioned near the edge of the circuit board.
- Count the number of pins: Count the number of pins in the 20/24-pin connector. Most modern PSUs have a 24-pin connector, while older ones may have a 20-pin connector.
The motherboard connector is essential for converting the ATX PSU into a DC power supply because it carries various power lines, including +12V, +5V, and +3.3V. These lines can be used to power different electronic devices and components.
While inspecting the internal components, you may come across other connectors such as SATA, Molex, or PCIe connectors. These connectors are not used for DC power output and can be disconnected during the conversion process to declutter the PSU and make it more suitable for your specific needs.
Take note of the position and arrangement of the pins in the motherboard connector. This information will be crucial in the next steps of identifying and working with specific wires needed for DC power output.
By locating the 20/24-pin motherboard connector, you have identified the key component that supplies power to the motherboard. This connector forms the foundation for converting the ATX PSU into a DC power supply by utilizing the various power lines it offers.
Step 5: Identify the Wires Needed for DC Power Output
After locating the 20/24-pin motherboard connector, the next step in converting an ATX PSU to a DC power supply is to identify the specific wires needed for DC power output. These wires carry the voltage necessary to power various electronic devices and components. Follow these steps to identify the wires needed:
- Use a multimeter: Set your multimeter to the voltage measurement mode, typically labeled as “V” or “DCV.” Ensure that your multimeter is properly calibrated and functioning correctly.
- Identify the positive and negative terminals: Look for the positive (+) and negative (-) indicators on your multimeter. This will help you properly identify the polarity of the wires.
- Locate the colored wires: Inspect the wires connected to the 20/24-pin motherboard connector. Different wires are assigned different colors according to industry standards.
- Refer to a pinout diagram: Consult a pinout diagram specific to your ATX PSU model. This diagram will provide you with the necessary information to identify which wire corresponds to each voltage output.
- Match colors and pin positions: Use the pinout diagram to match the colors of the wires to their respective voltage outputs. For example, the yellow wires typically carry +12V, red wires carry +5V, and orange wires carry +3.3V.
By carefully identifying the wires needed for DC power output, you will lay the foundation for creating a functional DC power supply. It is crucial to refer to the pinout diagram specific to your ATX PSU model to ensure accurate identification of the wires and their corresponding voltage outputs.
While conducting this step, take note of the position and arrangement of the wires within the 20/24-pin motherboard connector. This information will be critical during the subsequent steps of disconnecting unnecessary wires and soldering the required wires.
By correctly identifying the wires needed for DC power output, you are one step closer to fully converting your ATX PSU into a functional DC power supply that can power various electronic devices and components.
Step 6: Disconnect Unnecessary Wires
After identifying the wires needed for DC power output, the next step is to disconnect any unnecessary wires from the 20/24-pin motherboard connector. Removing these wires will help simplify the DC power supply and ensure that only the required connections are present. Follow these steps to disconnect unnecessary wires:
- Refer to the pinout diagram: Use the pinout diagram specific to your ATX PSU model as a reference. This will help you identify the wires that are not required for DC power output.
- Identify the unnecessary wires: Look for wires connected to the motherboard connector that do not correspond to the voltage outputs needed for your project. These may include wires for peripheral connectors (such as SATA or Molex) or any other unused connectors.
- Cut and strip the wires: Once you have identified the unnecessary wires, use wire cutters/strippers to cut and strip the insulation from these wires. Be careful not to cut any of the wires needed for DC power output.
Ensure that you are confident in identifying the unnecessary wires before proceeding with the disconnection. Double-check the pinout diagram to avoid accidentally removing any wires that are required for your specific project.
By disconnecting unnecessary wires, you declutter the ATX PSU and simplify the DC power supply. This step helps improve the overall efficiency and aesthetics of the power supply unit. It also reduces the risk of any potential short circuits or interferences caused by unused wires.
Step 7: Soldering the Wires
After disconnecting unnecessary wires, the next step in converting an ATX PSU to a DC power supply is to solder the wires that will be used for DC power output. Soldering creates secure connections between the wires and the appropriate connectors on the 20/24-pin motherboard connector. Follow these steps to solder the wires:
- Prepare the wires: Strip a small portion of insulation from the ends of the wires that will be soldered. This will expose the metal strands for a better electrical connection.
- Preheat the soldering iron: Allow the soldering iron to heat up to the appropriate temperature. The recommended temperature is typically around 350-400°C (660-750°F), but refer to the specifications of your soldering iron for the optimal temperature.
- Tin the soldering iron tip: Apply a small amount of solder to the tip of the soldering iron. This process is known as tinning and helps improve heat transfer and solder flow during the soldering process.
- Heat the wire and connector simultaneously: Place the soldering iron tip on the wire and the connector pin simultaneously. Heating both the wire and the connector will allow the solder to flow and create a strong bond between them.
- Apply solder: Once the wire and connector are heated, touch the solder wire to the joint. The solder will melt and flow into the gap, creating a secure connection. Ensure that the solder fully covers the joint, but avoid using excessive amounts of solder.
- Inspect the solder joint: After soldering, visually inspect the solder joint. Ensure that the solder has formed a smooth, shiny, and solid connection. If there are any rough or dull areas, it may indicate a weak solder joint that should be redone.
As you solder the wires, take care not to apply excessive heat for an extended period, as it can damage the sensitive components in the ATX PSU. Aim for a balance between sufficient heat to melt the solder and a quick soldering process to minimize heat exposure to nearby components.
Remember to work in a well-ventilated area or use a fume extractor to avoid inhaling any fumes emitted during the soldering process.
By soldering the wires, you create durable and reliable connections between the appropriate wires and connectors. These connections will carry the DC power output from the ATX PSU to your desired devices and components.
Step 8: Insulate the Soldered Connections
After soldering the wires, it is important to properly insulate the soldered connections to ensure electrical safety, prevent short circuits, and maintain the durability of the connections. Insulating the connections provides an additional layer of protection and helps keep the wires secure. Follow these steps to insulate the soldered connections:
- Cut heat shrink tubing: Cut small pieces of heat shrink tubing to cover each soldered connection. Ensure that the tubing is long enough to fully cover the soldered portion of the wires.
- Slide heat shrink tubing over the soldered connections: Carefully slide the heat shrink tubing over each soldered connection, ensuring that it covers the entire soldered area. Position it such that when heated, the tubing will shrink and secure the connection tightly.
- Shrink the tubing: Use a heat gun or a suitable heat source to apply heat evenly to the heat shrink tubing. Be cautious to avoid applying excessive heat to nearby components or causing any damage. The heat will cause the tubing to shrink, creating a strong and insulated seal around the soldered joint.
- Inspect the insulation: After shrinking the tubing, visually inspect each connection to ensure that the tubing has fully shrunk and sealed the soldered joint. Verify that there are no exposed wires or areas where the insulation has not completely covered the soldered connection.
If you do not have heat shrink tubing available, electrical tape can be used as an alternative. Wrap the soldered connections with electrical tape, making sure to overlap the tape and completely cover the soldered area. As with heat shrink tubing, inspect the connections to ensure they are securely and adequately insulated.
Take care when using a heat gun to shrink the tubing, as excessive heat or prolonged exposure can damage the tubing or adjacent components. Always follow safety precautions and use the heat source responsibly.
By insulating the soldered connections, you add a layer of protection to ensure the integrity and longevity of the converted DC power supply. This step helps prevent short circuits and electrical hazards while maintaining a secure and reliable connection.
Step 9: Test the Converted DC Power Supply
After completing the previous steps of converting the ATX PSU to a DC power supply, it is crucial to thoroughly test the functionality and reliability of the converted power supply before putting it to use. Testing ensures that the DC power supply meets the required voltage specifications and operates safely. Follow these steps to test the converted DC power supply:
- Connect a load: Connect a suitable load or electronic device to the desired voltage outputs of the DC power supply. This can be a device or component that requires the specific voltage you have converted the ATX PSU to provide.
- Switch on the power: Turn on the power supply, either by using its power switch or by plugging it into a power source. Ensure that the load is properly connected and ready to receive power.
- Measure the voltage: Use a multimeter to measure the voltage output from each relevant wire. Test each output separately to verify that they are providing the intended voltage accurately.
- Check for stability: Monitor the voltage outputs over a period of time while the load is connected. Ensure that the voltage remains stable and does not fluctuate significantly. Fluctuations could indicate a problem with either the converted DC power supply or the load being powered.
During testing, keep an eye out for any signs of overheating, unusual noises, or abnormal behavior from the converted DC power supply. If you notice any issues, immediately disconnect the power supply from the load and examine the connections and components for any faults or errors.
It is essential to be cautious during the testing process and avoid touching any exposed wires or components. Additionally, follow proper electrical safety protocols and avoid overloading the power supply beyond its rated capacity.
By thoroughly testing the converted DC power supply, you can ensure that it meets your voltage requirements, operates reliably, and powers your electronic devices or components effectively.
Step 10: Reassemble the ATX PSU
After successfully testing the converted DC power supply and ensuring its functionality, the final step is to reassemble the ATX PSU. Proper reassembly ensures that the internal components are protected, the casing is securely sealed, and the power supply is ready for use. Follow these steps to reassemble the ATX PSU:
- Position the casing: Take the casing of the ATX PSU and position it back onto the internal components. Ensure that all edges and corners align properly.
- Insert and tighten screws: Place the appropriate screws into their respective holes on the casing. Use a screwdriver to tighten them securely but avoid overtightening as it can damage the screws or the casing.
- Double-check components: Once the casing is secured, double-check that all internal components, such as the cooling fan, capacitors, and circuit boards, are properly positioned and haven’t been disturbed during reassembly.
It is crucial to pay attention to the arrangement and positioning of the internal components during reassembly. Any misaligned or loose components can potentially cause performance issues or even damage the converted DC power supply.
After completing the reassembly, take a moment to ensure that the connections are sturdy and the casing is securely sealed. Inspect the ATX PSU for any loose screws or gaps in the casing that may allow dust or debris to enter.
Finally, before putting the converted DC power supply into operation, perform a final visual inspection to confirm that everything is in order. Ensure that there are no exposed wires, damaged components, or any other potential issues that may compromise the safety or functionality of the PSU.
By reassembling the ATX PSU carefully and attentively, you can ensure that the converted DC power supply is protected, secure, and ready to provide reliable power to your electronic devices or components.
Conclusion
Converting an ATX PSU to a DC power supply is a valuable skill that allows you to repurpose existing power supplies for various electronic projects and devices. By following the step-by-step guide outlined in this article, you can successfully transform an ATX PSU into a reliable source of DC power.
In the initial stages, you gather the necessary tools and safety equipment, ensuring that you have everything required for a smooth conversion process. Then, you disconnect the PSU from any power sources and proceed to disassemble it, revealing the internal components and the 20/24-pin motherboard connector.
From there, you identify the wires needed for DC power output and disconnect any unnecessary wires to streamline the power supply. Soldering the wires creates secure connections that transmit power effectively. Insulating the soldered connections with heat shrink tubing or electrical tape ensures electrical safety.
Before putting the converted DC power supply into operation, it is crucial to test its functionality and reliability. Connect a suitable load, measure the voltage outputs, and ensure stability over time. Finally, reassemble the ATX PSU, ensuring that all components are secure and the casing is properly sealed.
Converting an ATX PSU to a DC power supply not only saves you money but also contributes to reducing electronic waste. It empowers you to repurpose unused or old power supplies for new projects and provides a cost-effective solution for powering various electronic devices and components.
Remember to prioritize safety throughout the entire process by following proper procedures, handling tools and equipment responsibly, and working in a well-ventilated area. By combining your knowledge of electronics with the skills acquired in this conversion process, you can confidently create functional and reliable DC power supplies for your future projects.