Introduction
Welcome to the world of computer technology, where speed and performance are crucial for a smooth user experience. If you’ve noticed that your computer’s RAM (Random Access Memory) is slowing you down, you’ve come to the right place. In this article, we will explore various methods to increase your RAM speed, allowing your computer to run faster and more efficiently.
RAM is responsible for storing and accessing data that your computer needs to perform daily tasks. It helps your operating system and applications load and run smoothly. However, over time, the performance of your RAM can become sluggish due to the accumulation of unnecessary programs, temporary files, and other system clutter.
Fortunately, there are several steps you can take to optimize your RAM speed and boost your computer’s overall performance. From clearing unnecessary programs and updating your operating system to adding more physical RAM and adjusting virtual memory settings, we will cover all the essential methods in detail.
By implementing these techniques, you can ensure that your computer’s RAM operates at its full potential, resulting in quicker data access and improved multitasking capabilities. Whether you are a professional who relies on resource-intensive applications or a casual user looking for a faster browsing experience, the tips in this article will help you optimize your RAM speed and enjoy a smoother computing experience.
So, without further ado, let’s dive into the various methods you can employ to increase your RAM speed. By following these steps, you’ll be well on your way to enhancing your computer’s performance and maximizing productivity.
Clearing Unnecessary Programs and Processes
One of the first steps to increase your RAM speed is to evaluate and remove unnecessary programs and processes that may be running in the background of your computer. These programs not only consume valuable memory but can also affect the overall performance of your system.
Start by opening the Task Manager on Windows or Activity Monitor on Mac. These tools allow you to view all the processes and applications running on your computer. Sort them by memory usage to identify resource-intensive programs.
Take note of any programs that you rarely use or no longer need. These can include outdated applications, bloatware that came pre-installed with your computer, or resource-hogging background processes. Once identified, you can either uninstall them through the Control Panel (Windows) or by using the Applications folder (Mac).
In addition to removing unnecessary programs, you can also disable startup applications that automatically launch when you start your computer. These applications not only consume RAM but can significantly slow down your system’s boot time. To manage startup applications, go to the Task Manager (Windows) or System Preferences (Mac) and navigate to the Startup tab or Login Items section.
Furthermore, be mindful of browser extensions and plugins that may be using up valuable memory. While extensions can provide useful functionality, they can also weigh down your system’s performance. Consider disabling or removing any extensions that you no longer use or that are known to be resource-intensive.
By clearing these unnecessary programs and processes from your system, you can free up valuable RAM and improve the overall speed and responsiveness of your computer. It’s a simple yet effective way to optimize your RAM usage and ensure that your system runs smoothly.
Updating Your Operating System
Operating system updates not only bring new features and security enhancements but also play a significant role in optimizing your RAM speed. Software developers often release updates to address bugs, improve performance, and optimize resource management, including RAM utilization.
To ensure that your operating system is up to date, follow these simple steps:
- Windows: Go to the Start menu, type “Windows Update,” and click on the “Check for updates” option. Windows will automatically check for available updates and install them.
- Mac: Click on the Apple menu and select “System Preferences.” From there, choose “Software Update” to check for available updates and install them.
Upgrading to the latest version of your operating system can improve the overall performance of your computer, including RAM management. These updates often include memory optimization techniques, enhanced resource allocation algorithms, and bug fixes that can result in improved system responsiveness and quicker data access.
In addition to updating the operating system itself, it’s essential to keep your device drivers up to date. Device drivers act as intermediaries between your hardware and software, including your RAM. Outdated or incompatible drivers can negatively impact your RAM speed and overall system performance.
To update device drivers:
- Windows: Go to the Device Manager by right-clicking on the Start menu and selecting “Device Manager.” From there, expand the different categories, right-click on a specific device, and choose “Update driver.”
- Mac: Click on the Apple menu, select “System Preferences,” and choose “Software Update.” Any available driver updates will be included in the software update process.
By keeping your operating system and device drivers up to date, you can ensure that your computer’s RAM functions optimally. This step is essential for maximizing your RAM speed and overall system performance.
Removing Temporary Files and Junk Data
Over time, your computer accumulates temporary files and junk data that can consume valuable RAM and affect your system’s performance. These files include temporary internet files, cached data, system logs, and other unnecessary data that can use up precious memory.
To remove these files and free up RAM, follow these steps:
- Windows: Open the Disk Cleanup utility by typing “Disk Cleanup” in the search bar and selecting the appropriate result. Choose the drive you want to clean, and the utility will calculate the amount of space you can free up. Select the types of files you want to delete, such as temporary files, recycle bin, and system files, and click “OK” to initiate the cleanup process.
- Mac: Open Finder and go to the “Go” menu. Select “Go to Folder” and type “~/Library/Caches” to access the cache folder. Delete the files and folders inside this folder. Additionally, you can use third-party cleaning applications like CCleaner for Mac to remove temporary files and junk data.
In addition to cleaning temporary files, it is also beneficial to remove unnecessary software and files from your system. Delete any unused applications, old documents, and files that are taking up unnecessary storage space. This not only helps to free up disk space but also reduces the load on your RAM and improves overall system performance.
Regularly cleaning out temporary files and junk data is an essential step in optimizing your RAM speed. By removing these unnecessary files, you not only free up memory but also ensure that your system operates efficiently and smoothly.
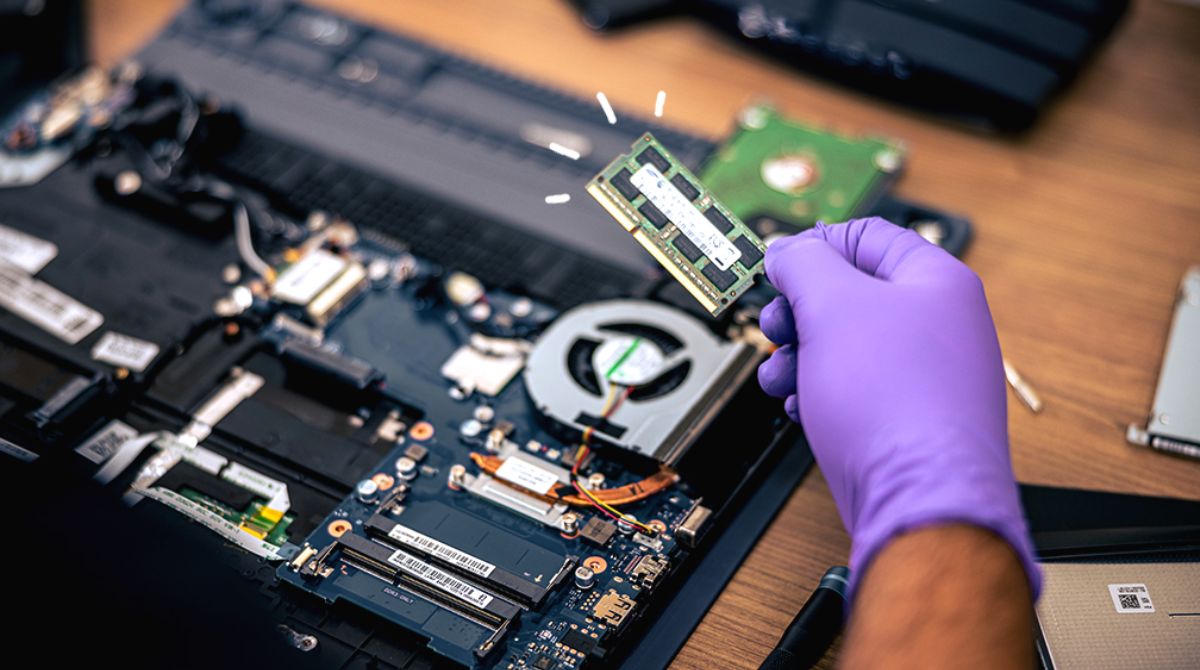
Adding More Physical RAM
If you find that your computer’s RAM is consistently running at high usage or you frequently encounter performance issues, it may be time to consider adding more physical RAM to your system. Increasing your RAM capacity can provide a significant boost to your computer’s speed and overall performance.
Adding more RAM involves purchasing compatible RAM modules and installing them in your computer. Before making any purchase, it’s important to check your system’s specifications and requirements to ensure compatibility.
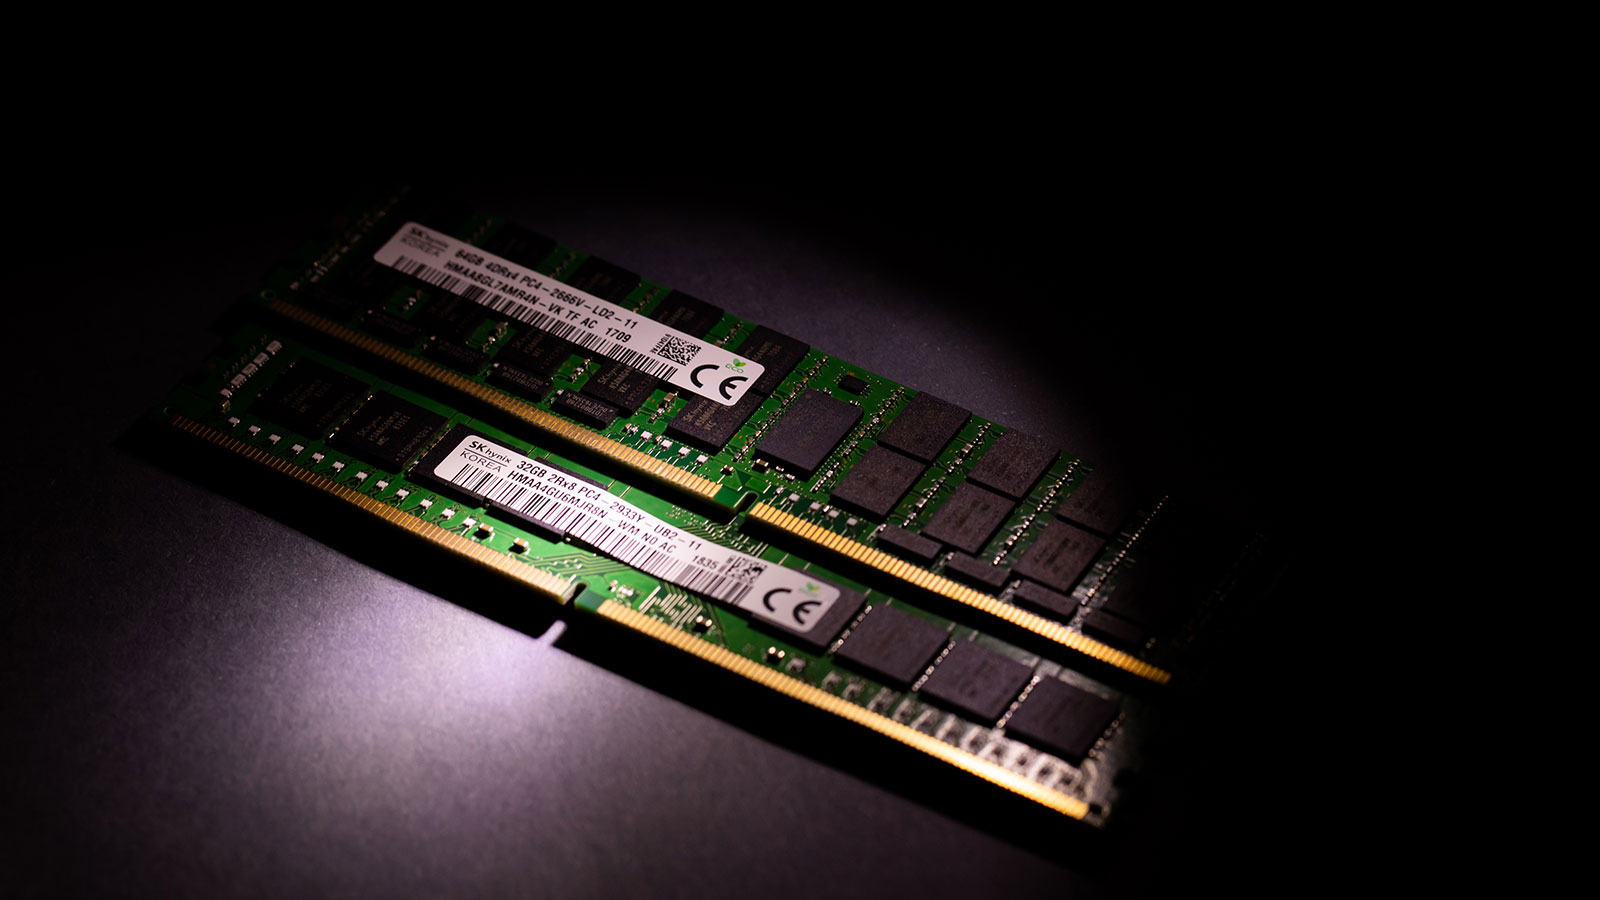
To determine the type and maximum capacity of RAM your system supports, you can:
- Windows: Open the Task Manager by right-clicking on the taskbar and selecting “Task Manager.” Go to the “Performance” tab, and under “Memory,” you will find information about your installed RAM.
- Mac: Click on the Apple menu, select “About This Mac,” and then click on “Memory.” Here, you can view the type and capacity of your installed RAM.
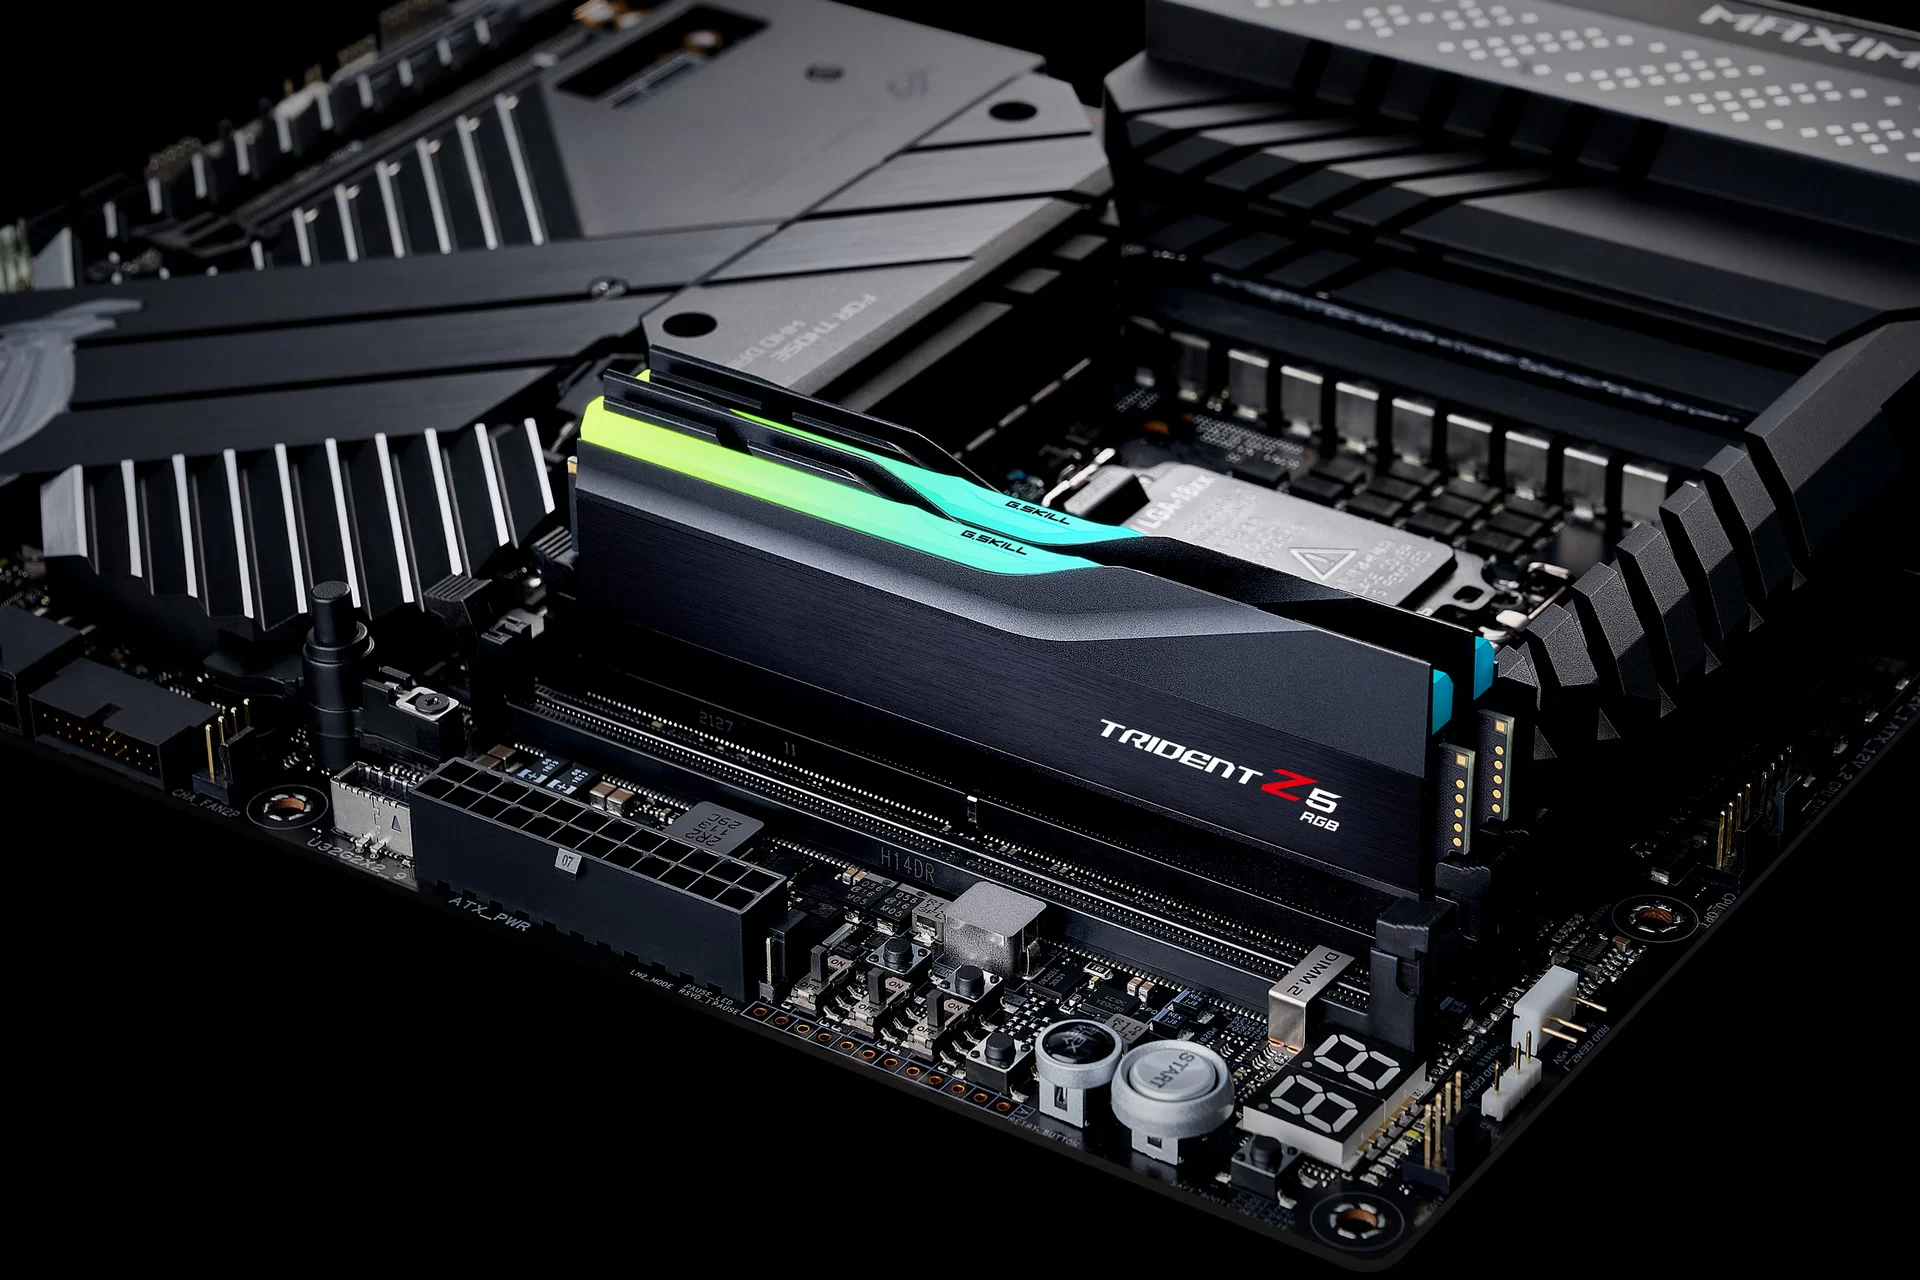
Once you know the specifications of your current RAM, you can purchase additional modules that match in terms of type, speed, and capacity. Installing RAM is relatively straightforward; simply consult your system’s manual or online resources specific to your computer model for detailed instructions.
Once you have added more RAM, restart your computer to allow it to recognize and utilize the additional memory. With more RAM available, your computer can process data faster and handle more demanding applications or multitasking scenarios with ease.
Adding more physical RAM is a highly effective way to increase your system’s overall performance and improve its ability to handle resource-intensive tasks. If you frequently find yourself running out of memory or experiencing slow performance, investing in additional RAM can be a worthwhile solution.
Using ReadyBoost (Windows) or Swap (Mac)
ReadyBoost on Windows and Swap on Mac are features that utilize external storage devices, such as USB flash drives or external hard drives, to supplement your computer’s RAM. These features act as virtual memory extensions and can help improve system performance, especially on machines with limited RAM.
On Windows, you can enable ReadyBoost by following these steps:
- Connect a compatible USB flash drive or external hard drive to your computer.
- Open File Explorer, right-click on the drive, and select “Properties.”
- Navigate to the “ReadyBoost” tab and select “Use this device.”
- Choose how much space you want to allocate on the device for ReadyBoost. Windows will recommend an appropriate size based on the drive’s capacity.
- Click “Apply” and “OK” to enable ReadyBoost.
On Mac, the Swap feature is automatically enabled and manages virtual memory using your computer’s internal storage. However, you can optimize Swap settings for better performance:
- Click on the Apple menu and select “System Preferences.”
- Choose “Memory” or “Memory & Storage,” depending on your macOS version.
- Click on “Memory” or “Virtual Memory” to access Swap settings.
- Adjust the settings to allocate a specific amount of disk space for virtual memory.
- Restart your Mac for the changes to take effect.
By using ReadyBoost on Windows or Swap on Mac, you can improve your system’s performance by utilizing additional storage space as virtual memory. This can help speed up data access and relieve the burden on your physical RAM.
However, it’s important to note that ReadyBoost and Swap are not a substitute for physical RAM. While they can provide a temporary performance boost, they do not match the speed and efficiency of actual RAM modules. If possible, it’s still recommended to upgrade your physical RAM for a more significant performance enhancement.
Disabling Visual Effects and Animations
Visual effects and animations, although visually appealing, can consume a significant amount of RAM and system resources. Disabling or reducing these visual effects can help free up resources and improve your computer’s overall performance.
On Windows, follow these steps to adjust visual effects:
- Right-click on the Start button and select “System.”
- In the System window, click on “Advanced system settings” on the left-hand side.
- In the System Properties window, click on the “Settings” button under the Performance section.
- Here, you can choose between “Adjust for best performance” to disable all visual effects or select “Custom” to choose specific effects to disable.
- Click “Apply” and then “OK” to save the changes.
On Mac, you can adjust visual effects by following these steps:
- Click on the Apple menu and select “System Preferences.”
- Select “Accessibility” and then click on “Display” on the left-hand side.
- Enable the “Reduce motion” option to minimize animations.
- Alternatively, you can click on “Desktop & Screen Saver” and choose a static desktop background.
By disabling or reducing visual effects and animations, you can decrease the workload on your RAM and improve overall system responsiveness. This is particularly beneficial if you have an older or low-spec computer that struggles with resource-intensive graphical elements.
While disabling visual effects can improve performance, it’s worth noting that it can also impact the overall aesthetic experience of your operating system. Therefore, you should find a balance between disabling resource-heavy effects and maintaining a visually pleasing interface.
Running a Disk Cleanup and Defragmentation
Over time, your hard drive can become cluttered with temporary files, unused programs, and fragmented data, which can impact the performance of your computer, including RAM speed. Running regular disk cleanup and defragmentation can help optimize your hard drive and improve system performance.
Windows users can follow these steps to run a disk cleanup:
- Open File Explorer and right-click on the drive you want to clean.
- Select “Properties” and then click on the “Disk Cleanup” button.
- The utility will calculate the amount of space that can be freed up. Select the files you want to delete, such as temporary files, downloaded program files, and recycle bin items.
- Click “OK” to initiate the cleanup process.
Defragmenting your hard drive helps reorganize the fragmented data, allowing for faster access and improved system performance. To defragment your hard drive on Windows, follow these steps:
- Open the Start menu, type “defragment,” and select “Defragment and Optimize Drives.”
- Choose the drive you want to defragment and click on “Optimize.”
- Wait for the defragmentation process to complete.
On a Mac, disk cleanup and defragmentation are not required as macOS automatically handles these tasks in the background. However, you can use third-party disk cleanup utilities if needed.
By performing regular disk cleanup and defragmentation, you can optimize your hard drive’s performance, improve data access speeds, and subsequently enhance your computer’s RAM speed. This can result in faster application loading times and improved overall system responsiveness.
Remember to schedule regular disk cleanup and defragmentation sessions to prevent excessive data fragmentation and keep your hard drive in optimal condition.
Closing Unused Applications and Tabs
Having multiple applications and browser tabs open simultaneously can consume a significant amount of RAM, especially if they are resource-intensive or contain media content. Closing unused applications and tabs can help free up valuable memory and improve your computer’s overall performance.
Start by reviewing the applications and tabs currently open on your computer. Identify those that you are not actively using or that have been idle for an extended period. Close them by clicking the “X” button on the application window or right-clicking on the tab and selecting “Close” or “Close Tab.”
Keeping numerous applications and tabs open can put an unnecessary strain on your RAM, as each one reserves a portion of memory for its operation. By closing unused applications and tabs, you ensure that your system has enough memory available for the tasks you are actively working on.
In addition to closing individual applications and tabs, you may also consider using browser extensions or plugins that automatically suspend or unload inactive tabs to conserve memory. These tools can help optimize RAM usage by freeing up resources from tabs that are not actively being used.
By adopting the habit of closing unused applications and tabs, you not only reduce memory usage but also enhance system responsiveness and improve multitasking capabilities. This simple practice can make a significant difference in overall performance, particularly on computers with limited RAM.
Optimizing Your Internet Browser
Your internet browser is one of the most frequently used applications on your computer, and it can have a significant impact on your overall RAM speed. Optimizing your browser settings can help reduce memory usage and improve browsing performance.
Here are some tips to optimize your internet browser:
1. Clearing Browser Cache: Over time, your browser’s cache can accumulate a large amount of temporary files and data, consuming valuable RAM. Clearing your browser’s cache regularly can help free up memory and enhance performance. In your browser settings or preferences, navigate to the cache or browsing history section and follow the instructions to clear cache files.
2. Disabling or Removing Extensions: Browser extensions can provide additional functionality, but they can also consume memory. Review your installed extensions and disable or remove any that you no longer need or that are resource-intensive. This can help improve both RAM speed and browser performance.
3. Limiting Open Tabs: Having too many tabs open can strain your computer’s memory. Try to limit the number of open tabs, especially those that contain media content or resource-intensive websites. Consider bookmarking or saving pages for later instead of keeping them open indefinitely.
4. Adjusting Content Settings: Some websites use media content, such as autoplay videos or animated ads, that can consume a significant amount of RAM. In your browser settings, you can adjust content settings to disable autoplay videos or block certain types of content, reducing the load on your system’s memory.
5. Keeping Your Browser Updated: Regularly updating your browser to the latest version can provide optimizations, bug fixes, and security enhancements that can improve performance and RAM management.
6. Using a Lightweight Browser: Consider using a lightweight browser known for its efficient resource usage. There are several lightweight browser options available that prioritize low memory consumption while still providing a seamless browsing experience.
By implementing these browser optimizations, you can optimize RAM usage, reduce memory overhead, and enhance browsing speed and performance. These simple adjustments can make a substantial difference in the overall performance of your computer.
Adjusting Virtual Memory Settings
Virtual memory is a feature that allows your computer to use a portion of your hard drive space as additional memory when your physical RAM becomes insufficient. The size of your virtual memory, also known as the page file or swap file, can impact your computer’s RAM speed and overall performance. Adjusting virtual memory settings can help optimize your system’s memory management.
To adjust virtual memory settings on Windows:
- Open the Control Panel and navigate to “System” or “System and Security.”
- Select “Advanced system settings” to open the System Properties window.
- In the System Properties window, go to the “Advanced” tab and click on the “Settings” button under the “Performance” section.
- In the Performance Options window, click on the “Advanced” tab and then click on the “Change” button under the “Virtual memory” section.
- In the Virtual Memory window, uncheck the “Automatically manage paging file size for all drives” option.
- Select the desired drive and choose either “Custom size” or “System managed size” based on your preference.
- If selecting “Custom size,” enter the initial and maximum size of the virtual memory in megabytes (MB), typically recommended to be 1.5 to 3 times the size of your physical RAM.
- Click “OK” to apply and save the changes.
On a Mac, virtual memory is managed automatically and does not have customizable settings like Windows. However, you can optimize physical RAM usage by minimizing memory-intensive applications and following other performance optimization techniques.
By adjusting virtual memory settings, you can optimize the use of your computer’s memory resources and help improve RAM speed. However, it’s important to note that adjusting virtual memory settings should be done with caution and in accordance with recommended guidelines or expert advice to ensure system stability and performance.
Updating Device Drivers
Device drivers act as intermediaries between your computer’s hardware components and the operating system. Outdated or incompatible drivers can impact your system’s performance, including RAM speed. Updating device drivers can help optimize resource management and improve overall system responsiveness.
To update device drivers on Windows:
- Open the Device Manager by right-clicking on the Start button and selecting “Device Manager.”
- Expand the different categories to find the specific device you want to update.
- Right-click on the device and select “Update driver.”
- Choose whether to search automatically for updated driver software or browse your computer or the internet for driver software. Select the appropriate option and follow the instructions.
- If an updated driver is found, it will be installed on your system.
- Repeat the process for other devices that may require driver updates.
On a Mac, device drivers are typically included in system updates. Therefore, regularly updating your operating system using the Software Update feature will also update device drivers.
Updating device drivers ensures that your computer’s hardware components are operating efficiently and in coordination with the operating system. This can improve data transfer speed, reduce latency, and positively impact RAM performance.
It’s worth noting that manually updating device drivers can be time-consuming, especially if you have multiple hardware components that require updates. However, it is an essential maintenance task to optimize system performance.
Consider using driver update software or tools provided by the hardware manufacturer to simplify the process, as these tools can automatically scan your system, identify outdated drivers, and download the latest versions.
By keeping your device drivers up to date, you can ensure that your computer’s hardware components work harmoniously with the operating system, providing optimal performance and enhancing your RAM speed.
Using a Memory Cleaning Tool
A memory cleaning tool, also known as a memory optimizer or RAM cleaner, is a software utility designed to free up memory by clearing unnecessary data and processes from your computer’s RAM. These tools can help improve your RAM speed and overall system performance.
Memory cleaning tools work by identifying and removing hidden or unnecessary processes, temporary files, and other background tasks that can consume memory resources. By freeing up RAM, these tools can enhance system responsiveness and reduce the likelihood of performance issues.
When using a memory cleaning tool, it’s important to choose a reputable and trustworthy software. Some popular memory cleaning tools include CCleaner, CleanMyPC, and Wise Memory Optimizer for Windows, and Memory Clean and AppCleaner for Mac.
Here are some benefits of using a memory cleaning tool:
1. Automatic Memory Optimization: Memory cleaning tools can automate the process of freeing up memory, saving you time and effort. These tools often have customizable settings, allowing you to schedule automatic memory cleaning at specified intervals.
2. Optimization of Idle Processes: Memory cleaners can identify and close unnecessary background processes that may be consuming memory without actively providing any benefit. By dealing with these idle processes, you can free up valuable memory resources for more important tasks.
3. Removal of Temporary and Cache Files: Memory cleaning tools can clear temporary files, cache, and other unnecessary data that may be taking up space in your RAM. This helps to prevent memory bloat and ensures that your system operates with optimal memory usage.
4. Enhancing Multitasking Capability: By freeing up memory, memory optimization tools can improve your computer’s ability to handle multiple programs and tasks simultaneously. This can be especially beneficial for users who regularly work with resource-intensive software or engage in heavy multitasking.
While memory cleaning tools can be helpful in optimizing RAM speed and performance, it’s important to use them judiciously and understand their limitations. Be cautious of memory cleaning tools that promise extraordinary performance improvements or advertise aggressive memory optimization techniques, as these can potentially interfere with system stability.
Remember, keeping your system well-maintained and following other optimization techniques, such as clearing unnecessary programs and files, can also contribute to improved RAM speed and overall system performance.
Conclusion
Optimizing your RAM speed is essential for a smooth and efficient computing experience. By implementing the strategies mentioned in this article, you can enhance your computer’s performance and maximize the capabilities of your RAM.
We discussed a variety of methods, including clearing unnecessary programs and processes, updating your operating system and device drivers, removing temporary files and junk data, adding more physical RAM, utilizing virtual memory extensions, disabling visual effects and animations, running disk cleanup and defragmentation, closing unused applications and tabs, optimizing your internet browser, adjusting virtual memory settings, and using memory cleaning tools.
Each of these methods plays a crucial role in optimizing your RAM speed by freeing up memory resources, improving memory management, and reducing system clutter. While some methods may be more effective than others based on your computer’s configuration, combining multiple techniques can yield the best results.
It’s important to remember that RAM speed is just one aspect of overall system performance. To ensure optimal performance, consider taking a holistic approach by regularly maintaining your computer, keeping your software updated, and practicing good browsing habits.
By prioritizing RAM optimization, you can enjoy faster data access, smoother multitasking, and a more responsive computing experience. Whether you’re a professional who relies on resource-intensive applications or a casual user seeking a seamless browsing experience, optimizing your RAM speed will undoubtedly enhance your productivity and enjoyment.