Introduction
Welcome to the world of Ethernet! In this day and age, staying connected is crucial for both personal and professional endeavors. Whether you’re working from home, gaming online, or simply browsing the web, having a stable and high-speed internet connection is essential. This is where Ethernet comes into play. In this article, we will explore what Ethernet is, why it’s beneficial, and how to turn it on.
Ethernet is a technology that allows devices to connect to a local network or the internet using a wired connection. Unlike Wi-Fi, which relies on wireless signals, Ethernet utilizes physical cables to transmit data packets. This direct and dedicated connection between your device and the network ensures a more reliable and faster internet connection. Ethernet is widely used in homes, offices, and schools due to its superior performance and stability.
So, why use Ethernet? The answer lies in the numerous advantages it offers. Firstly, Ethernet provides a more reliable and consistent connection compared to Wi-Fi, especially in areas where the wireless signal may be weak or easily interfered with. This is particularly important for activities that demand a stable network connection, such as video conferencing, online gaming, or large file transfers.
Secondly, Ethernet delivers blazing-fast speeds, especially with the latest Ethernet standards like Gigabit Ethernet. This is especially beneficial for tasks that require high bandwidth, such as HD video streaming or downloading large files. With Ethernet, you can experience seamless and uninterrupted connectivity, even during peak usage times.
Furthermore, Ethernet ensures better network security. As it operates on a wired connection, it is less susceptible to hacking or unauthorized access compared to Wi-Fi, which can be vulnerable to attacks if not properly secured. This is particularly important for businesses or individuals dealing with sensitive data and confidential information.
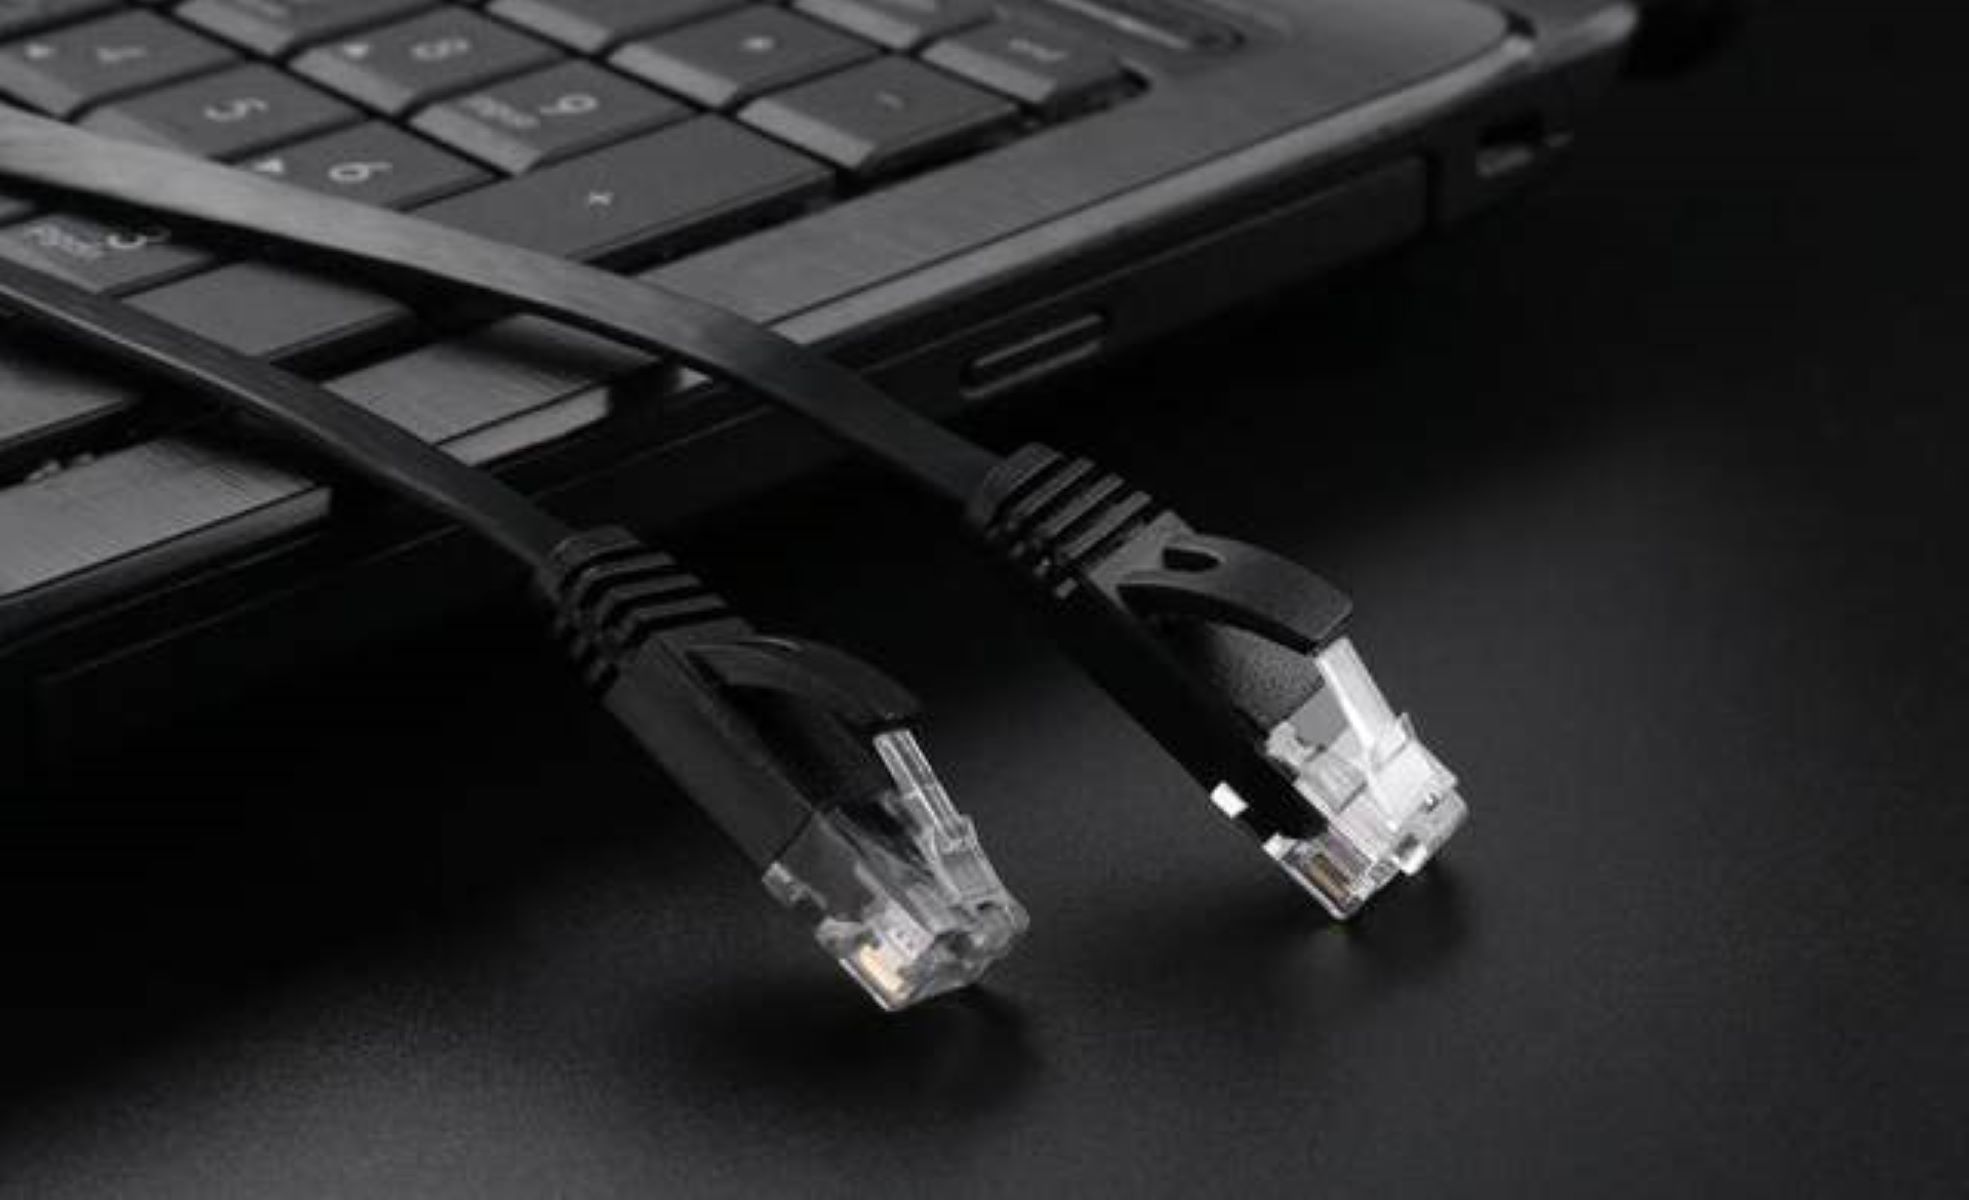
To turn on your Ethernet connection, you’ll need a few key pieces of equipment. Firstly, you’ll need an Ethernet cable, also known as a network cable or RJ45 cable. This cable is typically color-coded and has a standard connector on both ends. Additionally, you’ll need a device with an Ethernet port, such as a computer, gaming console, or smart TV. Finally, ensure that your router or modem has Ethernet ports available.
What is Ethernet?
Ethernet is a networking technology that allows devices to connect to a local area network (LAN) or the internet using a wired connection. It is named after the “ethernet” concept, which refers to a system for connecting computers and peripherals together to form a network.
At its core, Ethernet relies on a set of standardized protocols and specifications that define how data is transmitted and received over physical cables. The most common type of Ethernet cable used today is the twisted pair cable, which consists of several pairs of copper wires twisted together to minimize interference.
When it comes to Ethernet, the data is broken down into packets and transmitted as electric signals through the cable. These packets are then received and reconstructed by the receiving device at the other end. This process occurs at incredible speeds, allowing for efficient and fast data transmission.
Ethernet has evolved over the years, with several generations and standards being introduced. The most widely used Ethernet standard today is Gigabit Ethernet, which offers speeds of up to 1000 megabits per second (Mbps). However, higher-speed standards like 10 Gigabit Ethernet and 40 Gigabit Ethernet are also available for more demanding applications.
One of the significant advantages of Ethernet is its ability to support multiple devices connected to a network simultaneously. This is achieved through the use of switches, which are networking devices that receive incoming data packets and forward them to the appropriate destination device. With Ethernet, you can connect computers, printers, cameras, and other devices to your network with ease.
Ethernet is widely used in various settings, including homes, offices, schools, and data centers. It provides a reliable and stable connection, making it ideal for activities that require high bandwidth or low latency, such as online gaming, video conferencing, and file sharing.
In summary, Ethernet is a wired networking technology that uses physical cables to connect devices to a network. Through the transmission of data packets, Ethernet enables fast, reliable, and efficient communication between devices. Whether you’re streaming media, working remotely, or simply browsing the web, Ethernet ensures a seamless and uninterrupted internet experience.
Why Use Ethernet?
Ethernet offers numerous benefits that make it a preferred choice for connecting devices to a network. Let’s explore why you should consider using Ethernet instead of relying solely on Wi-Fi.
First and foremost, Ethernet provides a more stable and reliable connection compared to Wi-Fi. While Wi-Fi connections can be affected by factors like distance, interference, and signal strength, Ethernet offers a dedicated and direct connection between your device and the network. This ensures a consistently strong signal and minimizes the chances of dropouts or interruptions, making it ideal for activities that demand a stable connection, such as video conferencing or online gaming.
Another advantage of Ethernet is its superior speeds. With the latest Ethernet standards like Gigabit Ethernet, you can achieve speeds of up to 1000 Mbps. This makes Ethernet the ideal choice for tasks that require high bandwidth, such as streaming HD video or downloading large files. Ethernet eliminates the latency and potential speed limitations that can be associated with Wi-Fi, allowing for a seamless and fast internet experience.
Security is another crucial aspect that sets Ethernet apart from Wi-Fi. While Wi-Fi networks can be vulnerable to hacking or unauthorized access if not properly secured, Ethernet operates through physical cables, making it inherently more secure. By using Ethernet, you reduce the potential risks associated with wireless networks, particularly in sensitive environments where data security is paramount.
Additionally, Ethernet offers better network management and control. Since Ethernet relies on cables, you have more control over the network infrastructure, allowing for easier troubleshooting and configuration. This can be especially beneficial in larger network environments or workplaces where network performance and stability are critical.
Furthermore, Ethernet allows for the simultaneous connection of multiple devices without sacrificing performance. With Ethernet switches, you can expand your network and connect multiple devices without experiencing a drop in speed or bandwidth. This makes Ethernet an excellent choice for households with multiple devices or small businesses with numerous workstations that need to be connected to a network.
Whether it’s for work or leisure, Ethernet provides a more reliable, secure, and speedy connection compared to Wi-Fi. By utilizing Ethernet, you can enjoy a seamless and uninterrupted internet experience, enhanced network management, and the ability to handle bandwidth-intensive tasks with ease.
Required Equipment
To turn on Ethernet and enjoy its benefits, you’ll need a few essential pieces of equipment. Here’s a breakdown of what you’ll need:
- Ethernet Cable: Also known as a network cable or RJ45 cable, the Ethernet cable is the key component for connecting your device to the router or modem. These cables come in various lengths, so choose one that suits your needs. It’s crucial to ensure that the cable is in good condition and has standard connectors on both ends.
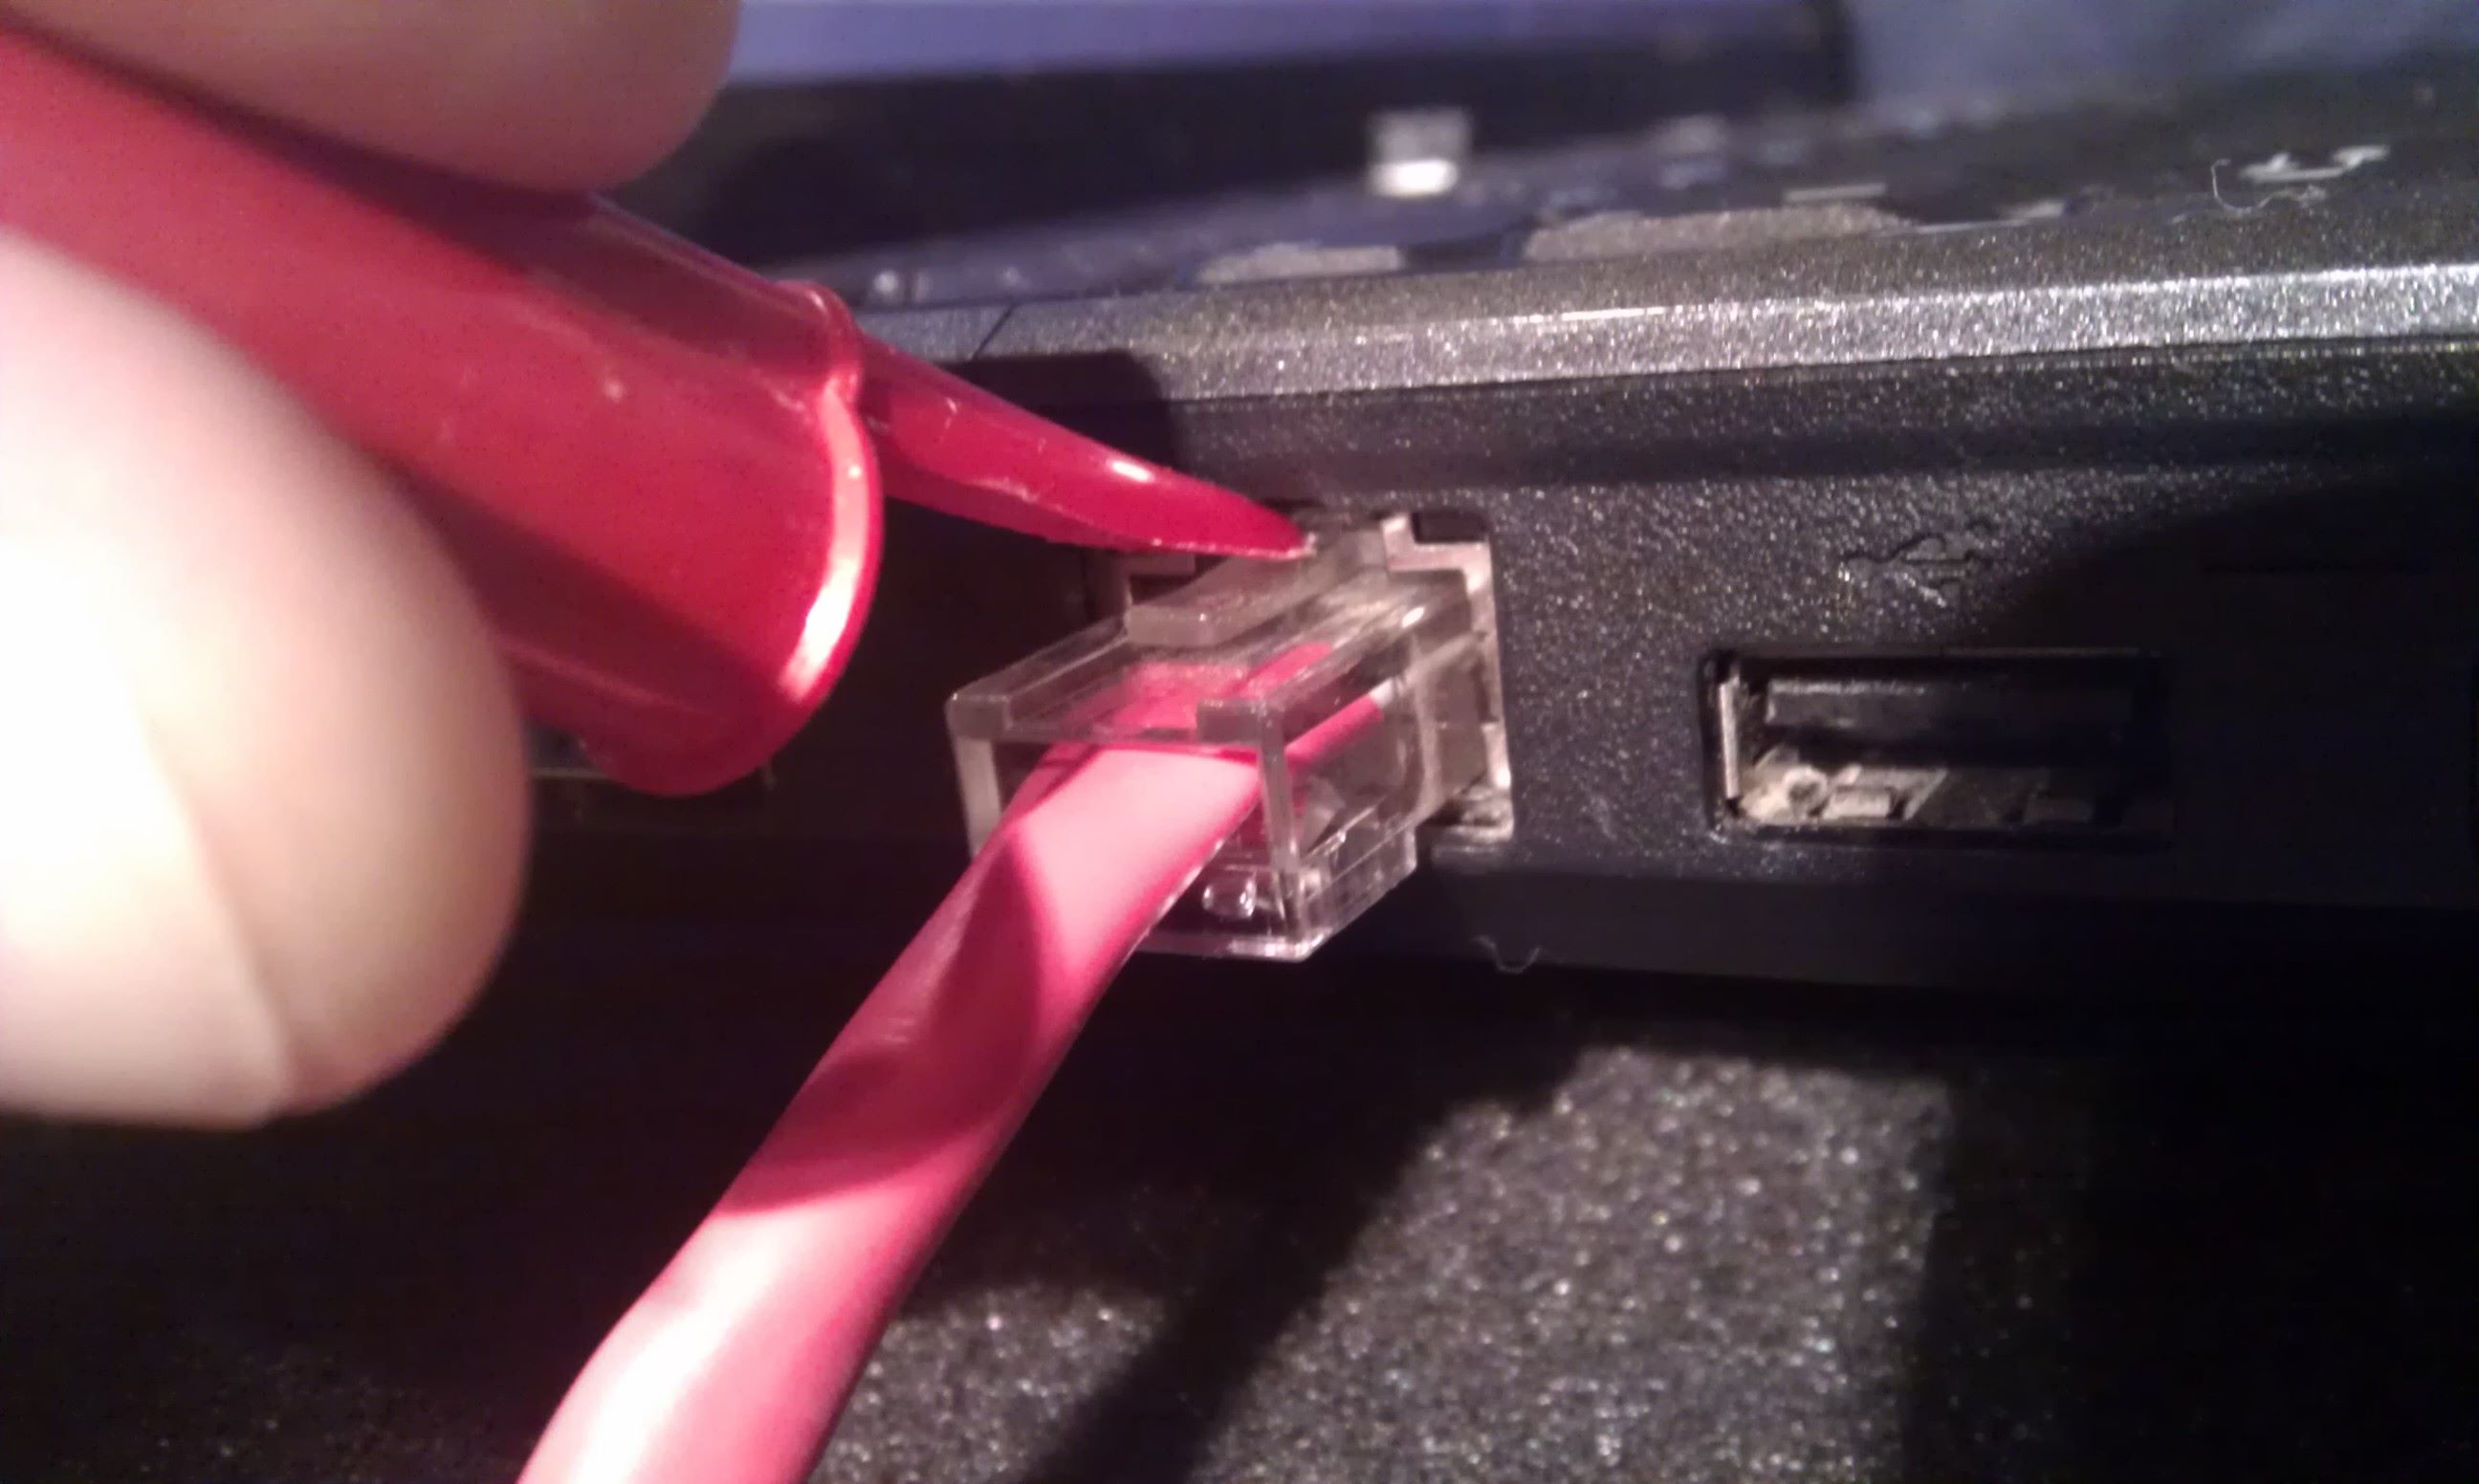
- Device with Ethernet Port: You’ll need a device that has an Ethernet port, commonly found on computers, gaming consoles, smart TVs, and some smartphones or tablets. This port typically resembles a wider and squarer connector compared to the USB or HDMI ports. Ensure that your device has an Ethernet port available before attempting to connect via Ethernet.
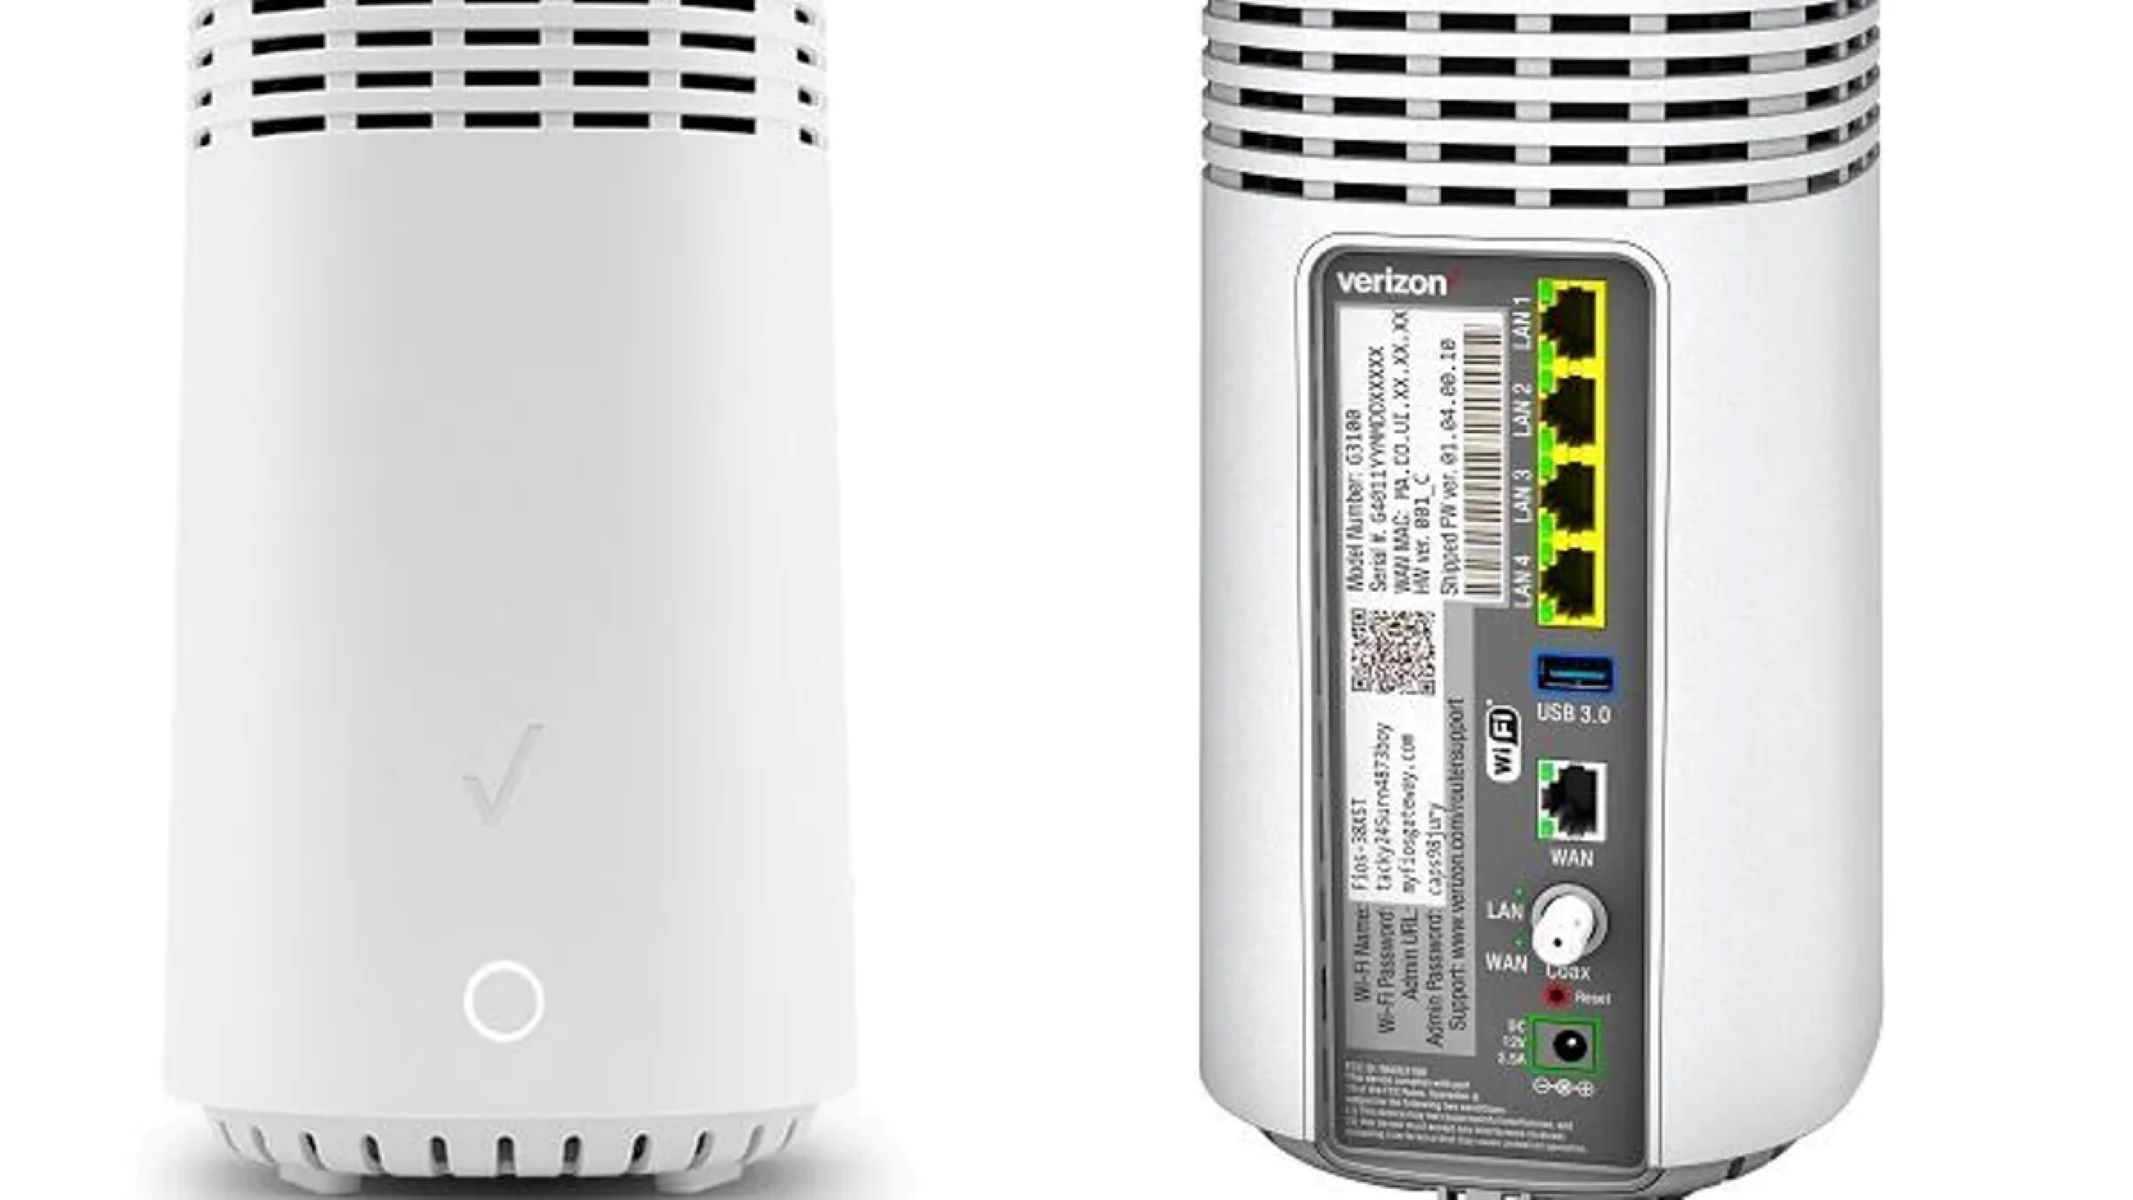
- Router/Modem with Ethernet Ports: Your internet router or modem should have available Ethernet ports to connect your devices. Most routers or modems come equipped with multiple Ethernet ports, allowing you to connect several devices simultaneously. These ports are usually located on the back of the device and may be labeled as “LAN” or “Ethernet”. Make sure your router or modem has available Ethernet ports.
Having the necessary equipment in place is the first step to turning on Ethernet and enjoying a wired connection. Once you have these items, you’re ready to start the setup process and connect your device to the network using Ethernet.
Step 1: Connect Ethernet Cable to Router
The first step to turning on Ethernet is to connect the Ethernet cable to your router. Follow these simple steps:
- Locate the Ethernet port on your router. It is usually located on the back of the device and labeled as “LAN” or “Ethernet”.
- Take one end of the Ethernet cable and insert it into the Ethernet port on the router. Ensure that the connector is firmly inserted and securely in place.
- Once the cable is connected to the router, take the other end of the Ethernet cable and attach it to the Ethernet port on your device, such as a computer or gaming console. Again, make sure it is firmly inserted.
- Confirm that both ends of the Ethernet cable are securely connected, with no loose connections or visible gaps.
- Take a moment to arrange the cable neatly to avoid any potential trip hazards or tangling.
By following these steps, you have successfully connected one end of the Ethernet cable to your router. The next step is to connect the other end of the cable to your device, which we will cover in the next section.
Step 2: Connect Ethernet Cable to Device
Now that you have connected one end of the Ethernet cable to your router, it’s time to connect the other end to your device. Follow these steps to complete the connection:
- Locate the Ethernet port on your device. It can usually be found on the back or side of computers, gaming consoles, or smart TVs. The Ethernet port resembles a wider and squarer connector compared to USB or HDMI ports.
- Take the other end of the Ethernet cable and insert it firmly into the Ethernet port on your device. Ensure that the connector is securely inserted and properly aligned with the port.
- Confirm that the cable is securely connected to the device by gently tugging on it. It should not come loose or disconnect easily.
- Once the cable is connected, you may need to adjust the position of your device to ensure that the cable does not strain or become tangled. Arrange the cable neatly to minimize the risk of tripping or accidental disconnection.
By following these steps, you have successfully connected both ends of the Ethernet cable—one end to your router and the other end to your device. This establishes a physical wired connection between the two, allowing for a reliable and fast internet connection. The next step is to configure the Ethernet settings on your device, which we will cover in the next section.
Step 3: Configure Ethernet Settings
After connecting the Ethernet cable to your device, the next step is to configure the Ethernet settings. Follow these steps to ensure that your device recognizes and utilizes the Ethernet connection:
- On your device, navigate to the network settings. The exact location of these settings may vary depending on the operating system or device you are using.
- In the network settings, locate the section for Ethernet or wired connections. It may be labeled as “Ethernet”, “LAN”, or “Wired”.
- Select the Ethernet connection and check whether it is set to “Enabled” or “On”. If it is already enabled, you may not need to make any further changes. However, if it is disabled or turned off, switch it to “Enabled” or “On”.
- You may also have the option to set the Ethernet connection as the primary network connection, especially if you have multiple network interfaces on your device. Consider selecting the Ethernet connection as the default if you prefer to prioritize it over other connections.
- Save the changes and exit the network settings. Your device should now be configured to use the Ethernet connection as the primary source of internet connectivity. However, if you are still unable to establish a connection or experience any issues, proceed to the next step for troubleshooting.
By following these steps, you have successfully configured the Ethernet settings on your device. This ensures that your device recognizes the Ethernet connection and utilizes it for internet connectivity. The next step is to test the connection and ensure that it is working correctly, which will be covered in the following section.
Step 4: Test Connection
After connecting the Ethernet cable and configuring the settings on your device, it’s time to test the connection and ensure that everything is working correctly. Follow these steps to test your Ethernet connection:
- Open a web browser on your device.
- Navigate to a website that you typically visit or try accessing any online service or application to check if the internet connection is functioning.
- If the web page or service loads successfully, congratulations! Your Ethernet connection is working correctly, and you’re now enjoying a stable and fast internet connection.
- If, however, you are unable to access any websites or services, there may be an issue with your Ethernet connection. In this case, double-check the Ethernet cable connections to ensure they are secure and properly inserted into the router and device.
- If the connections are secure and you’re still experiencing issues, consider restarting your router and device. Sometimes, a simple power cycle can resolve temporary connection problems.
- If the issue persists, you may need to troubleshoot further or seek assistance from your internet service provider (ISP). They can help diagnose any potential issues with the network or provide support for resolving connectivity problems.
By following these steps, you have successfully tested your Ethernet connection. Enjoy your stable and high-speed internet access for all your online activities!
Troubleshooting Ethernet Issues
While Ethernet connections are generally reliable, you may encounter some common issues that can impact your network connectivity. Here are a few troubleshooting steps to help resolve Ethernet issues:
- Check cable connections: Ensure that the Ethernet cable is securely connected at both ends – to your device and the router or modem. Verify that there are no loose connections or damaged cables that could be causing interruptions in the network signal.
- Restart your devices: Sometimes, a simple reboot of your router, modem, and device can resolve temporary network issues. Power them off, wait for a few seconds, and then power them back on.
- Test with a different Ethernet cable: If you suspect a faulty cable, try using a different Ethernet cable to see if the issue resolves. This will help determine whether the problem lies with the cable itself.
- Disable and enable Ethernet: In the network settings of your device, disable the Ethernet connection, wait for a few seconds, and then re-enable it. This can refresh the connection and resolve any minor issues.
- Update drivers: Ensure that the network drivers on your device are updated to the latest version. Outdated drivers can sometimes cause compatibility issues with the Ethernet connection. Visit the manufacturer’s website or use the device manager to check for driver updates.
- Check for IP conflicts: Ensure that there are no IP address conflicts on your network. If multiple devices have the same IP address, it can cause connectivity issues. Check the network settings and DHCP settings on your router to confirm if there are any conflicts.
- Reset router: If other troubleshooting steps fail, you may want to try resetting your router to its factory settings. This can help resolve any configuration issues that may be affecting the Ethernet connection.
- Contact your ISP: If none of the above steps resolve the issue, it’s possible that there might be a problem with your internet service provider’s network. Contact your ISP and explain the issue. They can guide you through advanced troubleshooting or send a technician to investigate and resolve the problem.
By following these troubleshooting steps, you can often resolve Ethernet issues and restore your network connection. If the problem persists, don’t hesitate to seek assistance from your ISP or a professional network technician.
Conclusion
Congratulations! You have successfully learned how to turn on Ethernet and enjoy the benefits of a wired network connection. Ethernet provides a reliable, fast, and secure means of connecting your devices to the internet or a local network. By following the step-by-step instructions provided in this article, you should now have your Ethernet connection up and running.
Remember, Ethernet offers advantages such as stability, superior speeds, increased security, and the ability to connect multiple devices simultaneously. Whether you’re working from home, gaming, or streaming HD media, Ethernet ensures a seamless and uninterrupted internet experience.
Should you encounter any issues, refer to the troubleshooting section to identify and resolve common Ethernet problems. Remember to check cable connections, restart devices, and update drivers to ensure smooth operation.
By choosing Ethernet as your preferred network connection method, you can enjoy faster speeds, lower latency, and a more secure network environment. Whether you’re a professional needing a reliable connection or a casual internet user looking for a seamless experience, Ethernet is an excellent choice.
Thank you for taking the time to learn about turning on Ethernet. We hope this guide has been helpful and that you can now make the most out of your network connection. Happy browsing, gaming, and streaming!


