Introduction
Replacing a damaged Ethernet port is a common task for computer enthusiasts, IT professionals, and those who rely on a reliable internet connection. Whether the port is physically broken or experiencing connectivity issues, knowing how to replace it can save you time and money.
In this guide, we will walk you through the step-by-step process of replacing an Ethernet port. We will cover the tools and materials necessary for the job, as well as the specific steps required to remove the damaged port and install the replacement. By following these instructions, you can restore your internet connectivity and get back to business.
Before we begin, it’s important to note that this guide assumes you have some basic knowledge of computer hardware and are comfortable working with internal components. If you are uncertain or uncomfortable with this process, we highly recommend seeking the assistance of a professional technician.
Now, let’s gather the necessary tools and equipment and get started on replacing your Ethernet port.
Tools and Materials
Before diving into the process of replacing an Ethernet port, it’s essential to have the right tools and materials on hand. Ensuring that you have everything you need will make the process smoother and more efficient. Here are the tools and materials you will need:
- Screwdriver set (including both flathead and Phillips head)
- Anti-static wristband or mat
- Replacement Ethernet port
- Small container for storing screws
- Cable cutter or stripper
- Heat shrink tubing
- Heat gun or lighter
- Ethernet crimper tool
- Network cable tester
Having the right tools ensures that you have everything necessary to safely and effectively replace the Ethernet port. The screwdriver set will enable you to remove any screws securing the port in place, while the anti-static wristband or mat will help protect the sensitive electronic components from static electricity.
The most crucial material you’ll need is the replacement Ethernet port itself. Ensure that you choose a compatible port that matches the specifications of your device. It’s always a good idea to consult the user manual or seek advice from the manufacturer to ensure compatibility.
The small container for storing screws prevents them from getting lost during the disassembly process. This will save you from the frustration of searching for misplaced screws later on.
The cable cutter or stripper and heat shrink tubing are required if you need to cut and repair any damaged Ethernet cables. The heat shrink tubing, when heated, contracts to provide a secure and insulated connection.
The Ethernet crimper tool is necessary for attaching connectors to Ethernet cables, which may be required if you need to replace the cable as well. Lastly, the network cable tester helps you verify the connectivity and integrity of the Ethernet cable and newly installed port.
With these tools and materials at your disposal, you’re ready to move on to the next steps in the process of replacing the Ethernet port.
Step 1: Prepare the Workspace
Before starting the process of replacing an Ethernet port, it’s important to create a suitable workspace. Taking the time to prepare the workspace will help ensure a smooth and organized repair process. Follow these steps to prepare your workspace:
- Gather your tools: Collect all the tools and materials listed in the previous section and have them readily available on your workspace. This will prevent unnecessary interruptions and delays during the repair process.
- Choose a clean and well-lit area: Find a workspace that is clean and well-lit to help you see small components and avoid any accidents. A clutter-free area will also make it easier to keep track of screws and other small parts.
- Disconnect all power sources: Before working on any computer or device, make sure to turn off the power and unplug all cables. This will prevent any potential electrical shocks and protect your equipment from power surges.
- Use an anti-static wristband or mat: Static electricity can damage sensitive electronic components. To avoid this, wear an anti-static wristband or work on an anti-static mat. This will help discharge any static electricity and protect your hardware from potential damage.
- Prepare a clean surface: Place a soft cloth or an anti-static mat on your workspace. This will provide a cushioned and static-free surface for your device and protect it from scratches or accidental drops.
By following these steps, you will have created an organized and safe workspace to carry out the Ethernet port replacement. Remember to take your time and exercise caution throughout the repair process to ensure a successful outcome.
Step 2: Remove the Damaged Ethernet Port
Now that you have prepared your workspace, it’s time to start removing the damaged Ethernet port. Follow these steps carefully:
- Power off and disconnect: Make sure your device is turned off and unplugged from the power source. This will prevent any accidental damage or electrical shock during the removal process.
- Open the device: Depending on your device, you may need to remove a panel or casing to access the Ethernet port. Consult the device manual or online resources to understand how to open your specific device safely. Use the appropriate screwdriver to remove any screws securing the panel or casing.
- Identify the Ethernet port: Locate the damaged Ethernet port on the device’s motherboard or internal component. Take note of how it is connected to the motherboard and any other cables or connectors attached to it.
- Detach the cables: Gently disconnect any cables or connectors attached to the damaged Ethernet port. Take care not to pull or damage the cables as you remove them. If necessary, use a cable cutter or stripper to carefully cut any zip ties or clips holding the cables in place.
- Remove the damaged port: Once the cables are detached, carefully unscrew and remove the damaged Ethernet port from the device. Keep track of the screws by placing them in a small container so that they can be easily located during reassembly.
With the damaged Ethernet port now successfully removed, you can proceed to the next step of the process. Take your time and be gentle when handling the internal components to avoid any accidental damage.
Step 3: Identify the Type of Ethernet Port
After removing the damaged Ethernet port, it’s important to identify its type to ensure you purchase the correct replacement. Follow these steps to identify the type of Ethernet port:
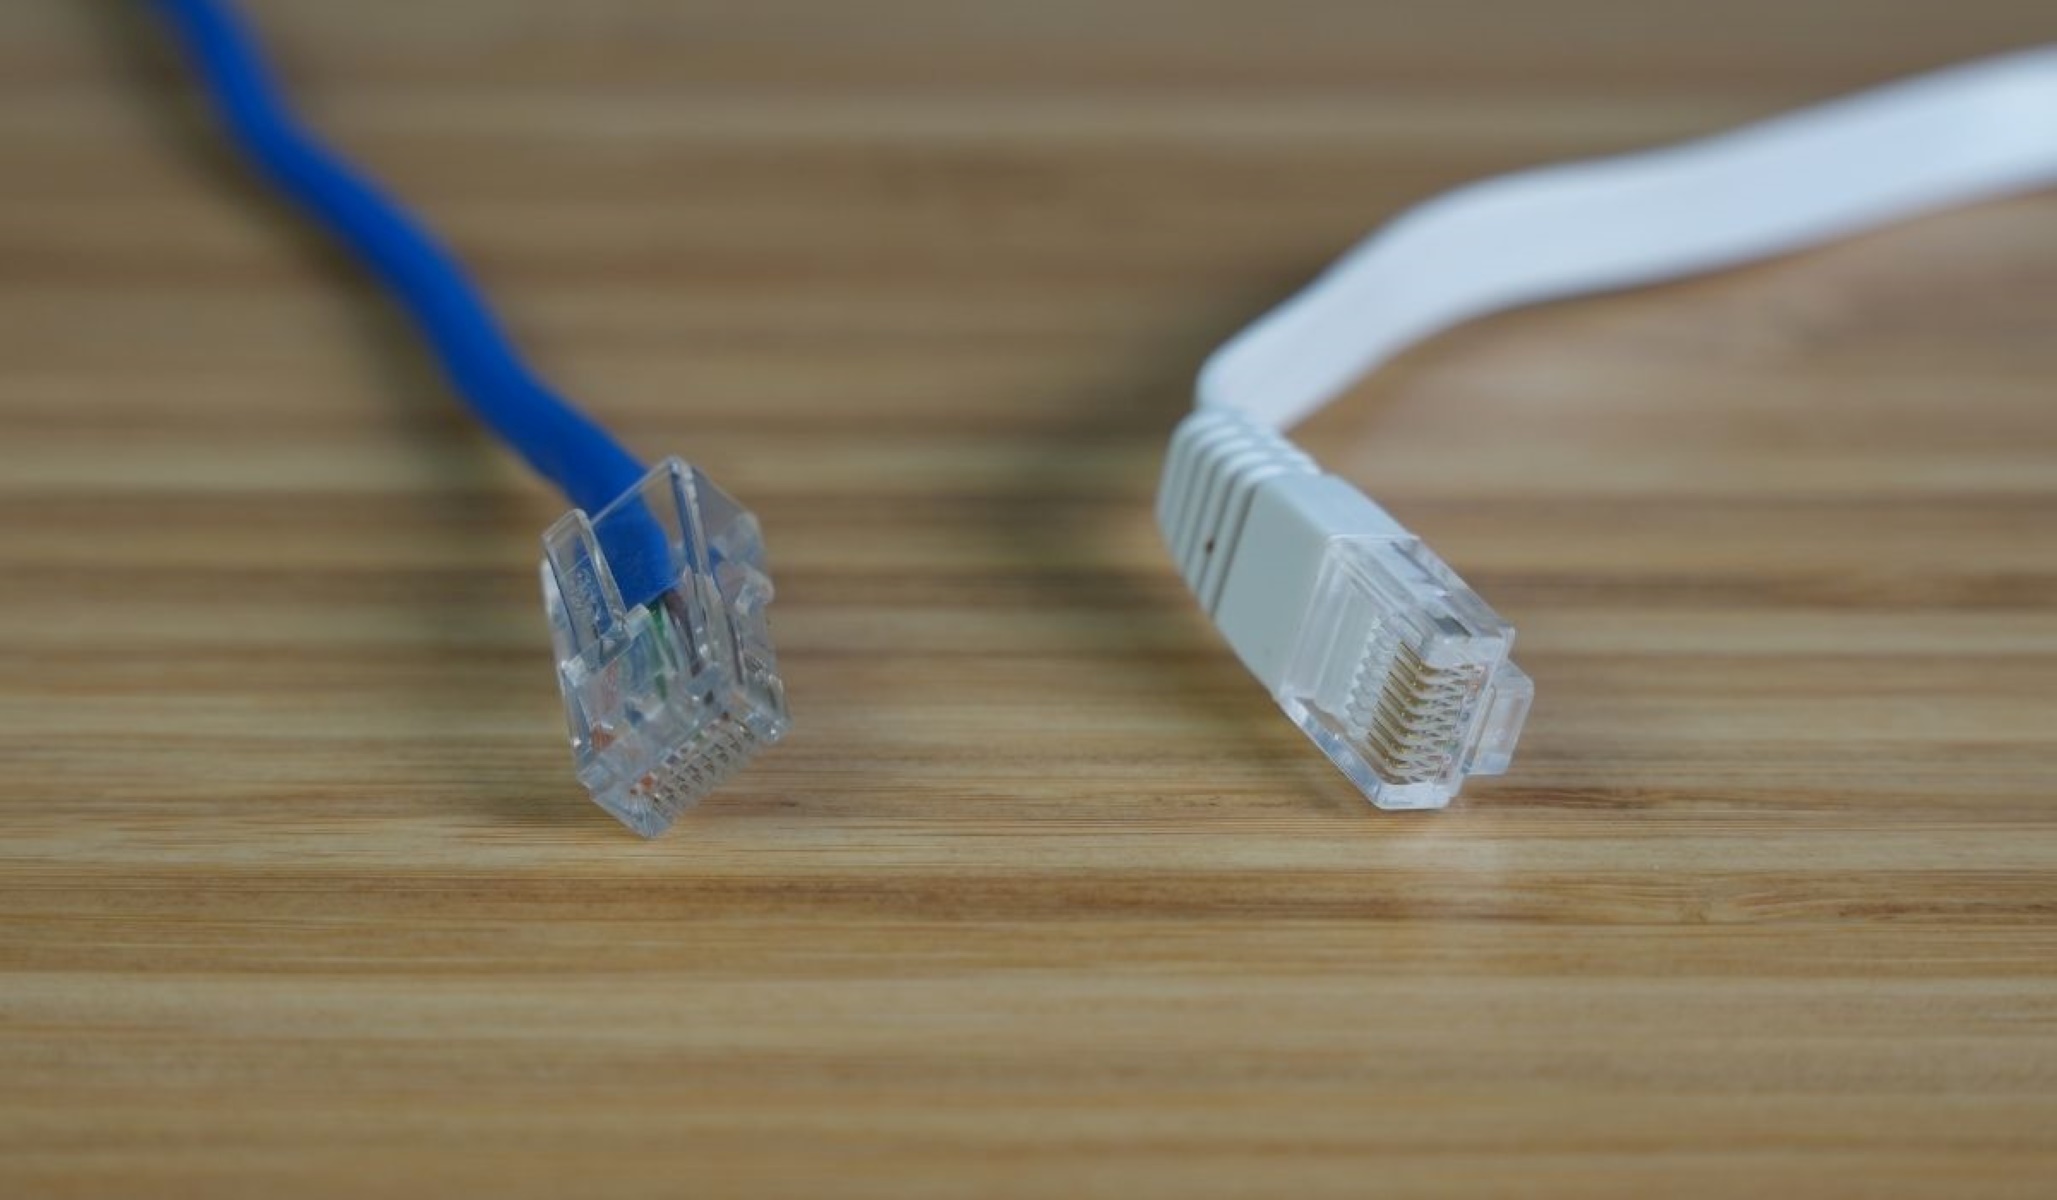
- Inspect the damaged port: Examine the physical characteristics of the damaged Ethernet port. Look for any specific markings or labels that may indicate its type or specifications. Common types of Ethernet ports include RJ-45, RJ-11, and SFP.
- Consult the device manual: Refer to the user manual or technical documentation of your device. Look for information regarding the Ethernet port type, compatibility, and specifications. The manual may also provide guidance on the appropriate replacement options.
- Research online resources: Make use of online resources, forums, and manufacturer websites to gather information about the Ethernet port type. There are often discussions and articles available that can provide insights into identifying and replacing Ethernet ports.
- Compare with standard Ethernet port images: Search for images of standard Ethernet port types such as RJ-45 or RJ-11 online. Compare the physical appearance of your damaged port with these images to determine if it matches any standard Ethernet port types.
- Seek professional assistance if unsure: If you are unable to identify the type of Ethernet port or are uncertain about the replacement, it is recommended to consult with a professional technician or contact the manufacturer for guidance. They will be able to provide you with accurate information and ensure compatibility with your device.
By going through these steps, you will be able to determine the type of Ethernet port you need to replace. Having this information is crucial when purchasing the replacement port to ensure a proper fit and functionality.
Step 4: Purchase the Replacement Ethernet Port
Now that you have identified the type of Ethernet port you need to replace, it’s time to purchase the appropriate replacement. Follow these steps to ensure you get the right Ethernet port:
- Research and compare: Start by researching reputable online or local stores that specialize in computer hardware. Look for Ethernet ports that match the type and specifications you identified in Step 3. Compare prices, customer reviews, and warranties to make an informed decision.
- Check compatibility: Review the product descriptions and specifications of the replacement Ethernet ports available. Ensure that the port is compatible with your device and has the same or similar specifications to the damaged port.
- Order or purchase: Once you have chosen the suitable replacement Ethernet port, proceed to order it online or visit a local store to make the purchase. Double-check the quantity and confirm that it is the correct item before proceeding with the transaction.
- Keep the packaging and receipt: It’s important to keep the packaging and receipt of the replacement Ethernet port. This will be useful in case you encounter any issues or need to return or exchange the port in the future.
- Consider buying extra: If you have the means, consider purchasing an extra Ethernet port or two as a backup. This will be helpful in case you encounter issues with the replacement port in the future, or if you need to replace Ethernet ports in other devices.
By following these steps, you will be able to purchase the correct replacement Ethernet port. It’s important to ensure compatibility and choose a reliable source to ensure a high-quality product that will effectively restore your internet connectivity.
Step 5: Prepare the Replacement Ethernet Port
With the replacement Ethernet port in your possession, it’s time to prepare it for installation. Follow these steps to ensure a smooth and successful replacement process:
- Inspect the replacement port: Carefully examine the replacement Ethernet port for any visible damage or defects. Check that all the connectors and pins are intact and in good condition.
- Handle with care: Ethernet ports are delicate electronic components, so it’s important to handle them with caution. Avoid touching the connectors or pins with your bare hands to prevent static discharge. If necessary, use an anti-static wristband or touch the metal casing of your device to discharge any static electricity before handling the port.
- Prepare the cables: If you are reusing the existing Ethernet cables, inspect them for any damage or wear. Cut the damaged sections, and strip the outer insulation of the cables to expose the inner wires. Use a cable crimping tool to trim and straighten the wires for easy insertion into the replacement port.
- Attach new connectors: If you are replacing the Ethernet cable along with the port, you will need to attach new connectors to the cable. Strip the outer insulation from the cable, and follow the instructions provided with your Ethernet crimper tool to attach the new connectors securely.
- Protect the connections: To ensure a reliable and durable connection, slide a piece of heat shrink tubing over each connector. Position it so that it covers the connector and a small portion of the cable. Apply heat to the tubing with a heat gun or lighter to shrink it and form a tight seal.
- Verify connections: After preparing the replacement Ethernet port and cables, double-check that all connectors are securely attached and that any heat shrink tubing has been properly applied. This will help prevent any connectivity issues once the replacement is installed.
By following these steps, you will have prepared the replacement Ethernet port for installation. Taking the time to ensure the port and cables are in good condition and properly connected will contribute to a successful replacement process and reliable internet connectivity.
Step 6: Connect the Replacement Ethernet Port
Now that you have prepared the replacement Ethernet port, it’s time to connect it to your device. Follow these steps to successfully install the replacement port:
- Align the replacement port: Position the replacement Ethernet port in the same orientation as the previously removed port. Ensure that the connectors align with the corresponding slots or sockets on the device’s motherboard or internal component.
- Insert the replacement port: Carefully insert the replacement Ethernet port into its designated slot or socket. Apply gentle pressure and ensure that it is fully seated and secured in place. Avoid using excessive force to prevent damage to the port or device.
- Connect the cables: Reconnect the Ethernet cables to the replacement port. Ensure that each cable is firmly pushed into its corresponding port or connector. Check the alignment and fit to ensure a proper connection.
- Secure the cables: If necessary, use zip ties or clips to secure the Ethernet cables in place and prevent them from becoming loose or tangled. This will help maintain a neat and organized workspace.
- Double-check connections: Take a moment to double-check all the connections. Ensure that each cable is securely fastened to the replacement port, and there are no loose or incorrectly attached connectors.
By following these steps, you will have successfully connected the replacement Ethernet port. It’s important to handle the port and cables with care to prevent any damage during the installation process. Once you have completed this step, you are ready to move on to the final step of testing the new Ethernet port.
Step 7: Test the New Ethernet Port
After connecting the replacement Ethernet port, it’s crucial to test its functionality to ensure a successful replacement. Follow these steps to test the new Ethernet port:
- Power on the device: Plug your device back into the power source and turn it on. Allow the device to boot up completely and establish its network connections.
- Check for network connectivity: Connect a device, such as a computer or laptop, to the Ethernet port using an Ethernet cable. Ensure that the Ethernet cable is securely inserted into the port and the device’s Ethernet port.
- Verify network connection: Once connected, check to see if the device is able to establish a network connection. Test the internet connectivity by opening a web browser and loading a webpage or performing other network activities.
- Monitor connection stability: Keep an eye on the network connection over a period of time to ensure that it remains stable and consistent. Download files, stream videos, and perform other network-intensive tasks to stress-test the connection.
- Repeat the test: If possible, repeat the testing process with multiple devices to ensure that the replacement Ethernet port is functioning properly and providing reliable connectivity across different devices.
By following these steps, you can verify that the new Ethernet port is working correctly and providing a stable network connection. If you encounter any issues during the testing process, double-check the cable connections and ensure that the replacement port is securely installed.
If you continue to experience problems or the new Ethernet port fails to provide a stable connection, consider seeking assistance from a professional technician or contacting the manufacturer for further support.
Conclusion
Replacing a damaged Ethernet port can be a straightforward process if approached with the right knowledge and tools. By following the steps outlined in this guide, you can successfully replace the damaged port and restore your internet connectivity. Here’s a quick recap of the steps:
- Prepare the workspace: Gather the necessary tools and materials, choose a clean and well-lit area, and ensure you have an anti-static wristband or mat.
- Remove the damaged Ethernet port: Power off the device, open it up, identify and detach the cables, and carefully remove the damaged port.
- Identify the type of Ethernet port: Inspect the damaged port, consult the device manual, research online resources, and compare with standard Ethernet port images to determine the type of port.
- Purchase the replacement Ethernet port: Research and compare options, check compatibility, order or purchase the replacement, and keep the packaging and receipt.
- Prepare the replacement Ethernet port: Inspect the replacement port, handle it with care, prepare the cables by removing any damage, and attach connectors and heat shrink tubing if necessary.
- Connect the replacement Ethernet port: Align and insert the replacement port, connect the cables securely, and double-check all connections.
- Test the new Ethernet port: Power on the device, check for network connectivity, verify the network connection, monitor the stability, and repeat the testing process if needed.
Remember, it’s essential to take proper safety precautions, refer to device manuals, and seek professional assistance if needed. Completing each step carefully and attentively will ensure a successful replacement and restore your internet connection.
By learning how to replace an Ethernet port, you have acquired a valuable skill that can save you time and money in the future. Good luck with your Ethernet port replacement, and enjoy reliable and stable internet connectivity!