Introduction
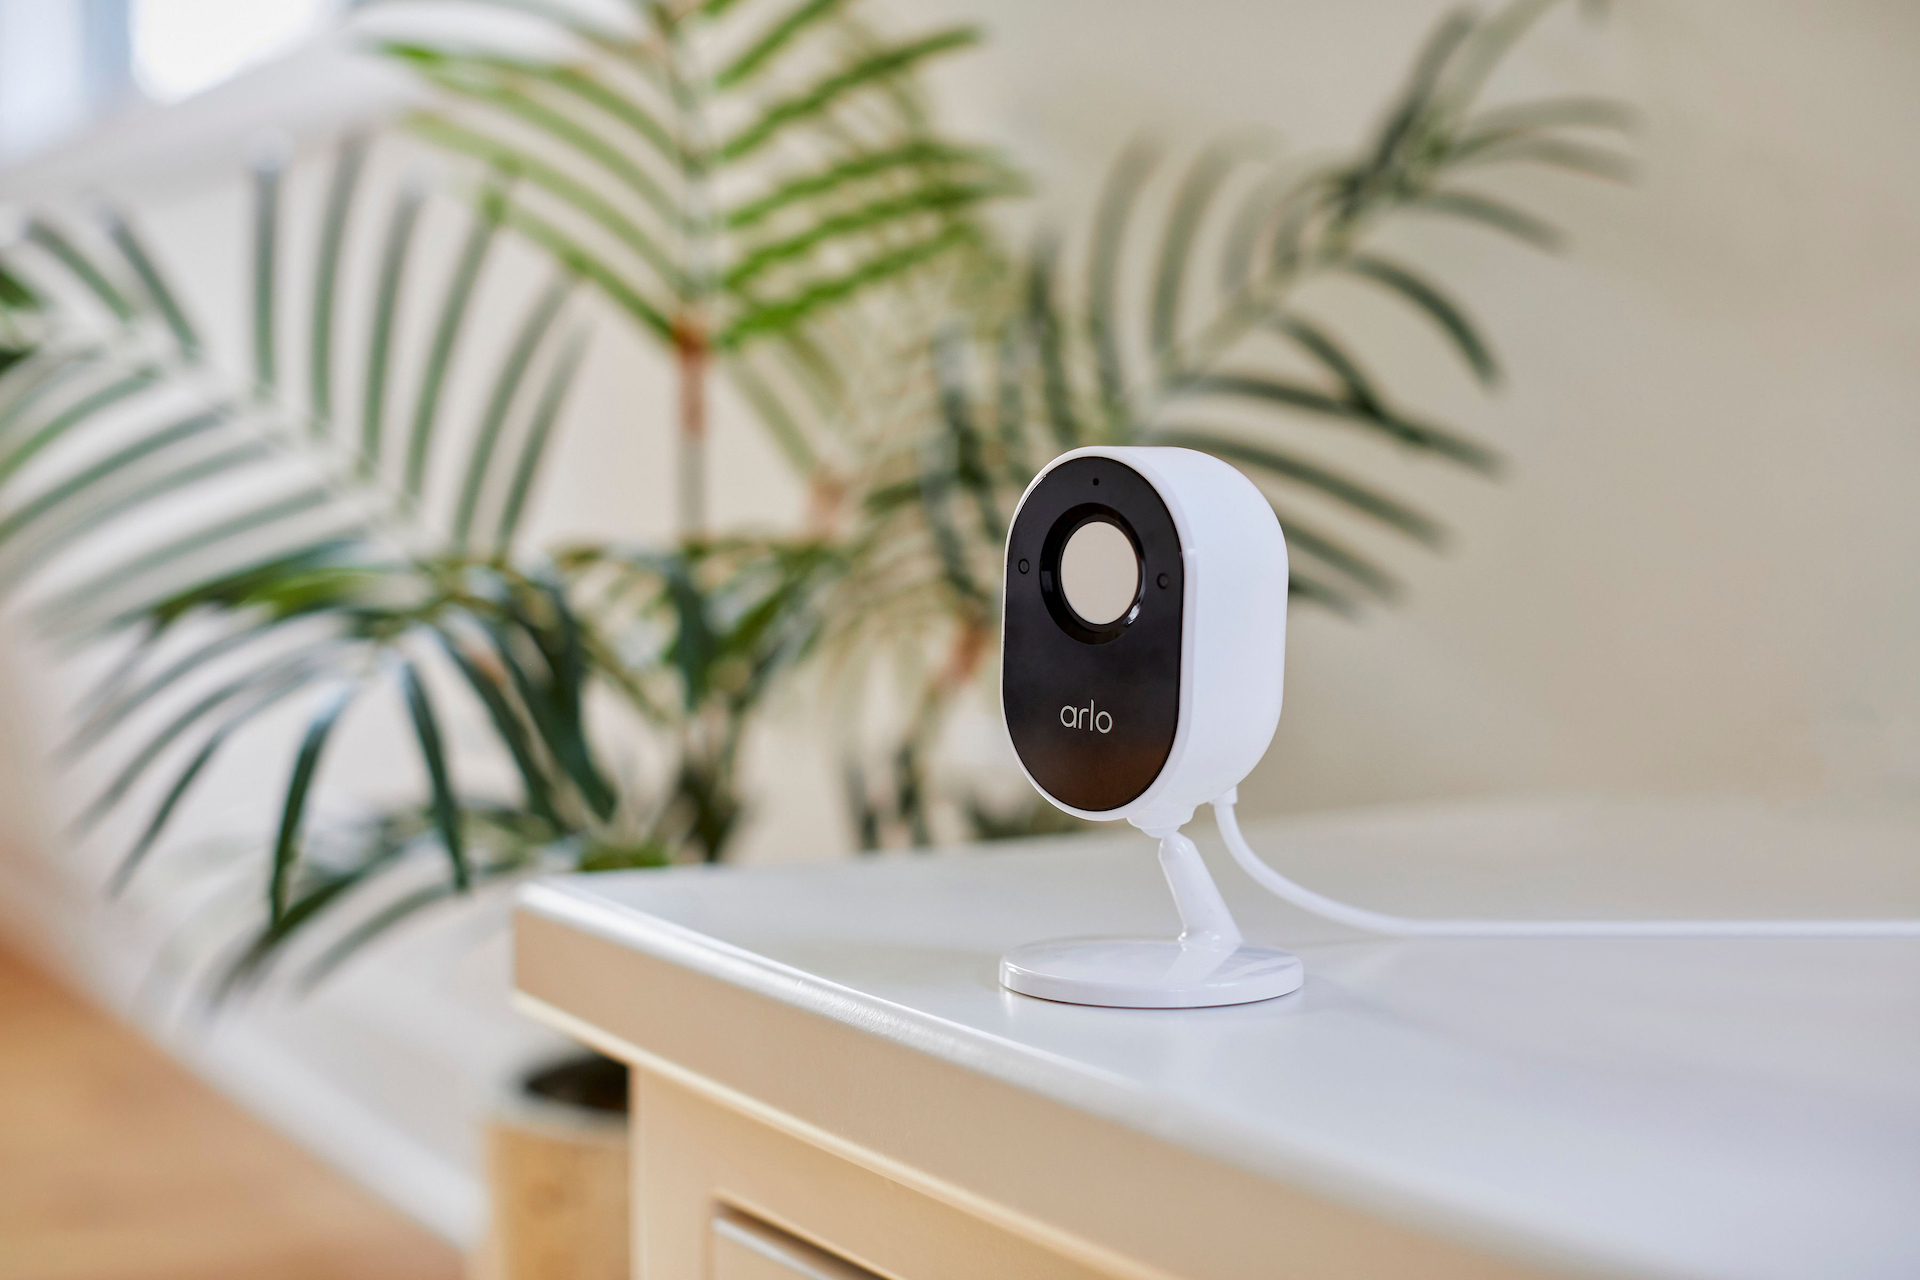
Welcome to our step-by-step guide on how to connect your Arlo base station to your Wi-Fi network. Arlo offers a range of innovative security camera systems, providing you with peace of mind and the ability to monitor your property remotely. By connecting your Arlo base station to your Wi-Fi network, you can ensure that your cameras have a reliable internet connection and can transmit live footage to your mobile devices or computer.
Setting up your Arlo base station may seem daunting at first, but don’t worry – we’ve got you covered. In this guide, we will walk you through the process, from powering up your base station to syncing your cameras. By following these simple steps, you’ll be able to enjoy the benefits of a fully connected and secure Arlo camera system in no time.
Before we dive into the connection process, it’s important to note that you will need a few things to get started:
- An Arlo base station
- A compatible Wi-Fi router
- An Ethernet cable
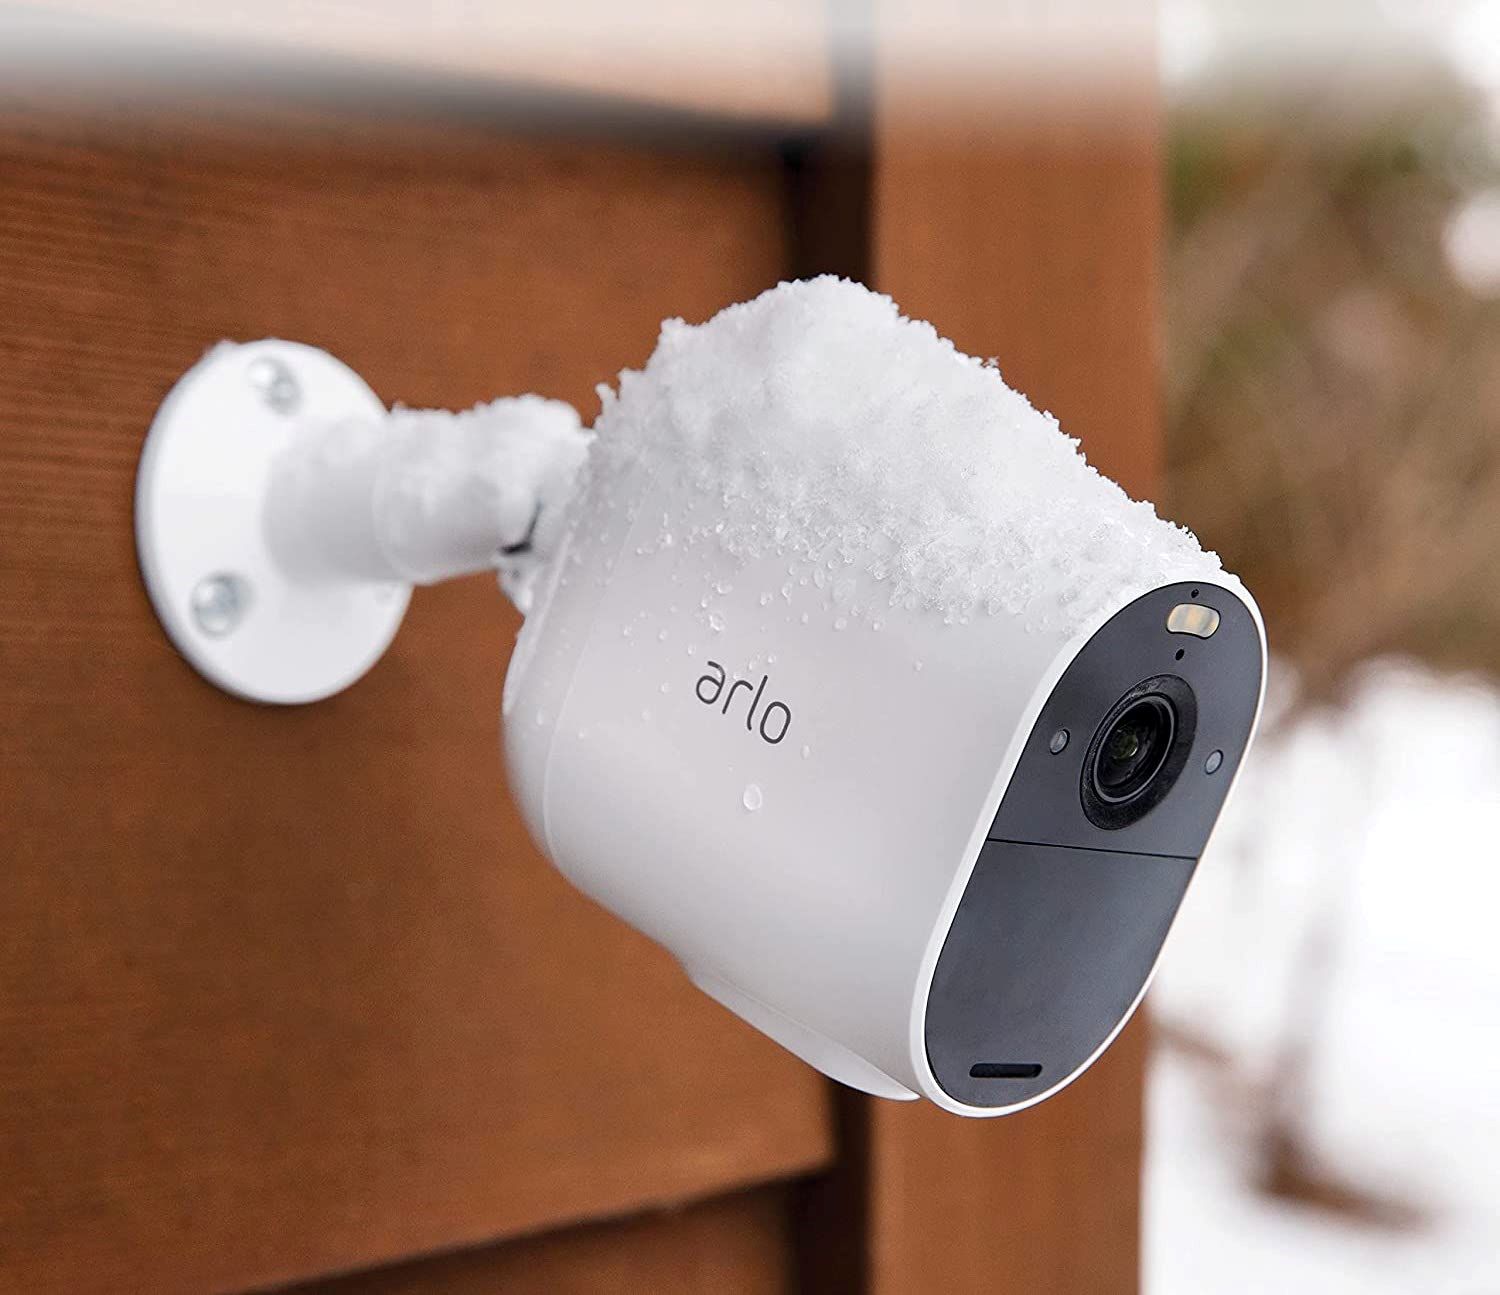
- Arlo cameras (optional, but necessary for syncing)
Make sure you have these prerequisites ready before moving forward. Once you have everything in place, you’re ready to begin the connection process. So, let’s get started with step one: powering up your Arlo base station.
Prerequisites
Before you begin the process of connecting your Arlo base station to your Wi-Fi network, there are a few prerequisites you need to have in place. These are essential for a seamless setup and successful connection. Here’s what you’ll need:
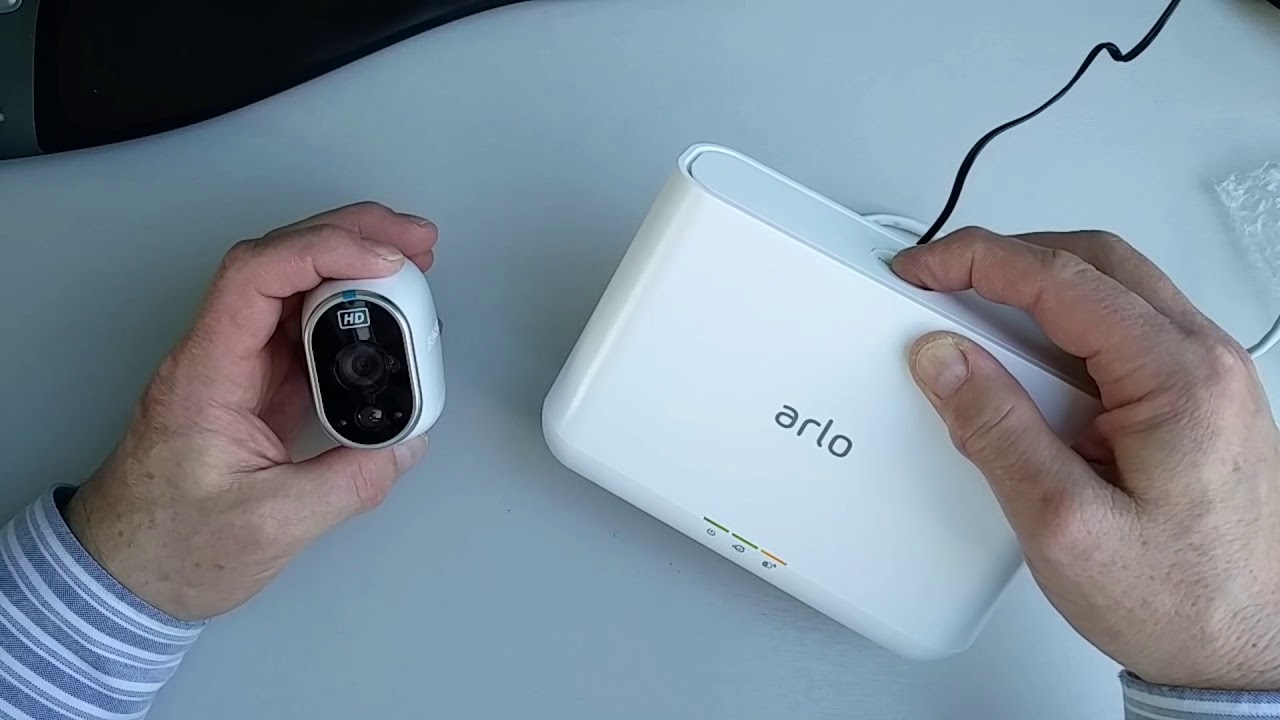
1. Arlo Base Station: Make sure you have the Arlo base station, which acts as the hub for your Arlo camera system. The base station connects your cameras to the internet and enables you to access live footage and recordings remotely.
2. Compatible Wi-Fi Router: A compatible and functional Wi-Fi router is a crucial requirement for connecting your Arlo base station. Ensure that your router is capable of connecting wirelessly to devices and has internet connectivity that you can access.
3. Ethernet Cable: You will need an Ethernet cable to establish the initial connection between your Arlo base station and your Wi-Fi router. This cable will enable communication and data transfer between the two devices.
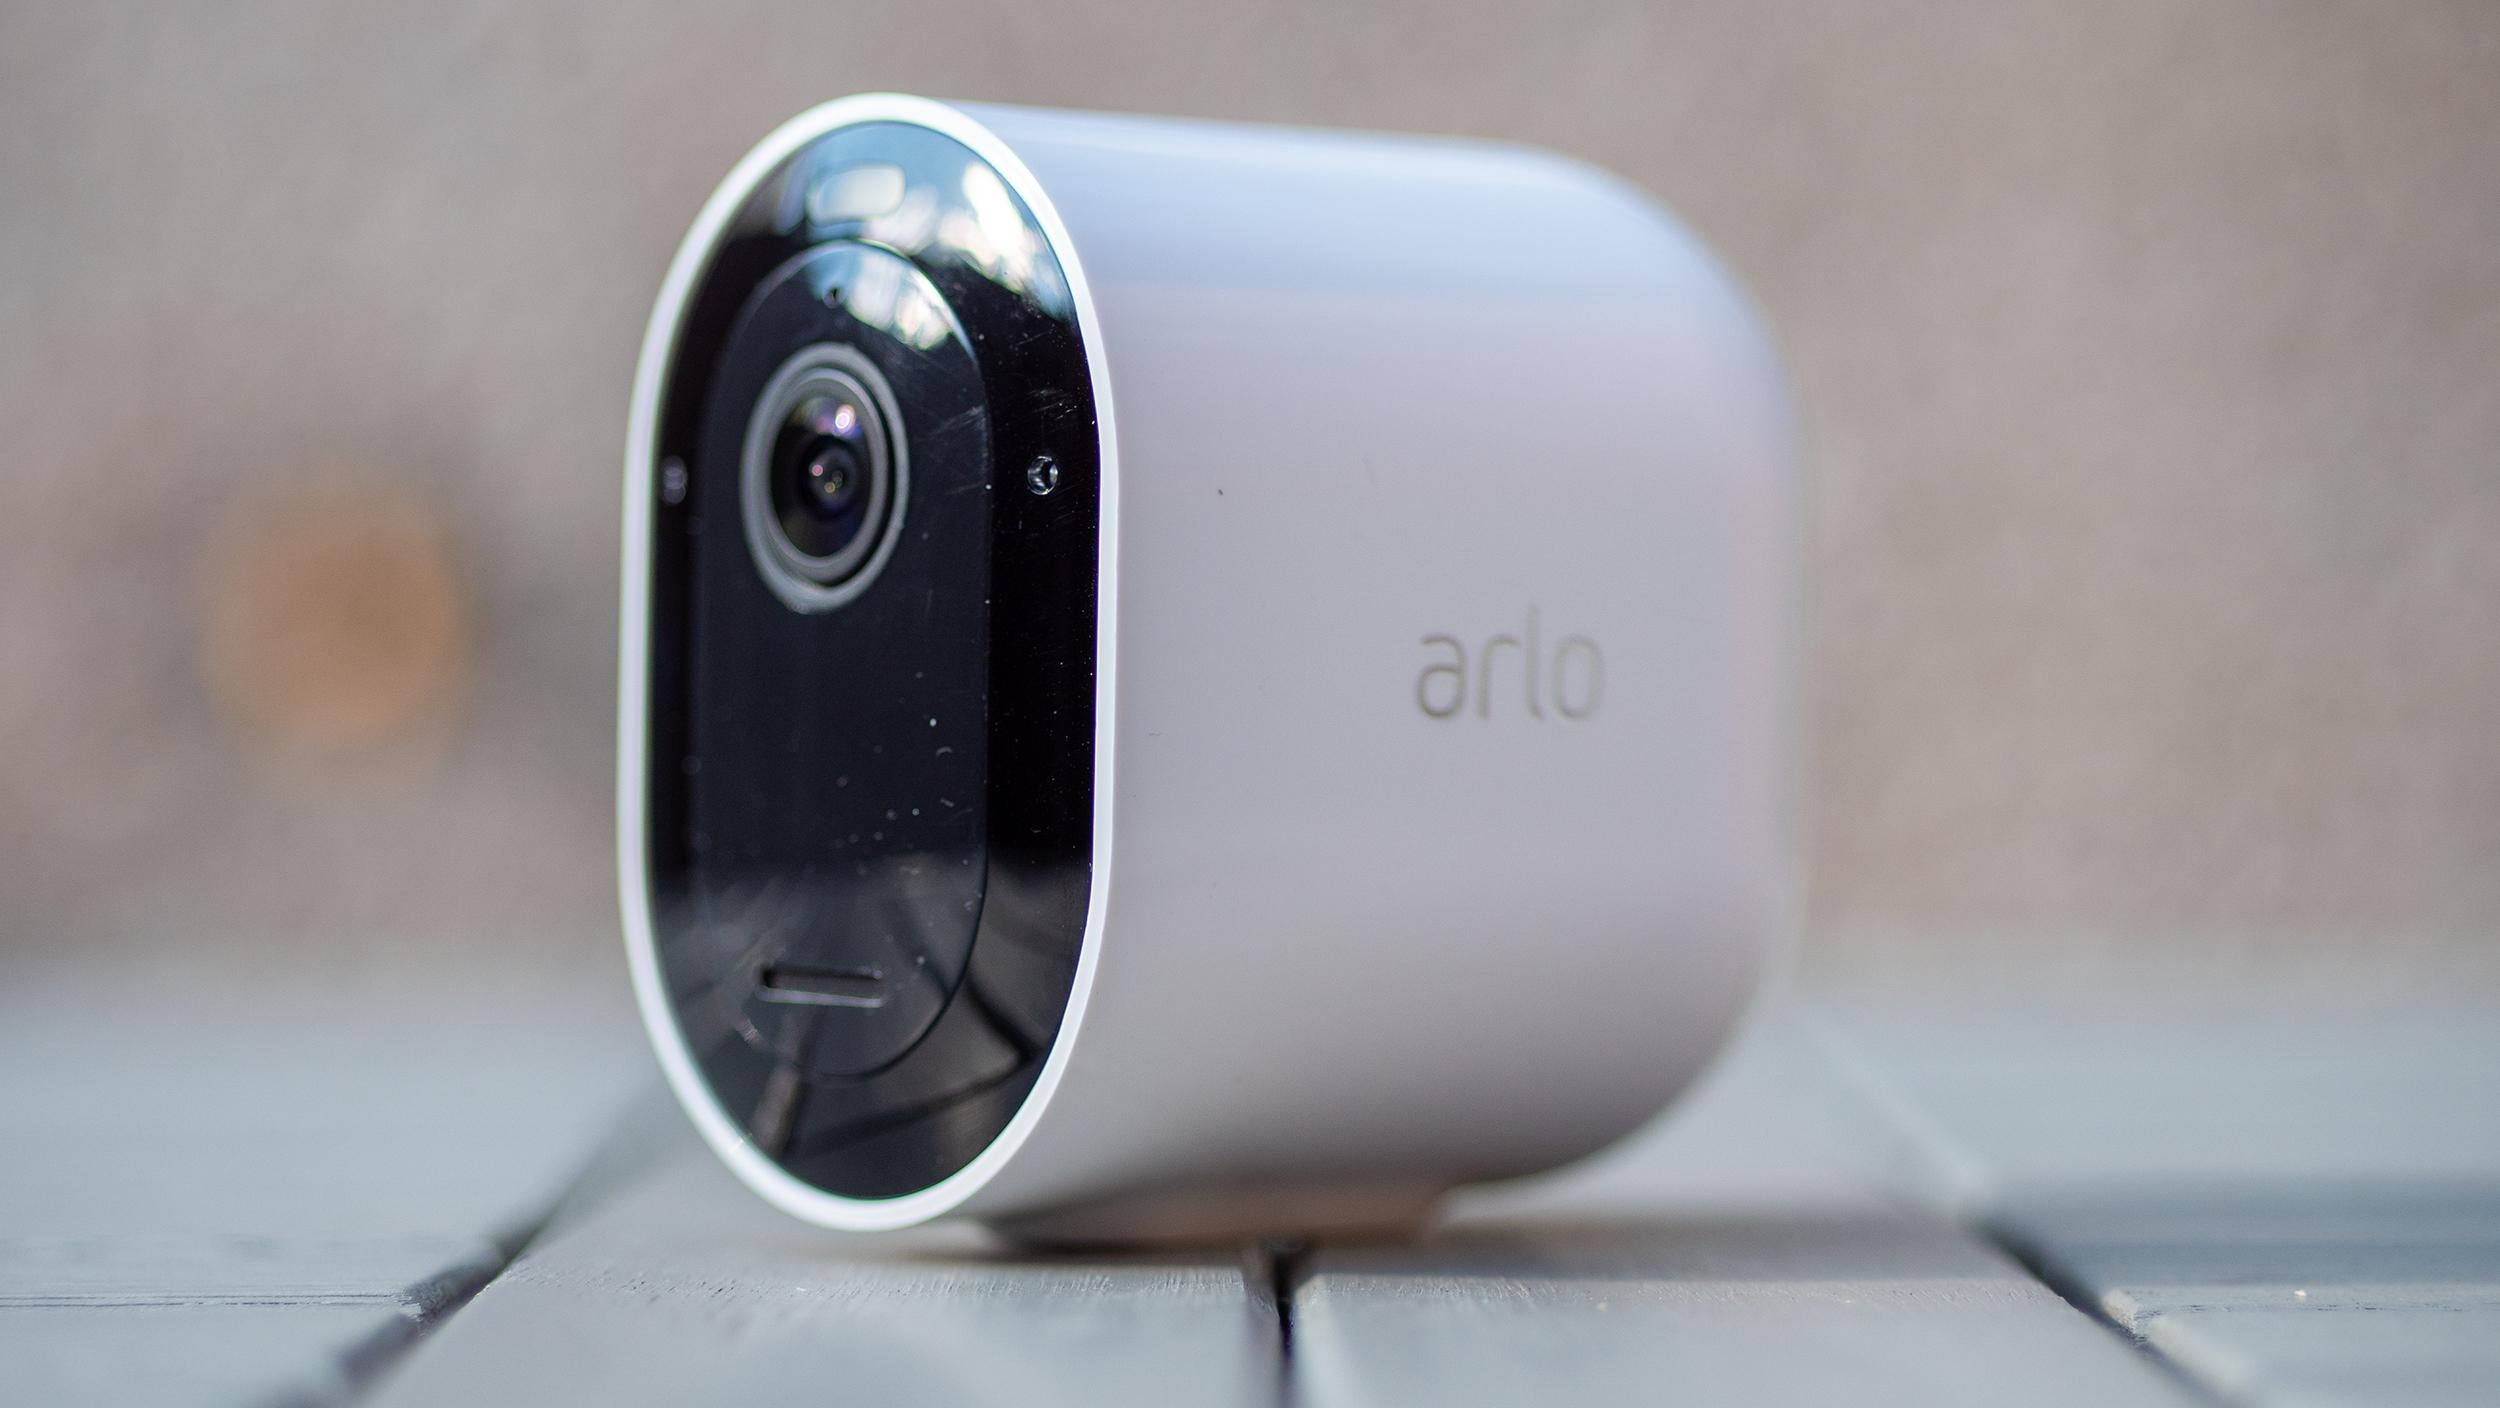
4. Arlo Cameras: Although not mandatory for the initial setup, it is recommended to have your Arlo cameras ready for syncing. Having your cameras on hand will allow you to complete the connection process entirely and start monitoring your property right away.
Ensure that you have all these prerequisites available and set up properly before proceeding with the connection process. Having everything in place will ensure a smooth installation and make it easier for you to enjoy the full functionality of your Arlo camera system.
Step 1: Power up your Arlo base station
The first step in connecting your Arlo base station to your Wi-Fi network is to power it up. Follow these instructions to ensure a successful installation:
- Locate a suitable location for your base station. It should be placed near your Wi-Fi router to establish a strong and reliable wireless connection.
- Connect the power adapter to your Arlo base station and make sure it’s securely plugged into an electrical outlet.
- Once connected, turn on the power switch located on the back of the base station. Wait for the LED lights on the front panel to illuminate.
- During the startup process, the base station will go through initialization, which may take a few minutes. It’s essential to let it complete this process without interruption.
- Ensure that the power LED on the front panel of the base station turns solid green, indicating that it is powered up and ready for the next step.
By following these steps, you have successfully powered up your Arlo base station. Now that it’s up and running, you can proceed to the next step, which involves connecting the base station to your router using an Ethernet cable. This wired connection will establish the initial setup and enable you to configure the wireless connection between the base station and your Wi-Fi network.
Step 2: Connect the base station to your router using an Ethernet cable
Now that your Arlo base station is powered up, the next step is to establish a wired connection between the base station and your Wi-Fi router. Follow these instructions to connect the two devices:
- Locate an available Ethernet port on your Wi-Fi router.
- Take one end of the Ethernet cable and insert it into the Ethernet port on the back of your base station.
- Take the other end of the Ethernet cable and firmly insert it into the Ethernet port on your Wi-Fi router.
- Ensure that the connection is secure on both ends to establish a reliable wired connection between the base station and the router.
By connecting the base station to your router using an Ethernet cable, you are enabling communication and data transfer between the two devices. This wired connection ensures a stable and secure connection during the initial setup process.
Note that the length of the Ethernet cable may vary depending on the distance between your base station and your router. If necessary, you can use a longer Ethernet cable to ensure the proper connection.
Now that the base station is physically connected to your Wi-Fi router, it’s time to proceed to the next step, which involves waiting for the base station to connect to the internet. This step ensures that the base station has a reliable internet connection for remote access and monitoring.
Step 3: Wait for the base station to connect to the internet
After connecting your Arlo base station to your Wi-Fi router using an Ethernet cable, the next step is to wait for the base station to establish a connection to the internet. This process may take a few moments, so be patient and follow these guidelines:
- Ensure that both the base station and the router are turned on and powered up.
- Observe the LED lights on the front panel of the base station. During this step, you want to look for specific indicators that the base station is connecting to the internet.
- Initially, you may notice a blinking amber LED light on the front panel of the base station. This indicates that the base station is booting up and attempting to establish a connection.
- As the base station progresses in the connection process, the blinking amber light should eventually turn solid green. This green LED light indicates that the base station has successfully connected to the internet.
It’s important to note that the time required for the base station to connect to the internet may vary depending on your internet speed and network conditions. The standard waiting time ranges from a few seconds to a couple of minutes.
During this step, it’s crucial not to interrupt the base station’s connection process. Avoid disconnecting the Ethernet cable or turning off the base station or router. Interrupting the connection process can result in connection issues and may require restarting the setup process.
Once the LED light on the base station turns solid green, it indicates that your base station is now connected to the internet. This connection is essential for the next step, which involves preparing your Arlo camera for syncing with the base station.
Step 4: Prepare your Arlo camera for syncing
Now that your Arlo base station is connected to the internet, it’s time to prepare your Arlo camera for syncing with the base station. Follow these steps to ensure a successful syncing process:
- Locate the Arlo camera you wish to sync with the base station. Keep in mind that you can sync multiple cameras to a single base station.
- Make sure the camera is powered on and has sufficient battery or is connected to a power source.
- If your camera has a removable battery, ensure that the battery is inserted correctly.
- Place the camera within a reasonable distance (about 3 to 10 feet) from the base station to ensure a strong and stable wireless signal during the syncing process.
- Once the camera is in position, press the sync button located on the base station. The LED lights on the front panel should start blinking.
- Now, within one to two minutes, press the sync button located on the top or the side of your Arlo camera. The LED lights on the camera should start blinking as well.
- Wait for the base station and the camera to successfully establish a connection. This process may take a few moments.
- Once the base station and the camera are synced, the LED lights on both devices should turn solid, indicating a successful connection.
By following these steps, your Arlo camera is now prepared and synced with the base station. This syncing process ensures that the camera can communicate with the base station and transmit video and audio data seamlessly.
If you have multiple cameras, repeat the above steps for each camera you want to sync with the base station. Keep in mind that each camera must be synced individually.
Now that your camera is successfully synced, you can move on to the final step: completing the connection process to fully integrate your Arlo camera with the base station and your Wi-Fi network.
Step 5: Sync your Arlo camera with the base station
With your Arlo camera prepared for syncing, it’s time to establish a wireless connection between the camera and the base station. Follow these steps to sync your Arlo camera with the base station:
- Ensure that the base station and your Arlo camera are in close proximity to each other (within a few feet) to ensure a strong and reliable connection.
- Make sure that both the base station and the camera are powered on and ready for the syncing process.
- Access the Arlo app on your smartphone or open the Arlo web portal on your computer.
- Select the option to add a new device or camera to your Arlo system.
- Follow the on-screen instructions to begin the syncing process.
- The app or web portal will guide you through various steps, which may include scanning a QR code or entering a unique device ID.
- Once prompted, press the sync button on the top or side of your Arlo camera. The LED lights on both the base station and the camera will blink to indicate the syncing process.
- Wait for the syncing process to complete. This may take a few moments.
- Once the syncing is successful, the LED lights on both the base station and the camera will turn solid.
By following these steps, you have successfully synced your Arlo camera with the base station. This wireless connection allows the camera to communicate with the base station, ensuring that you can access the live feed and receive notifications on your Arlo app or web portal.
If you have multiple Arlo cameras, repeat the syncing process for each camera to integrate them all into your Arlo system. Each camera will need to be synced individually.
Now that your camera is synced with the base station, you can proceed to the final step: completing the connection process to fully integrate your Arlo camera system with your Wi-Fi network.
Step 6: Complete the connection process
With your Arlo camera successfully synced with the base station, it’s time to complete the final step of the connection process. Follow these steps to fully integrate your Arlo camera system with your Wi-Fi network:
- Open the Arlo app on your smartphone or access the Arlo web portal on your computer.
- Go to the settings or configuration section for your Arlo system.
- Select the option to connect your Arlo system to your Wi-Fi network.
- Follow the prompts to enter your Wi-Fi network name (SSID) and the corresponding password.
- Confirm the details and initiate the connection process.
- Wait for the base station to establish a wireless connection with your Wi-Fi network. This process may take a few minutes.
- Once the connection is established, the LED lights on the base station will indicate a solid connection to both power and internet.
- Test the connection by accessing the live feed from your Arlo camera using the app or web portal. Ensure that you can view the camera footage and receive notifications.
By following these steps, you have completed the connection process, allowing your Arlo camera system to be fully integrated with your Wi-Fi network. This integration enables you to remotely monitor and control your cameras, access recorded footage, and receive alerts and notifications whenever motion is detected.
It’s recommended to test the connection and functionality of your Arlo camera system to ensure that everything is working as expected. If you encounter any issues or inconsistencies, refer to the Arlo documentation or contact Arlo support for further assistance.
Congratulations! You have successfully connected your Arlo base station to your Wi-Fi network and synced your Arlo cameras. Enjoy the peace of mind and flexibility of monitoring your property from anywhere, at any time.
Conclusion
Connecting your Arlo base station to your Wi-Fi network and syncing your Arlo cameras is a crucial step in setting up your Arlo camera system for reliable and convenient remote monitoring. By following the step-by-step instructions provided in this guide, you can ensure a seamless and successful installation process.
We started by powering up the Arlo base station and connecting it to your Wi-Fi router using an Ethernet cable. This created an initial connection between the base station and the internet. We then prepared the Arlo cameras for syncing by ensuring they were powered on and ready for the process.
Next, we synced the Arlo cameras with the base station, establishing a wireless connection for seamless communication. This step allowed you to integrate multiple cameras into your Arlo system, enhancing the coverage of your property.
Finally, we completed the connection process by linking your Arlo system to your Wi-Fi network. This step enables remote access, live streaming, and receiving notifications through the Arlo app or web portal.
By completing these steps, you have successfully connected your Arlo base station to your Wi-Fi network and synced your Arlo cameras. Now you can enjoy the benefits of a reliable and efficient security camera system, providing you with peace of mind and the ability to monitor your property at any time.
If you encounter any issues during the setup process or require additional assistance, refer to the Arlo documentation or contact Arlo support for further guidance. Remember to periodically check for software updates and ensure the proper functioning of your Arlo system for optimal performance.
Enjoy the enhanced security and convenience that your Arlo camera system brings, and may it provide you with the peace of mind you deserve.