Introduction
Welcome to the world of solid-state drives (SSDs), one of the most revolutionary advancements in computer storage technology. Whether you’re a tech enthusiast or a casual user, you’ve likely heard about the exceptional performance and speed benefits that SSDs offer over traditional hard drives. As more and more people recognize the advantages of SSDs, it’s not uncommon to find yourself wanting to transfer your SSD to a new PC.
In this article, we’ll dive into the process of transferring your SSD to a new PC, step by step. Whether you’re upgrading your computer or simply need to replace an old system, moving your SSD to a new PC can save you time and effort by preserving your valuable data and avoiding the need to reinstall programs or transfer files manually.
Before we delve into the specifics, let’s take a moment to understand what makes SSDs so special. Unlike traditional hard drives that rely on spinning magnetic disks, SSDs use flash memory to store data. This means that accessing and retrieving information is significantly faster, resulting in faster boot times, quicker application launch speeds, and snappy overall system performance.
Now, let’s explore the reasons why you may want to transfer your SSD to a new PC. Perhaps you’ve invested in a new, more powerful computer and want to take advantage of your existing SSD’s performance on the new system. Or maybe your old PC is showing signs of aging, and you’re planning to build a new rig from scratch with your SSD as the primary storage option.
Whatever the reason may be, transferring your SSD to a new PC can be a straightforward process if you know the right steps to follow. In the following sections, we’ll guide you through the entire process, from preparing for the transfer to troubleshooting common issues that may arise along the way.
Understanding SSDs and their Benefits
Before we dive into the process of transferring your SSD to a new PC, it’s essential to understand the advantages and benefits that SSDs bring to the table.
Unlike traditional hard drives, which rely on spinning magnetic platters and mechanical read/write heads, SSDs utilize flash memory technology. This innovative design offers several key benefits:
- Incredible Speed: SSDs are incredibly fast compared to traditional hard drives. With no moving parts, they can access and retrieve data at lightning-fast speeds, resulting in shorter boot times and quicker application launch times.
- Improved Performance: The speed and responsiveness of SSDs contribute to overall system performance. Whether you’re browsing the web, working on complex tasks, or playing resource-intensive games, an SSD can significantly enhance your computing experience by reducing lag and improving loading times.
- Enhanced Durability: Unlike traditional hard drives, which are susceptible to damage from drops and shocks due to their delicate mechanical components, SSDs are much more durable. With no moving parts, they can withstand physical shocks and vibrations better, making them ideal for portable devices like laptops.
- Energy Efficiency: SSDs consume less power than traditional hard drives, resulting in improved battery life for laptops and reduced energy costs for desktop computers. This makes them a greener option for environmentally conscious users.
- No Noise: Since SSDs don’t have spinning components, they generate little to no noise during operation. This is a stark contrast to traditional hard drives, which can produce audible spinning and clicking noises.
With these benefits in mind, it’s no wonder that SSDs have become increasingly popular among computer enthusiasts and everyday users alike. Not only do they provide a significant performance boost, but they also offer improved durability and efficiency.
Now that you understand the advantages of SSDs let’s move on to the next section, where we’ll explore the reasons why you may want to transfer your SSD to a new PC.
Reasons for Transferring SSD to a New PC
There are several reasons why you might want to transfer your SSD to a new PC. Let’s explore some of the most common scenarios:
- Upgrading your computer: Upgrading your computer is an exciting process that allows you to take advantage of newer technologies and improved performance. Transferring your SSD to a new PC ensures that you can carry over your valuable data and installed programs, saving you the time and hassle of reinstalling everything from scratch.
- Preserving your settings and configurations: Over time, you customize your operating system and applications to suit your preferences and workflow. By transferring your SSD to a new PC, you can preserve these settings, configurations, and personalized tweaks, ensuring a seamless transition to your new system.
- Migrating to a more powerful system: If your old PC is no longer meeting your performance requirements, moving your SSD to a new, more powerful system can revitalize your computing experience. With the speed and responsiveness of an SSD paired with a modern, high-performance PC, you’ll experience improved productivity and faster data access.
- Replacing a faulty PC or upgrading hardware: If your old PC is experiencing hardware failures or is simply outdated, transferring your SSD to a new PC allows you to replace the faulty system or upgrade individual components while preserving your valuable data stored on the SSD.
- Transitioning to a new build: If you’re building a new computer from scratch, utilizing your existing SSD as the primary storage option can save you money and ensure a smooth setup process. Additionally, the superior performance of an SSD can enhance the overall performance of your new build.
Each of these scenarios presents a compelling reason to transfer your SSD to a new PC. Whether you’re upgrading, replacing a faulty system, or building a new computer, transferring your SSD ensures that you can seamlessly continue working with your existing data and settings.
In the next section, we’ll dive into the preparation steps you need to take before transferring your SSD to a new PC.
Preparing for the SSD Transfer
Before transferring your SSD to a new PC, it’s important to take a few necessary steps to ensure a smooth and successful transition. Here are the key preparations you need to make:
- Backup your data: Prior to the transfer, it’s crucial to back up any important data stored on your SSD. This is a precautionary measure to protect your files in case of any unforeseen issues during the transfer process. You can use an external hard drive, cloud storage, or any other backup method that suits your needs.
- Check compatibility: Verify that your SSD is compatible with the new PC you plan to transfer it to. Check the specifications of the new computer’s motherboard and make sure it supports the same type of SSD interface (such as SATA or NVMe) as your current SSD.
- Gather necessary tools: Depending on your specific transfer method, you may need certain tools or accessories. For example, if you plan to clone your SSD, you will need cloning software and a USB-to-SATA adapter. If you’re physically moving the SSD, ensure you have the necessary screwdrivers to open and close the computer case.
- Take note of the current configuration: Before shutting down your current PC, take note of the SSD’s current configuration, including the drive letter, partition layout, and any specific settings. This information will be helpful during the setup process on the new PC.
- Disconnect and power down: Once you’re ready to begin the transfer process, disconnect your current PC from the power source and ensure it’s completely powered down. This step is essential to prevent any potential damage to the SSD or the computer during the transfer.
By following these preparation steps, you’ll set yourself up for a successful SSD transfer without the risk of data loss or compatibility issues. With your data backed up and the necessary tools ready, you’ll be fully prepared to proceed to the next step, whether it’s cloning your SSD or physically moving it to the new PC.
In the upcoming sections, we’ll guide you through the different methods of transferring your SSD to a new PC to accommodate various preferences and situations.
Cloning Your SSD
One of the most popular methods for transferring your SSD to a new PC is through cloning. This process involves creating an exact copy or clone of your existing SSD and transferring it to the new PC. Here’s a step-by-step guide on how to clone your SSD:
- Choose cloning software: Start by selecting a reliable cloning software that suits your needs. There are various options available, both free and paid, such as EaseUS Todo Backup, Acronis True Image, or Macrium Reflect. Download and install the cloning software on your current PC.
- Connect your SSD: Connect your SSD to your current PC using a SATA-to-USB adapter or an external drive enclosure. This will allow you to access the SSD and perform the cloning process.
- Launch the cloning software: Open the cloning software and choose the option to clone your SSD. Select your current SSD as the source drive and the new PC’s internal SSD as the destination drive.
- Configure cloning settings: Depending on the cloning software you’re using, you may have the option to resize partitions, clone specific partitions, or adjust the alignment of the destination drive. Review and configure these settings according to your preferences.
- Start the cloning process: Once you’ve reviewed and configured the cloning settings, initiate the cloning process. This may take some time, depending on the size of the SSD and the transfer speed. Be patient and let the software complete the cloning process.
- Shut down and disconnect: After the cloning process is complete, shut down your current PC and disconnect the SSD. You can now proceed to the next section, where we’ll guide you through the steps of moving the cloned SSD to the new PC.
Cloning your SSD provides a hassle-free way to transfer all your data, settings, and applications to the new PC. By creating an exact replica of your current SSD, you’ll have everything ready for use on the new system without the need for reinstalling programs or transferring files manually.
Keep in mind that after cloning your SSD, the new PC should be able to boot up and function seamlessly, as if you were using your old system. However, it’s always a good idea to verify the cloned SSD’s functionality and ensure that everything is working correctly before continuing with the setup process on the new PC.
In the next section, we’ll discuss another method of transferring your SSD to a new PC: using a SATA-to-USB adapter.
Using a SATA-to-USB Adapter
If cloning your SSD is not feasible or you prefer a different approach, another method for transferring your SSD to a new PC involves using a SATA-to-USB adapter. This method allows you to physically connect your SSD to the new PC through a USB port. Here’s a step-by-step guide on how to transfer your SSD using a SATA-to-USB adapter:
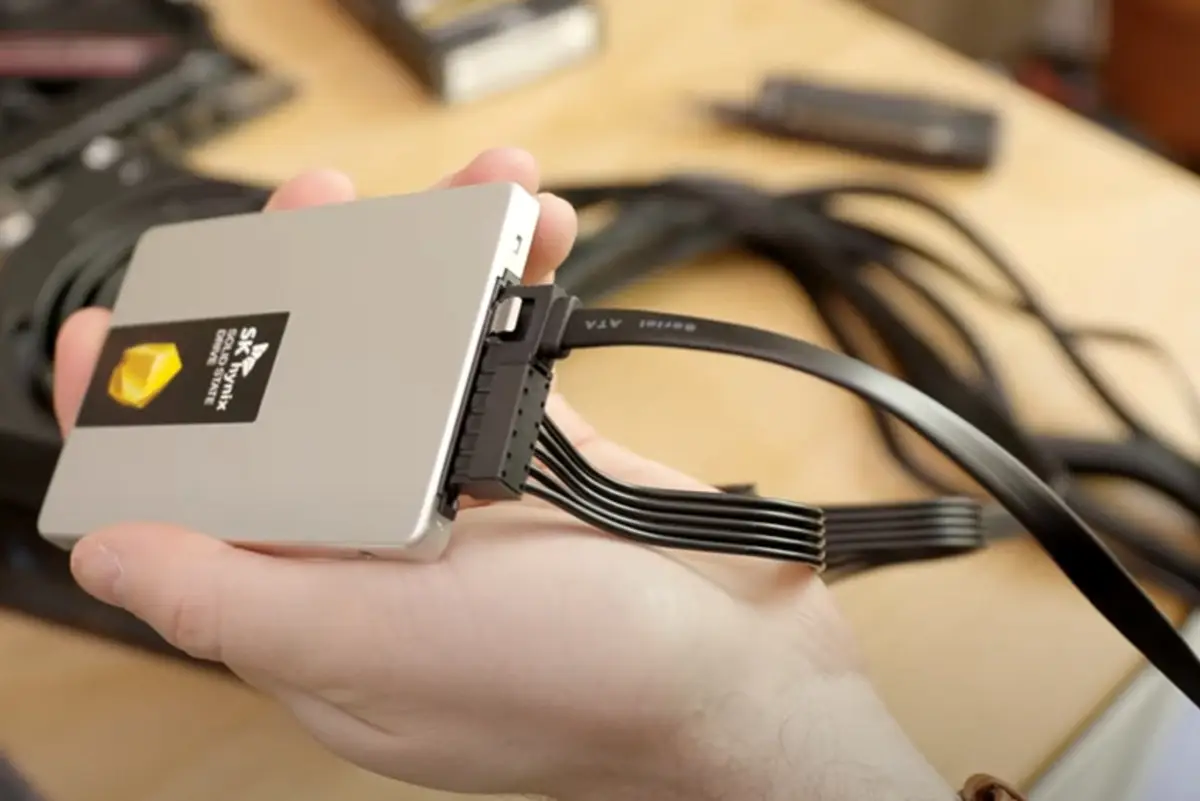
- Acquire a SATA-to-USB adapter: Purchase a SATA-to-USB adapter or an external drive enclosure that supports your SSD’s form factor (2.5-inch or M.2). These adapters typically come with USB ports on one end and a SATA connector on the other.
- Connect your SSD to the adapter: Attach your SSD to the SATA-to-USB adapter by aligning the appropriate connectors. Ensure a secure connection to prevent any data transfer or power issues.
- Plug the adapter into your new PC: Connect the USB end of the adapter to an available USB port on your new PC. The operating system should detect the SSD and assign it a drive letter, making it accessible for data transfer.
- Transfer your data: Using your file explorer or file management software, navigate to your SSD’s drive letter and transfer the desired data, files, and folders to the new PC. You can also use this opportunity to organize your files and remove any unnecessary data.
- Eject the SSD: Once the data transfer is complete, safely eject the SSD by right-clicking on its drive letter and selecting the “Eject” option. This ensures that no data is being written or read from the SSD before removal.
- Physically install the SSD: If you’re planning to use the SSD as the internal storage of the new PC, you will need to physically install it. Consult the manufacturer’s instructions or the new PC’s manual to locate the appropriate slot and connect the SSD accordingly.
Using a SATA-to-USB adapter provides a convenient and straightforward method for transferring your SSD to a new PC. It eliminates the need for complex software or cloning processes and allows you to manually select and transfer the data you need.
Remember to power off both PCs before connecting or disconnecting any hardware to prevent any potential damage. Additionally, verify that the new PC recognizes the SSD after installation and ensure that the drive is functioning correctly.
In the next section, we’ll guide you through the steps of physically moving the SSD to the new PC.
Moving the SSD to the New PC
Another method for transferring your SSD to a new PC is to physically move it from your old system to the new one. This method involves opening both computers’ cases and physically connecting the SSD to the new PC’s motherboard. Here’s a step-by-step guide on how to move your SSD to the new PC:
- Power off both PCs: Before proceeding with any hardware-related tasks, ensure that both the old and new PCs are completely powered off and disconnected from the power source.
- Open the old PC’s case: Remove the side panel of your old PC’s case to gain access to the internal components. Refer to your computer’s manual or manufacturer’s website for specific instructions on how to open the case, as the process can vary between different computer models.
- Locate the SSD: Identify the SSD in your old PC. It’s typically installed in a drive bay or mounted directly to the case using screws or brackets. If you’re unsure about the SSD’s location, consult the computer’s manual or the manufacturer’s website for assistance.
- Disconnect the SSD: Carefully disconnect any cables connected to the SSD, including power and data cables. Make a note of the connection types and positions to ensure the correct reinstallation in the new PC.
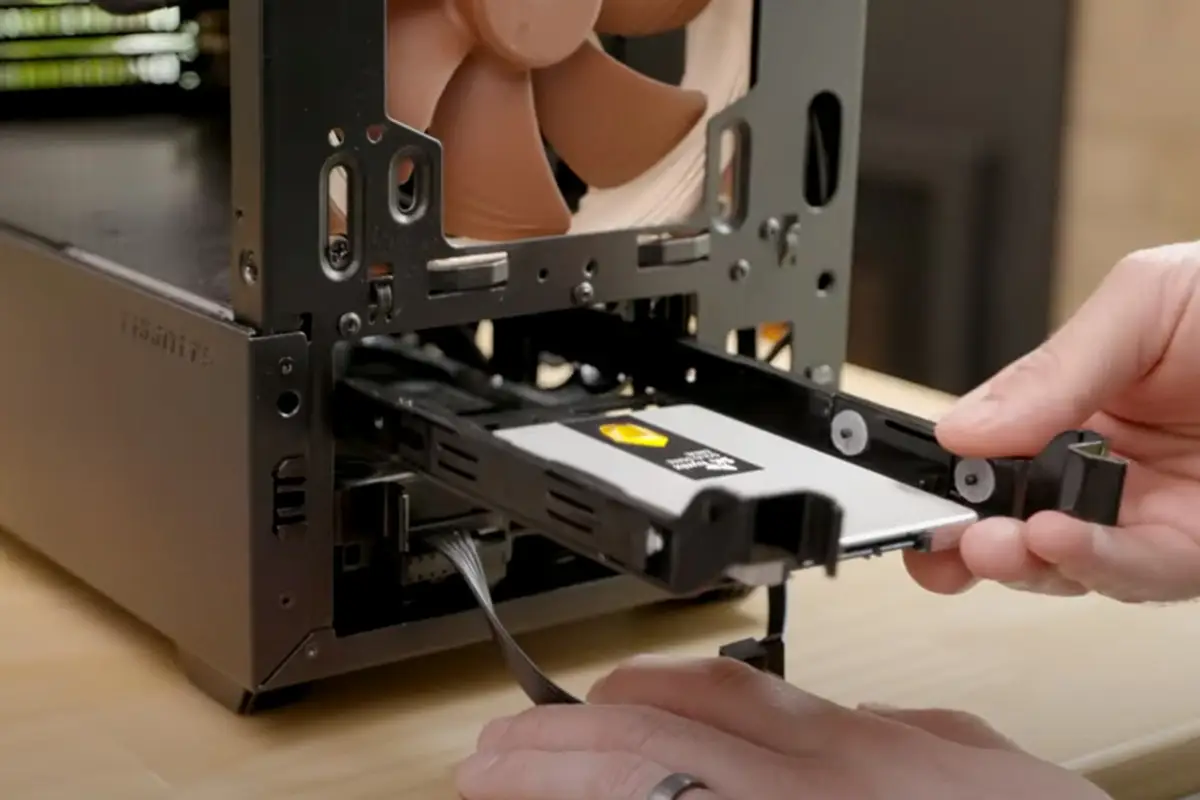
- Remove the SSD: Once the cables are disconnected, remove any mounting brackets or screws securing the SSD in place. Gently slide the SSD out of its slot or remove it from the drive bay.
- Open the new PC’s case: Follow the same process as step 2 to open the case of your new PC and access the motherboard and available drive bays.
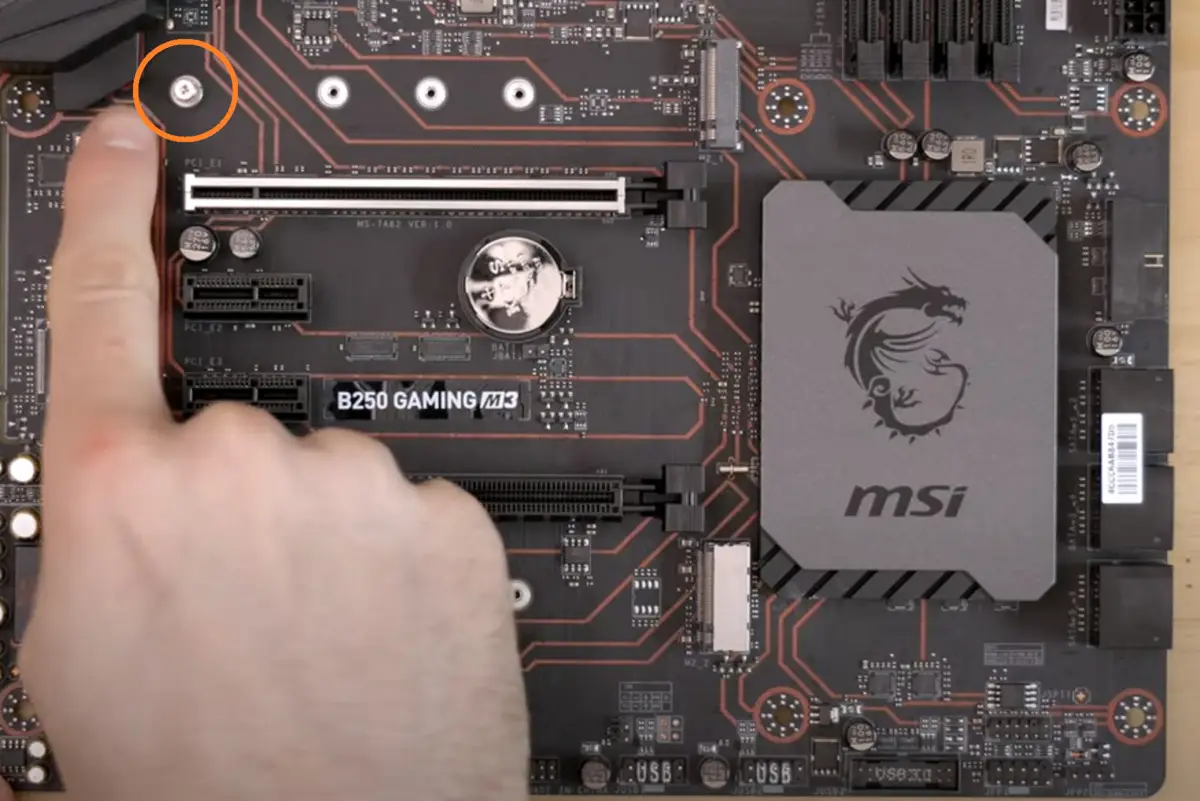
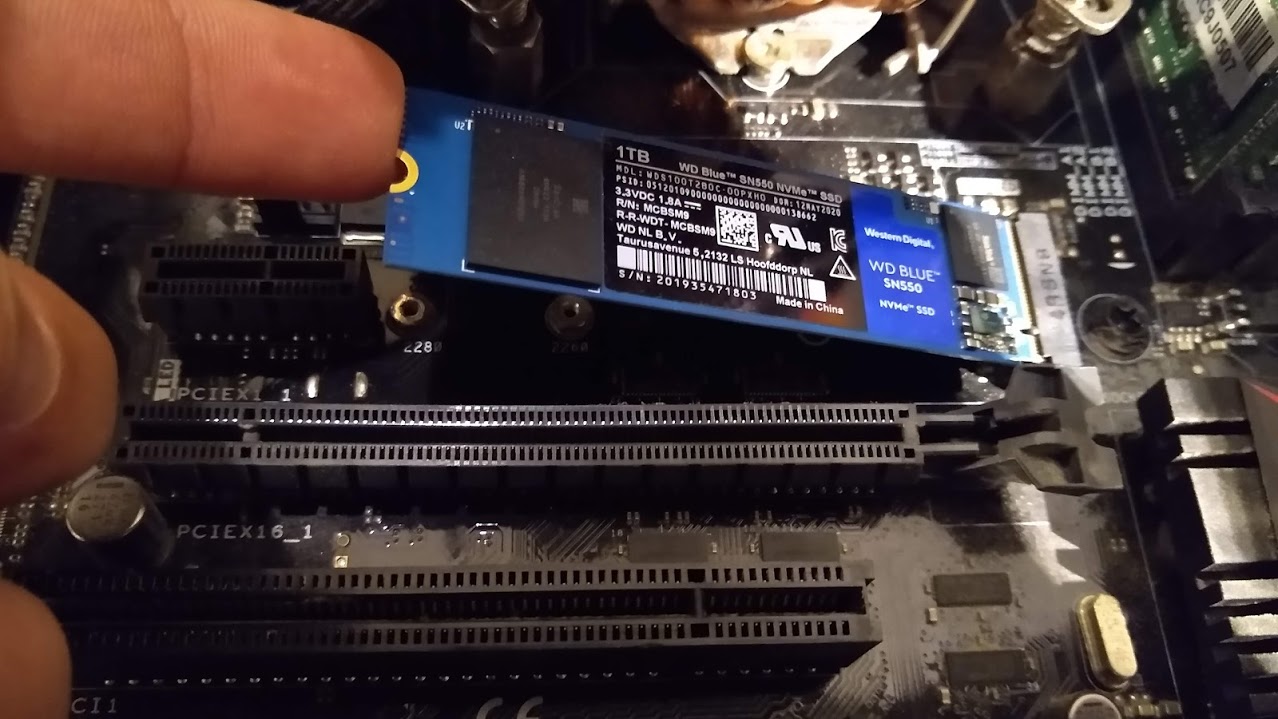
- Identify the installation location: Determine where the SSD will be installed in the new PC. Look for an available drive bay or a dedicated M.2 slot, depending on your SSD’s form factor.
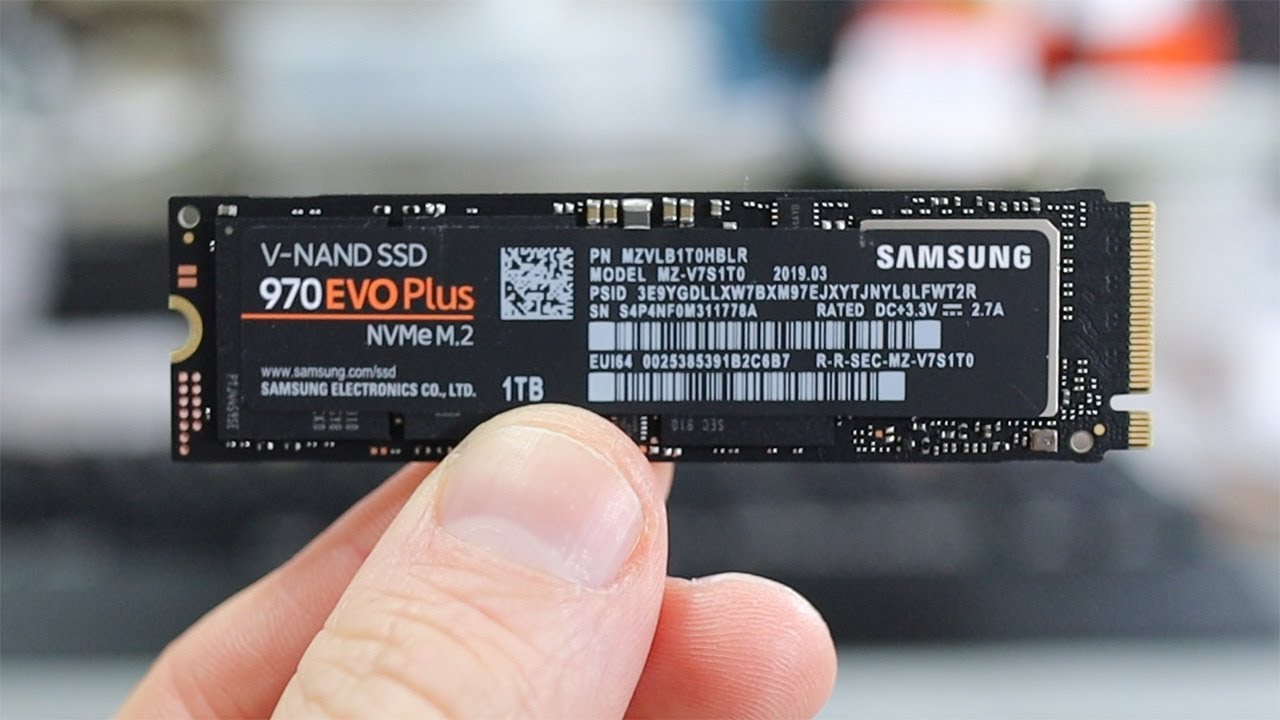
- Install the SSD: If using a drive bay, attach any necessary brackets or mounting hardware to secure the SSD in place. Align the SSD with the connectors or slot, and gently insert it until it is seated properly. If using an M.2 slot, carefully insert the SSD into the slot at the specified angle and apply gentle pressure until it is fully seated.
- Connect the cables: Reconnect the power and data cables to the SSD in the new PC, ensuring they are securely attached and properly aligned. Double-check the connections to avoid any potential data transfer or power issues.
Once the SSD is securely installed and the cables are connected, you can proceed to close the cases of both the old and new PC. Ensure that all screws or clips are properly tightened to secure the cases.
With your SSD physically moved to the new PC, you are now ready to set up and verify the function of the SSD in the new system. In the next section, we’ll discuss the steps to verify and set up the SSD in the new PC.
Verifying and Setting Up the SSD in the New PC
After transferring or physically moving your SSD to the new PC, it’s crucial to verify its functionality and properly set it up to ensure optimal performance. Here’s a step-by-step guide on how to verify and set up the SSD in the new PC:
- Power on the new PC: Connect the new PC to a power source and turn it on. Allow the system to boot up and reach the desktop.
- Check BIOS settings: Access the BIOS settings of the new PC by pressing the designated key during the boot-up process (often Del, F2, or Esc). Ensure that the SSD is detected and recognized in the BIOS. If the SSD is not detected, check the connections and ensure that the SSD is properly installed.
- Set the SSD as the boot drive: In the BIOS settings, navigate to the boot options and set the SSD as the primary boot device. This will ensure that the new PC uses the SSD as the main storage drive.
- Save and exit BIOS: After making the necessary changes, save the settings and exit the BIOS. The system will restart, and the new PC should boot up using the SSD as the primary storage device.
- Verify drive recognition: Once the system has booted up, navigate to the operating system’s file explorer or disk management tool to verify that the SSD is recognized and assigned a drive letter.
- Format or partition the SSD: If the SSD is new or needs to be formatted, follow the appropriate steps to format or partition the drive. Be cautious when formatting or partitioning and ensure that you select the correct drive to avoid data loss on other drives.
- Restore backups or transfer data: If you previously backed up your data or used a cloning method, you can now restore your backups or transfer the data from your old PC to the new one. This can involve copying files, reinstalling applications, or using migration tools to transfer settings and configurations.
- Test SSD Performance: Run performance tests or benchmarks to confirm that the SSD is functioning as expected and delivering the desired speed and performance improvements.
By verifying and properly setting up the SSD in the new PC, you can ensure that your system is utilizing the SSD as intended. Checking the BIOS settings, setting the SSD as the boot drive, and confirming drive recognition are essential steps to optimize the performance of your new PC.
Once the SSD is successfully set up and all data has been transferred, you can enjoy the benefits of improved speed, performance, and reliability that SSDs bring to your computing experience.
In the final section, we’ll provide some tips for troubleshooting common issues that may arise during the SSD transfer process.
Troubleshooting Common Issues
While transferring your SSD to a new PC, you may encounter some common issues. Here are a few troubleshooting tips to help you address and resolve these issues:
- SSD not detected: If your SSD is not being detected by the new PC, double-check the connections and ensure that the SSD is securely installed. If the issue persists, try connecting the SSD to a different SATA port or using a different SATA cable.
- Boot failure: If the new PC fails to boot properly after transferring the SSD, verify that the SSD is set as the primary boot device in the BIOS settings. Additionally, ensure that the operating system on the SSD is compatible with the new PC’s hardware.
- Driver issues: If the operating system on the new PC doesn’t recognize the SSD properly, update the SSD’s firmware and install any necessary drivers or manufacturer-specific software. Visit the manufacturer’s website for the latest firmware and driver updates.
- Data corruption: In rare cases, data corruption may occur during the SSD transfer process. To minimize the risk, ensure that you have a recent backup of your data before proceeding with the transfer. If data corruption does occur, restore from the backup or attempt data recovery using reliable software or professional services.
- Slow performance: If the new PC with the transferred SSD experiences slower-than-expected performance, check if the SSD is running in the correct mode (e.g., AHCI or NVMe) and that it is operating at the correct speed. Verify that the SSD is connected to a compatible and high-speed SATA or PCIe port.
- Compatibility issues: If you’re experiencing compatibility issues between the SSD and the new PC’s hardware, check for any firmware updates or compatibility patches from the SSD manufacturer. Consult online forums or contact technical support for further assistance.
Remember to refer to your SSD manufacturer’s documentation and the new PC’s manual or manufacturer’s website for specific troubleshooting steps related to your hardware and software setup. It’s also a good practice to follow best practices, such as safely disconnecting and shutting down the PCs before any hardware adjustments.
If you’re unsure about troubleshooting an issue or need additional assistance, reach out to the SSD manufacturer’s technical support or consult with a knowledgeable professional who can provide guidance tailored to your specific situation.
With these troubleshooting tips in mind, you’ll be well-equipped to address and overcome common issues that may arise during the SSD transfer process.
Conclusion
Transferring your SSD to a new PC can be a seamless process when you have a clear understanding of the steps involved and the potential challenges you may encounter. Whether you choose to clone your SSD, use a SATA-to-USB adapter, or physically move the SSD, each method comes with its own benefits and considerations.
Understanding the advantages of SSDs, such as their incredible speed, improved performance, enhanced durability, energy efficiency, and noise-free operation, reinforces the value of effectively transferring these powerful storage devices to new PCs.
By preparing for the transfer, whether through backing up data, checking compatibility, gathering necessary tools, noting current configurations, and safely disconnecting and powering down systems, you can ensure a smooth transition to your new PC.
Throughout the transfer process, it’s vital to troubleshoot common issues that may arise, such as SSD detection, boot failures, driver problems, data corruption, slow performance, and compatibility issues. By following troubleshooting tips and seeking assistance as needed, you can overcome these challenges and fully enjoy the advantages of your SSD in the new PC.
Whether you choose to clone your SSD, use a SATA-to-USB adapter, or physically move the SSD, taking the time to verify and set up the SSD in the new PC ensures that you maximize its performance and functionality. Checking BIOS settings, setting the SSD as the boot drive, and confirming drive recognition are crucial steps in this process.
With the SSD successfully transferred and set up in the new PC, you can experience the speed, responsiveness, and efficiency benefits that SSDs bring to your computing experience.
Remember to refer to manufacturer documentation, consult forums, or seek professional assistance when needed. Each transfer scenario may have unique considerations that require individual attention.
With the knowledge gained from this guide, you are now well-equipped to confidently transfer your SSD to a new PC and enjoy the enhanced performance and storage capabilities that SSDs offer.


