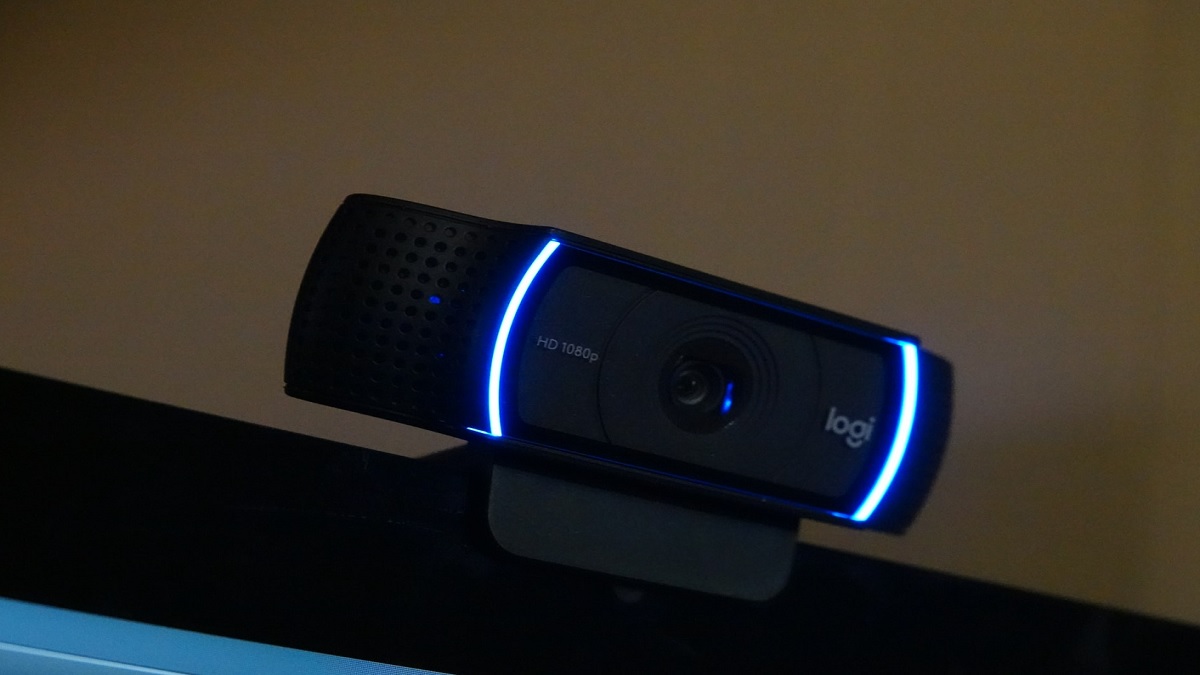
Introduction
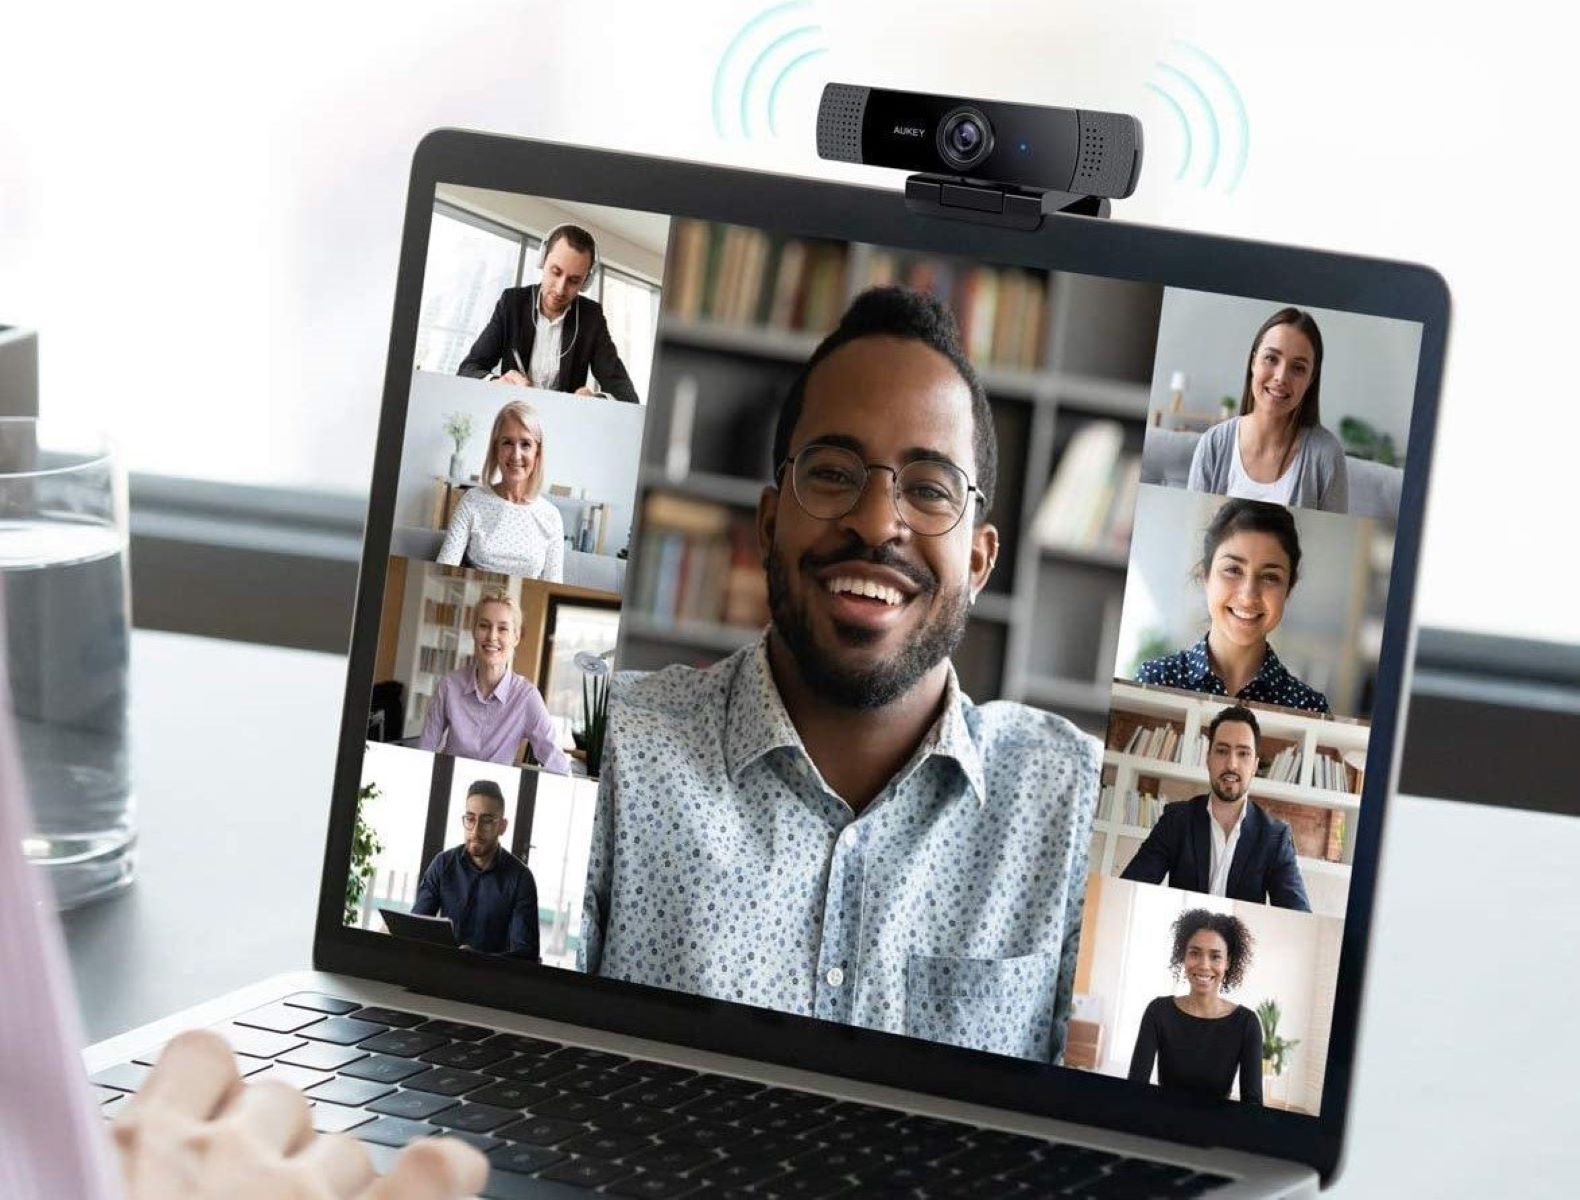
Welcome to our comprehensive guide on how to set your webcam as the default device. With the increasing popularity of video calls, online meetings, and live streaming, having a functional and properly configured webcam is essential. Setting your webcam as the default device ensures that it is automatically selected and utilized by applications that require video input.
Whether you are using Windows 10 or Mac OS, this step-by-step guide will walk you through the process of setting your webcam as the default device. We will also cover some troubleshooting tips to help you overcome common issues.
Why is it important to set your webcam as the default device? The default device is the primary audio or video equipment that will be used by your computer’s system and applications. By setting your webcam as the default device, you ensure that it is always selected as the default option whenever an application requires video input. This saves you the hassle of manually selecting the webcam each time you start a video call or launch a video-based application.
Before we dive into the steps to set your webcam as the default device, it is important to ensure compatibility between your webcam and your operating system. Different webcams may have specific driver requirements to function properly. Therefore, it is crucial to update your webcam drivers to the latest version to avoid any potential issues.
Why Set Webcam as Default
Setting your webcam as the default device offers numerous benefits and convenience. Let’s explore some of the key reasons why it is important to establish your webcam as the default option:
- Seamless Video Call Experience: By setting your webcam as the default device, you ensure that it is readily available whenever you initiate a video call. This eliminates the need to manually select the webcam each time, saving you time and streamlining the process.
- Improved Application Compatibility: Many video-based applications automatically detect and utilize the default webcam. By setting your webcam as the default device, you enhance compatibility with various applications such as video conferencing tools, live streaming platforms, and video recording software.
- Effortless Online Meetings: Whether you are participating in a virtual team meeting or attending an online webinar, having your webcam set as the default device ensures that you can join the meeting without any interruptions. You can immediately start sharing your video feed, without the need to manually configure the settings each time.
- Enhanced User Experience: By designating your webcam as the default device, you create a consistent and user-friendly experience. You don’t have to remember to select the webcam every time you open a video-based application, as the system already recognizes it as the primary device.
- Convenience for Live Streamers: If you are a content creator who frequently live streams on platforms like YouTube or Twitch, setting your webcam as the default device is essential. It simplifies the setup process and ensures that your webcam is immediately recognized by streaming software, allowing you to focus on delivering engaging content to your audience.
Now that we understand the importance of setting the webcam as the default device, let’s move on to the next section, where we will check the compatibility of your webcam with your operating system.
Checking Webcam Compatibility
Before proceeding with setting your webcam as the default device, it is crucial to ensure compatibility between your webcam and your operating system. Different webcams may have specific driver requirements, and outdated or incompatible drivers can cause issues with functionality and performance.
To check the compatibility of your webcam, follow these steps:
- Identify the make and model: Look for the make and model of your webcam. This information is usually located on the webcam itself or in the user manual. If you can’t find it, you can also check the manufacturer’s website or the packaging.
- Visit the manufacturer’s website: Once you have identified the make and model of your webcam, visit the manufacturer’s website. Look for a “Support” or “Downloads” section where you can find drivers and software for your webcam.
- Search for your webcam: Search for your webcam model on the manufacturer’s website. Find the driver section specifically tailored for your webcam model and download the latest driver available. Make sure to download the driver compatible with your operating system (e.g., Windows 10, macOS).
- Update your webcam drivers: Once downloaded, install the updated drivers for your webcam. Follow the on-screen instructions provided by the manufacturer to complete the installation process. This will ensure that your webcam is up to date and compatible with your operating system.
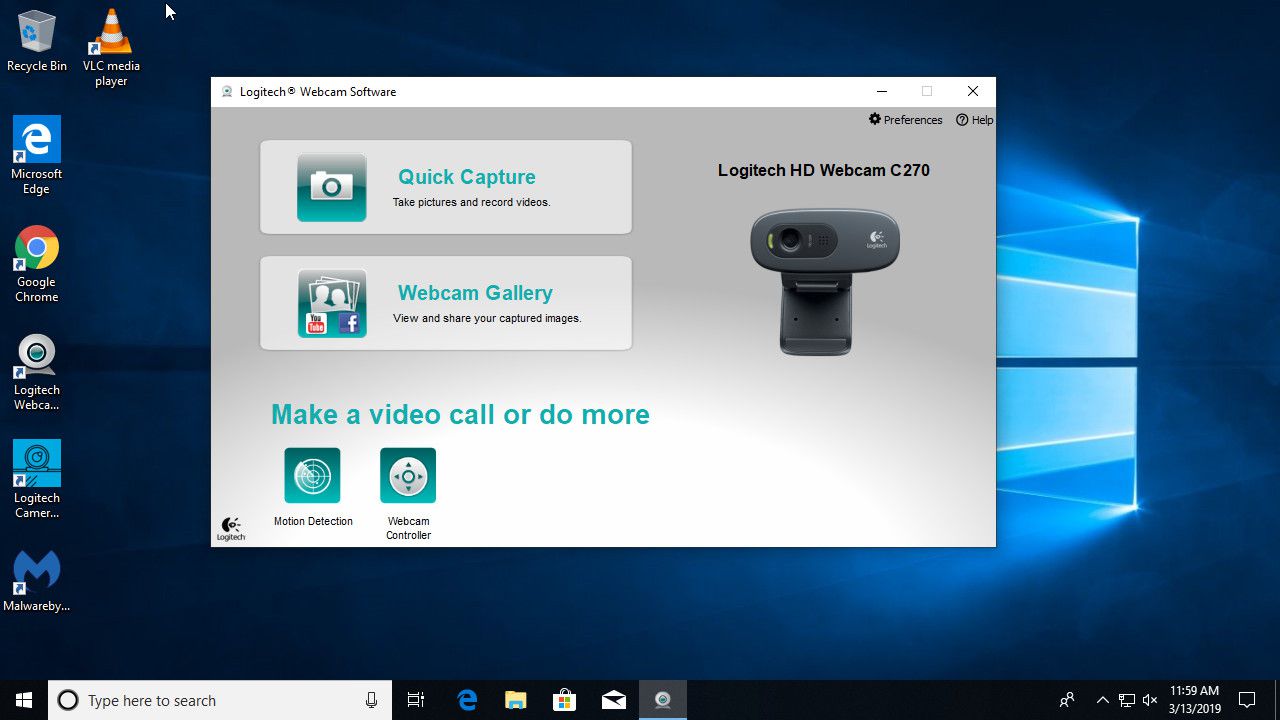
- Test your webcam: After updating the drivers, test your webcam to ensure that it is functioning properly. Open a video conferencing or video recording software and check if your webcam is detected and shows a clear video feed.
If you encounter any issues during the compatibility check or driver update process, refer to the troubleshooting section of the manufacturer’s website for further assistance. It’s essential to have the latest drivers installed to guarantee smooth performance and compatibility when setting your webcam as the default device.
Now that we have checked the compatibility of your webcam and updated the drivers, let’s proceed to the next section, where we will explore how to set your webcam as the default device in Windows 10.
Updating Webcam Drivers
Updating your webcam drivers is an important step to ensure optimal performance and compatibility with your operating system. Outdated or incorrect drivers can cause issues with your webcam’s functionality and may prevent it from being recognized as the default device. Follow these steps to update your webcam drivers:
- Identify your current webcam drivers: Open Device Manager on your computer. In Windows, you can do this by right-clicking on the Start button and selecting “Device Manager.” Look for the “Imaging devices” or “Cameras” category and expand it to reveal your connected webcams.
- Right-click on the webcam: Right-click on your webcam device, and select “Properties” from the context menu.
- Update the driver: In the Properties window, go to the “Driver” tab. Click on the “Update Driver” or “Update Driver Software” button.
- Automatic driver update: If you have an active internet connection, choose the “Search automatically for updated driver software” option. Windows will search for the latest drivers for your webcam and install them if available.
- Manual driver update: If you have already downloaded the latest drivers from the manufacturer’s website, choose the “Browse my computer for driver software” option. Browse to the location where you saved the downloaded driver file and select it.
- Follow the on-screen instructions: Depending on the driver update method, follow the on-screen prompts to complete the driver installation process. Restart your computer if prompted to ensure the changes take effect.
After updating your webcam drivers, test your webcam functionality by opening video conferencing or recording software. Ensure that your webcam is recognized and providing a clear video feed. Updating your drivers can resolve compatibility issues and improve the overall performance of your webcam.
In the next section, we will delve into the steps to set your webcam as the default device in Windows 10, enabling a seamless video experience.
Setting Webcam as Default in Windows 10
Setting your webcam as the default device in Windows 10 is a straightforward process. Follow these steps to configure your webcam as the default option:
- Open the Windows 10 Settings: Click on the Start button and select the “Settings” gear icon in the left-hand side menu.
- Select the “System” option: In the Settings window, locate and click on the “System” option.
- Go to the “Camera” settings: In the System settings, choose the “Camera” tab in the left-hand side menu.
- Set your webcam as the default device: Under the Camera settings, toggle the switch next to “Let apps use my camera hardware” to turn it on. This will automatically set your webcam as the default device for applications that require video input.
- Configure privacy settings: If you want to control which applications have access to your webcam, scroll down to the “Choose which Microsoft Store apps can access your camera” section. Toggle the switches to enable or disable camera access for specific apps.
- Check webcam functionality: After setting your webcam as the default device and configuring the privacy settings, open a video-based application to verify that your webcam is functioning properly.
By following these steps, you have successfully set your webcam as the default device in Windows 10. This means that whenever you launch an application that requires video input, your webcam will be automatically recognized and utilized.
Now, let’s move on to the next section, where we will explore how to set your webcam as the default device in Mac OS.
Setting Webcam as Default in Mac OS
Configuring your webcam as the default device in Mac OS is a simple process. Follow these steps to set your webcam as the default option:
- Open System Preferences: Click on the Apple menu in the top-left corner of your screen and select “System Preferences” from the drop-down menu.
- Select the “Sound” option: In the System Preferences window, locate and click on the “Sound” icon.
- Go to the “Input” tab: In the Sound settings, navigate to the “Input” tab to configure your audio devices.
- Select your webcam as the default device: Under the Input tab, locate your webcam device from the list of available input sources. Click on it to select it as the default device for audio and video input.
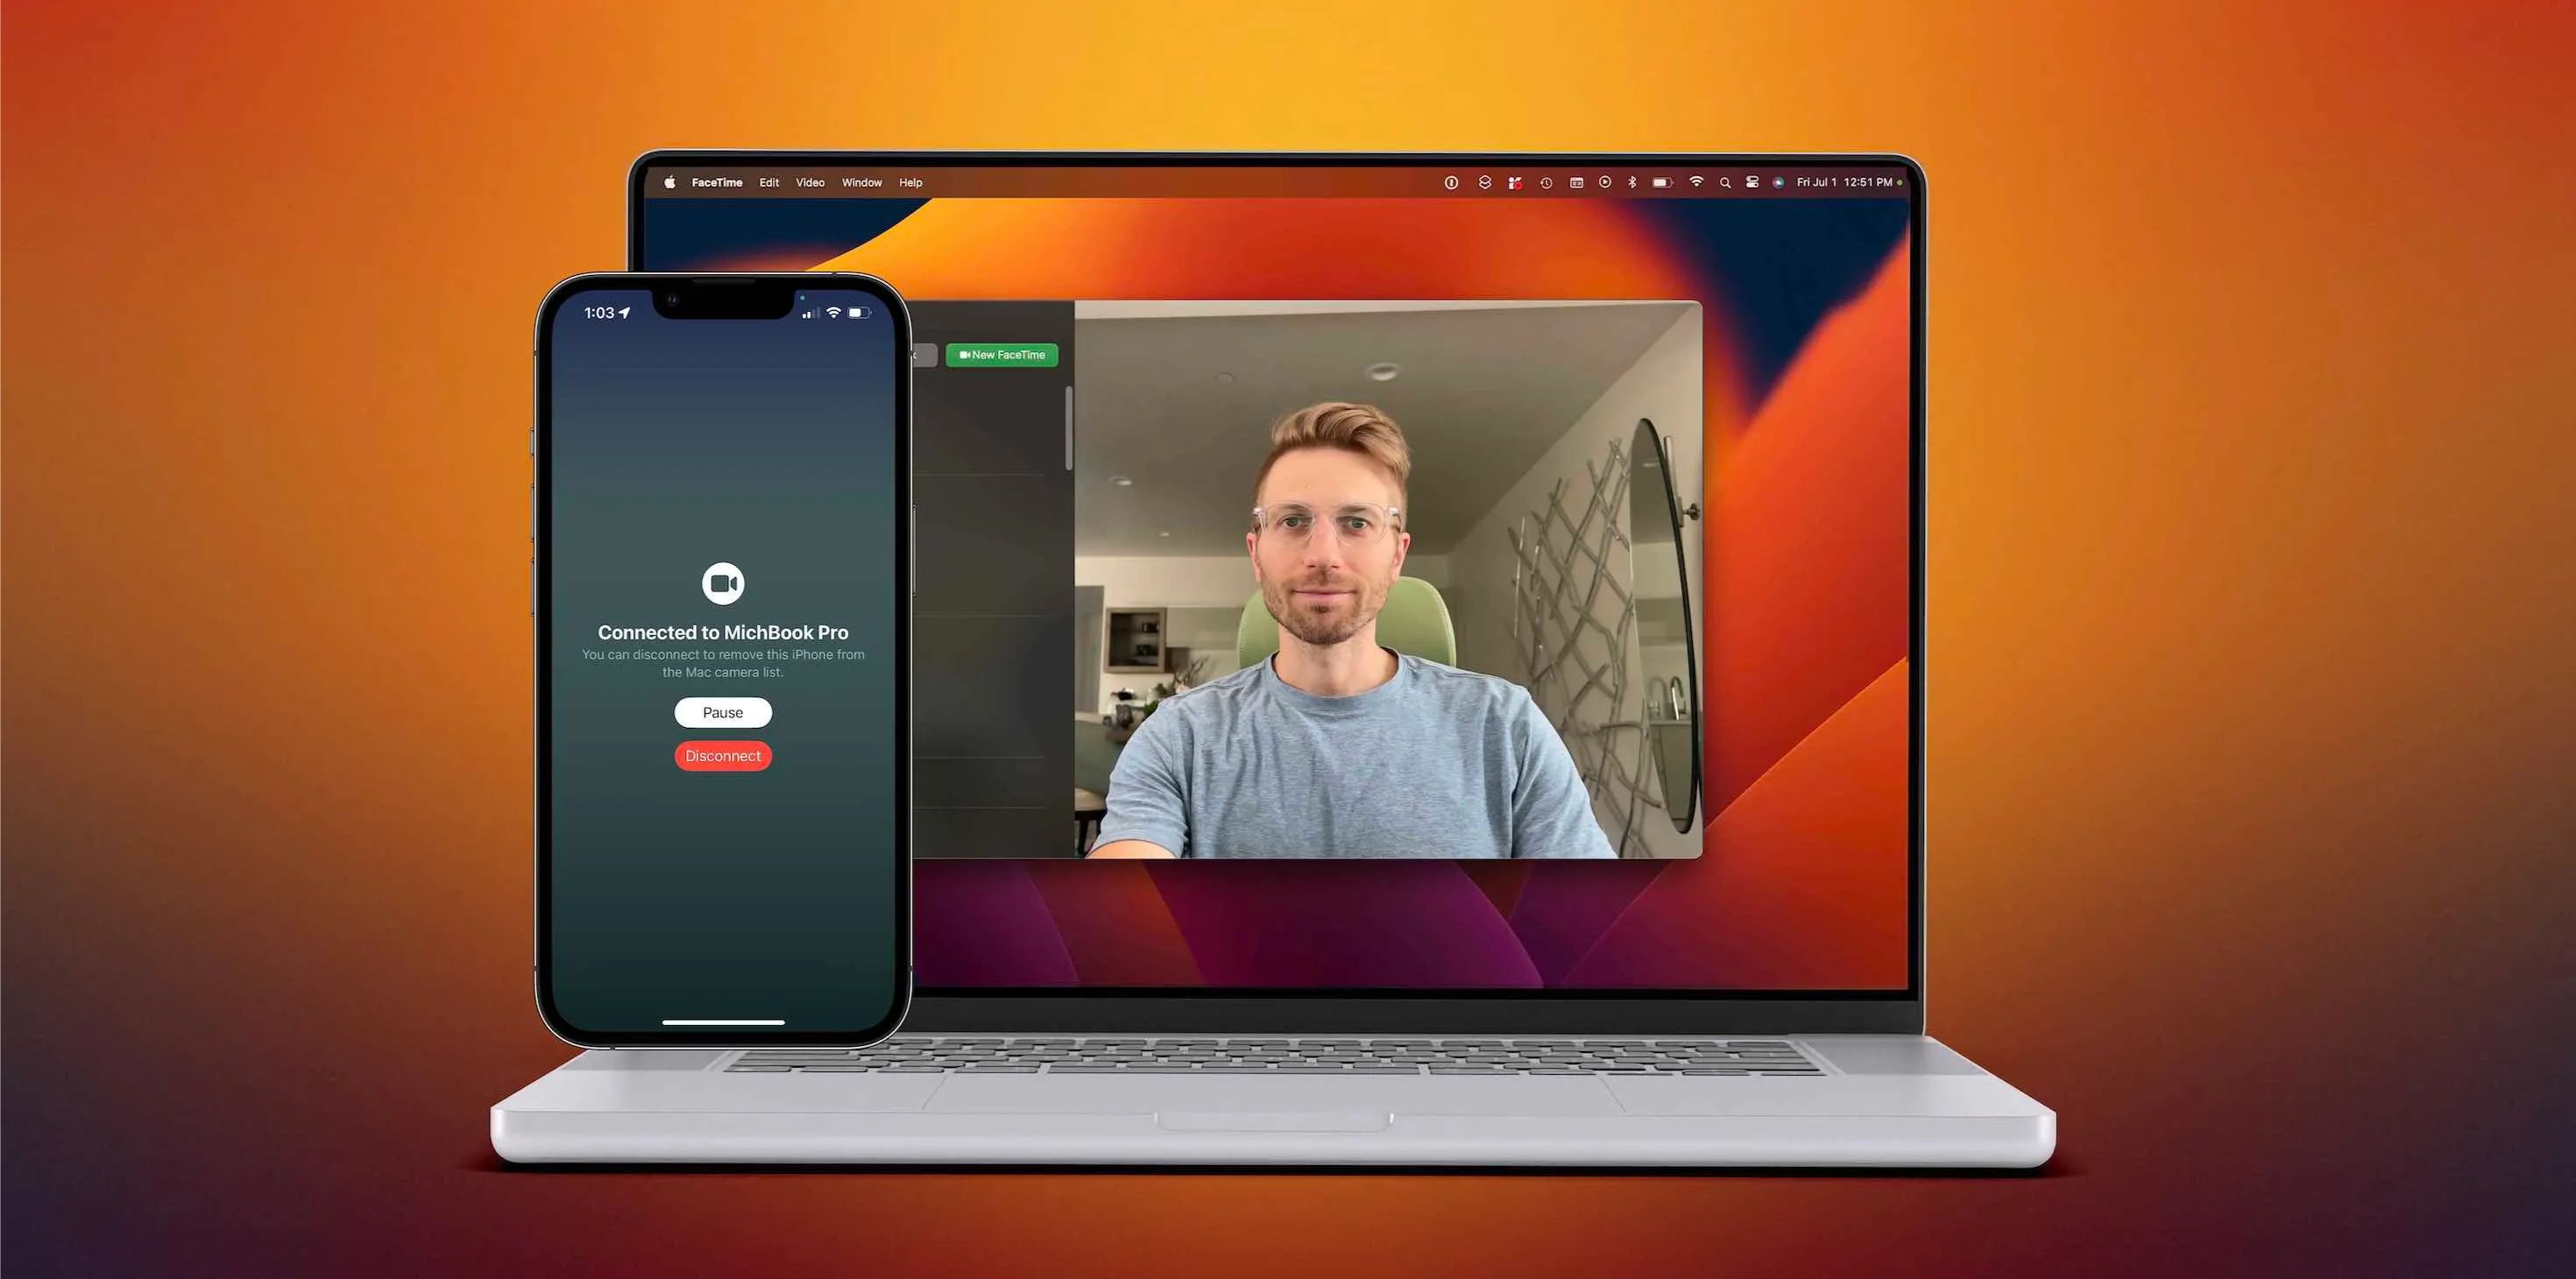
- Check webcam functionality: After setting your webcam as the default device, open a video-based application to verify that your webcam is functioning properly.
By following these steps, you have successfully set your webcam as the default device in Mac OS. This means that whenever you launch an application that requires video input, your webcam will be automatically recognized and utilized.
It is worth noting that some applications may have their own settings to choose the default camera. Make sure to check the preferences or settings within those applications to ensure they are using the webcam you have set as the default device in Mac OS.
Now that you know how to set your webcam as the default device in both Windows 10 and Mac OS, you are ready to enjoy a seamless video experience across various applications and platforms.
In case you face any issues, the next section will provide some troubleshooting tips to overcome common webcam-related problems.
Troubleshooting Common Issues
While setting your webcam as the default device is typically a smooth process, you may encounter some common issues along the way. Here are a few troubleshooting tips to help you overcome these problems:
- Driver issues: If your webcam is not being recognized or is not functioning properly, ensure that you have installed the latest drivers. Visit the manufacturer’s website and download the appropriate drivers for your webcam model and operating system.
- Compatibility problems: Double-check the compatibility between your webcam and your operating system. Ensure that the webcam is compatible with your specific version of Windows or Mac OS.
- Check the connections: Make sure that your webcam is properly connected to your computer. Ensure that the USB cable or any other connection method is secure and not loose.
- Permissions: Verify that the necessary permissions are granted for the webcam to be accessed by applications. In Windows, open the Privacy settings and allow apps to access the camera. In Mac OS, open the Security & Privacy settings and grant access to the camera for specific apps.
- Restart applications: If your webcam is not working in a particular application, try closing and reopening that app. Sometimes, a simple restart can resolve the issue.
- Disable conflicting devices: If you have multiple video input devices connected to your computer, such as an external camera or an integrated webcam, disable or disconnect the devices that you are not using. This can prevent conflicts and ensure that the correct webcam is set as the default device.
- Update operating system: Ensure that your operating system is up to date with the latest updates and patches. Sometimes, outdated system software can cause compatibility issues with your webcam.
- Contact support: If none of the above troubleshooting steps resolves your issue, consider reaching out to the webcam manufacturer’s support team or consulting online forums for further assistance.
By following these troubleshooting tips, you can overcome common issues that may arise while setting your webcam as the default device. Remember, persistence and patience are key when troubleshooting technical problems.
Now that you are equipped with troubleshooting knowledge, you can confidently set your webcam as the default device and enjoy a seamless video experience.
Concluding our guide, we have covered the process of setting your webcam as the default device in both Windows 10 and Mac OS, as well as troubleshooting common issues that may arise. With this information, you can ensure that your webcam is recognized and utilized by applications that require video input.
Conclusion
Setting your webcam as the default device is crucial for a smooth and seamless video experience. By following the steps outlined in this guide, you can easily configure your webcam as the default option on both Windows 10 and Mac OS. By doing so, you ensure that your webcam is automatically recognized and utilized by video-based applications, saving you time and streamlining your video calls, online meetings, and live streaming sessions.
Throughout this guide, we have emphasized the importance of checking compatibility, updating drivers, and troubleshooting common issues. By verifying the compatibility of your webcam with your operating system, updating your drivers to the latest version, and troubleshooting any problems that arise, you can ensure optimal performance and functionality from your webcam.
Remember to check the manufacturer’s website for driver updates specific to your webcam model and operating system. Additionally, granting necessary permissions and ensuring that the correct webcam is selected in your system settings are important steps in setting your webcam as the default device.
With your webcam configured as the default device, you can enjoy seamless video calls, join online meetings effortlessly, and create engaging live streaming content. The improved convenience and user experience offered by setting your webcam as the default device enhance your productivity and enable you to connect with others virtually with ease.
If you encounter any difficulties during the process or have further questions, feel free to reach out to the manufacturer’s support team or consult online forums for assistance. Remember to stay updated with the latest software updates for your operating system to ensure optimal compatibility.
Now that you have the knowledge and tools to set your webcam as the default device, go ahead and enjoy the enhanced video experience that it offers.


