Introduction
The Roku streaming device has become an increasingly popular choice for those looking to cut the cord and enjoy their favorite movies, TV shows, and more from the comfort of their living room. Setting up your Roku account is the first step towards experiencing the convenience and entertainment it has to offer.
In this guide, we will walk you through the simple process of creating a Roku account, setting up your Roku device, and activating it. We will also show you how to connect your Roku device to your TV and add channels to enhance your streaming experience. Additionally, we will explore how to personalize your Roku account to suit your preferences and make the most out of your entertainment options.
Whether you are new to streaming or just getting started with Roku, this guide will provide you with all the necessary information to set up your account and start enjoying your favorite content in no time.
So, let’s dive in and discover the step-by-step process of setting up a Roku account and unlocking a world of entertainment possibilities at your fingertips.
Step 1: Creating a Roku Account
Before you can begin using your Roku device, you need to create a Roku account. The Roku account serves as your gateway to accessing a wide variety of streaming channels and personalizing your streaming experience. Here’s how you can create your Roku account:
- Connect your Roku device to your TV and turn it on.
- On the Welcome screen, select “Create free account” and press OK on your Roku remote.
- Using a computer or a smartphone, open a web browser and go to the Roku sign-up page at https://my.roku.com/signup.
- Fill in your personal details, including your name, email address, and password. Make sure to choose a strong password to secure your Roku account.
- Agree to the terms and conditions and click on the “Continue” button.
- On the next screen, you will be prompted to provide payment information. This step is necessary to purchase and rent content from paid channels. If you don’t want to add payment information at this time, you can select “Skip, I’ll add later” or “Skip this step”.
- After completing the payment information, you will be redirected to the “Link a device” page.
- Follow the on-screen instructions to link your Roku device to your Roku account. Once completed, your Roku device will display a unique code.
- On your computer or smartphone, enter the code displayed on your Roku device and click “Submit”.
- Finally, you will see a confirmation screen indicating that your Roku device has been successfully linked to your Roku account.
Once you have created your Roku account, you can start exploring the vast selection of channels available and customize your streaming experience to your liking. In the next steps, we will guide you through setting up your Roku device and connecting it to your TV.
Step 2: Setting up your Roku Device
Now that you have created your Roku account, it’s time to set up your Roku device. Follow these simple steps to get started:
- Connect your Roku device to your TV using an HDMI cable. Make sure to firmly secure the connections.
- Insert the power adapter into the Roku device and connect it to a power source. Your Roku device should power on automatically.
- Using your TV remote, select the appropriate HDMI input channel. This is where you connected your Roku device.
- On your TV screen, you will see the Roku logo followed by the Welcome screen.
- Use the Roku remote to select your preferred language and press “OK”.
- Next, you will see a list of available wireless networks. Select your Wi-Fi network from the list and enter your Wi-Fi password.
- Once connected to the internet, your Roku device will automatically download and install any necessary software updates.
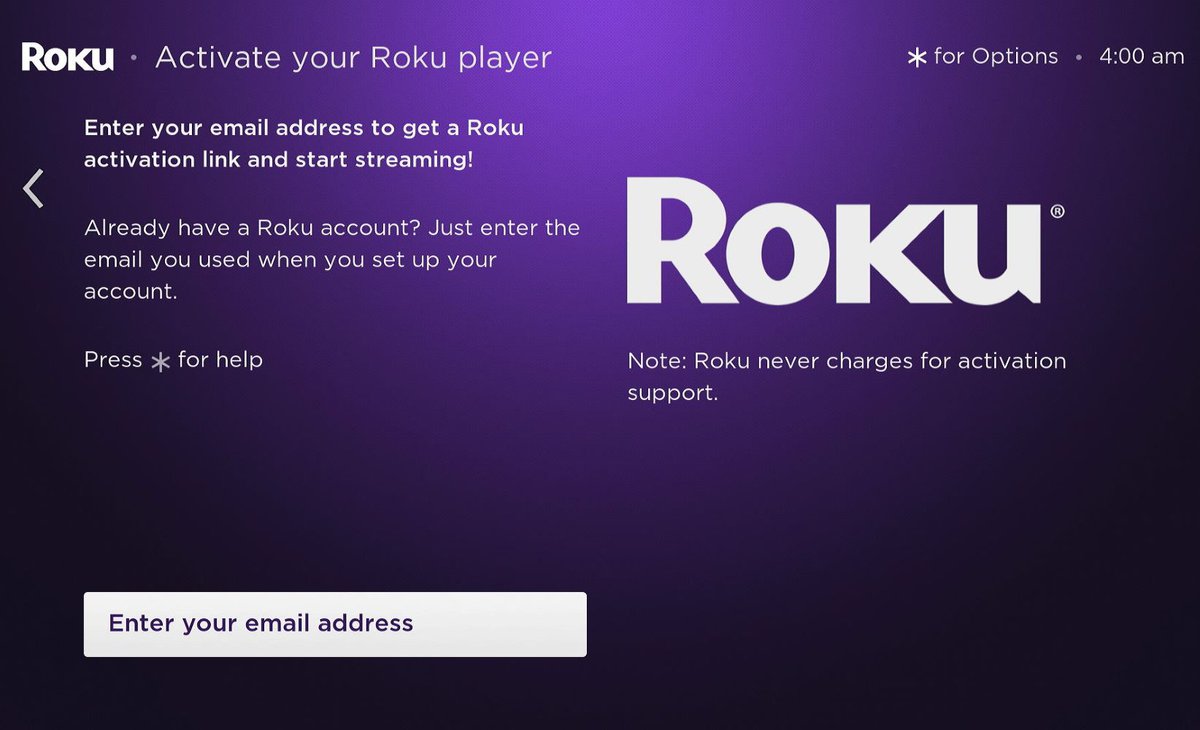
- After the updates are complete, your Roku device will restart. You will see a code displayed on your TV screen.
- Make a note of the code and head over to your computer or smartphone.
- Visit the Roku activation page at https://my.roku.com/link and enter the code displayed on your TV.
- Follow the on-screen prompts to complete the activation process.
- Once activated, your Roku device will display a success message on your TV screen.
Now that you have successfully set up your Roku device and activated it, you are ready to start enjoying your favorite content. In the next step, we will guide you through connecting your Roku device to your TV.
Step 3: Connecting Your Roku Device to Your TV
Now that your Roku device is set up, the next step is to connect it to your TV. By following these simple instructions, you’ll be able to enjoy your favorite shows and movies on the big screen:
- Locate the HDMI port on the back or side of your TV and plug one end of the HDMI cable into the port.
- Connect the other end of the HDMI cable to the HDMI port on your Roku device.
- Make sure the connection is secure by gently pressing the HDMI cable into place.
- Using your TV remote, navigate to the input/source selection on your TV. Select the HDMI input channel you connected your Roku device to.
- Your TV screen should now display the Roku logo and the on-screen setup guide.
- Follow the on-screen prompts to select your preferred language and connect your Roku device to your wireless network. Enter the network password if required.
- Once connected to the internet, your Roku device will automatically download and install any necessary updates.
- After the updates are complete, your Roku device will restart, and you will see a unique activation code displayed on your TV screen.
- Make note of the activation code and grab your computer or smartphone.
- Open a web browser on your device and go to the Roku activation page at https://my.roku.com/link.
- Enter the activation code displayed on your TV screen and follow the on-screen instructions to link your Roku device to your Roku account.
- Once the activation process is complete, you will see a success message on your TV screen, indicating that your Roku device is successfully connected to your TV.
Congratulations! You have successfully connected your Roku device to your TV. Now, it’s time to move on to the next step and activate your Roku device to start streaming your favorite content.
Step 4: Activating Your Roku Device
Now that you have connected your Roku device to your TV, it’s time to activate it. Follow these simple steps to activate your Roku device and start enjoying the vast array of streaming content:
- On your TV screen, make sure your Roku device is powered on and connected to the internet.
- You will see a unique activation code displayed on your TV screen.
- Grab your computer or smartphone and open a web browser.
- Go to the Roku activation page at https://my.roku.com/link.
- Enter the activation code that is displayed on your TV screen.
- Click “Submit” or “Continue” to proceed with the activation process.
- If prompted, sign in to your Roku account using your email address and password.
- Follow the on-screen instructions to complete the activation.
- Once the activation process is complete, you will see a success message on your TV screen.
- Your Roku device is now activated and ready to use.
Congratulations! You have successfully activated your Roku device. Now you can start exploring the Roku Channel Store and add your favorite channels to enhance your streaming experience. In the next step, we will guide you through adding channels to your Roku device.
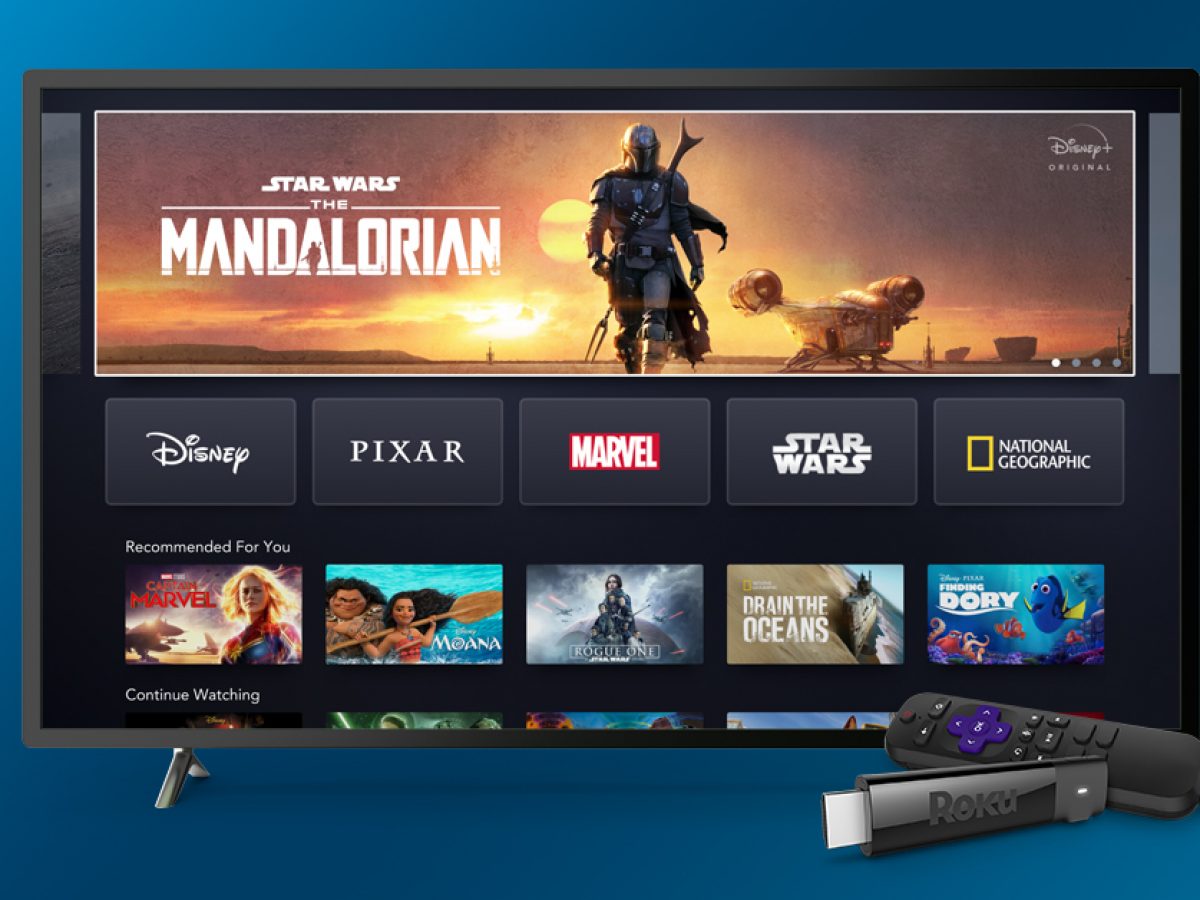
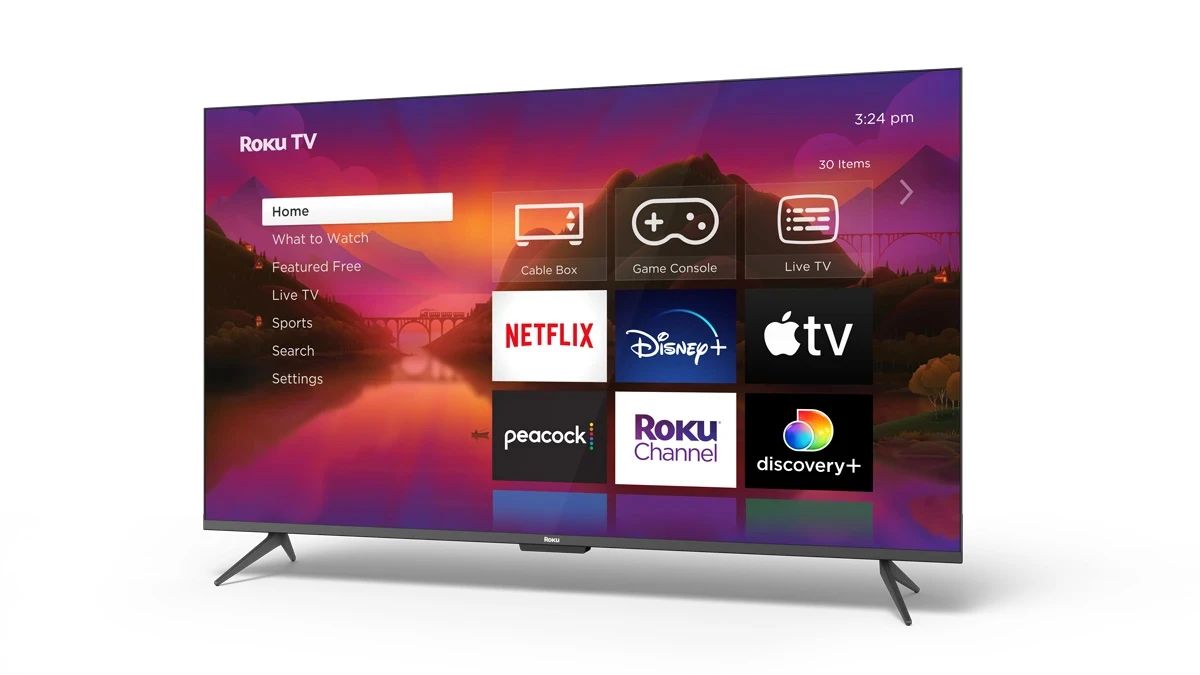
Step 5: Adding Channels to Your Roku Device
With your Roku device activated, it’s time to enhance your streaming experience by adding channels. Roku offers a wide variety of channels, including popular streaming services, news networks, sports channels, and more. Follow these simple steps to add channels to your Roku device:
- On your TV home screen, navigate to the Roku Channel Store.
- Using the Roku remote, select “Streaming Channels” and press the OK button.
- Browse through the available categories or use the search function to find specific channels you want to add.
- Highlight the channel you want to add and press the OK button on your remote.
- On the channel’s information page, select “Add Channel” and press OK.
- The channel will begin downloading and installing on your Roku device.
- Repeat the process to add more channels to your Roku device.
- Once the channels are added, they will appear on your TV home screen.
- Use the Roku remote to navigate to and select the channel you want to watch.
- Enjoy streaming content from your newly added channels.
Remember that some channels may require a subscription or may offer in-app purchases for premium content. Make sure to review the details and confirm any associated costs before adding and accessing these channels. Your Roku account will be charged accordingly for any purchases made through the Roku device.
By adding channels to your Roku device, you can customize your streaming experience and access a wide range of content tailored to your interests. In the next step, we will explore how you can personalize your Roku account.
Step 6: Personalizing Your Roku Account
Personalizing your Roku account allows you to customize your streaming experience and make it more tailored to your preferences. By following these steps, you can personalize your Roku account to ensure you get the most out of your Roku device:
- Using a computer or smartphone, go to the Roku website at https://my.roku.com and sign in to your Roku account.
- Once signed in, click on your profile icon or username to access the account settings.
- Explore the various options available in the account settings to personalize your Roku account:
- Manage Your Channels: Organize the order of your channels, remove channels you no longer use, or hide channels from your home screen.
- Account Information: Update your personal information, such as your name, email address, or password.
- Payment Method: Add, edit, or remove your payment information for purchasing or renting content.
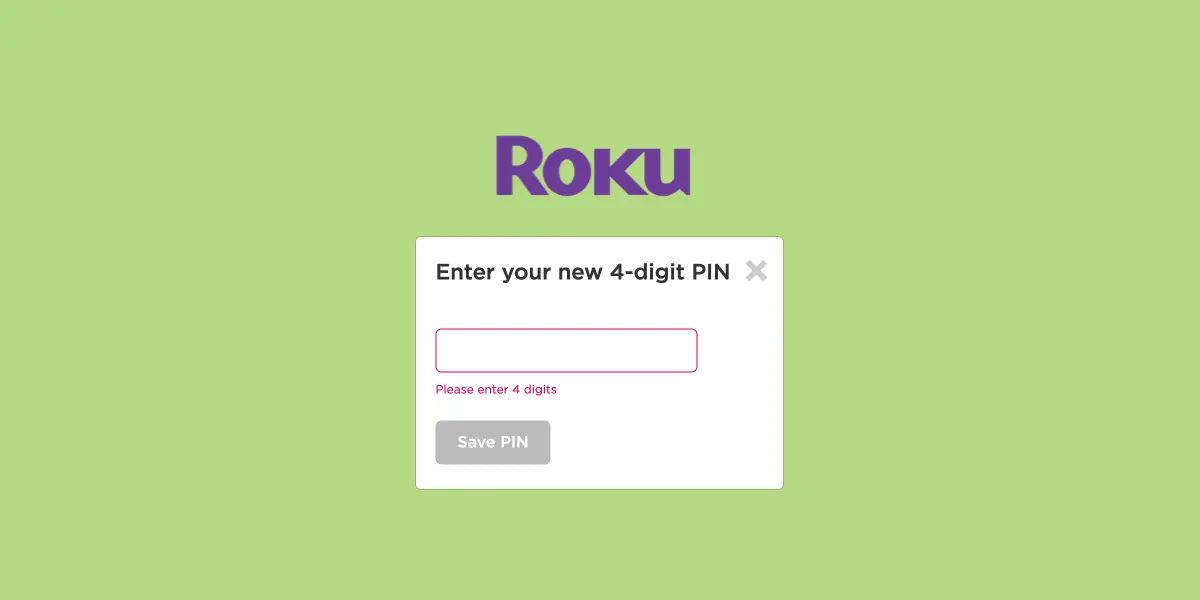
- Preferences: Customize your streaming experience by adjusting preferences like closed captions, audio mode, or screen mirroring settings.
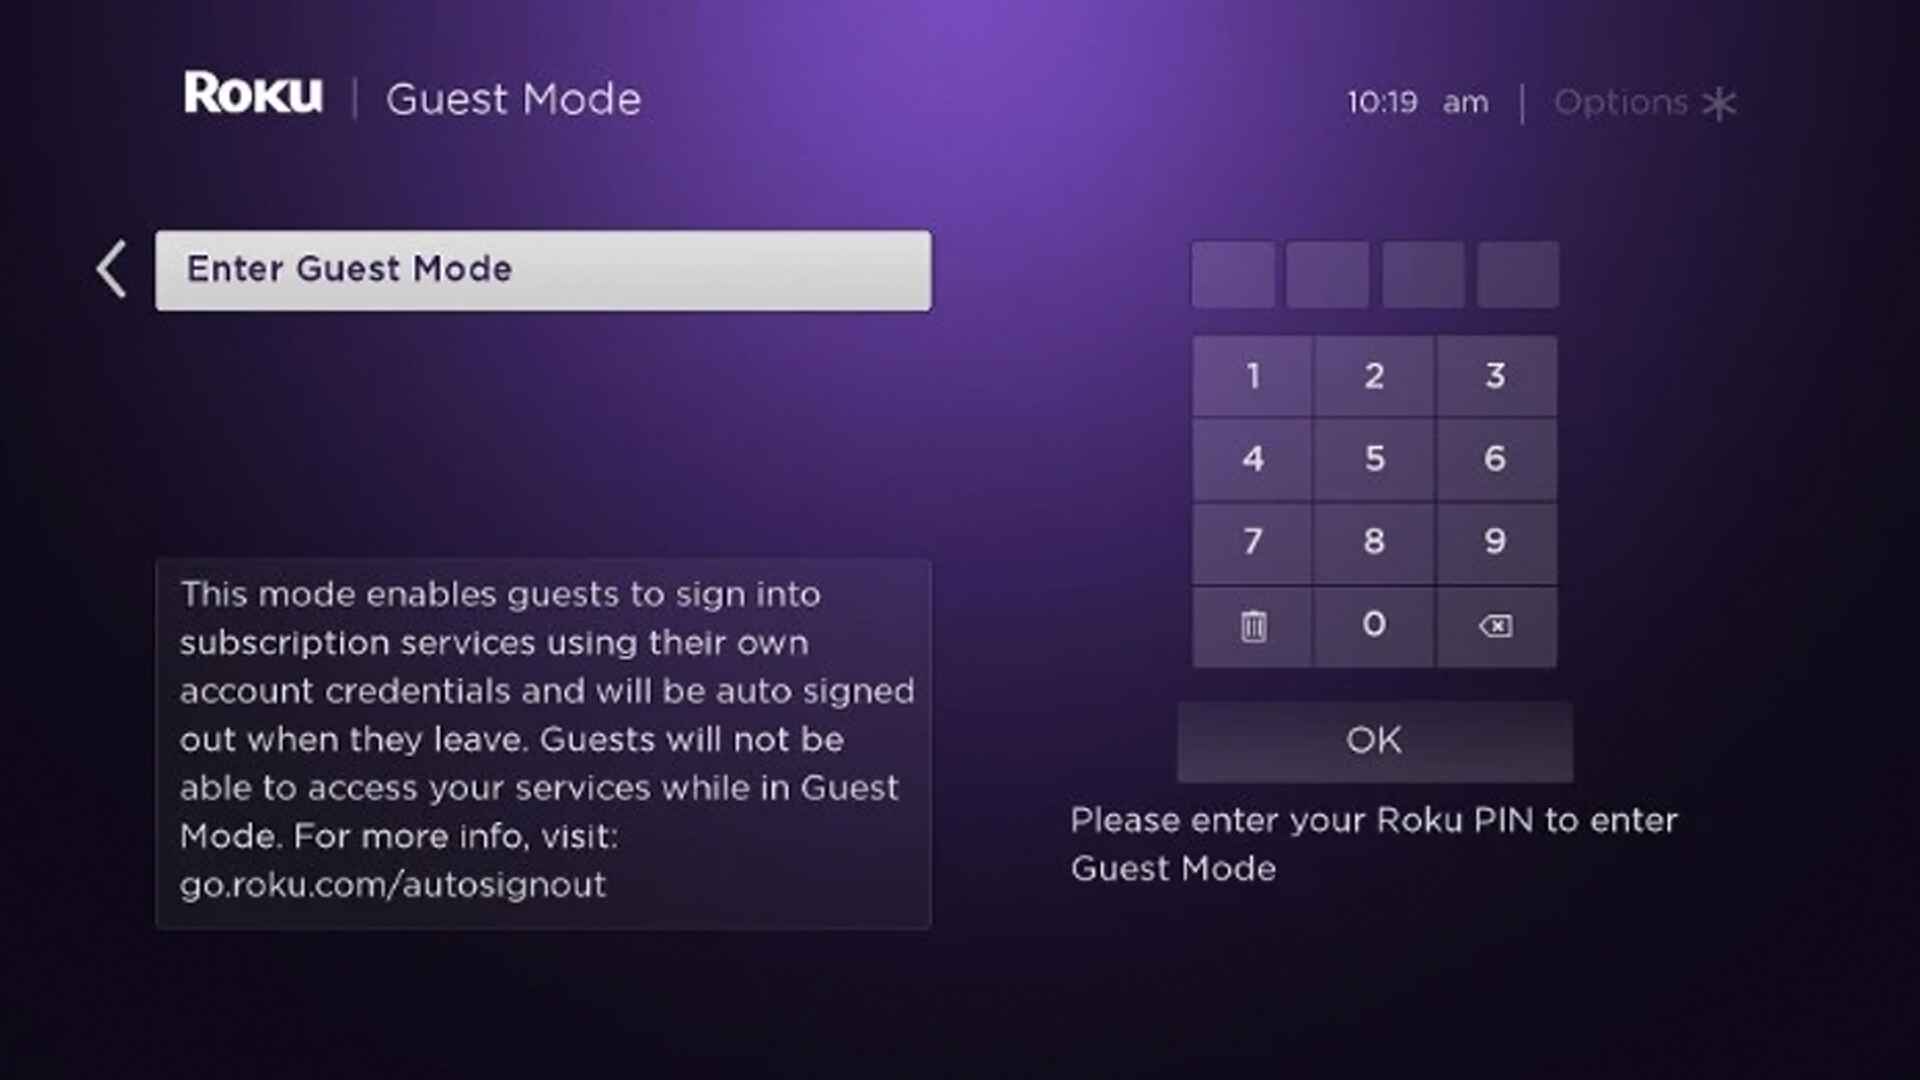
- Parental Controls: Set up parental controls to restrict certain content or channels based on ratings.
- Make the desired changes and adjustments based on your preferences.
- Save your changes before exiting the account settings.
By personalizing your Roku account, you can create a streaming experience that suits your individual tastes and needs. Take the time to explore the available options and fine-tune your account settings to enhance your enjoyment of Roku’s vast collection of content.
Now that you have completed all the steps, your Roku account is set up, your device is connected, activated, and personalized. You are ready to start streaming and enjoying a wide range of movies, TV shows, music, and more.
Conclusion
Setting up a Roku account and device is a straightforward process that opens up a world of entertainment possibilities. With just a few simple steps, you can create your account, connect your device to your TV, activate it, add channels, and personalize your streaming experience.
Creating a Roku account is the first step, allowing you to access a wide variety of streaming channels and personalize your preferences. Once your account is set up, you can proceed to connect your Roku device to your TV. This involves connecting the HDMI cable, selecting the appropriate input channel, and following the on-screen setup guide.
After your Roku device is connected, you need to activate it by entering the provided activation code. This can be done through the Roku activation page using a computer or smartphone. Once activated, you are ready to add channels from the Roku Channel Store, offering a vast selection of content to suit your interests.
To make your streaming experience even better, you can personalize your Roku account by adjusting settings such as channel organization, account information, payment methods, preferences, and parental controls. This allows you to customize your Roku device according to your individual preferences and needs.
By following the steps outlined in this guide, you can enjoy seamless streaming and access a wide range of movies, TV shows, news, sports, and more, all from the comfort of your living room. Whether you are a cord-cutter or simply looking to enhance your entertainment options, Roku provides an easy-to-use and versatile streaming solution.
Now that you have completed the setup process, it’s time to grab your Roku remote, sit back, and enjoy the endless entertainment possibilities that await you.