Introduction
The Samsung LED TV is a popular choice among consumers for its sleek design and high-quality display. If you’re looking to maximize your TV viewing experience, setting up a cable box to your Samsung LED TV is essential. This allows you to access a wide range of channels and enjoy your favorite shows and movies with ease.
In this step-by-step guide, we will walk you through the process of setting up a cable box to your Samsung LED TV. Whether you’re a tech-savvy individual or new to the world of home entertainment systems, this guide will help you get your cable box up and running in no time.
Before we dive into the setup process, it’s important to note that the specific steps may vary slightly depending on the model and year of your Samsung LED TV. However, the general process remains the same, and this guide will provide you with the necessary information to get started.
Now, let’s gather the necessary equipment and get started with the setup process!
Step 1: Gather the necessary equipment
Before you begin setting up your cable box to your Samsung LED TV, make sure you have the following equipment ready:
- Cable box: This is the device provided by your cable service provider that allows you to access cable television channels. Ensure that your cable box is compatible with your Samsung LED TV.
- Power cords: You will need power cords for both the cable box and the TV. Make sure they are in good condition and have the appropriate connectors for your devices.
- Coaxial cable: This cable is used to connect the cable box to the TV. Check the length of the cable and ensure it is long enough to reach between the two devices.
- HDMI cable (optional): If you prefer to use HDMI connectivity instead of coaxial, make sure you have an HDMI cable that is compatible with your devices.
- Remote control: The cable box usually comes with a remote control for easy channel surfing. Make sure the remote has batteries and is in working condition.
- User manuals: Keep the user manuals for both the cable box and the TV nearby. They can provide valuable information and troubleshooting tips throughout the setup process.
Once you have gathered all the necessary equipment, you’re ready to move on to the next step: connecting the cable box to your Samsung LED TV.
Step 2: Connect the cable box to the TV
Now that you have your equipment ready, it’s time to connect the cable box to your Samsung LED TV. Follow these steps:
- Locate the HDMI or coaxial ports on the back of your Samsung LED TV. These ports are usually labeled and color-coded.
- If you’re using an HDMI cable, simply connect one end of the cable to the HDMI port on the cable box and the other end to the HDMI port on the TV. Ensure that the cable is securely plugged in.
- If you’re using a coaxial cable, connect one end of the cable to the cable outlet on the wall and the other end to the “Cable In” or “RF In” port on the cable box.
- Take another coaxial cable and connect one end to the “Out to TV” or “TV Out” port on the cable box and the other end to the “Antenna In” or “RF In” port on the TV.
- Once you have made the necessary connections, tighten any loose connectors and ensure that everything is securely in place.
It’s important to note that the exact ports and cable connections may vary depending on the model of your Samsung LED TV and cable box. Refer to the user manuals for specific instructions if needed.
Now that the cable box is connected to the TV, we can move on to the next step: powering on the devices.
Step 3: Power on the cable box and the TV
With the cable box and the TV connected, it’s time to power on both devices. Follow these simple steps:
- Locate the power cords for the cable box and the TV.
- Plug one end of the power cord into the appropriate power outlet or surge protector.
- Connect the other end of the power cord to the “Power” or “AC In” port on the cable box.
- For the TV, plug the power cord into the “Power” or “AC In” port on the back of the TV.
- Once the power cords are securely connected, switch on the power outlet or surge protector.
- Turn on the TV by pressing the power button on the TV or using the TV remote control.
- Finally, locate the power button on the cable box or use the cable remote control to power it on.
After powering on both devices, you should see the Samsung logo or a prompt on the TV screen indicating that it is receiving a signal. If you don’t see anything, double-check all the connections and ensure that the power cords are securely plugged in.
Now that the cable box and the TV are powered on, we can proceed to the next step: accessing the Input menu on the TV.
Step 4: Access the Input menu on the TV
Now that both your cable box and TV are powered on, it’s time to access the Input menu on your Samsung LED TV. The Input menu allows you to select the appropriate input source for your cable box. Follow these steps:
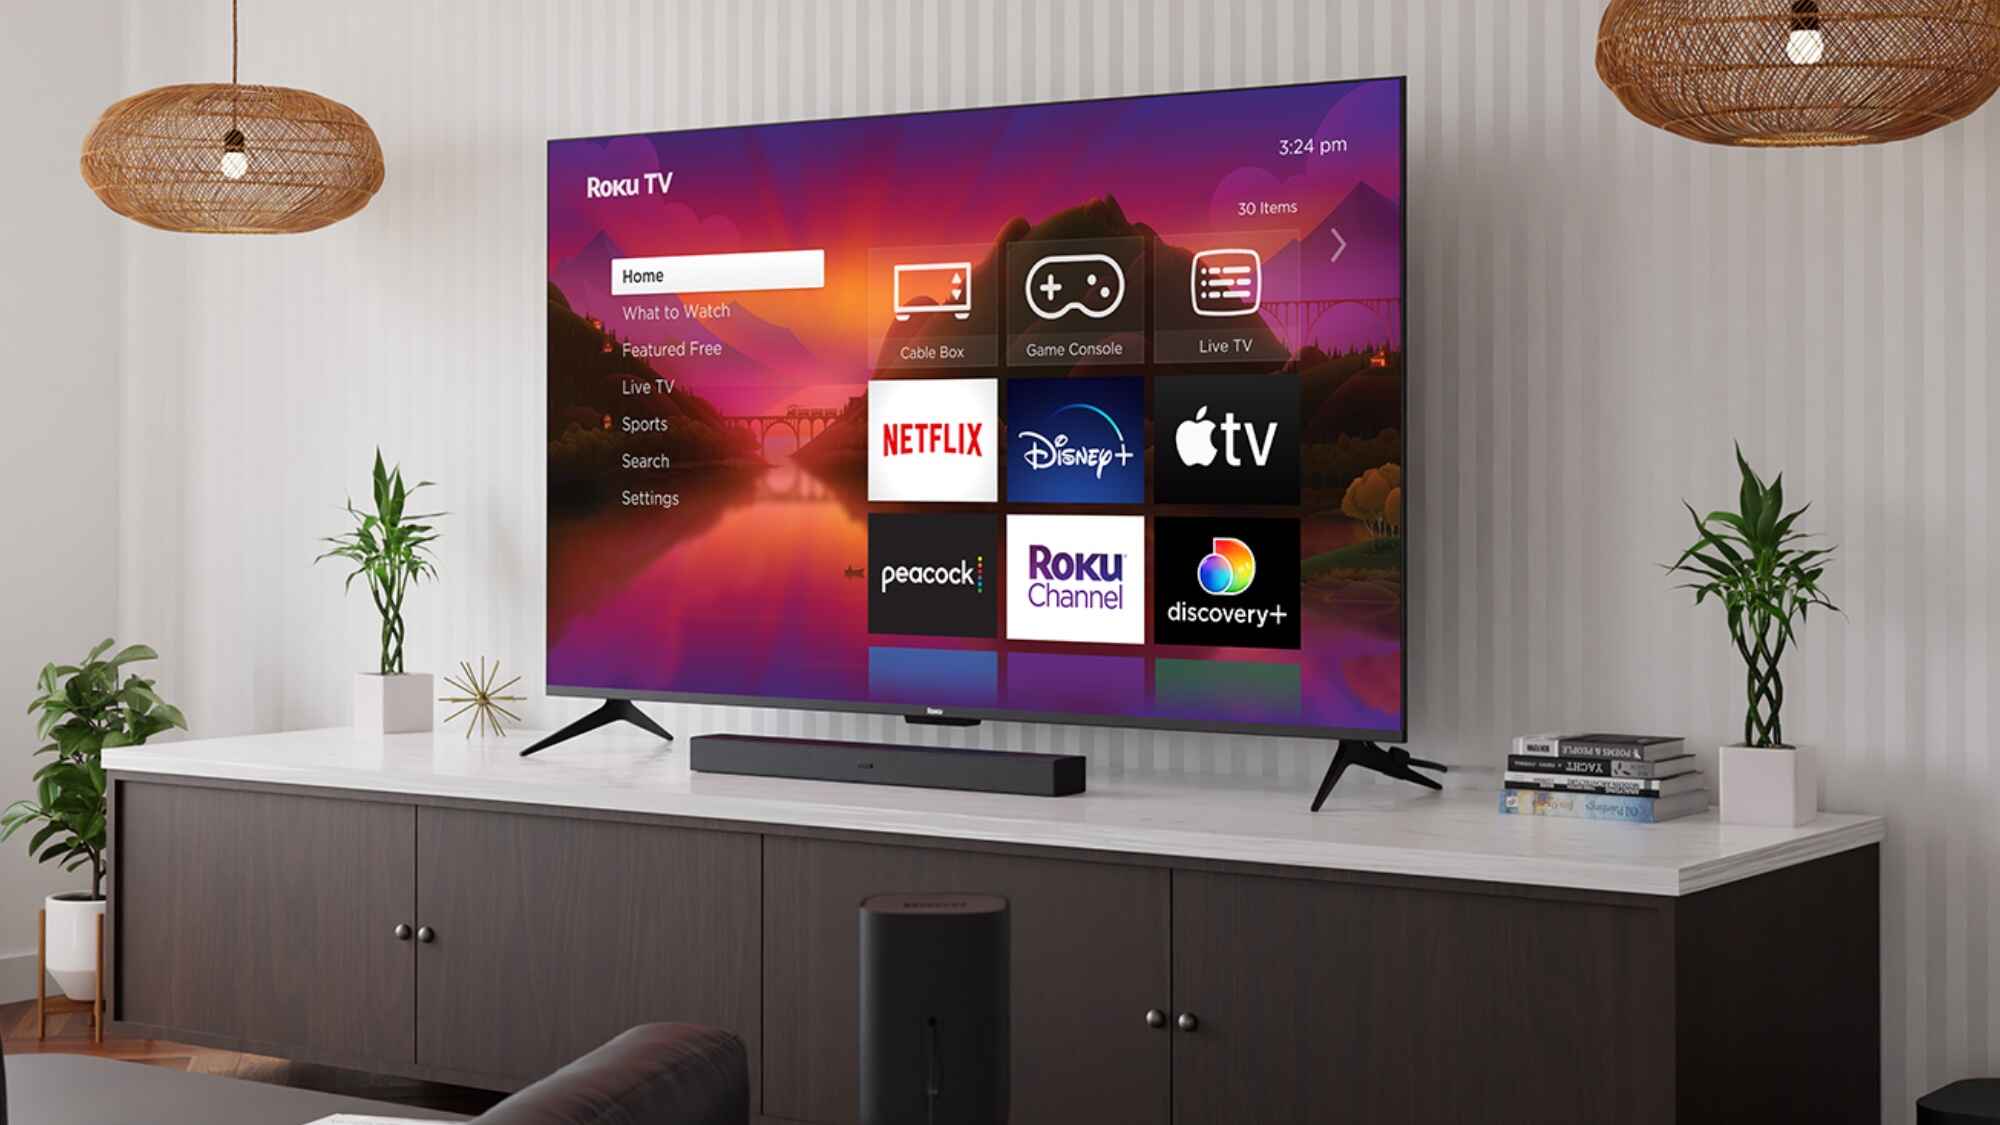
- Grab the Samsung TV remote control and locate the “Source” or “Input” button. It is usually labeled with an icon representing multiple arrows pointing in different directions.
- Press the “Source” or “Input” button to access the Input menu. This will bring up a list of available input sources.
- Using the arrow buttons on the remote control, navigate through the input options until you find the one that corresponds to the cable connection. It may be labeled as “HDMI”, “Cable”, or “Antenna”.
- Once you’ve highlighted the correct input source, press the “Enter” or “OK” button to select it.
After selecting the appropriate input source, the TV screen should switch to the display from your cable box. If you still don’t see any video or if the input source is not listed, double-check the cable connections and ensure that the cable box is powered on and functioning properly.
Now that you’ve accessed the Input menu and selected the correct input source, it’s time to move on to the next step: setting up the cable box.
Step 5: Select the appropriate input source
After accessing the Input menu on your Samsung LED TV, it’s time to select the appropriate input source that corresponds to your cable box. Follow these steps:
- Using the arrow buttons on your remote control, navigate through the list of input sources that appear on the screen.
- Look for the input source that represents your cable box. It may be labeled as “HDMI”, “Cable”, or “Antenna”, depending on the specific model of your TV.
- Once you locate the correct input source, select it by pressing the “Enter” or “OK” button on your remote control.
By selecting the appropriate input source, your Samsung LED TV will now be tuned to receive the signal from your cable box. You should see the cable channels displayed on your TV screen.
If you encounter any issues or if the input source for your cable box is not listed, double-check the cable connections and ensure that your cable box is powered on and correctly set up.
Now that you have selected the appropriate input source, you’re ready to move on to the next step: setting up your cable box.
Step 6: Set up the cable box
Now that you have selected the appropriate input source on your Samsung LED TV, it’s time to set up your cable box. Follow these steps:
- Ensure that your cable box is powered on and connected to your TV.
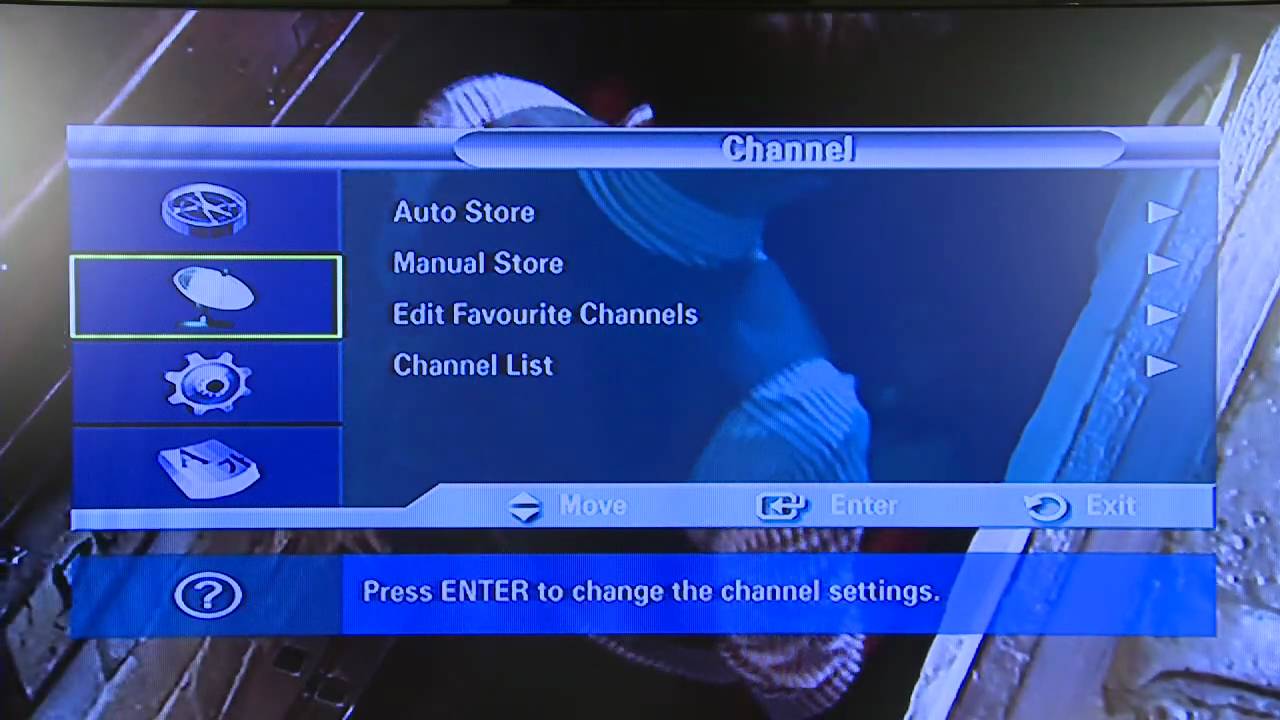
- Using the cable box remote control, follow the on-screen prompts to set up the cable box. This may include language selection, time zone settings, and channel scanning.
- Scan for channels by selecting “Auto Program” or a similar option in the cable box menu. The cable box will automatically search for available channels and save them into its memory.
- During the channel scanning process, you may be prompted to verify your cable service subscription by entering an activation code. Follow the instructions on the screen and enter the code if required.
- Once the channel scanning process is complete, you should have access to all available channels provided by your cable service provider.
- Take some time to explore the cable box menu and customize settings to your preference. This may include adjusting audio and video settings, setting parental controls, or programming favorite channels.
It’s important to note that the specific steps for setting up your cable box may vary depending on the make and model. Consult the user manual provided with your cable box for detailed instructions specific to your device.
Now that you have successfully set up your cable box, you’re almost ready to enjoy your favorite shows and movies. The last step is to activate the cable box with your service provider.
Step 7: Activate the cable box
After setting up your cable box, the next step is to activate it with your cable service provider. Follow these steps to ensure that your cable box is properly activated:
- Locate the customer support phone number or website provided by your cable service provider. This information should be included in the documentation or on the packaging of your cable box.
- Contact your cable service provider using the provided phone number or online support channel.
- Provide the representative with the necessary information, such as your account number, device serial number, and any activation codes that were provided with your cable box.
- Follow the instructions provided by the representative for the activation process. This may involve confirming your identity and verifying your subscription plan.
- Once the cable box is activated, the representative will guide you through any additional steps, such as refreshing the signal or updating your account settings.
It’s important to note that the activation process may vary depending on your cable service provider. Some providers may offer self-activation options through their website or automated phone systems.
After completing the activation process, your cable box should be fully functional and ready to use. Make sure to test the channels and features to ensure everything is working as expected.
Now that you have successfully activated your cable box, you’re ready to enjoy a wide range of channels and content on your Samsung LED TV.
Step 8: Test the cable box connection
Once you have completed the setup and activation process, it is essential to test the cable box connection to ensure that everything is functioning correctly. Follow these steps to test the cable box connection:
- Using the remote control for your cable box, navigate through the available channels to verify that you can access them without any issues.
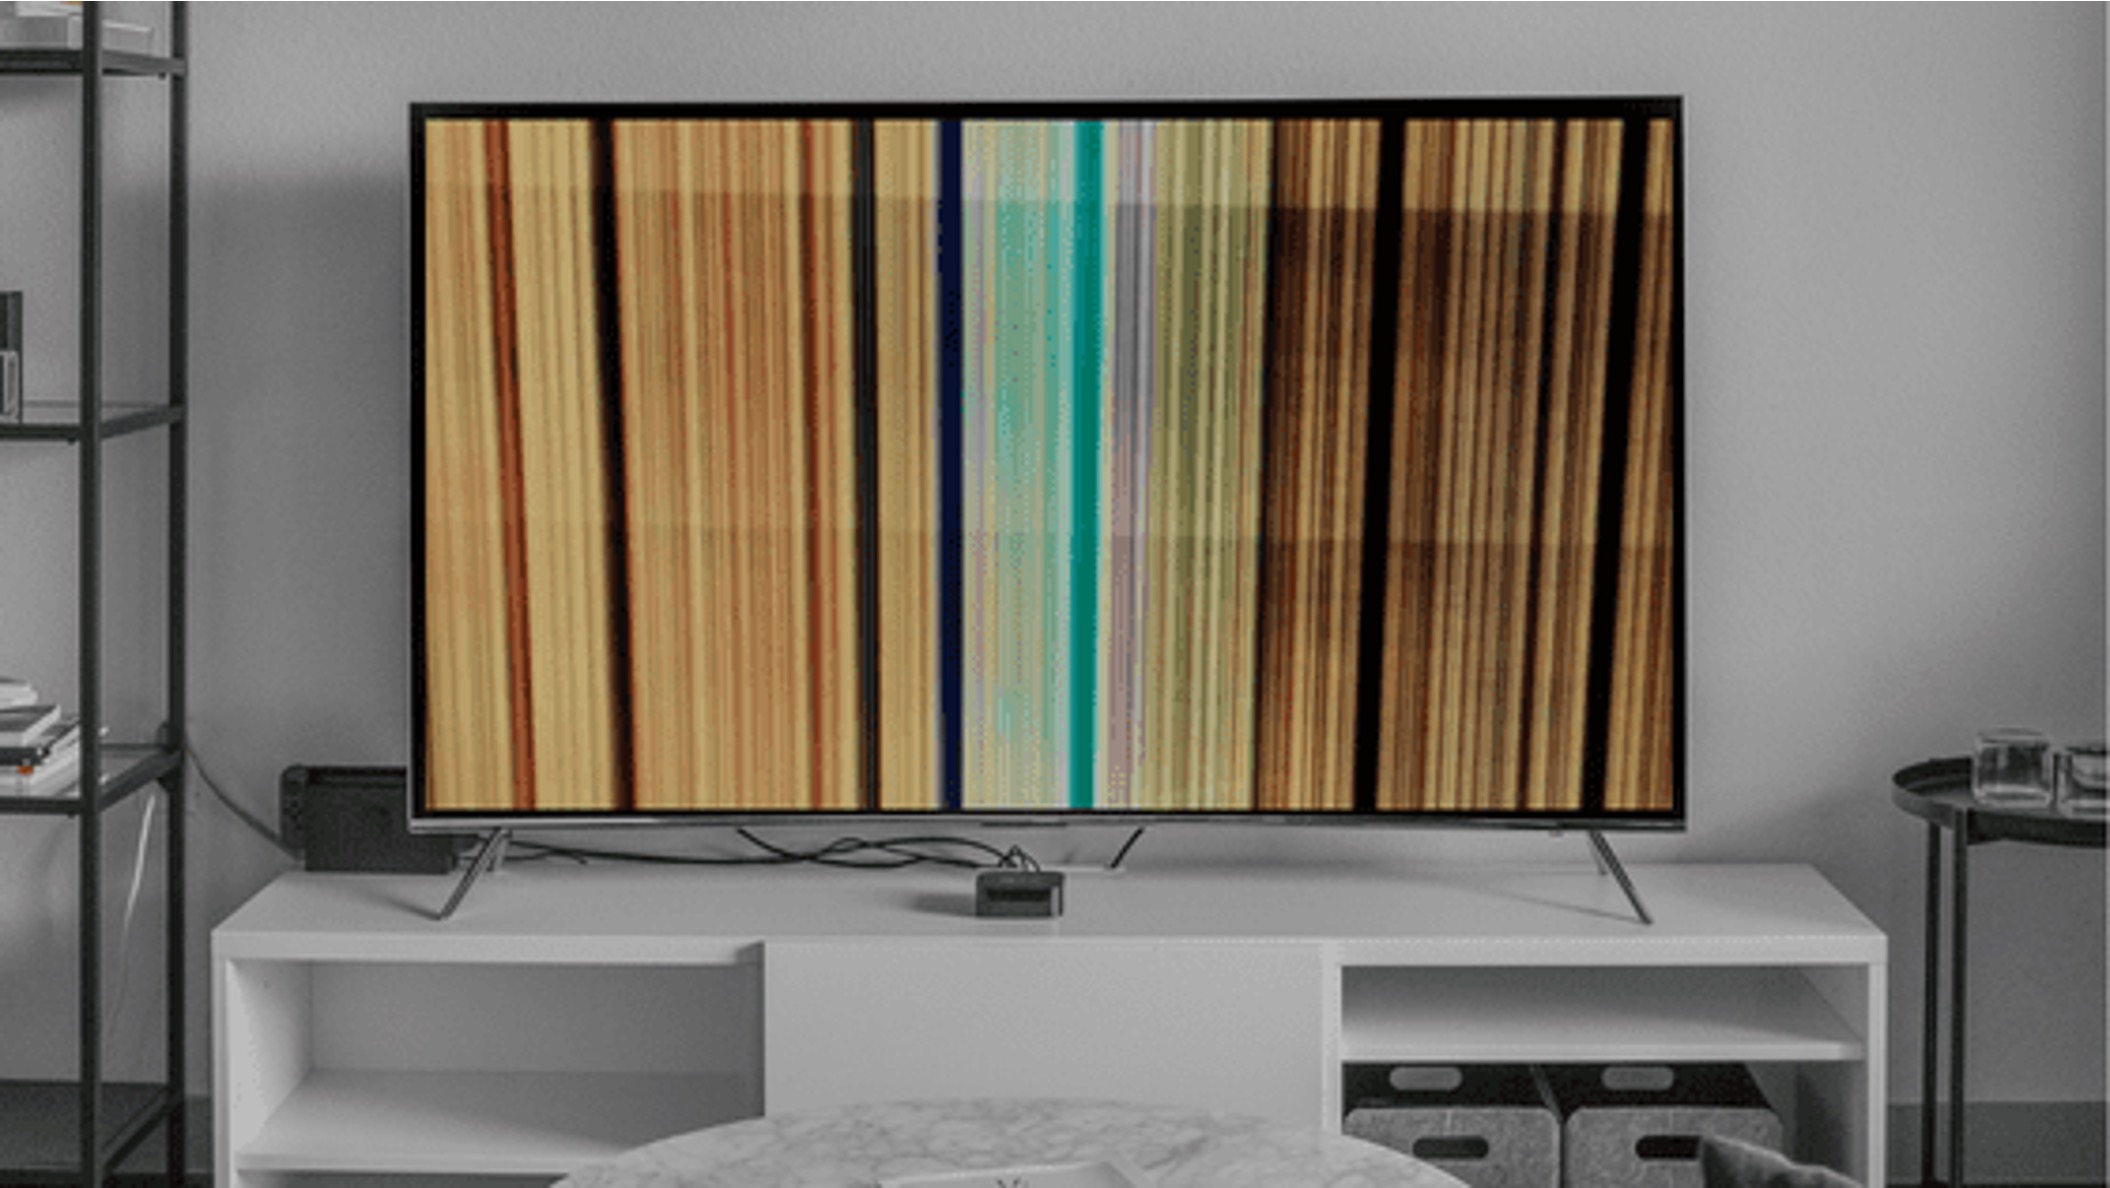
- Check the picture quality of the channels to ensure that it is clear and not distorted. If you notice any abnormalities, such as pixelation or freezing, it may indicate a signal issue that needs to be addressed.
- Test the audio output by adjusting the volume on your TV and ensuring that you can hear the sound clearly. If there is no sound or if it is not synchronized with the video, check the audio settings on both the TV and cable box.
- Try switching between different channels and inputs to verify that you can navigate through the TV options smoothly and without any delays.
- Check the functionality of any additional features or functionalities provided by your cable box, such as DVR capabilities or on-demand services. Make sure that you can access and use these features without any issues.
If you encounter any problems during the testing phase, there are a few troubleshooting steps you can take:
- Double-check all cable connections to ensure they are secure and properly connected.
- Restart both your cable box and your TV by turning them off and unplugging them for a few moments before plugging them back in and turning them on again.
- Consult the user manuals for both your cable box and TV for specific troubleshooting steps or contact the customer support of your cable service provider for assistance.
By testing the cable box connection, you can ensure that you are receiving optimal performance and enjoying uninterrupted access to your favorite shows and channels.
Congratulations! You have successfully set up and tested your cable box connection to your Samsung LED TV. Now you can sit back, relax, and enjoy the wide range of entertainment options available at your fingertips.
Conclusion
Setting up a cable box to your Samsung LED TV can greatly enhance your TV viewing experience by providing access to a multitude of channels and content. By following the step-by-step guide outlined above, you can easily get your cable box up and running in no time.
Starting with gathering the necessary equipment, connecting the cable box to the TV, and powering on both devices, you then accessed the Input menu on the TV to select the appropriate input source. Afterward, you set up the cable box and activated it with your cable service provider. Finally, you tested the cable box connection by checking channel availability, picture quality, audio output, and additional features.
During the setup process, it is essential to consult the user manuals provided with your devices and reach out to customer support if needed. Troubleshooting steps such as double-checking cable connections or restarting devices can help address any issues that may arise.
Once your cable box is successfully connected and tested, you can enjoy a wide range of channels and features, taking your TV entertainment to the next level. Remember to explore the various settings and customization options to personalize your viewing experience.
Now that you are familiar with the process, you can confidently set up your cable box to your Samsung LED TV and immerse yourself in a world of entertainment.