Introduction
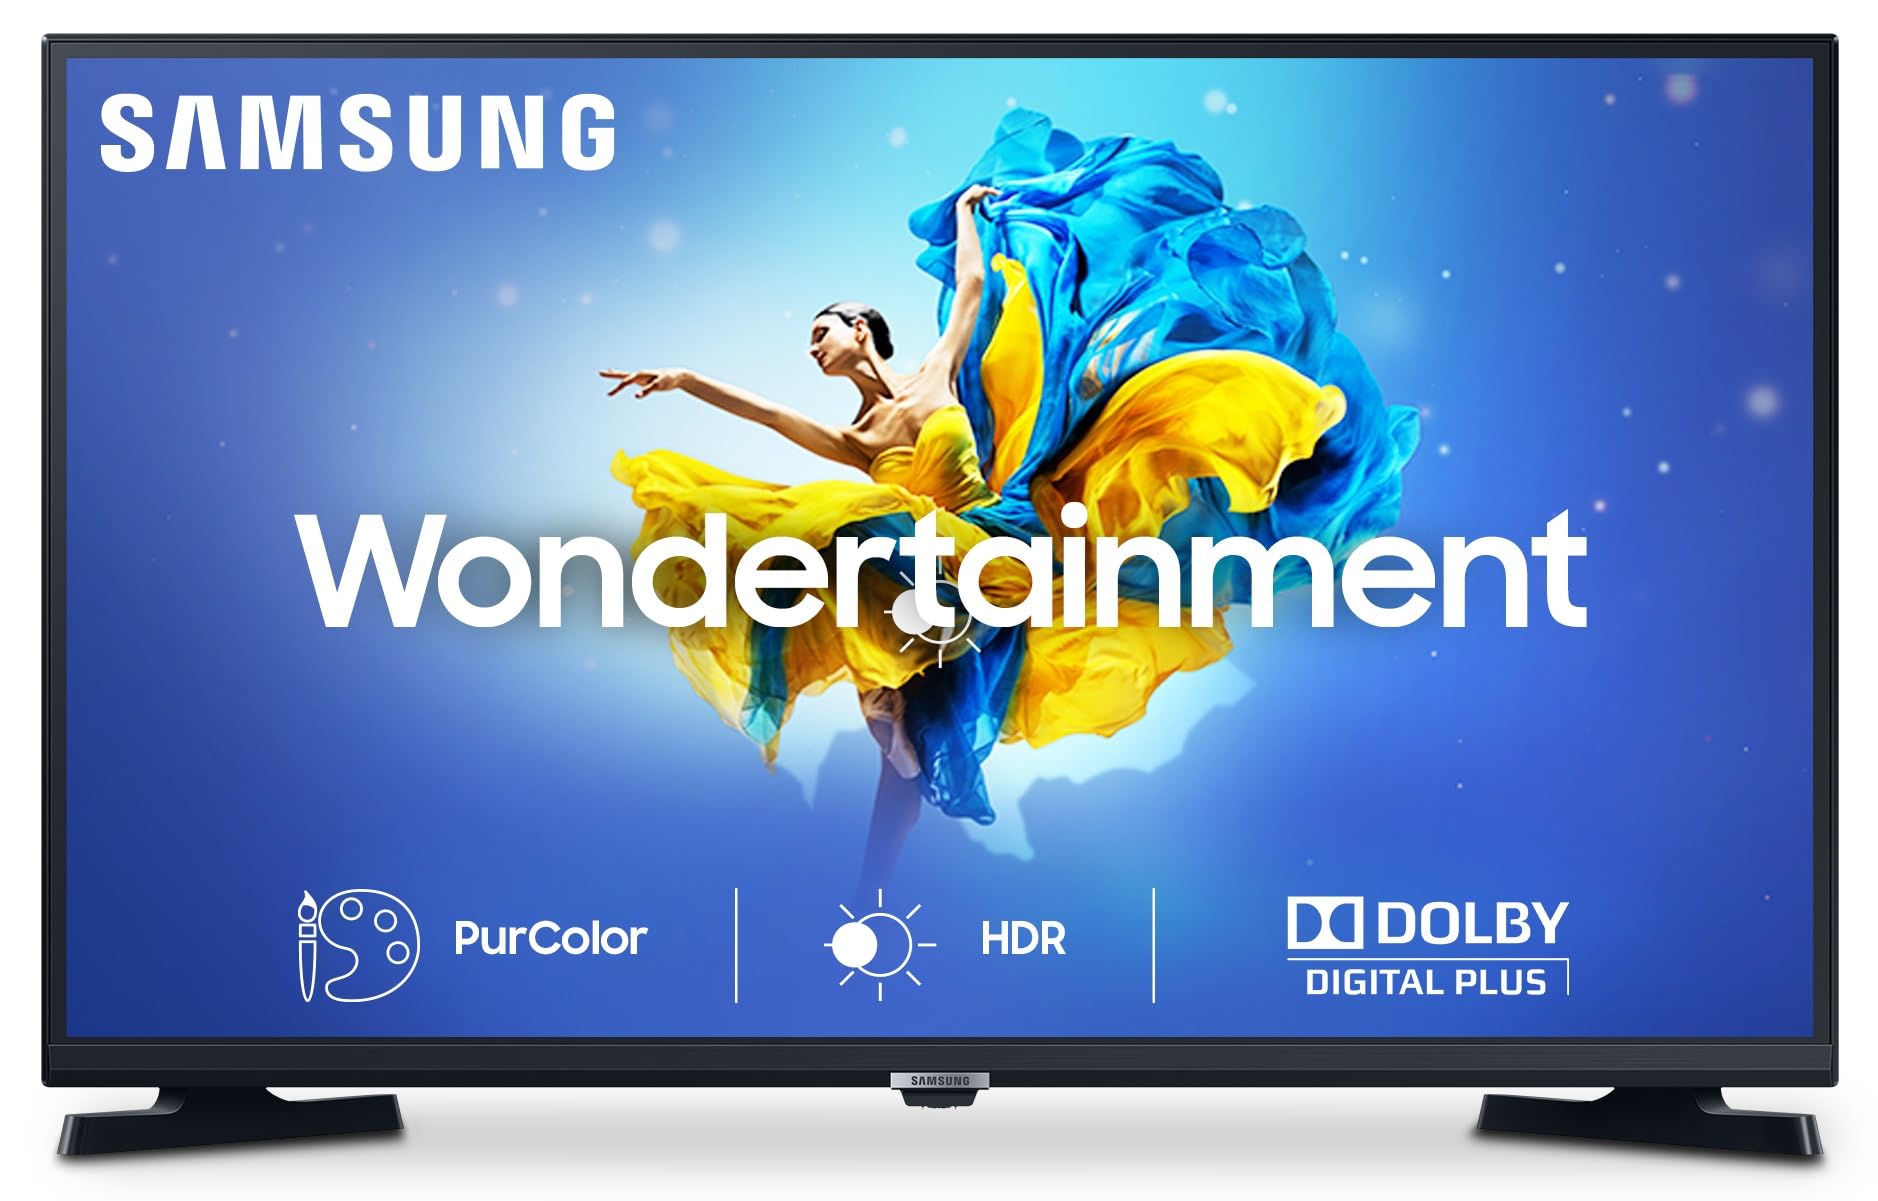
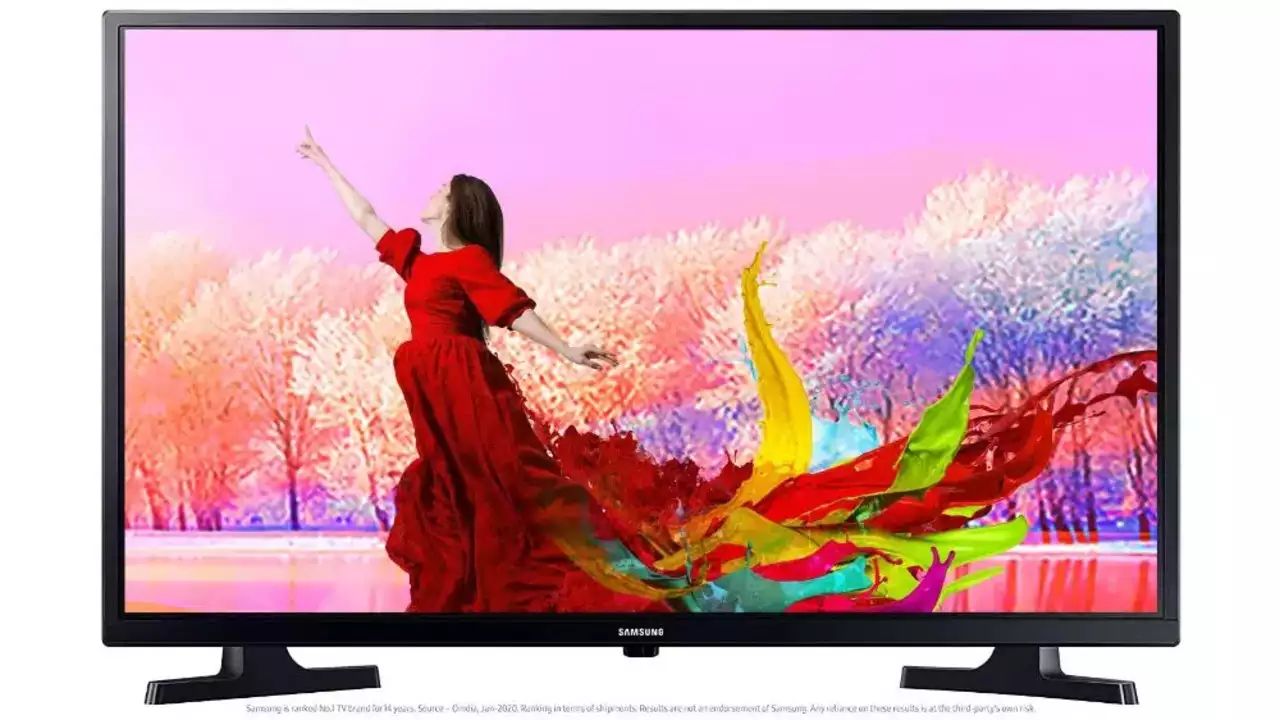
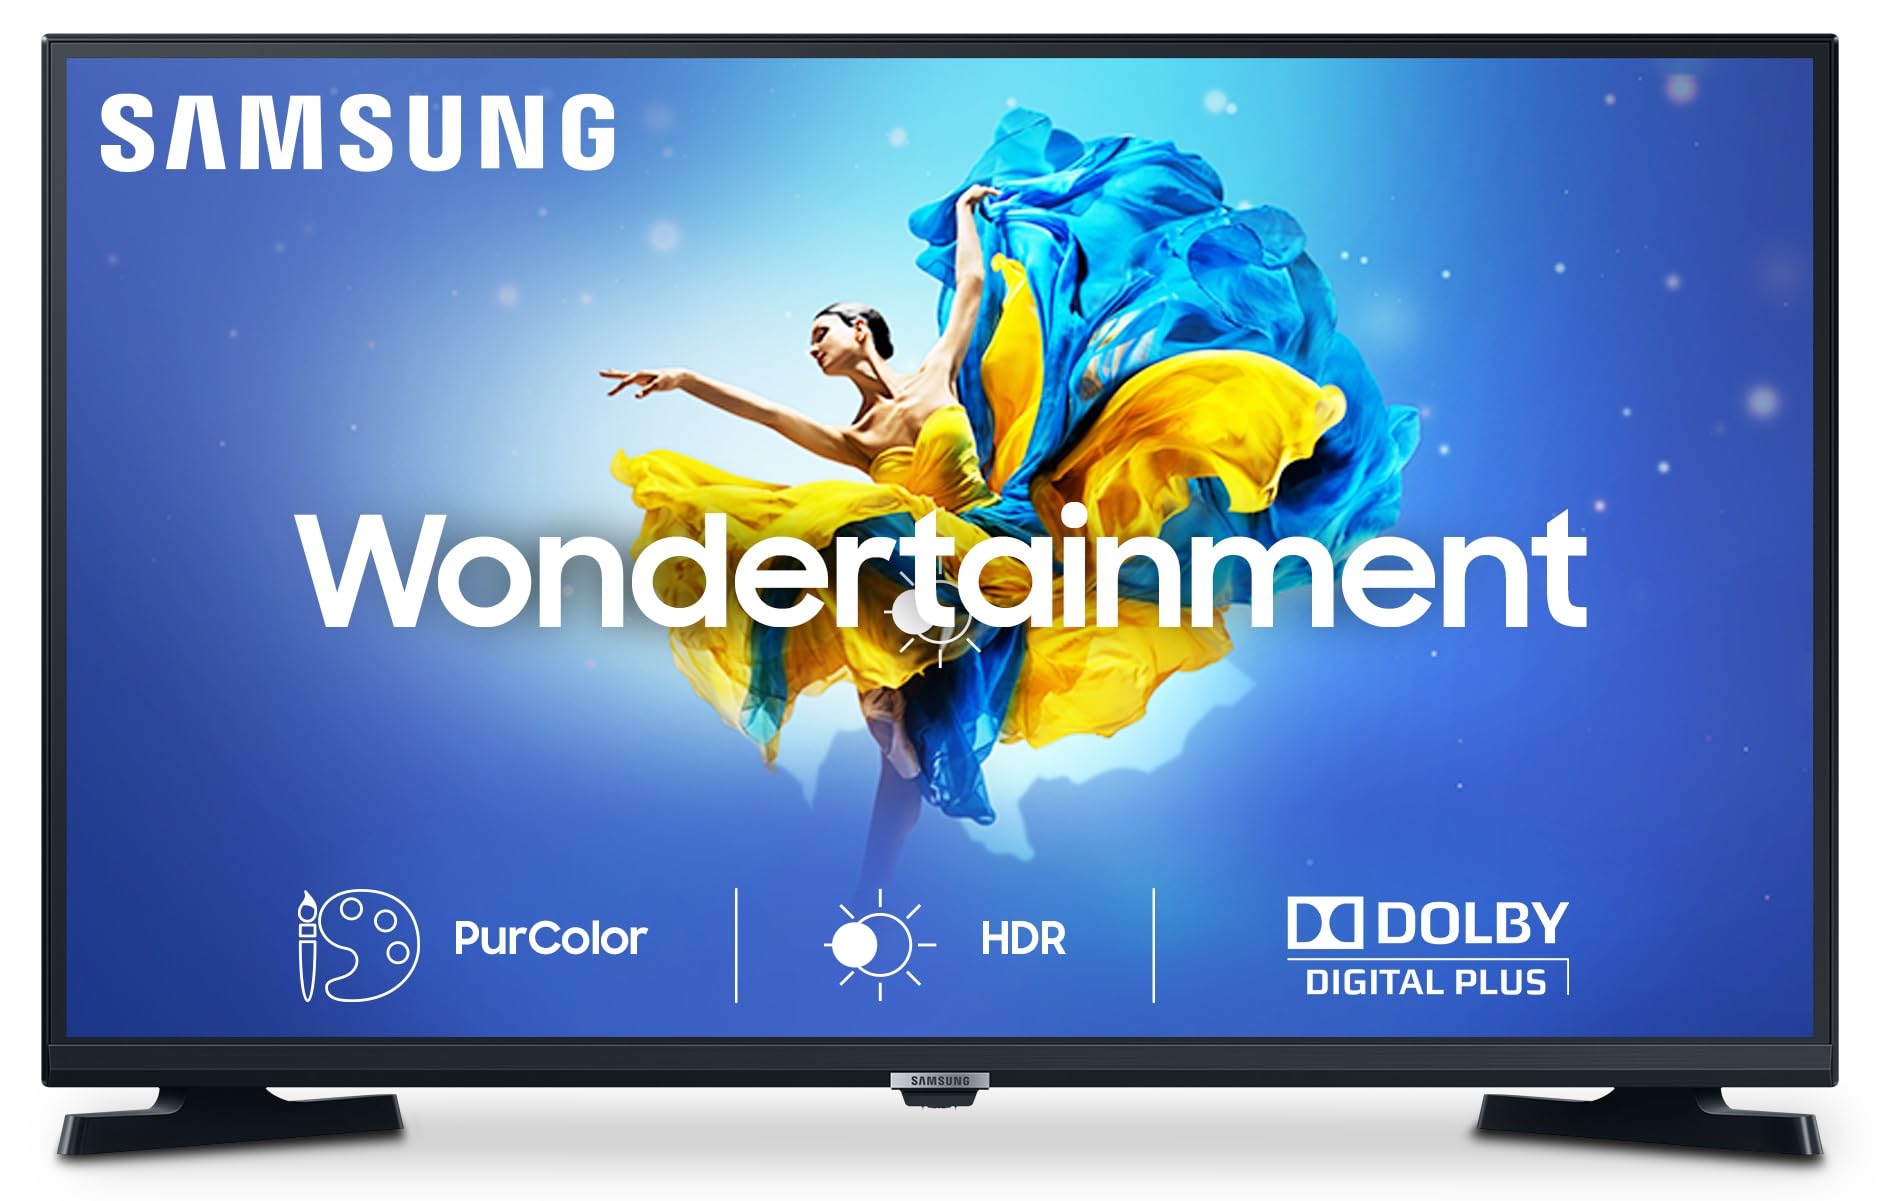
Are you ready to elevate your home entertainment experience? The Samsung LED TV 32 Inch is here to transform how you watch movies, shows, and more. With its stunning display, immersive sound, and sleek design, this TV is a perfect addition to any living room, bedroom, or even office space.
In this article, we will guide you through the setup process for your Samsung LED TV 32 Inch, ensuring that you can start enjoying your favorite content in no time. Whether you’re a tech-savvy enthusiast or a first-time TV owner, this guide is here to make the setup process simple and hassle-free.
From unboxing your TV to connecting external devices and troubleshooting common setup issues, we’ve got you covered. We’ll walk you through step by step, so you can take full advantage of the features and functionalities that this TV has to offer.
Before we dive into the setup process, let’s take a quick look at what’s included in the box. Along with the Samsung LED TV 32 Inch, you’ll find a power cord, remote control, stand, batteries, and user manual. Some models may also include additional accessories, such as a mounting bracket or HDMI cables.
Now that you have a rough idea of what to expect, let’s get started with unboxing and checking the contents. Get ready to embark on an exciting journey to unlock the full potential of your Samsung LED TV 32 Inch!
Unboxing and Checking the Contents
Excitement fills the air as you unbox your brand new Samsung LED TV 32 Inch. Before diving into the setup process, it’s essential to ensure that all the necessary components are included and in pristine condition. Let’s go through the steps of unboxing and checking the contents:
- Remove the TV from its packaging carefully. Make sure to handle it with care to avoid any accidental damage.
- Inspect the TV for any visible signs of damage, such as cracks, dents, or scratches. If you notice any damage, contact customer support immediately.
- Locate the power cord, remote control, stand, batteries, and user manual. These items should be included in the box.
- Check that the power cord is not damaged or frayed. If you find any issues, do not plug in the TV and contact customer support for a replacement.
- Open the battery compartment of the remote control and ensure that the batteries are included and properly inserted. Follow the instructions in the user manual if you need assistance.
- Inspect the stand to ensure that all the necessary parts, such as screws or brackets, are present. Refer to the user manual for details on assembling the stand.
Once you have confirmed that all the required components are present and in good condition, you’re ready to proceed with assembling your Samsung LED TV 32 Inch and preparing it for the setup process. With everything in order, you can now look forward to immersing yourself in a world of breathtaking visuals and captivating audio.
Connecting the Stand and Assembling the TV
Now that you have ensured all the necessary components are in order, it’s time to connect the stand and assemble your Samsung LED TV 32 Inch. Follow these steps carefully:
- Place the TV screen-side down on a soft and clean surface to avoid any damage to the screen.
- Take out the stand and locate the screw holes on the bottom of the TV.
- Align the stand with the screw holes, ensuring it is properly positioned.
- Using the screws provided, fasten the stand securely to the TV.
- Double-check the screws to ensure they are tightened properly, but be careful not to overtighten and damage the TV.
- Once the stand is securely attached, carefully lift the TV upright into its desired position.
- Ensure that the TV is placed on a stable and level surface, free from any obstructions or potential hazards.
With the stand connected and the TV assembled, it’s time to move on to the next step: connecting the power and turning on the TV. Get ready to bring your Samsung LED TV 32 Inch to life and prepare for an immersive viewing experience like no other.
Connecting the Power and Turning on the TV
With the stand securely attached and the TV assembled, it’s time to connect the power and bring your Samsung LED TV 32 Inch to life. Follow these simple steps to get started:
- Locate the power cord that came with your TV.
- Plug one end of the power cord into the designated power input on the back of the TV.
- Plug the other end of the power cord into a wall outlet or surge protector.
- Ensure that the power source is switched on.
- Locate the power button on the TV or the remote control.
- Press the power button to turn on the TV.
- Wait for a few moments as the TV powers up.
- Follow any on-screen prompts or instructions that may appear during the initial setup process.
Once the TV is turned on, you’ll be greeted with the Samsung logo and a setup wizard guiding you through the initial configuration. Congratulations! Your Samsung LED TV 32 Inch is now powered up and ready to be customized according to your preferences.
Before moving on to the next steps, take a moment to familiarize yourself with the remote control and its functions. Explore the buttons and features, as they will come in handy when navigating through menus, adjusting settings, and interacting with your TV.
Now that your Samsung LED TV 32 Inch is up and running, it’s time to move on to the next section: initializing the TV and selecting the language.
Initializing the TV and Selecting Language
After powering on your Samsung LED TV 32 Inch, the first step is to initialize the TV and select your preferred language. Here’s how to get started:
- On the welcome screen, use the arrow buttons on your remote control to navigate to the “Select language” option.
- Press the Enter or OK button to access the language settings.
- Scroll through the available languages using the arrow buttons, and select your preferred language.
- Once you have selected the language, press the Enter or OK button to confirm your selection.
With the language selected, the TV will apply the changes, and you will now see the on-screen text and menus in your preferred language. It is important to choose a language that you are comfortable with, as it will enhance your overall user experience with the TV.
Now that you have initialized the TV and set the language, it’s time to move on to the next step: setting up the network connection.
Note: If you accidentally selected the wrong language or wish to change it at any point, you can access the language settings through the TV’s main menu. Refer to the user manual for detailed instructions on accessing and modifying language settings.
Setting up the Network Connection
Now that you have initialized the TV and selected the language, it’s time to connect your Samsung LED TV 32 Inch to the internet. A network connection will enable you to access a wide range of online content, streaming services, and smart features. Follow these steps to set up the network connection:
- Ensure that your Wi-Fi router is turned on and functioning properly.
- On the TV’s main menu, use the remote control to navigate to the “Settings” or “Network” section.
- Select the “Network Settings” option.
- Choose the option to “Set up a wireless connection” or “Wi-Fi setup.”
- A list of available Wi-Fi networks will appear on the screen. Select your Wi-Fi network from the list.
- If your network is password-protected, enter your Wi-Fi password using the on-screen keyboard.
- After entering the password, select the “Connect” or “Join” option.
- The TV will attempt to establish a connection to your Wi-Fi network. Wait for a few moments as the connection is established.
- Once connected, the TV will display a confirmation message, indicating the successful network setup.
With the network connection successfully set up, your Samsung LED TV 32 Inch is now ready to access a world of online content. You can now stream your favorite shows, browse the internet, and enjoy the full range of smart features this TV has to offer.
It is important to keep in mind that a stable internet connection is crucial for optimal streaming and overall performance. If you experience any connectivity issues, check your router settings, move the TV closer to the router, or consider using a wired connection if possible.
Now that you have successfully set up the network connection, it’s time to move on to the next step: scanning for channels and tuning them to enjoy your favorite TV programs.
Scanning for Channels and Tuning Them
With your Samsung LED TV 32 Inch connected to the internet, it’s time to scan for channels and tune them to ensure that you can enjoy your favorite TV programs. Follow these steps to scan for channels:
- On the TV’s main menu, navigate to the “Settings” or “Channels” section using the remote control.
- Select the “Channel Scan” or “Auto Program” option.
- Choose the type of signal you want to scan for, such as “Antenna” or “Cable.” Select the option that matches your setup.
- Start the scanning process by selecting the “Start” or “Scan” button. The TV will search for available channels and store them in its memory.
- Wait for the scanning process to complete. This may take a few minutes as the TV locates and tunes in to available channels.
- Once the scanning process is finished, the TV will display a list of detected channels.
- Navigate through the list of channels using the arrow buttons on your remote control. Make note of any specific channels that you want to prioritize or remove.
- If required, you can organize or sort the channels based on your preferences using the TV’s channel management options.
By scanning for channels and tuning them, you have ensured that your Samsung LED TV 32 Inch is ready to deliver a wide range of programming options. You can now easily switch between your favorite channels and enjoy a seamless television viewing experience.
If you are using an external set-top box or a cable/satellite receiver, you may need to configure the TV to receive signals from the device connected to it. Refer to the user manual or contact customer support for assistance in this process.
Now that you have scanned and tuned the channels, it’s time to move on to the next step: adjusting picture and sound settings to optimize your viewing experience.
Adjusting Picture and Sound Settings
With your channels scanned and tuned, it’s time to optimize your viewing experience by adjusting the picture and sound settings on your Samsung LED TV 32 Inch. Follow these steps to customize the settings:
- On the TV’s main menu, navigate to the “Settings” or “Picture” section using the remote control.
- Choose the option to adjust the picture settings.
- Depending on your preference, you can modify settings such as brightness, contrast, color, sharpness, and backlight. Experiment with these settings to find the optimal balance for your viewing environment.
- Consider enabling features like “Motion Smoothing” or “Image Enhancement” for smoother motion and enhanced picture quality.
- If available, explore the advanced picture settings, such as gamma control or color temperature, for further refinement.
- Once you are satisfied with the picture settings, navigate to the “Settings” or “Audio” section on the TV’s main menu.
- Choose the option to adjust the sound settings.
- Modify settings such as volume, equalizer, and balance to suit your audio preferences.
- Explore additional sound features like “Virtual Surround” or “Dolby Audio” to enhance your audio experience.
- Take advantage of any preset audio modes, such as “Movie,” “Music,” or “Sports,” to optimize the sound for specific content types.
By adjusting the picture and sound settings, you can enhance your viewing experience and tailor it to your personal preferences. Play around with the settings until you achieve the desired visual and audio quality.
Keep in mind that optimal picture and sound settings may vary depending on factors such as lighting conditions in your room and personal preference. Feel free to revisit and fine-tune these settings whenever necessary.
Now that you have adjusted the picture and sound settings, it’s time to move on to the next step: configuring additional settings such as time, language, and other preferences.
Configuring Additional Settings (Time, Language, etc.)
With the picture and sound settings adjusted, it’s time to configure additional settings on your Samsung LED TV 32 Inch. These settings include options like time, language, and other preferences. Follow these steps to customize the additional settings:
- On the TV’s main menu, navigate to the “Settings” section using the remote control.
- Locate the “Time” or “Date & Time” option.
- Select the option to set the current time and date. Use the arrow buttons or numeric keypad on the remote control to enter the correct values.
- If available, choose the time zone that matches your location for accurate time display.
- Navigate to the “Language” option on the TV’s settings menu.
- Select your preferred language from the list of available options.
- Explore other preferences and settings, such as display timeout, sleep timer, or parental controls, and configure them according to your needs.
- Take some time to familiarize yourself with the different settings and their functionalities. You can always refer to the user manual for detailed explanations.
By configuring these additional settings, you ensure that your Samsung LED TV 32 Inch is personalized to your preferences and tailored to your specific needs. The accurate time, chosen language, and other settings will enhance your overall user experience with the TV.
Remember to periodically review and update these settings as needed, especially when changing time zones or if your language preferences change.
Now that you have configured the additional settings, it’s time to move on to the next step: connecting external devices such as a game console or Blu-ray player to your TV.
Connecting External Devices (Game Console, Blu-ray Player, etc.)
One of the great benefits of the Samsung LED TV 32 Inch is its ability to connect to external devices, such as a game console, Blu-ray player, or streaming device. Follow these steps to connect your external devices to the TV:
- Identify the available input ports on the back or side of the TV. Common input ports include HDMI, USB, and component ports.
- Locate the corresponding output ports on your external device. For example, if you’re connecting a game console, find the HDMI output port on the console.
- Using an appropriate cable, connect the output port of your external device to the corresponding input port on the TV.
- Ensure that the connections are secure and firmly in place.
- If you’re connecting multiple devices, repeat the process for each device, using available input ports.
- Once all devices are connected, power on each device individually.
- Use the TV’s remote control to navigate to the “Source” or “Input” button, and select the appropriate input source for the connected external device.
- You should now see the content from your external device displayed on the TV screen.
- If needed, refer to the user manual for specific instructions on adjusting settings or configuring the connected external devices.
By connecting external devices to your Samsung LED TV 32 Inch, you can expand your entertainment options and enjoy a wide range of content. Whether you’re gaming, watching movies, or streaming your favorite shows, the connected devices will enhance your overall viewing experience.
Remember to switch the input source on the TV whenever you want to use a different connected device. This allows you to seamlessly transition between different content sources without the need to constantly reconnect cables.
Now that you have successfully connected your external devices, you’re ready to enjoy an immersive and versatile viewing experience with your Samsung LED TV 32 Inch.
Troubleshooting Common Setup Issues
While setting up your Samsung LED TV 32 Inch, you may encounter some common issues. Don’t worry, most of these can be easily resolved with a few simple troubleshooting steps. Here are some common setup issues and their solutions:
No power: If your TV does not turn on after connecting the power cord, ensure that it is securely plugged into a functioning power outlet. Double-check the power source and try a different outlet if necessary. If the issue persists, contact customer support for further assistance.
Weak or no Wi-Fi signal: If you are experiencing Wi-Fi connectivity issues, make sure that your TV is within range of your Wi-Fi router. Ensure that the Wi-Fi password entered during setup is correct. Consider moving the TV closer to the router or using a Wi-Fi range extender if the signal strength is still weak.
No audio or distorted sound: If you’re not hearing any audio or experiencing distorted sound, check the volume settings on both the TV and the connected external devices. Ensure that the audio cables are securely connected to the correct ports. Make sure the mute function is not enabled. Consider adjusting the sound settings and equalizer settings on the TV to improve the audio quality.
No signal or poor picture quality: If you have connected external devices and are not getting a signal or experiencing poor picture quality, ensure that all cables are securely connected and in good condition. Check that the correct input source is selected on the TV. Consider checking the resolution settings on both the TV and the external device to ensure they are compatible.
Remote control not working: If your remote control is unresponsive, make sure the batteries are properly inserted and not depleted. Check for any obstructions between the remote control and the TV’s sensor. Consider replacing the batteries if they are old or low on charge. If the issue persists, try re-pairing the remote control with the TV according to the instructions in the user manual.
If you encounter any other setup issues or problems, consult the user manual for troubleshooting tips, or contact Samsung’s customer support for assistance. They will be able to guide you through specific issues and offer solutions tailored to your TV model.
By troubleshooting common setup issues, you can ensure a smooth and successful setup process for your Samsung LED TV 32 Inch, allowing you to fully enjoy all the exceptional features and entertainment options it offers.
Conclusion
Congratulations! You have successfully set up your Samsung LED TV 32 Inch and are now ready to embark on an immersive and captivating viewing experience. From unboxing and checking the contents to connecting external devices and troubleshooting common setup issues, you have followed the steps to ensure a seamless and hassle-free setup process.
By carefully assembling the TV, connecting the power, and turning it on, you have brought your Samsung LED TV 32 Inch to life. Through initializing the TV, selecting the language, and setting up the network connection, you have personalized the TV to your preferences and connected it to the vast world of online content.
By scanning for channels, tuning them, and adjusting picture and sound settings, you have optimized your viewing experience to achieve the best possible audiovisual quality. Configuring additional settings such as time, language, and other preferences has further enhanced your user experience with the TV.
Finally, by connecting external devices such as a game console or Blu-ray player, you have expanded your entertainment options and opened up new possibilities for enjoying a wide range of content.
Throughout this setup process, we discussed common troubleshooting steps for addressing any potential issues that may arise. By following these troubleshooting tips, you can overcome obstacles and ensure a smooth and successful setup.
Now that your Samsung LED TV 32 Inch is fully set up and customized to your liking, it’s time to sit back, relax, and enjoy your favorite shows, movies, games, and more. Explore the various features, experiment with different settings, and immerse yourself in the world of entertainment that this TV has to offer.
Remember to refer to the user manual for further instructions and guidance on specific features and functionalities. Should you encounter any difficulties along the way, don’t hesitate to reach out to Samsung’s customer support for assistance.
Once again, congratulations on your new Samsung LED TV 32 Inch. Enjoy the extraordinary viewing experience it provides!


