Introduction
Wall mounting a Samsung LED TV not only saves space but also enhances the viewing experience by providing a sleek and uncluttered look to your living space. However, the process of wall mounting may seem daunting if you’re not familiar with the necessary steps and materials required.
In this guide, we will walk you through the process of wall mounting your Samsung LED TV, from gathering the tools and materials to securing the TV onto the wall mount. By following these steps, you’ll be able to enjoy your favorite shows and movies on a beautifully wall-mounted Samsung LED TV.
Before we dive into the details, it’s important to note that wall mounting a TV should be done with precision and care to ensure the safety of both the TV and the people around it. If you’re unsure about any step along the way, it’s always recommended to consult a professional.
Now, let’s get started with the first step: gathering the tools and materials.
Step 1: Gather the Tools and Materials
Before you begin the process of wall mounting your Samsung LED TV, it’s crucial to ensure you have all the necessary tools and materials at hand. This will help you proceed smoothly without any interruptions or delays.
Here’s a list of essential tools and materials you will need:
- Wall mount kit: Choose a wall mount that is compatible with the size and weight of your Samsung LED TV. Look for a sturdy and adjustable wall mount that offers secure positioning and flexibility.
- Stud finder: This tool will help you locate the studs in your wall to ensure a secure mounting. Studs are the vertical wooden frames behind the drywall that provide structural support.
- Level: A level is used to ensure that the wall mount and TV are perfectly aligned and straight.
- Tape measure: You will need a tape measure to determine the precise measurements for mounting the TV and positioning the wall mount.
- Pencil or marker: These will be used to mark the position of the wall mount and any other measurements on the wall.
- Drill and drill bits: A drill is needed to make holes in the wall for mounting the wall bracket. Make sure to choose the appropriate drill bits for your wall type.
- Screwdriver or wrench: You will need a screwdriver or wrench to secure the wall mount and make any necessary adjustments.
- HDMI or AV cables: Prepare the necessary cables for connecting your TV to other devices, such as cable or satellite boxes, gaming consoles, or sound systems.
- Cable management kit (optional): If you want to keep the cables organized and hidden, consider purchasing a cable management kit.
Once you have gathered all the tools and materials listed above, you’re ready to move on to the next step: choosing the right wall mount for your Samsung LED TV.
Step 2: Choose the Right Wall Mount
Choosing the right wall mount for your Samsung LED TV is crucial for a secure and successful installation. There are several types of wall mounts available in the market, each designed to accommodate different TV sizes, weights, and wall types. Here’s what you need to consider when selecting a wall mount:
- TV compatibility: Ensure that the wall mount is compatible with your specific Samsung LED TV model. Manufacturers often provide recommended wall mounts for their TVs, so check the specifications or consult the user manual.
- TV size and weight: Look for a wall mount that can support the size and weight of your TV. The packaging or product description should indicate the compatible TV sizes and weight limits.
- Wall type: Consider the type of wall you’ll be mounting the TV on. Common wall types include drywall, concrete, or brick. Different wall mounts are designed for specific wall types, so choose one that suits your wall material.
- Motion options: Determine if you want your TV to have a fixed position or if you prefer a wall mount with swivel, tilt, or articulating arms for adjustable viewing angles. Keep in mind that wall mounts with more flexibility may be pricier.
- Installation complexity: Take into account your DIY skills and the level of complexity you’re comfortable with. Some wall mounts may require more technical expertise for installation, while others are designed for easy setup.
- Reviews and ratings: Read customer reviews and ratings for the wall mounts you’re considering. This will give you insights into the quality, durability, and ease of installation of different brands and models.
Once you have considered these factors, you can make an informed decision and purchase the right wall mount for your Samsung LED TV. Remember to carefully read the installation instructions provided by the manufacturer before proceeding to the next step: locating studs and marking the position on the wall.
Step 3: Locate Studs and Mark the Position
Locating studs in your wall is essential for a secure installation of the wall mount. Studs are the vertical wooden frames behind the drywall that provide structural support. Here’s how you can locate studs and mark the position for mounting your Samsung LED TV:
- Use a stud finder: Start by using a stud finder to identify the location of the studs in the wall. Move the stud finder along the wall slowly and carefully, following the manufacturer’s instructions. The tool will emit a beep or indicate visually when it detects a stud.
- Mark the stud locations: Once you’ve located the studs, mark their positions on the wall using a pencil or marker. Make vertical marks that are visible and clear. It’s important to mark both the left and right side of each stud to ensure accuracy.
- Determine the mounting location: Decide on the height and position where you want to mount your Samsung LED TV. Consider factors such as viewing angle, seating arrangement, and the overall aesthetics of the room. Measure and mark the desired location on the wall based on your preferences.
- Double-check measurements and level: Before proceeding, double-check the measurements and use a level to ensure the marks are straight and aligned. This will help you achieve a visually pleasing and professionally mounted TV.
Keep in mind that studs are typically spaced around 16 inches apart, although this can vary. If you’re unsure about the stud locations or have difficulty finding them, it’s advisable to consult a professional or consider using alternative mounting options that don’t require studs, such as a hollow wall anchor.
With the studs located and the TV mounting position marked, you’re now ready to move on to the next step: preparing the TV for wall mounting.
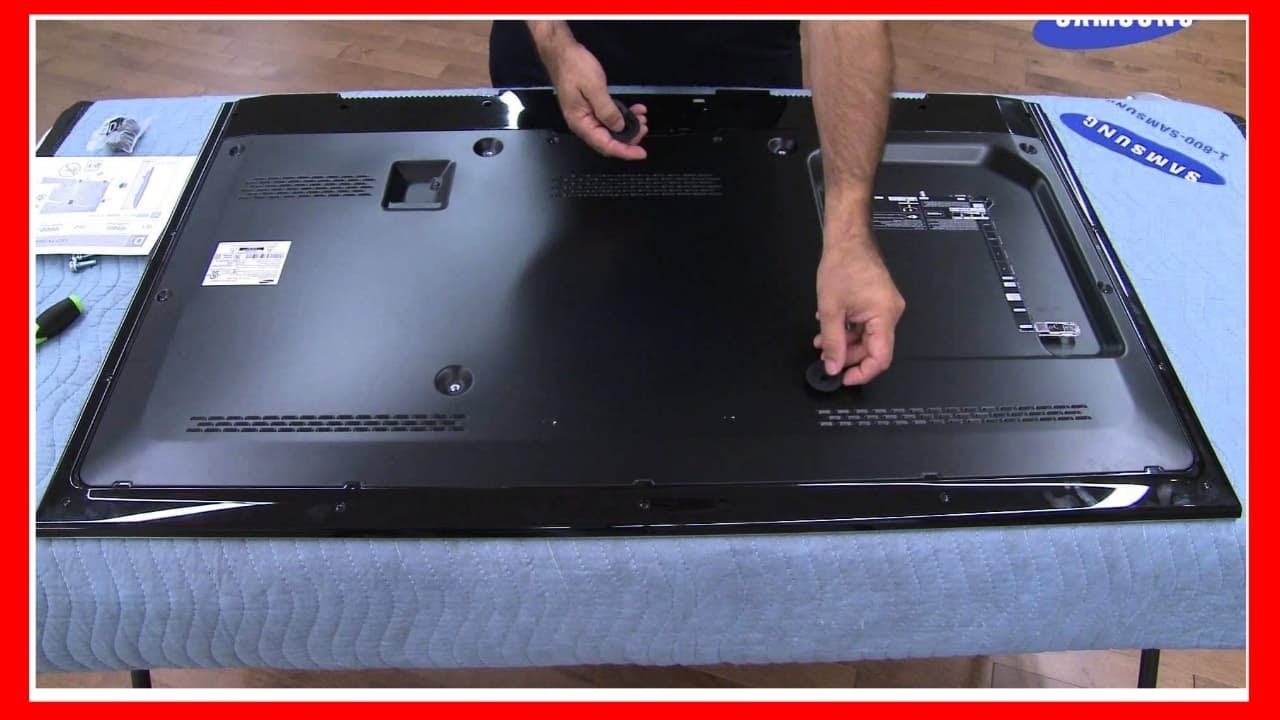
Step 4: Preparing the TV
Before you can mount your Samsung LED TV on the wall, it’s important to properly prepare the TV itself. This involves removing any existing stands or brackets and making sure the TV is ready for wall mounting. Here’s how you can prepare your TV:
- Power off the TV: Make sure the TV is powered off and unplugged from the electrical outlet. This will prevent any accidents while handling the TV during the preparation process.
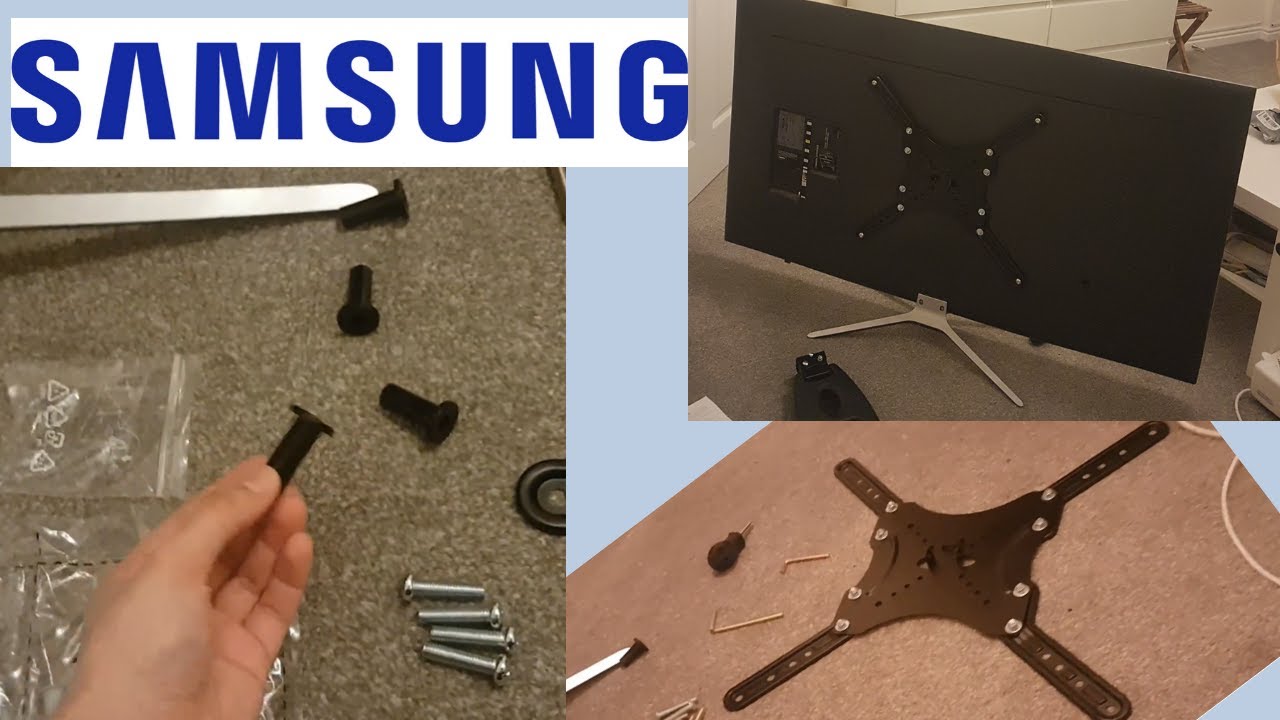
- Remove the stands or brackets: If your Samsung LED TV has a tabletop stand or existing wall brackets, you will need to remove them. Refer to the TV’s user manual for specific instructions on how to detach the stands or brackets safely.
- Inspect the TV for any damages: Take a moment to inspect the TV for any visible damages, cracks, or issues. If you notice any problems, it’s advisable to contact Samsung customer support for assistance before proceeding with the wall mounting process.
- Check the VESA compatibility: VESA (Video Electronics Standards Association) is a standardized measurement used for TV wall mount configurations. Check the TV’s user manual or specifications to determine the VESA pattern of your Samsung LED TV. This information will help you select the appropriate wall mount that matches the VESA pattern.
- Secure any loose cables: Make sure to secure any loose cables at the back of the TV. Use cable ties or clips to neatly organize and fasten the cables together. This will help prevent any cables from dangling or getting in the way during the wall mounting process.
By properly preparing your Samsung LED TV, you ensure that it is ready for a secure and hassle-free wall mounting. Now that the TV is prepped, it’s time to move on to the next step: the wall mount installation process.
Step 5: Wall Mount Installation
Now that your Samsung LED TV is prepared, it’s time to install the wall mount. Follow these steps for a successful wall mount installation:
- Position the wall mount: Hold the wall mount against the wall, aligning it with the marked position. Use a level to ensure that the mount is straight and balanced. Adjust the position if needed and mark the screw hole locations using a pencil or marker.
- Drill pilot holes: With the screw hole locations marked on the wall, use a drill and the appropriate drill bit to make pilot holes. Pilot holes help guide the screws into the wall and prevent any damage or splitting.
- Attach the wall mount: Line up the wall mount with the pilot holes and use screws or bolts to secure it to the wall. Make sure the wall mount is firmly attached and level. Double-check the alignment with a level before moving on to the next step.
- Attach brackets to the TV: Depending on the specific wall mount and TV model, you may need to attach brackets to the back of the TV. Refer to the wall mount and TV instructions for the correct bracket installation process.
- Secure the TV to the wall mount: With the brackets attached to the TV, carefully lift the Samsung LED TV and guide the brackets onto the wall mount. Ensure that the TV is securely mounted onto the wall mount and properly aligned.
- Adjust the tilt or swivel (if applicable): If your wall mount allows for tilt or swivel adjustments, take the time to adjust the TV to the desired viewing angle. Follow the instructions provided with the wall mount to make any necessary adjustments.
Throughout the installation process, it’s crucial to prioritize safety. If at any point you feel unsure or uncomfortable, it’s recommended to seek professional assistance. Once the wall mount is securely installed and the TV is properly mounted, it’s time to move on to the next step: securing the TV onto the wall mount.
Step 6: Secure the TV onto the Wall Mount
With the wall mount properly installed, it’s time to secure your Samsung LED TV onto the wall mount. This step is crucial for ensuring the TV is stable and remains securely attached to the wall. Follow these guidelines to securely mount your TV:
- Double-check the mounting hooks: Ensure that the TV’s mounting hooks are securely locked onto the wall mount brackets. Give the TV a gentle shake to confirm that it is firmly attached and doesn’t wobble or shift.
- Tighten the locking screws: Use the provided screws or locking mechanisms to secure the TV onto the wall mount. Carefully follow the instructions provided with the wall mount to properly tighten the screws or lock the TV in place.
- Test the stability: Once the TV is secured, gently test the stability by giving it a slight push or jolt to ensure it remains in place. If the TV feels loose or unstable, review the installation steps and make any necessary adjustments.
- Recheck the alignment: Take a step back and visually assess the TV’s alignment and position. Use a level to ensure that the TV is straight and properly aligned with the wall mount.
Ensuring the TV is securely mounted onto the wall mount is vital for both the safety of the TV and the people in the surroundings. Always adhere to the manufacturer’s instructions and recommendations for securing the TV onto the wall mount.
With the TV securely mounted, you’re almost done! Now it’s time to move on to the next step: connecting the necessary cables and setting up the TV.
Step 7: Connect Cables and Set up the TV
With your Samsung LED TV securely mounted on the wall, it’s time to connect the necessary cables and complete the setup process. Follow these steps to ensure a smooth and hassle-free setup:
- Position the TV inputs: Locate the input panel on your Samsung LED TV. It’s usually located on the back or side of the TV. Position the TV in such a way that it allows easy access to the input ports.
- Connect the power cable: Plug the power cable into the TV and the electrical outlet. Make sure the connection is secure. Avoid using excessive force while inserting the cable to prevent any damage to the port.
- Connect the HDMI or AV cables: Depending on your devices and preferences, connect the HDMI or AV cables to the corresponding ports on the TV. Use high-quality cables for the best audio and video performance.
- Connect additional devices: If you have other devices, such as a cable or satellite box, gaming console, or sound system, connect them to the TV using their respective cables. Ensure that each device is properly connected and powered on.
- Power on the TV: Press the power button on the TV or use the remote control to turn on the TV. Wait for it to boot up and display the home screen or setup wizard.
- Follow the on-screen prompts: Depending on your Samsung LED TV model, you may be prompted to go through an initial setup process. Follow the on-screen instructions to complete the initial configuration, including language selection, internet connection setup, and channel scanning.
- Adjust the picture and sound settings: Once the TV is set up, navigate through the settings menu to adjust the picture and sound settings according to your preferences. This can include adjusting brightness, contrast, and audio settings.
Once you have successfully connected the necessary cables and set up the TV, you’re ready to enjoy your favorite shows, movies, and games on your newly wall-mounted Samsung LED TV. Make sure to organize and manage the cables with a cable management kit if desired, for a clean and tidy setup.
Now that your TV is all set up, it’s time for the final step: fine-tuning and making any necessary adjustments.
Step 8: Fine-tuning and Adjustments
After completing the initial setup of your Samsung LED TV, it’s important to fine-tune and make any necessary adjustments to optimize your viewing experience. Follow these steps to ensure that your TV is calibrated and adjusted to your preferences:
- Calibrate picture settings: Use the TV’s menu to access the picture settings. Adjust the brightness, contrast, color temperature, and other settings to achieve the desired picture quality. You can refer to the TV’s user manual or search online for recommended picture settings specific to your TV model.
- Adjust audio settings: Navigate to the audio settings menu and customize the sound settings according to your preferences. Adjust volume levels, equalizer settings, and any available audio enhancements to enhance your audio experience.
- Enable motion and image enhancements (optional): Some Samsung LED TVs offer additional features to enhance the motion and image quality, such as motion smoothing or image upscaling. Determine if these features improve your viewing experience and enable them if desired.
- Consider ambient lighting: Take into account the lighting conditions in your viewing area. If there are bright lights or sunlight that may affect your TV’s display, you might need to adjust the TV’s brightness or consider using curtains or blinds to control the lighting.
- Test different viewing angles: Sit in different positions and angles within the room to test the visibility and viewing experience. Ensure that the TV is mounted at an appropriate height and angle that provides a comfortable and clear view from different spots in the room.
- Revisit cable management: Review the cable management setup and ensure that the cables are neatly organized and hidden if desired. Adjust or secure any loose cables to maintain a clean and clutter-free look.
By fine-tuning and making necessary adjustments, you can enhance the performance and quality of your Samsung LED TV. These adjustments may differ depending on personal preferences and viewing conditions, so take the time to experiment and find the settings that work best for you.
With the final adjustments complete, you can now sit back, relax, and enjoy your wall-mounted Samsung LED TV to its fullest potential!
Conclusion
Wall mounting your Samsung LED TV is a great way to save space and enhance your viewing experience. By following the step-by-step guide provided in this article, you can successfully mount your TV on the wall while ensuring its safety and stability.
Throughout the process, it’s important to gather the necessary tools and materials, choose the right wall mount, locate studs, prepare the TV, install the wall mount securely, and connect cables properly. Fine-tuning and making necessary adjustments will further optimize your viewing experience.
Remember to prioritize safety at all times. If you feel unsure about any step or lack the expertise, it’s advisable to consult a professional to ensure the installation is done correctly.
Once your Samsung LED TV is mounted on the wall, you can enjoy the benefits of a sleek and uncluttered living space while immersing yourself in your favorite shows, movies, and games. The wall mount allows for flexibility in positioning and provides an enhanced viewing angle for everyone in the room.
Take the time to fine-tune and adjust the picture and audio settings to match your preferences and optimize your viewing experience. Keep in mind the lighting conditions in your room and adjust the TV’s brightness accordingly for the best visibility.
By following these steps and taking the necessary precautions, you can successfully wall mount your Samsung LED TV and create a stunning entertainment setup in your home.
Now, it’s time to sit back, relax, and enjoy your wall-mounted Samsung LED TV to the fullest!