Introduction
Sending photos through email can be a convenient way to share multiple images with your friends, family, or colleagues. Whether it’s a collection of vacation snapshots or important event photos, email allows you to easily send them all at once.
In this article, we will guide you through the process of sending multiple photos by email. We will provide step-by-step instructions on how to compress the photos, attach them to the email, and send them off to the recipient. By following these simple steps, you can ensure that your photos are delivered efficiently and without any loss in quality.
Before we dive into the process, it’s important to note that the methods outlined in this article are applicable to most email clients and platforms. However, the exact steps and options may vary slightly depending on the specific email client you are using. Keep this in mind as you follow along, and feel free to adapt the instructions to suit your specific email client’s interface.
Now, let’s get started on sending those multiple photos via email!
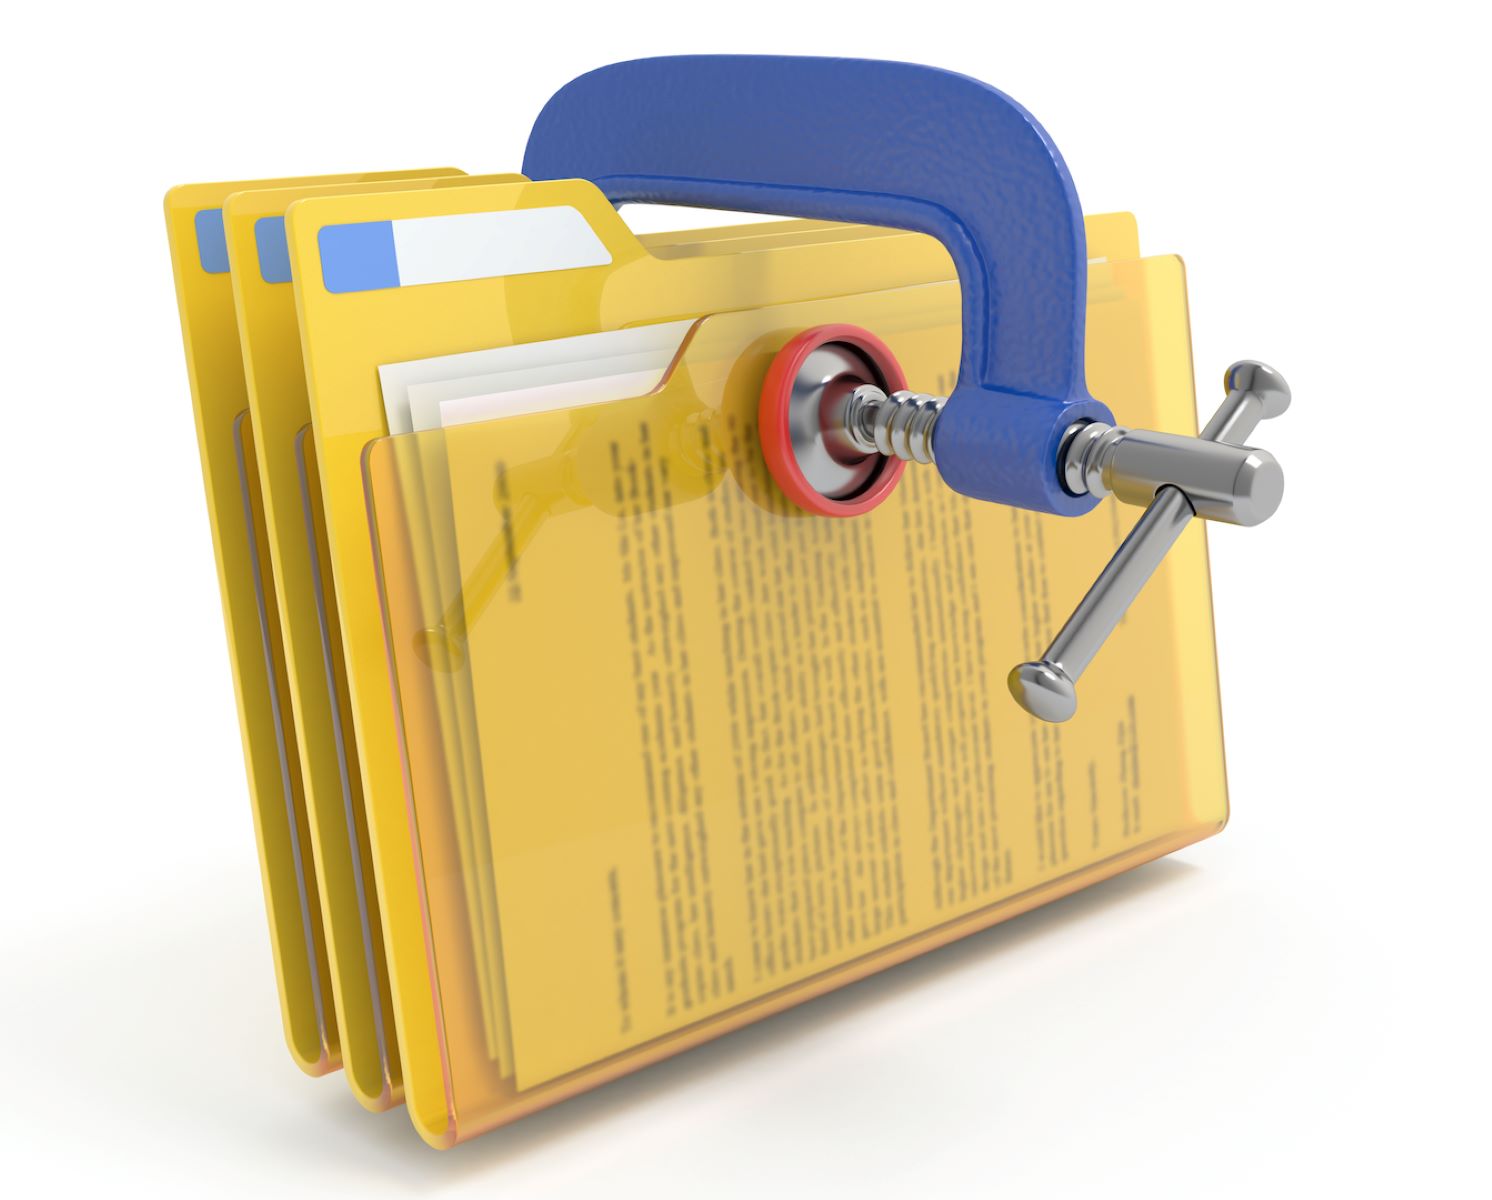
Step 1: Compressing the Photos
Before attaching multiple photos to an email, it’s essential to compress them to reduce their file size. This not only helps to save storage space but also ensures that the recipient can easily download and open the email without any issues.
To compress photos, you can use various methods depending on your operating system and personal preference. Here are a few popular options:
- Using built-in compression tools: Many operating systems, such as Windows and macOS, offer built-in tools to compress photos. On Windows, you can right-click on a photo, select “Send to,” and choose “Compressed (zipped) folder.” On macOS, you can control-click on a photo, select “Compress,” and a .zip file will be created.
- Using photo editing software: If you have photo editing software like Adobe Photoshop or GIMP, you can manually resize and save the photos in a compressed format, such as JPEG. Most photo editing software also allows you to adjust the quality settings to strike a balance between file size and image quality.
- Using online compression tools: There are various online services available that allow you to upload and compress your photos. These tools often offer more advanced options for resizing and compressing your images. Some popular online compression tools include TinyPNG, CompressJPEG, and ImageOptim.
Once you have compressed your photos, make sure to organize them in a folder for ease of attachment in the next step. This step ensures that you have smaller file sizes, making it quicker and smoother to attach multiple photos to your email.
With your photos compressed and ready, you’re now prepared to move onto the next step of attaching them to your email.
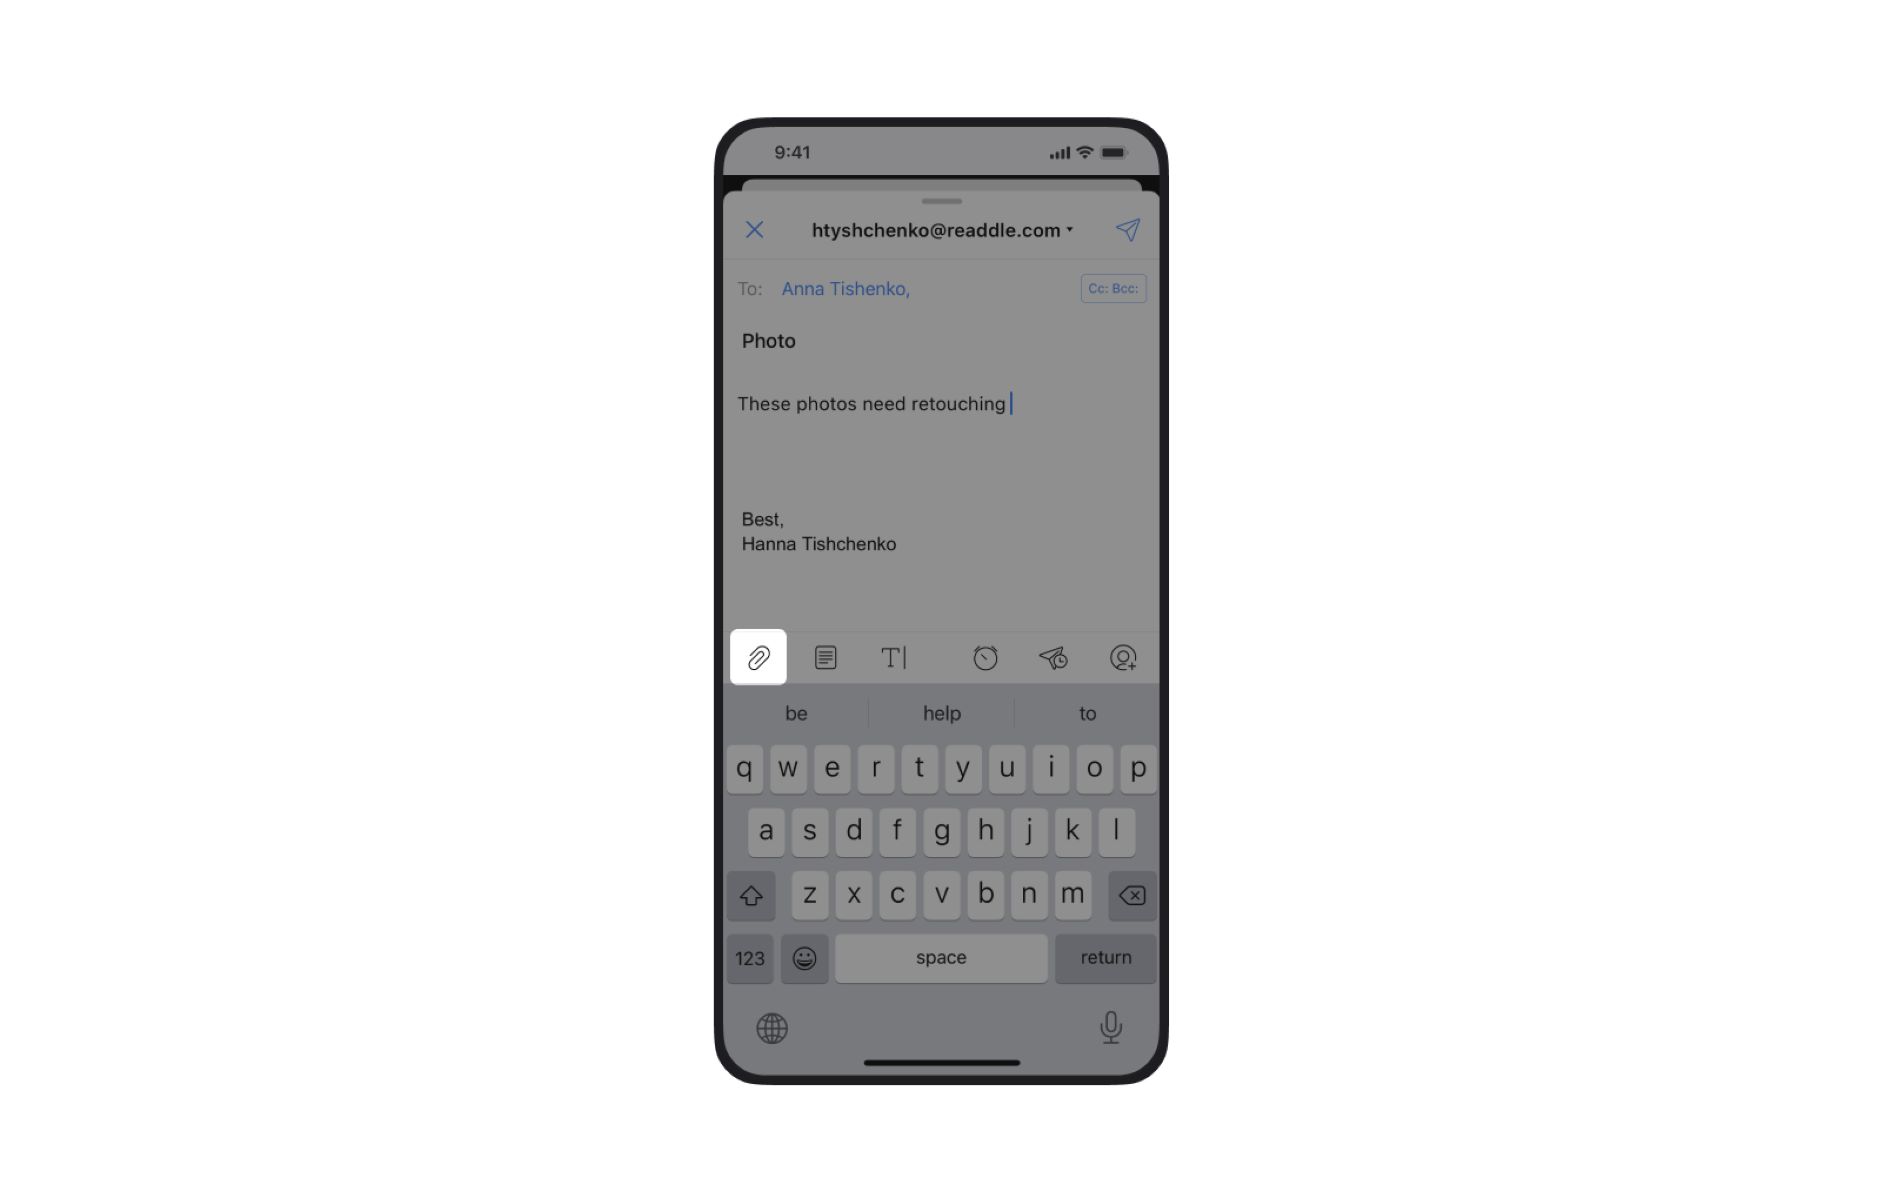
Step 2: Attaching the Compressed Photos
Now that you have compressed your photos, it’s time to attach them to your email. The process may vary slightly depending on the email client or service you are using, but the general steps remain the same:
- Open your email compose window: Start by opening a new email or replying to an existing email to compose your message.
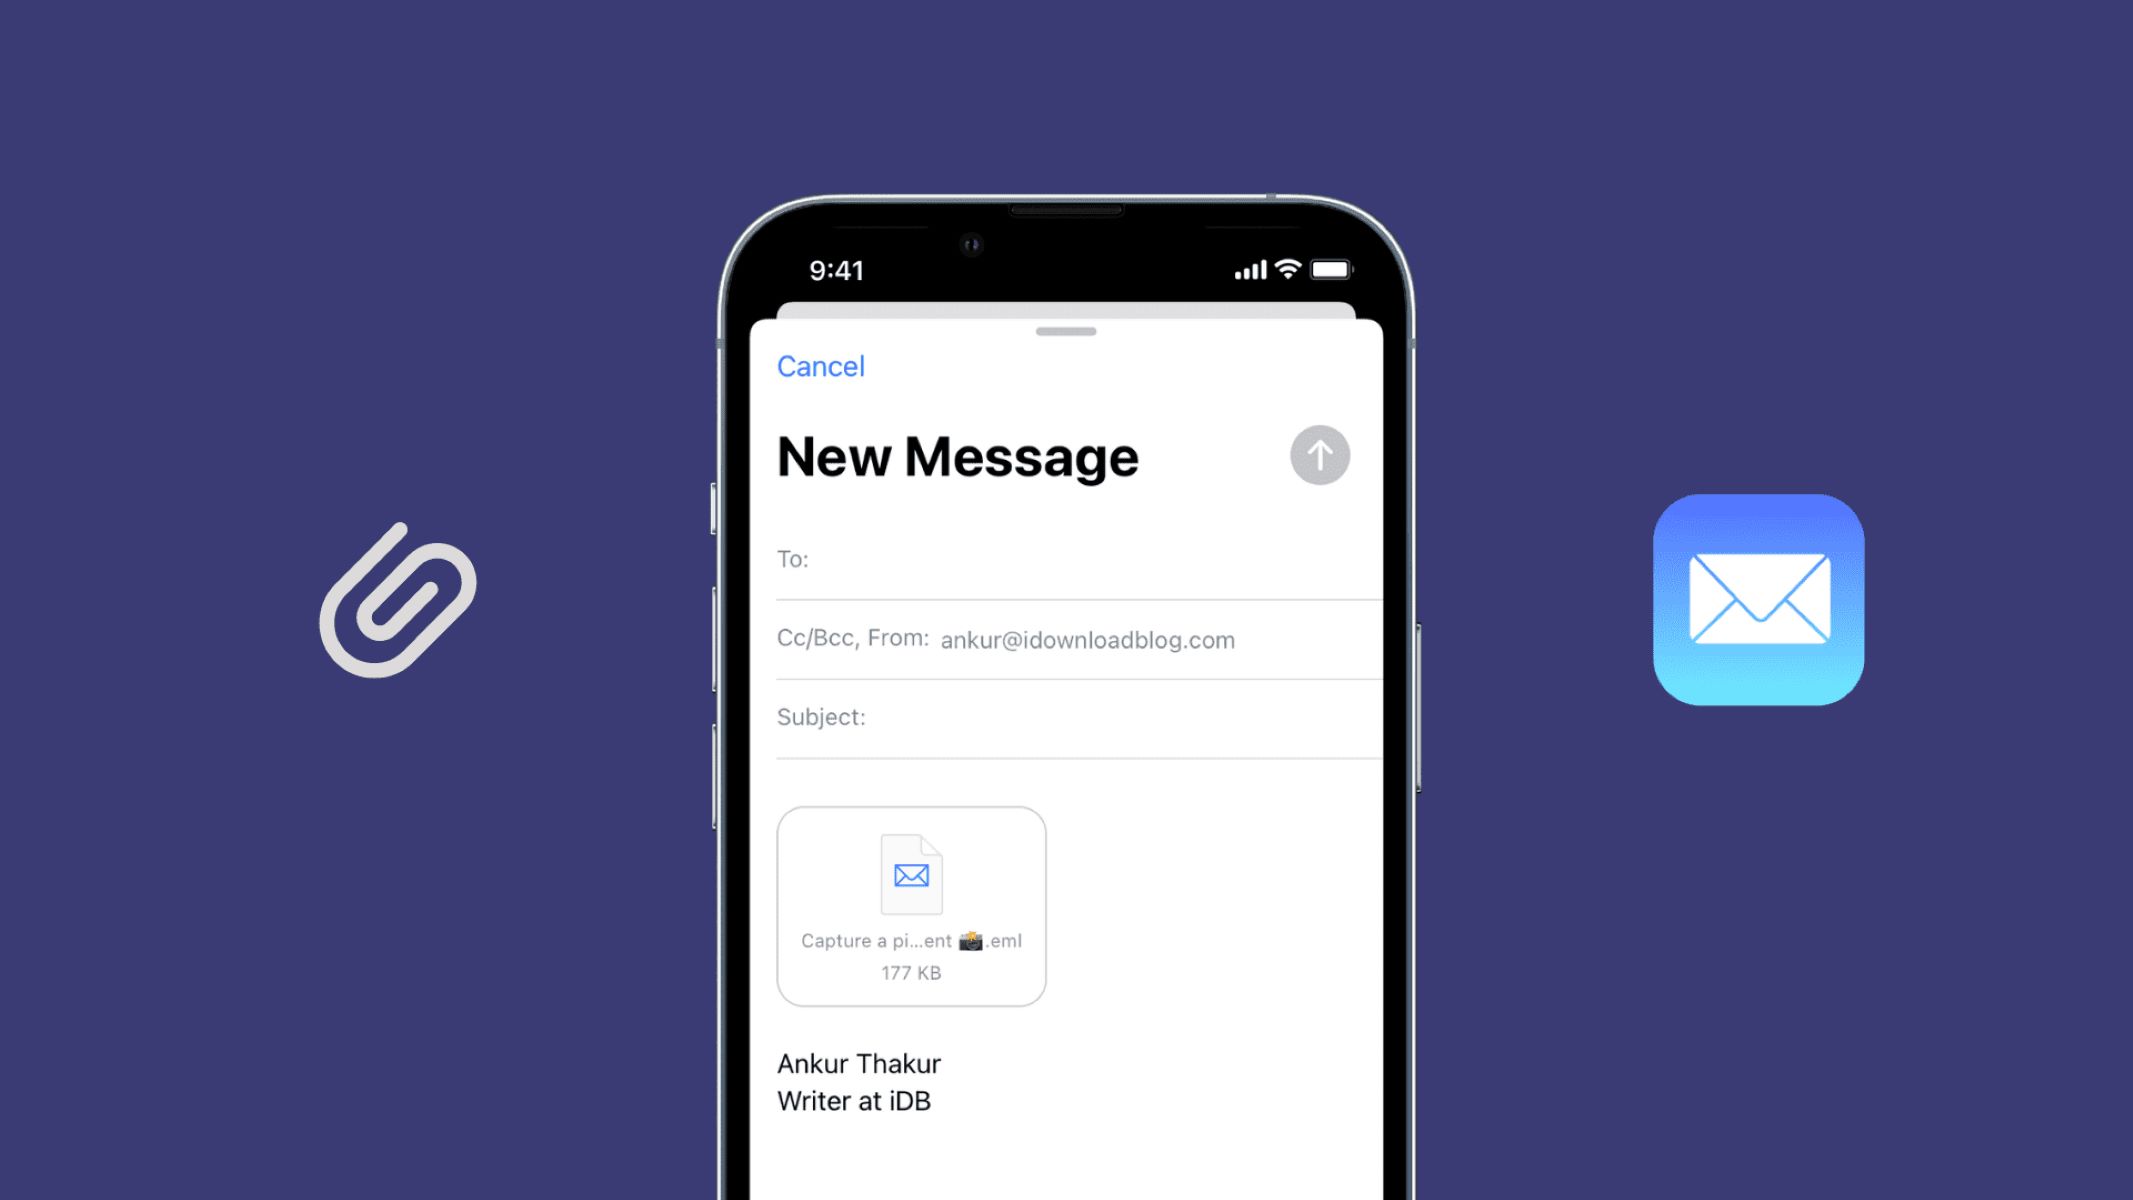
- Click on the attachment button: Look for the “Attach” or “Paperclip” button within your email client. This is usually represented by an icon of a paperclip.
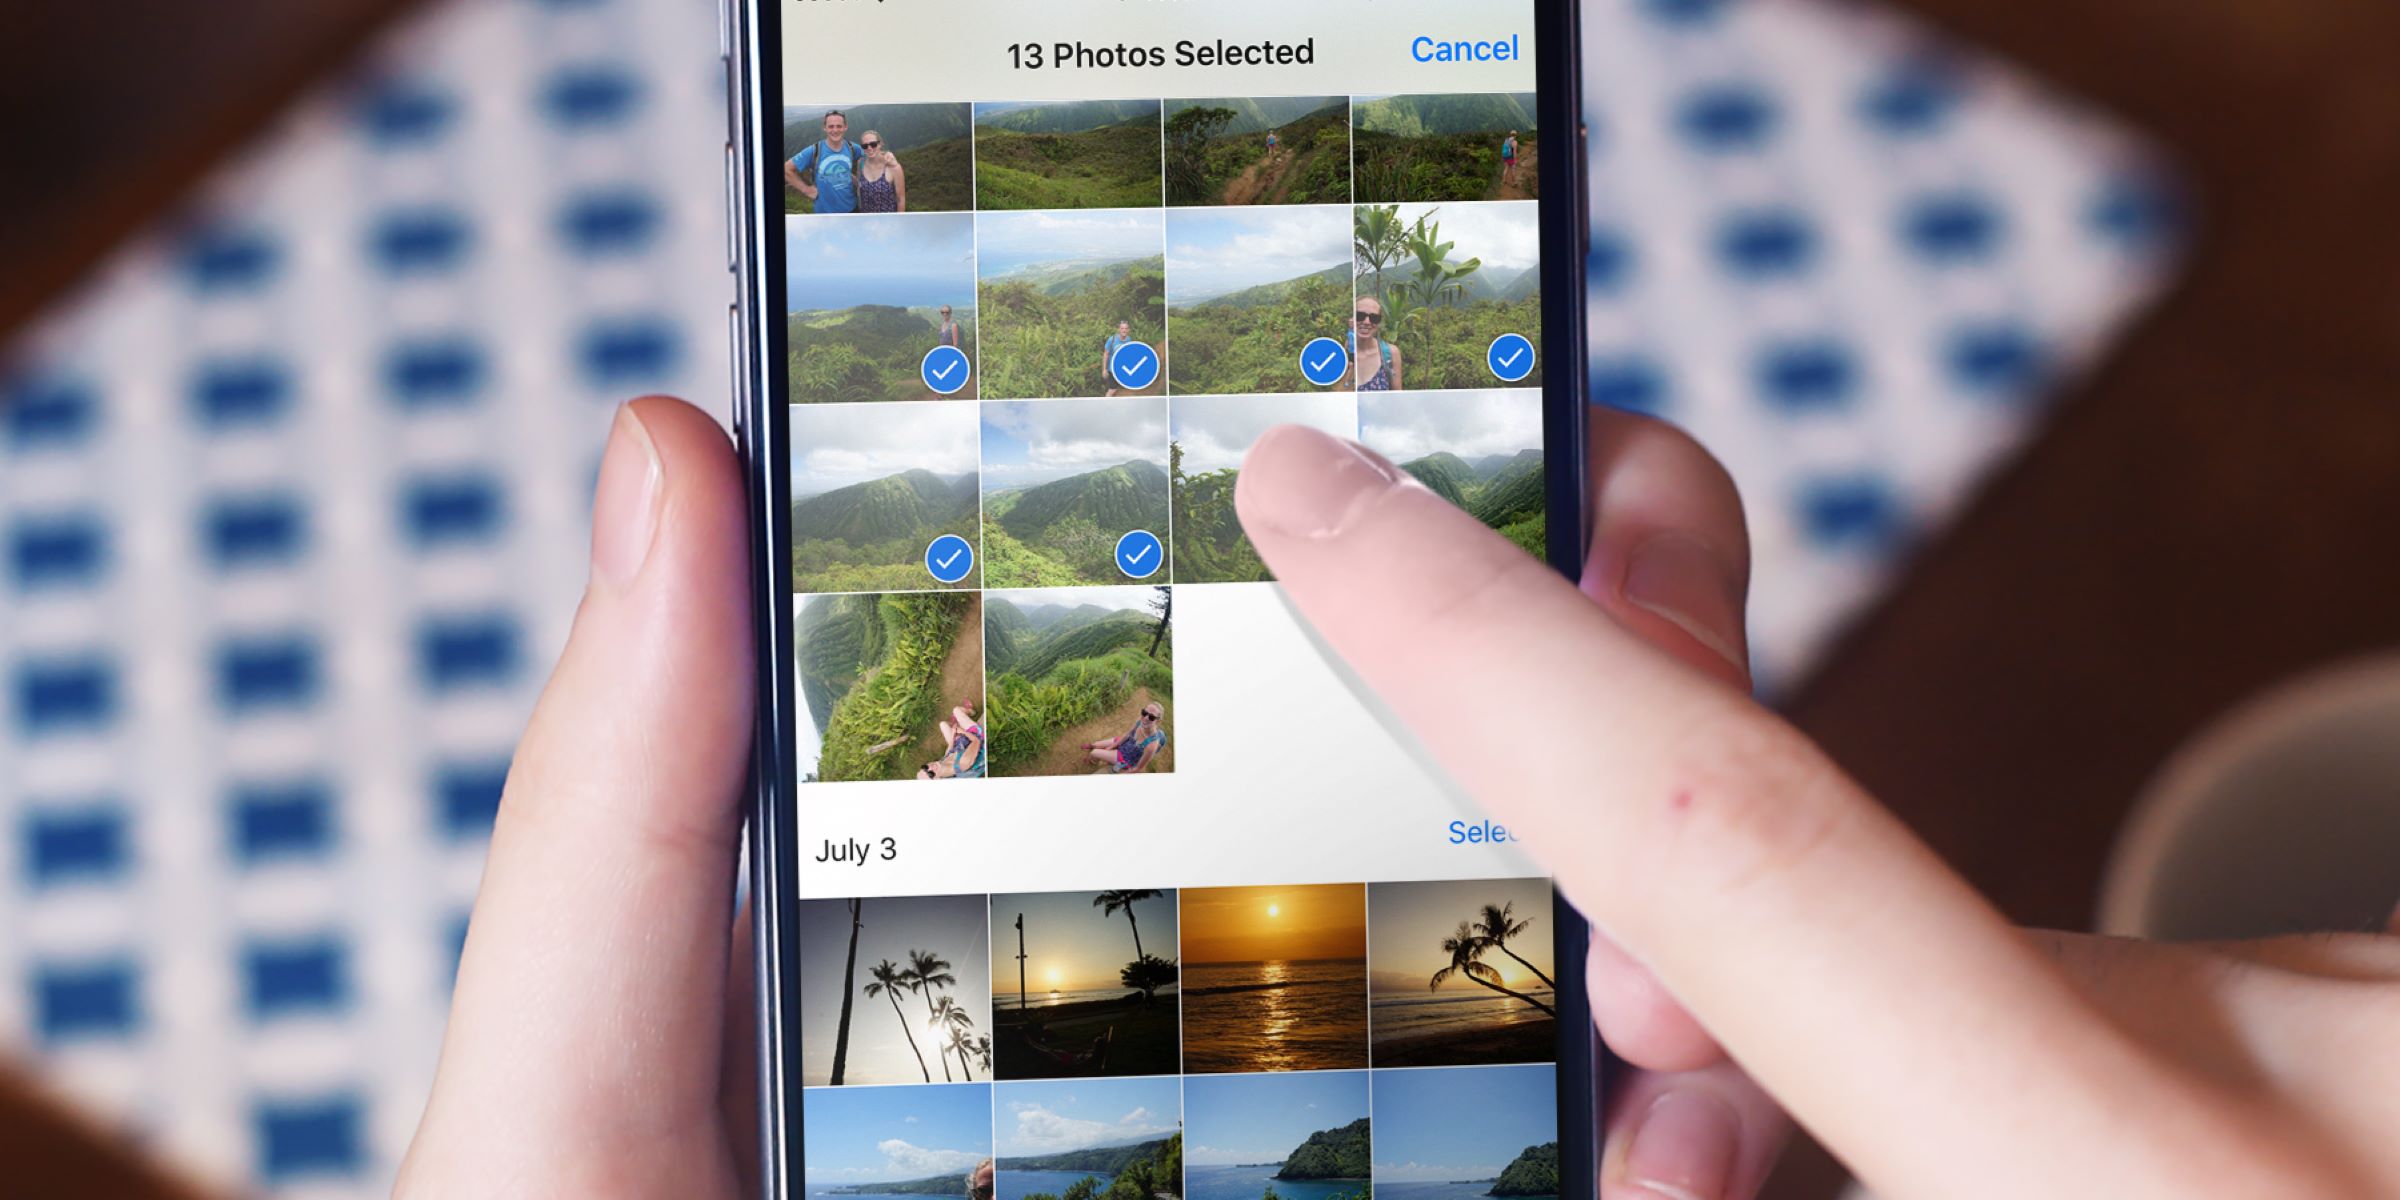
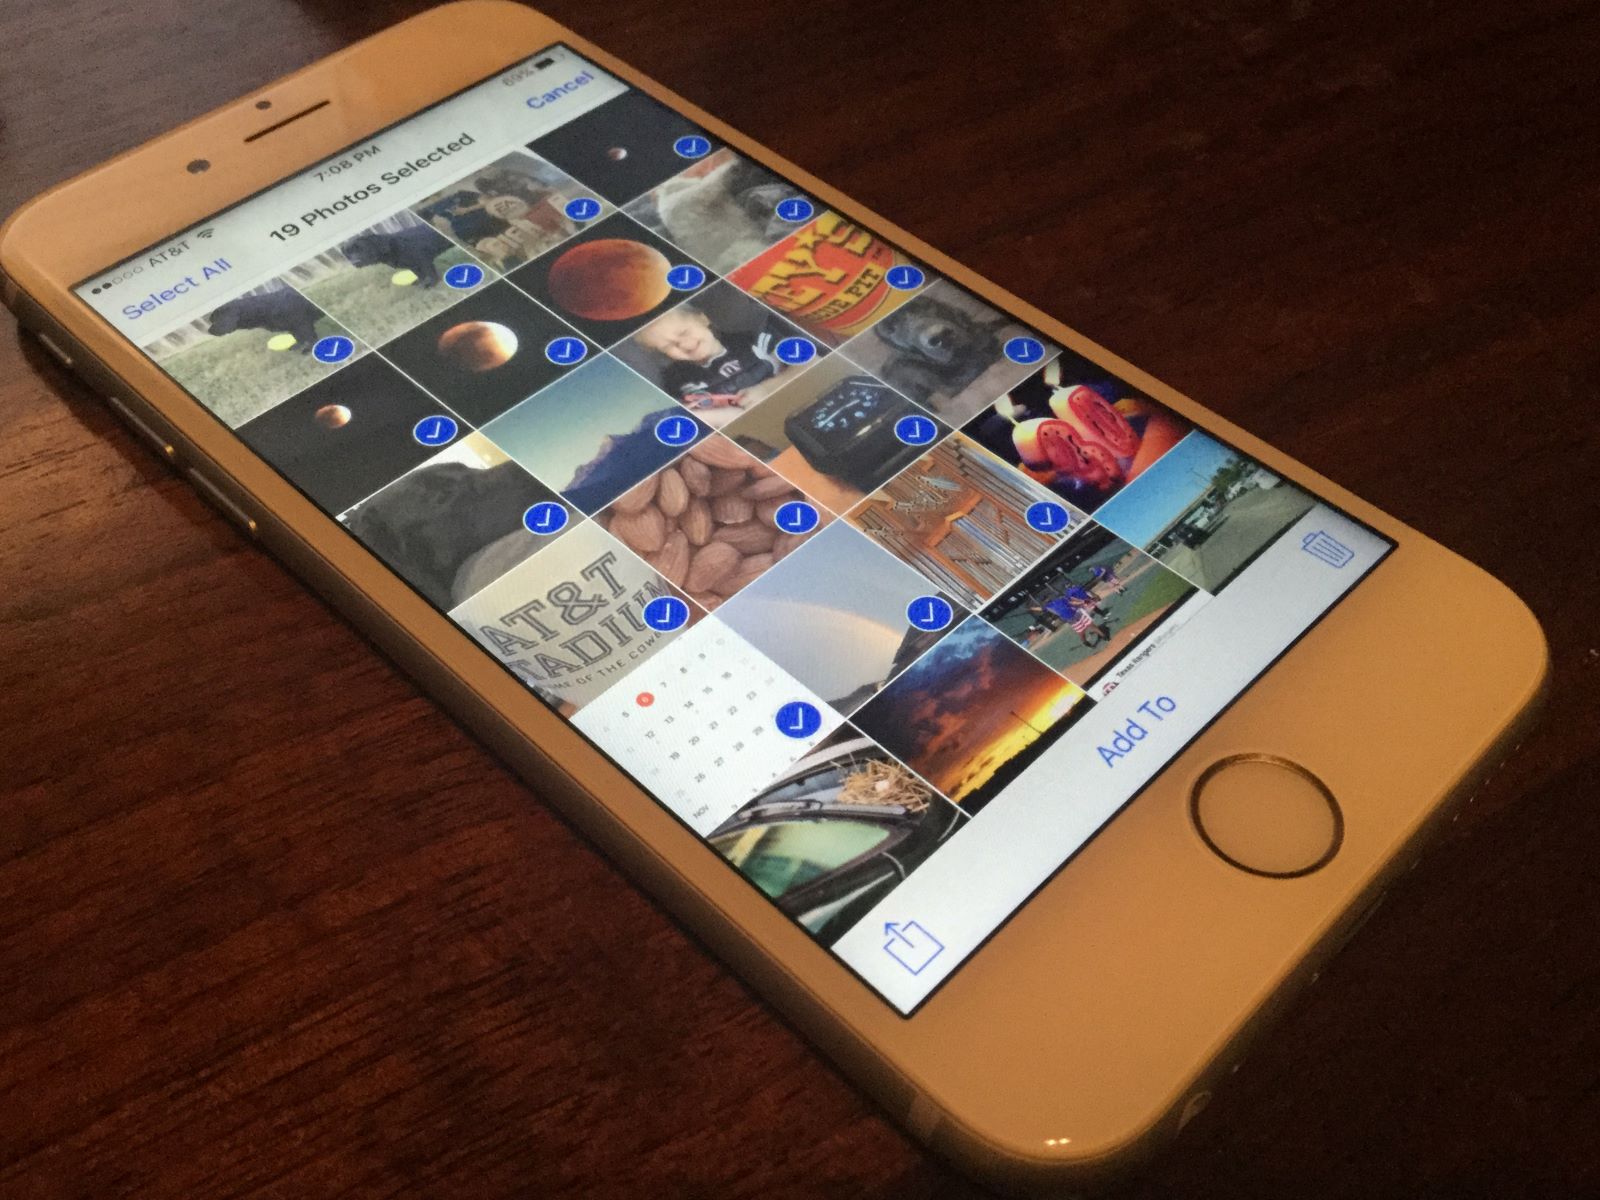
- Select the compressed photo folder: Navigate to the folder where you have saved the compressed photos. Select all the photos you want to attach by holding down the Shift or Ctrl key while clicking on each photo.
- Click on “Attach” or “Open”: Once you have selected the photos, click on the “Attach” or “Open” button, depending on your email client. This will start the attachment process.
- Wait for the photos to upload: The time taken to upload the photos will depend on the file sizes and your internet connection speed. Be patient as the photos are being attached to your email.
Ensure that you have selected the correct compressed photo folder and that all the desired photos are attached before moving on to the next step.
It’s worth mentioning that some email clients have a file size limit for attachments. If your compressed photo folder exceeds this limit, you may need to send multiple emails with a portion of the photos in each. Alternatively, you can explore other file-sharing options, such as cloud services or FTP, for larger collections of photos.
Now that your photos are attached, you can proceed to the final step: sending the email.
Step 3: Sending the Email
Now that you have successfully attached the compressed photos to your email, it’s time to send it off to the intended recipient. Follow these steps to complete the process:
- Compose your email: Add the recipient’s email address in the designated “To” field. Fill in the subject line and compose your message, if desired.
- Double-check the email: Before hitting the send button, ensure that you have included all the necessary information and attachments. Take a moment to review your email for any mistakes or omissions.
- Click on “Send”: Once you are satisfied with your email, click on the “Send” button or press the appropriate shortcut key (such as Ctrl+Enter). Your email will now be sent to the recipient.
Depending on the size of the photo attachments and your internet connection speed, it may take some time for the email to be delivered. During this process, it’s essential to avoid closing the email client or interrupting the internet connection.
After sending the email, you can verify its delivery by checking your “Sent” folder or the email client’s “Outbox” to ensure that the email has been successfully sent.
It’s important to keep in mind that some email providers or clients may have limitations on file attachment size or total email size. If you encounter any issues, you may need to consider alternative methods, such as using a file-sharing service or sending the photos in multiple emails.
With the email sent, you can now rest assured that your compressed photos have been shared with the recipient. They can easily download and view the photos without any hassle.
That’s it! You have successfully learned how to send multiple photos by email. Now you can start sharing your favorite memories with friends, family, or colleagues effortlessly.
Conclusion
Sending multiple photos by email doesn’t have to be a complicated process. By following the steps outlined in this article, you can easily compress your photos, attach them to your email, and send them to your intended recipients.
Remember, compressing your photos before attaching them to the email helps to reduce file size and ensure smooth delivery. You can use built-in compression tools, photo editing software, or online compression tools to achieve this.
Attaching the compressed photos to your email is a straightforward process. Just open the email compose window, click on the attachment button, select the compressed photo folder, and wait for the photos to upload.
Finally, sending the email involves composing your message, double-checking the email for accuracy, and clicking on the “Send” button. Be aware of any file size or total email size restrictions that your email provider or client may have.
Now that you have learned these simple steps, you can confidently share your cherished memories and important moments with others through email. Whether it’s vacation pictures, family gatherings, or work-related images, you can now efficiently send multiple photos without any hassle.
Keep in mind that while email is a convenient method for sharing multiple photos, there are alternatives available for larger collections or situations where email size limits may be exceeded. File-sharing services or cloud storage platforms can be utilized to seamlessly share and collaborate on larger photo albums.
So go ahead and spread joy through your photos by utilizing the power of email sharing. You can keep in touch with loved ones, collaborate with colleagues, or simply share your artistic creations with the world.
Have fun sending those multiple photos by email!