Introduction
Screen recording on a Chromebook opens up a world of possibilities. Whether you are a teacher looking to create engaging video lessons, a business professional wanting to capture demos, or simply someone who wants to share their gaming prowess with friends, knowing how to screen record on your Chromebook is an essential skill.
In this article, we will explore three different methods to screen record on a Chromebook. The first method utilizes the built-in screen recorder, which is a convenient option for quick and straightforward recordings. The second method involves using Chrome extensions or apps, giving you more flexibility and advanced features. Lastly, the third method covers using third-party screen recording software, providing even more comprehensive options for customization and editing.
Whether you have a Chromebook with the latest software or an older model, rest assured that you will find a method that suits your needs. So, let’s dive in and explore the various ways you can screen record on a Chromebook!
Method 1: Using the Built-in Chromebook Screen Recorder
Chromebooks come equipped with a built-in screen recorder that makes it incredibly easy to capture your screen. This native tool eliminates the need to install any additional software and allows you to quickly record your Chromebook’s display.
To access the built-in screen recorder, follow these steps:
- Open the application launcher by clicking on the circle icon with dots in the bottom-left corner of your screen.
- Search for “Screen Recorder” in the search bar and click on the app when it appears in the search results.
- Once the Screen Recorder app is open, you can choose to either capture your entire screen or select a specific portion by clicking on the respective options.
- When you’re ready to start recording, simply click on the “Record” button.
- A countdown timer will appear, giving you a few seconds to prepare before the recording begins.
- During the recording, a small toolbar will appear at the bottom of the screen, allowing you to pause or stop the recording.
- Once you finish recording, click on the “Stop” button in the toolbar.
- The recorded video will be saved in the “Downloads” folder of your Chromebook.
It’s important to note that the built-in screen recorder can only capture video and audio from your Chromebook’s display. If you want to include external audio, such as narration or background music, you will need to use an external microphone or a third-party screen recording software.
This method is ideal for quick and simple screen recordings and is perfect for capturing tutorials, presentations, or any other on-screen activity you want to share with others.
Method 2: Using Chrome Extensions or Apps
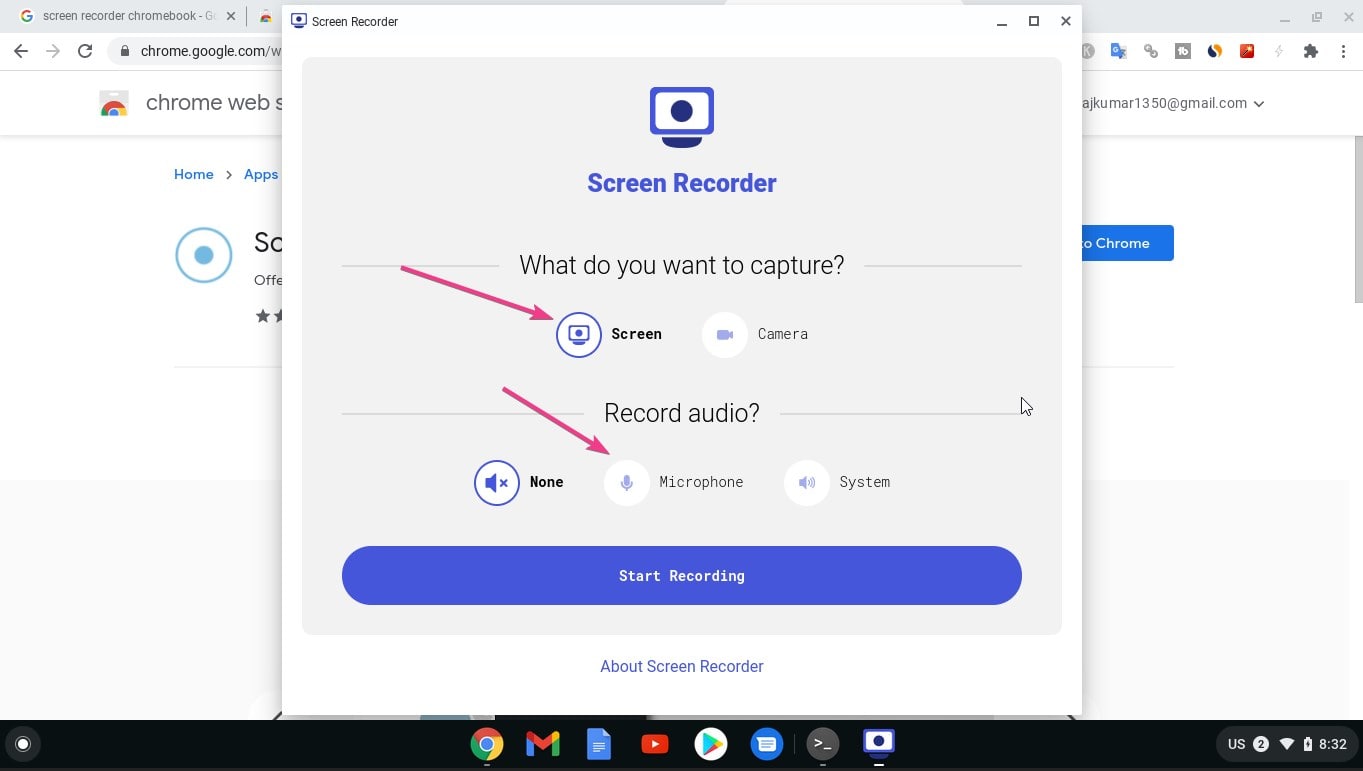
If you’re looking for more advanced screen recording features and customization options, using Chrome extensions or apps is the way to go. The Chrome Web Store offers a wide range of screen recording tools that can enhance your recording capabilities.
Here’s how you can use Chrome extensions or apps to screen record on your Chromebook:
- Open the Chrome browser on your Chromebook and go to the Chrome Web Store.
- In the search bar, type “screen recorder” or any specific screen recording tool you would like to explore.
- Browse through the available extensions or apps and read their descriptions and user reviews to find one that suits your needs.
- Click on the “Add to Chrome” button for the extension or app you want to install.
- Once the installation is complete, you will see the screen recording tool’s icon in your Chrome toolbar.
- Click on the extension or app icon to open its interface and customize your recording settings.
- Select whether you want to record your entire screen or a specific portion.
- Click on the “Record” button to start your screen recording.
- During the recording, you may have additional options, such as adding annotations or capturing system audio.
- When you’re finished recording, press the “Stop” button to end the recording session.
- The recorded video will be saved according to the settings you have chosen within the extension or app.
Using Chrome extensions or apps gives you more control over your screen recordings. You can add effects, annotations, and even edit your recordings within the tool itself. Some extensions also offer the ability to directly upload your recordings to popular video platforms or share them with others.
Remember to choose a reputable extension or app from the Chrome Web Store and read user reviews to ensure a smooth and reliable screen recording experience.
Method 3: Using Third-party Screen Recording Software
If you’re looking for even more advanced features and a high level of customization for your screen recordings, using third-party screen recording software is the way to go. These software options offer a wide range of powerful tools and options to capture your Chromebook’s screen with precision.
Here’s how you can use third-party screen recording software on your Chromebook:
- Research and identify a reputable third-party screen recording software that is compatible with Chrome OS. Some popular options include OBS Studio, Screencastify, and Loom.
- Visit the official website of the software and follow their instructions to download and install it on your Chromebook.
- Once the software is installed, launch it and familiarize yourself with its interface and settings.
- Configure the recording settings according to your preferences, such as the screen resolution, frame rate, and audio input sources.
- Choose whether you want to record the entire screen or select a specific portion.
- Click on the “Record” button to start the screen recording.
- While recording, you might have additional options like adding annotations, webcam overlays, or capturing system and microphone audio.
- When you’re done with the recording, click on the “Stop” button to end the session.
- The recorded video will be saved to your chosen location in the settings of the software.
Third-party screen recording software offers extensive editing capabilities, allowing you to trim, enhance, and polish your recordings before sharing them. You can also export your recordings in various formats and resolutions, ensuring compatibility with different devices and platforms.
Keep in mind that some third-party software options may have limitations or require a premium subscription to unlock the full range of features. Therefore, carefully evaluate your needs and budget before investing in a specific software.
Using third-party screen recording software gives you complete control over the recording process, enabling you to create professional-quality screencasts, tutorials, and presentations on your Chromebook.
Tips for Successful Screen Recording on Chromebook
Screen recording on your Chromebook can be a powerful tool, but it’s important to keep a few tips in mind to ensure successful and smooth recordings. Follow these tips to make the most out of your screen recording sessions:
- Plan your recording: Before hitting the record button, outline the content you want to capture. This will help you stay organized and deliver a more cohesive and engaging recording.
- Clean up your desktop: Clear any clutter from your desktop and close unnecessary apps or browser tabs. This will create a cleaner and more focused recording environment.
- Check your audio settings: Ensure that your audio input sources, such as a microphone, are properly connected and set up. Test the audio levels before recording to avoid any issues with sound quality.
- Optimize your screen resolution: Adjust the screen resolution of your Chromebook to the optimal setting for your recording. A higher resolution can result in a clearer and more detailed recording.
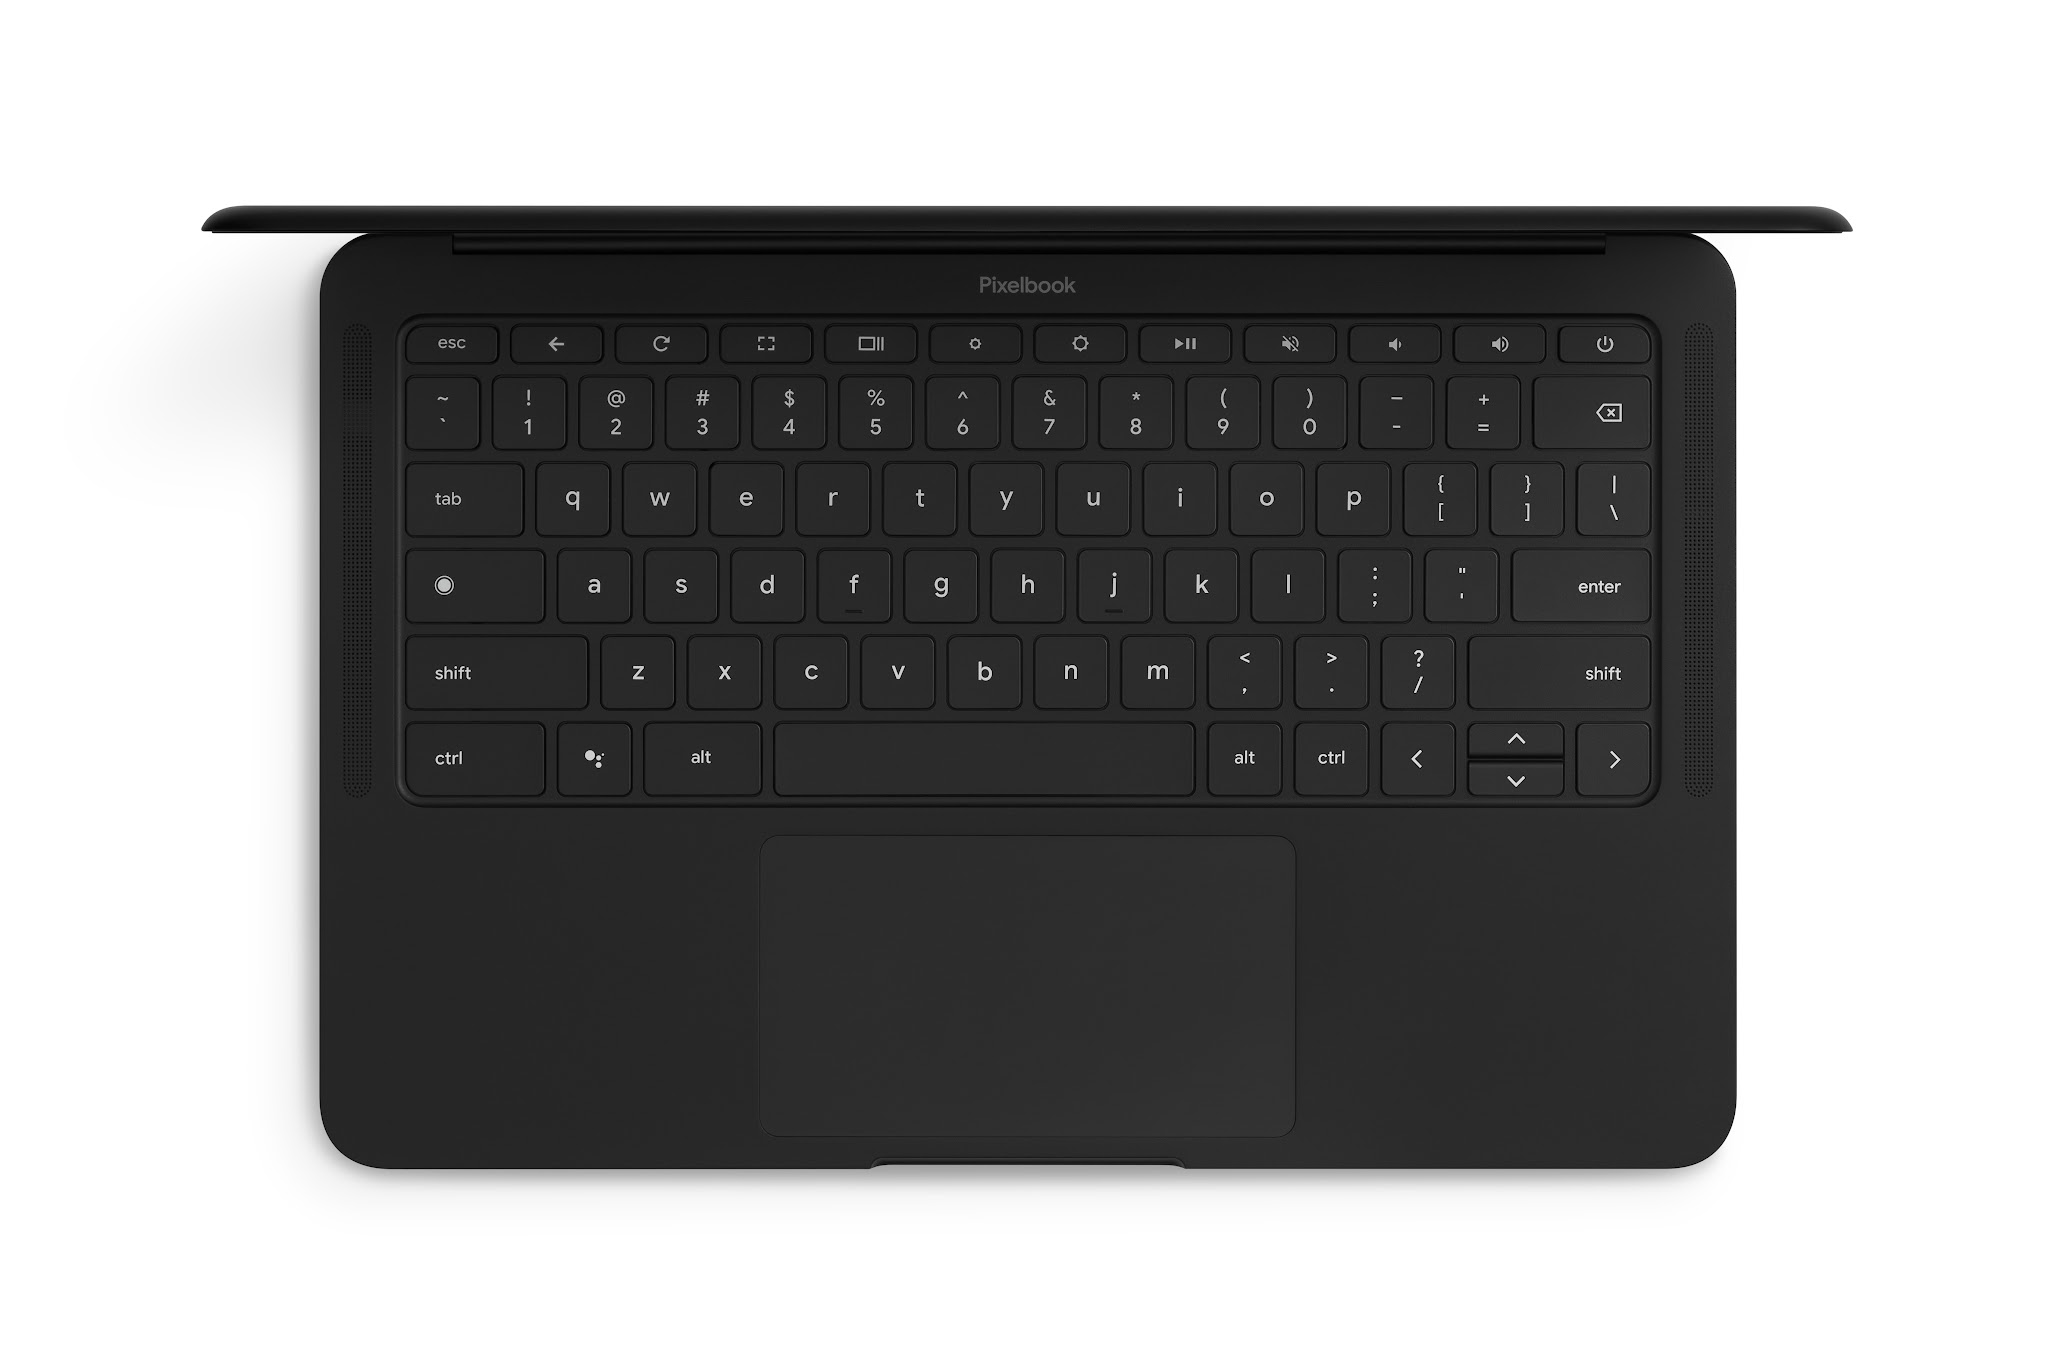
- Utilize keyboard shortcuts: Familiarize yourself with the keyboard shortcuts for the screen recording tool you are using. This can help you start, pause, and stop recordings more efficiently.
- Consider using an external microphone: While Chromebooks have built-in microphones, using an external microphone can improve the audio quality and reduce background noise in your recordings.
- Make use of editing tools: If your screen recording software offers editing features, take advantage of them to enhance your recordings. Trim unnecessary parts, add captions, or include highlights to make your content more engaging.
- Be mindful of file sizes: Screen recordings can generate large file sizes, which can be cumbersome to store and share. Optimize your recording settings to balance file size and video quality.
- Practice makes perfect: The more you practice screen recording, the better you will become. Experiment with different techniques, tools, and settings to find what works best for you.
- Keep backups: Regularly backup your screen recordings to ensure that you don’t lose your valuable content. Store them on external hard drives, cloud storage, or other reliable backup solutions.
By following these tips, you can improve the quality of your screen recordings, enhance your workflow, and deliver more professional and engaging content.
Conclusion
Screen recording on a Chromebook is a valuable skill that opens up a world of possibilities for teachers, professionals, and content creators. In this article, we explored three different methods to screen record on a Chromebook.
The built-in Chromebook screen recorder offers a quick and straightforward way to capture your screen without the need for any additional software. It’s perfect for simple recordings and is ideal for capturing tutorials, presentations, and other on-screen activities.
For more advanced features and customization options, using Chrome extensions or apps is a great choice. The Chrome Web Store provides a wide range of screen recording tools that can enhance your recording capabilities and allow you to add annotations, effects, and editing options.
If you’re looking for even more advanced options and extensive editing capabilities, third-party screen recording software is the way to go. These software options offer a plethora of powerful tools to capture, customize, and edit your recordings with precision.
Remember to plan your recordings, optimize your settings, and follow the provided tips for successful screen recording. Practice and experiment with different techniques to refine your skills and create polished and engaging screen recordings.
So, whether you’re a teacher creating video lessons, a business professional giving demos, or simply someone who wants to share their gaming achievements, now you have the knowledge and tools to confidently screen record on your Chromebook. Start recording and share your knowledge and experiences with the world!


