Introduction
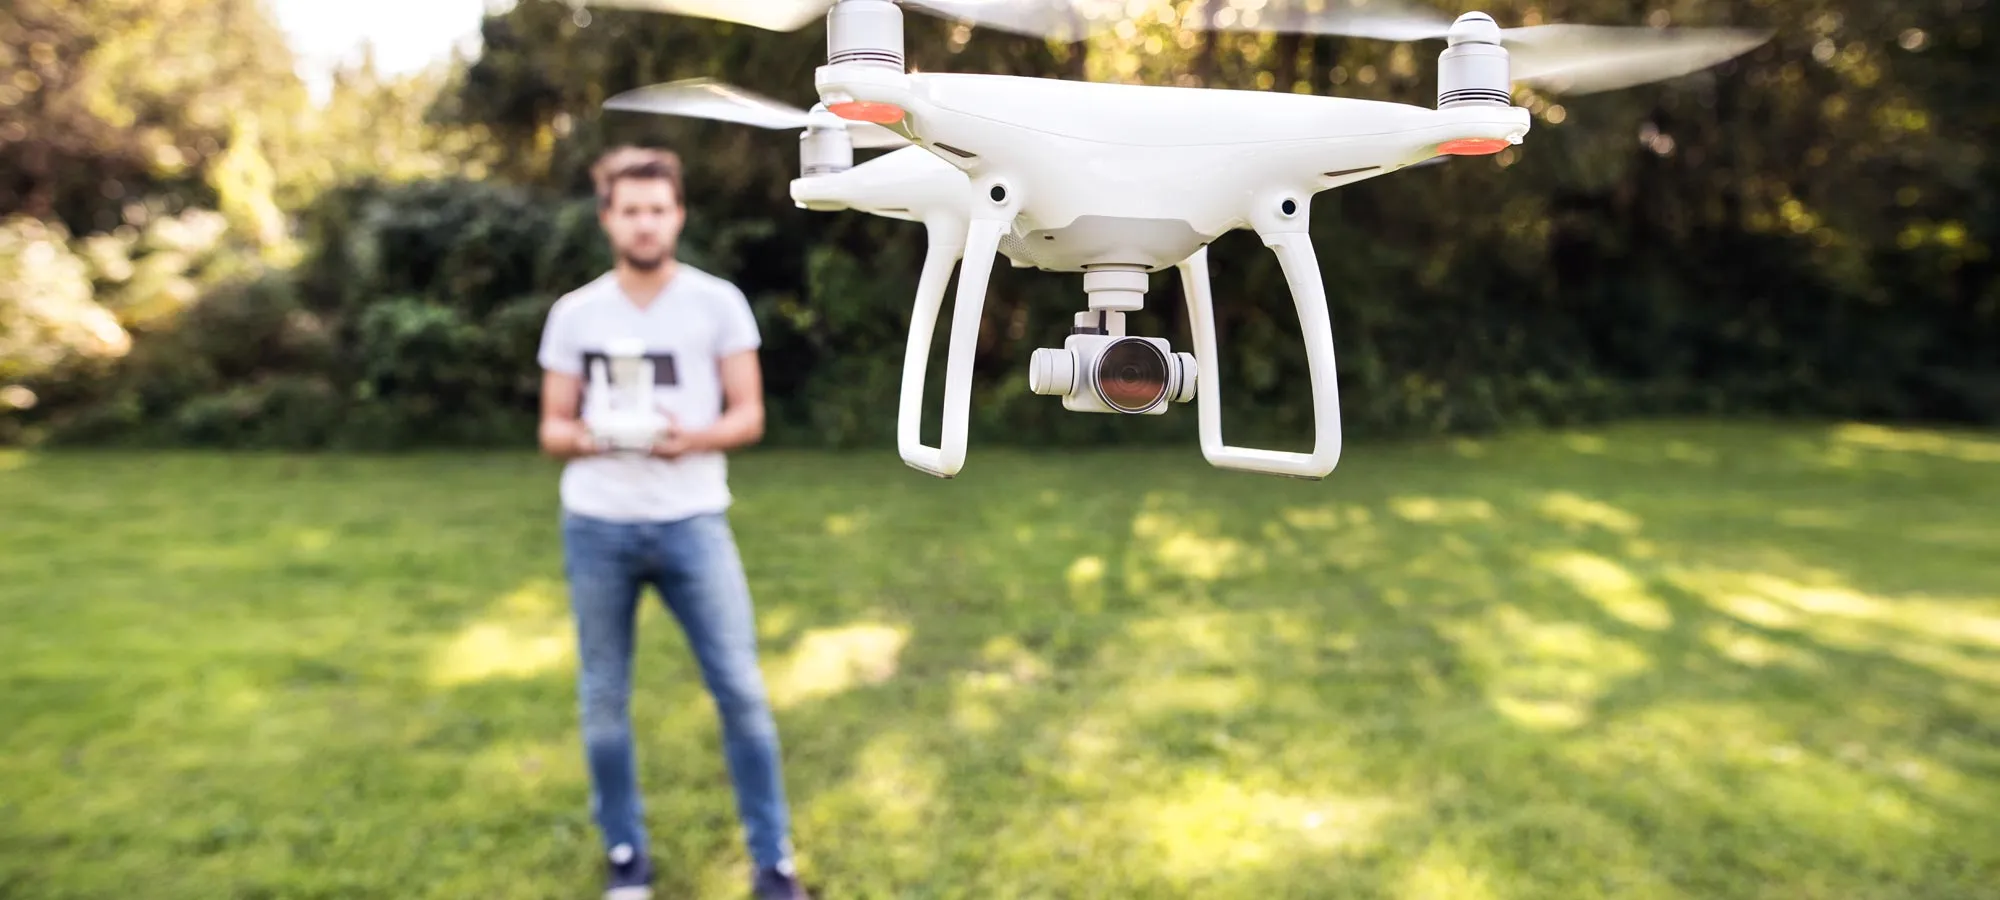
Drones have become increasingly popular in recent years for both recreational and professional use. They offer a unique perspective and the ability to capture stunning aerial footage. However, like any electronic device, drones can encounter some issues that may affect their performance. One common issue is trim misalignment, which can cause the drone to drift or not hover properly.
Trim is an adjustment that allows you to manually correct any imbalances in your drone’s flight characteristics. It enables you to fine-tune the controls and ensure the drone hovers steadily at a neutral position without drifting. However, there may be instances where you need to reset the trim settings to their default values.
Resetting the trim on a drone is a simple process that can help fix any control issues you might be experiencing. In this article, we will guide you through the steps to reset trim on a drone effectively. Whether you’re a beginner or an experienced drone pilot, understanding how to recalibrate your drone’s trim is crucial for a smooth and stable flight experience.
What is Trim?
Trim is an essential feature found in most drones and other remote-controlled aircraft. It refers to the small adjustments made to the control surfaces of the drone, such as the ailerons, elevator, and rudder, to achieve balanced flight. These adjustments help counteract any slight imbalances that may affect the drone’s stability and performance.
When a drone is properly trimmed, it should hover in place without any manual input on the controls. It will maintain a steady altitude and remain stationary rather than drifting or veering off course. Essentially, trim settings ensure that the drone is leveled correctly and compensates for any inherent design flaws or changes due to environmental factors.
Each control surface of a drone has its own trim setting that can be adjusted independently. For instance, if the drone consistently drifts to the right, you can adjust the aileron trim to correct this behavior and ensure the drone moves straight when the controls are centered. Trim settings can be accessed through the drone’s settings or control interface, allowing for precise adjustments.
It’s important to note that trim adjustments are not meant to compensate for major flight imbalances or control issues. If you notice significant deviations or erratic behavior in your drone’s flight, it may require further troubleshooting or professional assistance. Trim is primarily used to fine-tune the flight characteristics and improve the handling and stability of the drone.
Why is Trim Important?
Trim is a crucial aspect of drone flight because it ensures stability, control, and optimal performance. Here are some key reasons why trim is important for drone pilots:
- Stability: Properly trimmed drones are more stable in flight. With accurate trim adjustments, the drone will hover in a balanced manner without constantly drifting or veering off course. This stability is essential for capturing smooth and professional aerial footage.
- Control: Trim allows for precise control over the drone’s movements. By fine-tuning the trim settings, you can ensure that the drone responds accurately to your control inputs, making it easier to fly and maneuver. This is especially important in windy conditions or when performing complex aerial maneuvers.
- Battery Efficiency: A properly trimmed drone can fly more efficiently, conserving battery life. When the trim is aligned, the drone requires less power to maintain a stable hover, allowing you to extend your flight time and capture more footage.
- Prevent Drifting: Trim adjustments help eliminate unwanted drifting in flight. If the drone tends to drift to one side, properly adjusting the trim settings can counteract this behavior and ensure the drone maintains a straight trajectory when the controls are centered.
- Improved Safety: Accurate trim settings contribute to safer flights. They reduce the chances of the drone unexpectedly veering off course or losing control, minimizing the risk of accidents or collisions.
In summary, trim is important because it enhances the stability, control, and efficiency of your drone. By taking the time to properly adjust the trim settings, you can optimize your flying experience and achieve better aerial footage. Keep in mind that trim adjustments may need to be recalibrated from time to time, especially if you notice changes in the drone’s flight behavior or after significant upgrades or repairs.
When Should You Reset Trim?
Resetting trim on a drone is not always necessary, but there are several situations where it can be beneficial. Here are some instances when you should consider resetting the trim settings on your drone:
- Initial Setup: When you first get a new drone, it’s a good idea to check and adjust the trim settings. Since each drone is unique, there might be slight variations in the default trim values or factory calibration. Resetting the trim ensures that you start with a clean slate and can fine-tune the settings to your specific drone.
- Flight Issues: If you notice that your drone is drifting, not hovering properly, or exhibiting control issues, resetting the trim can be a troubleshooting step. It helps to eliminate any incorrect adjustments or misalignments that may have occurred during previous flights.
- Changes in Environmental Conditions: Environmental factors such as wind speed, temperature, and altitude can affect the drone’s flight characteristics. If you are flying in significantly different conditions than your previous flights, resetting the trim allows you to recalibrate the drone for optimal performance in those specific conditions.
- Changes in Hardware or Firmware: If you have made any upgrades or modifications to your drone, or if you have updated its firmware, it may be necessary to reset the trim. These changes can sometimes impact the drone’s flight behavior, and resetting the trim ensures that it is properly calibrated for the new hardware or firmware version.
- Persistent Control Issues: If you have tried other troubleshooting methods and are still experiencing persistent control issues, resetting the trim can be a last resort. It allows you to start fresh and make sure the trim settings are not the cause of the problem.
Remember that resetting trim should not be done haphazardly. It may take some time and testing to fine-tune the trim settings to achieve optimal flight performance. However, if you’re experiencing any of the above situations, resetting the trim can be a useful step in troubleshooting and optimizing the flight capabilities of your drone.
Steps to Reset Trim on a Drone
Resetting the trim on your drone is a relatively simple process that can help restore its stability and performance. Here are the steps to reset trim on a drone:
- Power on the drone: Ensure that your drone is powered on and ready for flight. Make sure the battery is fully charged to prevent any unexpected shutdowns during the reset process.
- Access the settings or menu: Depending on the model of your drone, navigate to the settings or menu on the drone’s remote control or mobile app. Look for options related to trim or calibration.
- Locate the trim settings: Once you’re in the settings or calibration menu, locate the specific trim settings for your drone. These settings are usually categorized into different control surfaces such as aileron, elevator, and rudder trim.
- Reset the trim: Select the option to reset or zero out the trim settings. This action will restore the trim to the default values. Confirm the reset action to proceed.
- Calibrate the drone: After resetting the trim, it’s important to calibrate the drone to ensure accurate flight performance. The calibration process varies depending on the drone model but often involves power cycling the drone or following specific instructions provided by the manufacturer.
- Test and fine-tune the trim: Once the drone is calibrated, take it for a test flight. Observe its stability, hovering ability, and responsiveness to control inputs. If necessary, make further adjustments to the trim settings based on your flight experience until you achieve the desired flight characteristics.
Resetting the trim on your drone is a valuable troubleshooting step if you experience control issues or notice drifting during flights. It allows you to start with a clean slate and ensures that your drone is properly calibrated for stable and controlled flight. By following these steps, you can easily reset the trim settings and fine-tune your drone for optimal performance.
Step 1: Power on the Drone
Before you can reset the trim settings on your drone, you need to ensure that it is powered on and ready for operation. Here is a detailed explanation of the first step:
To power on your drone, make sure that the battery is properly inserted and securely attached to the drone. Some drones have an external power switch, while others may require you to press and hold a button or toggle a switch on the remote control.
Check the battery level indicator or the LED lights on the drone to verify that there is sufficient power. If the battery is low or depleted, it’s essential to recharge it fully before proceeding with the trim reset process. Flying with a low battery can result in instabilities and affect the accuracy of the trim adjustments.
Ensure that the drone is placed on a flat and stable surface, away from any obstacles or obstructions. This will prevent any accidental movements or interference during the trim resetting process.
Once the drone is powered on, it may take a few moments for it to initialize and establish a stable connection with the remote control. Some drones emit a series of beeps or display LED patterns to indicate that they are ready for flight. Refer to the manufacturer’s instructions or user manual for specific guidance on the power-on process for your drone model.
Keep in mind that safety is paramount when operating drones. Always familiarize yourself with local regulations and guidelines for drone usage in your area to ensure a responsible and lawful flight experience. Additionally, follow the manufacturer’s recommendations for pre-flight checks and safety measures to avoid any untoward incidents.
By powering on your drone correctly, you are now ready to proceed to the next step in resetting the trim settings.
Step 2: Access the Settings or Menu
After powering on your drone, the next step in resetting the trim settings is to access the settings or menu. Here is a detailed explanation of the second step:
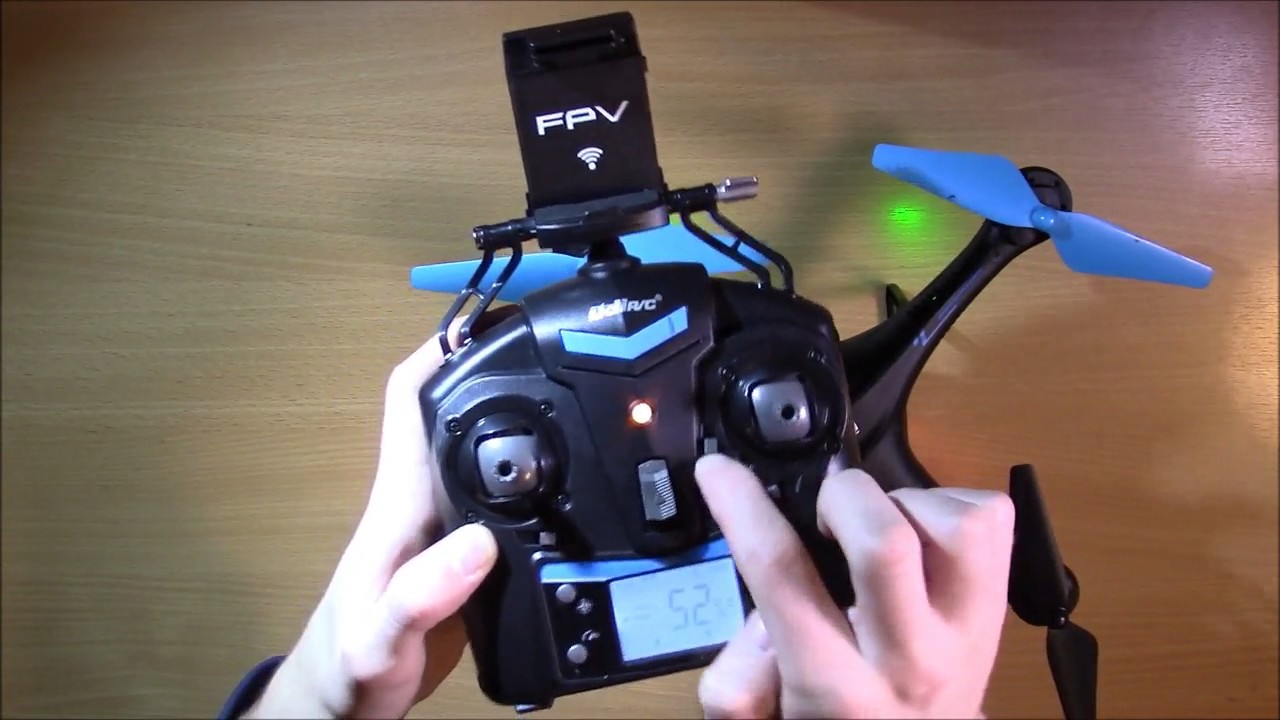
Depending on your drone model, accessing the settings or menu can be done through various methods. One common way is through the remote control that came with your drone. Look for a dedicated button or switch that allows you to enter the settings mode.
Alternatively, some drones have a companion mobile app that provides additional features and settings. Download the app relevant to your drone model and ensure that your mobile device is connected to the drone’s Wi-Fi network.
Once you have successfully entered the settings or menu mode, a user interface will be displayed on either the remote control’s screen or your mobile device. This interface provides access to various drone settings, including the trim settings.
Navigation within the settings or menu mode can vary depending on the drone brand and model. It may involve using buttons, joysticks, or touch gestures to scroll through different options and select the desired settings.
Refer to the manufacturer’s instructions or user manual for your specific drone model for guidance on how to access the settings or menu. These resources often provide step-by-step instructions and visual aids to make the process easier.
Remember to approach the menu interface with caution and avoid making unintended changes to other settings. Focus on locating the trim settings as they are essential for the purpose of resetting the trim.
By accessing the settings or menu, you are now ready to proceed to the next step of locating the trim settings on your drone.
Step 3: Locate the Trim Settings
In the process of resetting the trim settings on your drone, the third step is to locate the trim settings within the menu or settings interface. Here is a detailed explanation of this step:
Once you have accessed the settings or menu mode on your drone, navigate through the interface to find the trim settings. The trim settings may be labeled as “Trim,” “Calibration,” or “Control Settings” in the menu, depending on your drone’s manufacturer and model.
The trim settings are usually categorized into different control surfaces, such as aileron, elevator, and rudder trim. These control surfaces control the drone’s movement in different directions.
Each control surface may have its own dedicated trim setting that can be adjusted independently. This allows for precise trimming of each control surface to correct any imbalances or drifting issues.
Carefully review the available options in the trim settings menu. Some drones may offer additional advanced trim settings, such as exponential or dual rates, which allow for further customization of the control response.
If you are unsure about the specific location of the trim settings or need further guidance, refer to the manufacturer’s instructions or user manual. These resources often provide detailed information on navigating the settings menu and locating the trim settings for your particular drone model.
Take your time to familiarize yourself with the trim settings and understand how they affect the drone’s flight characteristics. This knowledge will help you make the necessary adjustments during the trim resetting process.
By locating the trim settings, you are now ready to proceed with the next step of resetting the trim settings on your drone and restoring its stability and performance.
Step 4: Reset the Trim
After locating the trim settings on your drone, the next step is to reset the trim to its default values. Here is a detailed explanation of the fourth step:
Within the trim settings menu, look for an option to reset or zero out the trim settings. This option is typically labeled as “Reset,” “Zero,” or “Default.” Selecting this option will restore all the trim values to their factory default settings.
Confirm the reset action when prompted to proceed. Some drones may require you to confirm the reset by pressing a specific button or following a series of on-screen instructions.
After confirming the reset, the trim settings will be restored to their default values. This ensures that any incorrect adjustments or misalignments previously made to the trim settings are eliminated. It allows you to start fresh and fine-tune the trim for optimal flight performance.
Take note that resetting the trim will affect all control surfaces, so any previous customizations or adjustments you made will be lost. However, this reset is necessary to establish a baseline for the trim settings and ensure accurate calibration.
Remember to double-check and confirm the reset action before proceeding, as there is usually no way to undo the reset once it is executed. This precaution will prevent any accidental changes to other settings or unwanted modifications.
By resetting the trim, you are now ready to proceed to the next step of calibrating the drone, which helps optimize its flight performance and responsiveness.
Step 5: Calibrate the Drone
After resetting the trim on your drone, the next step is to calibrate it to ensure accurate flight performance. Here is a detailed explanation of the fifth step:
Calibrating the drone involves establishing a reference point or baseline for its sensors and ensuring that it is properly synchronized for stable flight. This process may vary depending on the drone model, so it’s essential to consult the manufacturer’s instructions or user manual for specific calibration procedures.
One common calibration method involves power cycling the drone. This means turning off the drone, then turning it back on again to establish a fresh connection and alignment of internal sensors.
Before powering on the drone, make sure to place it on a flat and level surface. This allows the drone’s internal sensors to detect and compensate for any discrepancies in its orientation.
Once the drone is powered on, allow a few moments for it to initialize and establish a stable connection with the remote control or mobile app. Observe any LED indicators or audio cues that signify the completion of the calibration process.
Some drone models may require additional steps for calibration, such as performing specific control inputs or following on-screen instructions. Refer to the manufacturer’s instructions or user manual for precise calibration procedures for your drone model.
Calibrating the drone is essential as it ensures that its internal sensors are accurately calibrated, providing reliable data for flight control. This calibration helps in maintaining stability, responsiveness, and accurate flight characteristics throughout the drone’s operation.
Once the calibration process is complete, you are now ready to proceed to the next step of testing and fine-tuning the trim settings to achieve optimal flight performance.
Step 6: Test and Fine-tune the Trim
The final step in resetting the trim on your drone is to test its flight performance and fine-tune the trim settings as needed. Here is a detailed explanation of the sixth step:
After calibrating the drone, take it for a test flight in an open and suitable location. Observe how it responds to control inputs and assess its stability during hovering and maneuvering.
Pay close attention to any signs of drifting or instability. If the drone continues to drift in a particular direction or exhibits control issues, adjustments to the trim settings may be necessary.
To fine-tune the trim settings, refer to the menu or settings interface on your drone to access the individual control surface trim settings. Make small adjustments to the trim values for a specific control surface based on the drone’s flight behavior.
For example, if you notice that the drone consistently drifts to the right, increase the trim value for the aileron control surface to counteract the drift. Conversely, if it pulls to the left, decrease the trim value for the aileron control surface.
Perform multiple test flights and make incremental adjustments to the trim settings until the drone hovers steadily and responds accurately to control inputs.
It is important to make small adjustments and give the drone time to stabilize after each modification. Avoid making large, abrupt changes to the trim settings, as this can introduce new imbalance issues or unintended flight characteristics.
Continue to monitor the drone’s flight performance and make additional fine-tuning adjustments as necessary. Take note of any changes in environmental conditions or flight circumstances that may require further trim adjustments.
Remember to document the trim settings you have used for each control surface. This information can be helpful for future reference or if you need to reset the trim in the event of a flight issue or hardware/software update.
By testing and fine-tuning the trim settings, you ensure that your drone is optimized for stable flight and precise control. This step completes the process of resetting the trim and allows you to enjoy a improved flight experience.
Conclusion
Resetting the trim on your drone is an essential process to restore its stability, control, and optimal flight performance. By following the steps outlined in this guide, you can easily reset the trim settings and fine-tune them to achieve a seamless and controlled flight experience.
Understanding the importance of trim and its impact on your drone’s flight characteristics is crucial for every drone pilot. Trim allows you to correct imbalances, prevent drifting, and ensure steady hovering, ultimately resulting in smoother aerial footage and safer flights.
Knowing when to reset the trim is equally important. Whether you have experienced flight issues, made hardware changes, or are flying in different environmental conditions, resetting the trim can be a beneficial troubleshooting step to optimize your drone’s performance.
Remember to power on the drone and access the settings or menu to locate the trim settings. From there, you can reset the trim to its default values and proceed to calibrate the drone for accurate flight performance. Finally, test and fine-tune the trim settings based on the drone’s behavior for a customized and stable flight experience.
Always refer to the manufacturer’s instructions or user manual specific to your drone model for precise details on accessing the settings, resetting the trim, and calibrating the drone.
By following these steps and taking the time to reset and fine-tune the trim on your drone, you can ensure optimal flight stability, control, and a rewarding drone piloting experience. So, go ahead, reset that trim, and take to the skies with confidence and precision!