Introduction
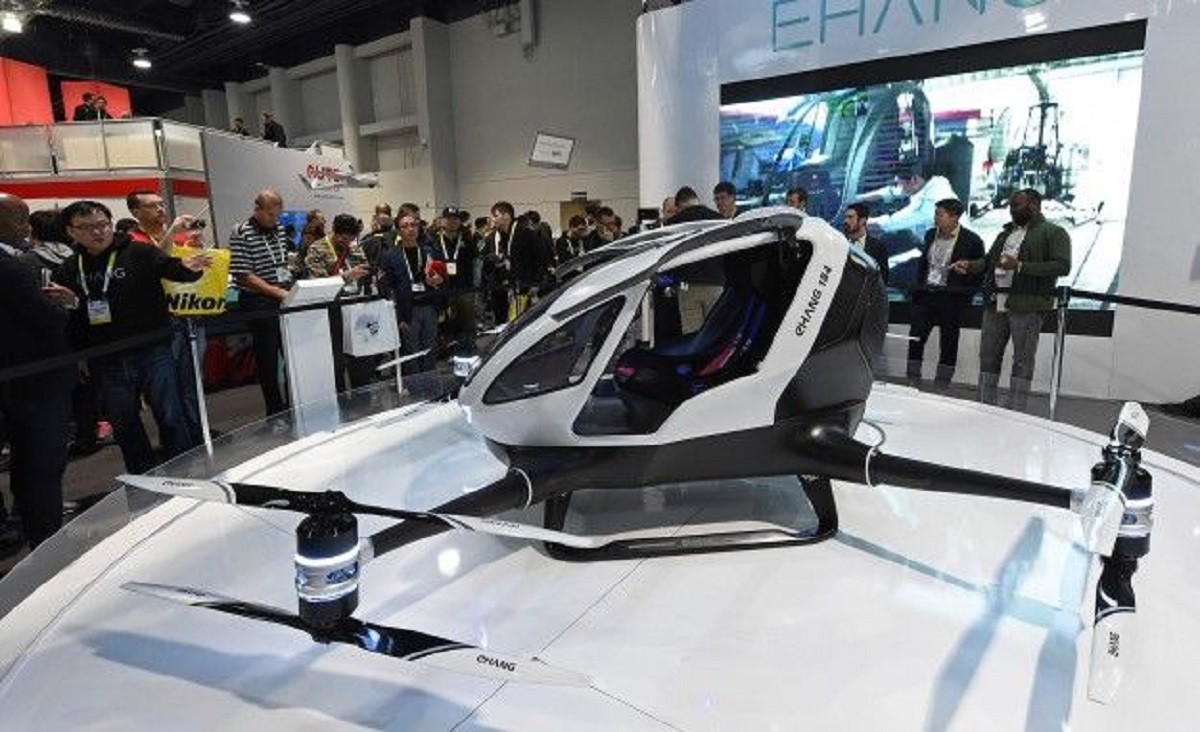
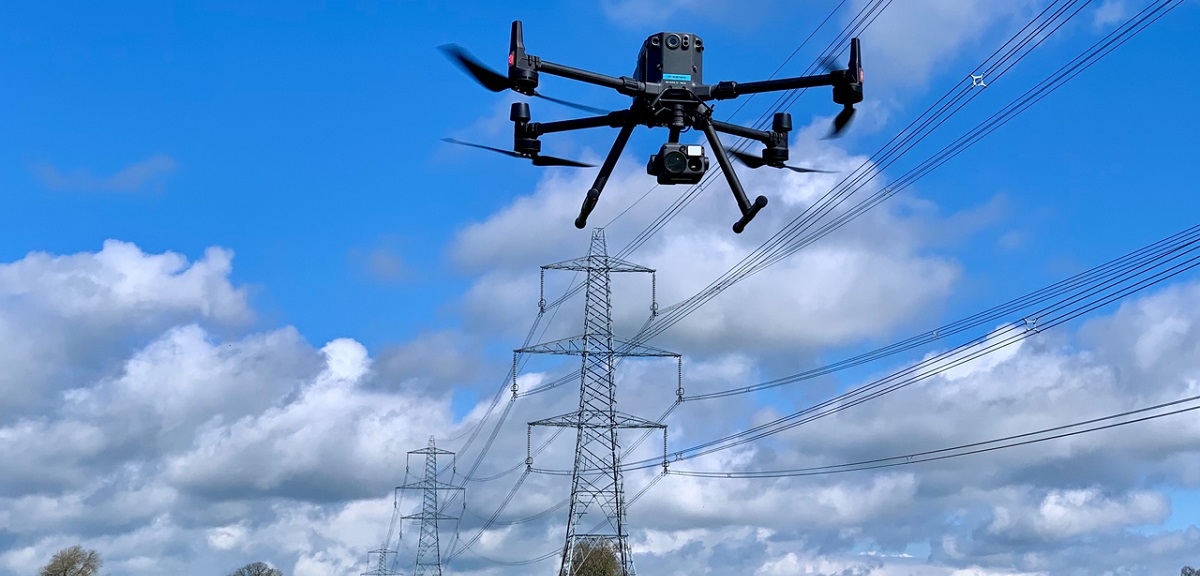
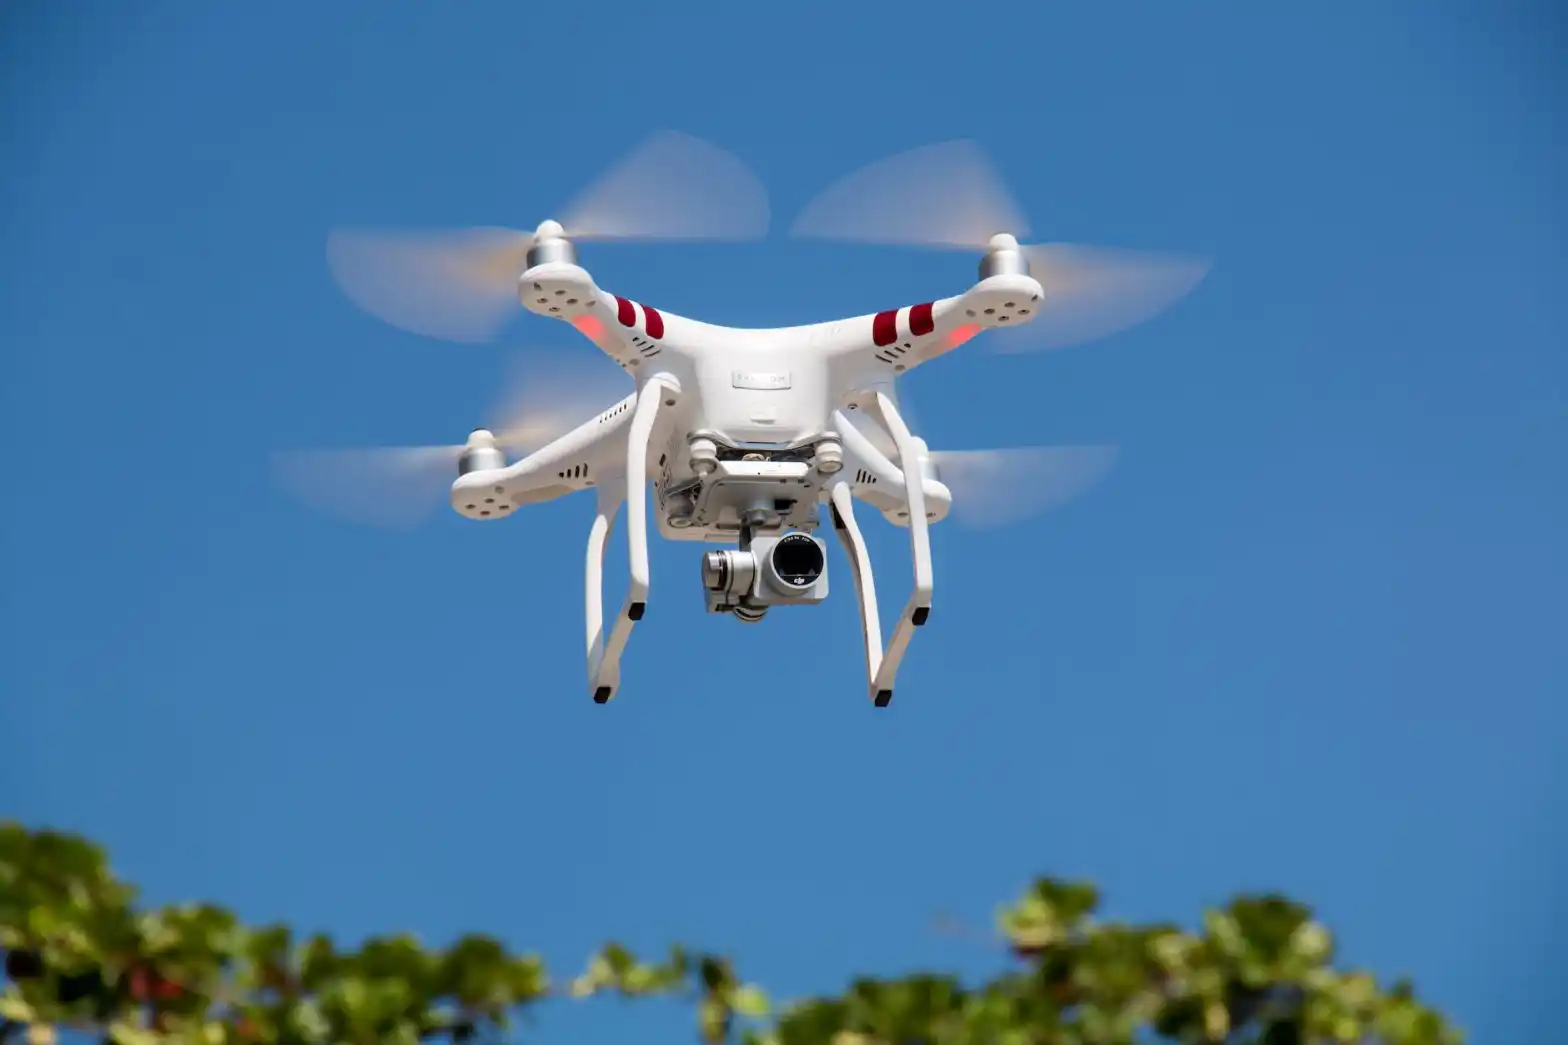
An autonomous drone is a revolutionary technology that has gained widespread popularity in recent years. These unmanned aerial vehicles (UAVs) are capable of navigating and completing tasks without human intervention. From aerial photography and videography to delivery services and agricultural applications, autonomous drones offer a wide range of possibilities.
In this article, we will explore the intricacies of making an autonomous drone, step by step. Whether you are a hobbyist looking for a new project or a professional seeking to integrate autonomous drones into your business, this comprehensive guide will provide you with the necessary information to get started.
Autonomous drones rely on a combination of hardware, software, and programming to function independently. By understanding these components and their integration, you can create a custom autonomous drone that meets your specific needs. From choosing the right drone to calibrating and testing its autonomy, we will cover every aspect of the process.
Before we dive into the technicalities, it’s important to note that building an autonomous drone requires basic knowledge of electronics, programming, and drone operations. If you are new to drones or lack experience in these areas, consider starting with a simpler drone project before attempting an autonomous build.
Now, let’s embark on this exciting journey into the world of autonomous drones and uncover the secrets behind their flight, navigation, and automation. By the end of this guide, you will have the knowledge and skills necessary to build your very own autonomous drone and explore the endless possibilities that this technology offers.
Overview of Autonomous Drones
Autonomous drones, also known as self-piloted drones, are unmanned aerial vehicles that can perform tasks without human intervention. These advanced drones rely on a combination of cutting-edge technologies, including sensors, GPS, cameras, and sophisticated algorithms, to navigate and make decisions in real-time.
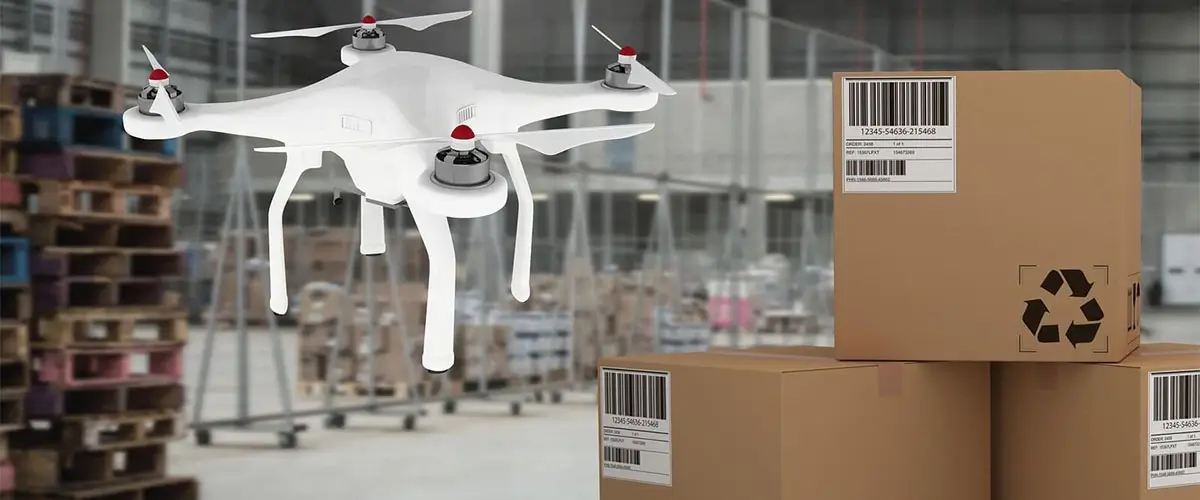
The main advantage of autonomous drones is their ability to operate independently, freeing humans from the need to control every aspect of flight. This autonomy opens up a wide range of applications in various industries, such as aerial photography and videography, mapping and surveying, search and rescue operations, agricultural monitoring, and even package delivery.
One of the key components that enable autonomous flight is the flight controller. This device acts as the brain of the drone, processing information from various sensors and executing commands to control the drone’s movement. Flight controllers are equipped with powerful processors and firmware that enable them to interpret data and make precise adjustments to maintain stability and navigate in complex environments.
Another crucial technology in autonomous drones is the Global Positioning System (GPS). GPS provides accurate positioning information, allowing the drone to calculate its location and plan routes. By combining GPS data with other sensors, such as accelerometers, gyroscopes, and magnetometers, drones can achieve stable and precise flight, even in challenging conditions.
Sensors play a vital role in the autonomy of drones by providing information about the drone’s environment. Proximity sensors, for example, detect obstacles and help drones avoid collisions. Cameras and image processing algorithms enable drones to identify and track objects, perform inspections, and capture high-quality imagery or video footage.
To achieve true autonomy, drones must also rely on advanced software and programming. By using programming languages such as Python or C++, developers can create algorithms that control the drone’s flight, navigation, and decision-making processes. These algorithms can range from simple path-planning to complex machine learning models that enable drones to learn and adapt to their surroundings.
Overall, autonomous drones offer a multitude of benefits, including increased efficiency, improved safety, and reduced human error. With the rapid advancement of technology, we can expect to see even more sophisticated autonomous drones in the near future, revolutionizing various industries and opening up new possibilities.
Choosing the Right Drone
When it comes to building an autonomous drone, selecting the right base drone is a critical decision. The choice of drone will depend on your specific requirements, budget, and intended applications. Here are some key factors to consider when choosing a drone for autonomy:
1. Size and Payload Capacity: Consider the size and payload capacity of the drone. If you plan to equip your drone with additional sensors, cameras, or other equipment, ensure that the drone can handle the extra weight without compromising its flight performance.
2. Flight Time: Look for drones with longer flight times, as this will allow your autonomous drone to cover more ground and perform more tasks before needing to recharge or land.
3. Stability and Maneuverability: Stable flight characteristics and good maneuverability are essential for autonomous drones. Ensure that the drone is equipped with suitable motors, propellers, and a well-designed frame to facilitate smooth and precise movements.
4. Availability of APIs and SDKs: Check if the drone provides APIs (Application Programming Interfaces) or SDKs (Software Development Kits) that allow developers to access and control the drone’s functionalities. These tools can greatly simplify the integration of your autonomous systems with the drone’s hardware and software.
5. Compatibility with Autonomy Systems: Ensure that the drone is compatible with the autonomy systems and components you plan to integrate, such as flight controllers, sensors, and GPS modules. Compatibility is crucial to ensure seamless communication and integration between the different components.
6. Budget: Consider your budget constraints when choosing a drone. However, it’s important to balance cost with quality and functionality. While there are budget-friendly options available, investing in a reliable and higher-end drone can yield better results in terms of performance and durability.
7. Reviews and Recommendations: Research and read reviews from other users who have used the drone you are considering. Look for feedback on its performance, reliability, and ease of integration with autonomous systems. Recommendations from experienced users can provide valuable insights and help you make an informed decision.
By carefully evaluating these factors, you can select a drone that aligns with your requirements and provides a solid foundation for building your autonomous drone. Keep in mind that flexibility and scalability are also important considerations, allowing you to add or modify components as your autonomy requirements evolve.
Essential Components for Autonomy
Building an autonomous drone requires integrating various components that enable it to navigate, make decisions, and perform tasks independently. Here are the essential components you will need to consider:
1. Flight Controller: The flight controller is the central component that controls the drone’s flight and stability. It processes data from sensors and executes commands to adjust the drone’s motor speed, orientation, and other parameters to maintain stable flight and respond to user inputs or autonomous algorithms.
2. GPS Module: A GPS module is crucial for autonomous drones as it provides accurate positioning and navigation. It allows the drone to determine its location, altitude, and orientation in real-time, enabling it to follow predefined routes, return to a specific location, or perform complex maneuvers with precision.
3. Sensors: Sensors play a vital role in autonomously perceiving the environment. Proximity sensors, such as ultrasonic or LiDAR sensors, help detect obstacles and enable obstacle avoidance capabilities. Additionally, altitude sensors, accelerometers, gyroscopes, and magnetometers provide essential data for stabilization, altitude control, and orientation sensing.
4. Camera or Imaging System: A camera or imaging system is essential for visual perception and capturing imagery or video. It can be used for various applications, such as object detection and tracking, mapping, inspection, or aerial photography and videography. Advanced imaging systems, such as thermal cameras or multispectral sensors, can further enhance the drone’s perception capabilities.
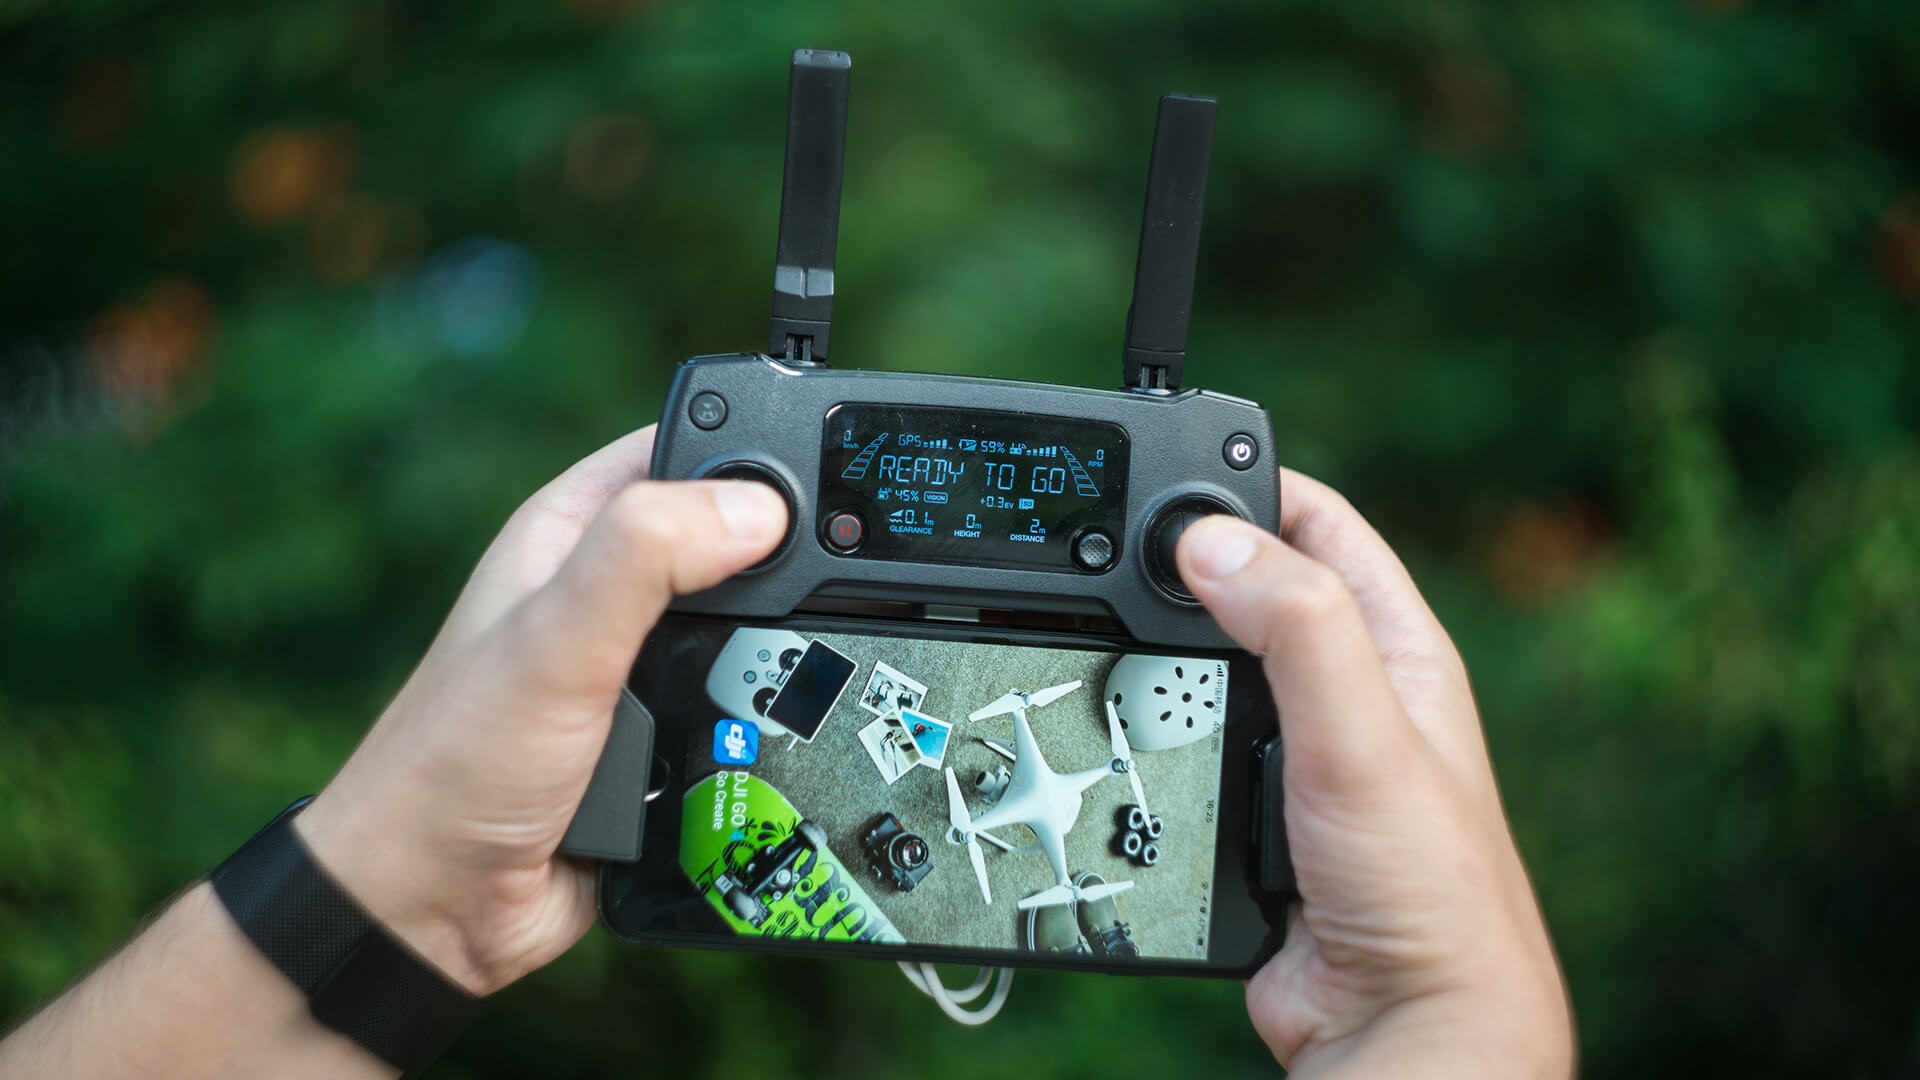
5. Connectivity Modules: Drones require reliable communication capabilities for transmitting data, receiving commands, and exchanging information with ground control stations or other devices. Wi-Fi, Bluetooth, or dedicated telemetry systems are commonly used for data transmission and remote control.
6. Power Systems: Autonomous drones need efficient and reliable power systems to ensure extended flight times and sufficient power supply for all components. This includes high-capacity batteries, power distribution boards, and voltage regulators to ensure stable and consistent power delivery to all components.
7. Autonomy Software: Autonomy software is the brain behind the drone’s autonomous capabilities. It includes algorithms for flight control, navigation, obstacle avoidance, path planning, and decision-making. The software can range from open-source platforms like ArduPilot or PX4 to custom-built software tailored to specific applications or requirements.
8. Frame and Propulsion System: The frame and propulsion system provide the physical structure and propulsion for the drone. The frame should be sturdy yet lightweight, allowing for easy integration of components. The propulsion system, including motors and propellers, should deliver sufficient thrust and control for stable and agile flight.
By carefully selecting and integrating these essential components, you can create a powerful and fully functional autonomous drone. Remember to ensure compatibility and consider the scalability of each component to accommodate future upgrades or modifications. The successful integration of these components will lay the foundation for the autonomy and performance of your drone.
Building the Drone Frame
When building an autonomous drone, constructing a sturdy and well-designed frame is essential to ensure stability, durability, and proper integration of components. The frame serves as the skeleton of the drone, providing structural support and housing for all the necessary hardware components. Here’s a step-by-step guide to building the drone frame:
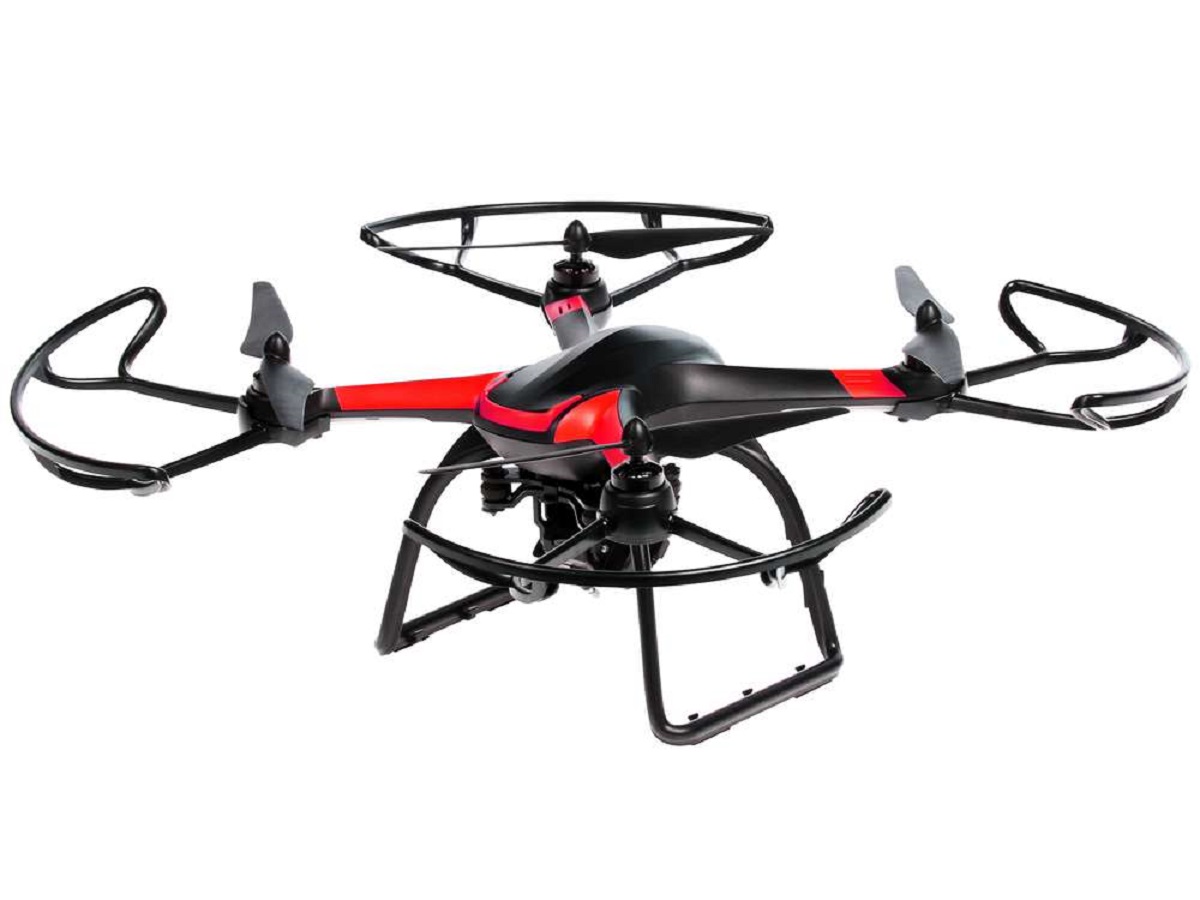
1. Select the Frame Type: Choose a frame type that suits your needs and intended applications. Common frame types include quadcopters (four arms), hexacopters (six arms), or octocopters (eight arms). Consider factors such as weight, payload capacity, and maneuverability while making your selection.
2. Material Selection: Select a suitable material for the frame, such as carbon fiber, aluminum, or lightweight plastic. Carbon fiber is popular due to its strength, lightness, and vibration dampening properties. However, it can be more expensive than other materials.
3. Frame Design and Dimensions: Design the frame with the necessary dimensions and features to accommodate your selected components. Consider factors such as the size of the flight controller, sensors, battery, and camera. Pay attention to the distribution of weight and balance to ensure stable flight characteristics.
4. Divide Frame into Sections: Divide the frame into separate sections or compartments to house different components. This separation allows for better organization, easier access during maintenance, and protection against interference between components.
5. Assemble Frame Components: Begin assembling the frame by attaching the arms or motor mounts to the main body. Ensure that each component is firmly connected and properly aligned. Use appropriate hardware, such as bolts, nuts, and spacers, to secure the connections.
6. Mount the Flight Controller: Install the flight controller on the frame, placing it at the center of the drone for optimal weight distribution. Follow the manufacturer’s instructions for mounting and connecting the flight controller securely.
7. Attach Other Components: Add the remaining components, such as the GPS module, sensors, camera, and connectivity modules, to their designated positions on the frame. Securely fasten these components using suitable mounting brackets or brackets designed for specific components.
8. Wiring and Cable Management: Carefully route and manage the wiring and cables to prevent tangling and interference. Use cable ties or clips to secure and organize the cables along the frame structure. Ensure that the cables are neatly tucked away and do not obstruct any moving parts.
9. Test and Fine-tune: Before proceeding, test the frame’s stability and ensure that all components are functioning properly. Perform necessary adjustments and fine-tuning to achieve optimal balance and stability.
By following these steps, you can build a well-structured and robust drone frame that provides a solid foundation for the integration of other essential components. Remember to consider the weight distribution, dimensions, and compatibility of the frame with your chosen components to ensure the successful assembly and operation of your autonomous drone.
Assembling the Flight Controller
The flight controller is the brain of an autonomous drone, responsible for processing input from various sensors and making calculations to control the drone’s flight and stability. Assembling the flight controller correctly is crucial for ensuring optimal performance and functionality. Here’s a step-by-step guide to help you assemble the flight controller:
1. Understand the Flight Controller: Begin by thoroughly reviewing the documentation and instructions provided by the manufacturer of your flight controller. Familiarize yourself with the specific features, functionality, and wiring requirements of your particular model.
2. Mounting Location: Determine the best mounting location for your flight controller. It should be placed in the center of the drone’s frame to ensure even weight distribution. Consider using foam or rubber mounting pads to reduce vibrations that may interfere with the flight controller’s sensors.
3. Wiring Considerations: Review the flight controller’s wiring diagram to understand how the different components need to be connected. Ensure that you have the necessary cables and connectors to make the required connections between the flight controller and the other components, such as the motors, GPS module, and sensors.
4. Connect the Power Distribution Board (PDB): If your drone utilizes a separate power distribution board (PDB), connect it to the flight controller using the appropriate cables. This connection allows the flight controller to draw power from the PDB and distribute it to the various components.
5. Connect the Motor Controllers: Connect the motor controllers, also known as electronic speed controllers (ESCs), to the flight controller. Follow the manufacturer’s instructions for proper wiring, ensuring that the correct motor is connected to its corresponding ESC.
6. Connect the GPS Module: If your drone incorporates GPS for navigation, connect the GPS module to the flight controller. Ensure that the GPS module is properly aligned and securely mounted to obtain accurate positioning data.
7. Connect the Sensors: If your autonomous drone includes additional sensors, such as accelerometers, gyroscopes, or proximity sensors, follow the manufacturer’s instructions to connect them to the flight controller. Carefully route and secure the sensor cables to prevent interference or damage.
8. Check and Secure Connections: Once all the connections are made, double-check for any loose or incorrect connections. Ensure that all cables are properly seated and secured to prevent them from detaching during flight.
9. Test the Flight Controller: Before proceeding, power on the drone and test the flight controller’s functionality. Verify that it is properly responding to inputs, such as throttle, pitch, roll, and yaw. Use the appropriate software or control interface to calibrate and configure the flight controller settings.
By following these steps and thoroughly understanding the specific requirements of your flight controller, you can assemble it properly and ensure that it integrates seamlessly with the other components of your autonomous drone. Assembling the flight controller accurately lays the foundation for precise flight control and the successful implementation of autonomy in your drone.
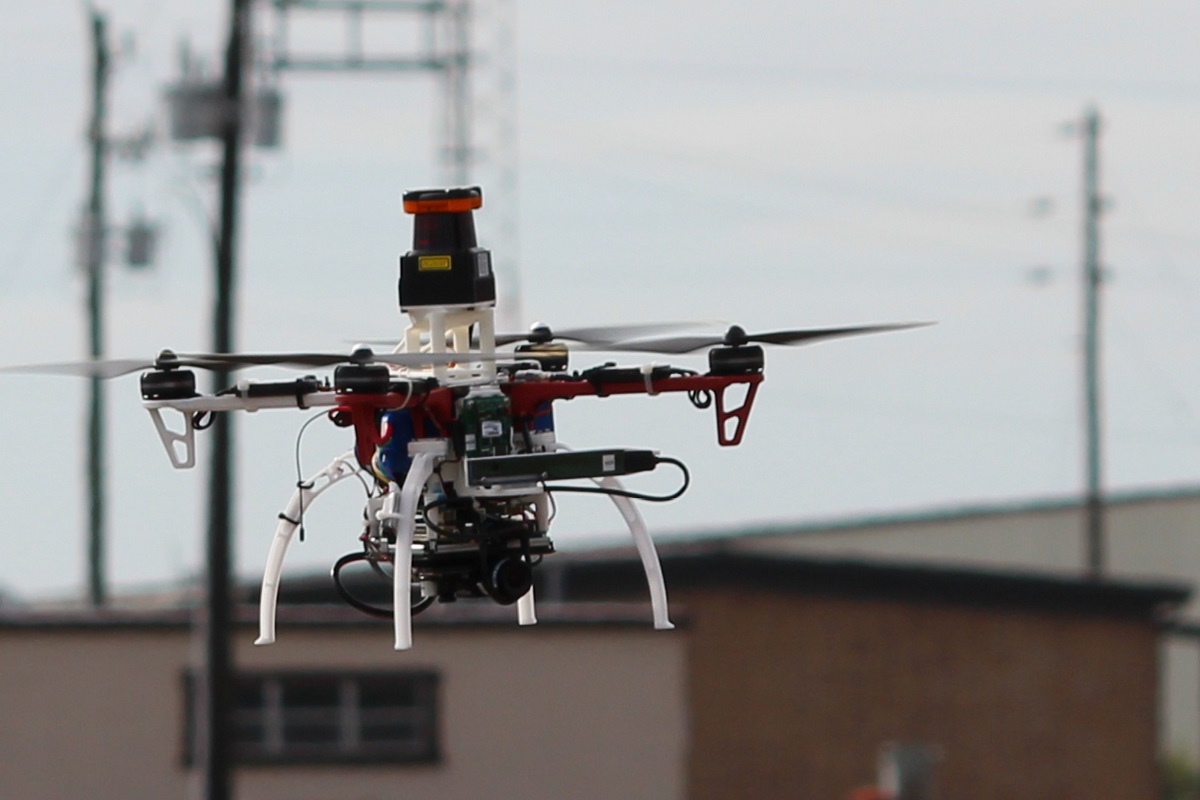
Adding Sensors for Navigation
Sensors play a crucial role in the navigation capabilities of an autonomous drone. By providing real-time data about the drone’s surroundings, these sensors enable accurate positioning, obstacle detection, and navigation in various environments. Here’s a guide on adding sensors for navigation:
1. GPS Module: The GPS module is a fundamental sensor for autonomous drones. It provides accurate positioning information, allowing the drone to determine its latitude, longitude, altitude, and heading. Connect the GPS module to the flight controller according to the manufacturer’s instructions.
2. IMU (Inertial Measurement Unit): An IMU consists of accelerometers, gyroscopes, and magnetometers that provide data on the drone’s orientation, acceleration, and magnetic field. These sensors are crucial for maintaining stability, calculating flight trajectories, and compensating for external forces.
3. Proximity Sensors: Proximity sensors, such as ultrasonic or LiDAR sensors, detect obstacles in the drone’s path and provide distance measurements. They are essential for maintaining a safe distance from objects during autonomous flight and enabling obstacle avoidance capabilities.
4. Optical Flow Sensors: Optical flow sensors use image processing techniques to measure the movement of the ground below the drone. They provide valuable data for altitude control, position hold in GPS-denied environments, and precise hovering even in the absence of external GPS signals.
5. Camera: A camera is a versatile sensor that can serve multiple purposes in autonomous drones. It can be used for object detection and tracking, visual navigation, mapping, aerial photography, and much more. Position and mount the camera securely to capture the desired field of view.
6. Thermal Imaging Sensor: For specific applications such as search and rescue or inspection, a thermal imaging sensor can be valuable. It enables the drone to detect heat signatures, identify anomalies, and conduct thermal inspections in various environments.
7. Sensor Fusion: Combining data from multiple sensors through sensor fusion techniques helps create a more accurate perception of the drone’s environment. Sensor fusion algorithms process data from various sensors and fuse it to obtain a comprehensive understanding of the surroundings and aid in navigation and decision-making.
8. Calibration and Integration: It is essential to calibrate and integrate the sensors properly. Follow the manufacturer’s instructions for calibration procedures and ensure that the sensor data is correctly interpreted and utilized by the flight controller or autonomy software.
When adding sensors for navigation, consider their compatibility with the flight controller and other components. Ensure that the sensors are securely attached and properly configured to provide reliable and accurate data. Integrating the right combination of sensors provides the drone with the necessary capabilities for autonomous navigation and enhances situational awareness during flight.
Configuring Software and Firmware
To ensure the proper functioning of an autonomous drone, configuring the software and firmware is essential. The software and firmware control various aspects of the drone’s behavior, including flight control, navigation, and autonomous features. Here’s a guide on configuring the software and firmware for your autonomous drone:
1. Choose the Right Software: There are several open-source software options available for autonomous drones, such as ArduPilot, PX4, or Betaflight. Research and select the software that best fits your needs, considering factors such as features, community support, and compatibility with your hardware.
2. Install and Update Firmware: Download and install the appropriate firmware for your flight controller. Ensure that you have the latest stable version of the firmware to benefit from bug fixes, performance improvements, and new features. Follow the manufacturer’s instructions on how to flash or update the firmware.
3. Configure Flight Modes: Define flight modes that suit your specific requirements. Typical modes include manual control, stabilize, position hold, return-to-home, or autonomous missions. Configure the flight controller to switch between these modes seamlessly and assign desired control settings for each mode.
4. Adjust PID Settings: PID (Proportional, Integral, Derivative) controllers contribute to stable flight by adjusting motor speeds in response to different inputs. Fine-tune the PID settings to achieve optimal stability, responsiveness, and agility. Experiment with different values and observe the drone’s behavior to find the best balance.
5. Set Navigation Parameters: Depending on your autonomous navigation requirements, configure parameters such as waypoint navigation, geofencing, or obstacle avoidance. Use the software’s documentation to understand the available parameters and adjust them according to your needs.
6. Configure Fail-Safe Settings: Establish fail-safe protocols to ensure the drone’s safety in case of a signal loss or critical system failure. Configure actions such as auto-landing, return-to-home, or hovering when the fail-safe conditions are met. Test these fail-safe settings thoroughly to ensure they work as intended.
7. Enable Telemetry and Data Logging: Enable telemetry to receive real-time information from the drone during flight, such as battery voltage, GPS coordinates, or sensor readings. Configure data logging to record flight data for analysis and troubleshooting purposes.
8. Test and Validate: After configuring the software and firmware, conduct extensive testing to ensure the proper functioning of the autonomous features. Start with simple flights and gradually increase the complexity of the missions to validate the drone’s behavior and autonomous capabilities.
Regularly update the software and firmware to benefit from the latest improvements and bug fixes. Stay connected with the software community for support and to learn about new features or enhancements that can further enhance your drone’s autonomy.
Programming the Drone’s Autonomy
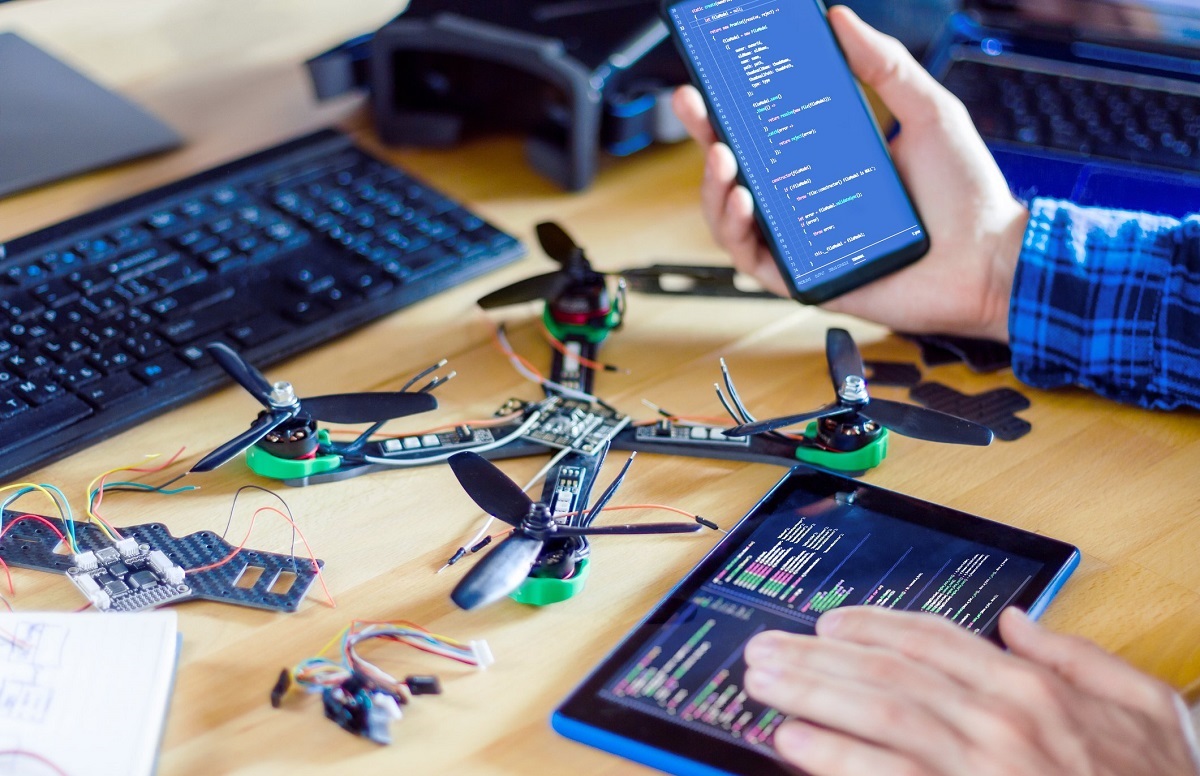
Programming the autonomy of a drone involves writing code that instructs the drone on how to perform tasks, make decisions, and navigate its surroundings. By programming the drone, you can create customized autonomous behaviors and add intelligence to its flight control system. Here are the steps to programming the autonomy of your drone:
1. Choose a Programming Language: Select a programming language that is compatible with your drone’s software or flight controller. Popular languages include Python, C++, or a scripting language specific to the drone’s software platform.
2. Understand the APIs and SDKs: Familiarize yourself with the APIs (Application Programming Interfaces) or SDKs (Software Development Kits) provided by the drone software or flight controller. These tools provide access to the drone’s functionality, allowing you to control its behavior and integrate additional features.
3. Define Autonomous Behaviors: Determine the specific behaviors you want the drone to exhibit autonomously. This could include tasks such as following waypoints, maintaining altitude and position, avoiding obstacles, or capturing images or video at specific locations. Break down these behaviors into smaller, manageable tasks.
4. Write Control Algorithms: Develop control algorithms that enable the drone to execute the desired autonomous behaviors. This may involve implementing path-planning algorithms, sensor fusion techniques, or machine learning models for decision-making and adaptive behavior.
5. Implement Error Handling: Account for possible errors or exceptions that may occur during autonomous flights. Implement error handling mechanisms to handle unexpected scenarios and ensure the drone can safely recover or take appropriate actions in such situations.
6. Test and Debug: Test the programmed autonomy of the drone in a controlled environment, such as an open field or indoor space. Make necessary adjustments to the code and parameters based on the observed behavior of the drone. Debug any issues or unexpected behavior that arise during the testing process.
7. Iterate and Refine: Continuously refine the autonomous behavior of the drone based on feedback and observations. Iterate through the programming process, incorporating improvements and enhancements to make the drone’s autonomy more robust and reliable.
8. Consider Safety Precautions: Keep safety as a priority while programming autonomous behaviors. Implement fail-safe mechanisms, such as emergency landings or return-to-home features, to ensure the drone’s safety in case of unexpected events or loss of control.
Programming the autonomy of a drone requires a combination of creativity, technical expertise, and understanding of the drone’s capabilities. Regularly update and maintain the codebase to adapt to changing requirements and leverage advancements in technology to enhance the drone’s autonomy even further.
Calibrating and Testing the Autonomous Drone
Once you have assembled the components and programmed the autonomy of your drone, it’s essential to calibrate and thoroughly test the drone to ensure its proper functioning and reliability. The calibration process ensures that the drone’s sensors, flight controller, and other components are accurately calibrated and optimized for optimal performance. Here are the steps for calibrating and testing your autonomous drone:
1. Sensor Calibration: Follow the manufacturer’s instructions to calibrate the sensors, including the IMU (Inertial Measurement Unit), compass, and GPS module. Sensor calibration ensures accurate data readings and stable flight performance.
2. Flight Controller Calibration: Calibrate the flight controller to establish accurate reference points for stable flight. This typically involves calibrating the accelerometer and gyroscopes. Refer to the flight controller’s documentation for specific calibration procedures.
3. Compass Calibration: Compass calibration is critical for accurate heading and orientation information. Follow the instructions provided by the flight controller or software documentation to perform compass calibration in a suitable location, away from magnetic interference.
4. Motor and Propeller Balancing: Ensure that all motors and propellers are properly balanced to reduce vibrations and ensure smooth flight performance. Unbalanced propellers can cause instability and affect the accuracy of altitude and position control.
5. Functional Testing: Conduct functional tests to ensure that all autonomous features, such as waypoint navigation, position hold, return-to-home, and obstacle avoidance, are working as expected. Verify that the drone responds correctly to various control inputs and follows the programmed behaviors.
6. Flight Testing: Perform flight tests in a controlled environment to evaluate the drone’s stability, responsiveness, and overall flight performance. Test different flight modes and autonomous behaviors to assess their functionality and accuracy.
7. Check Battery Performance and Flight Time: Monitor the drone’s battery performance and flight time during testing. Ensure that the battery is delivering the expected power output and that the flight time meets your requirements. Optimize power management settings if necessary.
8. Record and Analyze Data: Use telemetry and data logging features to record flight data, including sensor readings, control inputs, and flight parameters. Analyze this data to identify any anomalies or areas for improvement in the drone’s performance or autonomy.
9. Fine-Tuning and Iteration: Based on the testing results and analysis, fine-tune the drone’s autonomy parameters, control algorithms, or performance characteristics if required. Iterate through the calibration and testing process as needed to optimize the drone’s performance and autonomy.
Regular calibration and comprehensive testing are essential to ensure that your autonomous drone operates reliably and accurately. By performing thorough calibrations and tests, you can identify and address any issues or limitations of the drone, fine-tune its performance, and ensure a smooth and safe autonomous flight experience.
Conclusion
Building an autonomous drone is an exciting endeavor that requires careful planning, technical expertise, and attention to detail. Throughout this comprehensive guide, we have covered the essential steps to create your own autonomous drone, from choosing the right components to programming its autonomy and calibrating it for optimal performance.
By selecting the appropriate drone, assembling a sturdy frame, and integrating essential components such as the flight controller, sensors, and navigation systems, you can lay a solid foundation for autonomy. Programming the autonomous behavior of the drone allows you to define specific tasks, behaviors, and decision-making algorithms that cater to your desired applications.
It’s important to note that building an autonomous drone requires a level of knowledge and understanding of electronics, software development, and drone operations. If you are new to drones or lack experience in these areas, consider starting with simpler drone projects and gradually work your way up to building an autonomous drone.
Throughout the process, testing and calibration are critical to ensure the proper functioning and reliability of the drone. Thoroughly test the autonomous features, flight stability, and overall performance of the drone in controlled environments to uncover any issues or areas for improvement.
Remember, the world of autonomous drones is constantly evolving, with advancements in hardware, software, and algorithms occurring regularly. Stay up-to-date with the latest developments, firmware updates, and programming frameworks to enhance the capabilities and performance of your autonomous drone.
Building and exploring the possibilities of an autonomous drone is an engaging and rewarding experience. Whether you’re a hobbyist looking for new frontiers or a professional seeking innovative solutions for various industries, the potential applications of autonomous drones are vast. With the right knowledge, skills, and attention to detail, you can unleash the full potential of an autonomous drone and unlock exciting opportunities in aerial exploration, data collection, and much more.