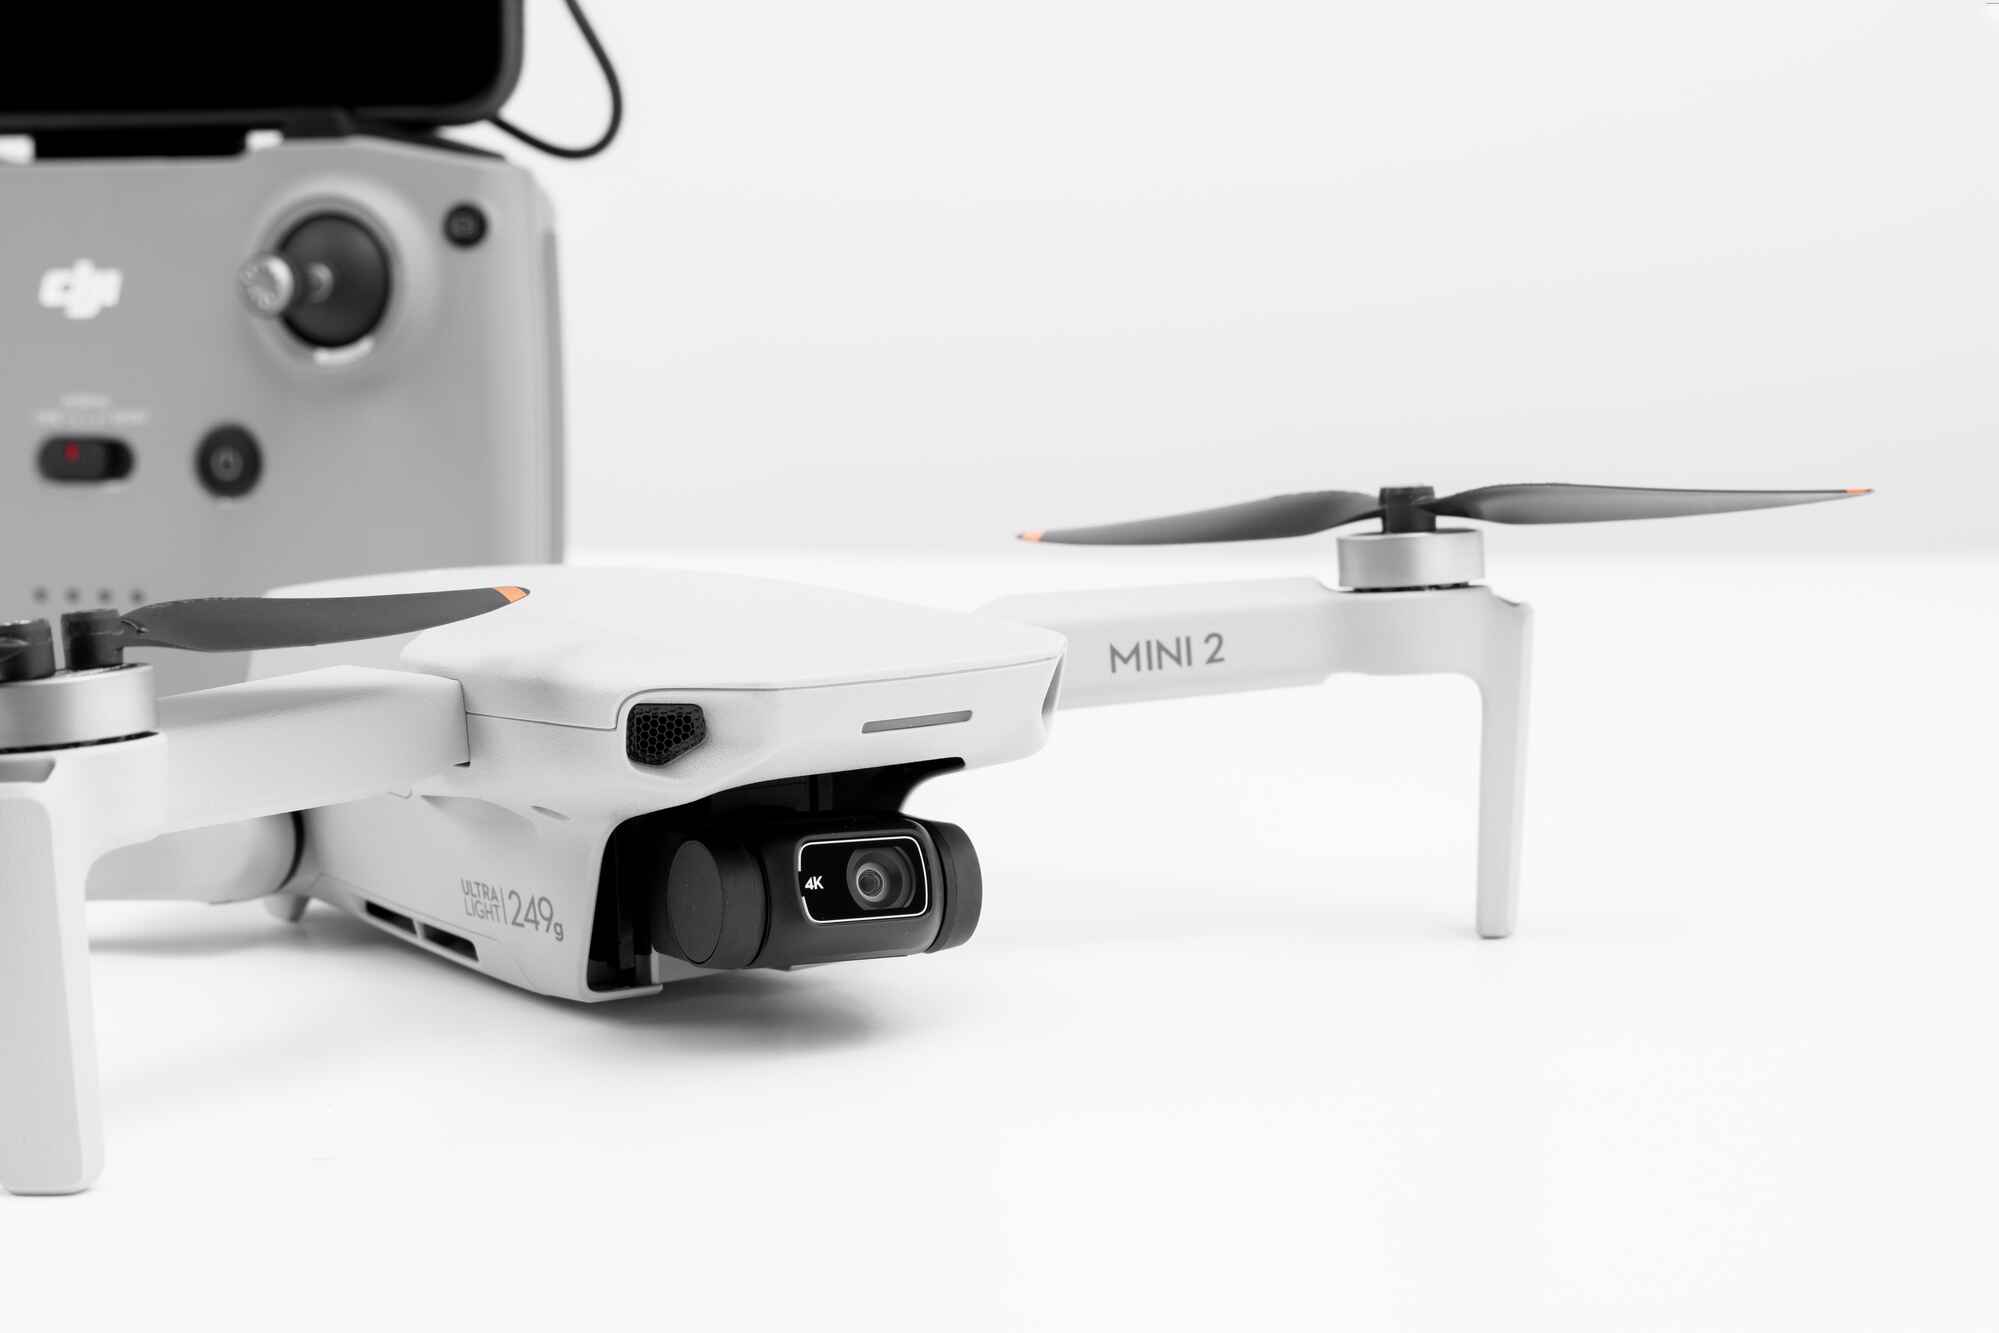
Introduction
Welcome to the exciting world of drone footage editing! If you’re passionate about aerial photography and videography, editing your drone footage can take it to the next level. Whether you’re a beginner or a seasoned pro, this guide will provide you with the essential steps to edit your drone footage like a pro.
Drone footage offers a unique perspective, capturing stunning aerial views that can elevate your videos to new heights. But turning raw drone footage into a polished and captivating final product requires skillful editing. From trimming and cutting clips to adding effects and graphics, there are several crucial steps to follow to create a visually stunning and engaging video.
In this guide, we will explore the step-by-step process of editing your drone footage. We will cover everything from choosing the right software to exporting and sharing your edited videos. By the end of this guide, you’ll have the knowledge and tools necessary to transform your raw drone footage into professional-looking videos.
Editing drone footage not only allows you to showcase your creative vision but also enables you to enhance the overall quality of your videos. Whether you’re shooting breathtaking landscapes, capturing action-packed sports, or documenting special events, the editing process will help you eliminate any unwanted elements, enhance colors and exposure, and create a seamless and engaging story.
While there are numerous software options available for editing drone footage, the techniques and principles covered in this guide can be applied universally. So regardless of the editing software you choose, you’ll be able to follow along and apply the knowledge to your own editing workflow.
So grab your favorite footage captured by your drone, buckle up, and get ready to dive into the wonderful world of editing drone footage. Let’s bring your aerial videos to life!
Choosing the Right Software
When it comes to editing your drone footage, choosing the right software is crucial. There are plenty of options available, each with its own set of features and capabilities. Here are some factors to consider when selecting the software that best suits your needs:
1. User-friendly Interface: Look for software that has an intuitive and user-friendly interface. This will make the editing process smoother and more enjoyable, especially if you’re new to video editing.
2. Compatibility: Ensure that the software you choose is compatible with your operating system. Whether you’re using Windows, macOS, or Linux, select a software that is supported on your platform.
3. Editing Tools: Consider the editing tools provided by the software. Look for features like trimming, cutting, and merging clips, as well as color correction, effects, and transitions. The more comprehensive the tools, the more creative freedom you’ll have in editing your footage.
4. Performance and Stability: Opt for software that is known for its performance and stability. Editing drone footage can be resource-intensive, so it’s essential to choose software that can handle the processing power required without crashing or slowing down.
5. Export Options: Check if the software supports a wide range of export formats and resolutions. This is particularly important if you plan on sharing your videos on various platforms or if you need specific output settings for professional purposes.
6. Learning Resources: Consider if the software offers tutorials, forums, or online resources to help you learn and improve your editing skills. Having access to a supportive community can be invaluable, especially when you encounter challenges or want to explore advanced techniques.
7. Price: Lastly, consider your budget. There are both free and paid options available, each with its own advantages and limitations. Evaluate the features and capabilities offered by different software options and choose the one that best fits your requirements without breaking the bank.
Some popular software options for editing drone footage include Adobe Premiere Pro, Final Cut Pro, Davinci Resolve, and iMovie. Each of these software has its own unique features and capabilities, so take the time to research and see which one aligns with your needs and skill level.
Remember, the software you choose is a valuable tool that will help bring your creative vision to life. Take your time to explore different options, test out trial versions if available, and choose the software that feels most comfortable and suits your style of editing. Once you’ve selected the right software, you’ll be ready to dive into the exciting process of editing your drone footage!
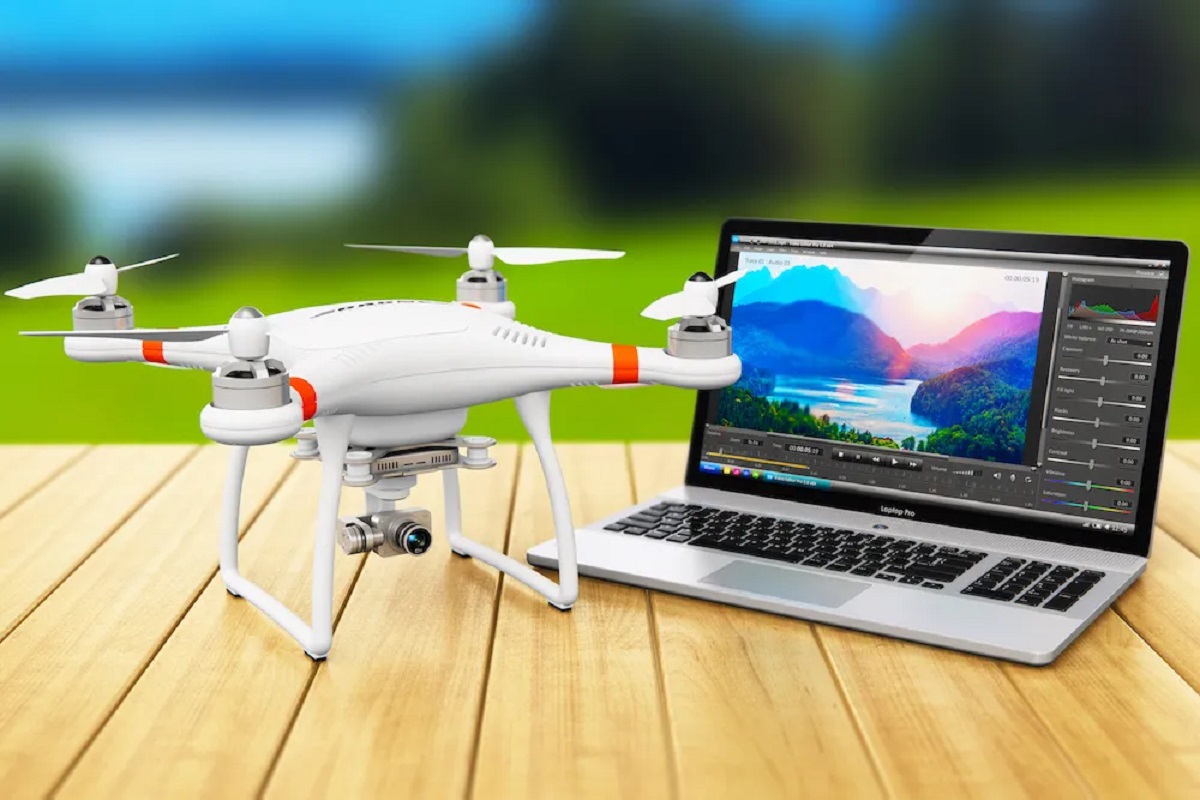
Importing Drone Footage
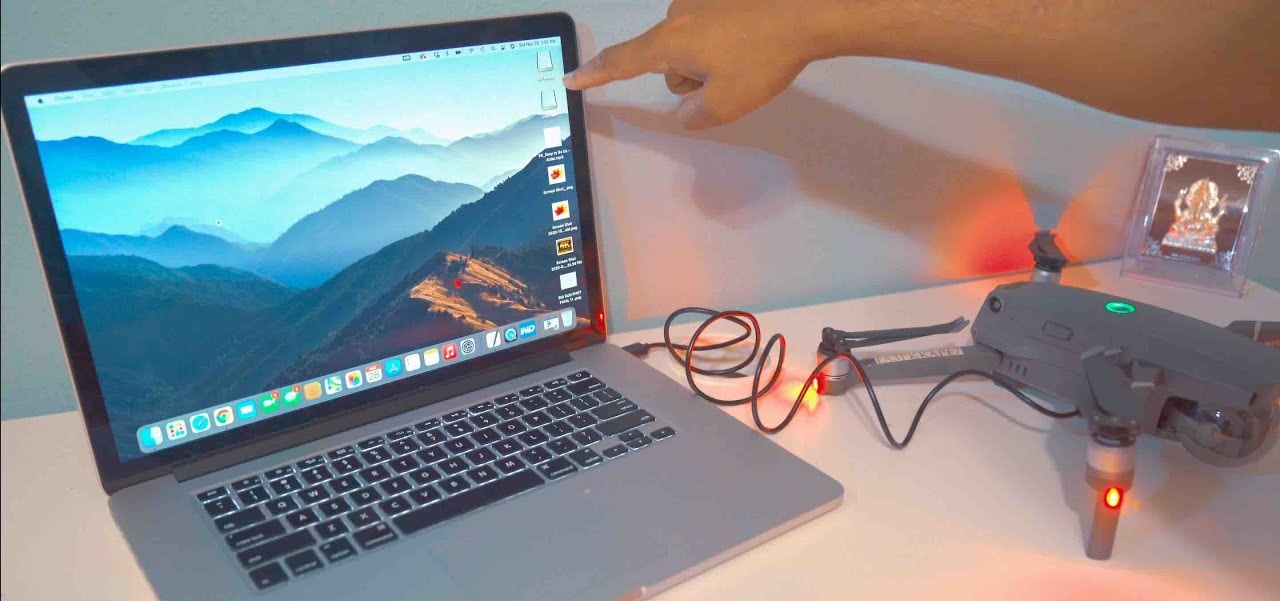
Once you have chosen the software for editing your drone footage, the first step is to import your raw footage into the editing software. Here’s how to do it:
1. Connect Your Device: Connect your drone, memory card, or storage device to your computer using the appropriate cables or adapters. Ensure that your computer recognizes the device and can access the files.
2. Create a New Project: Open your editing software and create a new project. This will provide a dedicated workspace for your editing process and ensure that all the imported footage is organized and easily accessible.
3. Locate the Footage: Within your editing software, find the import or media tab. Use this option to navigate to the location where your drone footage is stored. Locate the folder or files that contain the footage you want to import.
4. Import the Footage: Select the footage files you want to import and click on the import button. Depending on the software, you may have the option to select multiple files or entire folders to import at once. Ensure that all the necessary files are selected before proceeding.
5. Check the Import Settings: Once you click import, you may be presented with import settings or options. These may include settings for file formats, resolutions, frame rates, and other parameters. Review and adjust these settings as needed, keeping in mind the desired output of your edited video.
6. Start the Import Process: After confirming the import settings, start the import process. The software will begin transferring the selected footage files into your project workspace. The time required for the import process will depend on the size and number of files being imported.
7. Organize the Imported Footage: Once the import is complete, take some time to organize the imported footage within your editing software. Create folders or bins to categorize the footage based on scenes, locations, or any other relevant criteria. This will make it easier to locate specific clips during the editing process.
By following these steps, you will successfully import your drone footage into your chosen editing software. Now, you’re ready to begin the exciting journey of transforming your raw footage into a visually stunning and engaging video.
Organizing and Syncing Clips
Organizing and syncing your drone footage clips is an important step in the editing process. It helps you stay organized, easily locate specific shots, and ensure that audio and video are properly synchronized. Here’s how to effectively organize and sync your clips:
1. Review the Footage: Before diving into organizing and syncing, take some time to review all the imported clips. Familiarize yourself with the content and make note of any standout shots or sequences that you want to include in your edited video.
2. Create a Folder Structure: Within your editing software, create a folder structure to keep your clips organized. You can organize them based on the date, location, or any other criteria that make sense for your project. This will make it easier to navigate and locate specific clips during the editing process.
3. Rename Clips: Rename your clips with descriptive and meaningful names. Avoid generic names like “Clip001” or “Footage002.” Instead, use specific names that reflect the content of each clip, such as “Drone_Aerial_Sunset” or “Beach_Surfing_Shot.”
4. Use Keywords or Tags: Consider using keywords or tags to further categorize and label your clips. This can be helpful when searching for specific shots or themes later on in the editing process. For example, you can use tags like “landscape,” “action,” or “interview” to better identify the content of each clip.
5. Create Subclips or Markers: If you have lengthy clips that contain multiple distinct shots, consider creating subclips or adding markers within the clip. This will enable you to easily access specific sections of the footage without having to scrub through the entire clip.
6. Synchronize Audio and Video: If your drone footage includes separate audio recordings, syncing them with the corresponding video clips is essential. Most editing software has tools or features that automatically synchronize audio and video based on common timestamps or waveforms. This ensures that the audio remains in perfect sync with the visual content of your footage.
7. Arrange Clips by Sequence: Depending on the flow and narrative of your video, arrange your clips in chronological or thematic order within your editing software’s timeline. This will allow you to visualize the progression of your story and make the editing process more efficient.
By organizing and syncing your clips effectively, you’ll have a well-structured foundation for your editing workflow. This will save you time and make it easier to navigate through your footage as you start crafting your video.
Trimming and Cutting Footage
Trimming and cutting footage is a fundamental aspect of video editing that allows you to remove unwanted sections and create a cohesive and engaging narrative. By removing irrelevant footage, you can highlight the best moments and keep your video concise. Here’s how to trim and cut your drone footage effectively:
1. Scrub Through the Footage: Begin by scrubbing through your footage in the editing software’s timeline or preview window. This will help you identify sections that need to be trimmed or cut.
2. Set In and Out Points: Locate the specific section you want to trim or cut, and set the desired in and out points. The in point marks the starting frame of the section, and the out point marks the ending frame.
3. Use the Trim Tool: Use the trim tool in your editing software to remove the selected section between the in and out points. This will create a clean edit and seamlessly transition between the remaining clips.
4. Ripple Delete: Consider using the ripple delete feature, available in many editing softwares, to automatically close the gap created by cutting out a section. This allows your remaining clips to shift and fill in the space, maintaining the overall timing of your video.
5. Fine-tune the Edit: After making the initial trim, preview the resulting edit and fine-tune it if necessary. This involves making adjustments to the cut points and removing any remaining unnecessary frames to achieve a polished and visually appealing result.
6. Trim Both Video and Audio: When trimming or cutting footage, make sure to consider the audio as well. Ensure that the audio remains in sync with the revised visual content by trimming or adjusting the audio clips accordingly.
7. Maintain Smooth Transitions: Pay attention to the transitions between clips to ensure a smooth and seamless flow. Avoid abrupt starts or stops that may disrupt the viewing experience. Utilize transitions such as fades or cuts between the trimmed clips to create a visually pleasing transition.
8. Save Alternate Versions: If you’re unsure about the extent to which you want to trim a particular section, consider saving alternate versions of the edit. This allows you to compare and choose the best version without losing any of the original footage.
Trimming and cutting your drone footage is crucial for condensing your video and keeping it engaging. By removing unnecessary sections and focusing on the best moments, you’ll create a visually appealing and captivating final product.
Adjusting Color and Exposure
Color and exposure play a significant role in enhancing the overall visual quality of your drone footage. Properly adjusting these elements can help your footage appear more vibrant, balanced, and professional. Here are the key steps to adjust color and exposure in your drone footage:
1. White Balance: Start by correcting the white balance of your footage. The white balance ensures that the colors in your video appear accurate and natural. Use the white balance adjustment tools in your editing software to remove any color casts and achieve a neutral color temperature.
2. Exposure: Adjust the exposure levels of your footage to ensure proper brightness and contrast. Use the exposure controls to enhance shadow details and highlight areas while avoiding overexposure or underexposure. Aim for a balanced and visually appealing overall exposure.
3. Contrast and Saturation: Enhance the contrast and saturation levels of your footage to make the colors pop and create a more dynamic visual impact. However, be careful not to go overboard, as excessive contrast and saturation can result in an unnatural and artificial look.
4. Color Grading: Apply color grading techniques to give your footage a distinct and cohesive look. This involves adjusting the color tones and hues to create a specific mood or atmosphere. Experiment with different grading presets or manually adjust the color channels to achieve the desired effect.
5. Curves and Levels: Utilize the curves and levels adjustment tools to fine-tune the tonal range of your footage. This allows you to control the individual color channels and brightness levels to achieve a more balanced and professional look.
6. Spot Correction: If certain areas of your footage require specific adjustments, consider using spot correction tools. These tools allow you to selectively adjust the exposure, color, or saturation of specific regions within the frame, helping you fix any issues or enhance specific elements.
7. Match Footage: If you have multiple clips from different shots or angles, ensure a consistent look by matching the color and exposure of the footage. This will create a cohesive visual flow throughout your video and avoid jarring differences between clips.
8. Preview and Adjust: After making color and exposure adjustments, preview your footage to ensure that the changes are visually pleasing. Make any necessary refinements to achieve the desired result.
By carefully adjusting the color and exposure of your drone footage, you can significantly enhance its visual appeal and create a more professional and polished final product. Experiment with different adjustments, but also trust your artistic instinct to achieve a visual style that best suits your creative vision.
Adding Transitions and Effects
Transitions and effects can add flair, creativity, and visual interest to your drone footage. They help to seamlessly connect different clips, convey a specific mood, and enhance the overall storytelling. Here’s how you can effectively add transitions and effects to your edited drone footage:
1. Choose the Right Transitions: Select transitions that complement the style and tone of your video. Popular transitions include cuts, fades, dissolves, wipes, and slides. Use these transitions to smoothly transition between shots, create visual interest, and guide the viewer’s attention.
2. Timing and Duration: Pay attention to the timing and duration of your transitions. Ensure that they align with the rhythm and pace of your footage. Longer transitions can create a sense of anticipation or emphasize a significant change, while shorter transitions can create quick and seamless jumps between clips.
3. Transition Effects: Experiment with transition effects provided by your editing software. These effects can add unique visual elements to your transitions, such as light leaks, flares, or swipes. Be mindful not to overuse effects and keep them consistent with the overall style of your video.
4. Adding Text: Consider adding text overlays to provide additional context, captions, or to highlight important information within your drone footage. Use text tools in your editing software to choose fonts, colors, and animations that complement the style and mood of your video.
5. Layering Effects: Experiment with layering multiple effects to create a unique visual style. Blend different effects together or apply them selectively to specific parts of the frame. This allows you to add depth and visual interest to your footage.
6. Sound Effects: Enhance your footage by adding sound effects that complement the visuals. This can include environmental sounds, transitions, or other audio elements that enhance the overall impact of your video. Be sure to choose sound effects that align with the mood and theme of your footage.
7. Titles and Lower Thirds: If you want to introduce important elements or provide information within your video, utilize titles and lower thirds. These text elements appear on the screen, usually at the bottom, providing relevant information such as names, locations, or descriptions.
8. Preview and Refine: After adding transitions and effects, preview your edited footage to ensure that the additions enhance the visual appeal and storytelling of your drone footage. Make any necessary adjustments to timing, duration, or placement as required.
Adding transitions and effects is a creative opportunity to elevate your drone footage and make it more engaging. Experiment with different options, but also ensure that the transitions and effects support the overall narrative and style of your video.
Enhancing Sound Quality
Excellent sound quality is essential for creating a professional and engaging drone footage. By enhancing the audio elements of your video, you can effectively capture the ambiance, dialogue, and natural sounds to complement the visuals. Here are some steps to enhance the sound quality of your drone footage:
1. Remove Unwanted Noise: Begin by removing any unwanted background noise or disturbances from your audio tracks. Use noise reduction tools or filters available in your editing software to eliminate hums, hisses, or other distracting sounds that may have been captured during the recording.
2. Adjust Volume Levels: Ensure that the audio levels are balanced and appropriate throughout your footage. Normalize the volume levels to avoid abrupt changes from one clip to another. Adjust the volume of individual clips if needed, making sure that dialogue or important audio elements are clear and audible.
3. Use Audio Transitions: Smoothly transition between different audio tracks or clips using audio transitions. These transitions help to eliminate abrupt changes and create a seamless flow between different audio segments.
4. Add Ambient Sounds: Enhance the immersive experience of your drone footage by adding ambient sounds. Include nature sounds, such as wind rustling through trees or waves crashing on the shore, to create a realistic and captivating audio environment that complements the visuals.
5. Incorporate Music: Choose appropriate music tracks that align with the mood, tone, and theme of your drone footage. Music can greatly enhance the emotional impact of your video and create a captivating viewing experience. Ensure that the music does not overpower the other audio elements and that it blends well with the visuals.
6. Synchronize Audio with Video: Check that the audio remains perfectly synchronized with the visuals. Align and sync the audio tracks with the corresponding video clips to avoid any noticeable delay or mismatch between audio and visual elements.
7. Use EQ and Effects: Utilize the equalizer (EQ) and effects tools to further enhance the audio quality. Adjust the EQ settings to enhance certain frequencies or remove any unwanted emphasis. Experiment with effects like reverb or compression to add depth and clarity to the audio tracks.
8. Preview and Fine-tune: Once you’ve made the necessary adjustments, preview your drone footage with the enhanced sound quality. Fine-tune the audio elements as needed, making sure that the audio enhances the overall impact and supports the visuals.
By paying attention to sound quality and making the necessary enhancements, you can elevate the viewing experience of your drone footage. Capturing clear and immersive audio will bring your videos to life and create a more memorable and engaging final product.
Adding Text and Graphics
Text and graphics are powerful tools for conveying information, adding context, and enhancing the visual storytelling in your drone footage. By incorporating text overlays and graphics, you can provide additional details, emphasize key points, and engage your audience on a deeper level. Here’s how you can effectively add text and graphics to your edited drone footage:
1. Identify the Purpose: Determine the specific purpose of adding text or graphics to your footage. Is it to provide context, convey a message, or highlight important information? Identifying the purpose will help you craft your text and graphic elements accordingly.
2. Choose Fonts and Styles: Select fonts and text styles that align with the overall tone and theme of your video. Consider the readability and legibility of the text, ensuring that it stands out against the background and complements the visuals.
3. Create Text Overlays: Use the text tools within your editing software to create text overlays. Position the text strategically, taking into account the composition and focus of the footage. Experiment with different text sizes, positions, and animations to find the most visually appealing options.
4. Add Lower Thirds: Lower thirds are graphical overlays that appear at the bottom of the screen to provide additional information about people, locations, or events. Utilize lower thirds to introduce names, titles, or any relevant details. Choose a design that complements the style of your video.
5. Display Captions or Subtitles: If your drone footage includes dialogue or narration, consider adding captions or subtitles. This is especially useful when sharing videos on platforms with the option for closed captions, enabling viewers to understand the content even without sound.
6. Integrate Graphics: Besides text, you can also incorporate graphical elements such as logos, icons, or symbols. Use these graphics to enhance the visual storytelling, convey information, or create a consistent branding identity throughout your video.
7. Timing and Animation: Pay attention to the timing and animation of text and graphics. Ensure they appear and disappear at appropriate times, aligning with the pacing and flow of the footage. Consider using fade-ins, fade-outs, or other subtle animations to create smooth transitions.
8. Preview and Adjust: After adding text and graphics to your drone footage, preview the edited video to ensure that they enhance the storytelling and do not distract from the overall content. Make any necessary adjustments to the timing, placement, or design to achieve a visually cohesive and engaging result.
Adding text and graphics to your drone footage can greatly enhance the viewer’s understanding and connection with the content. Thoughtfully incorporating these elements will contribute to a visually appealing and informative final product.
Stabilizing Shaky Footage
Shaky footage can significantly impact the overall quality of your drone footage. However, there are various techniques and tools available to help stabilize the footage and produce smooth and professional-looking videos. Here’s how to stabilize shaky footage effectively:
1. Use Stabilization Tools: Most editing software offers built-in stabilization tools that can help reduce camera shake. Apply the stabilization effect to the shaky clip and adjust the settings to achieve the desired level of stabilization.
2. Warp Stabilizer: If your editing software supports it, utilize the warp stabilizer tool. This powerful tool analyzes the footage and applies advanced algorithms to stabilize the video by adjusting each frame’s position and rotation.
3. Manual Keyframing: For more precise control, consider manually keyframing the position and rotation of each frame to reduce shake. This technique requires more effort but allows you to customize the stabilization effect to your specific needs.
4. Crop and Scale: Another method to stabilize shaky footage is to crop and scale the video. By zooming in slightly and adjusting the framing, you can remove the unwanted shaky edges while still maintaining the main subject of the shot.
5. Plan Your Shots: To minimize shaky footage from the start, plan your shots strategically. Use stabilization equipment or techniques during the shooting process, such as gimbals or tripods, to capture smoother footage.
6. Post-Processing Adjustments: After stabilizing the footage, reevaluate the exposure, color, and other adjustments as the stabilization process can sometimes affect the overall visual quality. Make any necessary refinements to ensure the footage looks its best.
7. Preview and Fine-Tune: After applying stabilization, preview the footage to evaluate the effectiveness of the stabilization and make any additional adjustments if needed. Pay attention to any artifacts or distortions caused by the stabilization process.
8. Additional Techniques: For extremely shaky footage, consider combining multiple stabilization techniques, such as using both software stabilization and mechanical stabilizers during shooting, to achieve the smoothest results possible.
By stabilizing shaky footage effectively, you can greatly improve the quality and viewing experience of your drone videos. Experiment with different stabilization techniques and find the method that works best for your footage and editing software.
Exporting and Sharing Your Edited Drone Footage
Once you’ve completed editing your drone footage, it’s time to export and share your final video with the world. Follow these steps to ensure that your video is properly exported and ready for various platforms and viewing experiences:
1. Select the Right Format: Choose the appropriate video format for exporting your edited drone footage. Popular formats include MP4, MOV, and AVI. Consider the platform or device on which your video will be viewed to ensure compatibility.
2. Set the Desired Resolution: Determine the resolution at which you want to export your video. Common resolutions include 1080p (Full HD) or 4K for higher quality. Consider the original resolution of your footage and the intended viewing platform to strike the right balance between quality and file size.
3. Adjust the Bitrate: Set the video bitrate to ensure optimal playback quality and file size. Higher bitrates result in better video quality but larger file sizes. Consider the platform’s recommendations or your audience’s bandwidth capabilities when determining the bitrate.
4. Apply Compression: If necessary, apply compression to reduce the file size of your video. Compression techniques, such as using the H.264 codec, can significantly reduce file sizes without compromising too much on quality.
5. Consider Watermark or Logo: If desired, add a watermark or logo to protect your videos or add branding. Ensure that the watermark or logo does not obstruct the main content and remains consistent throughout the video.
6. Preserve Quality: When exporting, strive to retain the best possible quality. Avoid excessive compression or downscaling if it negatively impacts the overall viewing experience. Don’t sacrifice quality for the sake of smaller file sizes, especially if you’re sharing the videos for professional or promotional purposes.
7. Metadata and Tags: Add relevant metadata and tags to your exported video. This is especially important for online platforms or video sharing websites, as it helps with discoverability and search engine optimization (SEO). Include keywords, descriptions, and relevant tags to make your video more easily searchable.
8. Choose the Right Platform: Select the appropriate platform to share your edited drone footage. You can use video sharing websites like YouTube or Vimeo, social media platforms like Facebook or Instagram, or your own website or blog. Consider your target audience and the platform’s capabilities when making your decision.
9. Adhere to Platform Guidelines: Pay attention to each platform’s guidelines and specifications for uploading videos. Different platforms have specific requirements regarding video length, resolution, and file size. Familiarize yourself with these guidelines to ensure that your video is properly formatted and optimized for each platform.
10. Keep a Backup: Lastly, it’s crucial to keep a backup of your edited drone footage. Store copies on external hard drives, cloud storage services, or any other secure backup method. This ensures that you have a reliable copy of your work in case of any unexpected data loss or accidents.
By following these steps, you can successfully export and share your edited drone footage with the world. Remember to consider the intended audience, platform requirements, and quality preservation to ensure that your videos are viewed at their best.
Conclusion
Editing drone footage is an exciting and creative process that allows you to transform raw aerial imagery into captivating videos. By following the steps outlined in this guide, you’ll be equipped with the necessary knowledge and techniques to edit your drone footage like a pro.
From choosing the right software to organizing your clips, adjusting color and exposure, adding transitions and effects, enhancing sound quality, and finally exporting and sharing your edited videos, each step plays a crucial role in creating visually stunning and engaging drone footage.
Remember to balance the technical aspects of editing, such as trimming and stabilizing footage, with the artistic elements, like adding text, graphics, and music, to create a well-rounded and impactful video. Pay attention to the details and be mindful of the visual storytelling to ensure that your footage effectively communicates your intended message or story.
Additionally, it’s essential to continuously refine your skills and stay up to date with the latest editing techniques and trends. Experiment with different tools, transitions, and effects to develop your unique editing style and elevate your drone footage to new heights.
Lastly, enjoy the process of editing your drone footage. Embrace the creative possibilities and allow yourself to bring your artistic vision to life. With practice and dedication, you’ll refine your skills and produce visually stunning and captivating videos that will amaze and engage your audience.
Now, grab your drone and start capturing breathtaking footage, as the world of editing awaits your creative touch!