Introduction
Welcome to the exciting world of drone footage! Drones have revolutionized the way we capture breathtaking aerial shots, giving us a whole new perspective on the world around us. Whether you are an aspiring filmmaker, a hobbyist, or a professional photographer, having the ability to download drone footage to your computer is essential for editing, organizing, and sharing your videos and photos.
In this article, we will guide you through the process of downloading drone footage to your computer. We will cover the steps involved in connecting your drone to the computer, transferring the footage, organizing it for easy access, and finally, editing and enhancing your drone footage to make it truly spectacular.
But before we dive into the technicalities, let’s take a moment to appreciate the beauty and versatility of drone footage. The aerial perspective allows you to capture stunning landscapes, cityscapes, and even intimate moments with a unique and captivating view. It adds depth, drama, and a sense of wonder to your visual storytelling.
Whether you have just purchased your first drone or are already an experienced pilot, learning how to download your footage efficiently and effectively is crucial. By following the simple steps outlined in this article, you will be able to unleash the full potential of your drone and take your creative pursuits to new heights.
So, strap in, grab your drone controller, and get ready to explore the world of drone footage and how to download it to your computer. It’s time to turn your aerial adventures into stunning visuals that will captivate your audience.
Step 1: Connect the drone to the computer
Before you can download your drone footage, you need to establish a connection between your drone and your computer. This step may vary depending on the type and model of your drone, but the general process remains the same.
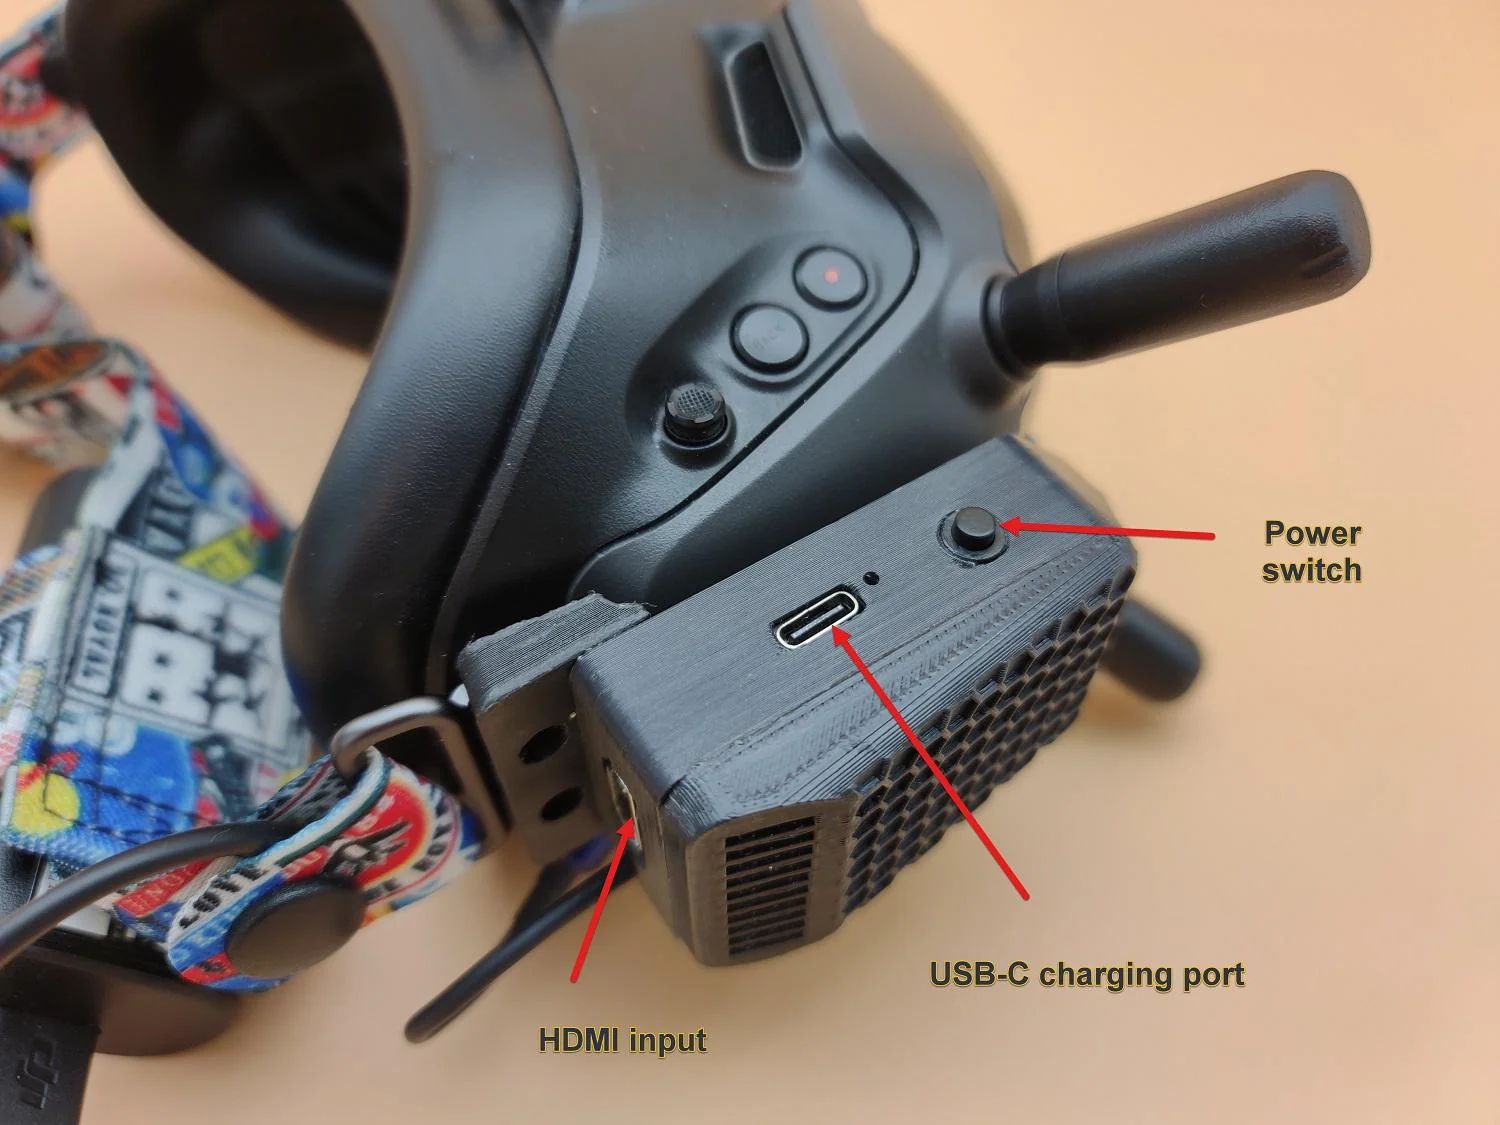
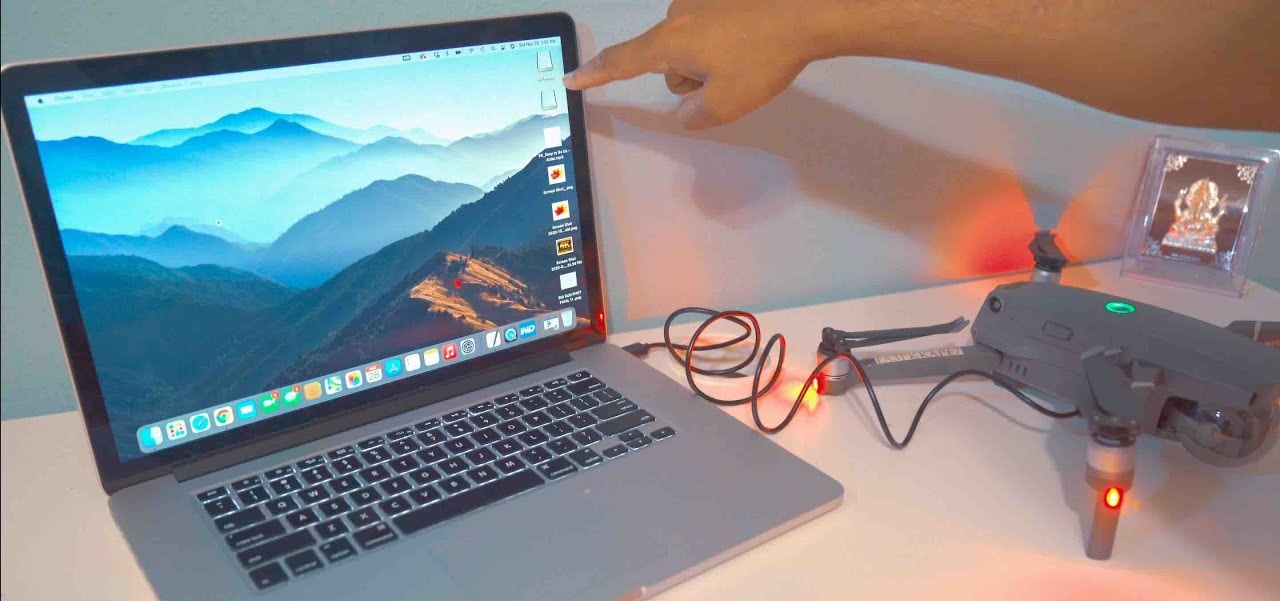
First, make sure that both your drone and your computer are powered on and ready for connection. Most drones use a USB cable or an SD card for data transfer. If your drone uses a USB cable, locate the appropriate USB port on your drone and connect it to a USB port on your computer. If your drone uses an SD card, remove it from the drone and insert it into the SD card slot on your computer or use an SD card reader.
Once the physical connection is established, your computer should recognize the drone as a removable storage device. It may appear as a new drive in your file explorer or on your desktop. If prompted, install any necessary drivers or software provided by the drone manufacturer.
Now that your drone is successfully connected to your computer, you can proceed to the next step of transferring the footage from the drone to your computer.
It’s important to ensure a stable and steady connection between your drone and computer while transferring the footage. Avoid moving the drone or disconnecting the cable or SD card during this process to prevent data loss or corruption. Now that you have successfully connected your drone to your computer, you’re ready to move on to the next step: transferring the footage.
Step 2: Transfer the footage from the drone to the computer
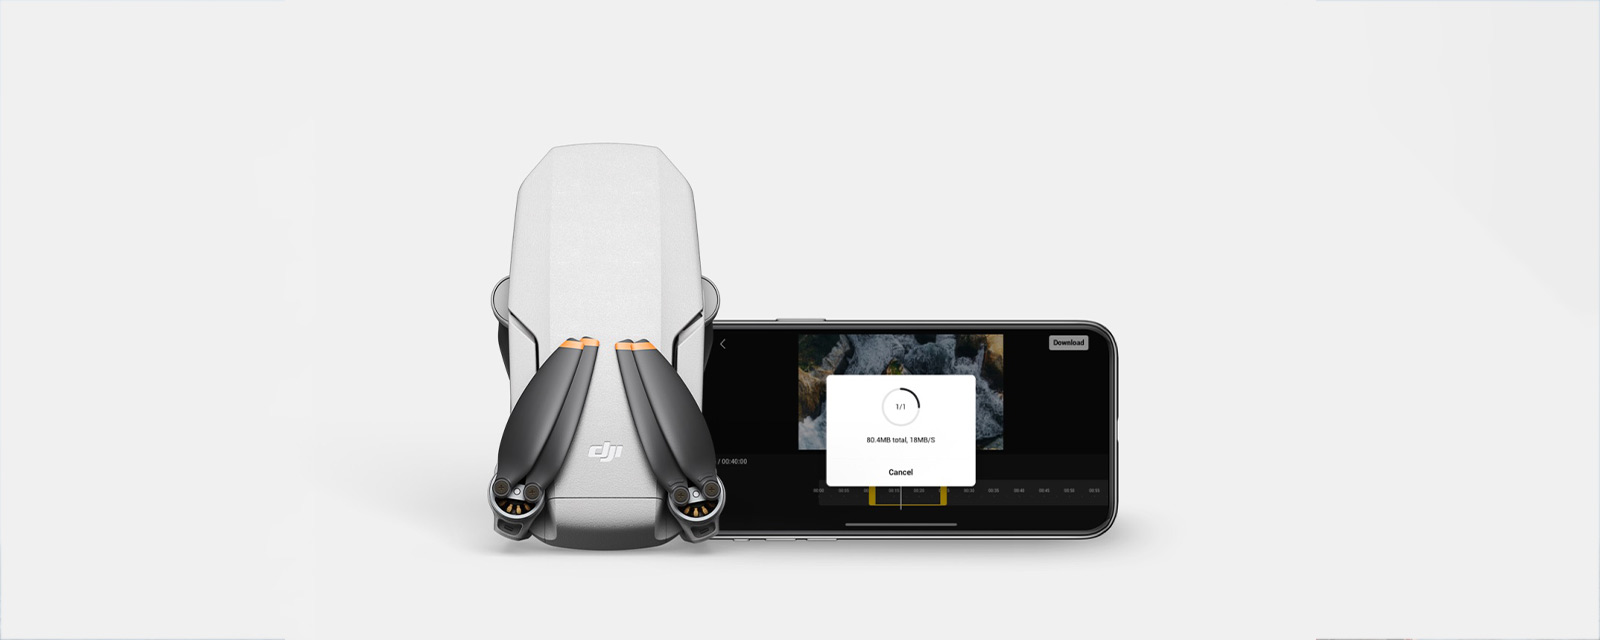
Now that your drone is connected to your computer, it’s time to transfer the footage from the drone’s storage to your computer. The method of transferring may vary depending on the drone model, but here are a few common ways to do so:
- Using file explorer: If your drone appears as a removable storage device in your file explorer, you can simply navigate to the drone’s storage location and locate the folder or files containing your footage. Select the files you want to transfer and copy them to a desired location on your computer’s hard drive.
- Using drone manufacturer’s software: Some drone manufacturers provide specific software that allows you to download and manage your drone footage. Install the software on your computer, connect your drone, and follow the instructions provided by the manufacturer to transfer the footage.
- Using an SD card reader: If your drone uses an SD card for storage, you can remove the SD card from the drone and insert it into an SD card reader connected to your computer. Once recognized, navigate to the SD card’s storage location using your file explorer and transfer the files to your computer.
During the transfer process, be patient, especially if you have large files or a slow transfer speed. It’s advisable to transfer the footage to a location on your computer where you have sufficient storage space available.
Once the transfer is complete, you can verify that the footage has been successfully transferred by checking the destination folder on your computer. Ensure that the transferred files are intact and not corrupted.
Remember to safely eject the drone or remove the SD card from the card reader before disconnecting it from your computer to prevent any potential data loss or damage.
Now that you have successfully transferred the footage from your drone to your computer, let’s move on to organizing the files for easy access and optimal workflow.
Step 3: Organize the drone footage on your computer
After transferring the drone footage to your computer, it’s crucial to organize the files in a systematic and efficient manner. This will not only make it easier to find specific footage when needed but also streamline your workflow during editing and post-processing.
Here are some tips to help you organize your drone footage:
- Create a dedicated folder: Start by creating a dedicated folder on your computer specifically for your drone footage. Name it something descriptive, like “Drone Footage” or “Aerial Videos,” to easily identify it in the future.
- Organize by location or project: Within the main drone footage folder, create subfolders to further categorize your videos. You can organize them by location if you frequently shoot in different places, or by project if you are working on specific assignments or events. This will help you stay organized and find your footage effortlessly.
- Use descriptive file names: Rename your video files with descriptive and meaningful names that convey the content or location of the footage. This will make it easier to identify specific videos at a glance without having to open each file. For example, instead of “DSC00123.mp4,” use a name like “Sunset_over_the_ocean.mp4”.
- Add metadata: To further enhance organization and searchability, consider adding metadata to your drone footage files. Metadata includes information such as keywords, tags, and descriptions that can be embedded within the file. This will allow you to quickly search for specific footage based on keywords or other criteria.
- Backup your files: It’s important to establish a regular backup routine for your drone footage. Consider using cloud storage services or external hard drives to create backup copies of your files. This will protect your footage from loss in case of computer malfunctions or accidents.
Taking the time to organize your drone footage will save you time and frustration in the long run. It will also help you maintain a clean and efficient workspace, enabling you to focus on the creative aspects of editing and enhancing your videos.
With your drone footage now neatly organized, let’s move on to the exciting step of editing and enhancing your videos to bring out their full potential.
Step 4: Edit and enhance your drone footage
Now that you have organized your drone footage, it’s time to unleash your creativity and transform your raw footage into captivating visual masterpieces. Editing and enhancing your drone footage will give it that professional touch and make it truly shine.
Here are some essential steps and tips to consider when editing and enhancing your drone footage:
- Select a video editing software: Choose a video editing software that suits your needs and skill level. There are many options available, from basic and user-friendly applications to advanced professional software. Some popular choices include Adobe Premiere Pro, Final Cut Pro, and DaVinci Resolve.
- Import your footage: Open your chosen video editing software and import the drone footage you want to work with. Locate the folder or subfolder where your organized footage is stored, and select the desired clips for your project.
- Arrange and trim clips: Drag and drop the clips onto the timeline in the order you want them to appear. Trim the clips to remove any unwanted or unnecessary parts, such as shaky footage at the beginning or end of the clip.
- Add transitions and effects: Enhance the visual flow and storytelling of your footage by adding transitions between clips. Experiment with different transition effects such as fades, dissolves, or wipes to create a seamless and engaging viewing experience.
- Color correction and grading: Adjust the color and tone of your footage to enhance its overall look and feel. This can be done through color correction and grading tools available in your video editing software. Experiment with different settings to achieve the desired mood and atmosphere.
- Overlay music or sound: Add a soundtrack or sound effects to complement your footage and evoke emotions. Choose music that matches the mood or style of your video. Ensure that the audio levels are balanced and synchronized with the visuals.
- Add text and graphics: If necessary, incorporate text overlays or graphics to provide context, captions, or additional information in your video. Use stylish fonts and design elements that are visually appealing but not overly distracting.
- Export and save your edited video: Once you are satisfied with your edits, export your video in the desired format, resolution, and quality. Choose a location on your computer to save the final edited video.
Remember, editing is a creative process, so don’t be afraid to experiment and try different techniques. Take your time to fine-tune the details and bring out the best in your footage.
With your drone footage now edited and enhanced, you are ready to share your stunning visuals with the world. Whether it’s through social media, online platforms, or personal projects, your drone footage is sure to make a lasting impression.
Conclusion
Congratulations! You have successfully learned how to download, transfer, organize, and edit your drone footage on your computer. By following these steps, you have unlocked the full potential of your drone and turned raw footage into compelling visuals.
Downloading drone footage to your computer is the first step towards creating stunning videos and photos. Remember to establish a stable connection between your drone and computer, whether through a USB cable or an SD card, before transferring the footage. Be patient during the transfer process, especially for larger files, and ensure that the files are copied without any corruption.
Organizing your drone footage is essential for efficient workflow and easy access to specific clips. By creating dedicated folders, organizing by location or project, and using descriptive file names, you can quickly find and work with your footage. Don’t forget to establish a backup routine to protect your valuable files from loss or damage.
Once your footage is organized, the editing and enhancement stage allows you to bring out the full potential of your drone footage. Explore various video editing software options, import your clips, trim, add transitions, adjust colors, overlay music, and incorporate text or graphics to create a visually stunning and engaging final product.
With your edited and enhanced drone footage, you can now share your artistic creations with the world. Whether it’s showcasing beautiful landscapes, documenting special events, or capturing unique perspectives, your drone footage is sure to leave a lasting impression on your audience.
Remember, the journey of capturing and editing drone footage is an ongoing process of learning, experimentation, and improvement. Continuously explore new techniques, stay up-to-date with software updates, and push the boundaries of your creativity.
So, strap on your drone, fire up your computer, and let your imagination soar as you capture, download, and create breathtaking visuals with your drone footage!