Introduction
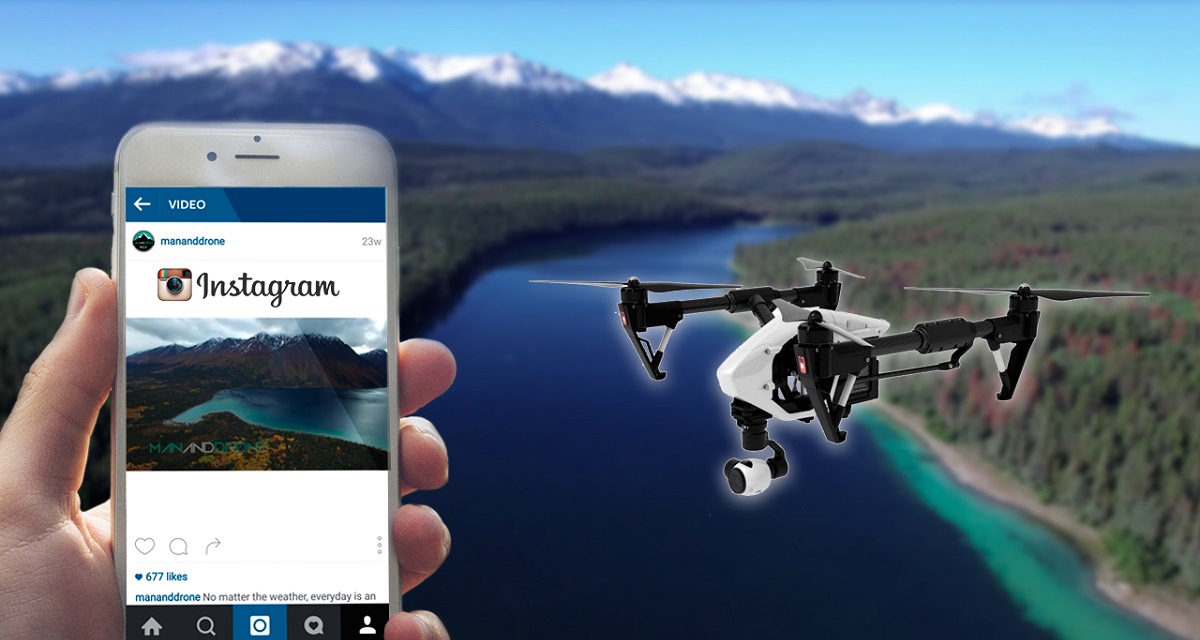
Welcome to the wonderful world of aerial videography with drones! Capturing stunning footage from above has become increasingly popular, and many drone enthusiasts are eager to share their creations on social media platforms such as Instagram. If you’ve recently been out flying your drone and have some amazing footage you want to showcase on your Instagram feed, you’ve come to the right place.
In this article, we will guide you through the process of uploading your drone footage to Instagram, ensuring that your videos look their best and engage your audience. From editing to posting, we will cover all the essential steps to make your aerial videos stand out in the crowded world of Instagram.
Whether you’re a professional drone pilot or just a hobbyist capturing breathtaking sights from above, Instagram provides an excellent platform to share your aerial adventures. With over a billion monthly active users, there’s no better place to showcase your creativity and connect with like-minded individuals who appreciate the beauty of aerial photography.
So, grab your drone, fire up your preferred video editing software, and let’s dive into the process of uploading your drone footage to Instagram!
Step 1: Edit your drone footage
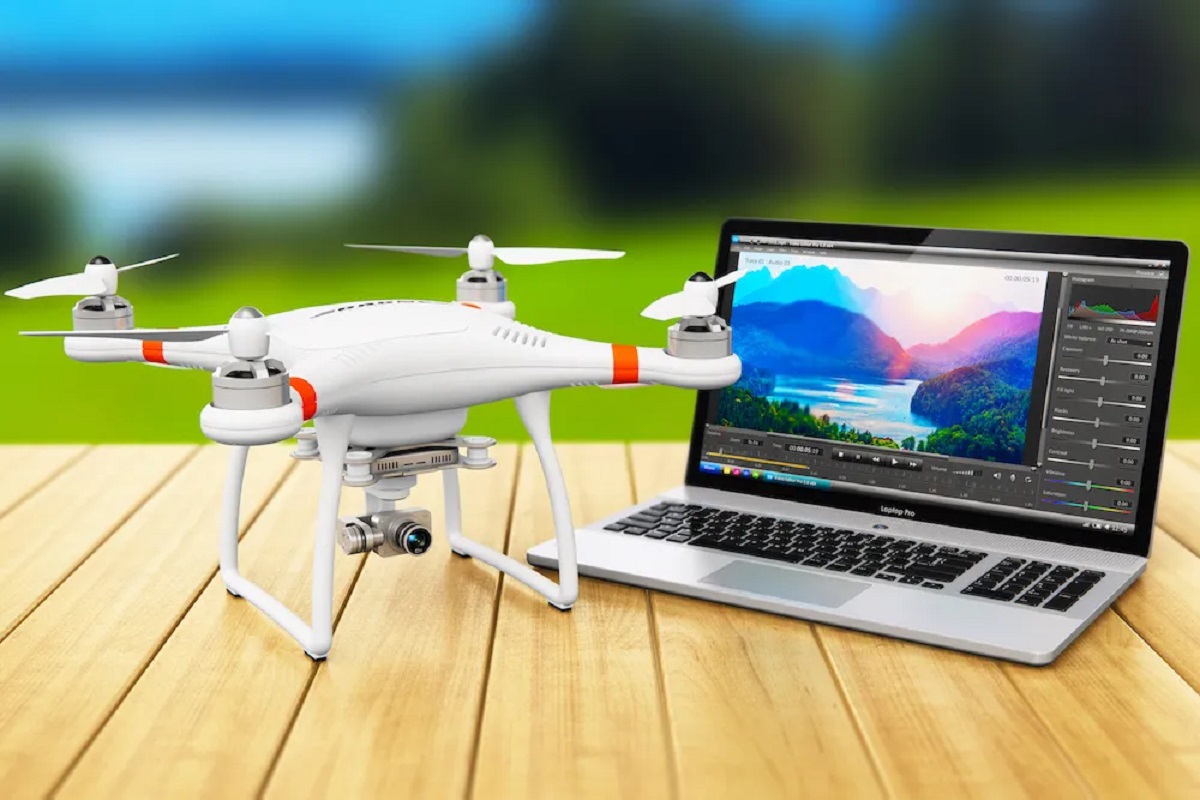
Before you can share your drone footage on Instagram, it’s essential to edit and enhance it to make it visually captivating. Editing software like Adobe Premiere Pro, Final Cut Pro, or even mobile apps like iMovie or Adobe Premiere Rush can help you trim, add effects, and improve the overall look of your video.
Start by importing your raw footage into your editing software of choice. Look for any shaky or unstable shots and stabilize them using the software’s built-in stabilization feature or plugins. This will smoothen the footage and make it more enjoyable to watch.
Next, review your footage and select the best clips that showcase the most compelling moments. Trim unnecessary sections and remove any footage that doesn’t contribute to the overall story you want to tell with your video. Keeping your video concise and focused will help maintain your viewers’ attention.
Once you have your selected clips, consider adjusting the colors, brightness, and contrast to enhance the visual appeal. You can make manual adjustments or apply preset filters available in your editing software to achieve a specific mood or style. Experiment with different settings to find the look that best suits your video.
In addition to color correction, you can also add transitions between clips to create a smooth flow from one scene to another. Transitions like cross dissolve or fade to black can help create a professional and polished look.
Don’t forget to add audio to your video if you had captured any while recording. You can incorporate ambient sound, music, or even voiceovers to enhance the overall experience for your viewers. Ensure the audio levels are balanced and that it complements the visuals.
Finally, render your edited video in a suitable format and resolution for uploading to Instagram. Keeping the aspect ratio at 16:9 and exporting in a high-quality format like MP4 or H.264 will ensure your video looks sharp and vibrant on Instagram.
With your drone footage now beautifully edited, it’s time to move on to the next step: transferring the video to your smartphone.
Step 2: Transfer the edited footage to your smartphone
Once you have finished editing your drone footage on your computer, the next step is to transfer it to your smartphone for easy uploading to Instagram. There are several methods you can use to transfer the edited video, depending on your devices and preferences.
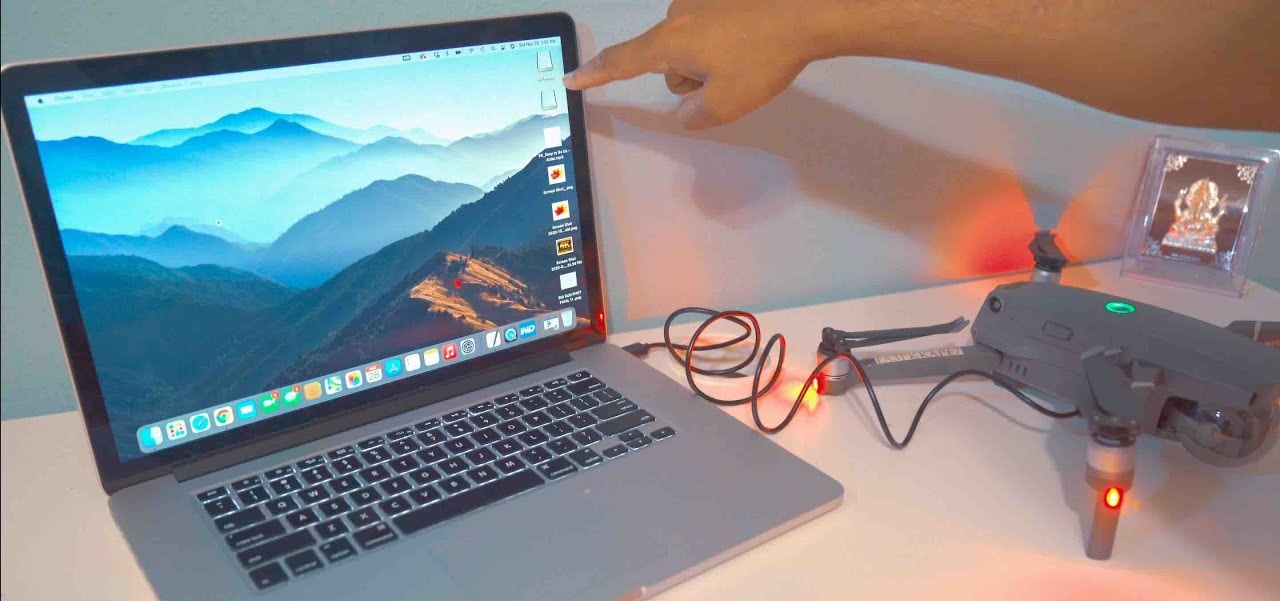
If you have a smartphone with a USB-C or Lightning connector, you can connect your smartphone directly to your computer using a USB cable. Set your smartphone to file transfer mode, and simply copy the edited video file from your computer to your phone’s storage.
Alternatively, you can make use of cloud storage services such as Google Drive, Dropbox, or iCloud. Upload your edited video to the cloud storage service from your computer and then download it onto your smartphone using the corresponding app. This method is especially useful if you’re working with large video files or if you prefer to have your edited videos accessible on multiple devices.
If you have a wireless transfer option, such as Apple’s AirDrop or third-party apps like Send Anywhere or Zapya, you can transfer the video wirelessly between your computer and smartphone. Ensure both devices are connected to the same Wi-Fi network or have Bluetooth enabled for seamless file transfer.
Whichever method you choose, make sure to check that the transferred video retains its quality and is playable on your smartphone. Double-check that the aspect ratio and resolution are maintained, as Instagram works best with specific video formats and resolutions.
Once the edited drone footage is successfully transferred to your smartphone, you’re ready to move on to the next step: opening the Instagram app and preparing to upload your video.
Step 3: Open the Instagram app and tap the “+” button
Now that your edited drone footage is on your smartphone, it’s time to open the Instagram app and start the uploading process. Begin by launching the Instagram app on your smartphone and logging into your account if you haven’t already.
Once you’re logged in, you’ll be taken to the Instagram home screen. In the center of the bottom navigation bar, you’ll find a large “+” button. Tap on this button to start the upload process. This will open up the upload screen where you can select the video from your smartphone’s gallery.
On the upload screen, you’ll see two tabs at the bottom: “Library” and “Camera.” Choose the “Library” tab to access your smartphone’s gallery and locate the edited drone footage you want to upload. Tap on the video to select it.
After selecting the video, you’ll be taken to the editing screen within the Instagram app. Here, you can make additional adjustments to the video before posting it. You can trim the video, apply filters, adjust the brightness, and even choose a cover frame that will be displayed as a thumbnail for your video.
Take your time to explore the various editing options and find the aesthetic that best represents your video. Instagram offers a range of filters and editing tools to enhance your footage and make it more visually appealing.
Once you’re satisfied with the edits, tap the “Next” button in the top-right corner of the screen to proceed to the next step: adding a caption, hashtags, and other details to your drone footage.
Step 4: Apply filters and make adjustments
Now that you’ve selected your video and accessed the editing screen within the Instagram app, it’s time to make additional adjustments and apply filters to enhance your drone footage.
Instagram offers a wide range of filters that can dramatically transform the look and feel of your video. To apply a filter, simply swipe left or right on the video preview to preview different filter options. Experiment with different filters to find the one that best complements the mood and style of your footage.
In addition to filters, you can also make manual adjustments to further enhance your video. Tap on the “Edit” option to access a range of editing tools, including brightness, contrast, saturation, and sharpness. Use these tools to fine-tune the visual elements of your video, ensuring it looks its best on Instagram.
While making adjustments, it’s important to maintain a natural and appealing look. Avoid over-editing, which can result in an artificial and unappealing appearance. Aim for a balanced and visually pleasing result.
Another important consideration when editing your video is its orientation. Instagram supports both landscape and portrait videos, but square videos tend to perform best on the platform. If your video wasn’t captured in a square format, you can use the “Crop” tool to adjust the aspect ratio and ensure it fits perfectly within the Instagram frame.
Through the editing process, keep in mind the overall aesthetic and style you want to convey with your drone footage. Consistency in editing can help establish your unique visual brand and make your videos recognizable to your audience.
Once you’re satisfied with the edits, tap the “Next” button to proceed to the next step: selecting a cover frame for your video.
Step 5: Choose a cover frame for your video
Choosing an eye-catching cover frame is an important step in making your drone footage stand out on Instagram. The cover frame is the static image that will be displayed as a thumbnail for your video in the Instagram feed. It acts as a preview and plays a crucial role in grabbing the attention of your audience.
When you reach the cover frame selection screen in the Instagram app, you’ll see a grid of frames extracted from your video. Browse through these frames and choose the one that best represents the essence of your video and entices viewers to click and watch.
The ideal cover frame should be visually appealing, provide a glimpse of the video’s content, and evoke curiosity. Look for frames with vibrant colors, interesting composition, or a captivating subject that will immediately catch the viewer’s eye.
If the automatic frame selection doesn’t offer a suitable option, you can manually select a frame by dragging the navigation bar along the timeline below the video preview. Pause at a frame that captures the essence of your footage and reflects its overall mood and story.
Remember that the cover frame can play a significant role in attracting viewers and encouraging engagement, so invest time in finding the perfect frame that accurately represents your drone footage.
Once you’ve chosen the cover frame, click the “Next” button to proceed to the next step: writing an engaging caption and including relevant hashtags.
Step 6: Write an engaging caption and include relevant hashtags
Now that your drone footage and cover frame are selected, it’s time to craft an engaging caption that complements your video and connects with your audience on Instagram. A well-written caption can provide context, evoke emotions, and spark conversations around your video.
Start by considering the story or message you want to convey with your drone footage. Is there a specific theme or narrative you want to highlight? Use the caption to provide some background information, share your thoughts, or invite viewers to share their own experiences related to the video.
Be creative and descriptive in your caption, but also keep it concise. Captions that are too long may lose the attention of your audience. Aim for a length that is engaging and easy to read.
In addition to the caption, make sure to include relevant hashtags that will boost the discoverability of your video on Instagram. Research popular and trending hashtags related to your drone footage, such as #aerialphotography, #dronevideo, or specific hashtags related to the location or subject matter of your video.
Using relevant hashtags can help your video reach a wider audience and attract viewers who are interested in the same topics. However, avoid overloading your caption with too many hashtags, as it can appear cluttered and detract from the aesthetic of your post. Aim for a mix of popular and niche hashtags that accurately represent your video.
Lastly, consider adding a call-to-action in your caption to engage your viewers. Encourage them to like, comment, or share your video, or ask them a thoughtful question related to the footage to spark conversations. Engaging with your audience is key to building a community and fostering connections on Instagram.
Once you’ve written an engaging caption and included relevant hashtags, you’re ready to move on to the next step: tagging relevant accounts and adding a location if desired.
Step 7: Tag relevant accounts and add a location if desired
To maximize the reach and engagement of your drone footage on Instagram, it’s important to tag relevant accounts and consider adding a location to your post. This step helps connect your video to specific individuals, communities, or locations, increasing the chances of wider exposure and interaction.
When you reach the tagging and location screen in the Instagram app, you have the option to tag other accounts that are featured in your drone footage. If you captured footage in collaboration with other drone enthusiasts or if there are notable landmarks or individuals in your video, tag their Instagram accounts in your post. This not only gives credit to the people or places involved but also increases the likelihood of users discovering your content through those accounts.
To tag an account, simply type the “@” symbol followed by the username in the appropriate field. As you type, Instagram will generate options based on the characters you’ve entered. Select the correct account from the suggestions and repeat the process for any additional accounts you want to tag.
In addition to tagging accounts, you can also add a location to your post if desired. This is particularly useful if your drone footage was captured in a notable or recognizable location. By adding a location, your video may appear in the Instagram Explore page and reach a wider audience interested in that specific area.
To add a location, tap on the “Add Location” field and type in the name of the place. Instagram will provide suggestions based on the text entered. Select the correct location from the suggestions, and it will be added to your post.
Tagging relevant accounts and adding a location not only improves the discoverability of your drone footage but also creates connections within the Instagram community. It allows you to engage with individuals and communities who share an interest in the subject matter or location of your video.
Once you’ve tagged relevant accounts and added a location, you’re one step away from sharing your drone footage on Instagram: sharing the post and tracking engagement.
Step 8: Share to Instagram and track engagement
With your drone footage fully edited, captioned, tagged, and location added, it’s time to share your masterpiece with the world. Tap the “Share” button in the Instagram app to publish your video to your feed, making it visible to your followers and potentially attracting new viewers.
Once your video is shared, you can begin tracking the engagement and impact it has on your audience. Instagram provides several tools and metrics to help you analyze the performance of your content.
One of the key metrics to monitor is the number of likes and comments your video receives. Likes indicate the overall reception and appreciation of your content, while comments provide an opportunity for direct interaction and feedback from your viewers. Engage with your audience by responding to comments and fostering conversations related to your drone footage.
Another valuable metric to consider is the reach and impressions of your post. Reach represents the number of unique accounts that have seen your video, while impressions represent the total number of times your video has been viewed, including repeat views. These metrics can help you gauge the visibility and reach of your content on Instagram.
Additionally, Instagram provides insights on the demographics and behaviors of your audience through the “Instagram Insights” feature. This valuable information allows you to understand who is watching your drone footage and tailor your content to better align with their interests and preferences.
Keep an eye on these metrics and use them to gather insights and make improvements for future drone footage uploads. Experiment with different captions, hashtags, or editing styles to see how they impact engagement and reach.
Remember, tracking engagement is an ongoing process. Regularly check your post’s performance, respond to comments, and interact with your audience to nurture a vibrant and engaged community around your drone footage.
Congratulations! You’ve successfully uploaded your edited drone footage to Instagram and started tracking its engagement. Now it’s time to continue capturing breathtaking aerial visuals and captivating your audience with your creativity and storytelling abilities.
Conclusion
Congratulations on successfully uploading your drone footage to Instagram! By following the steps outlined in this guide, you have learned how to edit your footage, transfer it to your smartphone, apply filters, choose a cover frame, write engaging captions, tag relevant accounts, add a location, and track engagement. Now, your stunning aerial videos can captivate your Instagram audience and showcase your creativity.
Remember, the key to making your drone footage stand out on Instagram lies in the combination of compelling visuals, thoughtful edits, and engaging captions. Take the time to hone your editing skills, experiment with different styles and techniques, and learn from the feedback and engagement you receive from your audience.
As you continue to share your drone footage on Instagram, consider exploring new avenues to expand your reach and connect with a wider audience. Collaborate with other drone enthusiasts, participate in relevant communities and hashtags, and engage with your followers through comments and messages.
Furthermore, stay up to date with the latest trends, features, and updates on the Instagram platform. The social media landscape is ever-evolving, and by keeping informed, you can make the most of the available tools and opportunities to showcase your drone footage to the world.
Most importantly, have fun and enjoy the journey of sharing your aerial adventures on Instagram. Let your passion and creativity shine through your videos, and use the platform to connect with other individuals who share your enthusiasm for the beauty and wonder of aerial photography.
Now, it’s time to take flight once again, capture breathtaking footage with your drone, and continue sharing your awe-inspiring videos with the Instagram community.