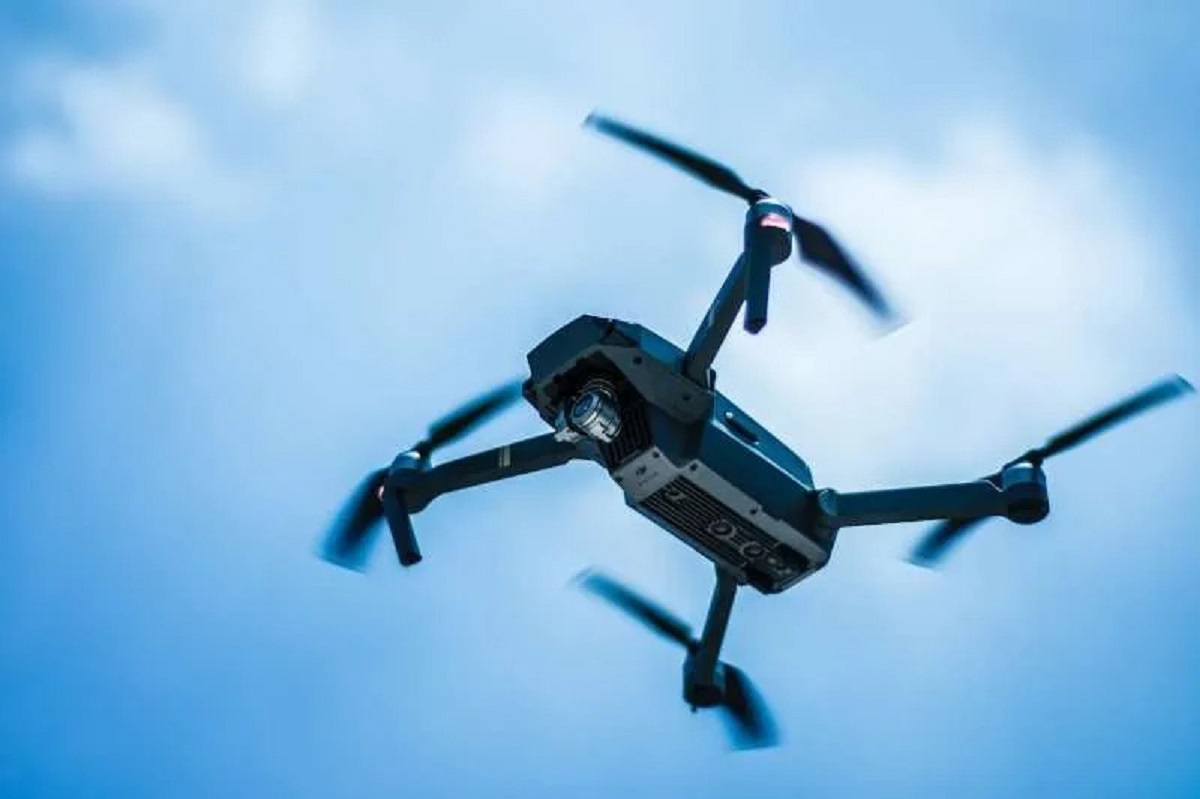
Introduction
As a drone owner, capturing awe-inspiring footage from above is undoubtedly one of the highlights of your drone flying experience. Whether it’s stunning aerial landscapes or thrilling action shots, the ability to transfer these footages to your laptop is essential for editing, sharing, and preserving your memories. But how do you get footage from your drone to your laptop?
In this article, we will explore various methods that allow you to seamlessly transfer your drone footage to your laptop. From direct connections to wireless transfers, we will provide you with a range of options to suit your specific needs and equipment.
Before we delve into the different methods, it’s worth mentioning that the specific steps may vary depending on the make and model of your drone, as well as the software and hardware capabilities of your laptop. However, the fundamental principles remain the same, and you can adapt these methods to suit your setup.
So, whether you’re a professional videographer or a hobbyist looking to share your aerial adventures, let’s explore the various ways you can transfer your drone footage to your laptop and unleash your creativity.
Choosing the Right Method
When it comes to transferring footage from your drone to your laptop, it’s essential to choose the method that best suits your needs and preferences. Consider the following factors as you decide:
- Availability of Ports: Take stock of the available ports on both your drone and laptop. This will determine which connection options are feasible for transferring your footage.
- Data Size: Consider the size of your video files, especially if you shoot in high resolution or capture lengthy footage. Some methods may be more efficient for transferring larger files.
- Speed of Transfer: If you wish to transfer your footage quickly, you’ll want to choose a method that offers fast data transfer speeds.
- Convenience: Evaluate the level of convenience provided by each method. Some methods may require additional cables or external devices, while others offer wireless and hassle-free transfers.
- Compatibility: Ensure that your drone and laptop are compatible with the chosen transfer method. Different drones may have different connectivity options.
By considering these factors, you can select the most suitable method for transferring your drone footage to your laptop. Now, let’s explore some of the popular methods you can use.
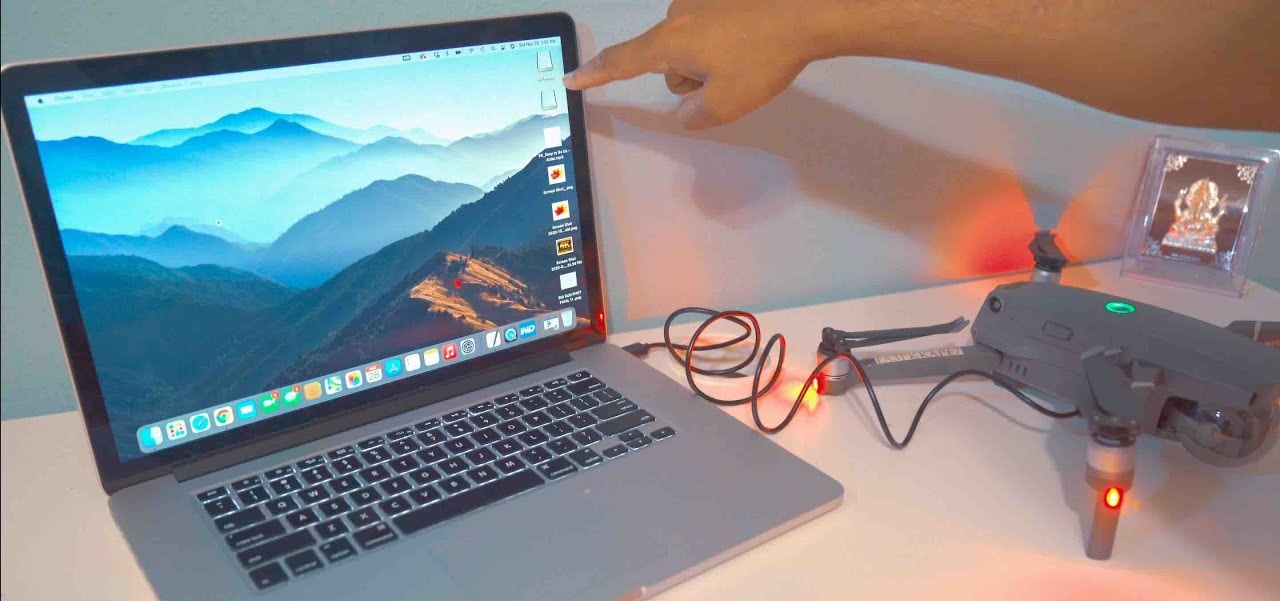
Method 1: Direct Connection
One of the most straightforward methods to transfer your drone footage to your laptop is by establishing a direct connection between the two devices. Most drones come with a USB or HDMI port that allows you to connect them directly to your laptop.
To use this method, follow these steps:
- Turn off your drone and your laptop.
- Locate the appropriate port on your drone and connect it to your laptop using the respective cable (USB or HDMI).
- Turn on your drone and your laptop.
- Your laptop should recognize the connected drone as an external device. Open the file explorer or finder on your laptop to access the drone’s memory.
- Navigate to the folder or directory where your drone footage is stored.
- Select the desired footage and copy or drag it to your laptop’s hard drive or a designated folder.
- Wait for the transfer process to complete.
- Once the transfer is finished, safely disconnect your drone from your laptop.
Keep in mind that the specific steps may vary depending on your drone’s make and model, as well as your laptop’s operating system. Refer to the user manual or online resources for detailed instructions applicable to your specific setup.
The direct connection method offers the advantage of a stable and reliable transfer, without the need for additional hardware or an internet connection. However, it may not be the most efficient method for transferring large files, as the transfer speed can be limited by the USB or HDMI connection.
Now that you know how to transfer your drone footage using a direct connection, let’s explore another method that involves using an SD card.
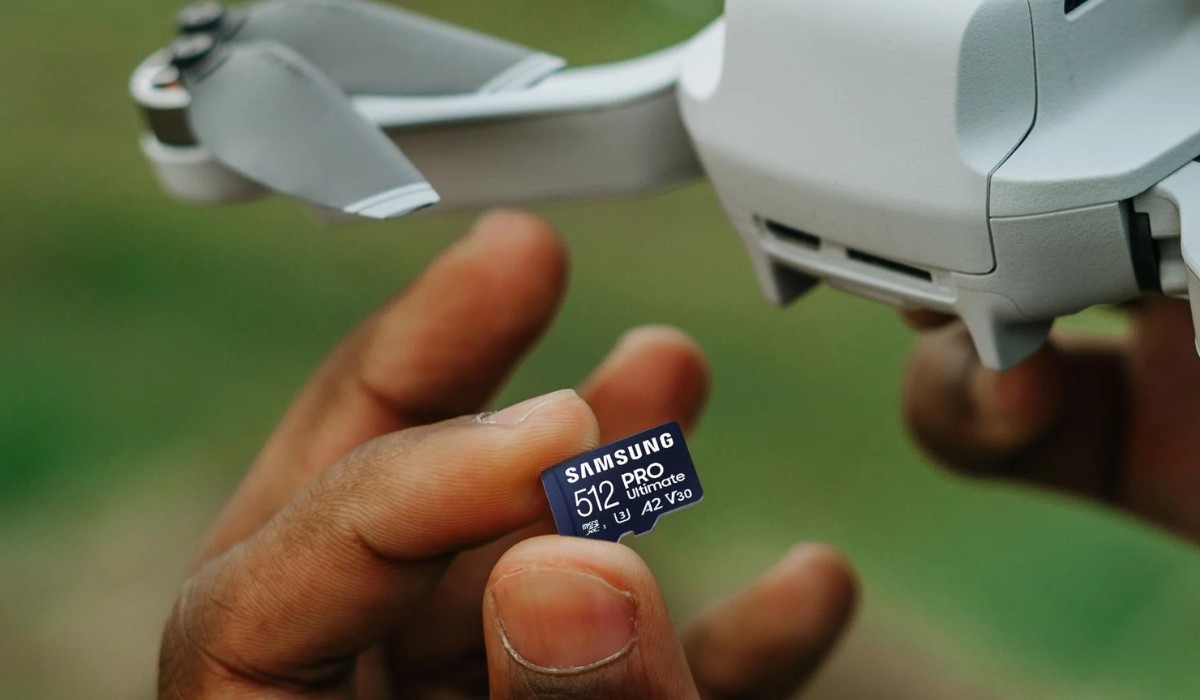
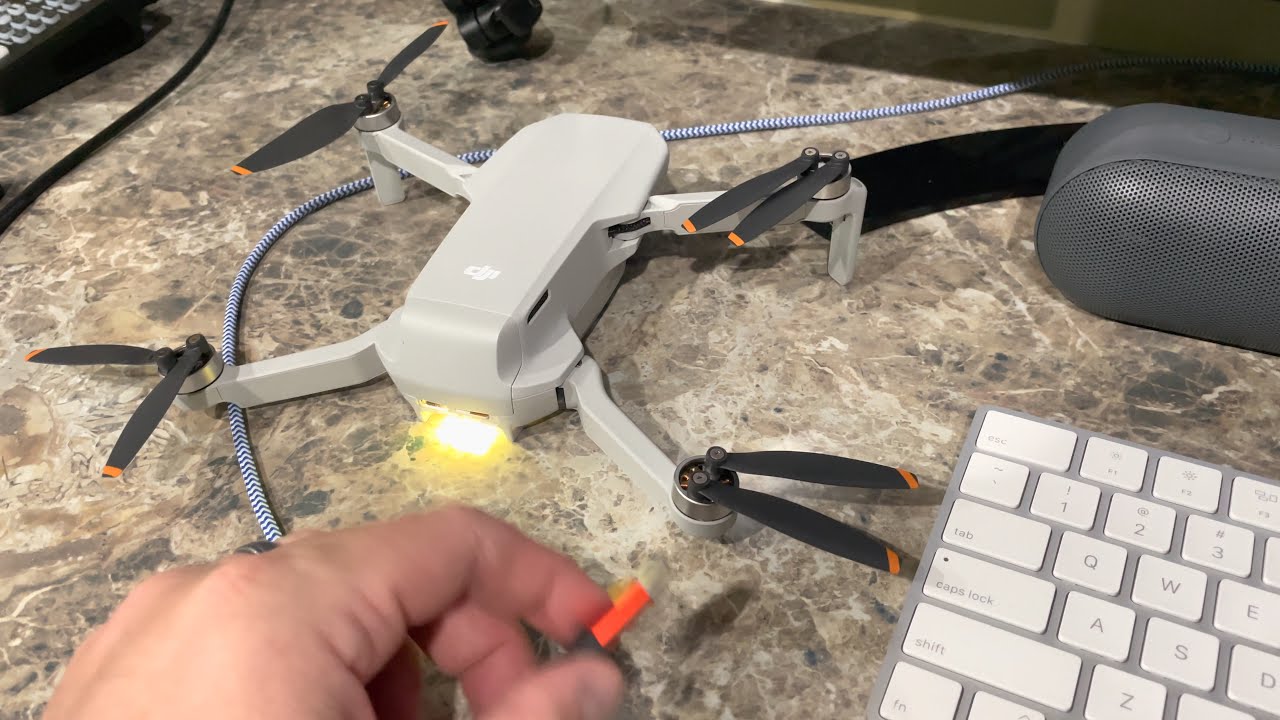
Method 2: Using an SD Card
Another convenient and widely used method to transfer drone footage to your laptop is by using an SD card. Many drones allow you to record your flight footage directly onto an SD card, which can then be easily removed and inserted into your laptop’s SD card slot or card reader.
Follow these steps to use this method:
- After capturing your footage, power off your drone.
- Remove the SD card from your drone. The location of the SD card slot may vary depending on the drone model.
- Insert the SD card into your laptop’s SD card slot or connect a compatible card reader.
- Your laptop should recognize the SD card as a removable storage device. Open the file explorer or finder on your laptop to access the SD card.
- Navigate to the appropriate folder or directory where your drone footage is stored on the SD card.
- Select the desired footage and copy or drag it to your laptop’s hard drive or a designated folder.
- Wait for the transfer to complete.
- After the transfer is finished, safely remove the SD card from your laptop or card reader.
Using an SD card offers the advantage of simplicity and wide compatibility. As long as your laptop has an SD card slot or a card reader, you can easily transfer your drone footage without the need for additional cables or connections.
However, keep in mind that the transfer speed may vary depending on the speed class of your SD card and the capabilities of your laptop’s card reader. If you’re working with large video files or shooting in high resolution, consider using a higher speed SD card for faster transfers.
Now that you know how to transfer drone footage using an SD card, let’s explore another method that involves transferring via a USB cable.
Method 3: Transferring via USB Cable
Transferring your drone footage to your laptop via a USB cable is another common and reliable method. This method allows for a direct and fast connection between your drone and laptop, making it suitable for transferring larger video files.
Here are the steps to transfer your drone footage using a USB cable:
- Power off your drone.
- Locate the appropriate USB port on your drone and connect it to your laptop using the USB cable that came with your drone.
- Power on your drone.
- Your laptop should recognize the connected drone as an external device. Open the file explorer or finder on your laptop to access the drone’s memory.
- Navigate to the folder or directory where your drone footage is stored.
- Select the desired footage and copy or drag it to your laptop’s hard drive or a designated folder.
- Wait for the transfer process to complete.
- When the transfer is finished, safely disconnect your drone from your laptop by unplugging the USB cable.
One advantage of using a USB cable is that it offers a fast and stable connection, allowing for quick transfers of large video files. It also eliminates the need for additional devices or internet access.
However, it’s important to note that some drones may require you to install specific drivers or software on your laptop for it to recognize the connected drone. Refer to the user manual or online resources for any specific instructions.
Now that you are familiar with the method of transferring drone footage via USB cable, let’s explore another method that offers wireless transfer options.
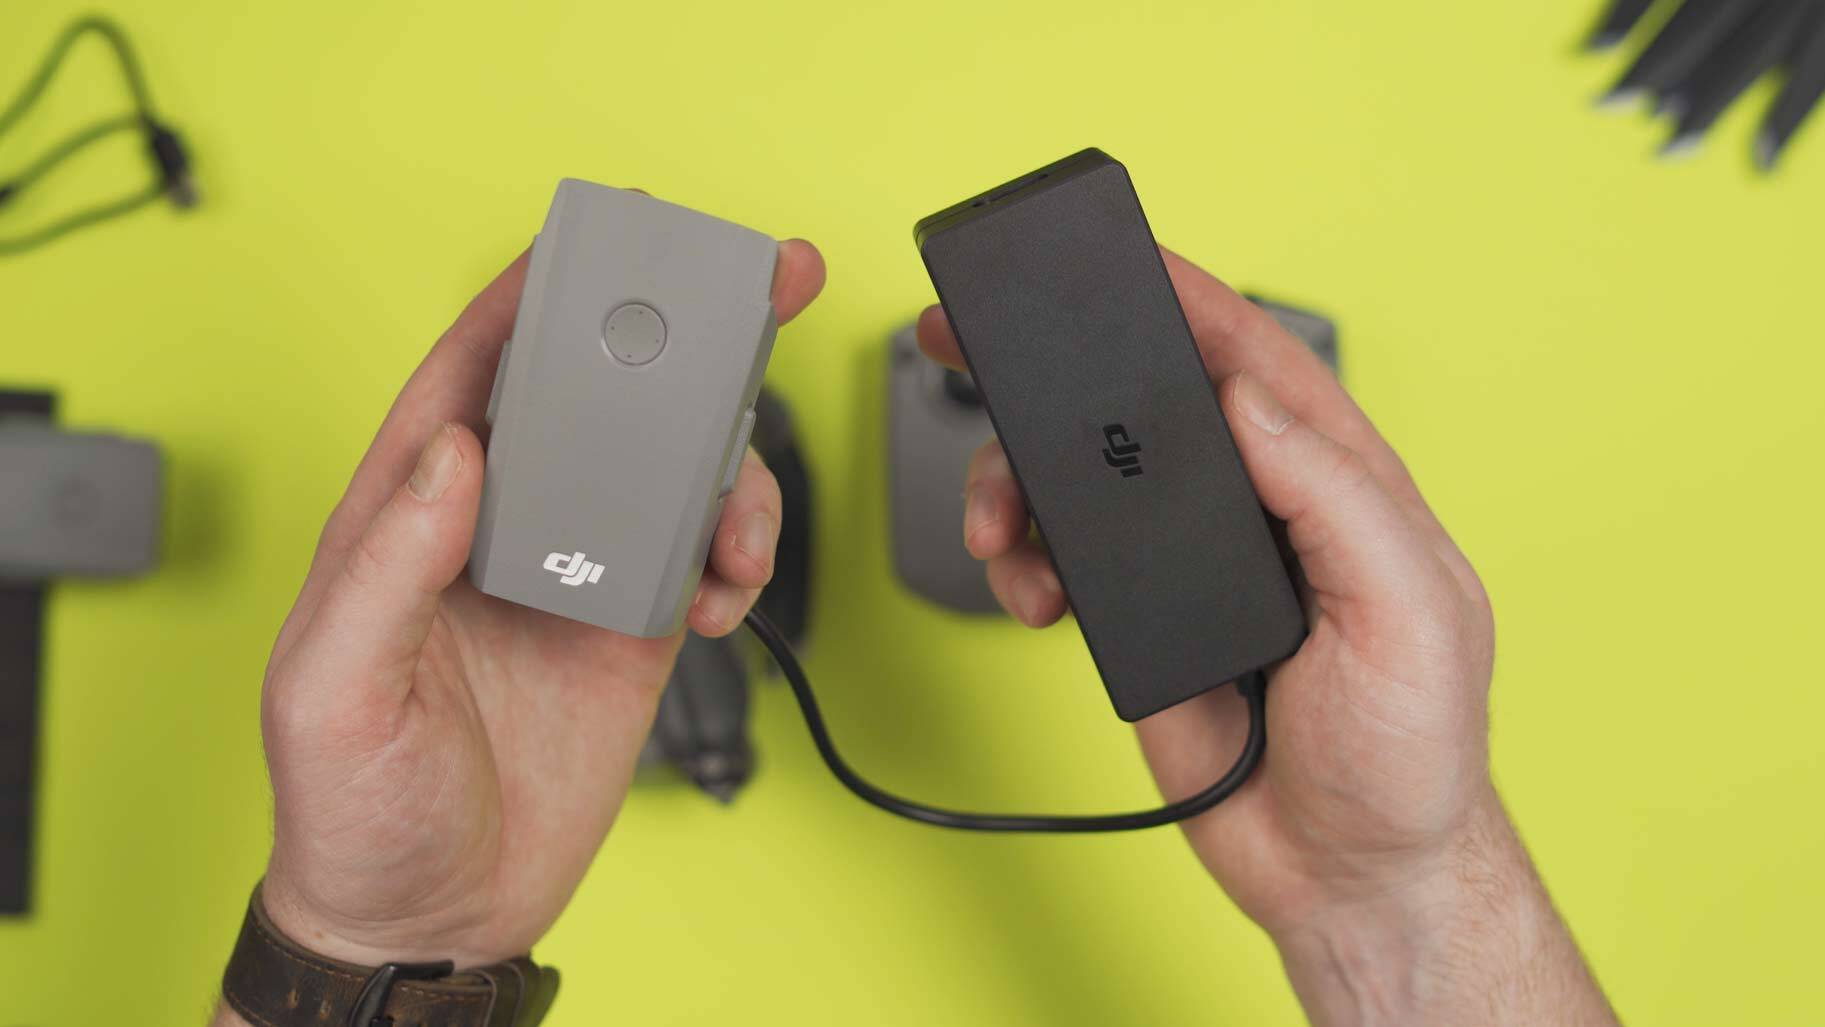
Method 4: Wireless Transfer
If you prefer a cable-free method for transferring your drone footage to your laptop, wireless transfer options are available. These methods utilize wireless connections such as Wi-Fi or Bluetooth to establish a link between your drone and laptop.
Here are two common wireless transfer methods:
- Wi-Fi Transfer: Some drones have built-in Wi-Fi capabilities that allow you to connect them directly to your laptop’s Wi-Fi network. By doing so, you can transfer your footage wirelessly.
- Wireless File Transfer Apps: Several software applications and mobile apps are available that enable wireless transfer between your drone and laptop. These apps utilize Wi-Fi or Bluetooth connections to facilitate the transfer process.
Although the specific steps will vary depending on the drone model and software/app you are using, here is a general outline:
- Ensure that both your drone and laptop are connected to the same Wi-Fi network or have enabled Bluetooth.
- Launch the wireless transfer app or software on both your drone and laptop.
- Follow the prompts to establish a connection between the devices.
- Access the video files on your drone and select the footage you wish to transfer.
- Initiate the transfer process and wait for it to complete.
- Once the transfer is finished, you can access the transferred footage on your laptop for further editing or viewing.
Wireless transfer methods provide convenience and flexibility, as they eliminate the need for physical connections and cables. They are especially useful when you want to transfer footage while on location or if your laptop doesn’t have the necessary ports.
It’s worth noting that wireless transfer methods may not be as fast as direct connection methods, and the transfer speed may be affected by the strength and stability of your Wi-Fi or Bluetooth connection. Additionally, some wireless transfer apps may have file size limitations.
Now that you are aware of the wireless transfer options available, let’s move on to another method that involves using a specific mobile app.
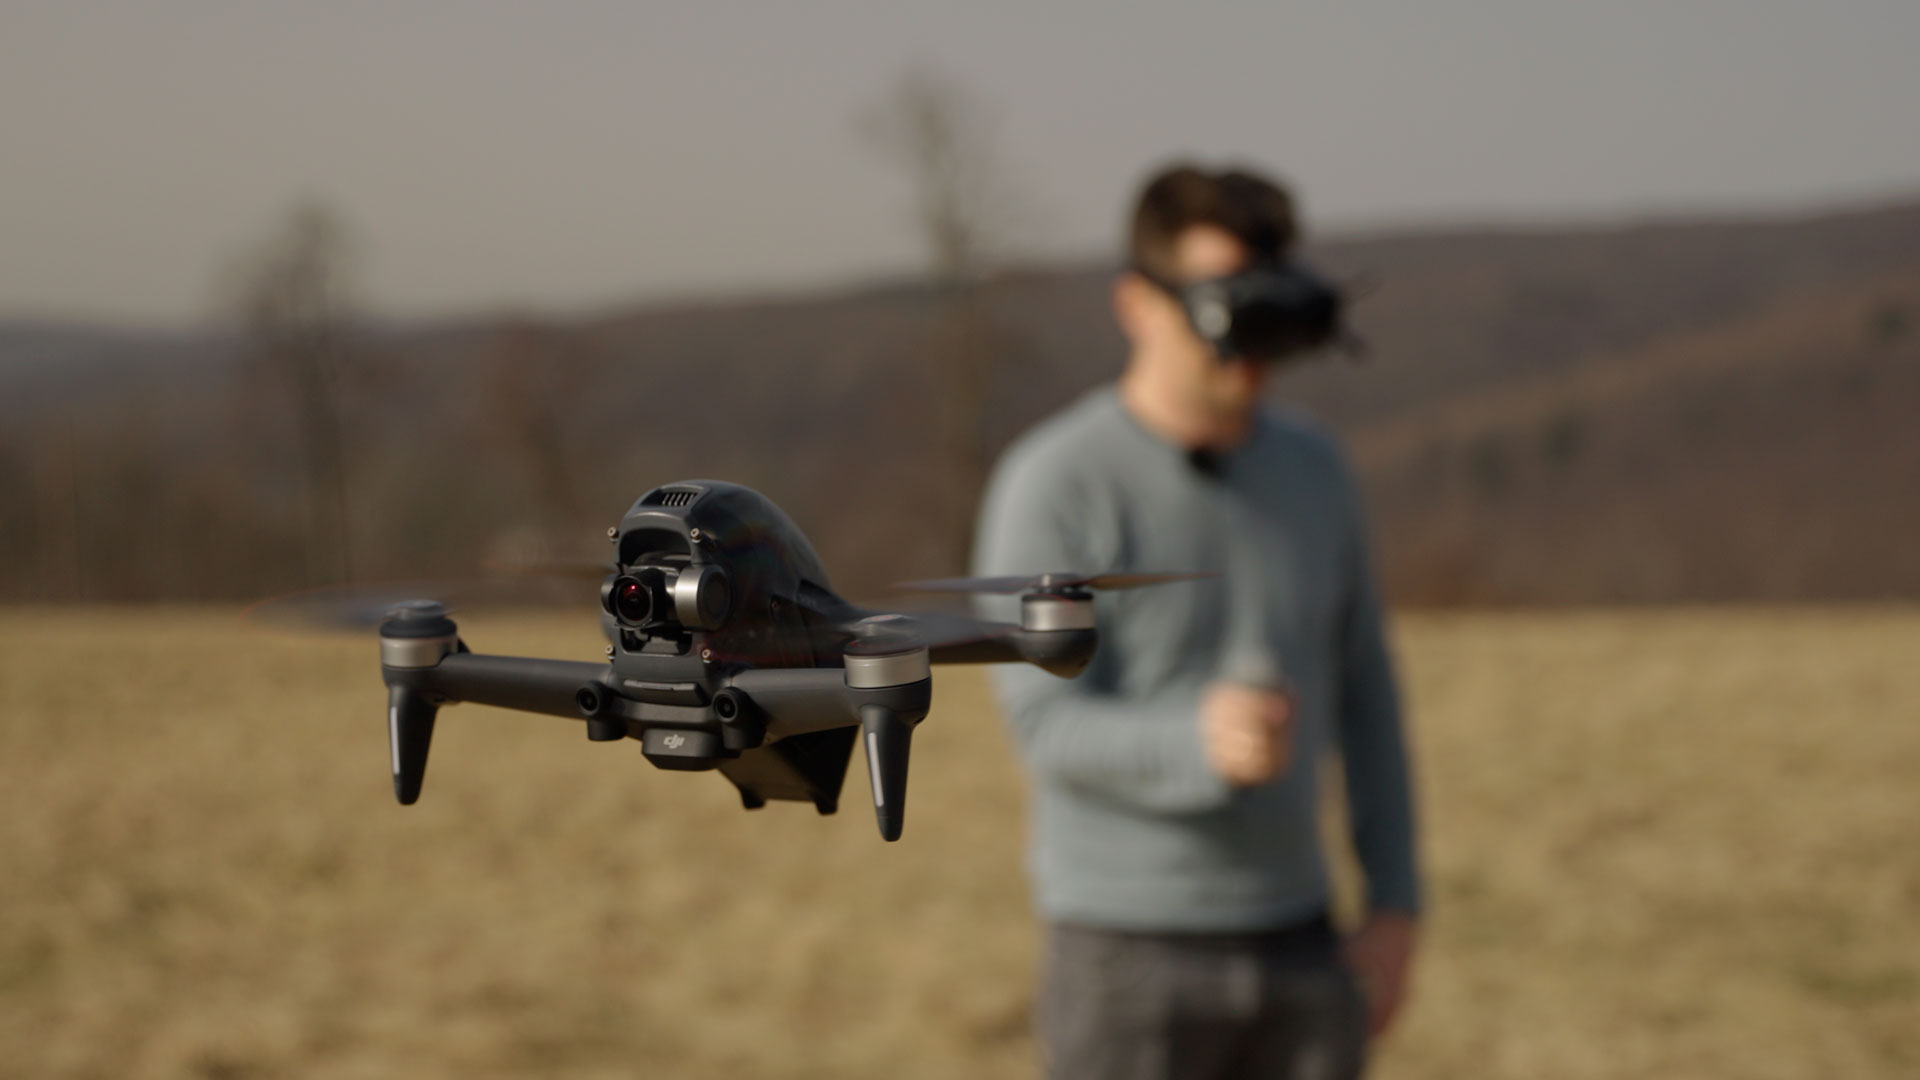
Method 5: Using a Mobile App
Using a dedicated mobile app is another effective method for transferring your drone footage to your laptop. Many drone manufacturers provide companion apps that allow you to control your drone, access its settings, and transfer media files wirelessly.
Here’s how you can transfer drone footage using a mobile app:
- Install the official mobile app provided by your drone manufacturer on your smartphone or tablet.
- Ensure that both your drone and mobile device are powered on and connected to the same Wi-Fi network.
- Open the mobile app and establish a connection between your drone and mobile device.
- Access the media section or file transfer feature within the app.
- Select the drone footage you wish to transfer and initiate the transfer process.
- Wait for the transfer to complete.
- Once the transfer is finished, you can access the transferred footage on your mobile device.
- Connect your laptop to the same Wi-Fi network as your mobile device.
- Using your laptop’s web browser, navigate to the IP address or provided URL displayed on the mobile app.
- Access the transferred files on your laptop and download them to your laptop’s hard drive or a designated folder.
Using a mobile app offers the advantage of convenience and seamless control over the transfer process. These apps often provide additional features such as remote control capabilities and real-time monitoring of your drone’s flight.
However, it’s important to note that this method relies on a stable Wi-Fi connection between your drone, mobile device, and laptop. Additionally, the transfer speed may be influenced by the Wi-Fi network’s strength and the size of the video files.
Now that you know how to transfer drone footage using a mobile app, let’s explore a cloud storage service as another alternative method.
Method 6: Cloud Storage Services
If you’re looking for a convenient and versatile method to transfer your drone footage to your laptop, utilizing cloud storage services can be a great option. Cloud storage allows you to store your files online and access them from any device with an internet connection.
Here’s how you can use cloud storage services to transfer your drone footage:
- Create an account with a cloud storage provider such as Google Drive, Dropbox, or OneDrive.
- Install the corresponding cloud storage app on your drone’s controller or mobile device.
- Connect your drone to your mobile device or controller.
- Access the media section within the cloud storage app.
- Select the drone footage you want to transfer and upload it to the cloud storage account.
- Wait for the upload process to complete.
- On your laptop, open a web browser and log into your cloud storage account.
- Navigate to the folder or directory where your drone footage is stored.
- Select the desired footage and download it to your laptop’s hard drive or a designated folder.
Cloud storage services provide several benefits for transferring drone footage. Firstly, they offer a secure and reliable storage solution, ensuring your footage is safely stored in case of device loss or failure. Additionally, cloud storage allows for seamless accessibility from multiple devices, eliminating the need for physical connections.
It’s important to note that the transfer speed may be influenced by the upload and download speeds of both your internet connection and the cloud storage service. Transferring large video files may take some time, so it’s advisable to have a stable and high-speed internet connection for optimal transfer speeds.
Now that you are familiar with the method of transferring drone footage using cloud storage services, you have a wide array of options available to choose from based on your needs and preferences.
Conclusion
Transferring your drone footage to your laptop is an essential step in the post-flight process, allowing you to edit, share, and preserve your aerial memories. In this article, we explored several methods to help you accomplish this task effectively.
Depending on your specific needs and equipment, you can choose from various methods, including direct connections, using an SD card, transferring via a USB cable, wireless transfers, utilizing mobile apps, and leveraging cloud storage services.
If you prefer a direct and reliable connection, using a USB or HDMI cable to establish a direct connection between your drone and laptop is a suitable choice. This method ensures stable data transfer, although it may not be the most efficient for transferring large files.
Alternatively, using an SD card provides simplicity and compatibility, allowing you to directly insert and extract the card from your laptop’s SD card slot. This method requires minimal setup and is ideal for transferring files without the need for additional cables.
For those who value convenience and cable-free transfers, wireless transfer methods offer flexibility. Whether through Wi-Fi, Bluetooth, or dedicated mobile apps, you can transfer your drone footage seamlessly, providing you have a stable wireless connection.
Lastly, utilizing cloud storage services not only offers convenience but also ensures the safety and accessibility of your footage from any device with an internet connection. This method is particularly advantageous for storing and sharing your footage remotely.
Remember to consider factors such as data size, transfer speed, convenience, compatibility, and availability of ports when choosing the right method for transferring your drone footage to your laptop.
By following the steps and guidance provided in this article, you can easily and efficiently transfer your drone footage to your laptop, unlocking the full potential of your aerial videos and giving you the freedom to edit and share your unique perspective with the world.