Introduction
Are you ready to elevate your videography game with the Chroma Camera Drone? This cutting-edge piece of technology allows you to capture breathtaking aerial footage that was once only possible for professional filmmakers. Whether you're a hobbyist looking to document stunning landscapes or a content creator aiming to add a unique perspective to your videos, the Chroma Camera Drone empowers you to unleash your creativity and capture mesmerizing moments from the skies.
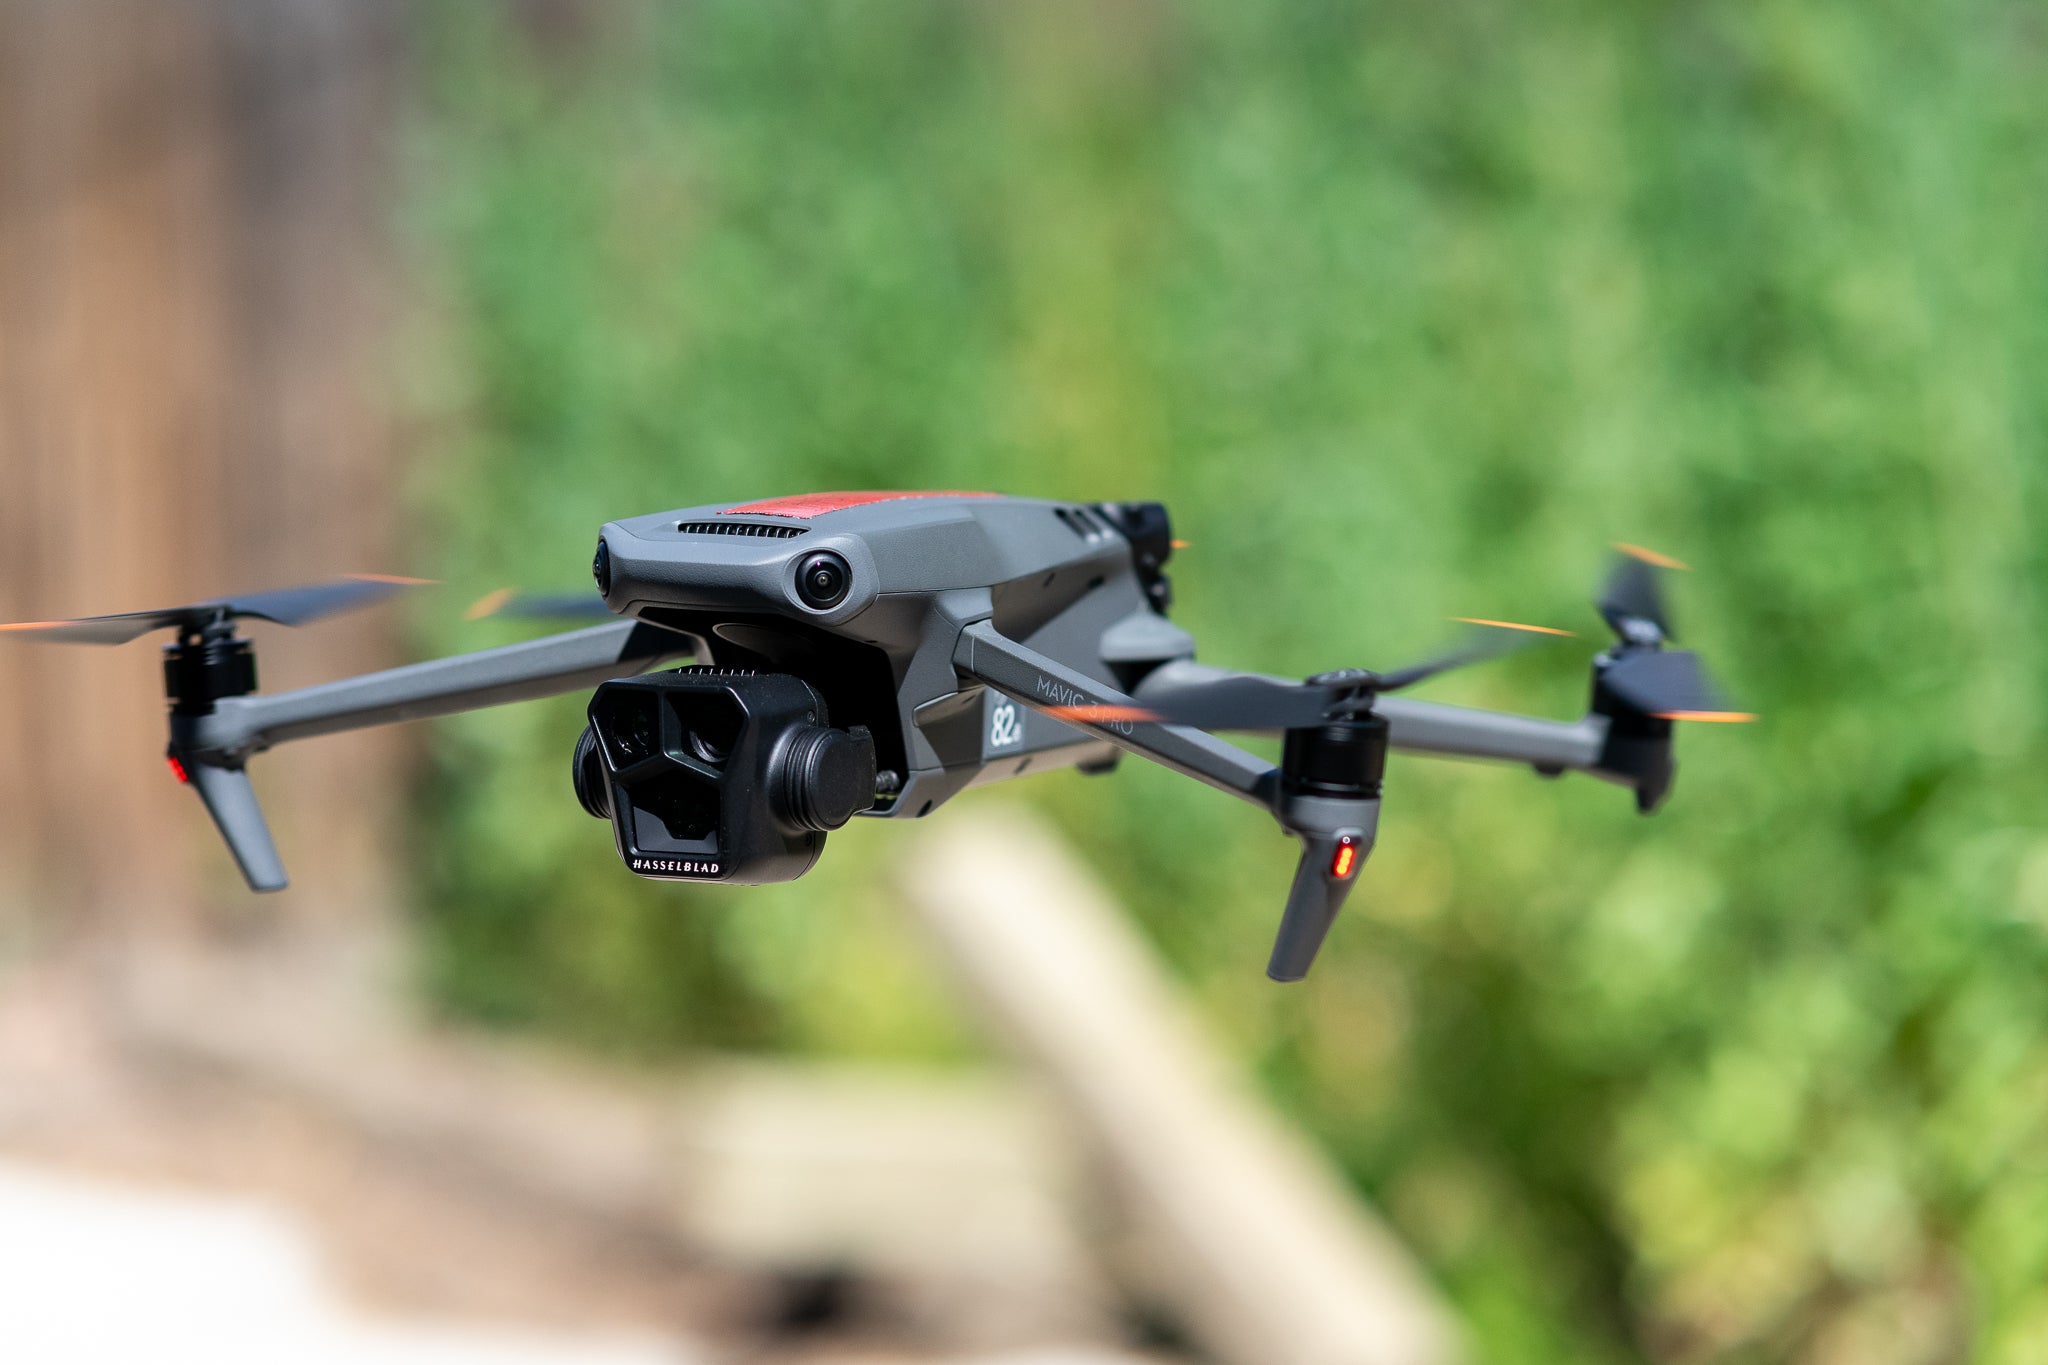
The Chroma Camera Drone boasts a user-friendly interface and exceptional maneuverability, making it an ideal choice for both beginners and experienced drone pilots. With its high-definition camera and advanced stabilization features, this drone delivers crystal-clear footage that will leave your audience in awe. From sweeping panoramic shots to dynamic aerial perspectives, the possibilities are endless when you take to the skies with the Chroma Camera Drone.
In this guide, we'll walk you through the process of connecting your Chroma Camera Drone to your computer and transferring the captivating video footage you've captured. Additionally, we'll explore how to organize and edit your drone footage, ensuring that you can showcase your aerial masterpieces with the polish they deserve. Whether you're eager to share your drone footage on social media, incorporate it into a creative project, or simply relive the thrill of your aerial adventures, this guide will equip you with the knowledge and skills to make the most of your Chroma Camera Drone.
So, buckle up and get ready to embark on a journey that will take your videography to new heights. Let's dive into the seamless process of connecting, transferring, and enhancing your Chroma Camera Drone footage, allowing you to unleash your creativity and share your unique perspective with the world.
Connecting the Chroma Camera Drone to Your Computer
Before you can begin transferring your stunning aerial footage from the Chroma Camera Drone to your computer, you’ll need to establish a seamless connection between the two devices. Here’s a step-by-step guide to help you effortlessly link your drone to your computer:
- Prepare Your Drone: Ensure that your Chroma Camera Drone is powered off before proceeding with the connection process. This precautionary step is essential for safety and to prevent any potential issues during the setup.
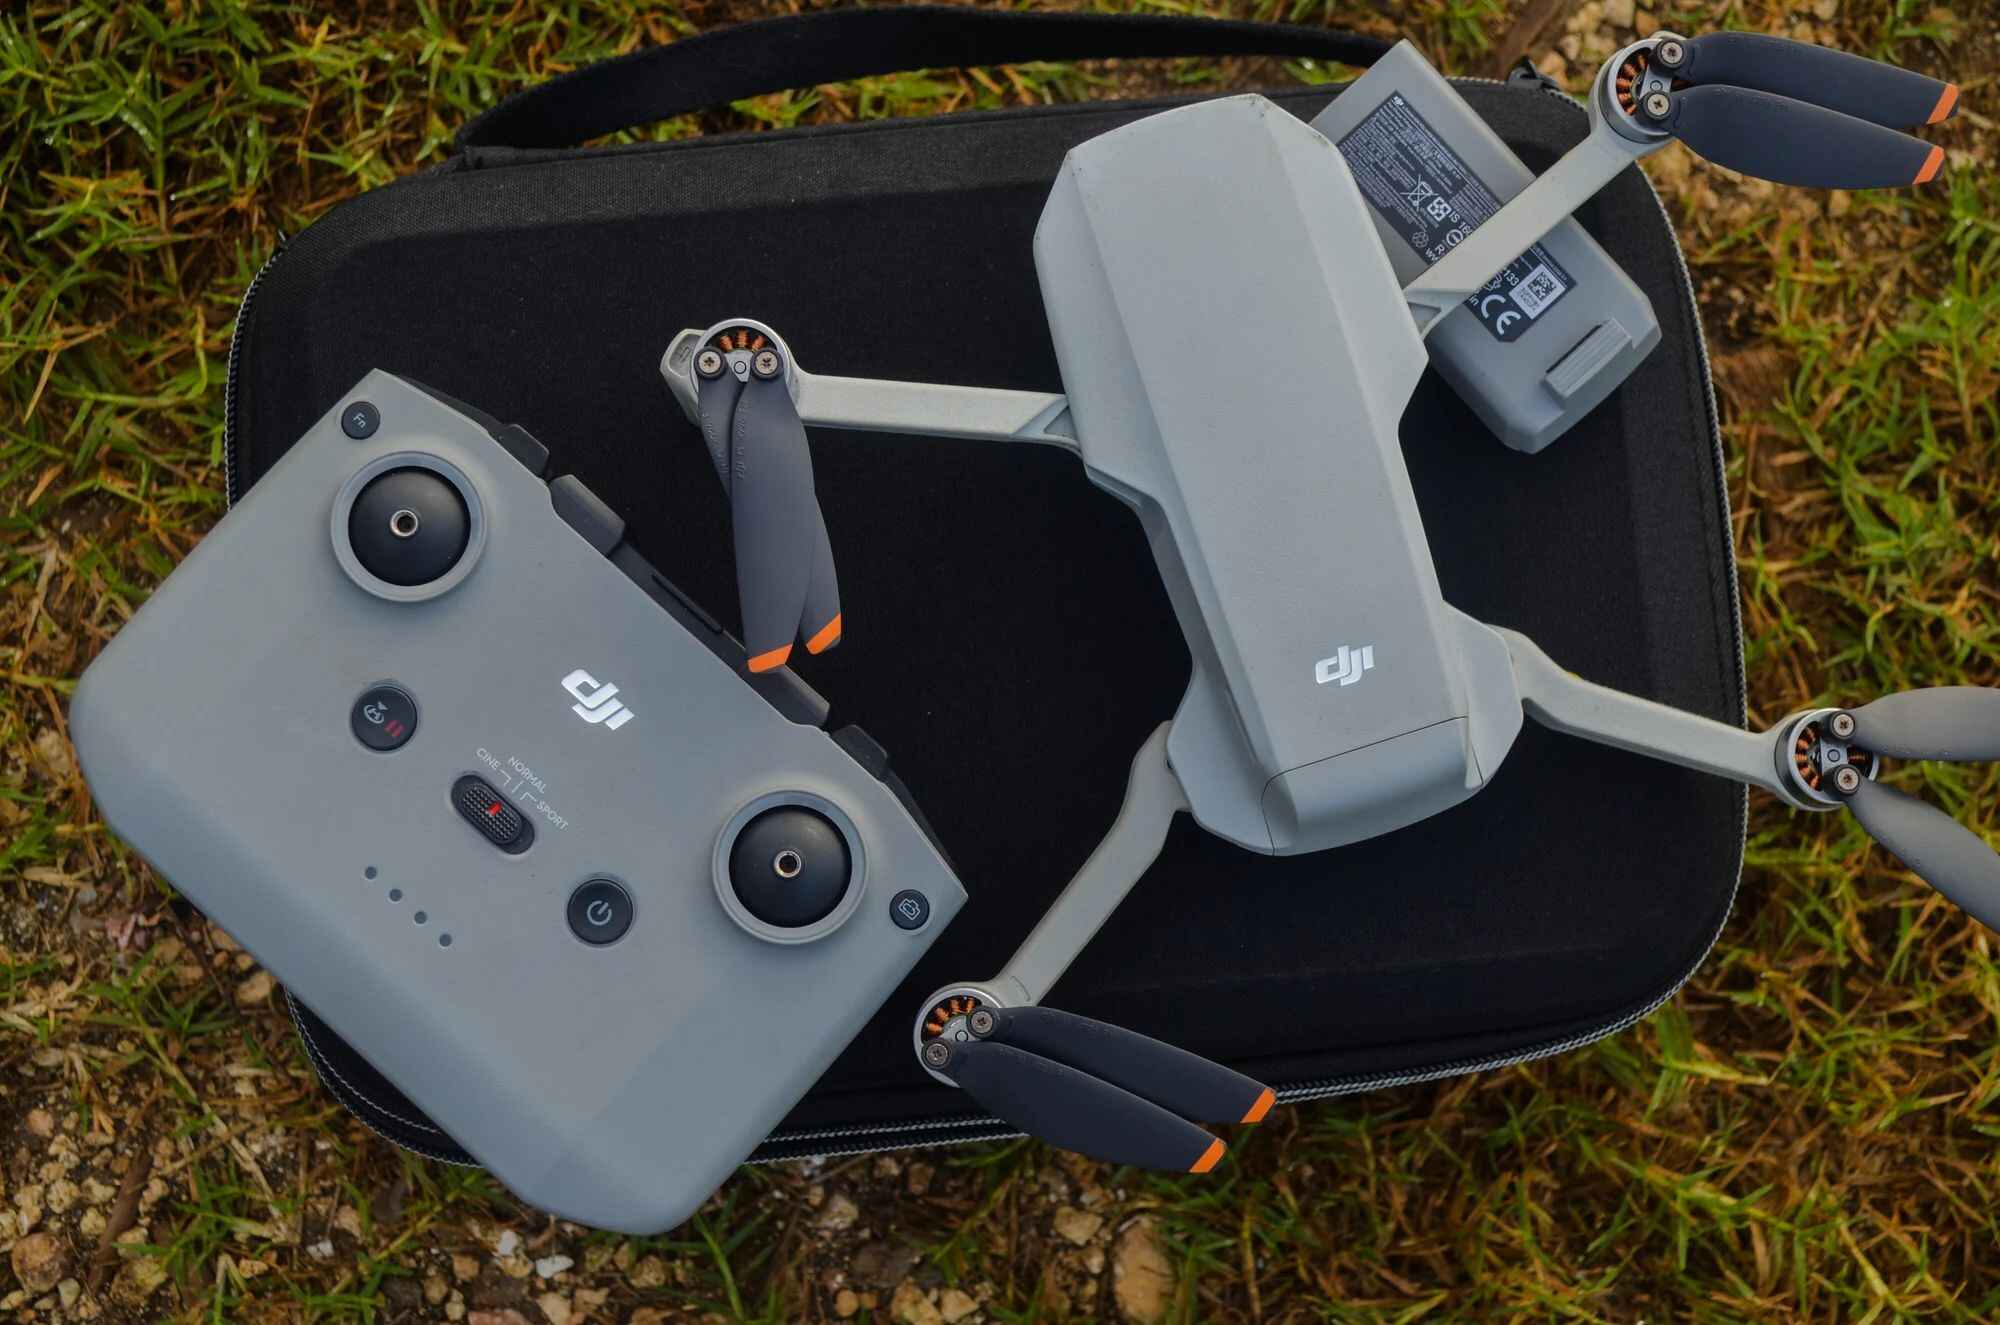
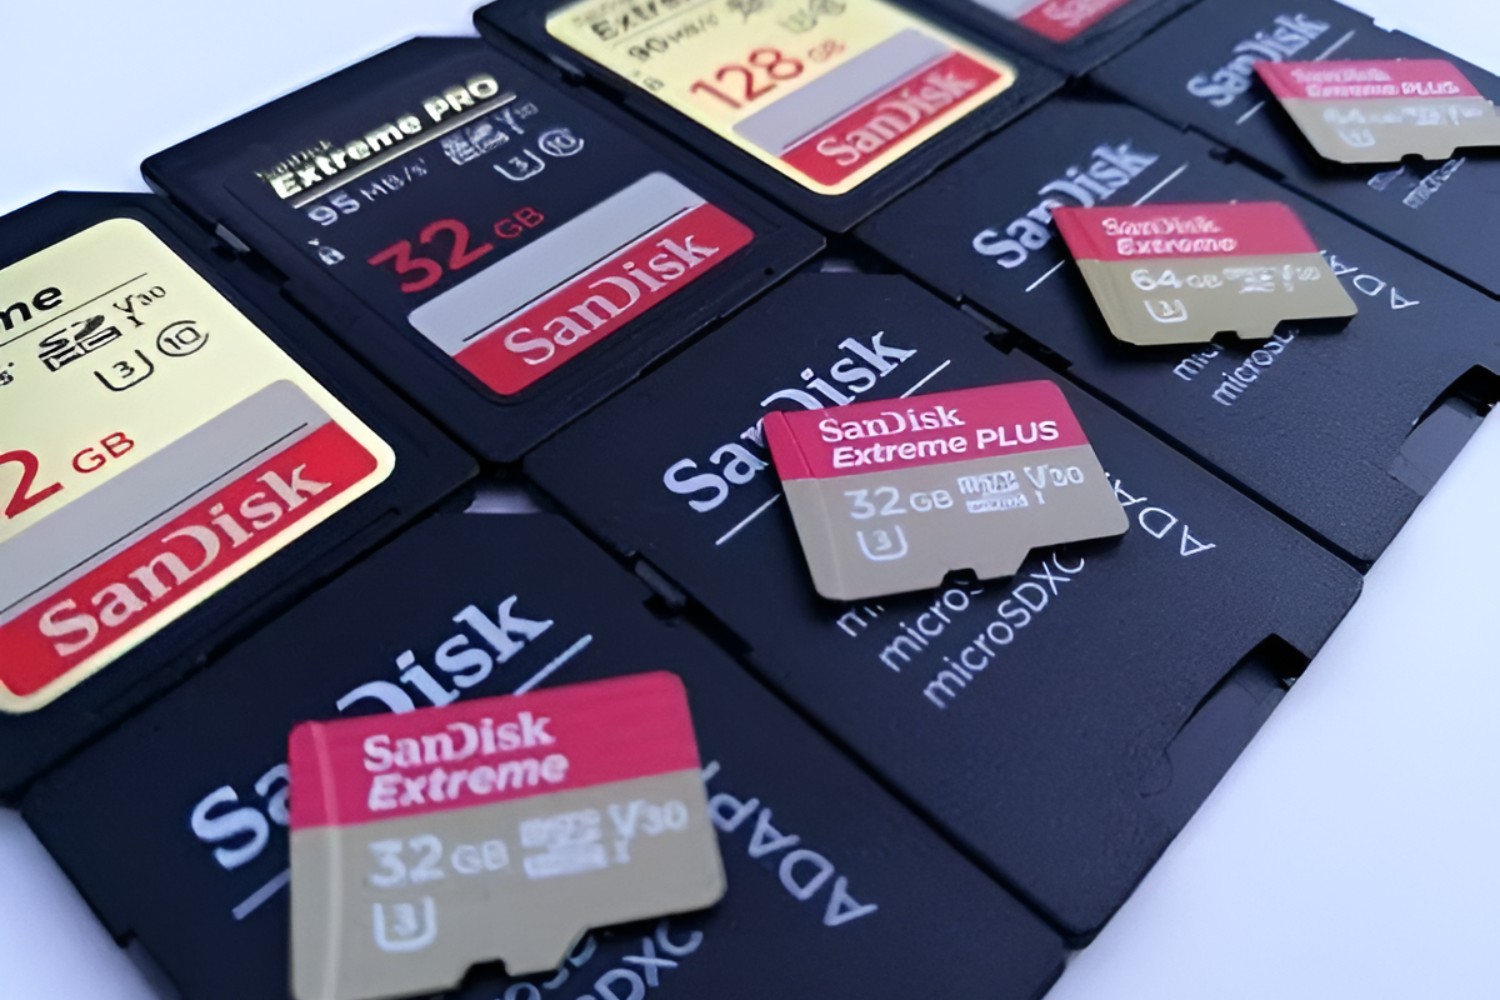
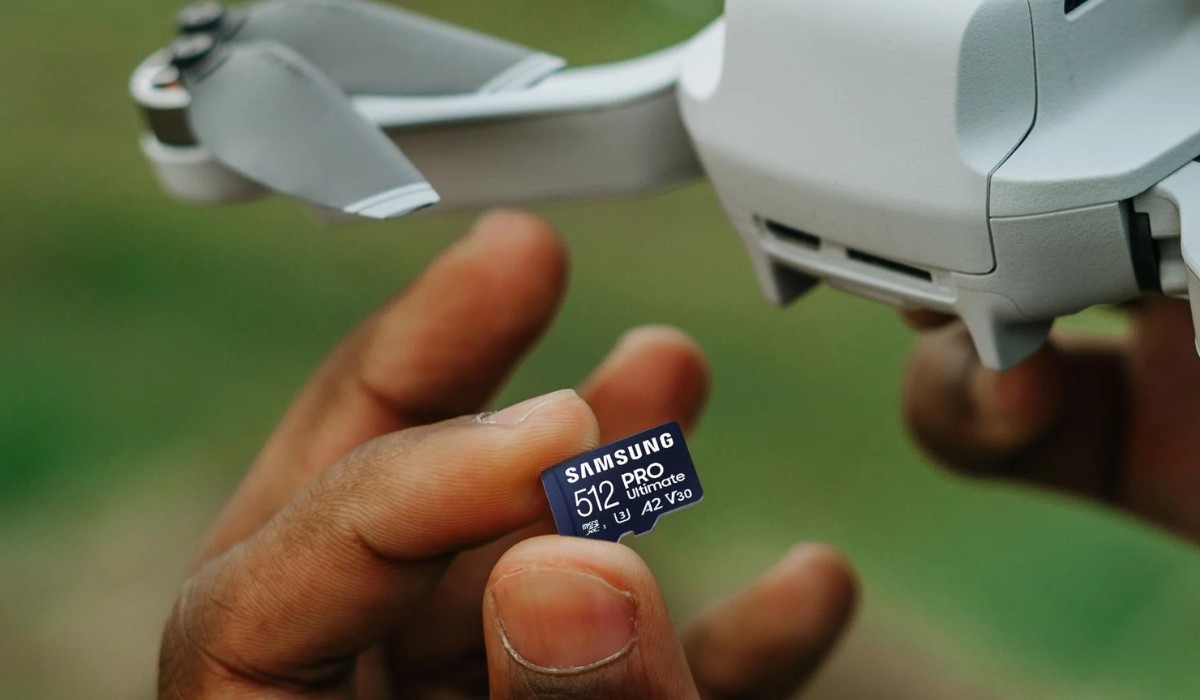
- Access the Drone’s Storage: Once your drone is powered off, locate the storage compartment or port where the captured video footage is stored. Depending on the model, this may involve accessing an SD card or connecting directly to the drone’s internal storage via a USB cable.
- Connect the Drone to Your Computer: Using the appropriate cable or adapter, establish a secure connection between your Chroma Camera Drone and your computer. If your drone utilizes an SD card, you can remove the card and insert it into your computer’s SD card slot or leverage an external card reader for this purpose.
- Power Up Your Drone: Once the physical connection is established, power on your Chroma Camera Drone. This will enable your computer to recognize the device and access the stored video files.
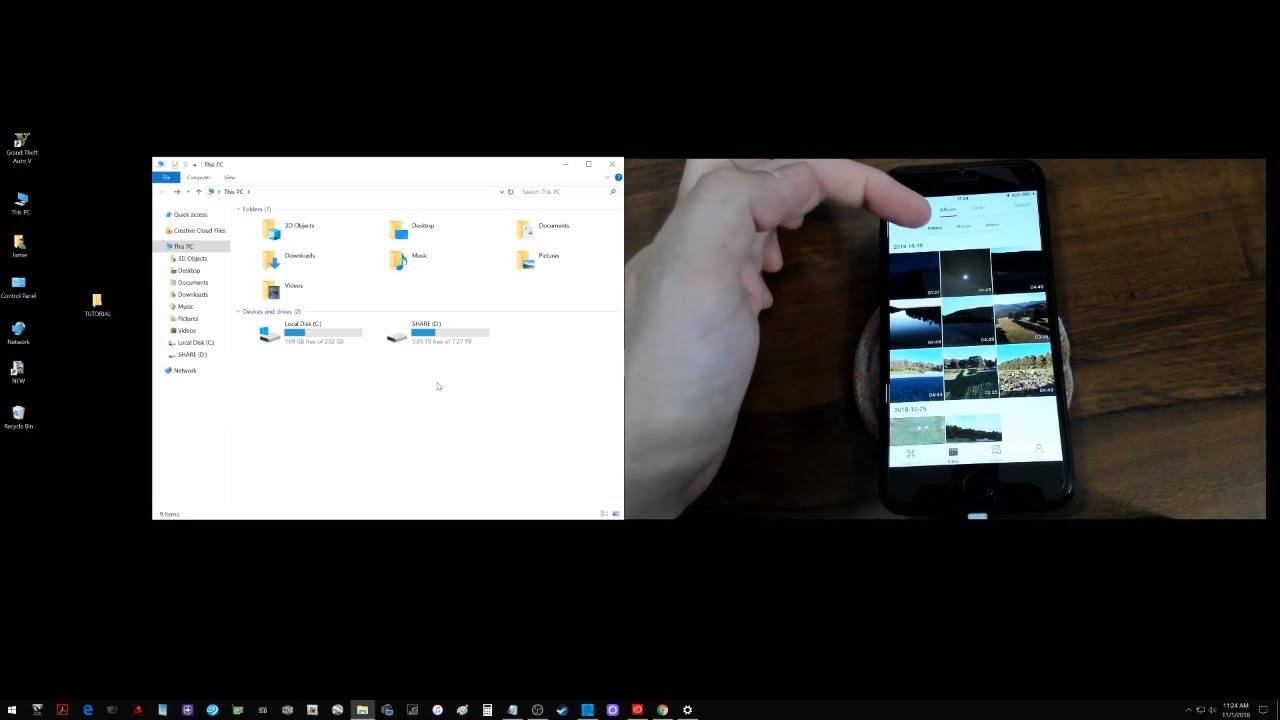
- Verify the Connection: Navigate to your computer’s file explorer or designated media management software to confirm that the drone’s storage is accessible. You should be able to locate the video files captured by your drone, ready for seamless transfer to your computer’s storage.
By following these straightforward steps, you can ensure that your Chroma Camera Drone is successfully connected to your computer, paving the way for effortless video transfers and editing. With the connection established, you’re now ready to delve into the process of transferring your captivating aerial footage to your computer, where you can begin organizing and editing your visual masterpieces.
Transferring Video from the Chroma Camera Drone to Your Computer
With your Chroma Camera Drone successfully connected to your computer, it’s time to transfer the breathtaking video footage you’ve captured to your computer’s storage. This process allows you to preserve and access your aerial masterpieces for editing, sharing, and future playback. Here’s a guide to facilitate the seamless transfer of your drone footage:
- Select the Video Files: Navigate to the location where the video files are stored on your Chroma Camera Drone. Whether they reside on an SD card or the drone’s internal storage, locate and select the video files you wish to transfer to your computer.
- Copy or Move the Files: Once you’ve identified the desired video files, initiate the transfer process by copying or moving the files to a designated location on your computer. This can be a folder specifically created for your drone footage or a location within your existing media library.
- Monitor the Transfer: Depending on the size and quantity of the video files, the transfer process may take some time. Keep an eye on the progress indicator to ensure that the files are successfully copied or moved to your computer’s storage without any interruptions.
- Verify the Transfer: After the transfer process is complete, verify that the video files have been successfully transferred to your computer. Navigate to the designated storage location and confirm that the transferred files are accessible and ready for further organization and editing.
By following these straightforward steps, you can seamlessly transfer the captivating video footage captured by your Chroma Camera Drone to your computer. This sets the stage for organizing and editing your aerial masterpieces, allowing you to bring your creative vision to life and share your unique perspective with the world.
Now that your drone footage is securely stored on your computer, let’s explore the process of organizing and editing your aerial videos to enhance their visual impact and storytelling potential.
Organizing and Editing Your Drone Footage
Now that your captivating drone footage is safely stored on your computer, it’s time to delve into the exciting process of organizing and editing your aerial masterpieces. By applying thoughtful organization and skillful editing techniques, you can elevate your drone footage to new heights, ensuring that it captivates and resonates with your audience. Here’s a guide to help you streamline the organization and editing of your drone footage:
- Organize by Location and Theme: Begin by organizing your drone footage based on the locations where it was captured and the overarching themes or narratives you wish to convey. Create folders or categorize your video files based on the distinct settings and visual motifs present in your aerial footage.
- Select Editing Software: Identify and utilize a suitable video editing software that aligns with your skill level and creative aspirations. Whether you opt for user-friendly entry-level software or advanced professional tools, select a platform that empowers you to bring your vision to life.
- Review and Trim Footage: Carefully review your drone footage and identify the segments that best encapsulate your creative vision. Trim and refine the footage to eliminate any extraneous content, ensuring that the final edit maintains a cohesive and engaging narrative flow.
- Enhance Visuals and Audio: Leverage the editing software’s features to enhance the visual quality of your drone footage. Adjust color grading, contrast, and saturation to optimize the visual impact, and consider incorporating background music or audio effects to complement the aerial visuals.
- Add Transitions and Effects: Introduce seamless transitions and captivating visual effects to heighten the cinematic appeal of your drone footage. Thoughtfully incorporate transitions between scenes and experiment with effects to accentuate the awe-inspiring nature of your aerial captures.
- Export and Share: Once you’re satisfied with the edited drone footage, export the finalized video in a suitable format and resolution. This enables you to share your aerial masterpieces on social media, incorporate them into creative projects, or showcase them to captivated audiences.
By meticulously organizing and skillfully editing your drone footage, you can transform raw aerial captures into compelling visual narratives that resonate with viewers. Whether you’re aiming to evoke a sense of wonder, showcase breathtaking landscapes, or document dynamic aerial maneuvers, the process of organizing and editing your drone footage empowers you to share your unique perspective with the world.
With your edited drone footage ready to captivate audiences, you’re now equipped to share your aerial masterpieces with confidence, knowing that they’ve been thoughtfully organized and artfully edited to convey your creative vision.