Introduction
Transferring DJI videos from your drone to your PC is essential for editing, sharing, and storing your footage. Whether you’re a professional filmmaker or an enthusiastic hobbyist, having a reliable method to transfer your videos is crucial. In this article, we will explore various methods to transfer DJI videos to your PC, ensuring that you have the flexibility and convenience you need to manage your footage effectively.
DJI drones are equipped with advanced features and high-resolution cameras that capture stunning videos. However, it can be challenging for beginners to figure out how to transfer these videos to their computer. Fortunately, there are several methods available that cater to different preferences and circumstances. From using a USB cable to utilizing the DJI Assistant 2 software, we will cover the steps required for each method, so you can choose the one that suits you best.
Before diving into the specific methods, it’s important to note that each DJI drone model may have slightly different transfer options. It’s always a good idea to consult the user manual or visit the DJI support website for the most up-to-date instructions regarding your specific drone model.
In the following sections, we will walk you through four different methods to transfer DJI videos to your PC. These methods include using a USB cable, utilizing a micro SD card, utilizing the DJI Assistant 2 software, and using the DJI Go 4 app. No matter which method you choose, the goal remains the same: to safely and efficiently transfer your videos to your computer for further processing.
Method 1: Using a USB Cable
The simplest and most straightforward way to transfer DJI videos to your PC is by using a USB cable. This method is widely applicable to all DJI drone models and requires minimal setup. Follow these steps to transfer your videos using a USB cable:
- Connect the drone to your PC using a USB cable. The USB port can usually be found on the side or back of the drone.
- Power on the drone and wait for your computer to recognize it. Depending on your operating system, you may see a notification or an icon indicating that the drone is connected.
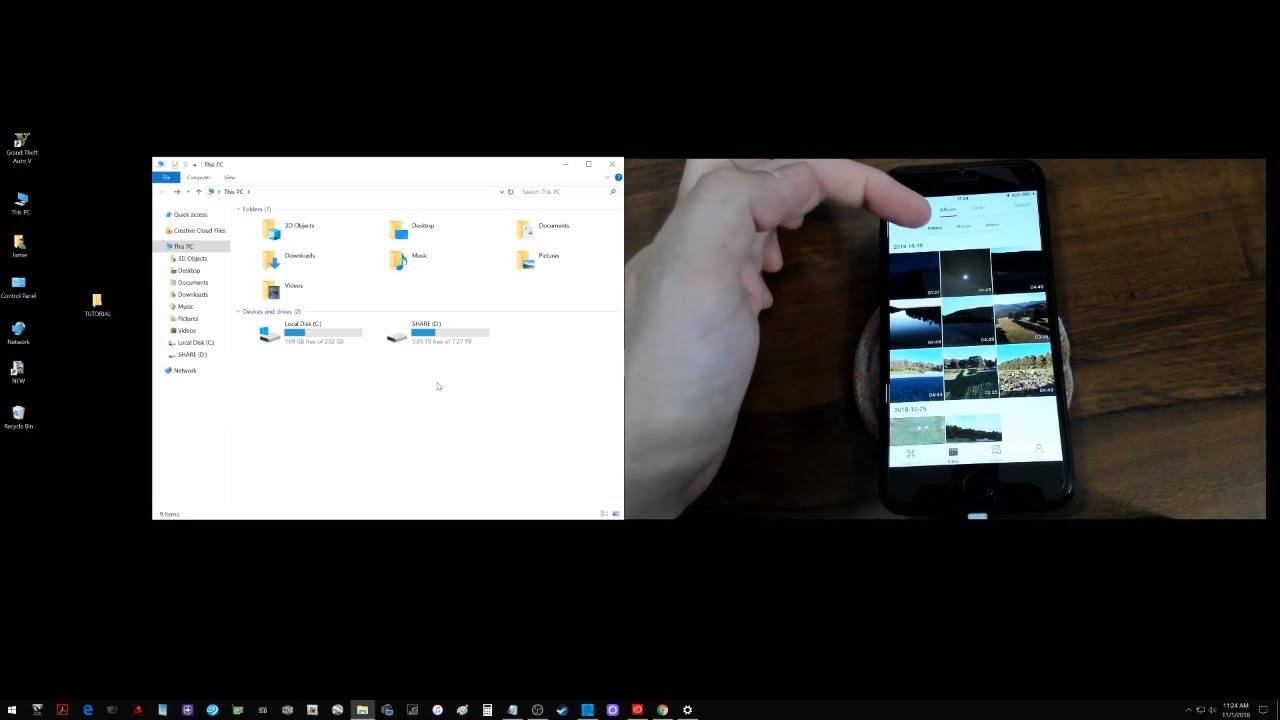
- Once the drone is recognized, open your file explorer (Windows) or Finder (Mac) on your PC.
- Navigate to the drone’s storage or SD card drive. It is typically labeled with the drone’s name or model.
- Locate the folder where your videos are stored. This can vary depending on your drone and camera settings.
- Select the videos you want to transfer by either dragging and dropping them into a desired folder on your PC or using the copy/paste method.
- Wait for the transfer to complete. The time it takes will depend on the size and number of videos being transferred.
- Once the transfer is finished, safely disconnect the drone from your PC by ejecting it from your file explorer or Finder.
Using a USB cable is a simple and reliable method to transfer DJI videos from your drone to your PC. It ensures a direct connection between the devices, allowing for faster data transfer speeds. However, keep in mind that some older drone models may not support this method or may require additional drivers to be installed on your PC.
Overall, transferring DJI videos using a USB cable is a convenient way to quickly offload your footage and start working on editing or sharing it. It eliminates the need for external memory cards or additional software, making it an ideal choice for those looking for a hassle-free transfer process.
Method 2: Using a Micro SD Card
Another popular method to transfer DJI videos to your PC is by using a micro SD card. This method is especially convenient if you prefer to have a physical storage medium or if your drone doesn’t have a direct USB connection option. Follow these steps to transfer your videos using a micro SD card:
- Remove the micro SD card from your DJI drone. Most DJI drones have a slot where you can insert the micro SD card.
- Insert the micro SD card into a card reader or adapter. Make sure to use a compatible card reader that connects to your PC via USB.
- Connect the card reader or adapter to your computer’s USB port. Wait for your computer to recognize the micro SD card.
- Open your file explorer (Windows) or Finder (Mac) on your PC.
- Navigate to the micro SD card drive. It should appear as a separate storage device.
- Locate the folder where your videos are stored on the micro SD card.
- Select the videos you want to transfer by either dragging and dropping them into a desired folder on your PC or using the copy/paste method.
- Wait for the transfer to complete. The time it takes will depend on the size and number of videos being transferred.
- Once the transfer is finished, safely eject the micro SD card from your computer before removing it from the card reader.
Using a micro SD card provides a convenient and portable method to transfer DJI videos to your PC. It allows you to easily carry your video files and access them on different devices without the need for a direct connection to your drone. Additionally, it can be a faster transfer option compared to using a USB cable, especially for larger video files.
When using a micro SD card, it’s important to ensure compatibility with your drone and choose a card with sufficient storage capacity and fast write speeds. Check your drone’s specifications or manual to determine the recommended micro SD card type and capacity for optimal performance.
Overall, utilizing a micro SD card offers flexibility and convenience for transferring your DJI videos to your PC. It’s a reliable method that doesn’t require additional software or complicated setup, making it an excellent choice for drone operators of all levels.
Method 3: Using DJI Assistant 2 Software
If you prefer to transfer DJI videos to your PC using dedicated software, the DJI Assistant 2 is an excellent option. This software provides a comprehensive solution for managing your DJI drone and its files. Follow these steps to transfer your videos using DJI Assistant 2 software:
- Download and install the DJI Assistant 2 software from the official DJI website. Make sure to select the version that is compatible with your drone model.
- Connect your DJI drone to your PC using a USB cable. Ensure that your drone is powered on and wait for the DJI Assistant 2 software to detect the connection.
- Launch the DJI Assistant 2 software on your PC.
- Select your drone model from the list of detected devices.
- Navigate to the “Media Library” or “File Transfer” section within the DJI Assistant 2 software.
- Locate the videos you want to transfer and select them.
- Choose a destination folder on your PC where you want to save the transferred videos.
- Click on the “Transfer” or “Export” button to begin the transfer process.
- Wait for the transfer to complete. The time it takes will depend on the size and number of videos being transferred.
Using the DJI Assistant 2 software gives you access to additional features and settings for your DJI drone. In addition to transferring videos, you can update firmware, adjust camera settings, and perform various other maintenance tasks. It provides a centralized platform for managing your drone and its files efficiently.
It’s important to note that not all DJI drones are compatible with the DJI Assistant 2 software. Make sure to check the DJI website or user manual to confirm if your drone model supports this method of file transfer.
Overall, the DJI Assistant 2 software offers a comprehensive and user-friendly solution for transferring DJI videos to your PC. It provides a seamless connection between your drone and computer, enabling you to manage your videos effortlessly and access advanced drone settings at the same time.
Method 4: Using DJI Go 4 App
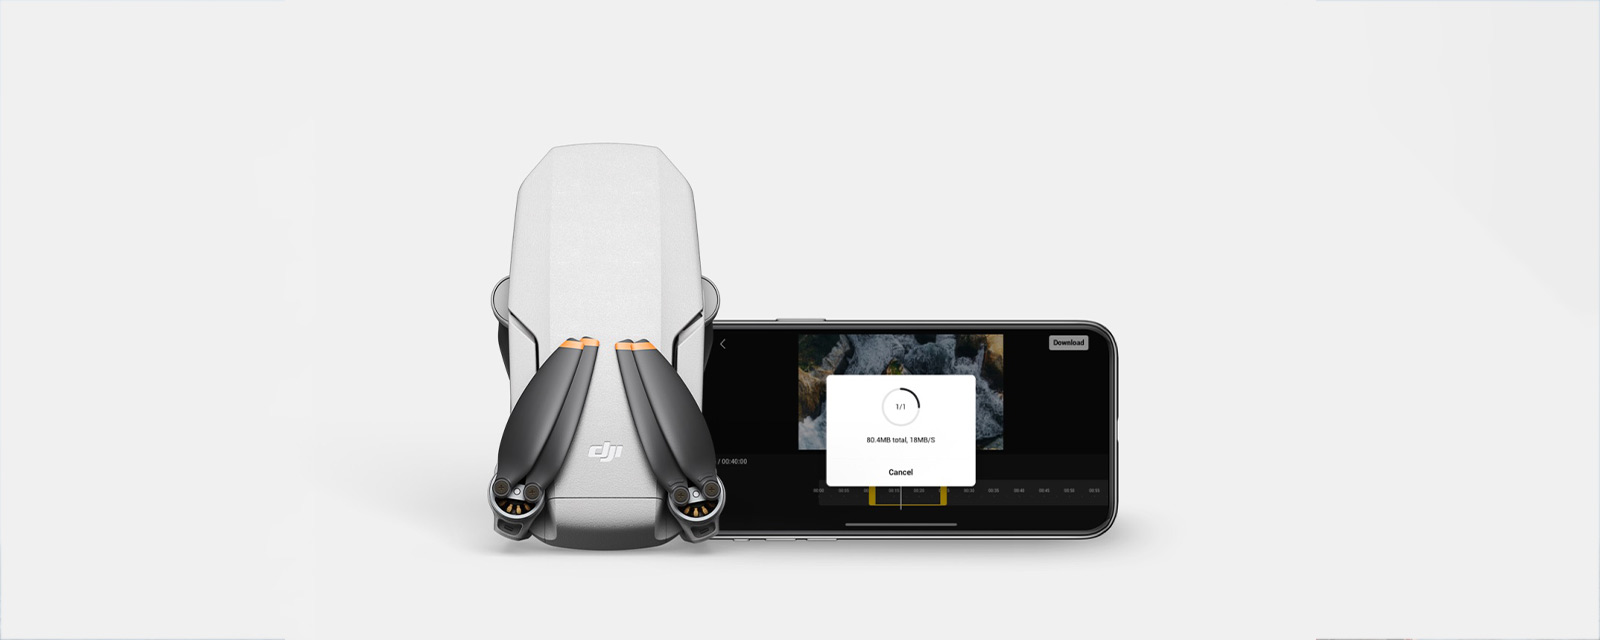
If you prefer to transfer DJI videos to your PC using your smartphone or tablet, the DJI Go 4 app provides a convenient option. This app is compatible with most DJI drone models and offers a range of features for controlling your drone and managing your files. Follow these steps to transfer your videos using the DJI Go 4 app:
- Install the DJI Go 4 app on your smartphone or tablet. You can find it in the App Store (iOS) or Google Play (Android) by searching for “DJI Go 4”. Make sure to select the version that is compatible with your drone model.
- Turn on your DJI drone and connect your smartphone or tablet to its Wi-Fi network. Refer to your drone’s user manual for specific instructions on how to establish the Wi-Fi connection.
- Launch the DJI Go 4 app on your smartphone or tablet.
- Go to the Media Library or File Transfer section within the DJI Go 4 app.
- Locate the videos you want to transfer and select them.
- Choose the option to export or save the selected videos to your device.
- Wait for the transfer to complete. The time it takes will depend on the size and number of videos being transferred.
Using the DJI Go 4 app offers a mobile-centric approach to transferring DJI videos to your PC. It allows you to directly access and manage your drone’s files using your smartphone or tablet. The app also provides additional features, such as live streaming, camera control, and flight telemetry, offering a comprehensive experience for DJI drone operators.
It’s important to note that the DJI Go 4 app may have limitations in terms of file transfer speed and the number of videos you can transfer at once. Additionally, ensure that your smartphone or tablet has sufficient storage space to accommodate the transferred videos.
Overall, using the DJI Go 4 app provides a convenient and mobile-friendly method to transfer DJI videos to your PC. It allows you to have more control over your drone and its files while operating on your preferred mobile device.
Conclusion
Transferring DJI videos to your PC is an essential task for drone enthusiasts and professionals alike. With the various methods available, you can choose the one that best suits your needs and preferences. Whether you prefer using a USB cable, a micro SD card, dedicated software like DJI Assistant 2, or the DJI Go 4 app, each method offers its own set of advantages and considerations.
Using a USB cable provides a direct and straightforward connection between your drone and PC, ensuring fast and reliable transfers. It is a convenient method that is compatible with most DJI drone models. On the other hand, utilizing a micro SD card offers the flexibility of a physical storage medium, allowing you to easily transfer videos across different devices without the need for a direct connection to your drone.
The DJI Assistant 2 software and DJI Go 4 app provide comprehensive solutions for managing your drone and its files. These software options offer additional features and settings, allowing for advanced control and customization. By using these apps, you can not only transfer your videos but also update firmware, adjust camera settings, and perform other maintenance tasks.
Regardless of the method you choose, it is important to ensure that your drone and PC are compatible and running the latest firmware and software versions. Additionally, having sufficient storage space on your PC or mobile device is crucial to accommodate the transferred videos.
In conclusion, transferring DJI videos to your PC is an essential step in the post-flight process. By following the methods outlined in this article, you can efficiently and effectively transfer your videos for editing, sharing, and archiving. Explore the different methods and find the one that best suits your workflow and preferences. Happy flying and happy video transferring!