Introduction
Welcome to the world of DJI Sphere photos! These captivating spherical images allow you to capture breathtaking panoramas that immerse viewers in a truly remarkable visual experience. Whether you’re a professional photographer or an amateur enthusiast, DJI Sphere photos offer a unique and innovative way to showcase your surroundings.
So, what exactly are DJI Sphere photos? Put simply, they are 360-degree panoramic images that capture the entire environment in all directions. When viewed, they provide a sense of immersion and enable viewers to explore the scene as if they were actually there. With DJI’s advanced technology and high-quality cameras, capturing stunning Sphere photos has never been easier.
In this guide, we will walk you through everything you need to know about viewing DJI Sphere photos. From capturing these incredible images to transferring them to your device and sharing them with others, we’ll cover all the essentials to help you make the most of your DJI experience.
Whether you’re using a DJI drone with a built-in Sphere mode or a compatible camera, get ready to unleash your creativity and elevate your photography to new heights with DJI Sphere photos. Let’s dive in and explore the world of immersive panoramic imaging!
What are DJI Sphere photos?
DJI Sphere photos, also known as 360-degree photos, are panoramic images that capture the entire environment in all directions. Unlike traditional photos that provide a limited field of view, DJI Sphere photos allow you to explore the scene from every angle, providing a truly immersive visual experience.
These photos are created by stitching together multiple images captured from different angles using advanced camera technology. The end result is a seamless, spherical image that can be viewed and interacted with using various devices and platforms.
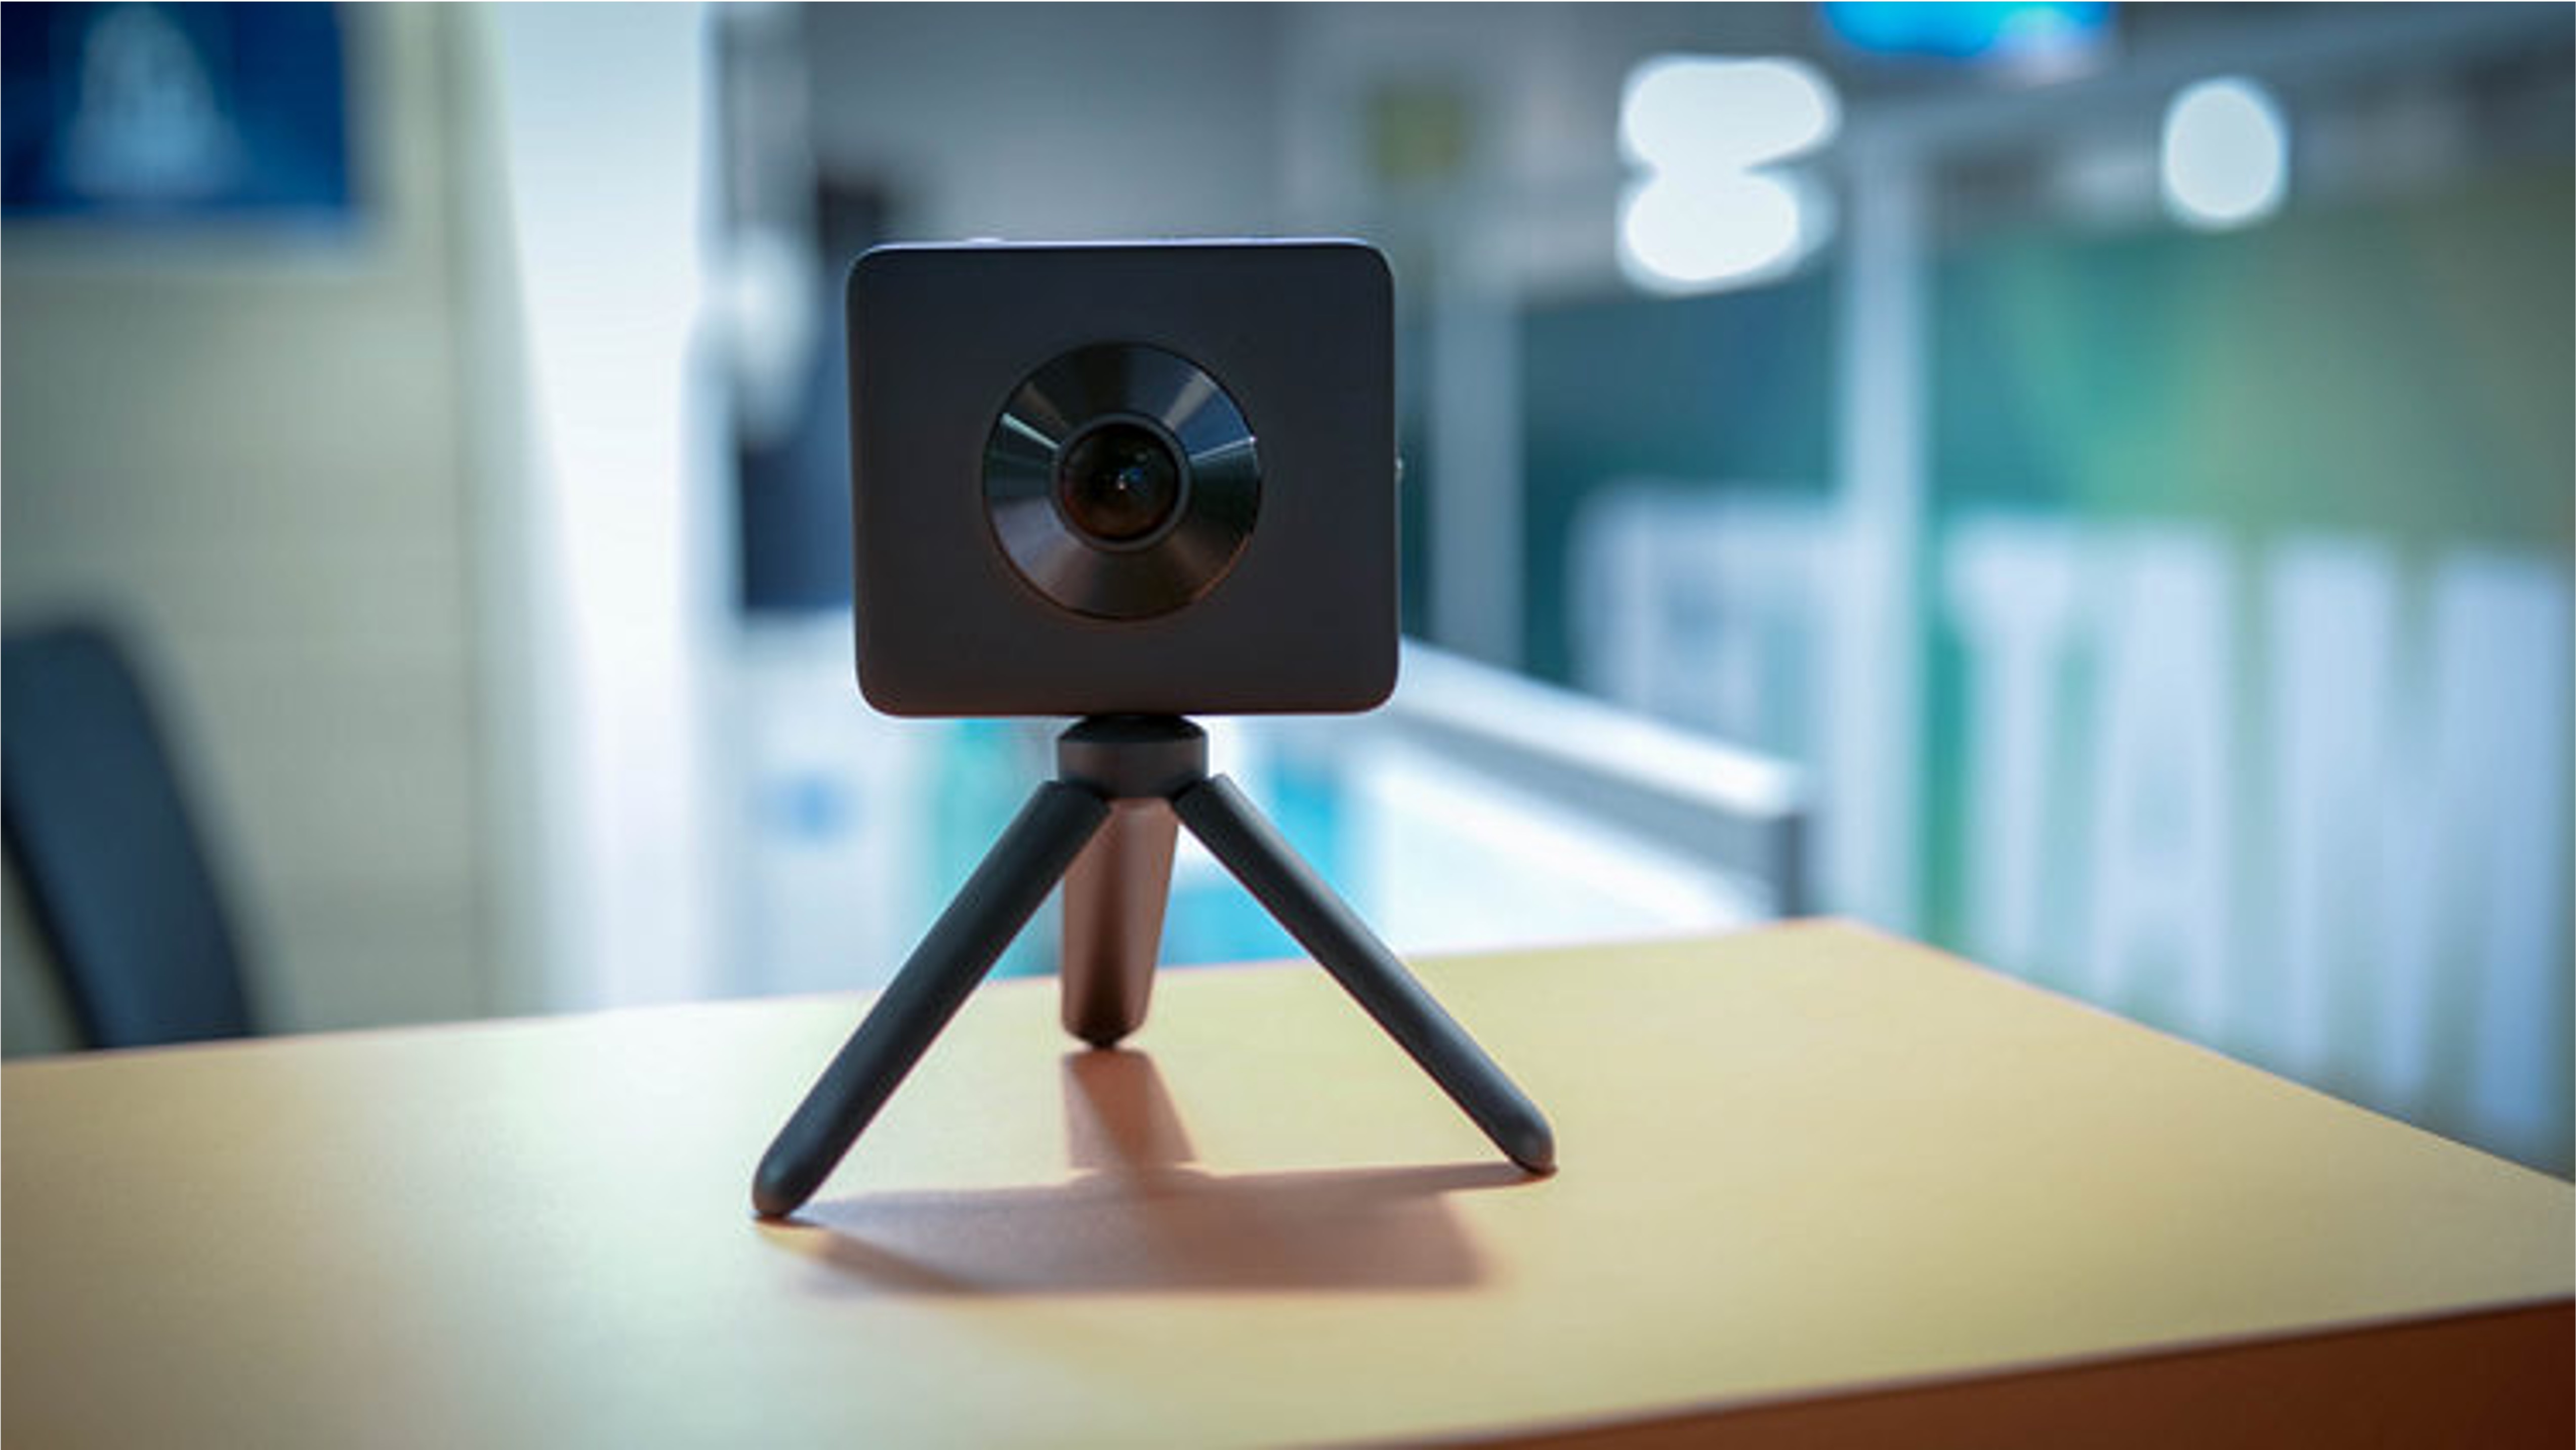
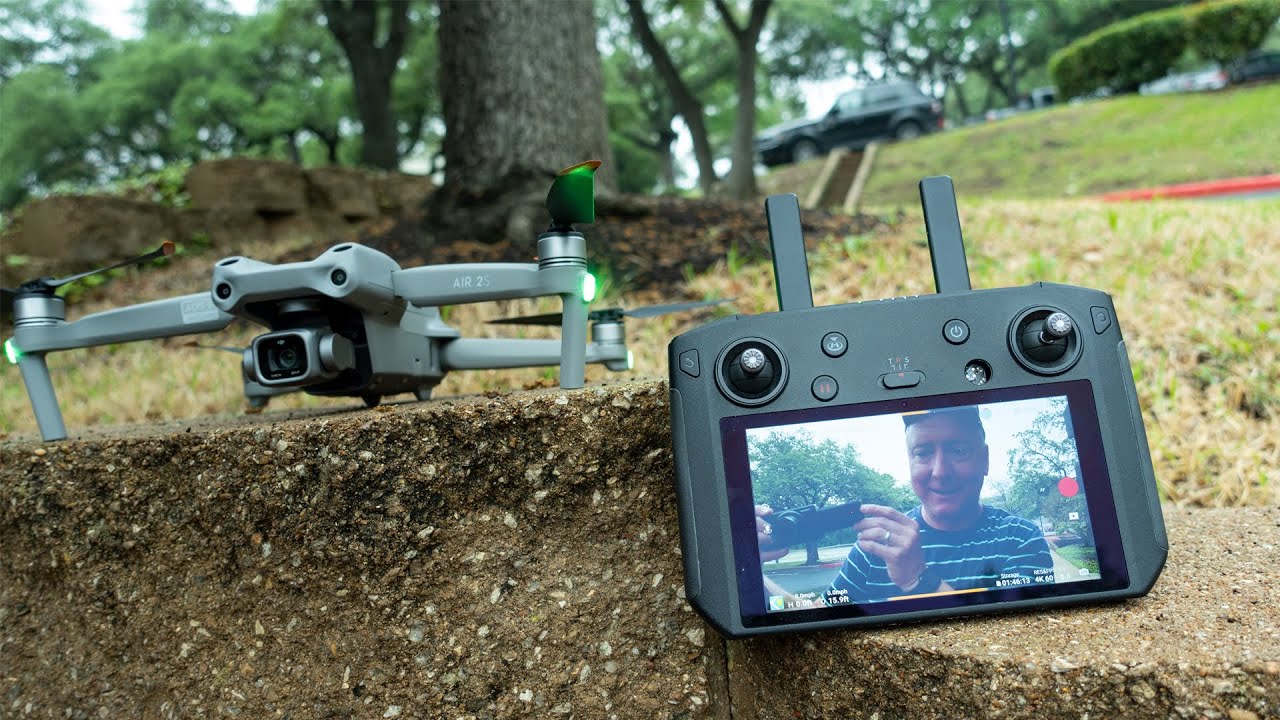
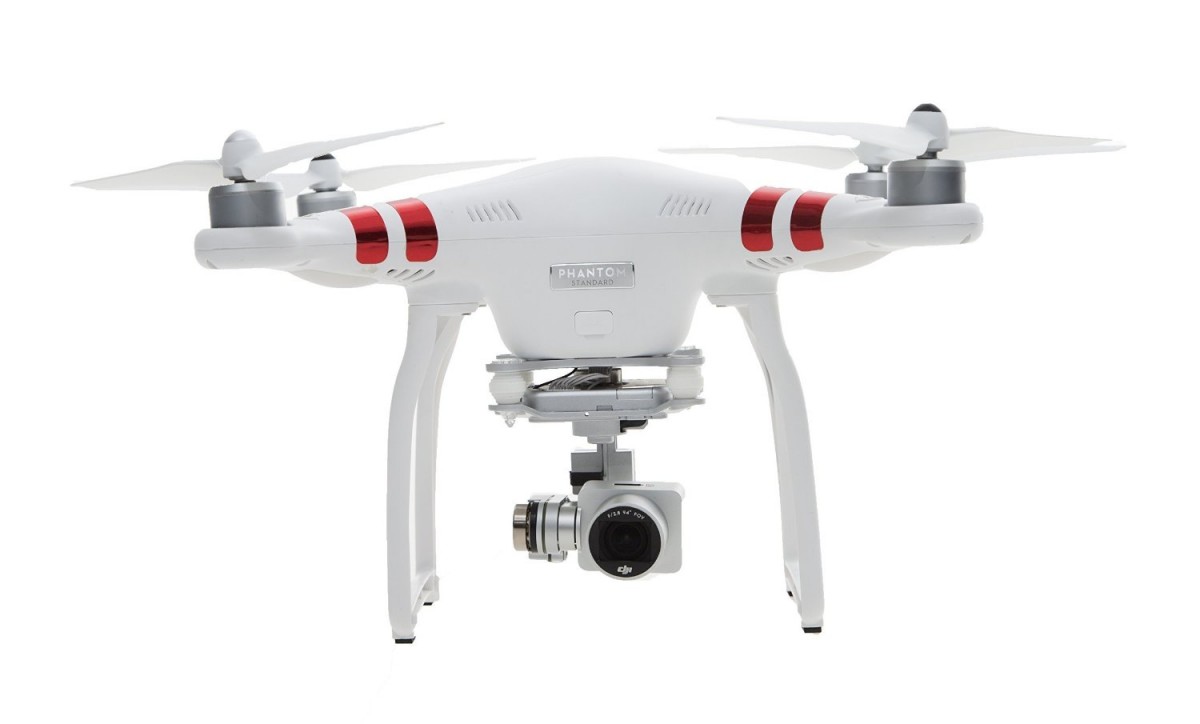
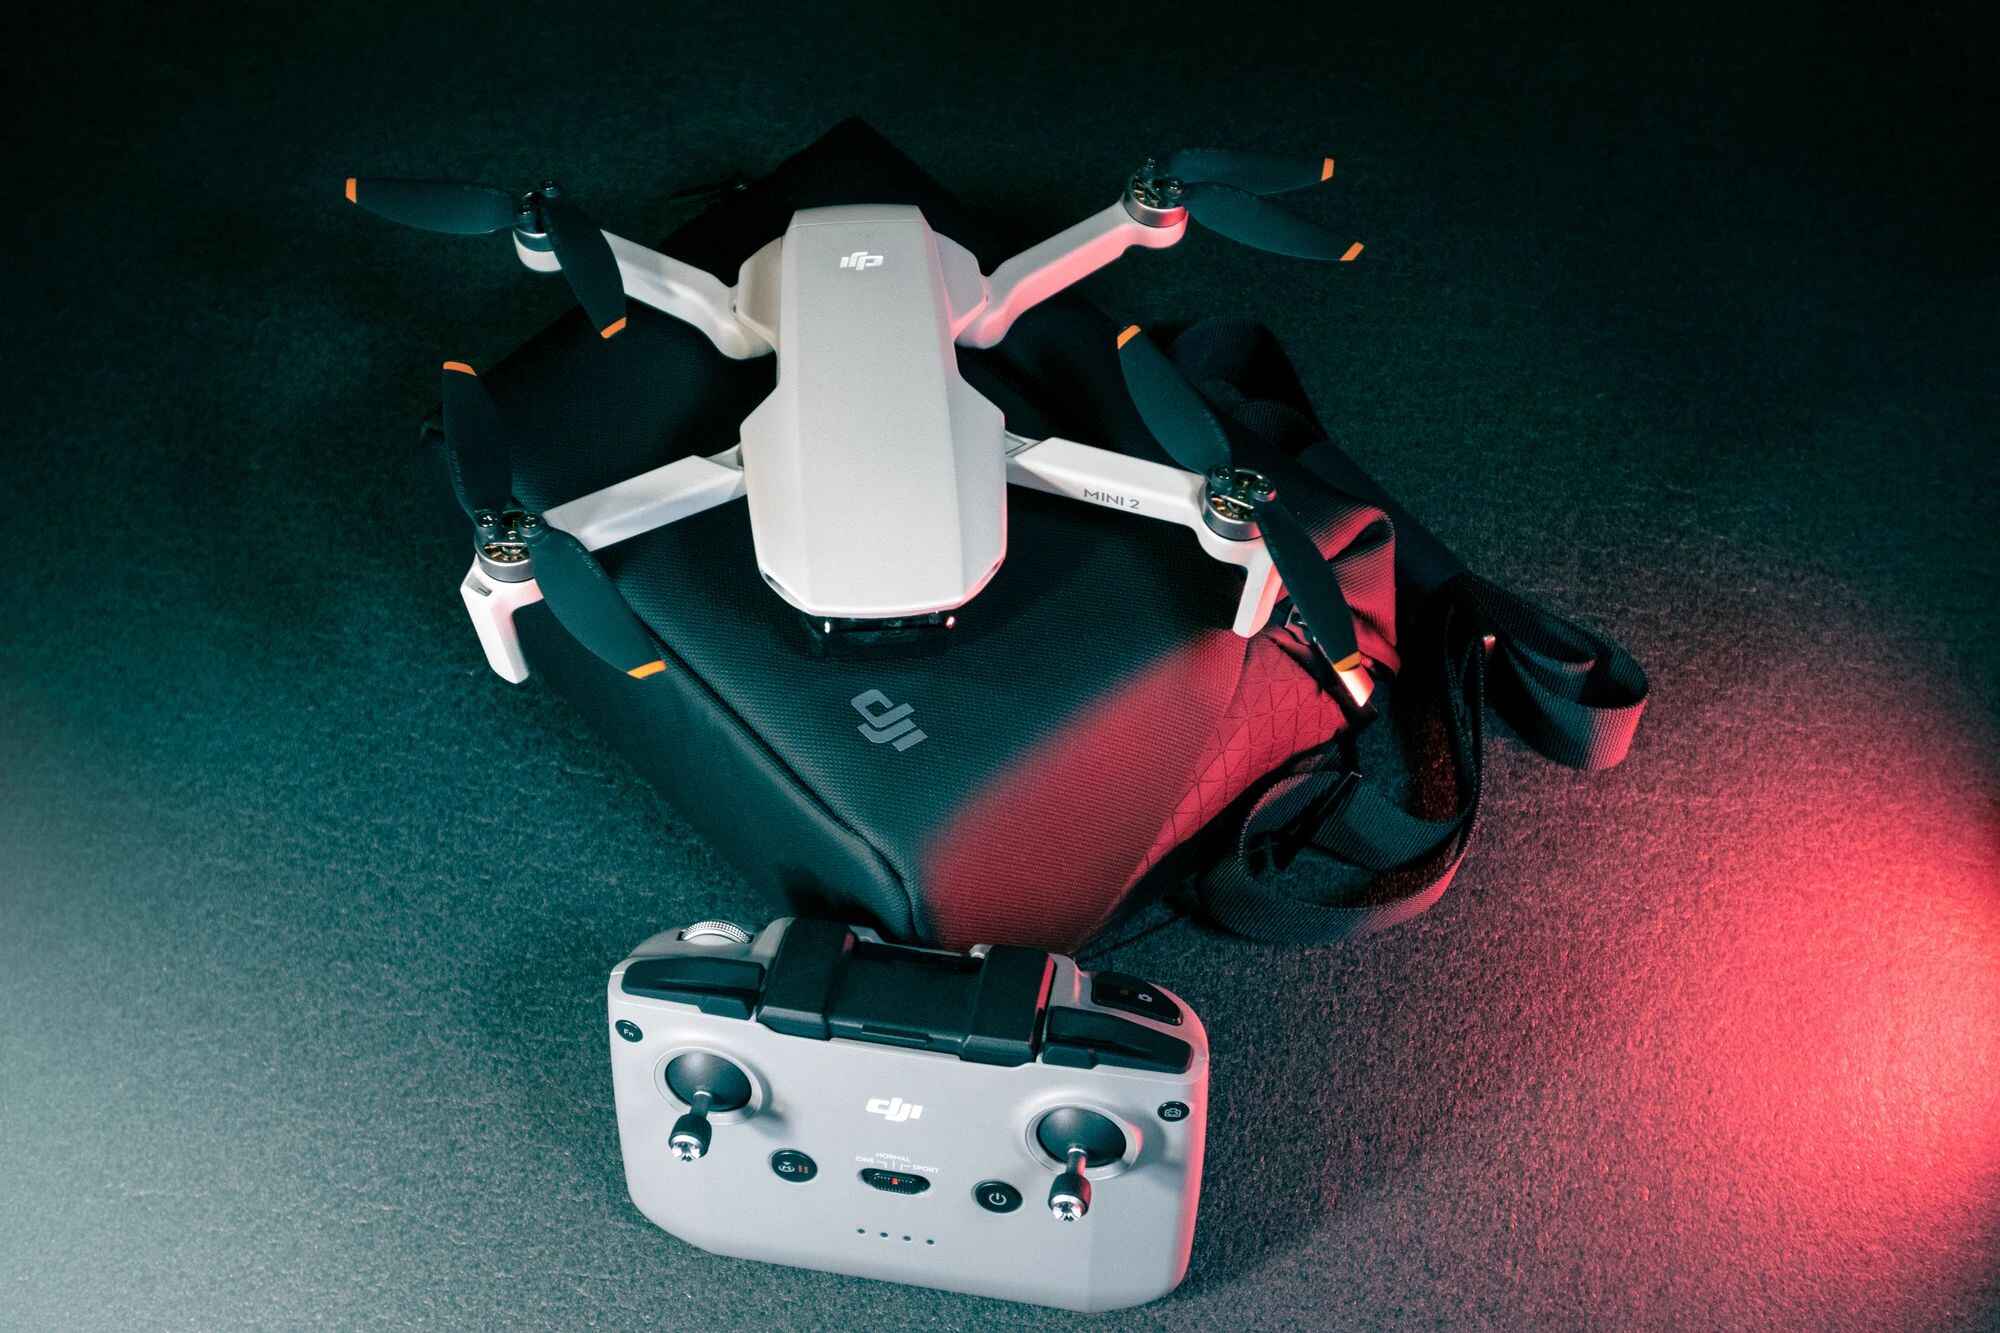
With DJI’s innovative drones and cameras, you can easily capture stunning Sphere photos. Some DJI drones even have a built-in Sphere mode, making it even more convenient to create these immersive images. Simply select the Sphere mode and let the drone automatically capture a series of images, which will be stitched together into a single panoramic photo.
The beauty of DJI Sphere photos is that they offer a new perspective and a sense of presence. Whether you want to showcase a scenic landscape, capture a memorable moment, or provide a virtual tour of a location, DJI Sphere photos can transport viewers into the scene and allow them to explore and appreciate every detail.
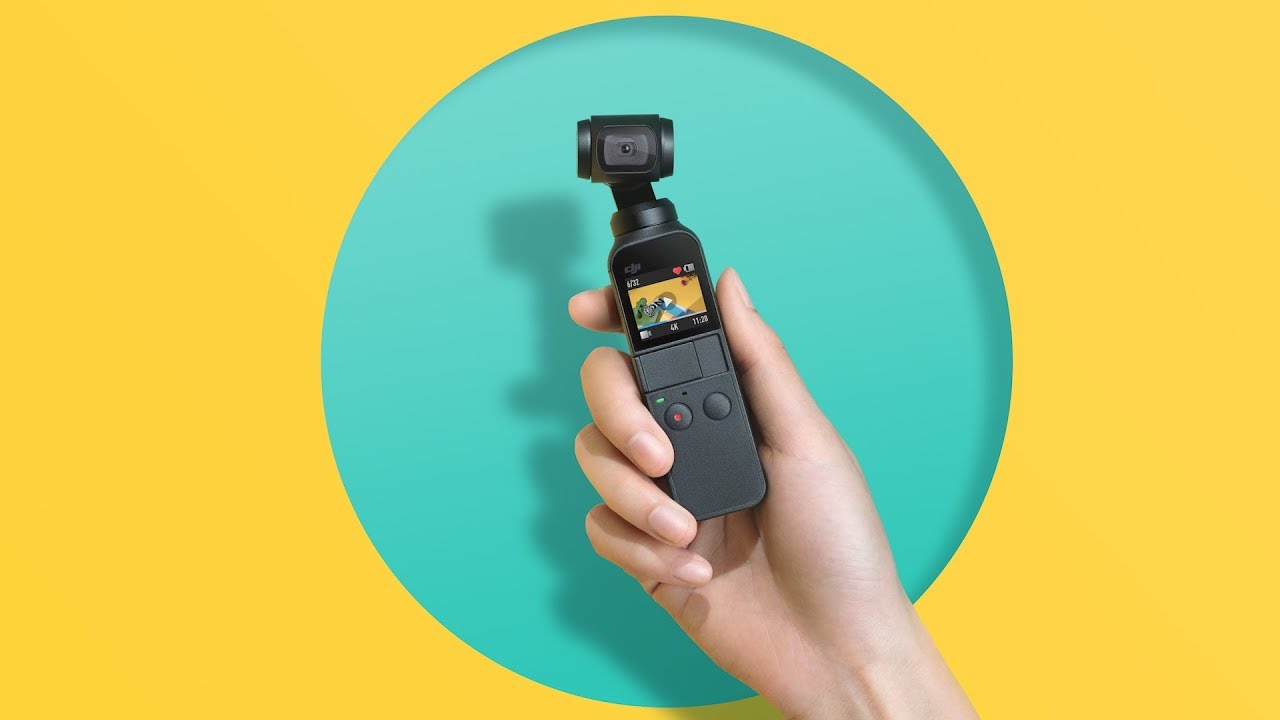
These photos are not just limited to aerial shots. You can also capture DJI Sphere photos from ground level using compatible cameras. By using a specialized rig or an accessory, you can capture a full 360-degree view of your surroundings. This opens up endless possibilities for photographers, filmmakers, and content creators to experiment with unique angles and perspectives.
Now that you understand what DJI Sphere photos are, let’s dive into the process of capturing these incredible images and discover the tips and tricks to help you achieve the best results.
How to capture DJI Sphere photos
Capturing DJI Sphere photos is an exciting and creative process that allows you to showcase the world around you in a truly immersive way. Whether you’re using a DJI drone with a built-in Sphere mode or a compatible camera, here are the steps to capture these stunning panoramic images:
- Choose the right equipment: If you’re using a DJI drone, make sure it has the Sphere mode feature. For ground-level shots, ensure your camera is compatible with capturing 360-degree images.
- Select the Sphere mode: If using a DJI drone, locate the Sphere mode in the camera settings or control panel. Activate this mode to prepare for capturing the images that will be stitched together later.
- Plan your shot: Before taking off or starting to capture images, consider the composition and scene you want to capture. Look for interesting elements and ensure proper lighting conditions for the best results.
- Capture the images: Once you’re ready, start capturing a series of images by flying your drone or moving your camera. Ensure that you cover the entire field of view, capturing images from different angles to capture all the details.
- Overlap the images: To facilitate the stitching process, make sure to overlap each image by around 20-30% to provide enough visual information for the software to blend them seamlessly.
- Check the settings: Ensure that you have the appropriate settings for image quality, exposure, and white balance. Experiment with different settings to get the desired results.
- Review and adjust: After capturing the images, review them on your device to ensure you have captured the desired scene. If needed, make adjustments and recapture any images that may need improvement.
- Stitch the images: To create the final DJI Sphere photo, you’ll need to use specialized software. There are numerous stitching programs available, both from DJI and third-party developers, that can automatically merge the images and create a seamless 360-degree panorama.
- Export and save the photo: Once the stitching process is complete, export the final DJI Sphere photo to your preferred file format. Ensure you save a high-quality version of the image to preserve all the details captured.
By following these steps, you’ll be able to capture stunning DJI Sphere photos and unleash your creativity to share immersive panoramic images with the world.
Tips for capturing the best DJI Sphere photos
Capturing impressive DJI Sphere photos requires a combination of technical knowledge and artistic flair. To help you achieve the best results, here are some valuable tips to consider:
- Scout for unique locations: Look for breathtaking landscapes, interesting architecture, or vibrant cityscapes that will make your DJI Sphere photos stand out. A unique location adds intrigue and captivates viewers.
- Pay attention to lighting: Optimal lighting conditions can greatly enhance the quality of your DJI Sphere photos. Aim for golden hour (early morning or late afternoon) or utilize soft and diffused light for a more flattering and atmospheric effect.
- Use manual exposure: Experiment with manual exposure settings to have greater control over the exposure of your DJI Sphere photos. Adjust the shutter speed, aperture, and ISO to achieve the desired look and avoid overexposure or underexposure.
- Keep the horizon level: Ensure the horizon line is straight and level in your DJI Sphere photos. This helps maintain a sense of balance and prevents distracting elements that may skew the overall image composition.
- Include foreground elements: Adding interesting foreground elements in your DJI Sphere photos can create depth and add a sense of scale to the overall scene. Consider using leading lines, natural frames, or objects of interest to draw the viewer’s attention.
- Shoot in RAW format: If your camera or drone supports it, capturing DJI Sphere photos in RAW format gives you more flexibility in post-processing. RAW files retain more details and allow for greater adjustments without sacrificing image quality.
- Experiment with different angles: Don’t be afraid to explore different angles and perspectives when capturing DJI Sphere photos. Experiment with low angles, high angles, and unique vantage points to create dynamic and visually engaging compositions.
- Control camera settings manually: When capturing DJI Sphere photos, avoid using automatic modes as they may not produce the desired results. Take control of your camera settings, including focus, white balance, and exposure, to achieve your creative vision.
- Take multiple shots: It’s always a good idea to take multiple shots when capturing DJI Sphere photos. This gives you more options to choose from during post-processing and allows you to select the best image that showcases the scene in its full glory.
- Edit with care: Once you’ve stitched your DJI Sphere photos and have them ready for editing, exercise restraint when applying post-processing adjustments. Enhance the image subtly to maintain a natural look and avoid making it appear overly edited.
By applying these tips and techniques, you’ll be well on your way to capturing breathtaking DJI Sphere photos that leave a lasting impression on viewers. Experiment, practice, and let your creativity soar!
How to transfer DJI Sphere photos to your device
Once you’ve captured stunning DJI Sphere photos, the next step is to transfer them to your device for further viewing, editing, and sharing. Here’s how you can easily transfer your DJI Sphere photos:
- Connect your drone or camera: Start by connecting your DJI drone or compatible camera to your computer using the provided USB cable. Ensure that both the device and your computer are powered on.
- Access the storage: Once connected, navigate to the storage of your drone or camera on your computer. This can typically be accessed through the “My Computer” or “This PC” section on Windows, or the desktop or Finder on Mac.
- Locate the DJI Sphere photos: Within the storage of your device, look for a folder specifically dedicated to the DJI Sphere photos. It may have a distinctive name or be located within the DCIM folder.
- Transfer the photos: Select the desired DJI Sphere photos and copy or drag them to a folder on your computer or directly to your desired device (e.g., smartphone or tablet) connected to your computer.
- Use image transfer software: If you prefer a more automated approach, you can use DJI’s dedicated image transfer software, such as DJI Assistant 2 or DJI GO, to transfer the DJI Sphere photos from your drone or camera to your computer.
- Wireless transfer options: Some DJI drones and cameras offer wireless transfer options, allowing you to transfer DJI Sphere photos directly to your mobile device without the need for a computer. Check the user manual or DJI’s official website for instructions specific to your device.
Once the DJI Sphere photos have been successfully transferred to your device, you can start enjoying them and exploring their immersive beauty using compatible software or apps.
It’s important to note that the transfer process may vary depending on the specific model of your DJI drone or camera. Always refer to the user manual or consult DJI’s official support resources for detailed instructions on transferring DJI Sphere photos for your specific device.
Now that you’ve transferred your DJI Sphere photos, let’s explore how you can view them on your mobile device.
Viewing DJI Sphere photos on your mobile device
Viewing DJI Sphere photos on your mobile device is a seamless and immersive experience that allows you to explore the panoramic images in all their glory. Here’s what you need to do:
- Install a compatible app: Start by installing a compatible app on your mobile device that supports viewing DJI Sphere photos. The DJI Go or DJI Fly app is a popular choice for DJI drone users, as it allows for easy playback and interaction with these spherical images.
- Transfer DJI Sphere photos to your device: If you haven’t already done so, transfer the DJI Sphere photos from your computer to your mobile device. You can use various methods such as direct transfer via USB, syncing through cloud storage, or emailing the images to yourself.
- Open the DJI app: Launch the DJI Go or DJI Fly app on your mobile device and connect it to your DJI drone or camera if applicable.
- Access the DJI Sphere photos: Once the app is open and connected, locate the folder or gallery section where the DJI Sphere photos are stored. The specific location may vary depending on the app and device you’re using.
- Select and view the photo: Tap on the desired DJI Sphere photo to open it. You will now be able to view the image in its full 360-degree glory. Use touch gestures, such as swiping or pinching, to navigate and explore different areas of the photo.
- Enhance the viewing experience: Many apps offer additional features to enhance the viewing experience of DJI Sphere photos. These can include zooming in on details, adjusting the projection style (e.g., little planet or flat), and even adding virtual reality (VR) compatibility for a more immersive experience.
- Share and enjoy: Once you’ve viewed the DJI Sphere photo to your satisfaction, you can easily share it with others directly from the app. Utilize social media platforms, messaging apps, or email to showcase your immersive creations and let others marvel at the beauty of the scene.
With the right app and your mobile device, you can easily view, interact with, and share DJI Sphere photos, letting you relive the panoramic moments captured with your DJI drone or camera.
Next, let’s explore how you can view DJI Sphere photos on your computer.
Viewing DJI Sphere photos on your computer
Viewing DJI Sphere photos on your computer offers a larger screen and more detailed viewing experience, allowing you to appreciate the panoramic images in all their glory. Here’s how you can do it:
- Choose a compatible software: Start by selecting a software program that supports viewing DJI Sphere photos. Some popular options include DJI Media Maker, DJI Go 4 PC Viewer, Adobe Photoshop, or specialized spherical photo viewers like PTGui or Pano2VR.
- Transfer DJI Sphere photos to your computer: If you haven’t done so already, transfer the DJI Sphere photos from your mobile device or camera to your computer. This can be done via USB connection, SD card transfer, or cloud storage synchronization.
- Open the software: Once you have the software installed on your computer, open it and navigate to the location where the DJI Sphere photos are stored.
- Import the photos: Import the DJI Sphere photos into the software program. Depending on the software, this may involve dragging and dropping the files or using the import function within the software interface.
- View the photo: Once the DJI Sphere photos are imported, you can now view them. The software will allow you to navigate the panoramic image by using your mouse or trackpad, enabling you to explore different areas of the photo and zoom in on details.
- Enhance the viewing experience: Take advantage of the features provided by the software to enhance your viewing experience. This can include adjusting the projection style, applying filters, or even creating virtual tours using hotspots within the image.
- Save and share: After viewing and customizing the DJI Sphere photo to your liking, you can save it to your computer or export it in a specific file format. From there, you can easily share the image with others via email, social media, or your preferred method of communication.
By using compatible software on your computer, you can fully immerse yourself in the beauty of DJI Sphere photos, appreciate the details captured, and share your captivating panoramic images with others.
Now that you know how to view DJI Sphere photos on your computer, let’s explore how you can share these incredible images with others.
Sharing DJI Sphere photos with others
Once you have captured and viewed your stunning DJI Sphere photos, the next step is to share them with others and let them experience the immersive beauty of these panoramic images. Here are some ways you can easily share your DJI Sphere photos:
- Social media platforms: One of the easiest and most popular ways to share DJI Sphere photos is through social media platforms. Upload your photos to platforms like Instagram, Facebook, or Twitter, and provide a caption or description to engage your audience.
- Specialized platforms: There are dedicated platforms for sharing and exploring immersive content, such as Roundme, Kuula, or 360Cities. These platforms allow you to upload and showcase your DJI Sphere photos to a community of like-minded individuals who appreciate immersive photography.
- Embedding on websites or blogs: If you have a personal photography website or a blog, you can embed your DJI Sphere photos directly into your site. This allows visitors to interact with the 360-degree images and provides a unique experience for your audience.
- Email or messaging apps: Another simple way to share your DJI Sphere photos is by sending them via email or messaging apps. Attach the photo file or use cloud storage services like Google Drive or Dropbox to share the image with friends, family, or clients.
- Slideshows or presentations: Incorporate your DJI Sphere photos into slideshows or presentations to captivate and engage your audience during events, lectures, or business meetings. Utilize software like Microsoft PowerPoint or Apple Keynote to add an extra level of immersion to your presentations.
- Virtual reality (VR): If you have captured DJI Sphere photos with VR compatibility, sharing them in a VR format can truly immerse viewers in the scene. You can create interactive virtual reality experiences using platforms like VR headset compatibility or online VR galleries.
- Printed media: Print your DJI Sphere photos on specialized mediums like panoramic photo paper or create custom photo books. This allows you to showcase your images in a physical format, perfect for exhibitions, galleries, or personal keepsakes.
When sharing your DJI Sphere photos, remember to provide context, describe the location or subject matter, and engage with your audience. Encourage feedback, comments, and interaction to create a dialogue around your immersive images.
Sharing your DJI Sphere photos allows you to inspire others, evoke emotions, and share your unique perspective with the world. So go ahead and spread the awe-inspiring beauty of these panoramic images!
Final Thoughts
Capturing and viewing DJI Sphere photos provides an incredible opportunity to explore and appreciate the world around us in a whole new way. Whether you’re an aspiring photographer, a seasoned professional, or simply an enthusiast, immersing yourself in the panoramic beauty of these images is truly captivating.
By following the steps outlined in this guide, you can confidently capture breathtaking DJI Sphere photos with your drone or compatible camera. Remember to experiment with different angles, compositions, and lighting conditions to create unique and compelling images.
Transferring and viewing DJI Sphere photos on both your mobile device and computer allows you to fully appreciate the intricate details and immersive qualities of these panoramic images. Take advantage of compatible apps and software to enhance your viewing experience and easily share your creations with others.
Whether you choose to share your DJI Sphere photos on social media platforms, dedicated immersive photography platforms, or even through printed media, remember that these images have the power to evoke emotions, spark curiosity, and transport viewers to incredible scenes around the world.
So, embrace your creativity, explore new locations, and capture the beauty of the world through the lens of DJI Sphere photography. Unleash your imagination and share your immersive masterpieces with others, inspiring them to see the world in a whole new light.
Start your DJI Sphere photography journey today and discover the endless possibilities that await!