Introduction
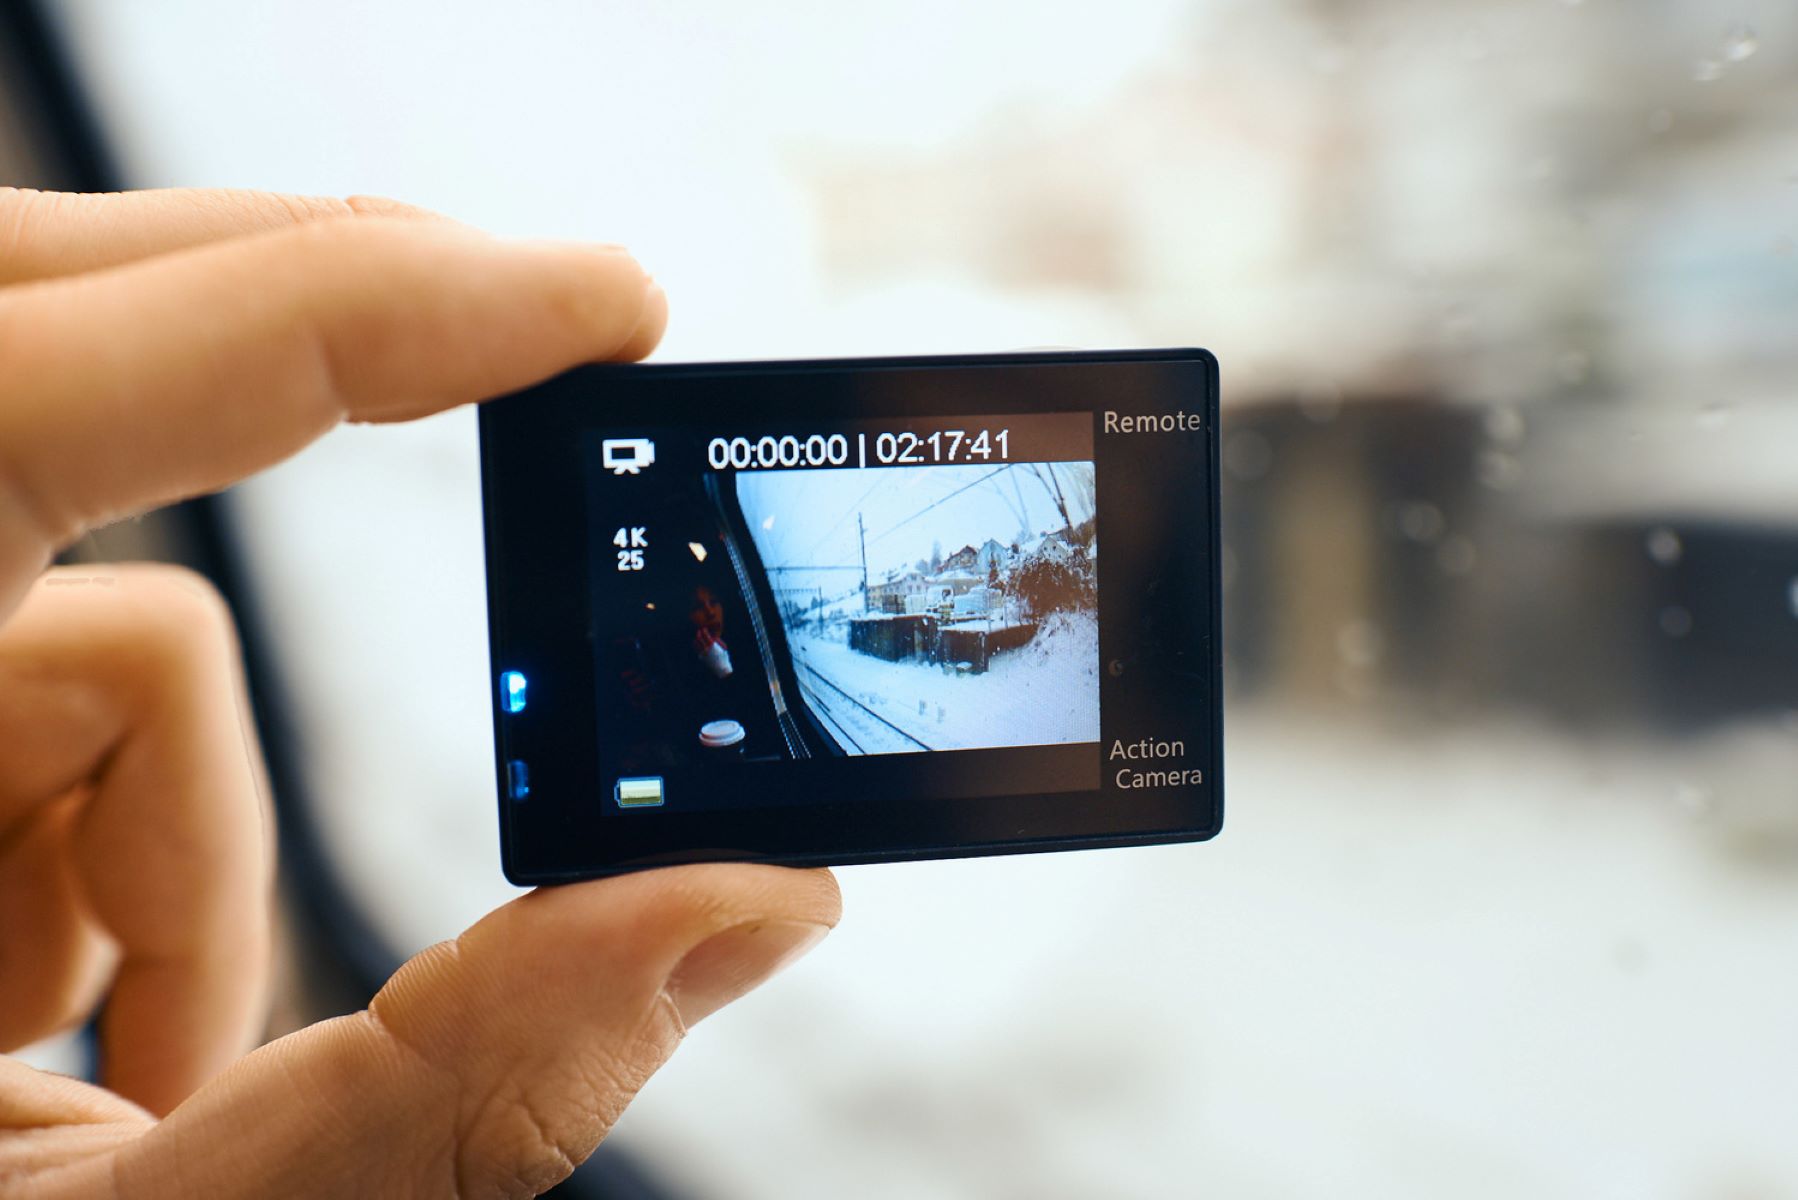
Are you an adventure enthusiast or a travel vlogger looking to capture your escapades in stunning detail? If so, the DJI Asmo Action Camera is likely your go-to gadget for recording exhilarating moments. This compact, rugged, and feature-packed camera is designed to withstand the rigors of outdoor adventures while delivering high-quality footage. However, once you've captured your thrilling exploits on the DJI Asmo, you'll want to transfer the videos to your computer for editing, sharing, or safekeeping. This guide will walk you through the process of connecting your DJI Asmo Action Camera to your computer and transferring videos seamlessly. Whether you're a seasoned tech aficionado or a novice, you'll find valuable insights and practical tips to make the video transfer process effortless and efficient.
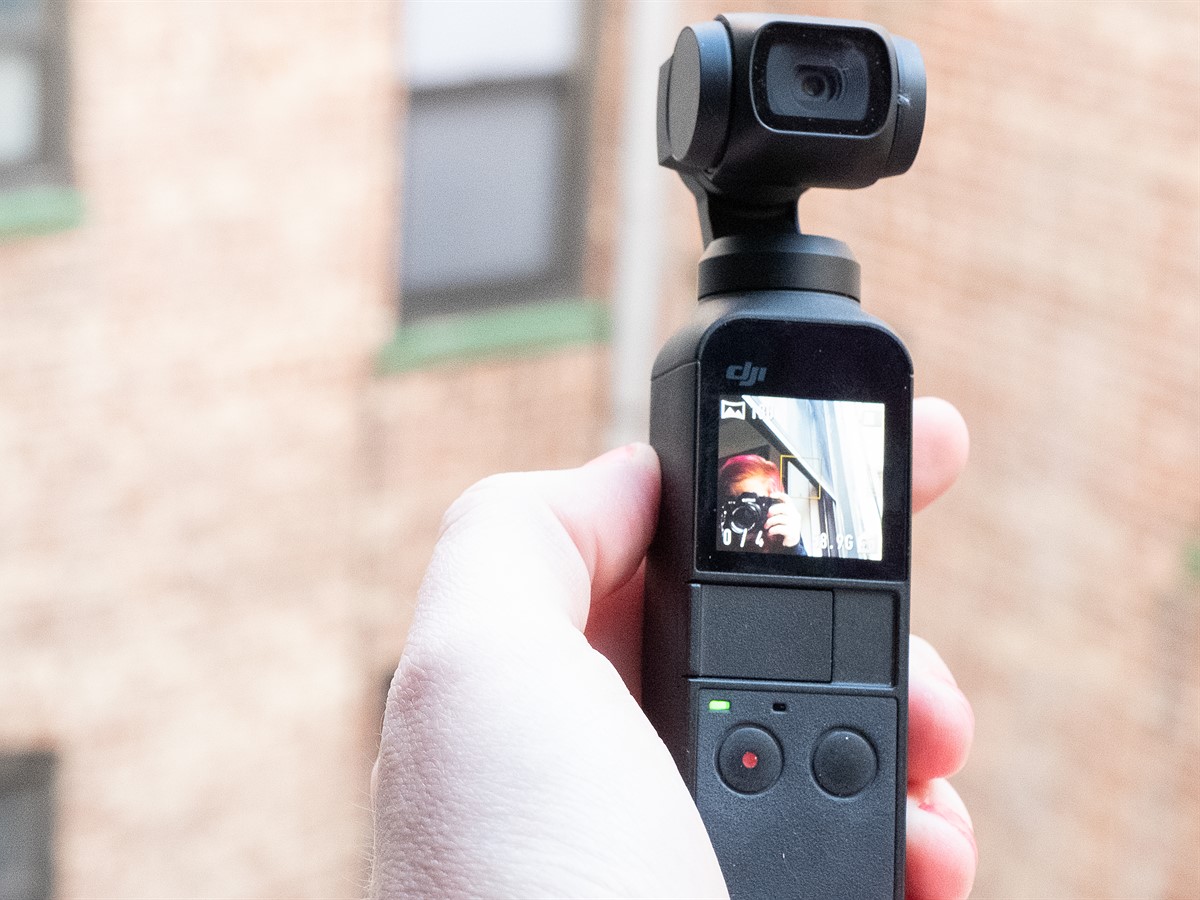
The DJI Asmo Action Camera boasts impressive capabilities, including 4K video recording, advanced stabilization, and a durable, waterproof construction. Its intuitive controls and versatile mounting options make it a popular choice among outdoor enthusiasts, sports enthusiasts, and content creators. However, to fully leverage the potential of this cutting-edge device, it's essential to understand how to transfer your captured footage to your computer.
In this comprehensive guide, we'll explore the various methods for transferring videos from your DJI Asmo to your computer, ensuring that you can seamlessly access, edit, and share your captivating recordings. Whether you prefer a direct USB connection, wireless transfer via the DJI Asmo app, or troubleshooting tips for common transfer issues, this guide has you covered. By the end of this article, you'll be equipped with the knowledge and confidence to effortlessly transfer your DJI Asmo Action Camera videos to your computer, unlocking the full potential of your adventurous recordings. Let's dive into the step-by-step process of connecting your DJI Asmo to your computer and seamlessly transferring your captivating videos.
Connecting the DJI Asmo Action Camera to Your Computer
Before you can transfer videos from your DJI Asmo Action Camera to your computer, it’s crucial to establish a stable and reliable connection between the two devices. The following steps will guide you through the process of connecting your DJI Asmo to your computer, ensuring a seamless transfer of your captivating footage.
- USB Connection: The most straightforward method for connecting your DJI Asmo to your computer is through a USB cable. Begin by locating the USB-C port on your DJI Asmo Action Camera. Next, connect one end of the USB cable to the USB-C port on the camera and the other end to an available USB port on your computer. Once connected, your computer should recognize the DJI Asmo as a removable storage device, allowing you to access the videos stored on the camera’s memory card.
- Wireless Connection: Alternatively, some computers and cameras support wireless connectivity for file transfer. Check if your DJI Asmo Action Camera and computer are equipped with wireless transfer capabilities, such as Wi-Fi or Bluetooth. If so, follow the respective device-specific instructions to establish a wireless connection between the DJI Asmo and your computer. This method provides added convenience and eliminates the need for physical cables.
By establishing a reliable connection between your DJI Asmo Action Camera and your computer, you pave the way for seamless video transfer, enabling you to access, edit, and share your captivating footage with ease. Whether you opt for a traditional USB connection or leverage wireless transfer capabilities, the key is to ensure that both devices are effectively linked, facilitating the smooth transfer of videos from your DJI Asmo to your computer.
Transferring Videos from DJI Asmo to Computer
Once you’ve successfully connected your DJI Asmo Action Camera to your computer, the next step is to transfer the captivating videos you’ve captured to your computer’s storage. The transfer process can be accomplished through various methods, each offering its own advantages in terms of speed, convenience, and flexibility. Let’s explore the most common approaches for transferring videos from your DJI Asmo to your computer, empowering you to manage and edit your footage effortlessly.
- Manual File Transfer: When connected to your computer via a USB cable, the DJI Asmo Action Camera appears as a removable storage device. Navigate to the designated folder or drive representing the DJI Asmo on your computer, and locate the videos you wish to transfer. Then, simply drag and drop the video files from the DJI Asmo’s storage to your computer’s desired location, such as a dedicated folder or the desktop. This method provides direct control over the transfer process and is suitable for users who prefer a hands-on approach to managing their files.
- Automatic Import: Many video editing and media management software applications, such as Adobe Premiere Pro, Final Cut Pro, or Windows Photos, offer automatic import functionality for connected cameras. Upon connecting your DJI Asmo Action Camera to your computer, launch the preferred software and follow the prompts to import videos from the connected device. This streamlined approach simplifies the transfer process and seamlessly integrates the imported videos into your editing workflow.
By leveraging these transfer methods, you can efficiently move your captivating videos from the DJI Asmo Action Camera to your computer, where you can organize, edit, and share your footage with ease. Whether you opt for a manual file transfer or take advantage of automatic import features within editing software, the goal is to seamlessly transition your recorded adventures from the camera to your computer, unlocking the potential for creative storytelling and captivating visual content.
Using DJI Asmo App for Video Transfer
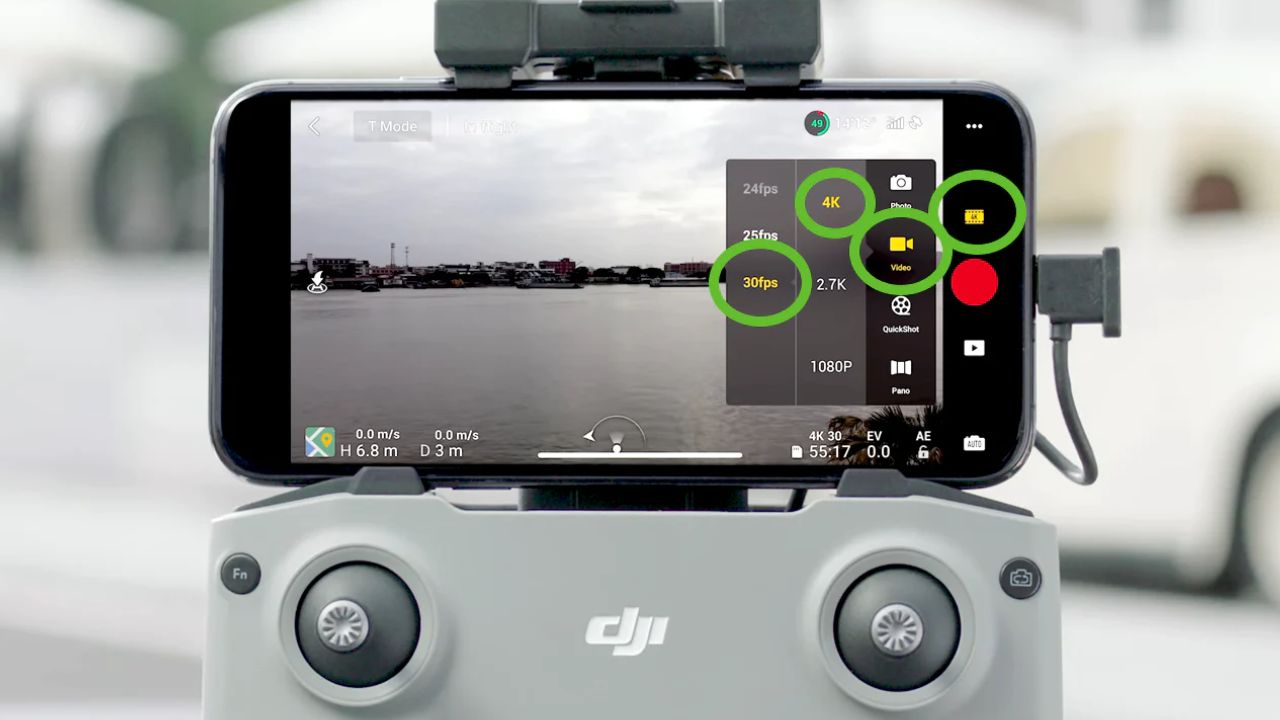
The DJI Asmo Action Camera offers a convenient and efficient method for transferring videos to your computer through its dedicated mobile app. By utilizing the DJI Mimo app, available for both iOS and Android devices, you can seamlessly transfer your captivating footage from the DJI Asmo to your computer, eliminating the need for direct cable connections and simplifying the transfer process. Here’s how to leverage the DJI Mimo app for effortless video transfer:
- Download and Install: Begin by downloading and installing the DJI Mimo app on your compatible mobile device. The app is readily available through the App Store for iOS users and the Google Play Store for Android users. Once installed, launch the app and ensure that your DJI Asmo Action Camera is powered on and within wireless range of your mobile device.
- Wireless Connection: Within the DJI Mimo app, navigate to the designated video transfer or download section, typically accessible through the app’s main interface. Follow the on-screen instructions to establish a wireless connection between your DJI Asmo and the mobile device running the DJI Mimo app. Once connected, you’ll have the ability to browse and select the videos you wish to transfer to your computer.
- Initiate Transfer: After selecting the desired videos within the DJI Mimo app, initiate the transfer process, which will seamlessly transmit the selected footage from your DJI Asmo Action Camera to your mobile device. Once the videos are successfully transferred to your mobile device, you can proceed to transfer them to your computer using standard file transfer methods, such as USB connection or cloud storage services.
By harnessing the capabilities of the DJI Mimo app, you can streamline the process of transferring videos from your DJI Asmo Action Camera to your computer, all while leveraging the convenience of wireless connectivity and intuitive mobile app controls. Whether you’re on the go or prefer a wireless transfer solution, the DJI Mimo app offers a user-friendly and efficient method for managing your captivating footage and seamlessly integrating it into your computer-based workflow.
Troubleshooting Tips for Video Transfer Issues
While transferring videos from your DJI Asmo Action Camera to your computer is typically a straightforward process, encountering occasional issues or obstacles is not uncommon. To ensure a seamless and frustration-free transfer experience, consider the following troubleshooting tips to address common video transfer issues effectively:
- Ensure Proper Connection: If you’re experiencing difficulties transferring videos, verify that the USB cable or wireless connection between your DJI Asmo Action Camera and your computer is secure and functional. A loose or damaged cable or an unstable wireless connection can impede the transfer process.
- Check Compatibility and Drivers: For USB connections, confirm that your computer’s operating system recognizes the DJI Asmo Action Camera as a compatible device. Additionally, ensure that the necessary drivers are installed to facilitate seamless communication between the camera and your computer.
- Restart Devices: Sometimes, technical glitches can be resolved by simply restarting both your DJI Asmo Action Camera and your computer. Rebooting the devices can refresh their respective systems and resolve temporary connectivity issues.
- Free Up Storage Space: If you encounter errors during the transfer process, check the available storage space on both your DJI Asmo Action Camera and your computer. Insufficient space on either device can hinder the transfer of large video files.
- Update Firmware and Software: Ensure that both your DJI Asmo Action Camera’s firmware and your computer’s operating system are up to date. Outdated software can lead to compatibility issues and hinder the seamless transfer of videos.
- Utilize Alternative Transfer Methods: If traditional transfer methods encounter persistent issues, consider leveraging alternative transfer approaches, such as using a different USB port, trying a different USB cable, or exploring wireless transfer options supported by the DJI Asmo Action Camera.
By implementing these troubleshooting tips, you can effectively address common video transfer issues and ensure a smooth and efficient transfer process from your DJI Asmo Action Camera to your computer. Whether you encounter connectivity challenges, compatibility issues, or storage constraints, these practical solutions will empower you to overcome obstacles and seamlessly manage your captivating video footage.