Introduction
Drones have become increasingly popular in recent years, with their ability to capture breathtaking aerial footage and perform advanced maneuvers. However, one of the fundamental skills every drone pilot should master is making a drone hover. Hovering is the art of keeping the drone suspended in mid-air, maintaining a stable position without any forward or backward movement. It may seem easy at first, but achieving a consistent and controlled hover requires a combination of understanding the basics of flight, choosing the right drone, and practicing proper control inputs.
In this article, we will delve into the intricacies of making a drone hover. We will explore the key factors that contribute to a stable hover, such as calibrating the drone for optimal stability, selecting the appropriate flight modes, and mastering control inputs. Additionally, we will discuss how optimizing the drone’s weight and balance can affect its hovering capabilities. Whether you are a beginner or an experienced pilot looking to improve your hovering skills, this guide will provide you with the knowledge and techniques needed to achieve a smooth and controlled hover.
Before we dive into the specifics, it’s important to note that the techniques and recommendations mentioned in this article may vary slightly depending on the drone model you are using. It is always advisable to consult the manufacturer’s manual for specific instructions and guidelines tailored to your drone’s specifications. With that said, let’s explore the world of drone hovering and how you can become proficient at this essential skill.
Understanding the Basics of Drone Flight
Before we can master the art of making a drone hover, it’s crucial to have a solid understanding of the basic principles of flight. Drones operate on the same principles as any other flying object, relying on four fundamental forces: lift, weight, drag, and thrust.
Lift is the upward force that counters the weight of the drone. It is generated by the propellers or rotors, which create a flow of air that produces lift. By adjusting the speed and angle of the propellers, you can control the amount of lift generated and consequently control the altitude of the drone.
Weight, on the other hand, is the force exerted by gravity, pulling the drone downward. It is crucial to ensure that your drone is not overloaded and is within its recommended weight limit. Excessive weight can hinder its ability to hover and maneuver effectively.
Drag is the resistance force encountered by the drone as it moves through the air. It is caused by factors such as air pressure, shape, and surface area. Understanding drag is essential for maintaining stability during hover, as excessive drag can lead to drift or instability.
Thrust is the forward force generated by the propellers. It counteracts the drag and enables the drone to move in different directions. While hovering, thrust should be balanced to counteract the weight but not propel the drone forward or backward.
In addition to these forces, drones rely on control inputs to maneuver. This includes adjusting the throttle, which controls the propeller speed and therefore the lift, and manipulating the roll, pitch, and yaw to control the direction and orientation of the drone.
By understanding these basic principles of flight and the forces that govern drone movement, you can better grasp the intricacies of making a drone hover. In the next sections, we will explore how to apply this knowledge to choose the right drone, calibrate it for stability, and master control inputs for a smooth and controlled hover.
Choosing the Right Drone for Hovering
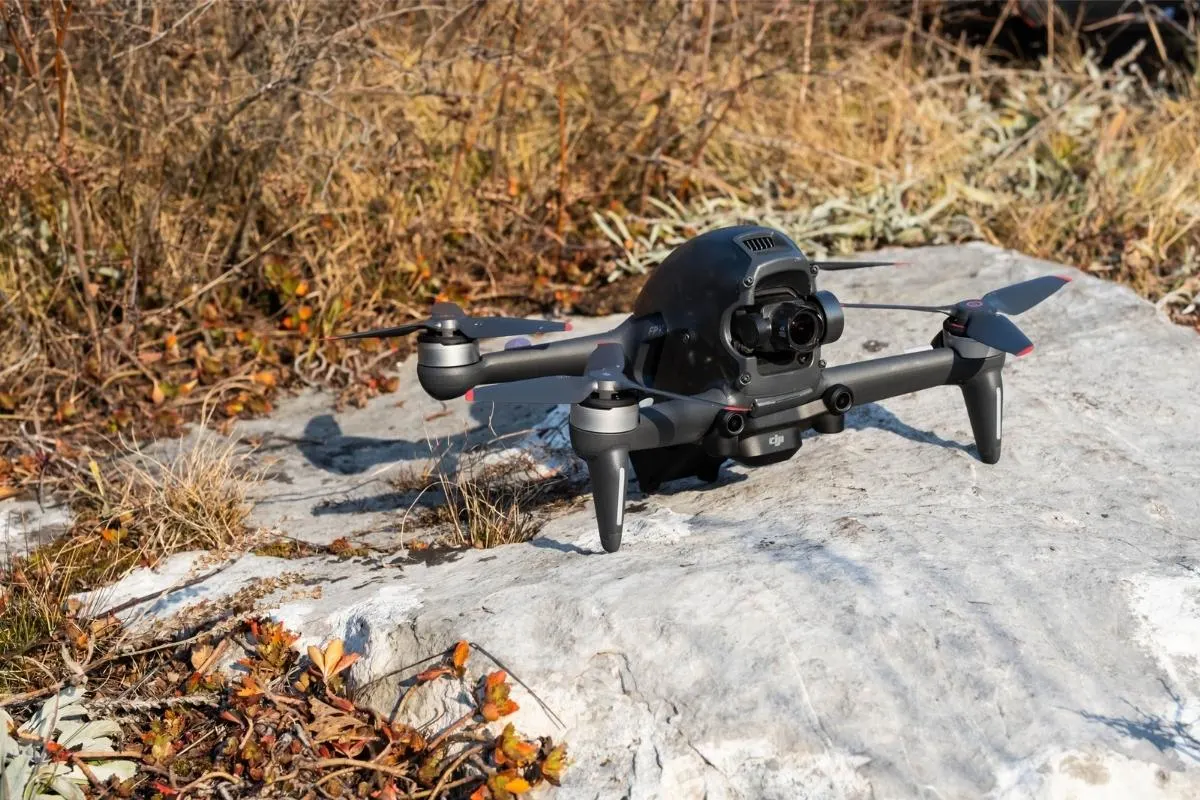
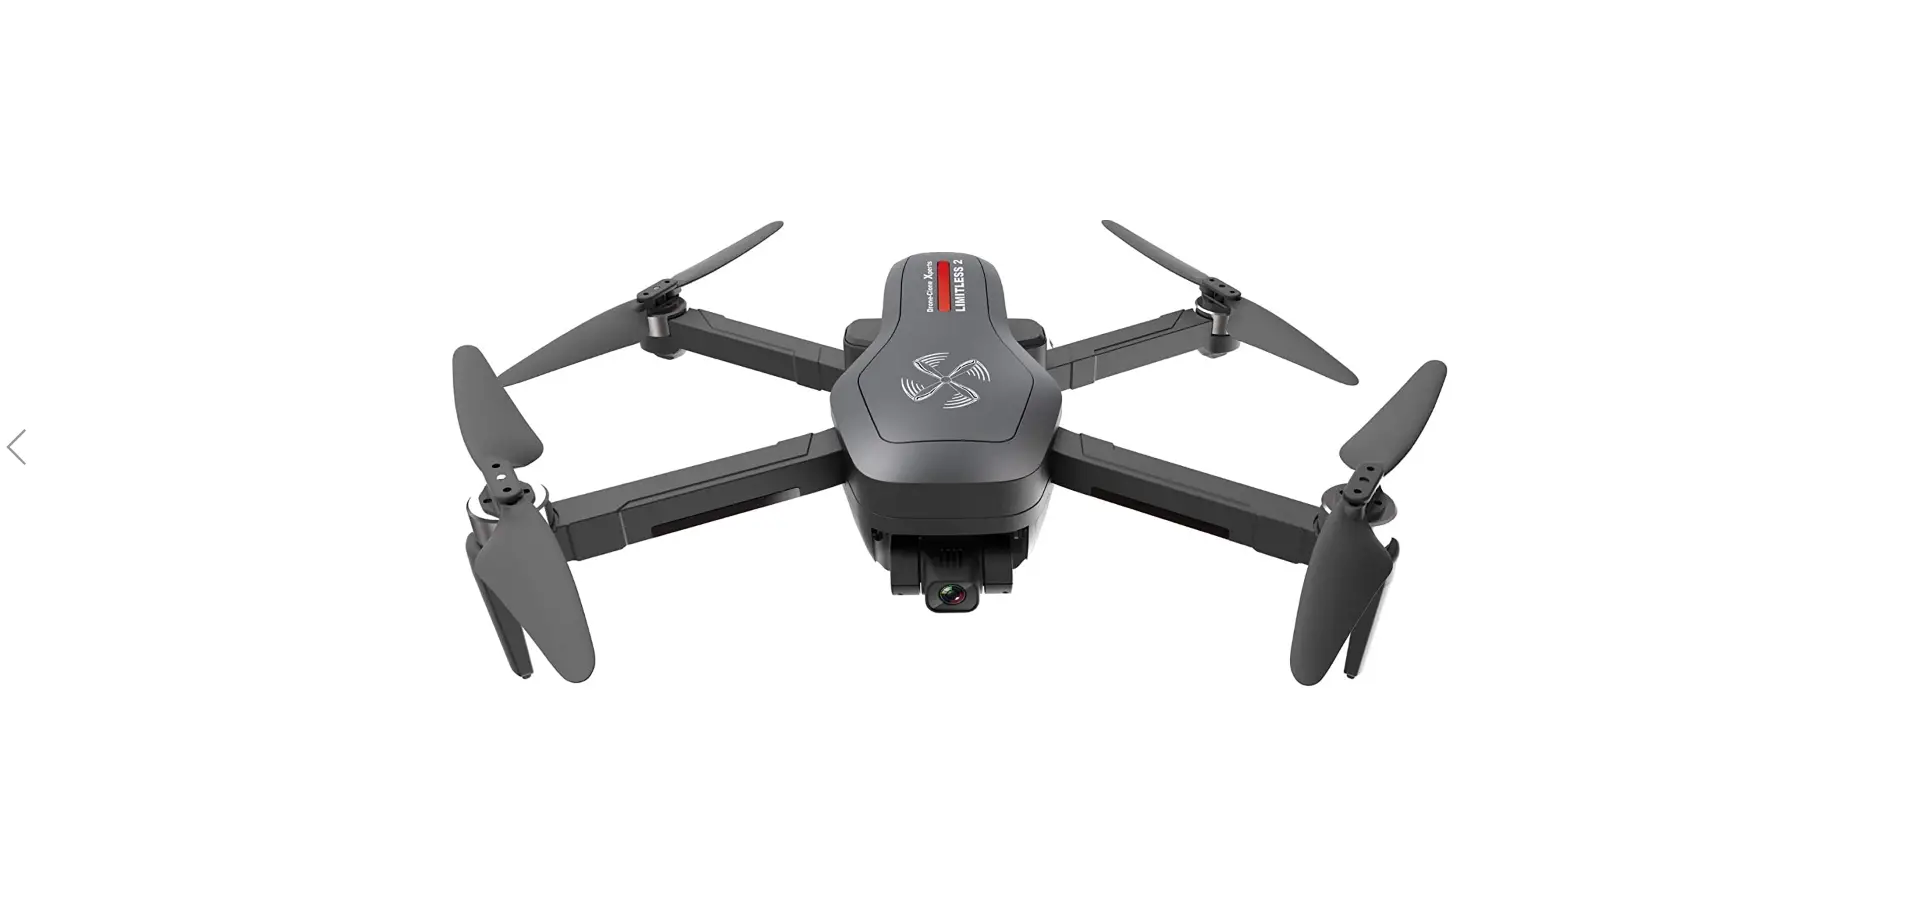
When it comes to making a drone hover, the choice of drone itself plays a crucial role. Not all drones are designed to excel in hovering, so it’s important to consider certain factors before making a purchase.
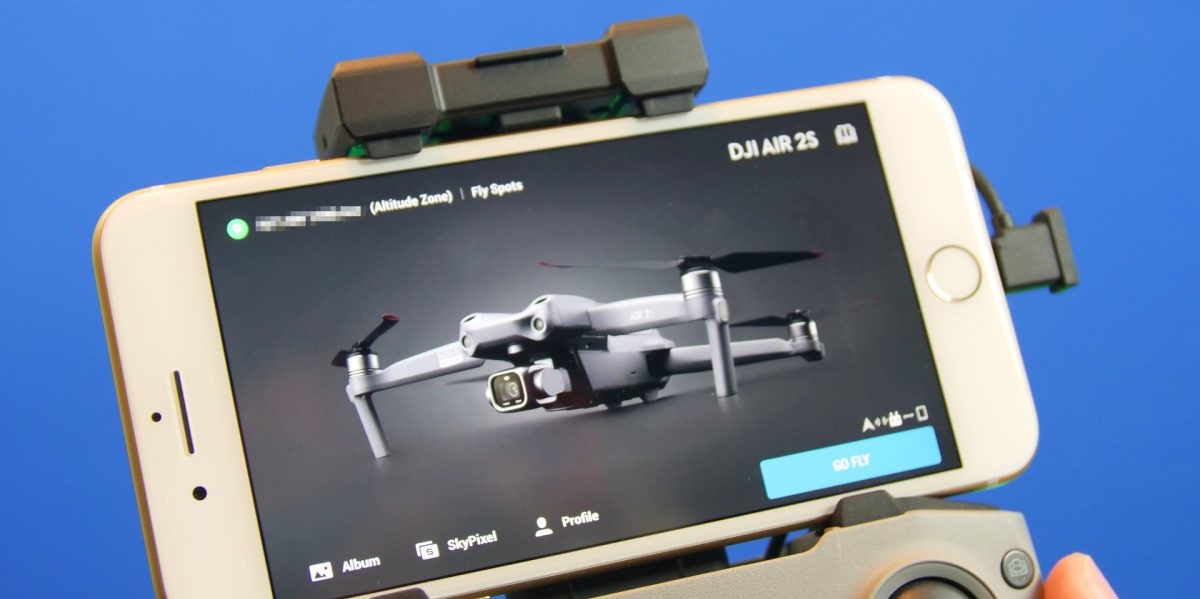
First and foremost, look for a drone that has a stable and reliable flight control system. The flight controller is the brain of the drone, responsible for processing the inputs from the pilot and translating them into precise movements. Opt for a drone with advanced flight stabilization features, such as a GPS system or an integrated gyroscopic stabilization system, as these can greatly enhance the drone’s ability to maintain a stable hover.
Additionally, check the drone’s payload capacity. If you plan to attach additional equipment or accessories, such as a camera or extra batteries, make sure the drone can handle the added weight without compromising its hovering capabilities. Keep in mind that an overloaded drone may struggle to maintain a stable hover and may affect the overall flight performance.
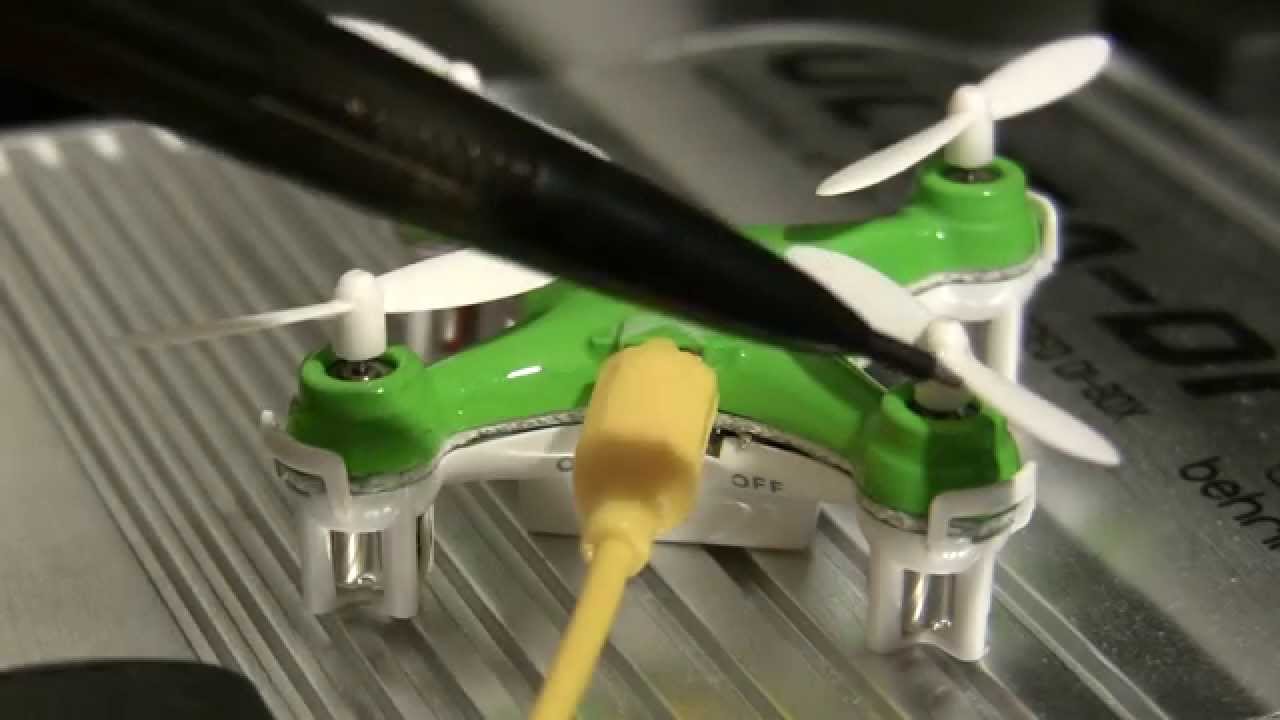
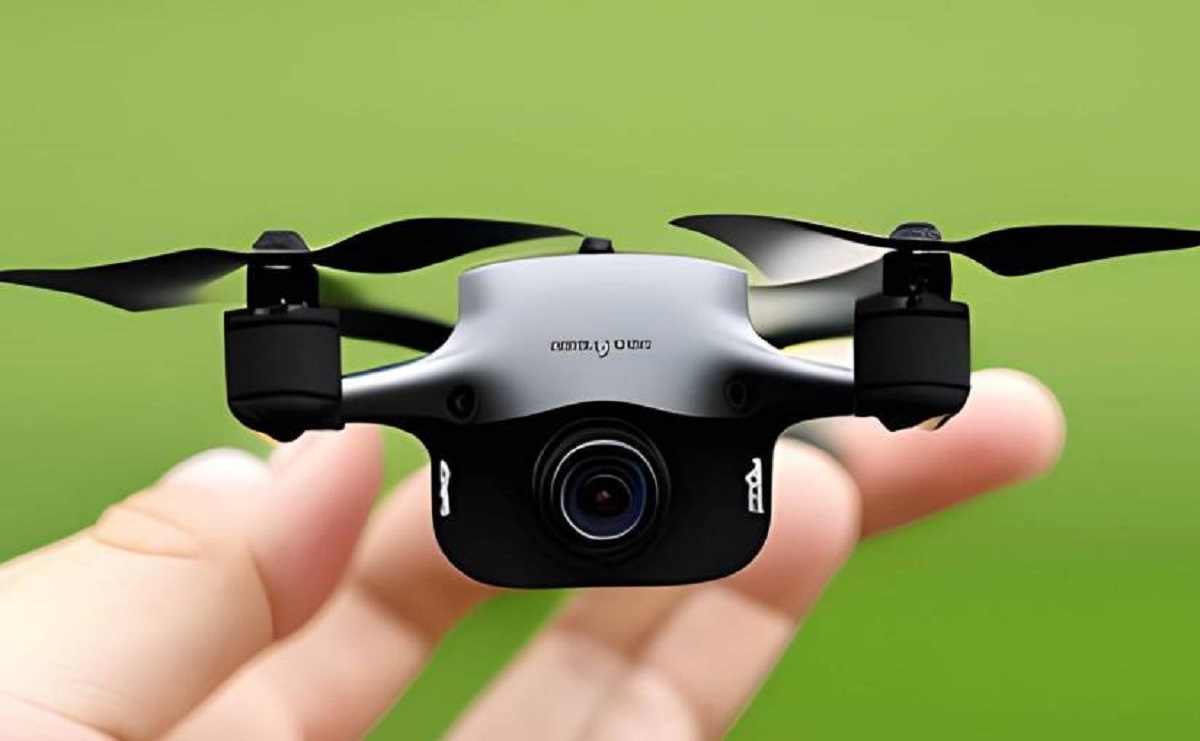
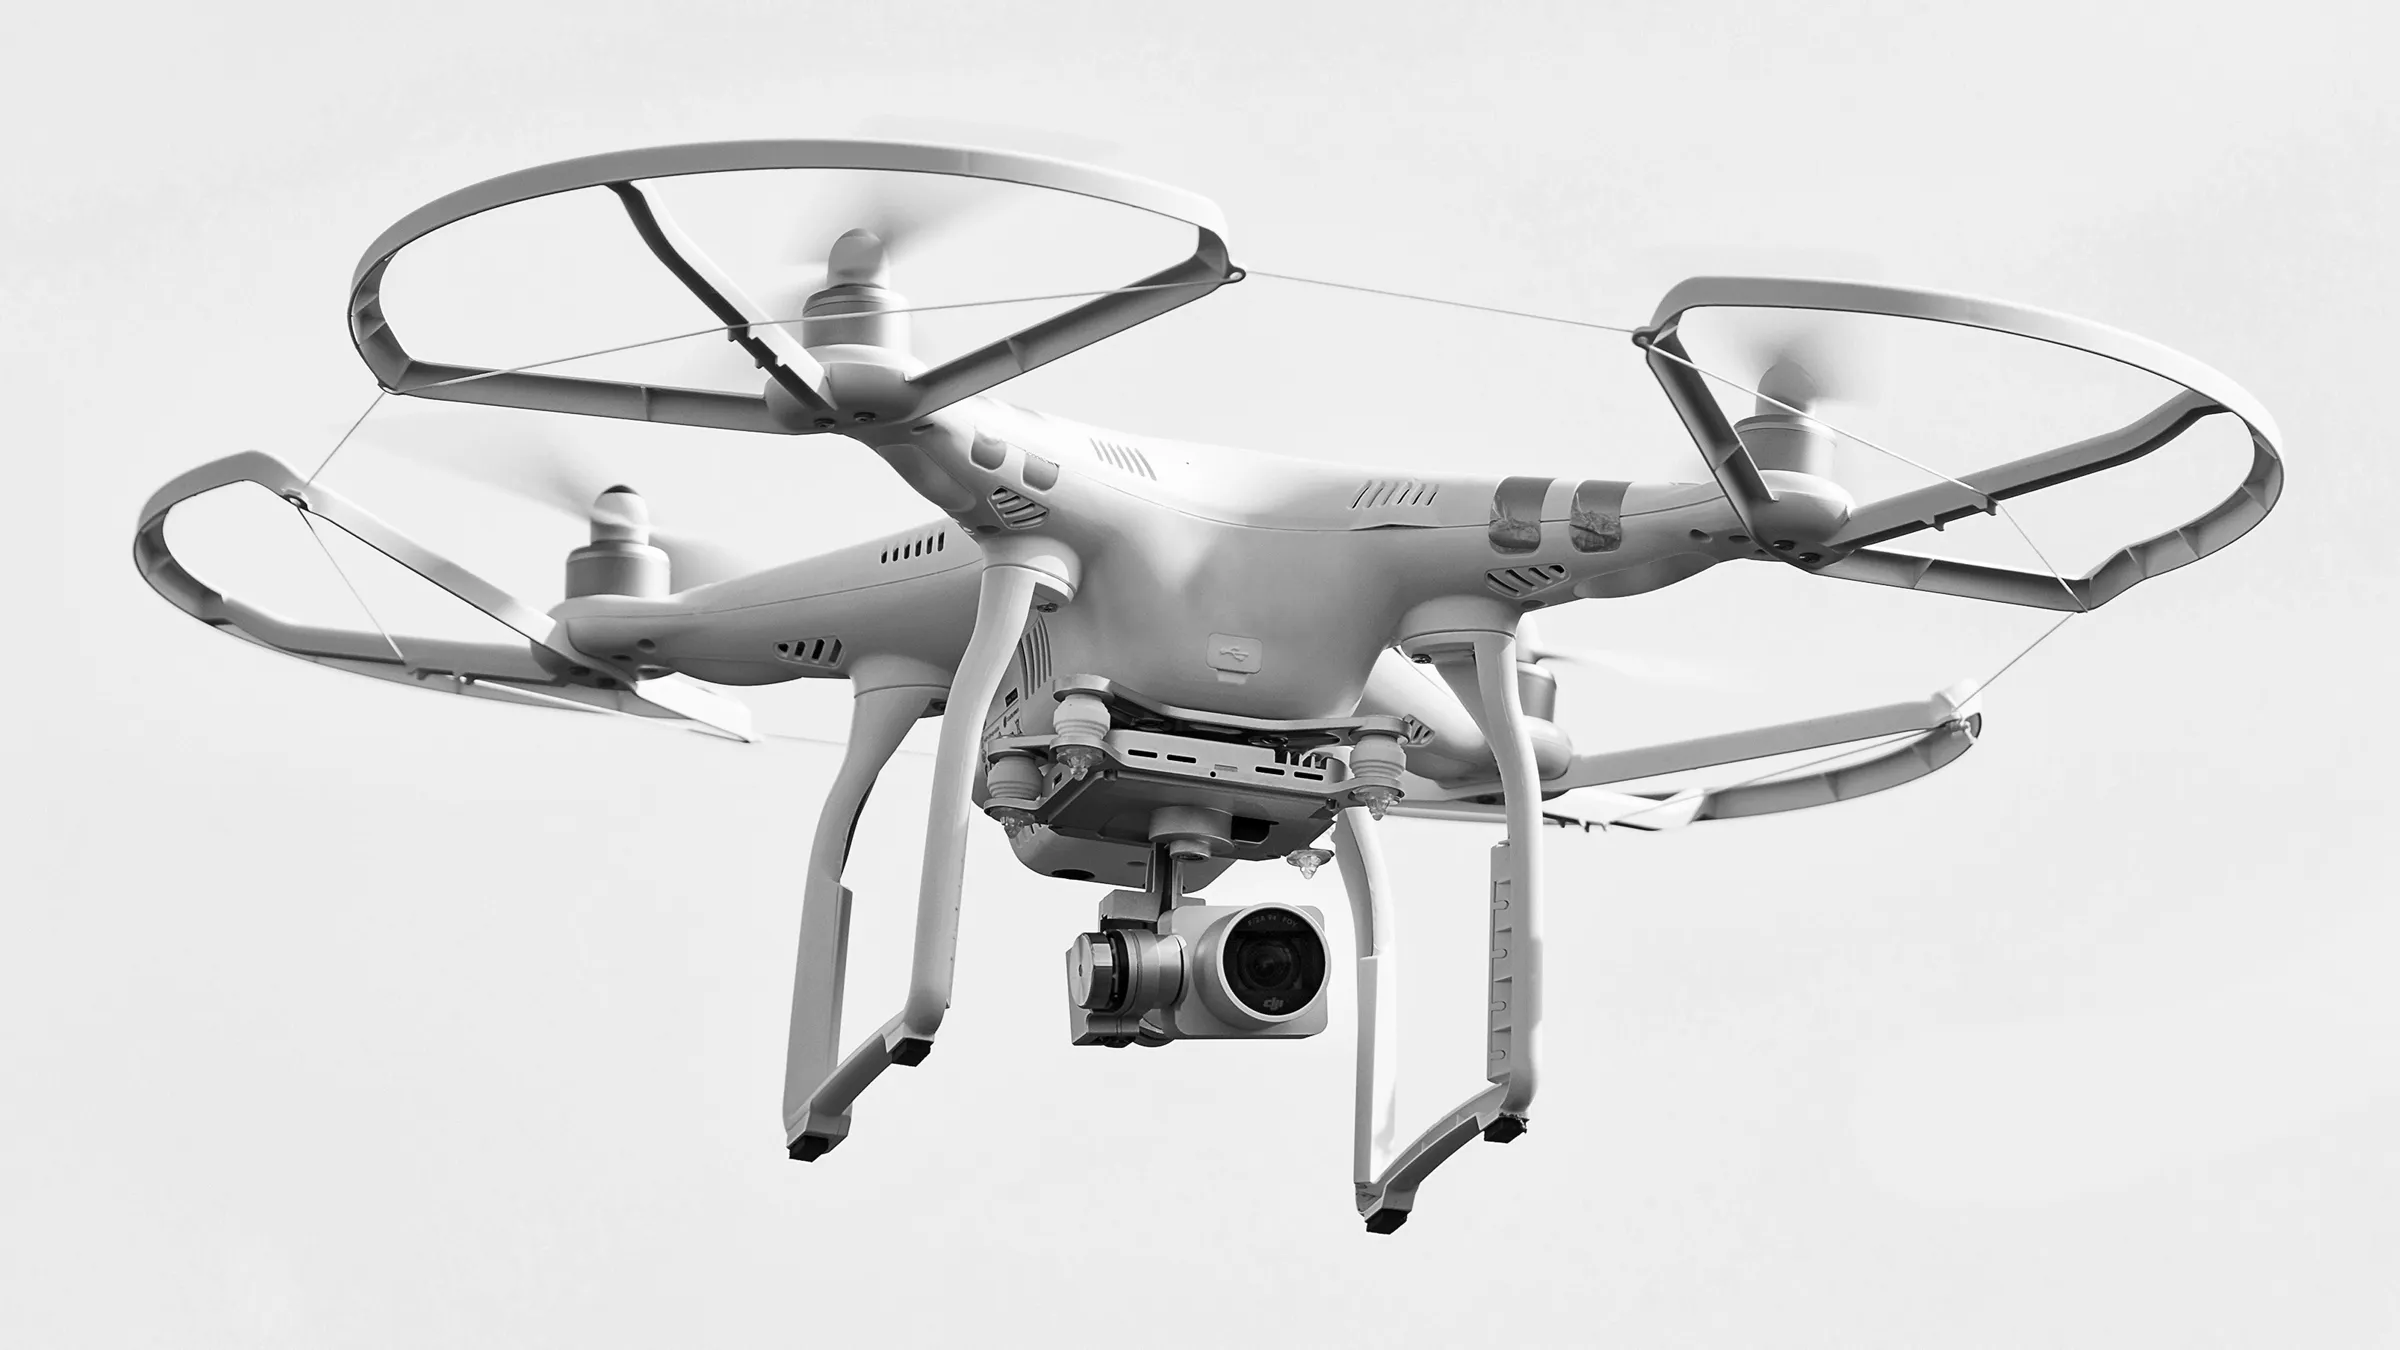
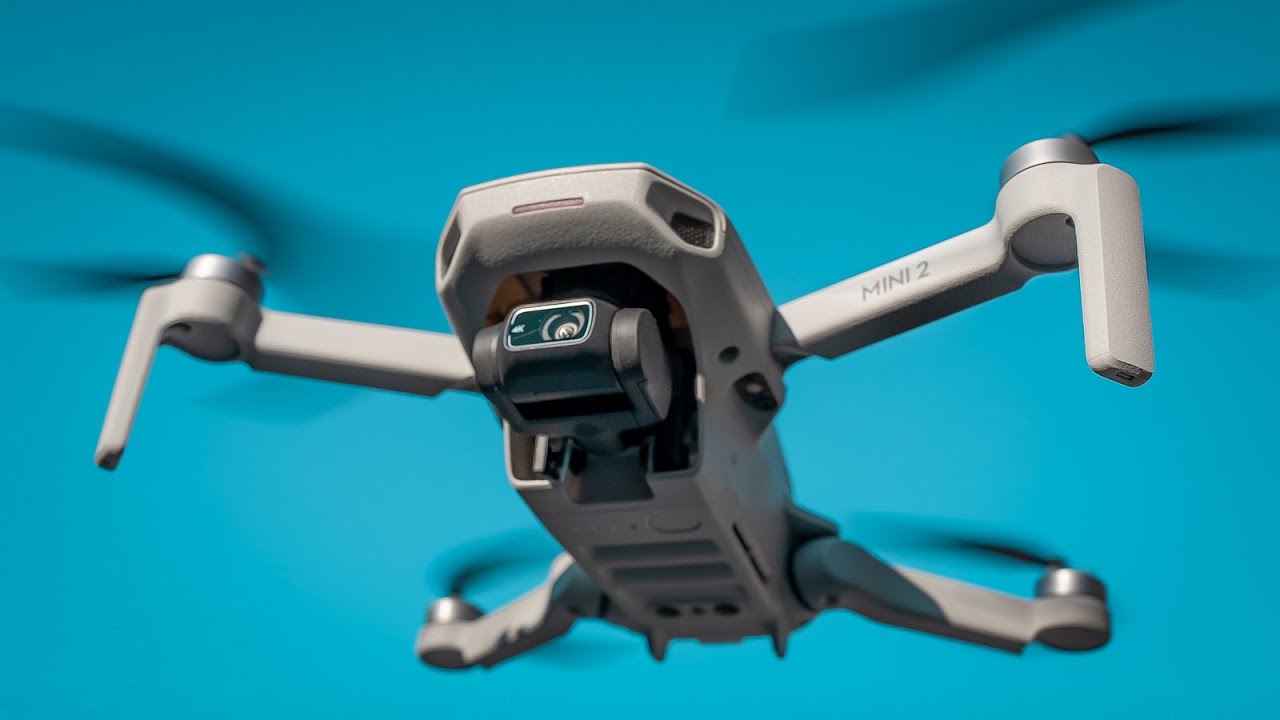
Furthermore, consider the drone’s size and weight. Larger drones tend to have better stability due to their increased surface area and more powerful propellers. However, smaller drones can still be effective at hovering if they are designed with stability in mind. Look for drones with a well-balanced frame and efficient propeller design, as these factors contribute to better hovering performance.
Lastly, check for specific hover-focused features or flight modes that the drone offers. Some drones come with an autonomous hover mode, also known as altitude hold or position hold, which allows the drone to automatically maintain a stable hover at a certain altitude without requiring constant throttle adjustments. This feature can be particularly helpful for beginners or when performing precise aerial photography or videography.
By carefully considering these factors and selecting a drone that is specifically designed for hovering, you can set yourself up for success in achieving a stable and controlled hover. In the next section, we will discuss how to calibrate your drone to ensure optimal stability and performance.
Calibrating Your Drone for Stability
Calibrating your drone is an essential step to ensure stability and accurate flight performance. Before attempting to make your drone hover, it’s important to calibrate the sensors and components to ensure they are properly synchronized and calibrated. Here are the key steps to calibrate your drone:
1. Compass Calibration: Start by finding an open area free from magnetic interference. Follow the manufacturer’s instructions to calibrate the drone’s compass. This will help the drone accurately determine its orientation and maintain stability during flight.
2. IMU Calibration: The IMU (Inertial Measurement Unit) is responsible for detecting the drone’s movements and maintaining stability. Make sure the drone is on a level surface and follow the instructions to calibrate the IMU. This will ensure accurate sensor readings and stable flight performance.
3. Gimbal Calibration (if applicable): If your drone has a gimbal for stabilizing the camera, it’s important to calibrate it as well. Follow the manufacturer’s instructions to calibrate the gimbal, ensuring smooth and stable footage during hover and other flight maneuvers.
4. Trim Adjustment: Trim adjustment allows you to fine-tune the drone’s control inputs to achieve a balanced hover. Follow the manual to adjust the trim settings for the throttle, roll, pitch, and yaw control inputs. This will help eliminate any slight drifts or unstable behavior during hover.
5. Test Flight: After calibrating the drone, perform a test flight to ensure everything is functioning correctly. Take note of any abnormal behavior or instability and make further adjustments if necessary.
By properly calibrating your drone, you are setting a solid foundation for achieving stability during hover. It’s worth noting that calibration procedures may vary depending on the drone model, so always refer to the manufacturer’s instructions for specific guidance. In the next section, we will explore how to adjust flight modes to enhance hovering capabilities.
Adjusting Flight Modes for Hovering
Flight modes play a crucial role in achieving a stable hover with your drone. Depending on the model and features of your drone, you may have different flight modes available to suit your specific needs. Here are some common flight modes that can help enhance hovering capabilities:
1. Manual Mode: Manual mode gives you full control over the drone’s movement, allowing for precise adjustments during hover. It requires careful manual control of throttle, roll, pitch, and yaw inputs. While it offers the most control, it also requires more skill and practice to maintain a stable hover.
2. Altitude Hold Mode: Altitude hold mode is a valuable flight mode for maintaining a stable hover at a specific altitude. Once you achieve the desired altitude, engage altitude hold mode, and the drone will automatically adjust the throttle to keep a consistent altitude. This mode is particularly useful for aerial photography or videography, as it allows you to focus on capturing the perfect shot without worrying about altitude control.
3. GPS Hold Mode: If your drone has GPS capabilities, GPS hold mode can be an excellent option for hovering. By utilizing GPS positioning, the drone can maintain a stable hover by automatically adjusting its flight control inputs based on GPS coordinates. This mode can significantly enhance stability, even in mild wind conditions, making it ideal for capturing steady footage or conducting precise inspections.
4. Optical Flow Mode: Some drones are equipped with optical flow sensors that can help maintain stability during hover. These sensors work by analyzing the ground below the drone and using the data to make small adjustments to ensure a stable hover. Optical flow mode is particularly useful when flying indoors or in environments where GPS signal may be limited.
It’s essential to familiarize yourself with the various flight modes available on your drone and understand their specific functionalities. Experiment with different modes to determine which one best suits your needs and skill level. Remember to refer to the drone’s manual for specific instructions on how to engage and utilize each flight mode effectively.
In the next section, we will discuss the mastery of control inputs, which is vital for achieving a stable hover with your drone.
Mastering Control Inputs for Hovering
Mastering control inputs is crucial for achieving a stable hover with your drone. Understanding how to manipulate the throttle, roll, pitch, and yaw controls effectively will enable you to maintain precise control and stability. Here are some tips for mastering control inputs:
1. Throttle Control: The throttle controls the drone’s vertical movement and altitude. Practice gradually adjusting the throttle to increase or decrease the propeller speed, which in turn affects the lift generated by the drone. Smooth and subtle throttle adjustments are key to maintaining a steady hover and preventing sudden altitude changes.
2. Roll and Pitch Control: Roll and pitch controls are used to control the drone’s horizontal movements. To achieve a stable hover, practice making small adjustments to the roll and pitch controls to maintain a level and balanced position. Avoid abrupt or jerky movements, as they can disrupt stability. Developing a gentle touch and maintaining smooth inputs is essential for a controlled hover.
3. Yaw Control: Yaw control is responsible for rotating the drone around its vertical axis. During hover, minimal yaw adjustments are typically required. Practice making subtle yaw inputs to maintain a straight orientation without causing unnecessary rotation or movement. Keeping the drone facing a consistent direction will aid in maintaining a stable hover.
4. Fine-Tuning Control Inputs: Each drone may have its own sensitivity settings for control inputs. Experiment with these settings to find the right balance between responsiveness and stability. Some drones have adjustable control sensitivity, allowing you to customize the control inputs to your preference. Fine-tuning these settings can help you achieve smoother and more precise control during hover.
5. Practice in Different Conditions: To truly master control inputs for hovering, it’s essential to practice in various environmental conditions. Try practicing in calm weather as well as in mild winds to simulate real-world scenarios. This will help you adapt and make necessary adjustments to maintain stability and hover control, regardless of external factors.
Remember, mastering control inputs takes time and practice. Be patient, and gradually build your skills by starting with simple maneuvers and gradually working your way up to more complex movements. It’s essential to develop muscle memory and fine-tune your control inputs for a smooth and controlled hover.
In the next section, we will delve into the benefits of using altitude hold mode for stable hovering.
Using Altitude Hold for Stable Hovering
Altitude hold mode is a valuable feature available on many drones that can greatly enhance stability during hovering. This mode not only simplifies the process of maintaining a stable altitude but also allows you to focus on other aspects of flying, such as capturing aerial photographs or videos. Here are the benefits of using altitude hold for stable hovering:
1. Precise Altitude Control: Altitude hold mode uses sensors and algorithms to automatically adjust the throttle and maintain a constant altitude. This eliminates the need for continuous throttle inputs, providing precise control over the drone’s height during hover. It allows you to concentrate on other flight aspects without worrying about altitude adjustments.
2. Stability in Changing Wind Conditions: When flying in mild wind conditions, maintaining stability during hover can be challenging. Altitude hold mode helps counteract the effect of wind by automatically adjusting the throttle and compensating for any altitude fluctuations caused by wind gusts. This ensures a more steady and controlled hover, even in variable wind conditions.
3. Improved Aerial Photography and Videography: Altitude hold mode is particularly beneficial for aerial photographers and videographers. By enabling a stable hover at a specific altitude, it allows for smoother footage and more precise framing of shots. The drone can maintain the desired position, resulting in sharper images and seamless video footage without the risk of minor altitude deviations affecting the composition.
4. Reduced Pilot Workload: Hovering a drone manually can be mentally and physically demanding, especially for extended periods. Altitude hold mode reduces the pilot’s workload by taking care of altitude control, allowing the pilot to focus on other essential tasks, such as frame composition, controlling the camera gimbal, or navigating the drone in a specific area. This feature is particularly helpful for longer flight durations or when performing complex maneuvers.
It’s important to note that altitude hold mode may vary in functionality and accuracy depending on the drone model and its specific flight control capabilities. It’s recommended to thoroughly read the drone’s manual and understand the limitations and best practices for using altitude hold mode effectively.
By utilizing altitude hold mode, you can achieve a stable and controlled hover effortlessly, providing better opportunities for aerial photography, videography, and a more enjoyable flying experience. In the next section, we will explore the impact of optimizing the weight and balance of your drone on its hovering capabilities.
Optimizing Drone Weight and Balance
Optimizing the weight and balance of your drone is crucial for achieving a stable and controlled hover. By ensuring proper weight distribution and minimizing unnecessary weight, you can enhance the drone’s hovering capabilities. Here are some important considerations for optimizing weight and balance:
1. Payload Management: When using a drone for specific tasks such as aerial photography or videography, it’s common to attach additional equipment such as cameras, gimbals, or other accessories. It’s essential to carefully manage the payload weight and ensure that the drone can handle the additional load without compromising its hovering stability. Excessive weight can lead to decreased flight performance, reduced battery life, and potential instability during hover.
2. Battery Weight and Placement: The battery is a significant factor in the overall weight of the drone. Opt for lightweight, high-capacity batteries that can provide sufficient power without adding unnecessary weight. Additionally, consider the placement of the battery within the drone’s frame. Proper positioning of the battery can help achieve a more balanced weight distribution and contribute to a stable hover.
3. Propeller Selection: The choice of propellers can impact both the weight and balance of the drone. Opt for propellers that are specifically designed for your drone model, taking into account factors such as size, material, and pitch. Properly matched propellers can optimize lift generation and reduce strain on the motor, improving hovering stability.
4. Center of Gravity: The center of gravity (CoG) is the point where the weight of the drone is evenly distributed. A well-balanced CoG is critical for stable hovering. Ensure that the drone’s components and payload are properly positioned to achieve a balanced weight distribution. Consider making adjustments to the position of the battery, accessories, or even shifting the drone’s design to achieve an optimal CoG for hover stability.
5. Calibration and Trim: As mentioned earlier, calibrating the drone’s sensors and properly adjusting the trim settings are essential for achieving stability during hover. Regularly calibrate the drone and check and adjust the trim settings as needed to ensure optimal performance. This will fine-tune the drone’s response and control inputs, contributing to a more stable and controlled hover.
By focusing on optimizing the weight and balance of your drone, you can significantly enhance its hovering capabilities and overall stability. Regularly review and assess the drone’s weight distribution, payload management, and the positioning of its components to ensure optimal performance. In the next section, we will discuss common hovering issues and troubleshooting techniques to overcome them.
Troubleshooting Common Hovering Issues
While hovering a drone may seem straightforward, there are common issues that can affect stability and hinder a smooth hover. Understanding these issues and knowing how to troubleshoot them can help you overcome challenges and achieve a stable hover. Here are some common hovering issues and troubleshooting techniques:
1. Drifting: If your drone is constantly drifting during hover, it may indicate an imbalance in the propeller speeds or an issue with the calibration. First, make sure the propellers are all properly installed and tightened. Next, recalibrate the drone’s sensors, including the compass and IMU. If the drifting persists, check for any physical damage or obstructions that may be affecting the drone’s flight stability.
2. Unsteady Altitude: If your drone is experiencing fluctuating altitude during hover, it may be due to inconsistent throttle control or an unstable center of gravity. Double-check that you are making smooth and gradual throttle adjustments. Additionally, ensure the drone is properly balanced and the payload weight is evenly distributed. Calibrate the IMU and trim settings to fine-tune the drone’s response and stability.
3. Vibrations: Excessive vibrations can impact stability during hover and potentially lead to unstable footage or control issues. Check if the propellers are damaged or improperly balanced, as imbalanced propellers can cause vibrations. Also, inspect the gimbal and camera attachments for any loose or damaged parts. Tighten or adjust as necessary to minimize vibrations.
4. Wind Interference: Strong winds can make it difficult to maintain a stable hover. If wind interference is causing instability, consider adjusting the flight mode or utilizing altitude hold mode if available. Fly the drone into the wind to maintain better stability, and make small adjustments to the throttle and flight controls to counteract the wind’s impact.
5. Motor Issues: In some cases, motor issues can cause instability during hover. Check the motors to ensure they are functioning properly. Look for any signs of damage, overheating, or unusual sounds. If any motor appears to be malfunctioning, consult the manufacturer’s instructions for troubleshooting or consider seeking professional repairs.
Remember, troubleshooting hovering issues may require a combination of techniques. Start with the basics, such as recalibrating the drone, adjusting flight modes, and checking for physical damage or imbalances. Keep in mind that preventive maintenance, such as regular propeller checks and sensor calibrations, can help prevent issues before they occur.
If you continue to experience hovering issues despite troubleshooting, it’s always recommended to reach out to the drone manufacturer’s customer support or seek assistance from experienced drone pilots. They can provide further guidance and help resolve any technical or hardware-related issues that may be affecting your drone’s performance.
With these troubleshooting techniques, you can overcome common hovering issues and achieve a stable and controlled hover with your drone.
Conclusion
Mastering the art of making a drone hover is an essential skill for every drone pilot. Achieving a stable and controlled hover requires a combination of knowledge, practice, and understanding of the drone’s capabilities. By understanding the principles of flight, choosing the right drone, calibrating it for stability, adjusting flight modes, and mastering control inputs, you can achieve a smooth and precise hover.
Choosing the right drone that is specifically designed for hovering, calibrating its sensors and components, and adjusting flight modes can greatly enhance stability during hover. Additionally, mastering control inputs such as throttle, roll, pitch, and yaw will allow you to maintain a balanced and controlled hover.
Optimizing the weight and balance of your drone plays a crucial role in achieving a stable hover. Proper payload management, battery weight and placement, propeller selection, and center of gravity considerations all contribute to better hovering capabilities.
When encountering hovering issues, troubleshooting techniques such as recalibrating the drone, checking for physical damage or obstructions, adjusting flight modes, or seeking professional help can help resolve common problems and improve hover stability.
Remember, achieving a stable hover takes practice and experience. As you continue to refine your skills and deepen your understanding of your drone’s capabilities, you will be able to achieve smooth and precise hovers in a wide range of scenarios and conditions.
So, embrace the journey of mastering the art of making a drone hover, and enjoy the opportunities it opens up for capturing stunning aerial footage, performing complex maneuvers, and unleashing your creativity in the skies.