Introduction
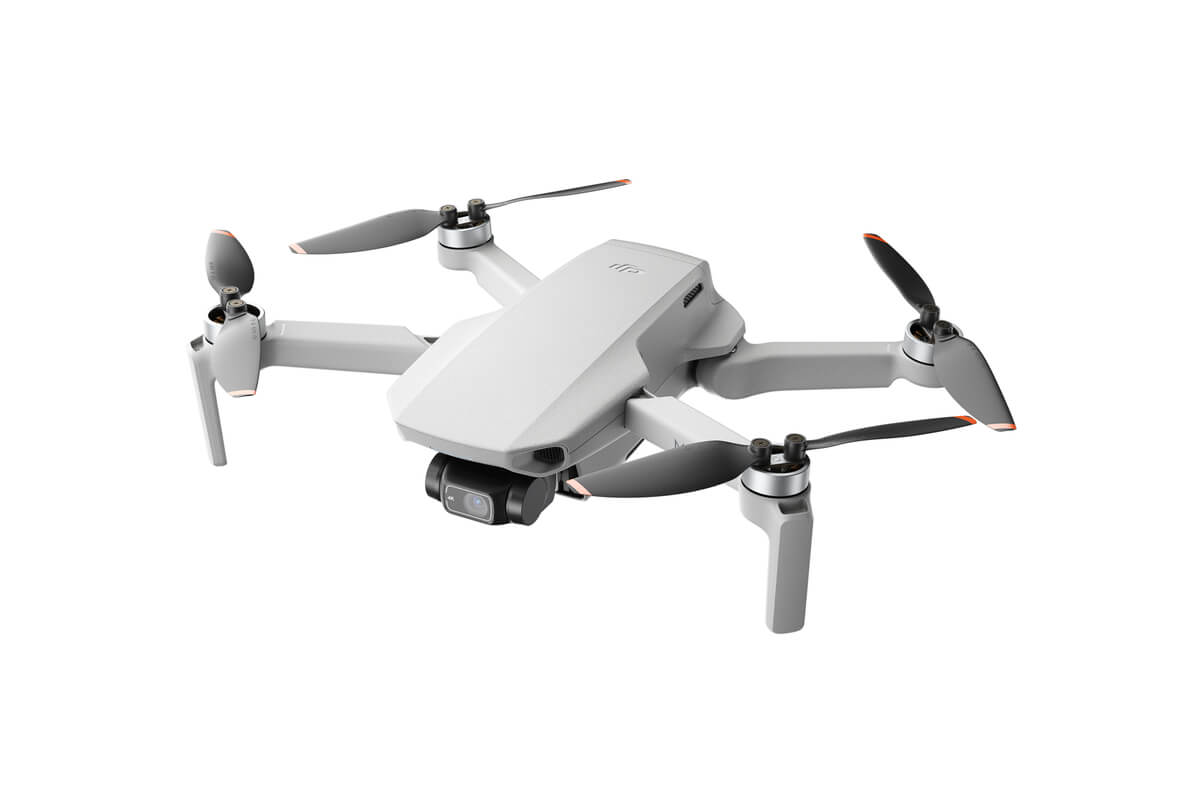
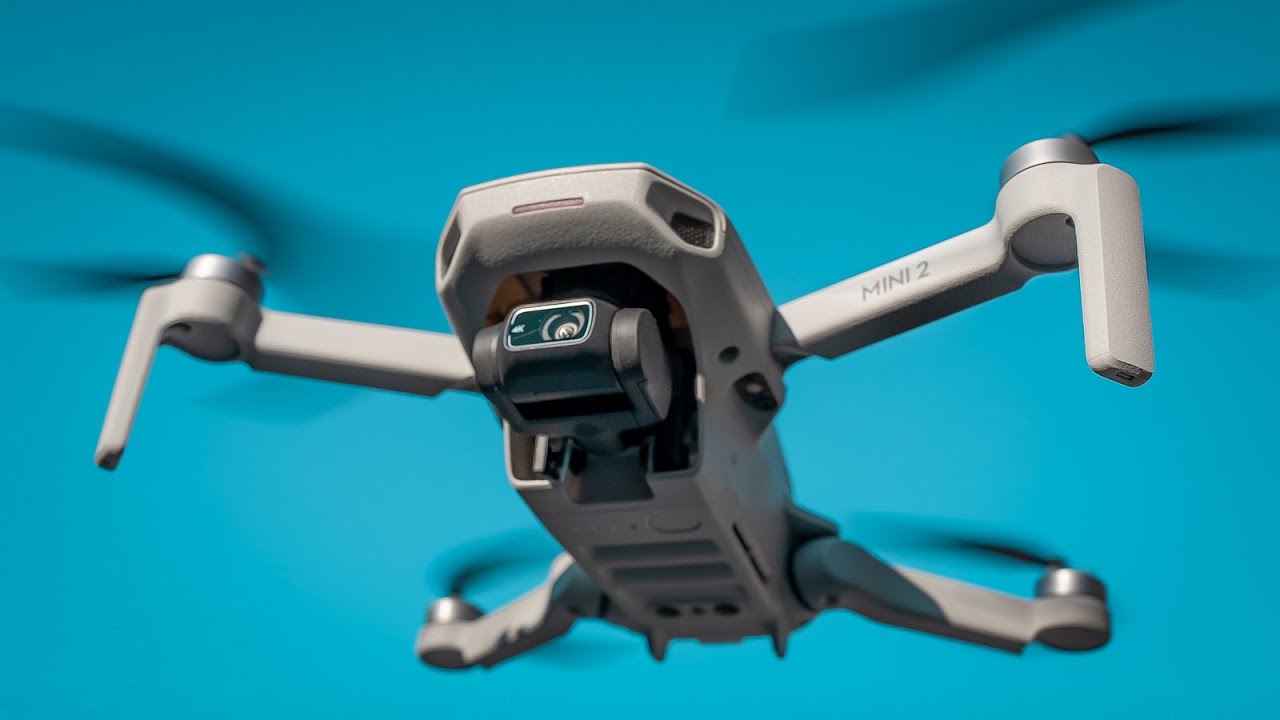
The DJI Mini 2 drone is a powerful and compact device that allows users to capture stunning aerial shots and videos. Whether you’re an experienced pilot or a beginner, flying a drone can be an exciting and rewarding experience. However, it’s essential to have a good understanding of the basic flight controls and safety measures to ensure a smooth and successful flight.
In this article, we will guide you through the process of flying the DJI Mini 2 drone. We will cover everything from pre-flight checklists to capturing breathtaking photos and videos. Whether you are a hobbyist looking to explore the world of drones or a professional photographer wanting to add aerial images to your portfolio, this guide will provide you with the knowledge and skills to confidently operate the DJI Mini 2 drone.
Before we dive into the details, it’s important to note that flying a drone requires responsibility. Safety should always be your top priority. Familiarize yourself with the local regulations and guidelines for drone usage in your area. Additionally, make sure to follow the manufacturer’s instructions and recommendations for a safe and enjoyable flight.
Now, let’s get started with the basics of flying the DJI Mini 2 drone. Whether you’re a beginner or an experienced pilot, this article will provide you with the necessary information to take to the skies and capture stunning aerial footage.
Getting Started
Before you can take your DJI Mini 2 drone for a flight, there are a few initial steps you need to take to ensure everything is set up properly. Follow these guidelines to get started:
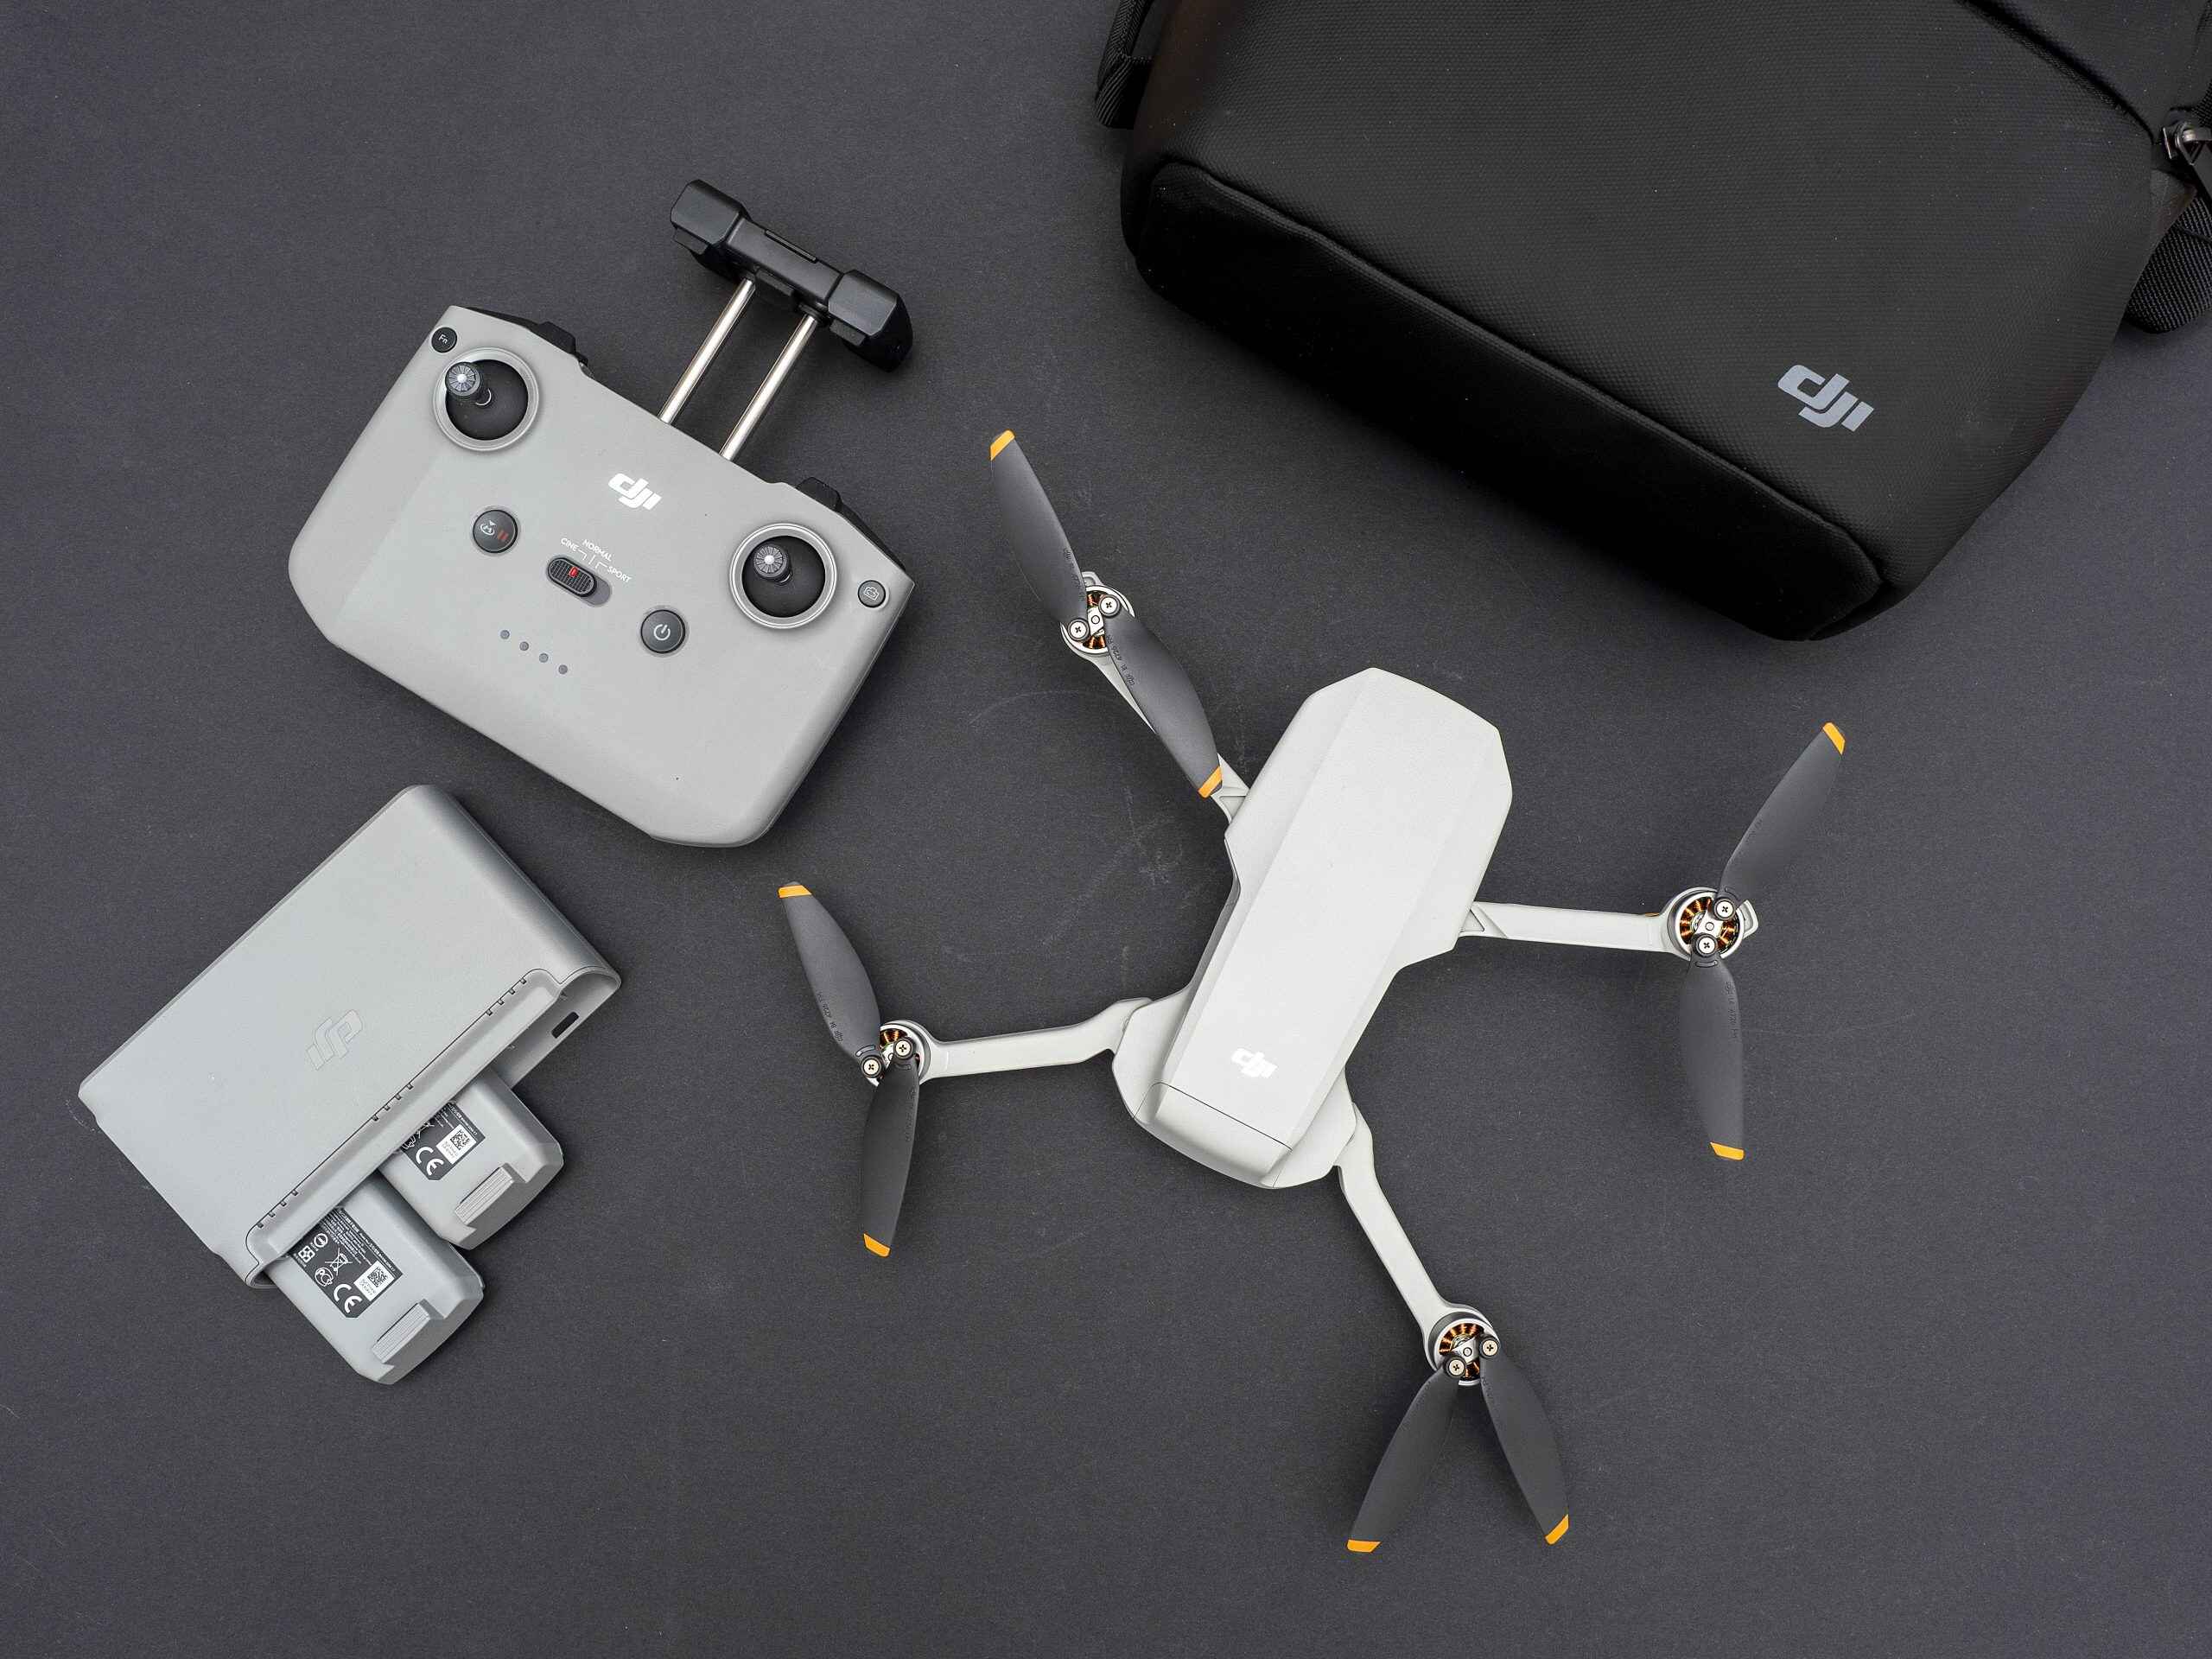
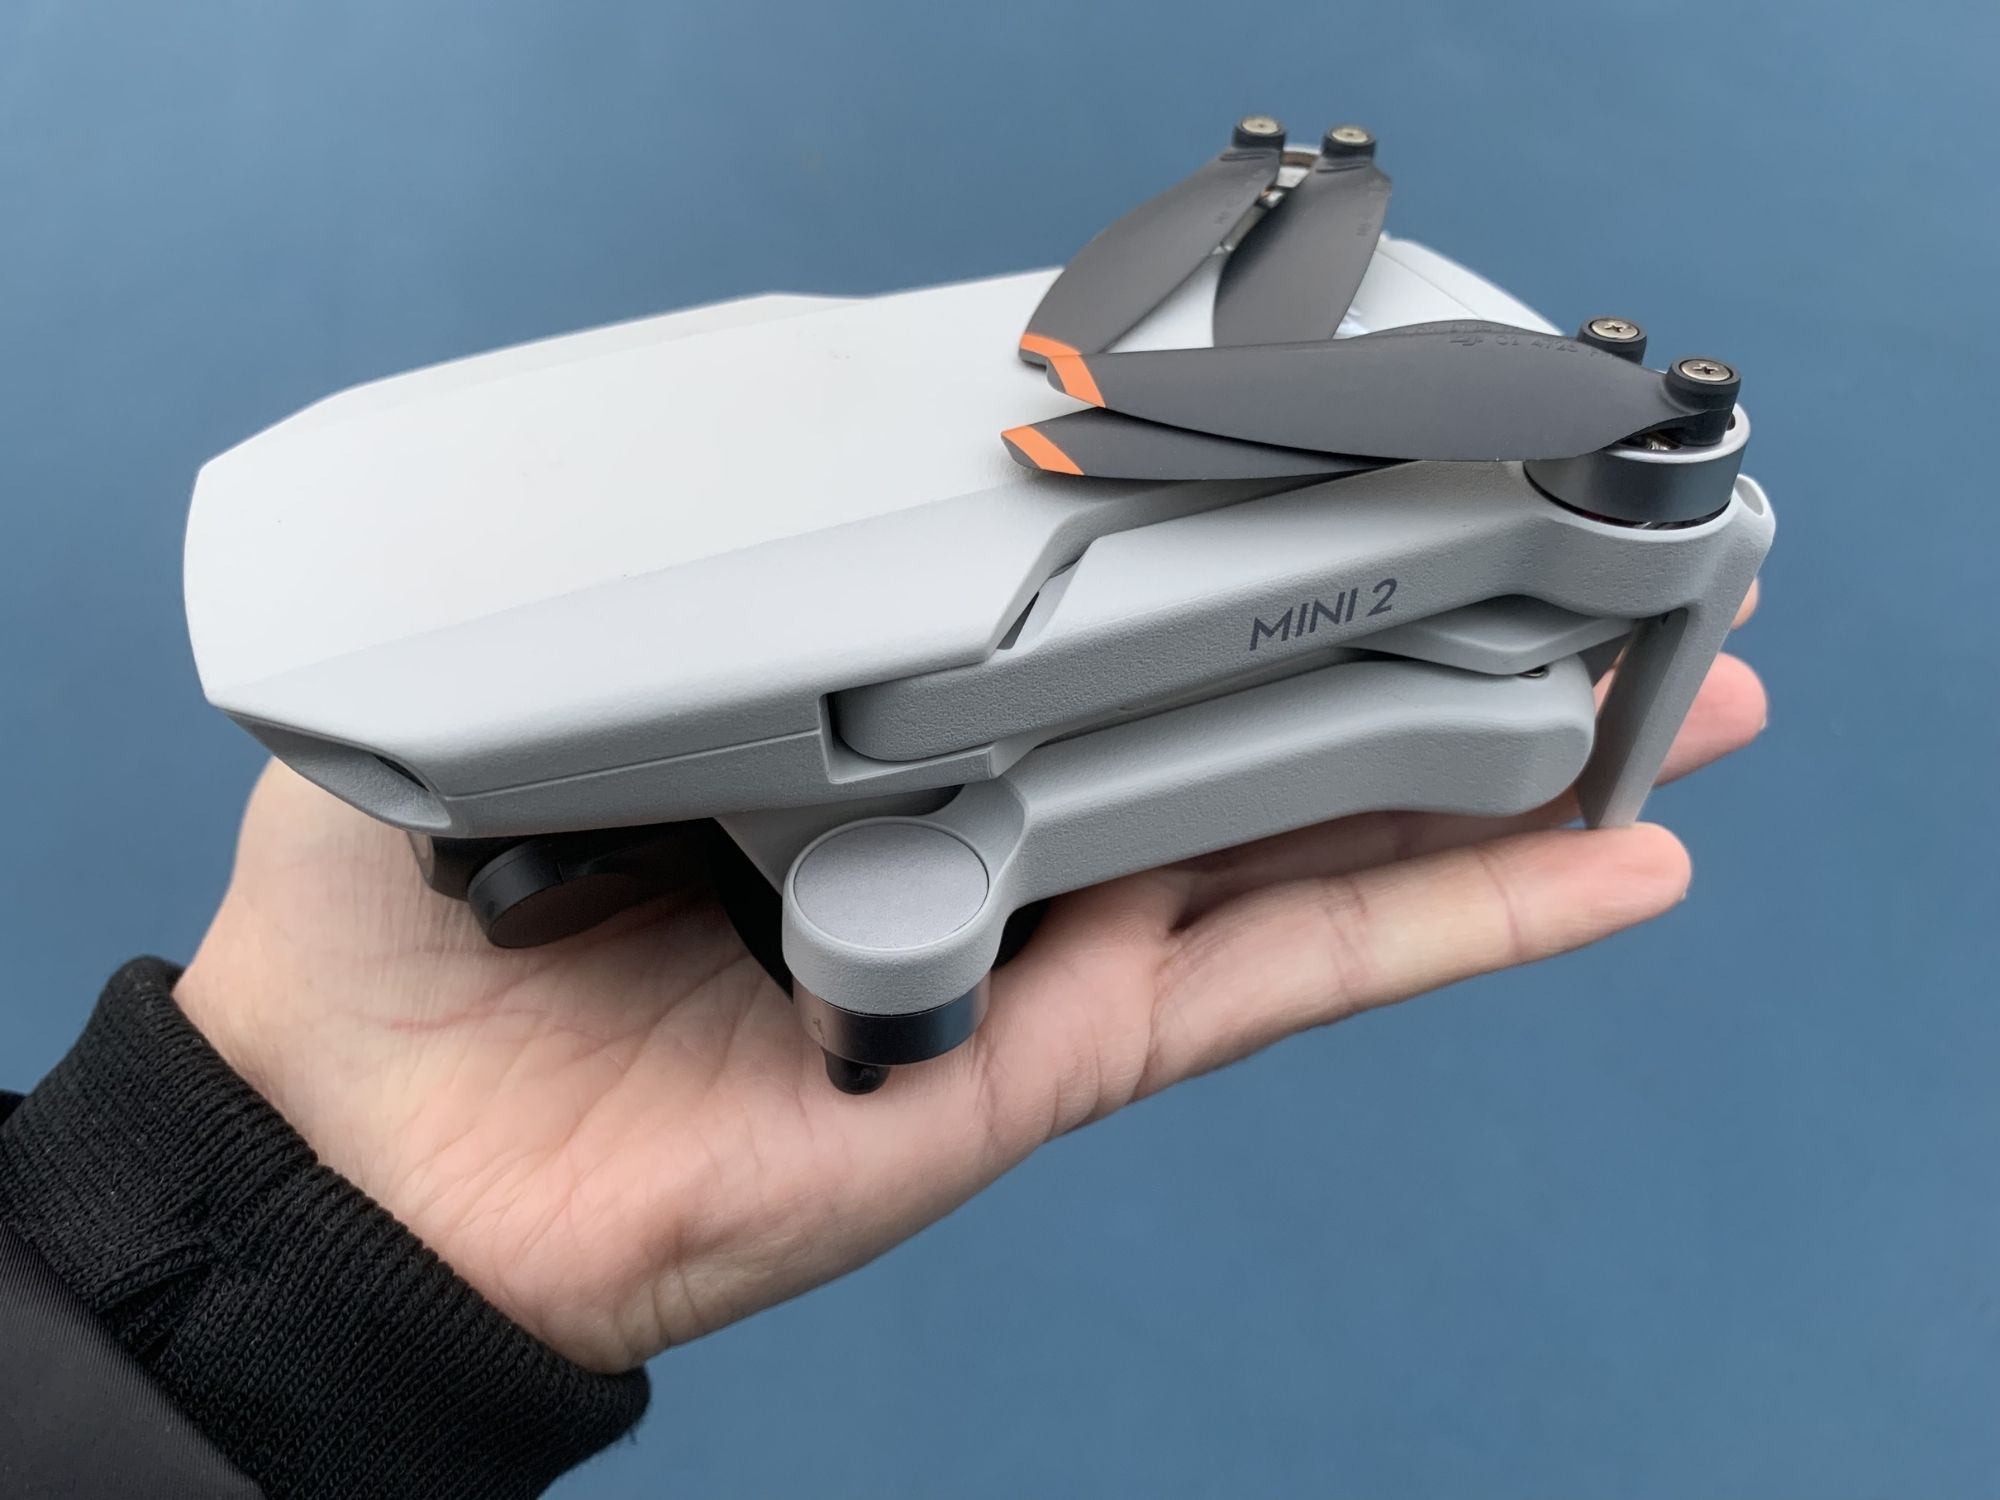
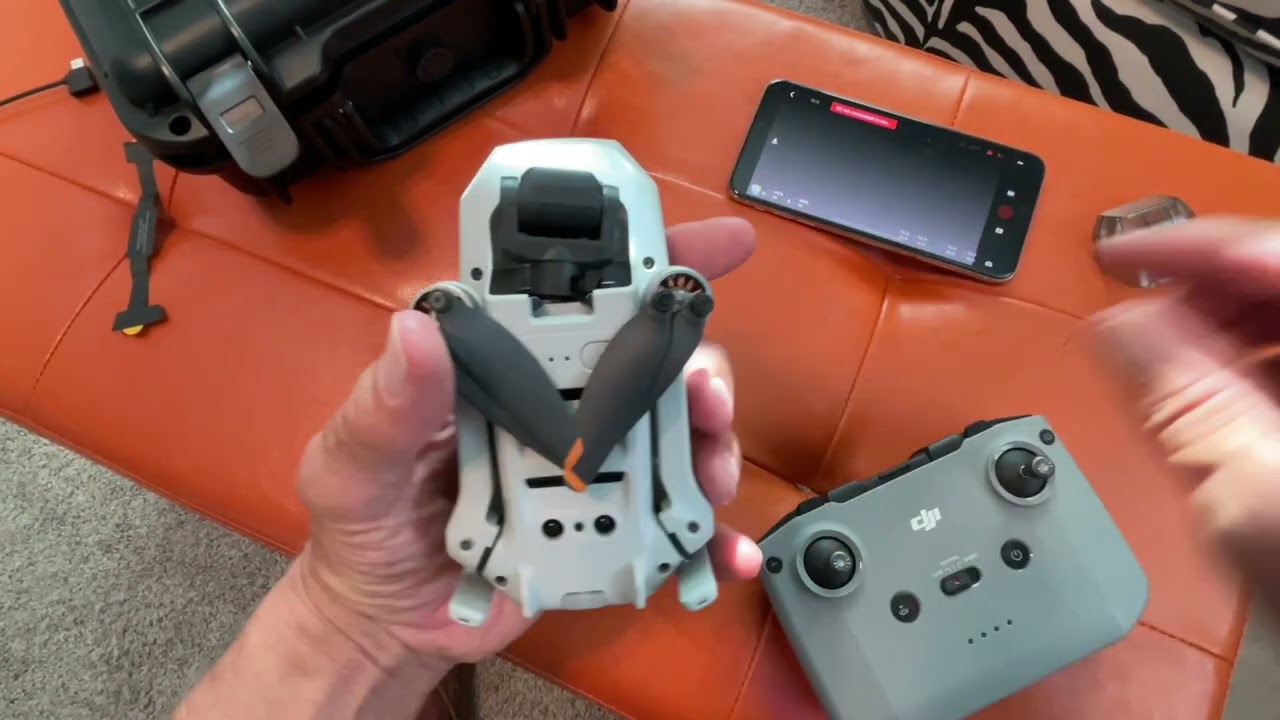
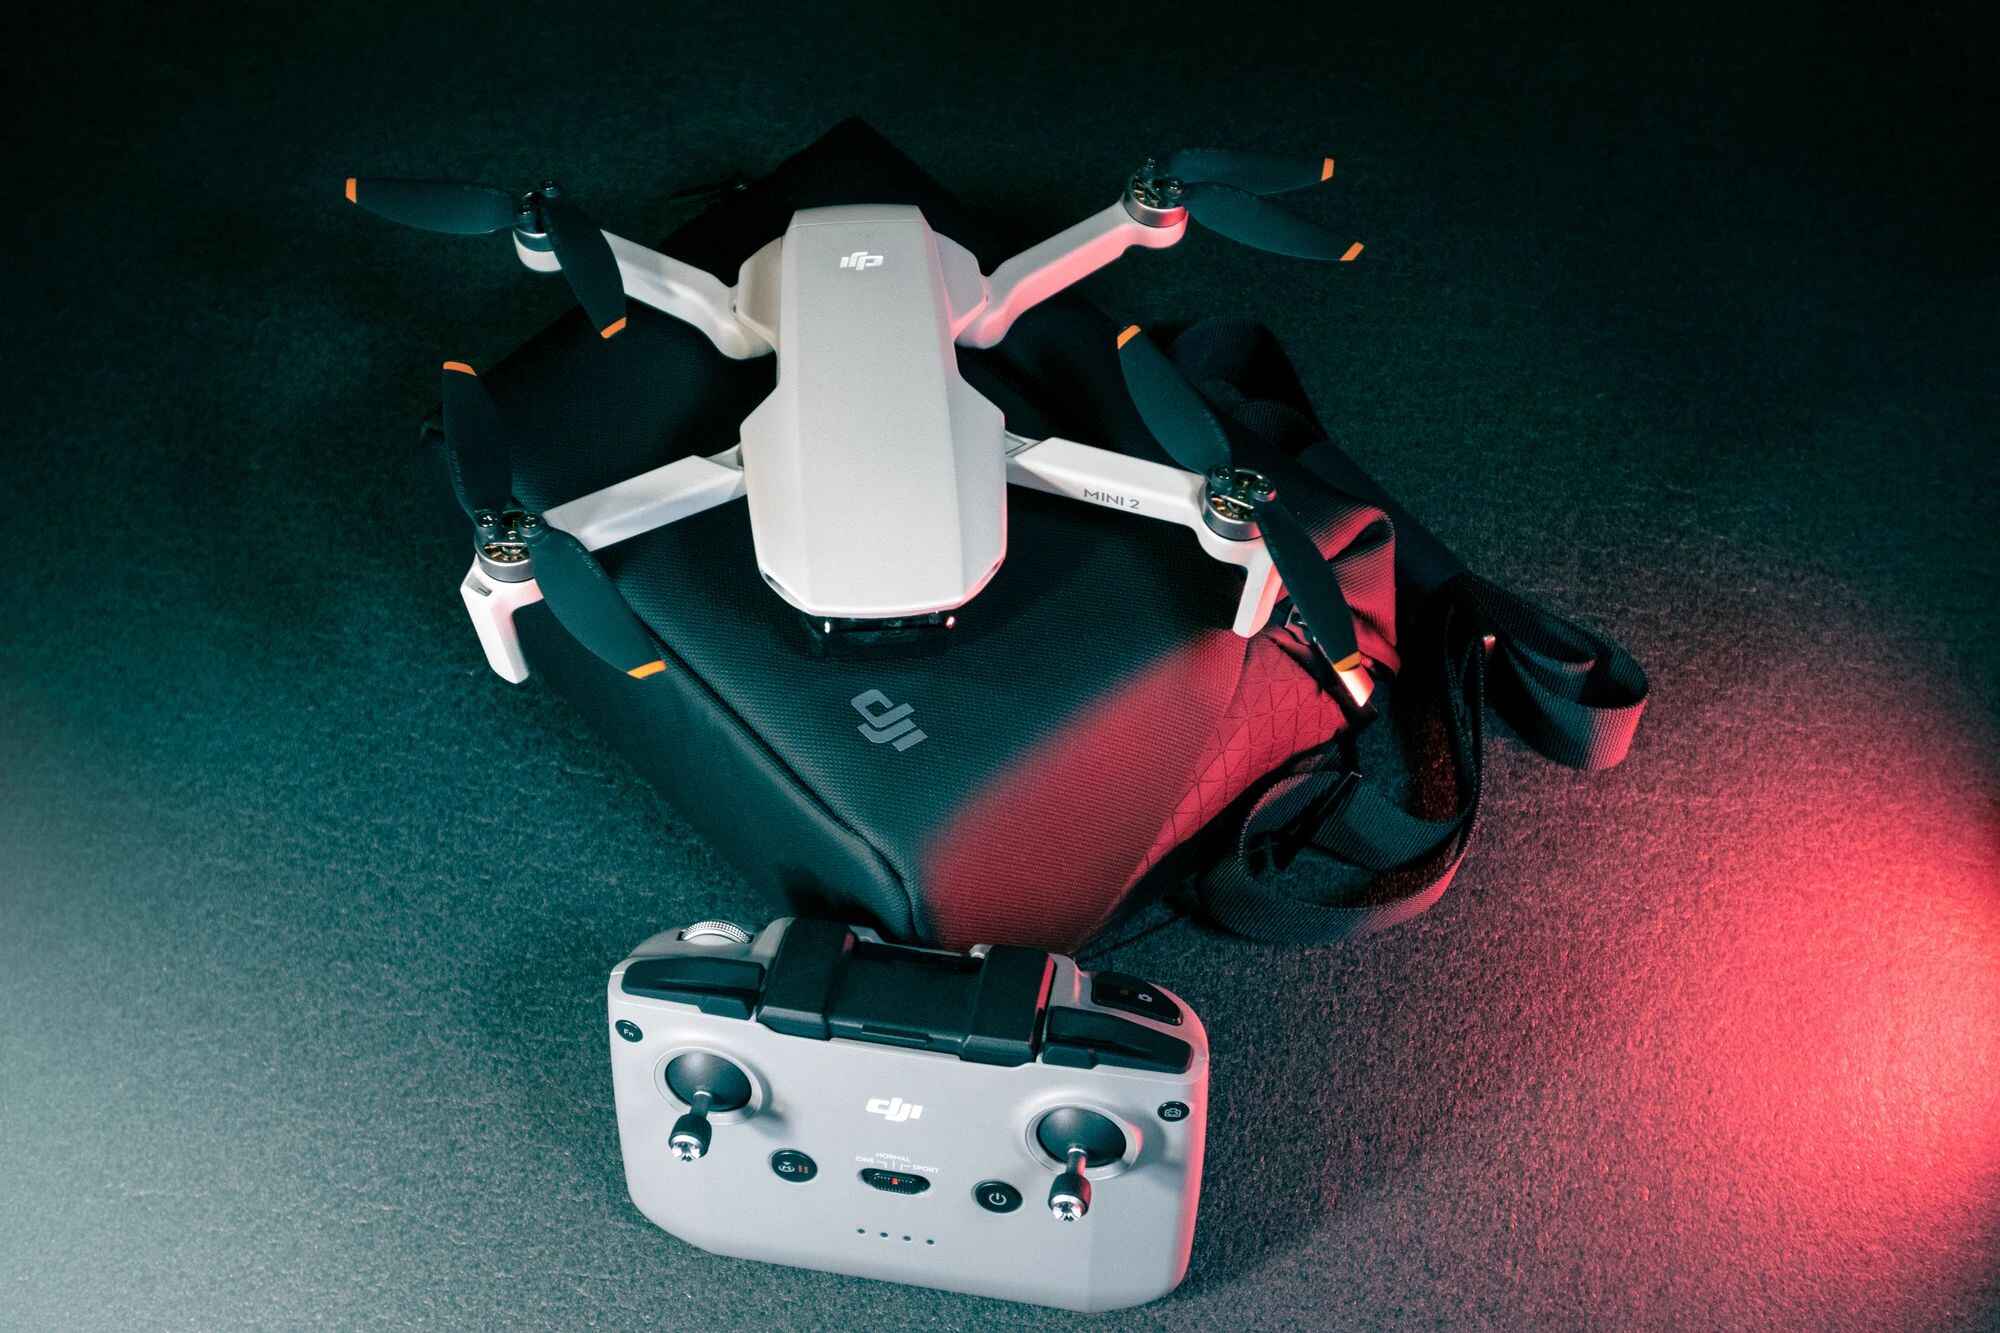
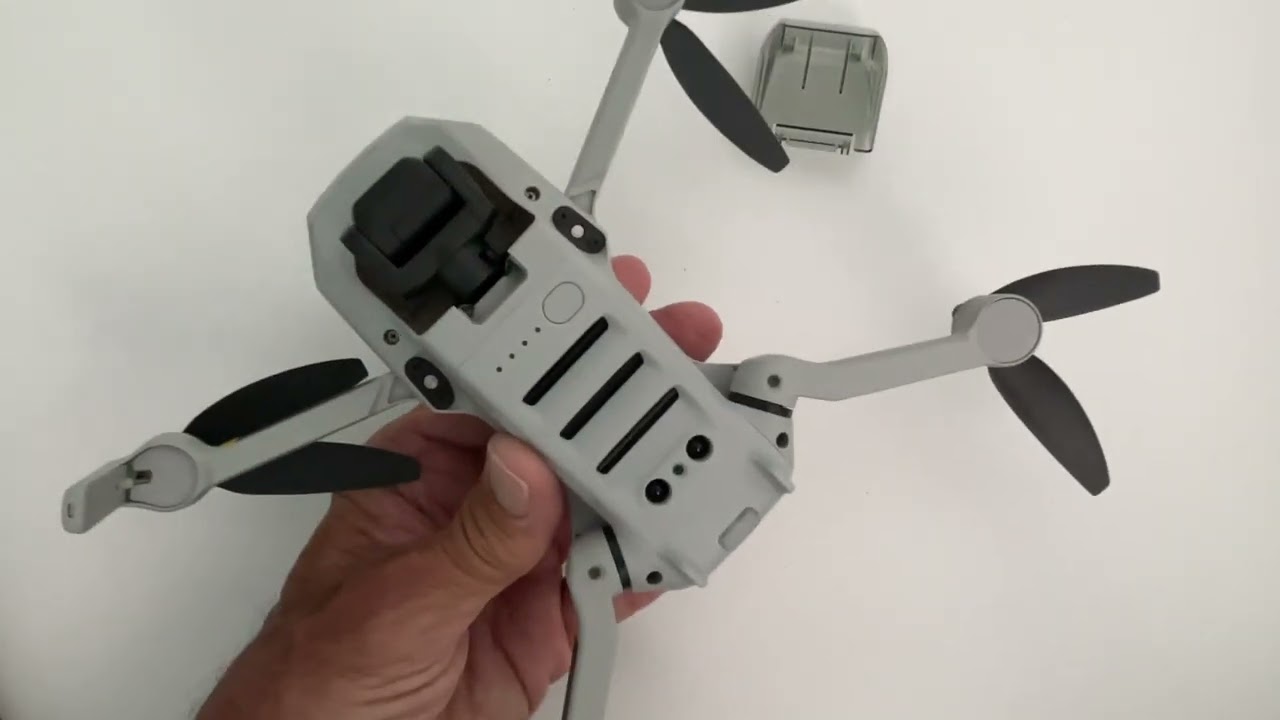
- Unboxing and Setup: Begin by unboxing the DJI Mini 2 drone and all its components. Make sure all the accessories, including the battery, propellers, and remote controller, are present. Next, assemble the drone by attaching the propellers securely. Connect the remote controller to your smartphone or tablet using the provided cable.
- Battery Charging: Charge the drone’s battery using the included USB cable and wall adapter. It’s crucial to have a fully charged battery before your flight to maximize your flying time.
- Download DJI Fly App: Install the DJI Fly app on your smartphone or tablet. It’s available for both iOS and Android devices. This app will serve as your control center for the drone, providing you with real-time flight data, access to the camera settings, and more. Make sure to pair your device with the remote controller using the app.
- Update Firmware: Check for any available firmware updates for your DJI Mini 2 drone and remote controller. Keeping your equipment up to date ensures optimal performance and access to the latest features. Follow the instructions provided in the DJI Fly app to update the firmware.
- Calibrate Compass and IMU: Before your first flight, it’s essential to calibrate the compass and the Inertial Measurement Unit (IMU) of your DJI Mini 2 drone. This calibration process helps the drone determine its orientation accurately. Follow the instructions in the DJI Fly app to perform this calibration process.
Once you have completed these initial steps, you have successfully set up your DJI Mini 2 drone for flight. In the next section, we will discuss the pre-flight checklist to ensure a safe and efficient flying experience.
Pre-flight Checklist
Before taking off with your DJI Mini 2 drone, it’s essential to go through a pre-flight checklist. This checklist ensures that everything is in proper working order and helps prevent any potential issues during your flight. Follow these steps to conduct a thorough pre-flight check:
- Visual Inspection: Inspect the drone visually to ensure there are no visible damages, loose connections, or obstructions on the propellers or body of the drone.
- Battery Check: Check the battery level and ensure it’s fully charged. Confirm that the battery connections are secure and free from any debris.
- Controller Connection: Ensure that the remote controller is securely connected to your smartphone or tablet and that it’s paired with the DJI Mini 2 drone.
- GPS Signal: Check for a strong GPS signal on the DJI Fly app. A strong GPS connection is crucial for accurate positioning and flight stability.
- Flight Restrictions: Verify that you are not in a restricted flight zone, such as near airports or other no-fly zones. Familiarize yourself with local regulations and airspace restrictions.
- Weather Check: Check the weather conditions, including wind speed and precipitation. Avoid flying in strong winds or adverse weather conditions that may affect the stability and control of the drone.
- Emergency Procedures: Familiarize yourself with the emergency procedures for your DJI Mini 2 drone. Know how to initiate an emergency landing or return to home function if needed.
- Flight Plan: Plan your flight route and destination. Identify any potential obstacles or hazards along the way and have a clear understanding of where you want to capture your aerial footage.
By following this pre-flight checklist, you can ensure that you are well-prepared for a safe and enjoyable flight with your DJI Mini 2 drone. Taking the time to perform these checks can prevent accidents and ensure a smoother flying experience. In the next section, we will dive into the basic flight controls of the drone.
Basic Flight Controls
Understanding the basic flight controls of the DJI Mini 2 drone is essential for maneuvering the aircraft with precision. The drone responds to your commands through the intuitive control inputs from the remote controller. Here are the primary flight controls you need to familiarize yourself with:
- Throttle (Up/Down): The throttle control adjusts the drone’s altitude. Pushing it up will make the drone ascend, while pulling it down will make the drone descend. It allows you to control the vertical movement of the drone.
- Yaw (Left/Right): The yaw control rotates the drone left or right around its vertical axis. This control allows you to change the direction the drone is facing without changing its position in the air.
- Pitch (Forward/Backward): The pitch control allows you to tilt the drone forward or backward. Pushing it forward will make the drone move forward, while pulling it backward will make the drone move backward.
- Roll (Left/Right): The roll control enables you to bank the drone left or right. Pushing it to the left will make the drone tilt to the left, while pushing it to the right will make the drone tilt to the right.
These four primary flight controls work together to give you full control over the movement of the DJI Mini 2 drone. It’s important to practice using these controls in a safe and open area before attempting more complex maneuvers or flying in challenging environments.
In addition to the primary flight controls, the DJI Mini 2 drone also features intelligent flight modes that automate specific flight functions. These modes, such as hovering, following a subject, or capturing cinematic shots, provide additional capabilities to enhance your aerial photography and videography.
Now that you have a basic understanding of the flight controls, let’s move on to the next section, where we will discuss taking off and landing your DJI Mini 2 drone.
Taking off and Landing
Taking off and landing your DJI Mini 2 drone is a fundamental skill that you must master before starting your flights. Follow these steps to ensure a safe and controlled takeoff and landing:
- Preparation: Find a clear and open area free from obstacles, people, or other objects that may interfere with the takeoff and landing process. Ensure that your drone’s battery is properly charged, the propellers are securely attached, and the GPS signal is strong.
- Takeoff: To launch your drone, gently push the throttle control stick upward. Slowly increase the throttle to gradually lift the drone off the ground. Maintain a smooth and controlled ascent.
- Hovering: Once your drone is airborne, release the throttle to the center position. The drone will automatically hover in place due to its built-in stabilization features. Monitor the drone’s position and ensure it maintains a stable hover.
- Landing: When it’s time to land, carefully bring the drone down to a suitable landing area. Slowly reduce the throttle to descend the drone. Use the pitch and roll controls to guide the drone towards the landing spot. Aim for a soft and controlled landing.
- Powering Off: After landing, reduce the throttle to the bottom position to power off the motors. This step ensures that the props stop spinning and reduces the risk of accidental injuries or damages.
It’s important to note that taking off and landing require precision and caution. Practice these maneuvers in an open and safe area until you feel comfortable with the drone’s handling. Avoid landing on uneven surfaces, and always keep an eye out for any obstacles or potential hazards during the process.
Now that you know how to launch and land your DJI Mini 2 drone, let’s move on to the next section, where we will discuss hovering and maintaining stable flight.
Hovering
Hovering is a fundamental flight maneuver that allows your DJI Mini 2 drone to maintain a stable position in the air without any input from the pilot. This skill is crucial for capturing steady aerial footage and executing precise movements. Here are some key points to keep in mind when it comes to hovering with your drone:
Stability: The DJI Mini 2 drone is equipped with advanced flight stabilization systems that help maintain stability while hovering. These systems utilize GPS positioning, altitude hold, and optical sensors to keep the drone steady in the air. It’s important to ensure a strong GPS signal and stable environmental conditions for the best hovering performance.
Throttle Control: When hovering, maintain a steady throttle position to keep the drone at a consistent altitude. Avoid abrupt throttle movements, as they can disrupt the drone’s stability and cause it to drift. Minor adjustments to the throttle may be necessary to compensate for wind or changes in altitude.
Positioning: Use the roll and pitch controls to adjust the drone’s position when hovering. These controls allow you to make small forward, backward, left, or right movements to achieve the desired framing or composition for your shots. Be gentle when making these adjustments to maintain smooth and controlled hovering.
Obstacle Avoidance: The DJI Mini 2 drone features built-in obstacle avoidance sensors that help prevent collisions during flight. However, it’s still essential to remain vigilant and avoid flying too close to obstacles or structures. Keep a safe distance to ensure a clear and obstacle-free hovering experience.
Monitoring: While the drone is hovering, pay close attention to its position and surroundings. Use the live feed from the drone’s camera on the DJI Fly app to monitor the perspective and adjust if necessary. Be mindful of any potential obstacles or changing environmental conditions that may affect the drone’s stability.
By mastering the skill of hovering, you can capture stable and impressive aerial footage. Practice this maneuver in different environments and weather conditions to become more proficient. Remember to always prioritize safety and follow local regulations and guidelines when operating your DJI Mini 2 drone.
In the next section, we will explore how to navigate your DJI Mini 2 drone to the left and right.
Navigating Left and Right
Navigation is a key aspect of flying your DJI Mini 2 drone. Being able to maneuver the drone to the left and right allows you to capture different perspectives and explore your surroundings. Here’s how you can navigate your DJI Mini 2 drone to the left and right:
- Pilot’s Perspective: When navigating your drone, it’s important to keep in mind that the directions are relative to the pilot’s perspective. To move the drone to the left from the pilot’s perspective, you’ll push the roll control stick to the left. Similarly, to move the drone to the right, you’ll push the roll control stick to the right.
- Smooth Movements: When maneuvering your drone to the left or right, it’s crucial to make smooth and gradual movements. Avoid sudden and jerky inputs on the control stick, as it can result in an unstable flight and potentially unwanted footage. Practice gentle adjustments to achieve controlled navigation.
- Monitoring: While navigating, keep a close eye on the drone’s position and surroundings. Use the live feed from the drone’s camera on the DJI Fly app to monitor your flight path and avoid any potential obstacles or hazards. Maintain a safe distance from objects and structures.
- Environmental Factors: Be mindful of environmental factors that may affect the drone’s navigation. Wind speed and direction can impact the drone’s stability and movement. Avoid flying in strong winds or turbulent conditions to ensure a smooth flight and precise navigation.
- Practice and Familiarization: Navigating the drone to the left and right requires practice and familiarity with the drone’s flight characteristics. Spend time honing your skills in open areas before attempting more complex maneuvers or flying in challenging environments. This will help you become more comfortable and confident in controlling the drone’s movement.
Mastering the navigation of your DJI Mini 2 drone to the left and right opens up a world of creative possibilities. By exploring different perspectives and angles, you can capture unique and captivating aerial footage. Remember to always prioritize safety and abide by local regulations and guidelines for drone flight.
Next, we will discuss how to move your DJI Mini 2 drone forward and backward.
Moving Forward and Backward
Being able to move your DJI Mini 2 drone forward and backward allows you to explore different areas and capture dynamic shots from various angles. Here’s how you can control the drone’s forward and backward movements:
- Pilot’s Perspective: Similar to navigating left and right, moving the drone forward and backward is based on the pilot’s perspective. To move the drone forward, push the pitch control stick forward. To move it backward, pull the pitch control stick backward.
- Gradual Movements: It’s important to make smooth and gradual movements when moving the drone forward and backward. Avoid sudden and jerky inputs on the control stick to maintain control and stability. Practice gentle adjustments to achieve controlled and precise movements.
- Monitoring: Keep a vigilant eye on the drone’s position and surroundings while moving it forward and backward. Utilize the live feed from the drone’s camera on the DJI Fly app to monitor your flight path and avoid any potential obstacles or hazards. Stay aware of your surroundings at all times.
- Environmental Factors: Be mindful of environmental factors that can affect the drone’s movement, especially when moving forward or backward. Wind speed and direction, as well as any obstacles in the flight path, can impact the drone’s stability and control. Choose a suitable flying environment to ensure a safe and smooth flight.
- Practice and Precision: Mastering the art of moving the drone forward and backward takes practice and precision. Spend time familiarizing yourself with the drone’s responsiveness and flight characteristics in open areas before attempting more complex maneuvers. This will help you become more comfortable and confident in controlling the drone’s movement.
By mastering the control of your DJI Mini 2 drone’s forward and backward movements, you can unlock a whole new level of creativity. Whether you’re exploring vast landscapes or capturing dynamic chase shots, the ability to control the drone’s movement adds a unique element to your aerial photography or videography.
Next, we will discuss how to ascend and descend your DJI Mini 2 drone.
Ascending and Descending
Controlling the altitude of your DJI Mini 2 drone is essential for achieving different perspectives and compositions in your aerial photography and videography. Here is how you can effectively ascend and descend your drone:
- Pilot’s Perspective: Ascending and descending the drone are relative to the pilot’s perspective. To ascend, push the throttle control stick upward. To descend, pull the throttle control stick downward. The throttle control allows you to control the vertical movement of the drone.
- Gradual Adjustments: When ascending or descending, make smooth and gradual adjustments to maintain control and stability. Avoid making sudden or drastic movements with the throttle control stick, as it may affect the drone’s stability and result in unwanted footage. Practice gentle adjustments to achieve the desired altitude changes.
- Altitude Monitoring: Keep a close eye on the drone’s altitude while ascending or descending. Utilize the altitude reading on the DJI Fly app or the visual cues in the drone’s live feed to maintain the desired altitude. Be aware of any flight restrictions or regulations that limit the maximum altitude you can reach.
- Environmental Factors: Consider the environmental factors that may affect the drone’s ascent or descent. Wind speed and direction can impact the stability of the drone, especially during vertical movements. Choose a suitable flying location and avoid flying in strong wind conditions to ensure a smooth flight and precise altitude control.
- Practice Makes Perfect: Mastering the art of ascending and descending takes practice and familiarity with your DJI Mini 2 drone. Spend time experimenting with different altitudes and practicing precise control. This will help you become more comfortable in controlling the drone’s vertical movement and achieving the desired shots.
By mastering the control of ascending and descending, you can add depth and dimension to your aerial footage. Adjusting the drone’s altitude allows you to capture unique perspectives and showcase subjects from various heights. Remember to prioritize safety and comply with local regulations regarding altitude restrictions.
Next, we will explore how to rotate the DJI Mini 2 drone to change its orientation in the air.
Rotating the Drone
Being able to rotate your DJI Mini 2 drone allows you to change its orientation in the air, offering different angles and perspectives for your aerial photography and videography. Here’s how you can effectively rotate your drone:
- Pilot’s Perspective: Rotating the drone is relative to the pilot’s perspective. To rotate the drone counterclockwise, known as yawing to the left, push the yaw control stick to the left. To rotate the drone clockwise, known as yawing to the right, push the yaw control stick to the right.
- Smooth Movements: When rotating the drone, it’s important to make smooth and gradual movements with the yaw control stick. Avoid sudden and jerky inputs, as it can disrupt the drone’s stability and affect the quality of your footage. Practice gentle adjustments to achieve controlled and smooth rotations.
- Monitoring and Composition: Keep an eye on the drone’s rotation while using the live feed from the DJI Fly app. Pay attention to the orientation of the camera and ensure it aligns with your intended shots. Use the rotation to compose your images or capture unique cinematic movements.
- Environmental Factors: Consider environmental factors that may impact the rotation of the drone. Wind speed and direction can affect the stability during rotation maneuvers. Choose a suitable flying environment and be cautious when rotating the drone in windy conditions.
- Practice and Precision: Mastering the rotation of the drone takes practice and precision. Spend time familiarizing yourself with the drone’s responsiveness and flight characteristics. Practicing in an open area will help you become more comfortable and confident in controlling the drone’s rotation.
By mastering the art of rotating your DJI Mini 2 drone, you can add dynamic and engaging perspectives to your aerial photography and videography. Experiment with different rotational movements to create visually stunning shots and cinematic effects. Remember to always prioritize safety and abide by local regulations for responsible drone flight.
Next, we will discuss how to use the remote controller to control your DJI Mini 2 drone effectively.
Using the Remote Controller
The remote controller is an essential tool for controlling and maneuvering your DJI Mini 2 drone. It allows you to operate the drone with precision and ease. Here’s how you can effectively use the remote controller:
- Hold the Remote Controller: Hold the remote controller with both hands, ensuring a comfortable grip and easy access to all the control sticks and buttons.
- Throttle and Yaw Controls: The left control stick is used to control the throttle (up and down movement) and the yaw (left and right rotation) of the drone. Familiarize yourself with the sensitivity and range of motion of these controls to achieve smooth and controlled flights.
- Pitch and Roll Controls: The right control stick is used to control the pitch (forward and backward tilt) and the roll (left and right tilt) of the drone. Practice using these controls to navigate the drone in different directions and achieve desired compositions in your footage.
- Flight Mode Switches: The remote controller may have flight mode switches that allow you to toggle between different flight modes. These modes can enhance your flying experience or provide additional automation features. Familiarize yourself with the specific functions of each flight mode and use them accordingly.
- Camera Adjustments: Some remote controllers have buttons or dials for adjusting camera settings, such as the tilt angle, exposure, or capturing photos and videos. Explore these features to have more control over your aerial photography and videography output.
- Antenna Orientation: Position the remote controller’s antenna in a way that ensures a stable and reliable connection with the drone. Avoid obstructing the antenna or covering it with your hands during flight.
- Practice and Familiarization: Spend time practicing with the remote controller to become familiar with the layout and responsiveness of the controls. The more you practice, the more comfortable and proficient you will become in using the controller to control the drone effectively.
Using the remote controller gives you the power and control to operate your DJI Mini 2 drone with precision. Familiarize yourself with its functions and practice regularly to enhance your flying skills. Remember to always prioritize safety and abide by local regulations and guidelines when using the remote controller.
Next, we will explore the various flight mode switches that your DJI Mini 2 drone may have and how to use them effectively.
Using the Flight Mode Switches
The flight mode switches on your DJI Mini 2 remote controller provide additional features and functionalities to enhance your flying experience. These modes offer different flight characteristics and automation options that can assist you in capturing unique aerial shots. Here’s how you can effectively use the flight mode switches:
- Understanding the Modes: Familiarize yourself with the different flight modes available on your DJI Mini 2 drone. Common flight modes include Normal Mode, Sport Mode, and Tripod Mode. Each mode has different characteristics, such as speed and agility, or stability and smoothness. Read the user manual or refer to the manufacturer’s instructions to understand the specific functions of each mode.
- Flight Mode Switch Location: Locate the flight mode switches on your remote controller. Typically, these switches are located on the top or side of the controller. Ensure that you can easily access and toggle through the different flight modes during flight.
- Switching Flight Modes: To switch between flight modes, move the designated flight mode switch to the desired position. Most remote controllers have a three-position switch, where each position represents a different flight mode. Be mindful of the switch’s position to avoid accidental mode changes during flight.
- Benefits and Considerations: Each flight mode has its benefits and considerations. For example, Sport Mode provides increased speed and responsiveness, which is ideal for capturing action shots, while Tripod Mode offers precise and slow movements for smoother cinematic shots. Evaluate the specific requirements of your flight and choose the appropriate mode accordingly.
- Experiment and Practice: Experiment with different flight modes during your flights to understand their capabilities and limitations. Practice flying in different modes and familiarize yourself with how each mode affects the drone’s performance and behavior. This will help you optimize your flights and capture the desired shots.
Using the flight mode switches on your DJI Mini 2 drone allows you to explore various flight characteristics and capture different types of aerial footage. However, always prioritize safety and follow local regulations while using these modes. Take the time to understand and practice flying in different flight modes to unlock the full potential of your DJI Mini 2 drone.
Next, let’s explore how to capture stunning photos and videos with your DJI Mini 2 drone.
Capturing Photos and Videos
The DJI Mini 2 drone allows you to capture stunning aerial photos and videos with ease. Here are some tips on how to make the most out of your photography and videography with your drone:
- Compose your Shots: Take the time to compose your shots before capturing them. Use the live feed from the drone’s camera on the DJI Fly app to frame your subjects and create visually appealing compositions. Experiment with different angles and perspectives to capture unique shots.
- Master Camera Settings: Familiarize yourself with the camera settings in the DJI Fly app. Adjust the exposure, white balance, resolution, and other settings to achieve the desired look for your photos and videos. Play around with these settings to find the optimal configuration for different lighting conditions and scenes.
- Utilize Intelligent Flight Modes: Take advantage of the intelligent flight modes available on your DJI Mini 2 drone. Modes such as QuickShots or ActiveTrack can automatically track and capture dynamic shots, adding creativity and cinematic movements to your footage.
- Experiment with Movement: Explore the possibilities of movement in your aerial footage. Try smooth and controlled movements, such as flying alongside a subject or rotating around a point of interest. These movements can add dynamism and depth to your shots.
- Pay Attention to Lighting: Consider the lighting conditions during your flights. Aim for golden hour or magic hour, during sunrise or sunset, for soft and beautiful light. Avoid direct sunlight and harsh shadows if possible. Experiment with different lighting conditions to create different moods in your photos and videos.
- Shoot in RAW Format: If your drone supports it, consider shooting in RAW format. RAW files contain more information and allow for more flexibility in post-processing. This gives you greater control over colors, exposure, and other adjustments when editing your photos in software like Adobe Lightroom or Photoshop.
- Practice and Review: Take the time to practice flying and capturing photos and videos with your DJI Mini 2 drone. Review your footage regularly to identify areas for improvement and to analyze the quality of your shots. Learning from your previous work will help you refine your aerial photography and videography skills.
Remember, capturing stunning aerial photos and videos is a journey of experimentation and practice. Take the time to explore different techniques, settings, and compositions to express your creativity and capture breathtaking images with your DJI Mini 2 drone.
Next, let’s dive into the various flight modes of the DJI Mini 2 drone and how they can enhance your flying experience.
Understanding the Flight Modes
The DJI Mini 2 drone offers various flight modes that can enhance your flying experience and provide advanced features for your aerial photography and videography. Understanding these flight modes allows you to unlock the full potential of your drone. Here are some common flight modes that you may find on your DJI Mini 2 drone:
- Normal Mode: Normal mode is the default flight mode for the DJI Mini 2 drone. It provides a balanced flight experience, offering stability, ease of control, and smooth movements. This mode is suitable for everyday flying and capturing basic aerial shots.
- Sport Mode: Sport mode is designed for those who crave speed and agility. In this mode, the drone’s responsiveness and maneuverability increase, allowing for faster flight and dynamic movements. Sport mode is ideal for capturing high-speed action shots and tracking fast-moving subjects.
- Tripod Mode: Tripod mode provides maximum stability and precision. This mode slows down the drone’s movements, allowing for smoother and more controlled flights. Tripod mode is perfect for capturing cinematic shots that require slow, graceful movements or for flying in tight spaces where precision is crucial.
- Cinematic Mode: Cinematic mode is designed for capturing smooth and professional-looking footage. This mode optimizes the drone’s movement for slow and precise shots, ensuring cinematic-like results. Cinematic mode is great for capturing panoramic views, beautiful landscapes, or dramatic flyovers.
- ActiveTrack: ActiveTrack is an advanced flight mode that allows the drone to automatically track and follow a selected subject. Simply draw a box around the subject on the DJI Fly app, and the drone will keep the subject in frame while maintaining a safe distance. ActiveTrack is suitable for capturing dynamic movements or action shots without the need for manual control.
- QuickShots: QuickShots are predefined flight paths and patterns that the drone can execute automatically. These include Dronie, Circle, Helix, Rocket, and Boomerang modes, which add creativity and cinematic flair to your shots. QuickShots are perfect for capturing eye-catching aerial sequences with minimal effort.
Understanding and utilizing these flight modes can take your aerial photography and videography to the next level. Familiarize yourself with each mode’s specific functions and features to select the most appropriate mode for your desired shots. Experiment with different flight modes and practice flying in various scenarios to explore the capabilities of your DJI Mini 2 drone.
Next, let’s explore some important safety tips to follow when flying your DJI Mini 2 drone.
Intelligent Flight Modes
The DJI Mini 2 drone is equipped with intelligent flight modes that automate specific flight functions, providing advanced capabilities to enhance your aerial photography and videography. These intelligent flight modes offer unique features and automation options. Here are some common intelligent flight modes you may find on your DJI Mini 2 drone:
- ActiveTrack: ActiveTrack allows the drone to automatically track and follow a selected subject in motion. You can draw a box around the subject on the DJI Fly app, and the drone will keep the subject in frame while maintaining a safe distance. ActiveTrack is perfect for capturing dynamic movements or action shots without the need for manual control.
- QuickShots: QuickShots are predefined flight paths and patterns that the drone can execute automatically. These include Dronie, Circle, Helix, Rocket, and Boomerang modes. QuickShots add creativity and cinematic flair to your shots, allowing you to capture impressive aerial sequences with minimal effort.
- Waypoints: Waypoints mode lets you pre-plan a flight path by setting specific GPS coordinates on the DJI Fly app. The drone will then follow this predetermined route, giving you precise control over its movements. Waypoints mode is perfect for capturing consistent and repeatable shots.
- Gesture Control: Gesture Control allows you to control the drone using hand gestures. With simple gestures, you can command the drone to take off, land, or even capture photos and videos. Gesture Control is ideal for capturing selfies or group shots without the need for a remote controller.
- Hyperlapse: Hyperlapse mode enables you to capture time-lapse videos with the drone in motion. The drone will automatically fly along a predetermined path while capturing images at specific intervals. The resulting footage is a stunning time-lapse video that showcases the changing scenery from an aerial perspective.
- Orbit: Orbit mode allows the drone to circle around a subject or a point of interest. You can set the radius and speed of the orbit, creating a 360-degree view around the subject. Orbit mode is perfect for capturing impressive aerial shots and showcasing the surroundings from different angles.
These intelligent flight modes provide advanced features and automation options, making it easier to capture unique and professional-looking aerial shots. Explore each mode’s specific functions and experiment with different scenarios to fully utilize the capabilities of your DJI Mini 2 drone.
While intelligent flight modes can enhance your flying experience, always prioritize safety and fly responsibly. Follow local regulations and guidelines, and ensure that you are in control of the drone at all times. Using intelligent flight modes should complement your skills as a pilot and enhance the quality of your aerial photography and videography.
Next, let’s explore some important safety tips to ensure a safe and enjoyable flying experience with your DJI Mini 2 drone.
Safety Tips
Flying a DJI Mini 2 drone can be an exhilarating experience, but it’s crucial to prioritize safety at all times. Here are some important safety tips to follow for a safe and enjoyable flight:
- Familiarize Yourself with Local Regulations: Before flying your drone, familiarize yourself with the regulations and guidelines specific to your location. Observe any no-fly zones, altitude restrictions, and privacy laws to ensure compliance and safety.
- Perform a Pre-flight Check: Always conduct a pre-flight check of your drone and its components. Ensure that the battery is fully charged, the propellers are securely mounted, and there are no obstructions or damages. Check for any firmware updates and calibrate the compass and IMU as necessary.
- Choose a Suitable Flying Location: Select a flying location that is safe and appropriate for your drone. Avoid congested areas, airports, and sensitive locations. Look for open spaces with minimal obstacles and consider the weather conditions, such as wind speed and precipitation.
- Maintain Visual Line of Sight: Keep the drone within your visual line of sight at all times during flight. This allows you to maintain control and awareness of its surroundings, minimizing the risk of a collision or flyaway.
- Monitor Battery Life: Keep a close eye on the drone’s battery life during flight. Avoid pushing the limits of the battery and always ensure you have enough power for a safe return. Don’t forget to account for the battery required to navigate back in case of unexpected wind or flight conditions.
- Be Aware of Wildlife and People: Respect wildlife and privacy by avoiding disturbing or intruding on their habitats or personal space. Be mindful of people in the area and fly at a safe distance to prevent accidents or privacy violations.
- Stay Away from Obstacles: Maintain a safe distance from obstacles such as trees, buildings, power lines, and other structures. Be cautious of wind gusts or sudden changes in wind direction that may affect the drone’s stability near obstacles.
- Keep an Eye on the Weather: Fly in suitable weather conditions to ensure a safe and stable flight. Avoid flying in strong winds, rain, or foggy conditions that can impair visibility and control.
- Continuous Learning and Improvement: Stay updated with the latest drone regulations and best practices. Stay informed about new features or firmware updates for your drone model and continuously improve your skills through practice and experience.
By following these safety tips, you can fly your DJI Mini 2 drone responsibly and enjoy a safe and amazing aerial experience. Prioritizing safety not only protects yourself and others, but also helps to maintain a positive public perception of drones and their usage.
Remember: safety is the foundation for enjoying the full potential of your DJI Mini 2 drone. Fly responsibly, respect the rules and regulations, and make every flight a safe and enjoyable one.
Conclusion
Flying the DJI Mini 2 drone allows you to explore the skies, capture breathtaking photos, and create stunning videos from a unique aerial perspective. By mastering the basic flight controls, understanding the different flight modes, and following safety guidelines, you can have a safe and rewarding flying experience.
Starting with the setup and pre-flight checklist, ensure that your drone is properly assembled, charged, and updated with the latest firmware. Familiarize yourself with the basic flight controls, such as throttle, yaw, pitch, and roll, to maneuver the drone with precision. Taking off and landing smoothly is crucial, as well as practicing hovering and stable flight.
Make use of the remote controller and explore the various flight mode options, such as sport mode for speed and agility, tripod mode for precise movements, and intelligent flight modes like ActiveTrack and QuickShots for automated shots and dynamic aerial sequences.
When capturing photos and videos, pay attention to composition, lighting, and camera settings to create visually appealing shots. Experiment with different flight movements and angles to capture unique perspectives. Familiarize yourself with the intelligent flight modes like ActiveTrack, QuickShots, and Waypoints to achieve creative and professional-looking footage.
Always prioritize safety and adhere to local regulations. Perform regular pre-flight checks, fly in suitable weather conditions, maintain line of sight, and be mindful of your surroundings, including wildlife and people. Continuously work on improving your skills, staying informed about drone regulations, and learning from each flight experience.
With the knowledge and skills gained from this guide, you are now ready to take to the skies with your DJI Mini 2 drone. Enjoy the exhilaration of flight, capture stunning aerial visuals, and unleash your creativity through this incredible technology. Fly responsibly, respect the rules, and create beautiful memories with your drone.