Introduction
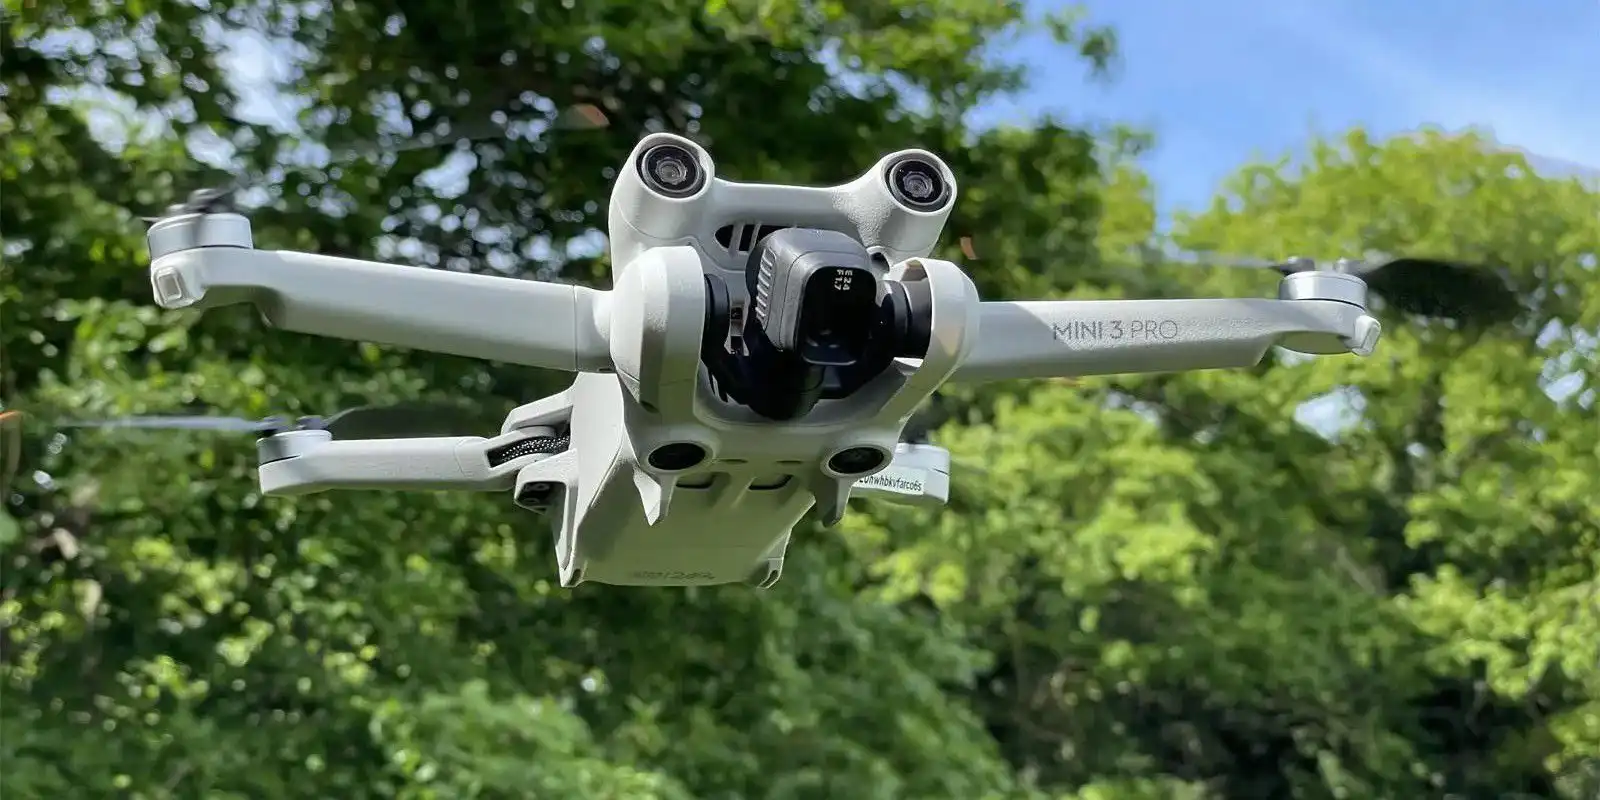
Welcome to the world of drones! As an aspiring pilot or a seasoned enthusiast, one of the most important components to understand is the drone battery. The battery is not only responsible for powering your drone in flight but also plays a crucial role in the overall performance and safety of your aerial adventures.
Knowing when your drone battery is charged and ready to go is essential, as it ensures you have enough power to complete your planned flight and avoid any unexpected shutdowns while in the air. In this guide, we will explore various methods and tools to help you determine the charging status of your drone battery.
Whether you are a beginner or an experienced pilot, understanding the different techniques to monitor your battery’s charge level will not only increase your confidence in flying but also extend the lifespan of your drone’s battery.
This guide will cover the basics of drone battery charging and introduce you to several tools and methods for monitoring your battery’s charge status. From built-in indicators on battery chargers to smartphone apps and battery checker devices, we will explore a range of options to help you ensure that your drone battery is charged and ready to take flight.
So, let’s dive in and learn how to effectively monitor your drone battery’s charge level, allowing you to fly with peace of mind and make the most of your aerial adventures!
Understanding Drone Batteries
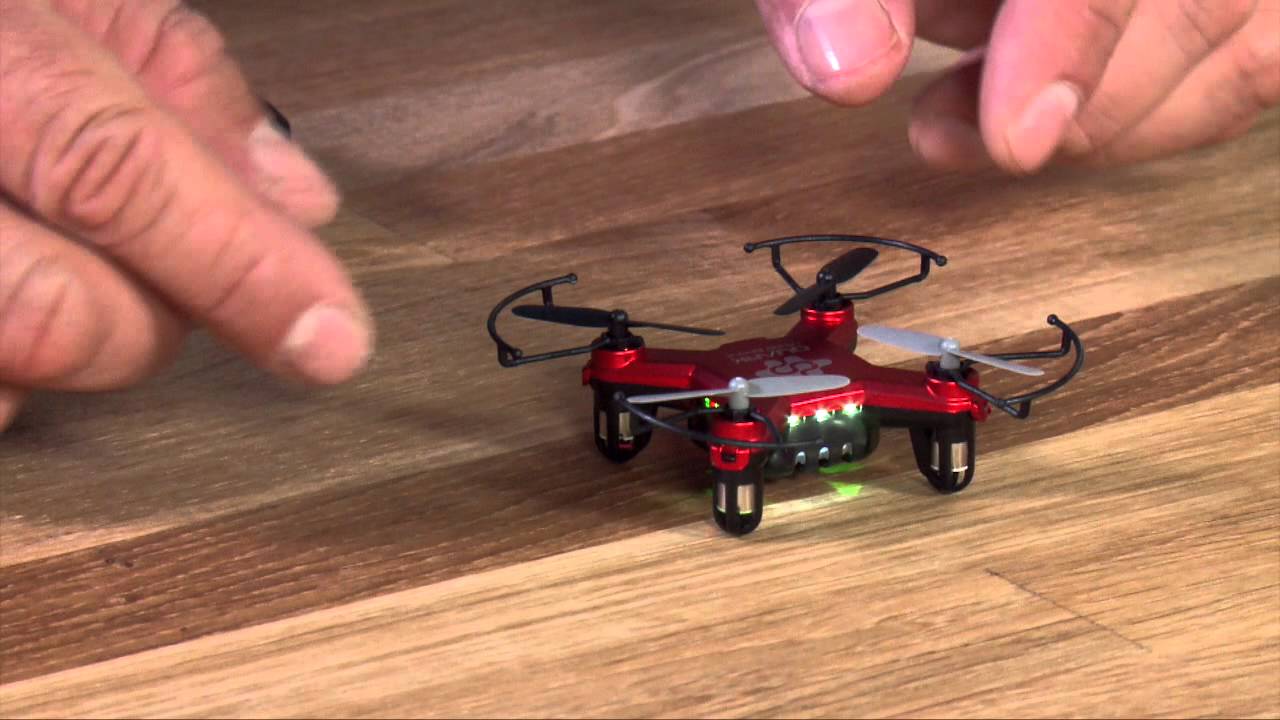
Before we discuss how to monitor the charging status of your drone battery, let’s take a moment to understand the basics of drone batteries. Drone batteries are typically lithium polymer (LiPo) batteries, known for their high energy density and lightweight design.
LiPo batteries consist of multiple cells, with each cell having a nominal voltage of 3.7 volts. The total voltage of the battery depends on the number of cells it contains. For example, a 3S (3-cell) battery has a nominal voltage of 11.1 volts, while a 4S (4-cell) battery has a nominal voltage of 14.8 volts.
The capacity of a drone battery is measured in milliampere-hours (mAh). It represents the amount of current the battery can deliver over a specific period. Higher mAh ratings indicate longer flight times, but it’s important to note that increased capacity also means a heavier battery, potentially impacting the drone’s overall weight and flight performance.
When it comes to charging drone batteries, it’s crucial to understand the recommended charging rates and safety precautions provided by the manufacturer. Overcharging or using improper charging methods can lead to battery damage, reduced performance, or even pose a safety risk.
Proper battery maintenance is essential for maximizing performance and extending the lifespan of your drone battery. Avoid storing the battery at full charge or in extreme temperatures, as this can cause degradation or potential damage to the cells. It’s also important to check for any physical damage or swelling in the battery before and after each flight.
By understanding the basics of drone batteries, you’ll have a solid foundation for effectively monitoring and managing their charge status. Now, let’s explore different techniques and tools that will help you determine when your drone battery is fully charged and ready for action.
Battery Charging Basics
To ensure optimal performance and longevity of your drone battery, it is important to follow proper battery charging practices. Here are some basic guidelines to keep in mind:
- Use the manufacturer-recommended charger: It is crucial to use the charger specifically designed for your drone battery. Using a charger that is not compatible may result in overcharging or undercharging, causing damage to the battery.
- Connect the charger securely: Make sure to connect the charger to the battery securely, ensuring that the connectors align properly. Loose connections can lead to charging interruptions or poor charging performance.
- Monitor charging temperature: Charging your drone battery within the recommended temperature range is important. High temperatures can lead to accelerated battery degradation, while extremely low temperatures can hinder the charging process. Check the user manual for the recommended temperature range.
- Allow sufficient charging time: It is essential to give your drone battery enough time to charge fully. Rushing the charging process may result in an incomplete charge, reducing the battery’s overall capacity and flight time.
As you become more familiar with your drone battery and charger, you will develop a sense of the typical charging time required. This can vary depending on the battery capacity and charger specifications.
It is important to note that while monitoring the charging process is vital, avoid continuously checking the battery’s charge percentage during the charging process. Frequent interruptions can disrupt the charging cycle and lead to inaccurate readings.
Understanding the battery charging basics will help you establish a solid foundation for effectively monitoring and managing your drone battery’s charge status. Let’s explore various methods and tools that you can use to determine when your drone battery is fully charged and ready to power your aerial adventures.
Monitoring Battery Voltage
One of the most common and straightforward ways to monitor the charging status of your drone battery is by checking its voltage. The voltage level provides a good indication of the battery’s charge level. Here’s how you can monitor battery voltage:
- Use a voltmeter: A voltmeter is a handy tool that measures electrical voltage. You can connect the voltmeter’s probes to the positive and negative terminals of your drone battery to get an accurate voltage reading. Compare the reading to the battery’s nominal voltage to determine the approximate charge level. For example, if you have a 3S battery, a voltage reading of around 12.6 volts indicates a fully charged battery.
- Refer to the battery voltage indicator: Some drone batteries are equipped with built-in voltage indicators. These indicators consist of a series of LED lights that provide a visual representation of the battery’s voltage level. Each LED represents a specific voltage range, usually corresponding to empty, low, medium, and full charge states.
- Check the battery telemetry: If your drone is equipped with telemetry capabilities, you can monitor the battery voltage directly from the transmitter or through a smartphone app. This real-time information allows you to keep an eye on the battery’s voltage level during flight and plan accordingly.
It’s important to note that different drone models and battery types may have varying voltage ranges for different charge levels. Always refer to the manufacturer’s guidelines and documentation to ensure you interpret the voltage readings correctly.
Monitoring the battery voltage provides a reliable way to gauge the charge level of your drone battery. However, keep in mind that voltage alone may not provide a comprehensive picture of the battery’s health or remaining flight time. For a more accurate assessment, consider utilizing additional tools and methods we will discuss further in this guide.
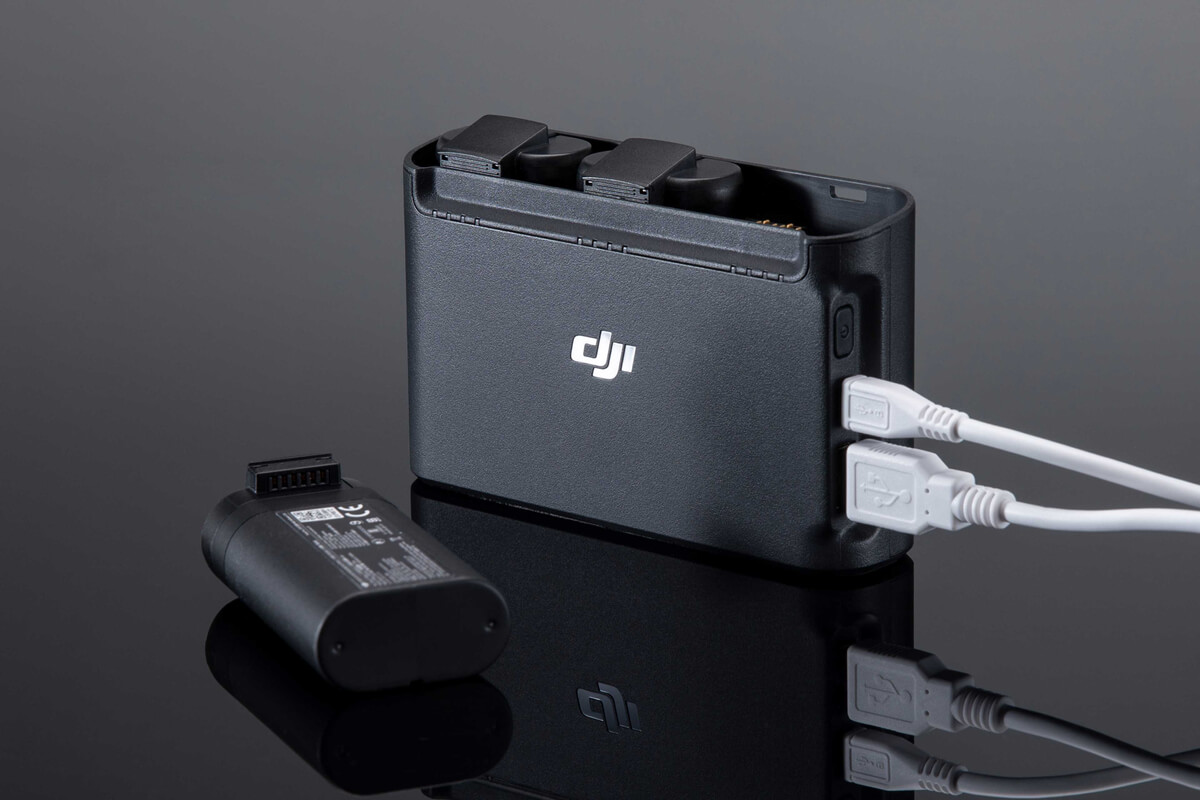
Using Battery Chargers with Built-in Indicators
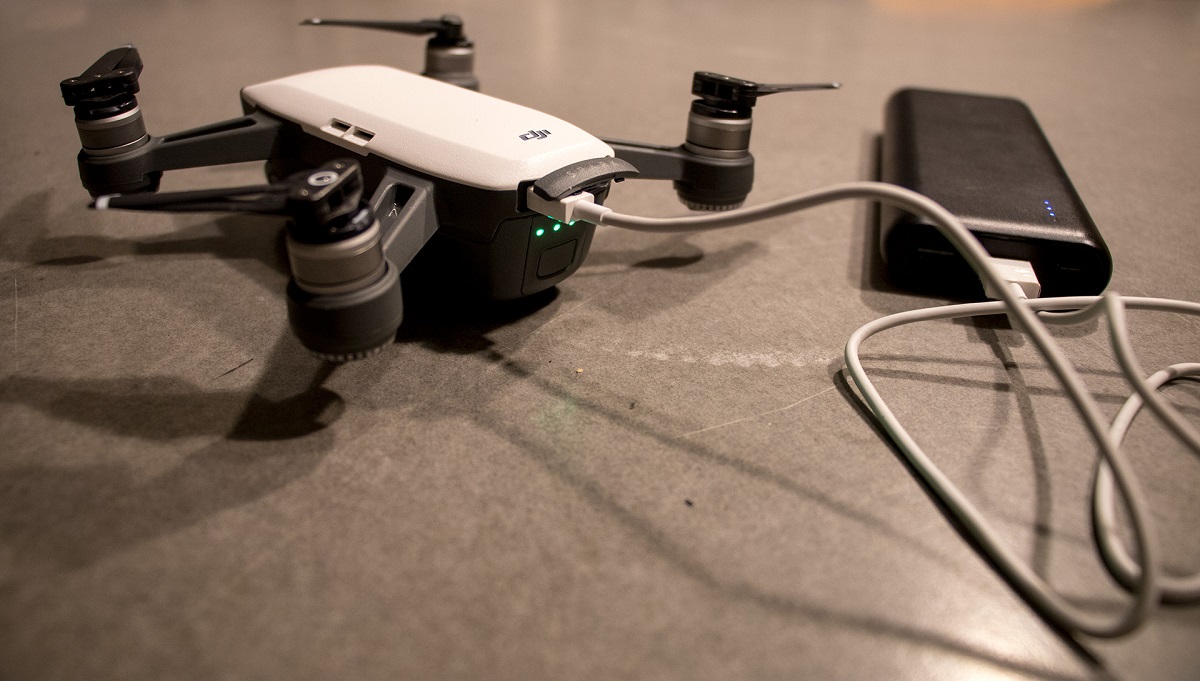
Many battery chargers specifically designed for drone batteries come equipped with built-in indicators to help you monitor the charging status. These indicators provide a convenient visual representation of the battery’s charge level. Here’s how you can make use of them:
- Connect the battery to the charger: Start by connecting your drone battery to the charger. Ensure that the connectors align properly and the connection is secure.
- Observe the indicator lights: Once the battery is connected, the charger’s built-in indicators will illuminate to indicate the current charging status. Depending on the charger model, the indicators may consist of LED lights or an LCD screen.
- Interpret the indicator lights: The indicator lights on the charger typically represent different charge levels, ranging from low to full. Some chargers might also have additional indicators for indicating the charging status, such as “charging,” “charged,” or “error.”
- Wait for full charge indication: As the battery charges, the indicator lights will progress from low to full charge. Once the charger indicates a full charge, you can safely disconnect the battery from the charger.
This method of monitoring the charging status is often straightforward and user-friendly. The visual cues provided by the built-in indicators make it easy to determine when your drone battery is fully charged and ready to go. However, it’s still recommended to periodically check the battery’s voltage or utilize additional tools to get a more accurate assessment of the battery’s charge level.
Keep in mind that charger models may vary, and the specific functionality and interface of the built-in indicators can differ. Always refer to the charger’s user manual or manufacturer’s guidelines for accurate interpretation of the indicator lights.
Next, let’s explore another method of monitoring your drone battery’s charge status – using battery chargers equipped with LED lights.
Using Battery Chargers with LED Lights
Battery chargers with LED lights offer a simple and intuitive way to monitor the charging status of your drone battery. These chargers feature LED indicators that provide visual feedback on the battery’s charge level. Here’s how you can effectively use them:
- Connect the battery to the charger: Start by securely connecting your drone battery to the charger. Ensure that the connectors align properly and the connection is stable.
- Observe the LED lights: Once the battery is connected, the charger’s LED lights will illuminate, indicating the current charge status. The lights may be color-coded or arranged in a sequence to represent different charge levels.
- Interpret the LED light patterns: Depending on the charger model, the LED lights may have different patterns or combinations to indicate specific charge levels. For example, a steady green light could indicate a full charge, while a blinking red light might suggest a low battery level.
- Wait for the desired LED light indication: As the battery charges, the LED lights will progress or change to reflect the increasing charge level. Once the desired LED light pattern or color indicates a full charge, you can safely disconnect the battery from the charger.
Using battery chargers with LED lights offers a straightforward way to monitor the charging status of your drone battery. The visual cues provided by the LED lights make it easy to determine the battery’s charge level at a glance.
However, it’s important to note that different charger models may have variations in LED light patterns and interpretations. Always refer to the charger’s user manual or manufacturer’s guidelines for accurate interpretation of the LED lights.
While using LED lights on the charger is convenient, it’s still advisable to periodically check the battery’s voltage or employ additional methods to achieve a more accurate assessment of the battery’s charge level.
Now, let’s move on to exploring another method of monitoring your drone battery’s charge status – using battery chargers with LCD screens.
Using Battery Chargers with LCD Screens
Battery chargers with LCD screens provide a more advanced and detailed way to monitor the charging status of your drone battery. These chargers offer a clear and comprehensive display of important information such as voltage, current, and charge level. Here’s how you can effectively use them:
- Connect the battery to the charger: Begin by securely connecting your drone battery to the charger. Ensure that the connectors align properly and the connection is secure.
- Observe the LCD screen: Once the battery is connected, the charger’s LCD screen will display various information related to the charging process. This may include voltage, current, charge level, and estimated time remaining.
- Monitor the charge level: The LCD screen will typically show the current charge level as a percentage or a visual representation such as a progress bar. You can easily track the battery’s charging progress and determine when it reaches 100%.
- Advanced features: Some battery chargers with LCD screens also offer additional features such as individual cell voltage monitoring, charge/discharge cycle count, and adjustable charging parameters for optimal customization.
- Disconnect once fully charged: Once the charger’s LCD screen indicates a full charge, you can safely disconnect the battery from the charger.
Using battery chargers with LCD screens provides a more detailed and precise way to monitor the charging status of your drone battery. The comprehensive display of information allows you to have better control over the charging process and make informed decisions.
It’s important to familiarize yourself with the specific functionalities and readings on the LCD screen as they may vary depending on the charger model. Refer to the charger’s user manual or manufacturer’s guidelines for accurate interpretation and utilization of the LCD screen.
While battery chargers with LCD screens offer advanced monitoring capabilities, it’s still advisable to periodically check the battery’s voltage or employ additional methods to achieve a more comprehensive assessment of the battery’s charge level.
Now that we’ve covered using battery chargers with LCD screens, let’s explore another method of monitoring your drone battery’s charge status – utilizing smartphone apps.
Using Battery Chargers with Smartphone Apps
With advancements in technology, many battery chargers now come with smartphone apps that provide real-time monitoring and control of the charging process. These apps offer convenience and enhanced functionality for monitoring the charging status of your drone battery. Here’s how you can effectively use them:
- Download and install the app: Start by downloading and installing the smartphone app that is compatible with your drone battery charger. These apps are typically available on the App Store (for iOS devices) or Google Play Store (for Android devices).
- Connect the battery to the charger: After installing the app, securely connect your drone battery to the charger. Ensure that the connectors align properly and the connection is stable.
- Open the app and connect to the charger: Open the smartphone app and follow the instructions to connect it to your battery charger. This is typically done through Bluetooth or Wi-Fi connectivity.
- Monitor the charging status: Once the connection is established, the app will display real-time information about the battery’s voltage, charge level, temperature, and other relevant details. You can monitor the charging progress and observe any alerts or notifications provided by the app.
- Customize charging parameters: Some smartphone apps offer advanced features that allow you to customize charging parameters like charge rate, battery type, and charging profiles. This level of control enables you to optimize the charging process for your specific needs.
- Receive charging notifications: The app may also provide notifications or alerts when the battery reaches a specific charge level or when the charging process is complete. This ensures that you are promptly informed about the battery’s status.
- Disconnect once fully charged: Once the app indicates that the battery is fully charged, you can safely disconnect it from the charger.
Using battery chargers with smartphone apps enhances your ability to monitor and control the charging process in a convenient and interactive way. The real-time information, customization options, and notifications provided by these apps ensure that you have complete visibility and control over the battery’s charge level.
It’s important to note that smartphone apps may have different functionalities and interfaces based on the charger model and brand. Refer to the app’s user guide or manufacturer’s guidelines for accurate usage and interpretation.
While smartphone apps provide powerful monitoring capabilities, it’s still recommended to periodically check the battery’s voltage or employ additional tools to achieve a comprehensive assessment of the charge level.
Now that we’ve explored using battery chargers with smartphone apps, let’s move on to another method of monitoring your drone battery’s charge status – using battery checker devices.
Using Battery Checker Devices
Battery checker devices are standalone tools specifically designed for monitoring the charge status of drone batteries. These devices offer portable and dedicated solutions for evaluating battery voltage, capacity, and overall health. Here’s how you can effectively use them:
- Connect the battery to the checker device: Start by connecting your drone battery to the battery checker device. Most devices have specific slots or connectors to accommodate different battery types and sizes.
- Power on the checker device: Once the battery is securely connected, power on the battery checker device. It will display information about the battery’s voltage, capacity, percentage of charge, and any warning alerts if applicable.
- Interpret the displayed information: The battery checker device will provide you with detailed readings and analysis of the battery’s charge status. You can check the voltage to determine the charge level or view other metrics like internal resistance and cell balance to assess the battery’s health.
- Utilize additional features: Some battery checker devices offer additional features such as discharge testing, battery balancing, and storage mode activation. These features help optimize battery performance and prolong its lifespan.
- Disconnect the battery: Once you have gathered the necessary information and are satisfied with the battery’s charge level and health, safely disconnect it from the battery checker device.
Using battery checker devices provides a reliable and dedicated way to monitor the charge status and overall health of your drone battery. These devices offer comprehensive readings and additional features to help you make informed decisions about your battery’s usage and maintenance.
Keep in mind that battery checker devices may have varying functionalities and user interfaces based on the model and brand. Refer to the device’s user manual or manufacturer’s guidelines for accurate usage instructions and interpretation of the displayed information.
While battery checker devices provide valuable insights into your battery’s charge status, it’s still recommended to periodically check the battery’s voltage using other methods or employ additional tools to ensure a comprehensive assessment.
Now that we’ve explored using battery checker devices, you have a range of options available to effectively monitor the charging status of your drone battery. With these tools and methods, you can confidently ensure that your battery is charged and ready for your next aerial adventure.
Conclusion
Monitoring the charging status of your drone battery is crucial for a safe and enjoyable flying experience. By utilizing the methods and tools discussed in this guide, you can effectively determine when your drone battery is fully charged and ready to take flight.
Understanding the basics of drone batteries, such as their voltage and capacity, is essential for interpreting the charging status. Whether you choose to monitor battery voltage, use battery chargers with built-in indicators, LED lights, LCD screens, smartphone apps, or battery checker devices, each method offers its own advantages and features.
Battery chargers with built-in indicators provide a quick and effortless way to determine the charging status, while LED lights give a visual representation at a glance. Chargers with LCD screens offer detailed information and customization options, while smartphone apps provide real-time monitoring and control through your mobile device. Battery checker devices provide comprehensive readings and health analysis of your battery.
No matter which method you choose, it’s important to follow proper battery charging practices and refer to the manufacturer’s guidelines for optimal performance and safety.
By regularly monitoring the charging status of your drone battery and ensuring it is fully charged, you can enjoy longer flight times and prevent unexpected shutdowns mid-flight.
Remember, the key is to strike a balance between enjoying your drone flights and taking the necessary precautions to maintain your battery’s health. With the knowledge and tools provided in this guide, you can confidently take to the skies and make the most of your drone’s capabilities!