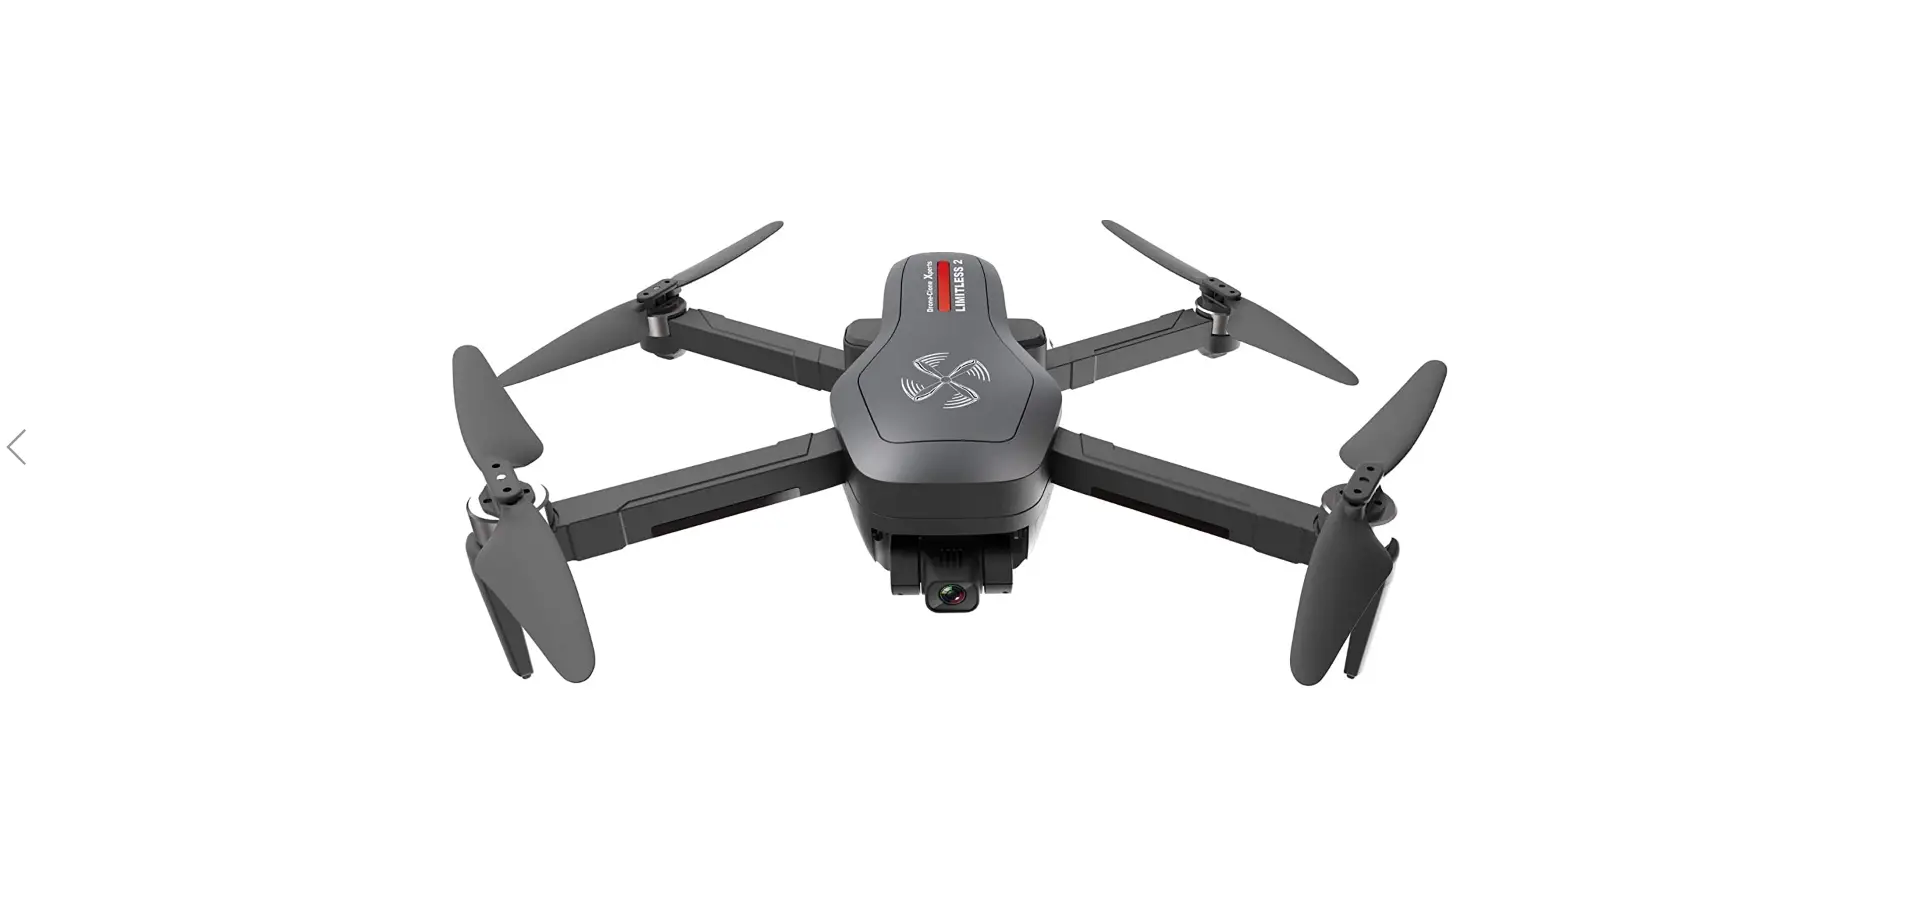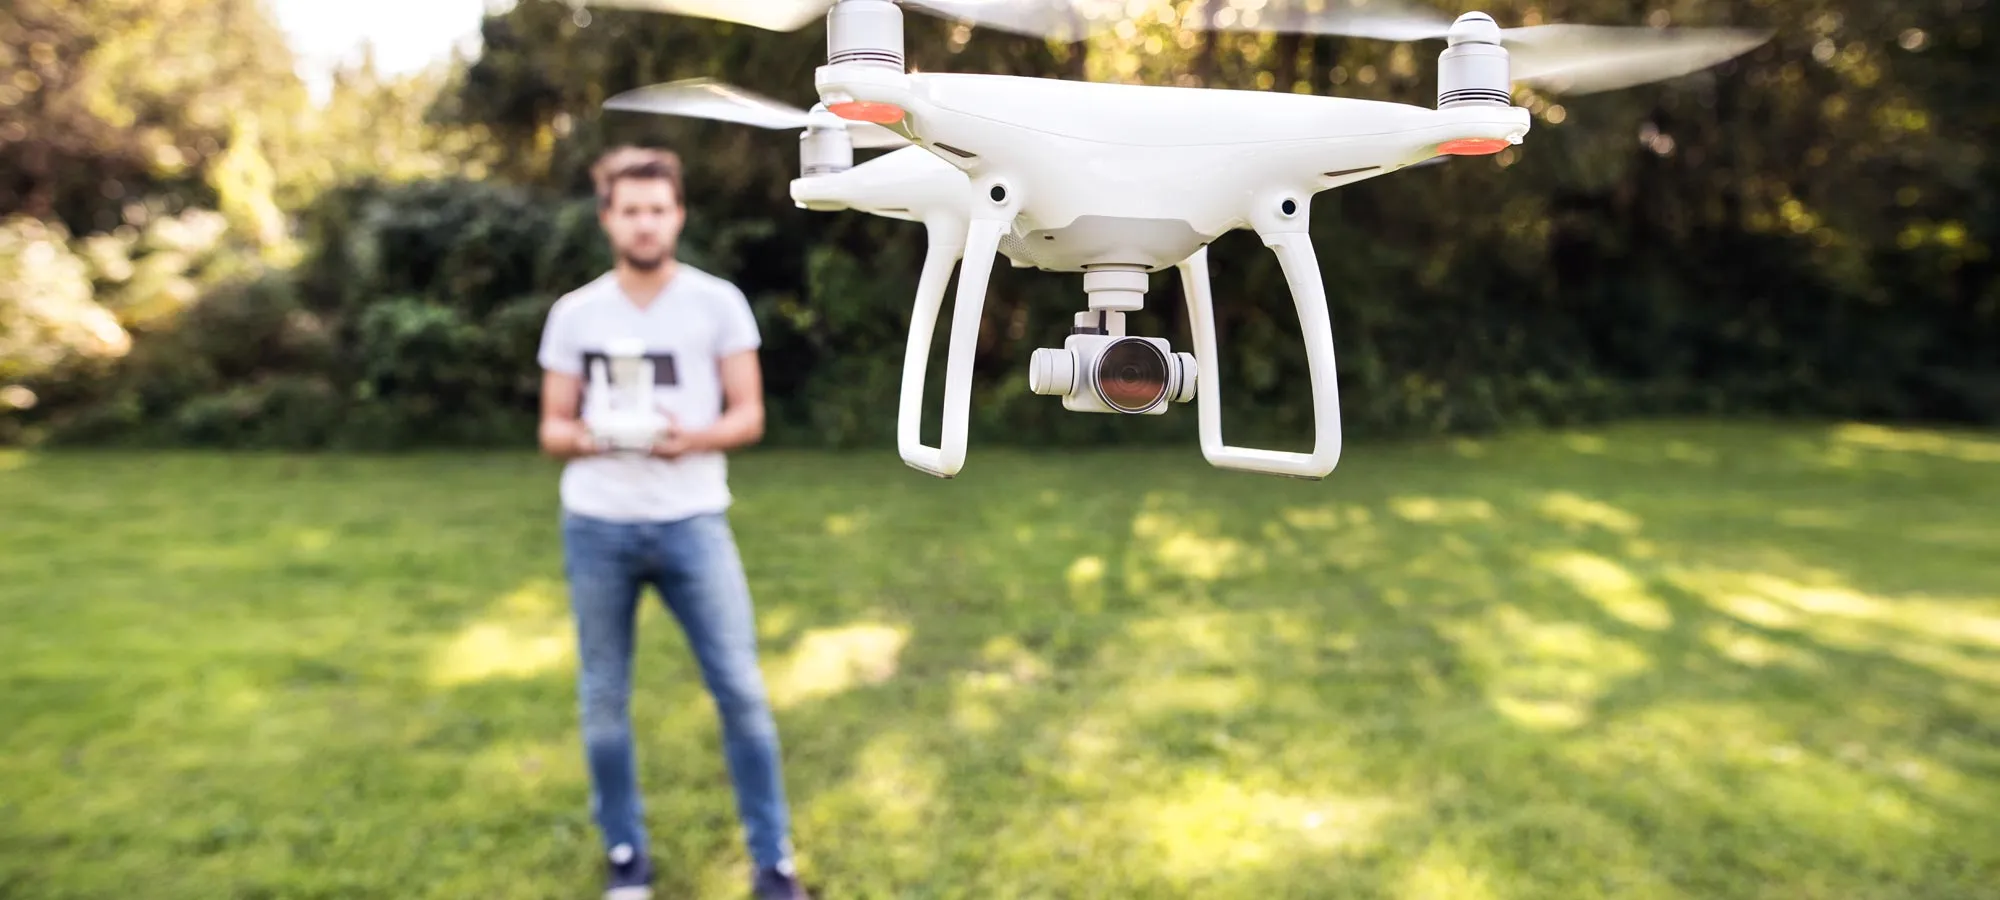
Introduction
When it comes to flying drones, one crucial aspect that every pilot should be familiar with is trim. Trim plays a significant role in maintaining flight stability and control. By understanding how to adjust and utilize trim effectively, pilots can enhance their drone’s performance and maneuverability.
Trim refers to the process of fine-tuning a drone’s control surfaces to achieve balanced flight. It involves making small adjustments to the control inputs to compensate for any imbalances or deviations in the drone’s flight characteristics. These adjustments ensure that the drone flies straight and level without the need for constant manual correction.
Properly adjusting trim is essential for a smooth and stable drone flight experience. It helps pilots in maintaining steady control, reduces drift, and minimizes the effort needed to keep their quadcopters on the desired path. Whether you’re a beginner or an experienced pilot, understanding and mastering trim adjustments is fundamental to maximizing your drone’s performance.
Before diving into the details of adjusting trim, it’s important to grasp the concept of drone axes. Drones are equipped with three main axes of movement: roll, pitch, and yaw. Each axis corresponds to a specific motion and is controlled by the drone’s control surfaces.
Now, let’s explore the significance of trim adjustments in more detail and understand how they can impact drone flight.
Definition of Trim
In the context of drones, trim refers to the adjustment of the control surfaces to achieve balanced flight. Control surfaces such as the ailerons, elevator, and rudder play a crucial role in controlling the drone’s movement along the roll, pitch, and yaw axes. Trim allows pilots to fine-tune these control inputs to compensate for any inherent imbalances or deviations.
Trimming a drone involves making small and precise adjustments to the control surfaces to ensure that the aircraft flies straight and level with minimal input from the pilot. The goal is to achieve equilibrium and eliminate any unwanted drifting or rolling tendencies of the drone.
Trim adjustments are necessary because no drone is perfectly balanced right out of the box. Factors like manufacturing tolerances, wind conditions, and payload differences can affect a drone’s flight characteristics. By making trim adjustments, pilots can ensure that their drones fly smoothly and precisely, responding accurately to their control inputs.
Trimming a drone involves adjusting the control surfaces to counteract any tendency for the aircraft to veer off course or display uneven flight characteristics. For example, if a drone tends to roll to the left without any input from the pilot, the aileron trim can be adjusted to counterbalance and maintain a straight flight. Similarly, if the drone tends to pitch upward or downward, the elevator trim can be adjusted accordingly.
It’s important to note that trim adjustments should not be mistaken for manual correction during flight. While pilots can make temporary corrections during a flight using the transmitter controls, trim adjustments are meant to provide a baseline setting for maintaining stable flight without constant manual input.
By understanding the definition of trim and its purpose, pilots can grasp the significance of trim adjustments in achieving stable and controlled flight. In the next section, we will delve deeper into the importance of trim and how it affects drone flight.
Importance of Trim
The importance of trim in drone flight cannot be overstated. It plays a crucial role in achieving stability, control, and efficiency in the aircraft’s performance. Here are some key reasons why trim adjustments are essential:
1. Flight Stability: Trim adjustments help in achieving stable flight by minimizing drift and maintaining a straight and level trajectory. By fine-tuning the control surfaces, pilots can eliminate any inherent imbalances or deviations, ensuring the drone flies smoothly and predictably.
2. Control Responsiveness: Properly trimmed drones respond more accurately to pilot commands. By adjusting the trim, pilots can optimize the control surfaces’ neutral positions, allowing for precise control inputs without unwanted and unnecessary movements.
3. Reduced Pilot Effort: When a drone is properly trimmed, it requires less manual correction from the pilot to maintain stable flight. This reduces pilot workload, allowing them to focus more on capturing aerial footage, executing complex maneuvers, or other tasks specific to their flight objectives.
4. Improved Battery Efficiency: Trim adjustments can also contribute to improved battery efficiency. By minimizing unnecessary movements and drift, a properly trimmed drone can achieve smoother flight patterns and, therefore, consume less battery power. This results in longer flight times and more efficient use of the drone’s battery capacity.
5. Consistent Flight Characteristics: Trim adjustments help in achieving consistent flight characteristics across different flight conditions and payloads. By determining the optimal trim settings, pilots can ensure that their drones maintain consistent performance regardless of external factors like wind speed or payload weight.
6. Safety: Proper trim adjustments enhance safety by reducing the chances of unexpected flight behavior. A drone that is improperly trimmed may exhibit erratic movements, making it difficult to control and increasing the risk of accidents or crashes. By ensuring proper trim settings, pilots can fly their drones with increased confidence and reduced safety concerns.
Understanding the importance of trim in drone flight highlights the need for pilots to regularly adjust and fine-tune their aircraft’s control surfaces. In the following sections, we will explore how to adjust trim and the factors to consider when making these adjustments.
Understanding the Axes
Before delving into the process of adjusting trim, it’s important to have a clear understanding of the three main axes of movement in a drone: roll, pitch, and yaw.
1. Roll Axis: The roll axis is responsible for the side-to-side movement of the drone. It is controlled by the ailerons, which are located on the wings. When the ailerons move in opposite directions, they create a difference in lift, causing the drone to roll left or right.
2. Pitch Axis: The pitch axis controls the forward and backward movement of the drone. It is controlled by the elevator, usually found on the horizontal stabilizer of the drone’s tail. When the elevator moves up or down, it generates a change in lift, causing the drone to pitch up or down.
3. Yaw Axis: The yaw axis allows the drone to rotate around its vertical axis. It is controlled by the rudder, typically located on the vertical stabilizer at the tail of the drone. When the rudder moves left or right, it creates a torque that causes the drone to yaw left or right.
Understanding these axes is crucial because trim adjustments will be made specific to each axis to achieve balanced flight. For example, if a drone tends to roll to the left, the aileron trim can be adjusted to counterbalance and maintain a level flight. Similarly, if the drone has a tendency to pitch upward, the elevator trim can be adjusted to bring it back to a neutral position.
It’s also important to note that drones with multiple rotors, such as quadcopters or hexacopters, may have additional axes of movement. These additional axes, such as the climb/descent or the lateral movement, will have their specific control surfaces and will require appropriate trim adjustments as well.
Having a clear understanding of the three main axes and their corresponding control surfaces is essential for properly adjusting trim. In the following sections, we will explore the effects of trim adjustments and how to make precise trim adjustments for a well-balanced drone flight.
Effects of Trim
Trim adjustments can have significant effects on the flight characteristics of a drone. By making precise changes to the control surfaces, pilots can achieve a well-balanced and stable flight. Here are the key effects of trim adjustments:
1. Stability: Proper trim adjustments help in achieving a stable flight by minimizing unwanted drift or roll tendencies. By fine-tuning the control surfaces, pilots can ensure that the drone maintains a straight and level trajectory without constant manual correction.
2. Straight Flight: Trim adjustments ensure that the drone flies straight and maintains its intended course without veering to one side. It helps in achieving predictable and accurate flight paths, whether the drone is moving forward, backward, or sideways.
3. Balanced Control Inputs: Trim adjustments optimize the neutral positions of the control surfaces, leading to well-balanced control inputs. This allows for precise and responsive control of the drone, making it easier to execute specific flight maneuvers or capture steady aerial footage.
4. Neutral State: Proper trim adjustments bring the drone to a neutral state, meaning that it maintains a steady flight without any unwanted upward or downward pitch or roll. This neutral state enables pilots to have better control over the drone and prevents it from exhibiting erratic flight behavior.
5. Minimal Manual Correction: With correct trim settings, pilots can reduce the need for constant manual correction during flight. This not only improves the overall flight experience but also reduces pilot workload, allowing them to focus on other aspects of their aerial missions.
6. Improved Performance: Trim adjustments optimize the drone’s flight characteristics, resulting in improved performance. The drone becomes more responsive, efficient, and precise, enhancing its maneuverability and reducing the chances of unexpected flight behavior.
It’s important to note that trim adjustments may need to be periodically readjusted, especially when flying in different conditions or with varying payloads. External factors like wind speed or changes in weight distribution can affect the drone’s flight characteristics, necessitating further trim adjustments for optimal performance.
By understanding the effects of trim adjustments, pilots can appreciate their significance in achieving a well-balanced and stable flight. In the next section, we will explore how to adjust trim to ensure optimal performance of the drone.
How to Adjust Trim
Adjusting trim on a drone involves making precise changes to the control surfaces to achieve a well-balanced flight. Here are the steps to adjust trim effectively:
1. Begin with a Calm Environment: Find a location with minimal wind and distractions. This will help in accurately observing the drone’s flight characteristics and making precise trim adjustments without external factors affecting the process.
2. Test Fly the Drone: Take the drone for a test flight to assess its current flight behavior. Observe if it tends to drift to one side or if it has any noticeable roll, pitch, or yaw tendencies. These observations will help you identify the areas that require trim adjustments.
3. Identify the Axis: Based on your observations, determine which axis (roll, pitch, or yaw) requires adjustment. For example, if the drone consistently rolls to the left, you will need to adjust the aileron trim.
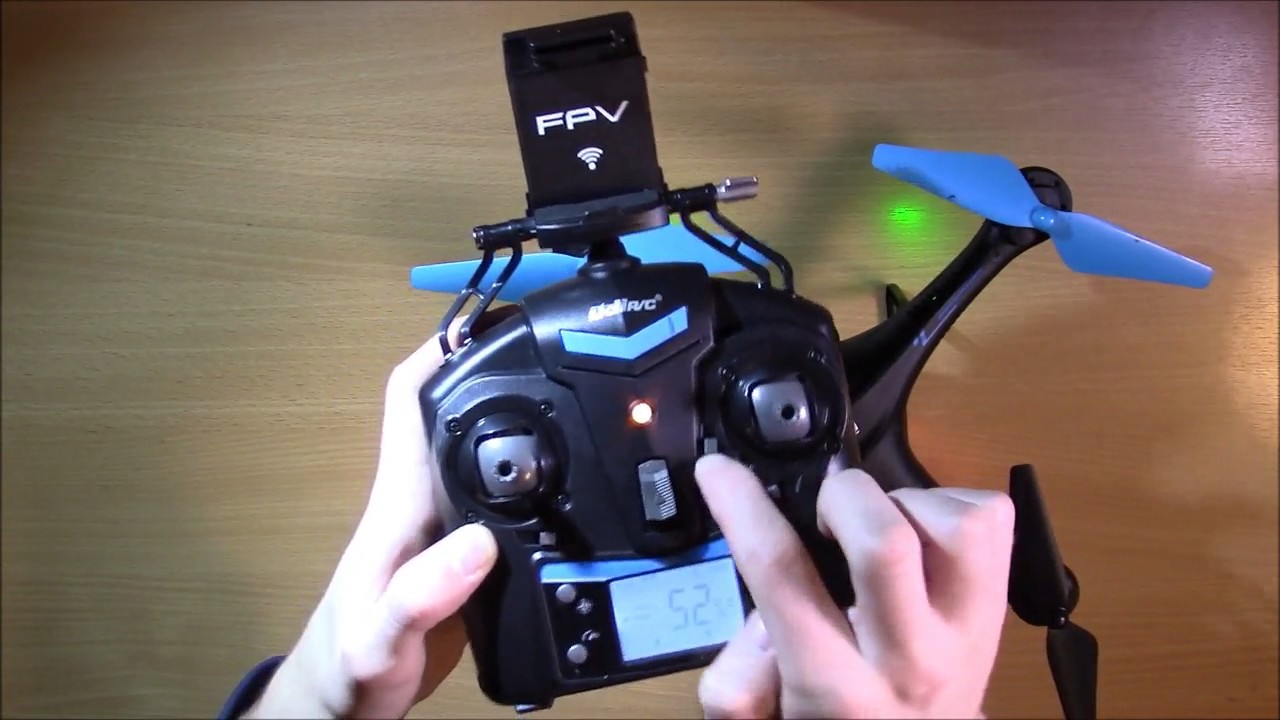
4. Adjust Trim on the Transmitter: Most drones allow you to adjust trim through the transmitter controls. Locate the trim buttons or switches on your transmitter corresponding to the axis that needs adjustment. Incrementally make small adjustments (both positive and negative) to the trim until the undesired behavior is minimized.
5. Repeat Test Flights and Make Fine Adjustments: After each trim adjustment, take the drone for another test flight to observe if the undesired behavior has been corrected. If further adjustments are necessary, repeat the process by making small tweaks to the trim until the desired level of stability and control is achieved.
6. Fine-Tune Other Axes: If you notice any imbalances or deviations in other axes during the test flights, make additional trim adjustments accordingly. Remember to make small incremental changes to avoid overcompensation.
7. Document Trim Settings: Once you have achieved a well-balanced flight, make note of the trim settings for future reference. This will help you maintain consistency in flight performance and quickly troubleshoot any issues that may arise.
It’s important to note that trim adjustments may vary depending on the specific drone model and transmitter you are using. Refer to your drone’s user manual for detailed instructions on how to adjust trim and the specific functions of your transmitter’s trim controls.
By following these steps and carefully making trim adjustments, you can achieve a stable and balanced flight for your drone, enhancing its overall performance and control.
What to Consider When Adjusting Trim
Adjusting trim on a drone requires careful consideration of various factors to ensure accurate and effective adjustments. Here are some key points to keep in mind when making trim adjustments:
1. Flight Conditions: Consider the prevailing flight conditions, especially wind speed and direction. Adjusting trim in calm conditions provides more accurate observations and allows for more precise adjustments. Trim adjustments made in windy conditions may not accurately reflect the drone’s true flight characteristics.
2. Control Inputs: Take note of your control inputs during the test flights. Ensure that your control sticks are centered and neutralized to avoid any interference when observing the drone’s flight behavior. Maintain a relaxed grip on the transmitter to minimize unintentional control inputs that can affect trim adjustments.
3. Test Flight Procedures: Develop a systematic approach for the test flights. Start each flight from a known starting point and perform the same maneuvers consistently to observe the drone’s flight characteristics accurately. This allows for more reliable identification of any imbalances or deviations that need to be addressed through trim adjustments.
4. Incremental Changes: Make small incremental changes to the trim instead of large adjustments. This gradual approach helps in fine-tuning the flight characteristics without overcompensating, which can lead to other issues or instability. It allows for a more controlled and systematic adjustment process.
5. Symmetry and Balance: Ensure that trim adjustments are symmetrical and balanced across the control surfaces. For example, if you adjust the aileron trim to correct a roll tendency, make sure to apply the same adjustment in the opposite direction to maintain balance in the drone’s flight.
6. Reassess After Each Adjustment: After every trim adjustment, perform additional test flights to evaluate the effects of the changes made. Observe if the desired flight behavior has been achieved, and if not, fine-tune the trim further. This iterative process ensures that you are making precise adjustments based on the drone’s actual flight performance.
7. Documentation: Keep a record of the trim adjustments made and their corresponding effects. This documentation will serve as a reference for future flights and troubleshooting. It allows you to track the trim settings that have been successful in achieving stable flight and can save time when reconfiguring the drone for different flight conditions.
8. Periodic Reassessment: Trim adjustments may need to be periodically reassessed and readjusted. Factors such as changes in weather conditions, altitude, or payload weight can impact the drone’s flight characteristics. Regularly revisiting and fine-tuning the trim ensures optimal performance and stability under different circumstances.
Consideration of these factors during the trim adjustment process will help you make accurate and effective changes to achieve a well-balanced and stable flight for your drone.
Tools for Adjusting Trim
Several tools can be helpful when adjusting trim on a drone. These tools aid in making precise adjustments to the control surfaces for achieving a balanced flight. Here are some common tools for adjusting trim:
1. Transmitter Trim Controls: Most drones are equipped with transmitter trim controls. These controls are typically buttons or switches located on the transmitter itself. They allow pilots to make incremental adjustments to the trim settings for each axis, such as roll, pitch, and yaw. Use the transmitter’s trim controls to fine-tune the control surfaces and achieve the desired flight characteristics.
2. Trim Tabs: Some drones, especially larger and more advanced models, may have physical trim tabs on the control surfaces themselves. These tabs can be adjusted manually to change the neutral position of the control surfaces. Trim tabs provide a more precise and tactile way of adjusting trim and are often found on high-end drones or aircraft. Consult your drone’s user manual to determine if your specific model has trim tabs and how to adjust them.
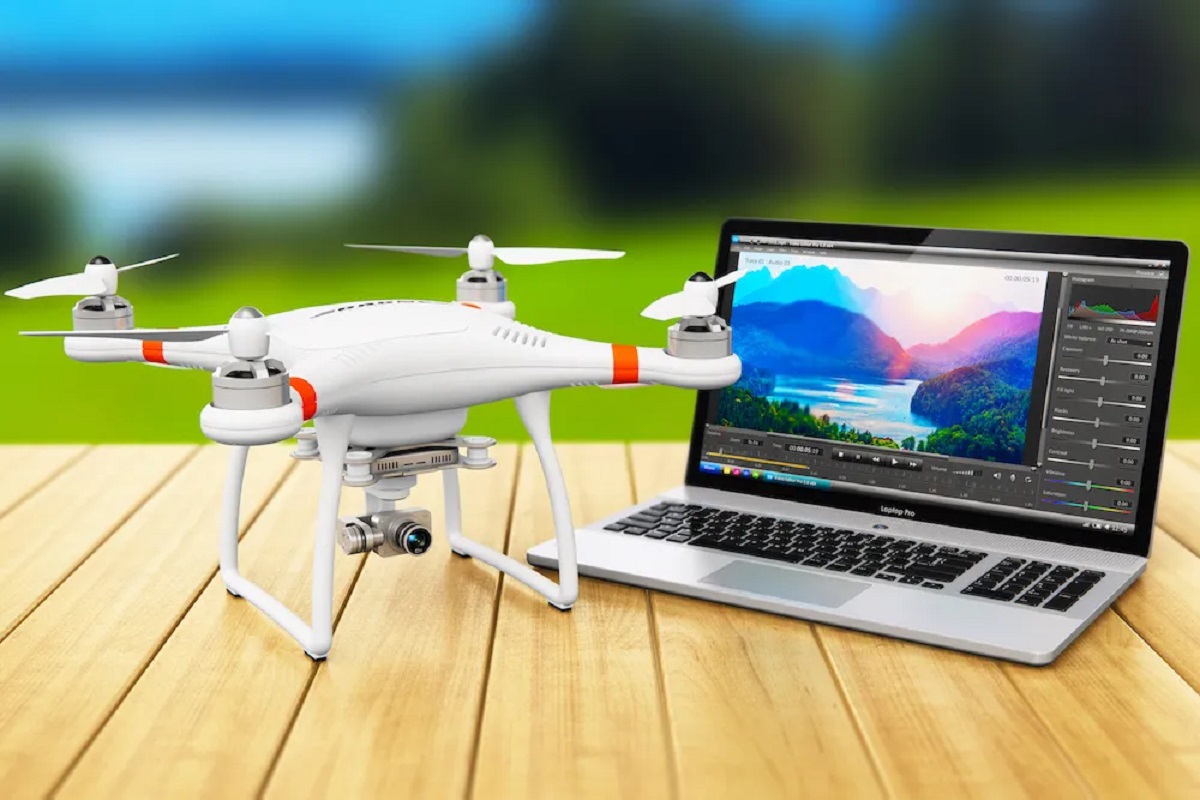
3. Calibration Software: Some drones offer calibration software that allows you to adjust the trim settings digitally. This software is typically accessed through a computer or a mobile app connected to the drone. It provides a visual interface to make precise adjustments to the trim settings and observe the effects in real-time. Calibration software is particularly useful for more advanced drones with advanced flight systems and control algorithms.
4. Digital Level: A digital level is a useful tool for ensuring that the drone is properly leveled during the trim adjustment process. These levels use built-in sensors to detect the horizontal and vertical orientation, allowing you to make precise adjustments to the control surfaces to achieve a level flight. Place the digital level on the drone’s body or propellers to ensure accurate leveling during the trim adjustment process.
5. FPV (First Person View) System: An FPV system, consisting of a camera and a video transmitter/receiver, can be used to monitor the drone’s flight characteristics in real-time. By observing the drone’s flight from a first-person perspective through a video feed, you can assess its behavior and make necessary trim adjustments while in flight. This provides immediate visual feedback and allows for on-the-go adjustments to achieve optimal flight stability.
These tools are valuable assets when adjusting trim on a drone, allowing for precise and accurate modifications to the control surfaces. Remember to consult your drone’s user manual to identify the specific tools and features available for adjusting trim on your particular model.
Tips for Adjusting Trim
Adjusting trim on a drone requires attention to detail and a systematic approach. Here are some tips to consider when making trim adjustments for a well-balanced flight:
1. Start with Small Adjustments: Make small incremental adjustments to the trim. This allows for fine-tuning without overcompensating, preventing potential instability or erratic flight behavior.
2. Test in Open Spaces: Conduct the test flights in open areas with ample space. This provides sufficient room for observing the drone’s flight characteristics and making necessary trim adjustments without the risk of collisions.
3. Keep a Flight Log: Maintain a flight log where you can document the trim adjustments made and their corresponding effects. This log serves as a reference and allows you to track the trim settings that have been successful in achieving stable flight.
4. Observe Multiple Flight Conditions: Perform test flights in various flight conditions, such as calm weather and slightly windy conditions. This helps identify the overall stability and responsiveness of the drone, enabling you to make trim adjustments suitable for different scenarios.
5. Reassess Trim Periodically: Regularly reassess and readjust trim settings as necessary. Changes in weather conditions, altitude, or payload weight can impact the drone’s flight characteristics. Periodic reassessment ensures optimal performance and stability under different circumstances.
6. Consult the User Manual: Refer to the drone’s user manual for specific instructions on adjusting trim and the functions of your transmitter’s trim controls. Each drone may have unique trim adjustment procedures, so following the manufacturer’s guidelines is essential.
7. Practice Patience and Iteration: Adjusting trim is often an iterative process. It may require multiple test flights and fine-tuning to achieve the desired flight characteristics. Be patient and persistent, making incremental adjustments and reassessing the results with each iteration.
8. Seek Professional Assistance: If you are unsure about adjusting trim or are experiencing persistent issues with flight stability, consider seeking help from an experienced drone pilot or a professional service center. They can provide guidance, expertise, and technical support to ensure proper trim adjustments for your drone.
By following these tips, you can navigate the process of adjusting trim more effectively, leading to a well-balanced and stable flight experience for your drone.
Conclusion
Adjusting trim is a fundamental skill that every drone pilot should master. By fine-tuning the control surfaces, pilots can achieve stability, control, and efficiency in their drone’s flight performance. Trim adjustments ensure that the drone flies straight, level, and responds accurately to control inputs, resulting in a smoother and more enjoyable flight experience.
Throughout this article, we have explored the definition of trim, its importance in achieving balanced flight, and its effects on drone performance. We have also discussed the steps involved in adjusting trim, the factors to consider, and the tools that can aid in making precise adjustments.
Understanding the three main axes of movement in a drone – roll, pitch, and yaw – is crucial when adjusting trim. By making careful observations, incremental adjustments, and reassessments, pilots can achieve a well-balanced flight profile tailored to their specific drone and flying conditions.
Remember to fly in calm environments, maintain symmetry and balance in trim adjustments, and keep a record of the adjustments made for future reference. Regularly assessing and fine-tuning trim settings based on flight conditions and payload variations will ensure optimal performance and stability.
While adjusting trim may require patience, practice, and attention to detail, the benefits are well worth the effort. A properly trimmed drone provides stability, responsiveness, and efficient flight characteristics, enhancing the pilot’s overall experience and the quality of aerial footage captured.
By following the guidelines outlined in this article, you can confidently adjust trim on your drone and optimize its flight performance. Whether you are a beginner or an experienced pilot, mastering the art of trim adjustments will unlock new possibilities for creative and controlled aerial exploration.