Reasons to Remove Windows from SSD
There are several reasons why you might consider removing Windows from your SSD (Solid State Drive). Whether you’re looking to upgrade your operating system or simply want to free up valuable storage space on your SSD, removing Windows can be a beneficial step. Here are some reasons to consider:
- Upgrade to a newer version: If you’re running an older version of Windows and want to take advantage of the latest features and security updates, removing the current installation and installing a fresh copy of the newer version is recommended. This ensures a clean and optimized system.
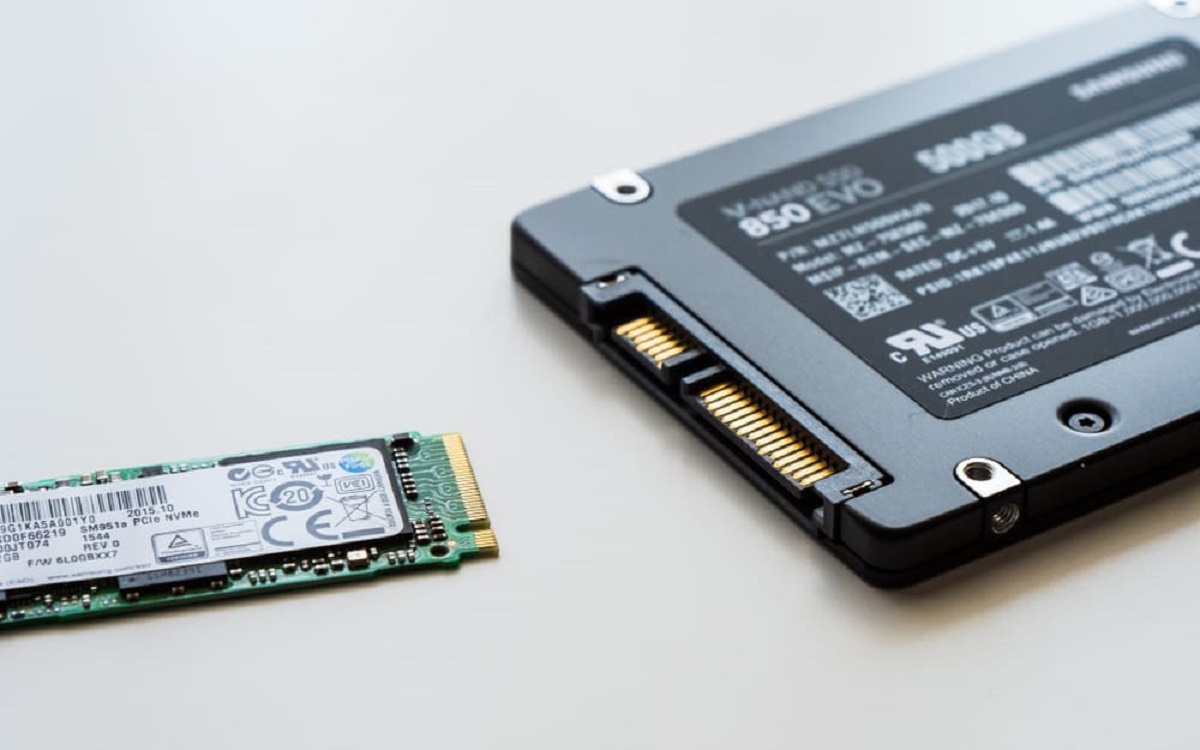
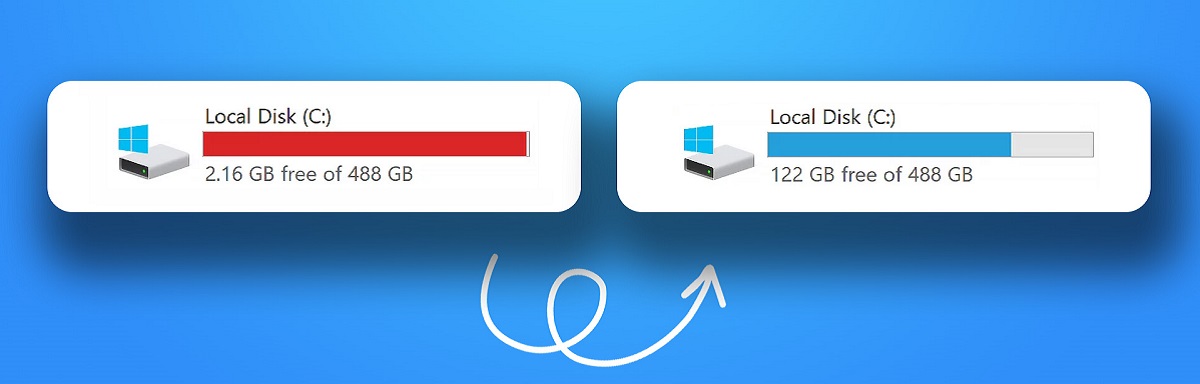
- Reclaim storage space: SSDs are known for their limited storage capacity compared to traditional hard drives. If your SSD is running out of space due to Windows and its associated files, removing Windows can help you reclaim that valuable storage space for other purposes.
- Improve performance: Over time, Windows installations can become bloated with unnecessary files and applications, potentially slowing down your system’s performance. Removing Windows and starting fresh can help improve overall system performance and speed.
- Resolve software conflicts: If you’re experiencing software conflicts or compatibility issues with your current Windows installation, removing it and reinstalling a clean copy can help resolve any unresolved issues and provide a stable working environment.
- Reduce clutter: Removing Windows can help declutter your SSD by removing unnecessary system files, old updates, and applications. This can lead to a more organized and efficient storage space.
Overall, removing Windows from your SSD can bring several benefits such as upgrading to a newer version, reclaiming storage space, improving performance, resolving software conflicts, and reducing clutter. It’s important to note that before proceeding with the removal, make sure to back up any important files and follow the necessary steps to ensure a smooth transition to your new operating system.
Backing Up Important Files
Before you proceed with removing Windows from your SSD, it’s essential to back up any important files to ensure that you don’t lose any valuable data during the process. Here’s how you can back up your important files:
- Identify and prioritize important files: Take some time to go through your files and identify the ones that are crucial to you. This may include documents, photos, videos, music, emails, and any other data that you don’t want to lose.
- Choose a backup method: There are several options for backing up your files. You can use an external hard drive, cloud storage services like Google Drive or Dropbox, or even burn the files onto DVDs or CDs. Select a method that suits your needs and preferences.
- Create a backup schedule: It’s a good practice to regularly back up your files, not just during the Windows removal process. Set up a backup schedule that works for you, whether it’s daily, weekly, or monthly, to ensure that your data is always protected.
- Copy your files to the backup location: Depending on the backup method you’ve chosen, follow the necessary steps to copy your important files to the designated backup location. If you’re using an external hard drive, simply drag and drop the files onto the drive. If you’re using cloud storage, upload the files to the appropriate folders.
- Verify the backup: Once the files are copied, double-check that they have been successfully backed up. You can do this by opening the files from the backup location or comparing the file sizes and properties.
- Test the backup: It’s always wise to test your backup to ensure that you can successfully restore the files if needed. Select a few random files and restore them to a different location to verify that the backup process is working correctly.
Backing up your important files is crucial before removing Windows from your SSD. By following these steps and taking the time to properly back up your data, you can have peace of mind knowing that your files are safe and secure during the Windows removal process.
Creating a Bootable USB Drive
Creating a bootable USB drive is an important step in the process of removing Windows from your SSD. This bootable USB will serve as the installation media for your new operating system. Here’s how you can create a bootable USB drive:
- Choose a reliable USB drive: Select a high-quality USB drive with sufficient storage capacity to accommodate the installation files of your new operating system.
- Download the ISO file: Obtain the ISO file of the new operating system that you wish to install. The ISO file contains all the necessary installation files.
- Format the USB drive: Plug in the USB drive and format it to ensure that it is empty and ready to be used for the installation.
- Create a bootable USB using dedicated software: Use a dedicated software tool like Rufus or UNetbootin to create a bootable USB drive. These tools allow you to select the ISO file and the USB drive, and they will handle the rest of the process automatically.
- Follow the prompts: Once you’ve selected the ISO file and the USB drive, follow the prompts provided by the software to create the bootable USB drive. The software will copy the necessary files and make the USB drive bootable.
- Verify the bootable USB drive: After the process is complete, verify that the USB drive is indeed bootable. Restart your computer and configure the BIOS or UEFI settings to boot from the USB drive. If your computer successfully boots from the USB drive, it means that the bootable USB drive has been created successfully.
Creating a bootable USB drive is a crucial step in the process of removing Windows from your SSD. It allows you to easily install your new operating system and ensures a smooth transition to your new setup. Make sure to follow the steps carefully and choose reliable software to create a bootable USB drive.
Booting from the USB Drive
Once you have successfully created a bootable USB drive, you’re ready to boot your computer from it and initiate the process of removing Windows from your SSD. Here are the steps to boot from the USB drive:
- Insert the bootable USB drive: Plug in the USB drive into an available port on your computer.
- Restart or power on your computer: Depending on your computer, either restart it or power it on if it was off.
- Access BIOS or UEFI settings: During the boot-up process, there is usually a key or combination of keys displayed on the screen that you can press to access the BIOS or UEFI settings. Common keys include F2, F12, Esc, or Delete. Press the appropriate key(s) to enter the settings.
- Set the USB drive as the primary boot device: Once inside the BIOS or UEFI settings, navigate to the “Boot” or “Boot Order” section. Set the USB drive as the primary boot device by moving it to the top of the boot order list. This ensures that the computer will boot from the USB drive first.
- Save and exit: Once you’ve set the USB drive as the primary boot device, save the changes and exit the BIOS or UEFI settings. The computer will restart.
- Follow the prompts: As the computer restarts, it should now boot from the USB drive. Follow the on-screen prompts to initiate the installation process of your new operating system.
Booting from the USB drive is a crucial step in the process of removing Windows from your SSD. It allows the computer to load the installation files from the USB drive and start the process of installing the new operating system onto your SSD. Make sure to follow the steps carefully and consult your computer’s user manual if you encounter any difficulties in accessing the BIOS or UEFI settings.
Formatting the SSD Drive
After successfully booting from the USB drive, the next step in removing Windows from your SSD is to format the SSD drive. Formatting the drive will erase all existing data and prepare it for the installation of the new operating system. Here’s how you can format the SSD drive:
- Start the installation process: Once the computer has booted from the USB drive, follow the on-screen prompts to start the installation process of your new operating system. This will typically involve selecting language preferences, agreeing to terms and conditions, and choosing installation options.
- Select the SSD drive: At some point during the installation process, you will be prompted to choose the destination drive where the new operating system will be installed. Select the SSD drive from the list of available drives.
- Format the SSD drive: In the drive selection screen, you may have the option to format the SSD drive before proceeding with the installation. Choose the option to format the drive, which will erase all existing data on the SSD.
- Confirm the formatting process: Once you have selected the formatting option, you may be asked to confirm your decision. Be aware that formatting the SSD drive will permanently erase all data, so double-check that you have backed up any important files before proceeding.
- Wait for the formatting process to complete: The formatting process may take some time, depending on the size of the SSD drive and the speed of your computer. Be patient and wait for the process to complete.
- Proceed with the installation: Once the formatting process is complete, you can proceed with the installation of the new operating system on the freshly formatted SSD drive. Follow the remaining on-screen prompts to complete the installation.
Formatting the SSD drive is an essential step in the process of removing Windows and preparing the drive for the installation of the new operating system. Make sure to carefully follow the steps provided by the installation wizard to ensure a successful and smooth formatting process. Once the formatting is complete, you’re ready to proceed with the installation of your new operating system on the SSD drive.
Reinstalling Windows on another Storage Device
If you’ve decided to remove Windows from your SSD, you may want to reinstall it on another storage device instead of completely abandoning the operating system. Here’s how you can reinstall Windows on another storage device:
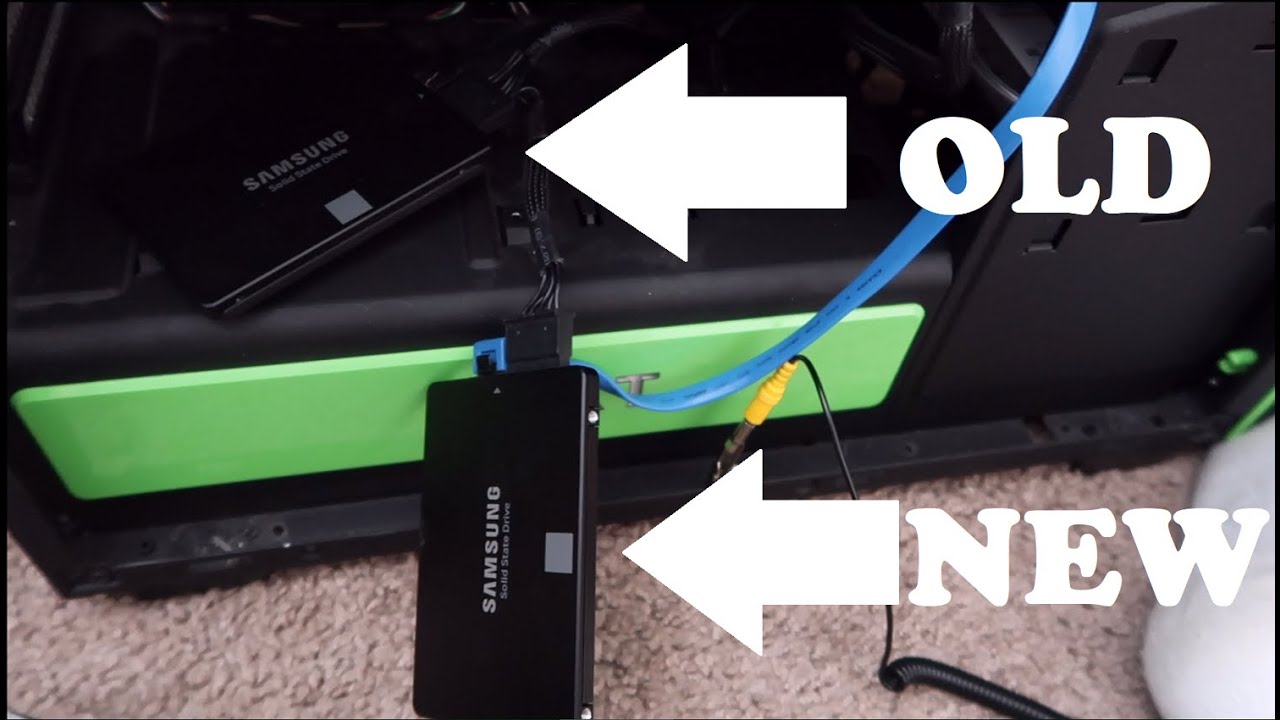
- Prepare the new storage device: Make sure that the new storage device, whether it’s an HDD or another SSD, is properly connected to your computer.
- Boot from the Windows installation media: Insert the Windows installation media, such as a bootable USB drive or DVD, into your computer. Restart or power on your computer and make sure to boot from the installation media by accessing the BIOS or UEFI settings.
- Set up the installation: Follow the on-screen prompts to set up the Windows installation. Select your preferred language, time zone, and keyboard layout. Click “Install now” to begin the installation process.
- Enter the product key: If prompted, enter the product key for your Windows version. This key is usually found on the packaging or in the email confirmation if you purchased it online.
- Accept the license terms: Read and accept the license terms and conditions in order to proceed with the installation.
- Choose the installation type: When prompted, select the “Custom” installation option. This allows you to choose the new storage device as the location for the Windows installation.
- Select the new storage device: In the list of available drives, select the new storage device where you want to install Windows. Make sure to select the correct drive to avoid overwriting any important data.
- Format and install: If the new storage device has data on it, you will be prompted to format it. Choose the formatting option to erase all existing data and proceed with the installation.
- Wait for the installation to complete: The installation process may take some time. Your computer will restart multiple times during the process. Be patient and wait for the installation to complete.
- Follow the setup prompts: Once the installation is complete, you will be prompted to set up your Windows settings. Follow the on-screen prompts to customize your settings, create a user account, and configure the system preferences.
Reinstalling Windows on another storage device allows you to continue using the operating system while freeing up your SSD for other purposes. Just make sure to correctly connect and set up the new storage device, follow the installation prompts, and select the appropriate drive for the installation. With a successful reinstall, you can have a fresh copy of Windows on your new storage device.
Updating Drivers and Software
After reinstalling Windows on your new storage device, it’s crucial to update your drivers and software to ensure compatibility, performance, and security. Here are the necessary steps to update drivers and software:
- Check for Windows updates: Go to the Windows Update settings and check for any available updates. Windows updates often include driver updates, bug fixes, and security patches. Install any pending updates to keep your system up to date.
- Visit device manufacturer’s website: Visit the websites of your computer’s hardware components’ manufacturers, such as the graphics card, sound card, network adapter, and motherboard manufacturers. Download and install the latest drivers for your specific hardware, ensuring improved compatibility and performance.
- Update software: Update any software applications that you regularly use by checking for updates within each program or by visiting the official websites of the respective software providers. Software updates frequently include bug fixes, feature enhancements, and security patches.
- Use driver update tools: Consider using driver update tools such as Driver Booster or Driver Easy. These tools can scan your system for outdated drivers and automatically download and install the latest versions for you. However, exercise caution and only download drivers from trusted sources.
- Create a system restore point: Before updating drivers and software, it’s advisable to create a system restore point. This allows you to revert your system to a previous state in case any issues occur during the update process.
- Restart your computer: After updating drivers and software, it’s recommended to restart your computer to ensure that all changes take effect correctly.
- Verify functionality: After updating the drivers and software, test the functionality of your hardware components and software applications to ensure everything is working properly. If any issues arise, double-check the drivers and software versions for possible conflicts or incompatibilities.
Updating drivers and software is an essential post-reinstallation step to optimize your system’s performance, enhance compatibility, and protect against security vulnerabilities. By regularly updating drivers and software, you can ensure that your computer operates smoothly and efficiently.
Transferring Files and Settings back to the New Windows Installation
After reinstalling Windows on your new storage device, you’ll want to transfer your files and settings from your previous installation. This will help you regain access to your personal data, customized settings, and other important information. Here’s how you can transfer files and settings back to the new Windows installation:
- Backup your files: If you have already created a backup of your files, proceed to the next step. Otherwise, if your previous Windows installation is accessible, back up your personal files to an external storage device or a cloud storage service.
- Explore the backup: Access the backup location and navigate to the files and folders you want to restore. Take note of their exact locations.
- Restore user files: Copy the files from your backup location to the appropriate user folders in the new Windows installation. This may include documents, photos, videos, music, and other personal files.
- Transfer application settings: Some applications store personal settings and preferences in specific locations. If you have a backup of these settings, locate the respective files or folders and transfer them to the new Windows installation. This can help you retain your customizations without reinstalling the applications.
- Reinstall applications: For applications that are not portable or do not have easily transferable settings, you will need to reinstall them on the new Windows installation. Make a list of the applications you had on your previous installation and download them from their official websites or use installer files if available.
- Configure settings: Customize your new Windows installation by setting up preferences in applications, adjusting system settings, and configuring peripheral devices as needed.
- Verify file integrity: After transferring files and settings, check if the files are accessible and the settings are applied correctly. Open relevant applications and verify that they are working as expected.
- Organize and tidy up: Take the opportunity to organize your files and folders in the new Windows installation. Remove unnecessary files and folders to keep your storage clean and optimized.
Transferring files and settings back to the new Windows installation allows you to regain access to your personal data and restore your customized settings. By following these steps, you can swiftly and effectively transfer your important files and settings, ensuring a seamless transition to your new Windows installation.
Final Steps and Considerations
As you near the completion of removing Windows from your SSD and setting up the new operating system, there are a few final steps and considerations to keep in mind:
- Install essential software: Install essential software applications, such as antivirus software, productivity tools, web browsers, and media players, to ensure that your system is equipped with the necessary tools for everyday use.
- Activate Windows: If your new installation of Windows requires activation, make sure to activate it using your product key. This will ensure that your operating system is fully licensed and up to date.
- Set up security measures: Enable Windows Firewall, install reliable antivirus software, and update it to the latest virus definitions to protect your system from potential threats.
- Configure Windows updates: Ensure that Windows updates are set to automatically download and install to keep your system secure and up to date with the latest patches and features.
- Adjust power settings: Customize your system’s power settings to optimize energy efficiency or performance according to your preferences.
- Restore additional settings: If you had customized settings for other applications, such as web browsers, email clients, or office suites, take the time to restore those settings.
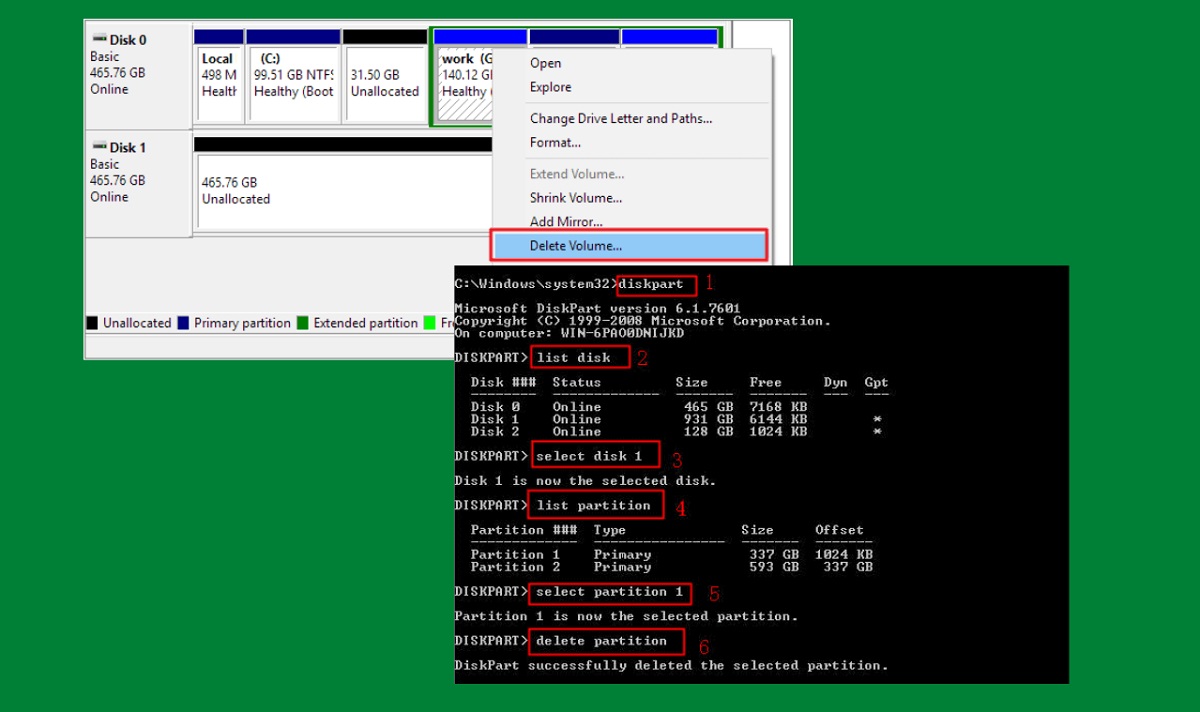
- Clean up old Windows installation: If the previous Windows installation is still on your SSD, you may want to remove it to free up storage space. Use Disk Cleanup or a dedicated disk management tool to properly delete the old Windows files.
- Perform system maintenance: Regularly perform system maintenance tasks, such as disk cleanup, disk defragmentation (if using a traditional HDD), and system optimization to keep your system running smoothly.
By completing these final steps and considering these important aspects, you can ensure that your new Windows installation is customized to your preferences, secure, and optimized for performance. Regularly updating software, maintaining system health, and practicing good security practices will contribute to a seamless and enjoyable computing experience.