Introduction
Welcome to our comprehensive guide on how to remove partitions on SSDs. If you’re a computer enthusiast or someone who frequently works with storage devices, you may come across situations where you need to remove partitions on your SSD.
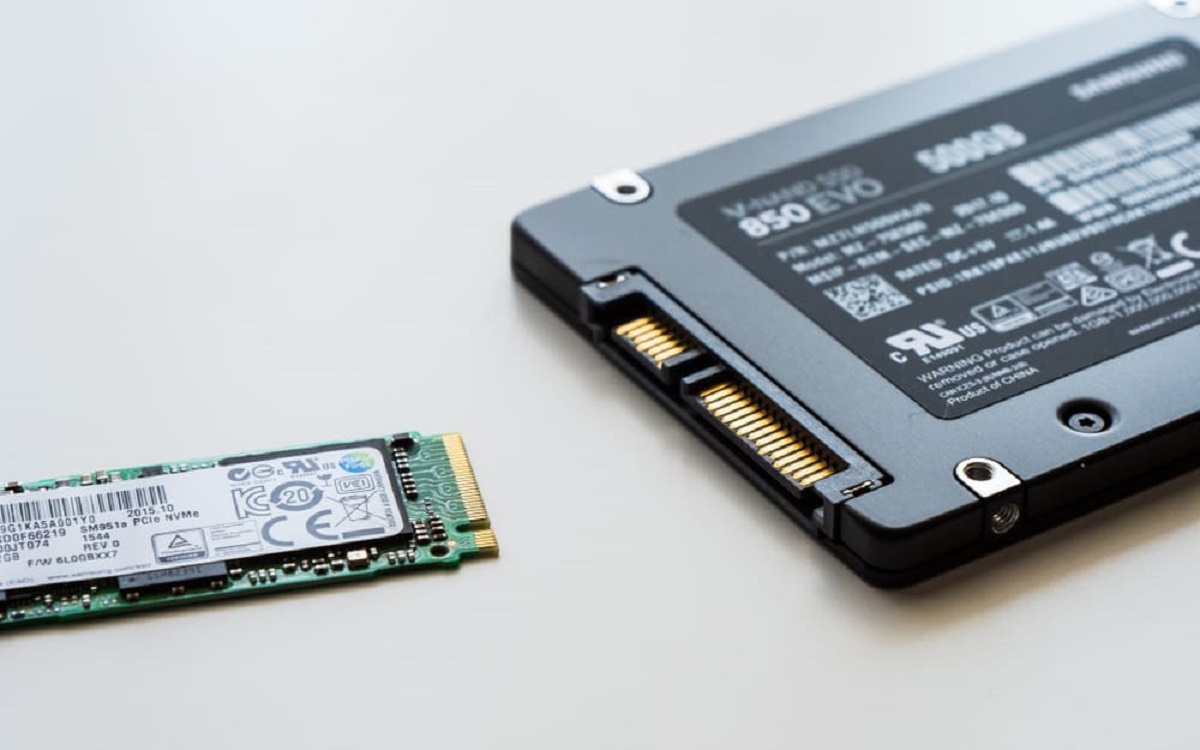
SSDs (Solid State Drives) have become increasingly popular due to their faster performance, enhanced reliability, and improved power efficiency compared to traditional hard drives. These drives use flash memory to store data, which allows for faster access speeds and quicker boot times. As SSDs have grown in popularity, so has the need to manage and reconfigure the partitions on these drives.
Whether you want to repurpose your SSD, optimize its storage capacity, or fix partition-related issues, knowing how to remove partitions effectively is essential. In this guide, we will walk you through various methods to remove partitions on SSDs, ensuring that you can handle this process confidently and safely.
Before we dive into the step-by-step instructions, it’s important to note that removing partitions can lead to data loss if not done properly. While we will provide you with safe and reliable methods, we highly recommend backing up any important data before proceeding, just in case. It’s better to be safe than sorry.
In the following sections, we will discuss the reasons why you might want to remove partitions on SSDs, important considerations before removing partitions, and then explore various methods to achieve this goal. Whether you are using Windows Disk Management, the Diskpart command line utility, or third-party partition management tools, we’ve got you covered.
So, without further ado, let’s delve into the world of removing partitions on SSDs and equip you with the knowledge to manage your storage device like a pro.
Why You Might Want to Remove Partitions on SSDs
There are several reasons why you might want to remove partitions on your SSD. Understanding these reasons can help you make informed decisions when it comes to managing your storage device effectively. Let’s take a look at some common scenarios:
1. Repurposing the SSD: If you’re planning to repurpose your SSD for a different use or transfer it to another system, removing existing partitions is necessary. By clearing the existing partitions, you can start with a clean slate and configure the drive to meet your new requirements.
2. Partition-related issues: Sometimes, partitions on SSDs can become corrupted or develop errors. This can lead to data loss, system instability, and difficulty accessing the drive. Removing the problematic partition can help resolve these issues and restore the functionality of your SSD.
3. Optimizing Storage Capacity: SSDs often come with pre-configured partitions that may not align with your specific needs. Removing unwanted or unnecessary partitions allows you to reclaim storage space and create new partitions that better suit your storage requirements.
4. Reinstalling Operating System: If you’re planning to reinstall your operating system on your SSD, removing existing partitions is necessary. It ensures a clean setup without any remnants of the previous OS installation, allowing for a fresh start and potentially improved performance.
5. Upgrading SSD: When upgrading to a new SSD, you may want to remove partitions from the old SSD to safely transfer your data or repurpose it for other uses. By removing the partitions, you ensure that your data is securely erased and ready for the new drive.
It’s crucial to note that removing partitions permanently deletes all data within those partitions. Therefore, before proceeding with any partition removal, make sure to back up any essential files or data that you wish to retain.
In the next sections, we will discuss important considerations to keep in mind before removing partitions on SSDs, as well as provide you with step-by-step guidance on how to carry out the process using various methods. By understanding these aspects, you’ll be well-prepared to manage your SSD’s partitions effectively and efficiently.
Important Considerations Before Removing Partitions
Before you proceed with removing partitions on your SSD, there are several important considerations to keep in mind. These considerations will help ensure a smooth and successful partition removal process without any unexpected consequences. Let’s take a closer look:
1. Data Backup: It cannot be stressed enough – always back up your important data before removing partitions. While the methods we will discuss are generally safe, there is still a risk of data loss during the process. By creating a backup, you can safeguard your valuable files and easily restore them if anything goes wrong.
2. Identify the Correct SSD: If you have multiple SSDs connected to your system, be careful to select the correct one. Accidentally removing partitions on the wrong SSD can lead to permanent data loss. Double-check the SSD’s label or serial number in your disk management utility to ensure you’re working with the right drive.
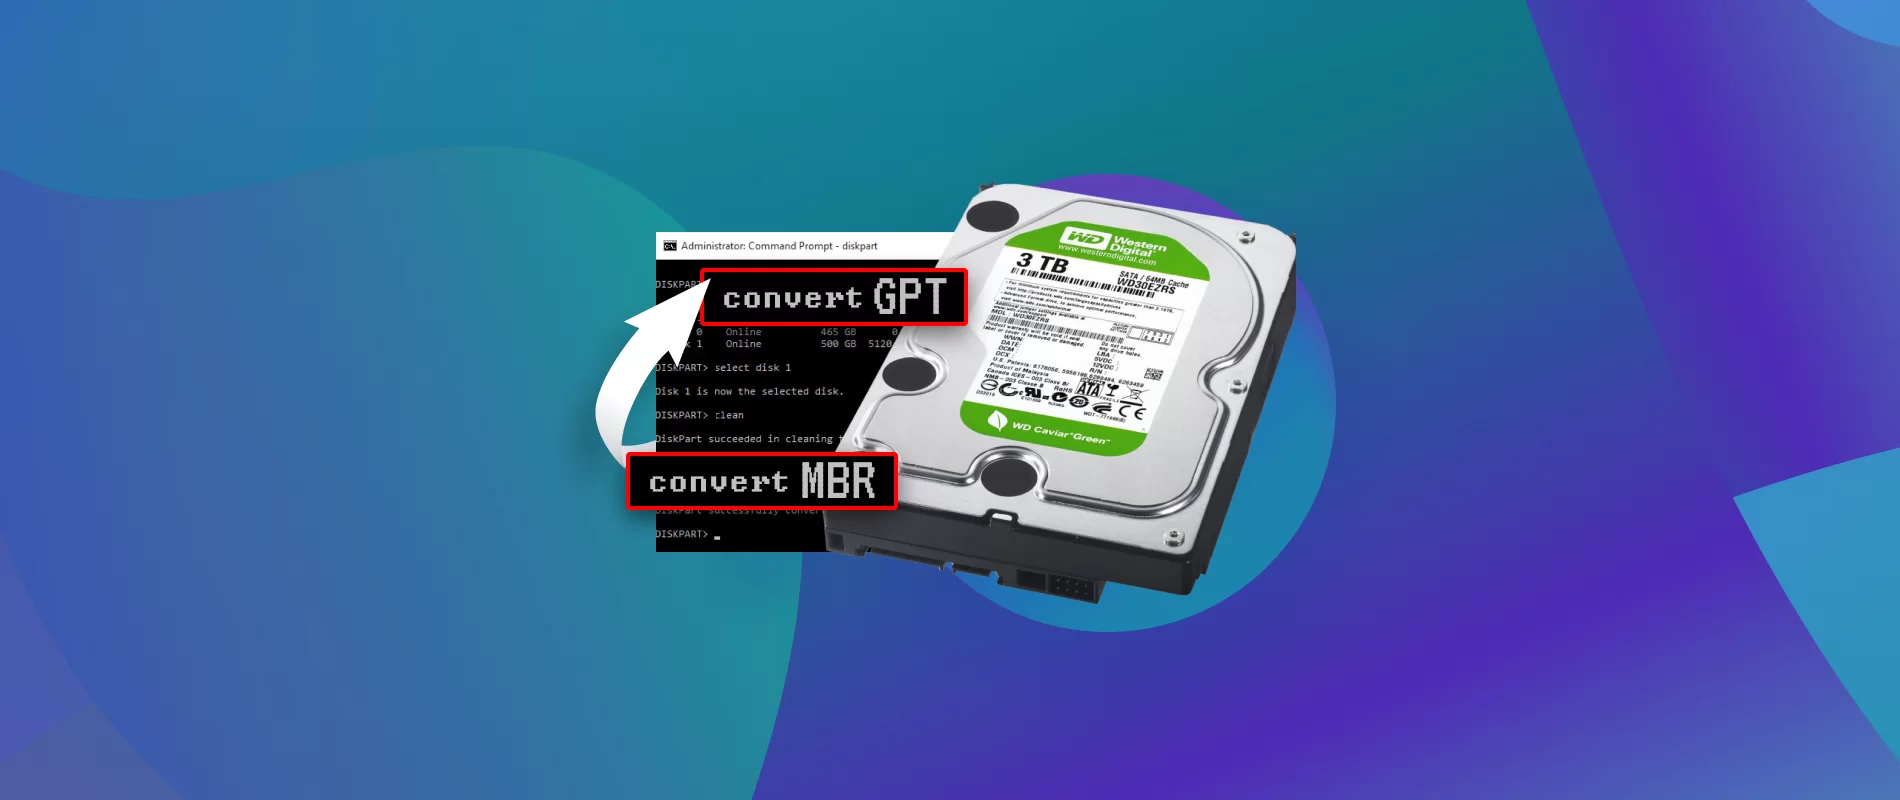
3. Understand Partition Types: Familiarize yourself with the different types of partitions on your SSD. This will help you determine which partitions to remove and which ones to keep. Common partition types include primary, extended, logical, and system reserved partitions.
4. Windows System Partition: Be cautious when removing the Windows system partition. This partition contains vital boot files required for your operating system to start correctly. Removing it could render your system unbootable. Make sure to research and understand the specific partition layout of your SSD before proceeding.
5. External Storage Options: If you have limited storage space on your system, consider using external storage options to temporarily store your data during the partition removal process. This ensures that your files are safe, and you won’t face any difficulties due to insufficient disk space.
6. Disk Cleanup and Defragmentation: Before removing partitions, perform a disk cleanup and defragmentation. This will help optimize your SSD’s performance and ensure a smoother partition removal process. It’s always a good idea to start with a clean and organized disk.
7. Research Your SSD Model: Different SSD models may have specific requirements or limitations when it comes to partition removal. Research your SSD model or consult the manufacturer’s documentation to ensure you follow the recommended procedures and avoid any potential issues.
8. Verify Your Actions: Before confirming any partition removal, double-check your selections to ensure that you’re removing the correct partitions. A simple mistake can lead to irreversible data loss. Take your time, review your choices, and proceed with caution.
By taking these important considerations into account, you will be well-prepared to remove partitions on your SSD safely. In the following sections, we will guide you through step-by-step instructions on how to remove partitions using various methods, including Windows Disk Management, the Diskpart command line utility, and third-party partition management tools.
Step-by-Step Guide on How to Remove Partitions on SSDs
Now that you understand the reasons to remove partitions on your SSD and the important considerations before proceeding, let’s dive into the step-by-step process. In this section, we will provide instructions for three methods to remove partitions on SSDs: using Windows Disk Management, using the Diskpart command line utility, and utilizing third-party partition management tools.
Method 1: Using Windows Disk Management
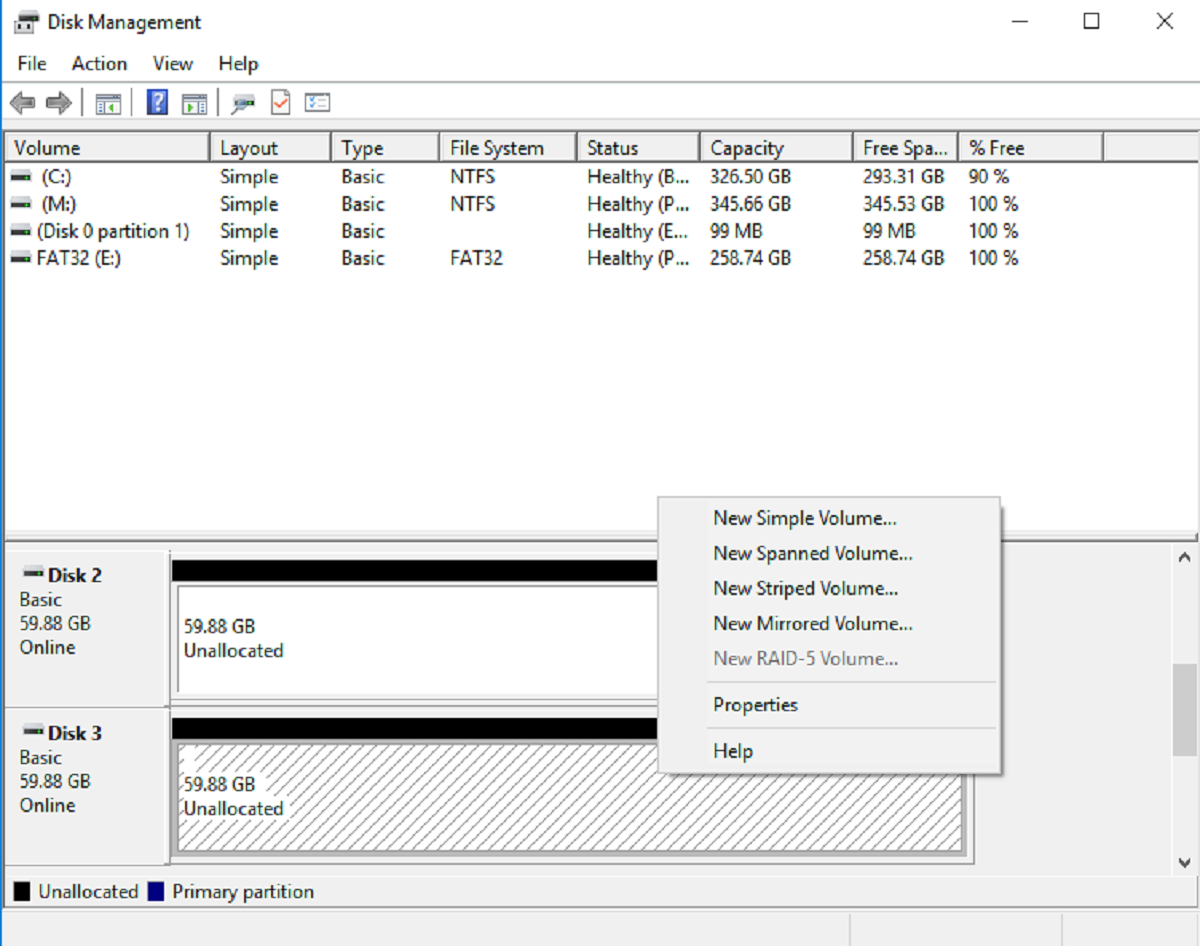
Windows Disk Management is a built-in utility that allows you to manage your storage devices, including creating, formatting, and deleting partitions. Here’s how you can use it to remove partitions:
- Open Disk Management by right-clicking on the Start menu, selecting “Disk Management” from the menu.
- Locate your SSD in the list of drives presented in the Disk Management window.
- Identify the partition you want to remove. Right-click on the partition and choose “Delete Volume”.
- Confirm the deletion when prompted. Be aware that this operation permanently erases all data in the partition.
- Repeat the process for any additional partitions you wish to remove.
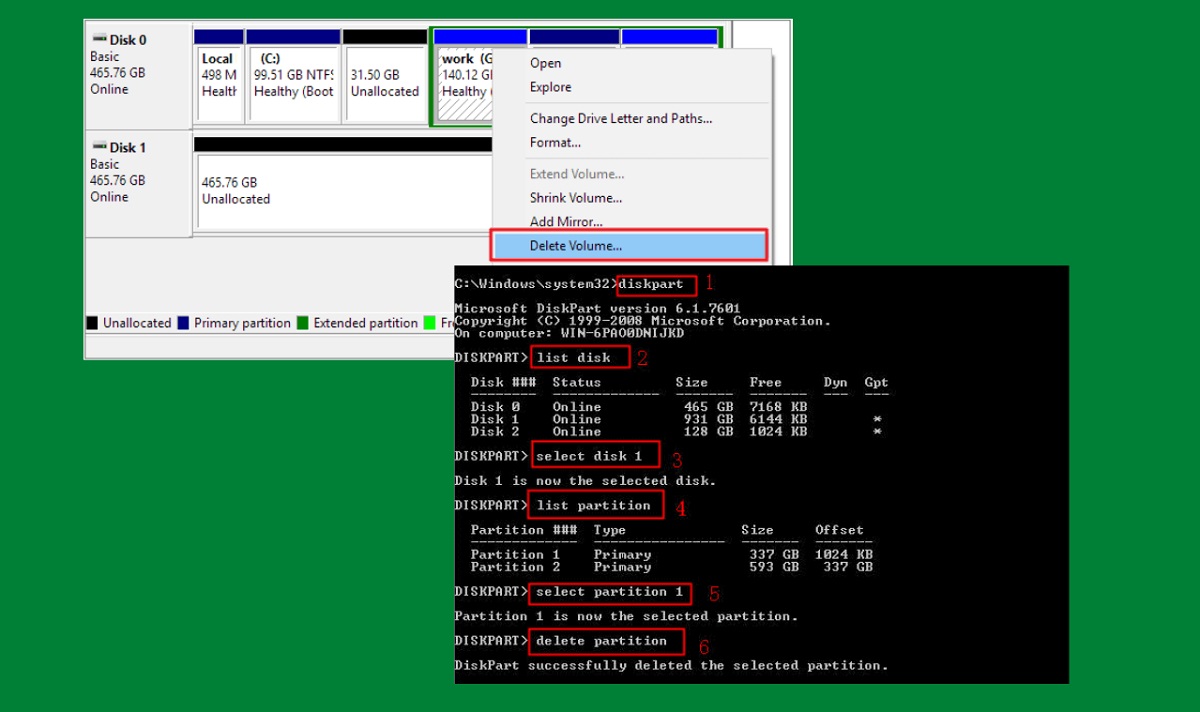
Method 2: Using Diskpart Command Line Utility
The Diskpart command line utility provides advanced partition management options. Here’s how you can utilize it to remove partitions on your SSD:
- Open a Command Prompt by typing “cmd” in the Windows search bar and selecting “Command Prompt”.
- Type “diskpart” and hit Enter to launch the Diskpart utility.
- Type “list disk” and press Enter to view a list of connected disks. Identify your SSD by its size and type.
- Type “select disk X” (replace X with the disk number of your SSD) and hit Enter.
- Type “list partition” to view a list of partitions on your SSD. Identify the partition you want to remove.
- Type “select partition X” (replace X with the partition number) and hit Enter.
- Finally, type “delete partition” and press Enter to remove the selected partition.
Method 3: Using Third-Party Partition Management Tools
Alternatively, you can use third-party partition management tools that provide more advanced features and a user-friendly interface. Here are a few popular options:
- MiniTool Partition Wizard
- AOMEI Partition Assistant
- EaseUS Partition Master
Download and install the tool of your choice, then launch it and follow the on-screen instructions to remove the desired partitions on your SSD.
Remember, whether using Windows Disk Management, Diskpart, or third-party software, always proceed with caution and ensure you’re removing the intended partitions. Once the partitions are removed, you cannot recover the data, so it’s essential to double-check your actions.
In the next section, we will provide tips and best practices to make your partition removal process even smoother and error-free.
Method 1: Using Windows Disk Management
Windows Disk Management is a built-in utility that provides a simple yet effective way to manage your storage devices, including removing partitions on your SSD. Follow these step-by-step instructions to use Windows Disk Management to remove partitions:
- Open Disk Management by right-clicking on the Start menu and selecting “Disk Management” from the menu.
- In the Disk Management window, you’ll see a list of all the connected drives, including your SSD. Identify the SSD by its size and drive letter.
- Locate the partition you want to remove on the SSD. Right-click on the partition and select “Delete Volume” from the context menu.
- A warning message will appear, informing you that deleting the volume will erase all data stored in it. Ensure you have backed up any important data before proceeding. If you’re certain you want to remove the partition, click “Yes” to confirm.
- Windows will now delete the selected partition. You can track the progress in the Disk Management window.
- Repeat the process for any other partitions you wish to remove from your SSD.
Once the partitions are successfully removed, they will no longer appear in the Disk Management window, and the space they occupied will be shown as unallocated.
It’s important to note that while Windows Disk Management can handle basic partition removal tasks, it may have limitations when dealing with more complex partition configurations. In such cases, using advanced partition management tools or command-line utilities can provide more flexibility and control.
Now that you’ve learned how to use Windows Disk Management to remove partitions on your SSD, let’s move on to the next method: using the Diskpart command line utility.
Method 2: Using Diskpart Command Line Utility
The Diskpart command line utility is a powerful tool that allows for more advanced partition management on your SSD. If you prefer using command-line interfaces, here’s how you can use Diskpart to remove partitions:
- Open a Command Prompt by typing “cmd” in the Windows search bar and selecting “Command Prompt” from the search results.
- In the Command Prompt window, type “diskpart” and press Enter to launch the Diskpart utility. You may need administrator privileges to run Diskpart.
- Once you’re in the Diskpart utility, type “list disk” and press Enter. This will display a list of all connected disks on your system.
- Identify your SSD by its size and disk number. For example, if your SSD is listed as Disk 0 and has a capacity of 256GB, you would type “select disk 0” and press Enter.
- Next, type “list partition” and press Enter. This will show a list of all partitions on the selected SSD.
- Identify the partition you want to remove and note down its partition number.
- Type “select partition X” (replace X with the partition number) and press Enter. This selects the partition you want to remove.
- Finally, type “delete partition” and press Enter. Diskpart will remove the selected partition from your SSD.
- Repeat the process for any other partitions you wish to remove.
Be extremely cautious when using Diskpart, as it directly modifies your disk’s partitions. Ensure you have selected the correct disk and partition before executing the “delete partition” command, as the action cannot be undone and will result in permanent data loss.
The Diskpart command line utility offers a more granular level of control over partition management, making it suitable for advanced users who prefer command-line interfaces over graphical tools.
Now that you’ve learned how to use the Diskpart command line utility to remove partitions on your SSD, let’s move on to the next section, where we’ll explore using third-party partition management tools.
Method 3: Using Third-Party Partition Management Tools
Aside from the built-in Windows utilities, there are several third-party partition management tools available that offer a wide range of features and a user-friendly interface. These tools can provide more advanced partition management options, making it easier to remove partitions on your SSD. Here are a few popular third-party tools:
- MiniTool Partition Wizard: MiniTool Partition Wizard is a comprehensive partition management software that allows you to easily remove partitions on your SSD. It offers a user-friendly interface, a wide range of features, and supports various storage devices.
- AOMEI Partition Assistant: AOMEI Partition Assistant is another powerful tool that enables you to manage your SSD partitions effortlessly. It provides a straightforward interface, advanced partitioning features, and the ability to perform operations without data loss.
- EaseUS Partition Master: EaseUS Partition Master is a popular partition management tool that offers a comprehensive set of features, including the ability to remove partitions on your SSD. It provides a user-friendly interface and supports various partition operations.
To use these third-party partition management tools, follow these general steps:
- Download and install the desired partition management tool from the official website.
- Launch the tool and allow it to scan your system for connected drives.
- Select your SSD from the list of available drives.
- Choose the partition you want to remove and select the option to delete or remove it.
- Follow the on-screen prompts to confirm the deletion and complete the process.
- Repeat the steps for any other partitions you wish to remove.
These third-party tools generally provide a more intuitive and user-friendly experience, making it easier for both beginners and advanced users to manage and remove partitions on their SSDs. Additionally, they often come with advanced features like partition recovery, resizing, and merging, giving you greater control over your storage device.
Now that you are familiar with using third-party partition management tools to remove partitions on your SSD, you have a variety of options to choose from based on your personal preference and specific needs.
In the next section, we will provide tips and best practices to ensure a smooth and successful partition removal process on your SSD.
Tips and Best Practices for Removing Partitions on SSDs
When it comes to removing partitions on your SSD, following some tips and best practices can help ensure a smooth and error-free process. Here are some helpful guidelines to keep in mind:
1. Backup Your Data: Before removing any partitions, it’s crucial to back up any important data stored on those partitions. This ensures that you can recover your files in case of any unexpected data loss during the partition removal process.
2. Double-Check Your Selections: Take the time to carefully review the partitions you have selected to remove. Verify that you have chosen the correct partitions to avoid accidentally deleting essential data or system files.
3. Understand the Impact: Understand that removing a partition will permanently delete all data stored within it. Make sure there is nothing valuable or crucial left on the partition before proceeding.
4. Plan Ahead: Before removing partitions, it’s beneficial to plan and have a clear idea of the desired partition layout you want to achieve on your SSD. Consider factors such as the number of partitions, their sizes, and their purposes.
5. Take Precautions: Ensure that your SSD and system are not running any critical processes or programs while removing partitions. Closing unnecessary applications and disabling any background tasks can reduce the risk of data corruption and ensure a smooth partition removal process.
6. Be Mindful of System Partitions: Take extra caution when dealing with system partitions, such as the Windows system partition or EFI system partition. Removing these partitions can render your system unbootable. Always research and understand the specific partitioning requirements of your operating system.
7. Use Reliable Tools: If you opt to use third-party partition management tools, choose reputable and reliable software from trusted sources. This helps ensure that the tools are up-to-date, reliable, and provide the necessary features for safe partition removal.
8. Read Documentation or Tutorials: If you’re new to partition management, read the documentation provided by your chosen tool or refer to online tutorials to familiarize yourself with the process. This will help you understand the steps involved and avoid any common pitfalls.
9. Stay Informed: Keep yourself informed about the latest updates, best practices, and recommendations for partition management on SSDs. Technology evolves rapidly, and staying up-to-date will help you make informed decisions and optimize your SSD’s performance and lifespan.
By following these tips and best practices, you can confidently proceed with removing partitions on your SSD. Remember, it’s always essential to exercise caution and double-check your actions before confirming any partition deletion.
In the next section, we will conclude our guide on removing partitions on SSDs and summarize the key takeaways.
Conclusion
Managing and removing partitions on your SSD is an essential skill for optimizing your storage device according to your needs. In this comprehensive guide, we have explored various methods to remove partitions on SSDs, including using Windows Disk Management, the Diskpart command line utility, and third-party partition management tools.
We began by discussing the reasons why you might want to remove partitions on SSDs, such as repurposing the SSD, resolving partition-related issues, optimizing storage capacity, reinstalling the operating system, or upgrading to a new SSD. Understanding these reasons can help you make informed decisions and achieve your desired partition configuration.
Before proceeding with partition removal, we emphasized the importance of data backup and highlighted important considerations such as identifying the correct SSD, understanding partition types, and researching your SSD model’s requirements.
We provided step-by-step instructions for each method, outlining how to remove partitions using Windows Disk Management, the Diskpart command line utility, and third-party partition management tools. Whether you prefer graphical interfaces or command-line utilities, you have a range of options to choose from based on your comfort level and specific needs.
To ensure a smooth partition removal process, we shared tips and best practices such as backing up data, double-checking selections, planning ahead, and using reliable tools. Following these recommendations will help minimize the risk of data loss and ensure a successful partition removal process.
By mastering the art of removing partitions on SSDs, you can effectively repurpose your SSD, resolve partition-related issues, optimize storage capacity, and confidently manage your storage device according to your evolving requirements.
Remember, removing partitions permanently deletes all data within those partitions. It is crucial to exercise caution, double-check your actions, and back up important data before proceeding with any partition removal.
We hope this guide has provided you with the knowledge and guidance you need to remove partitions on SSDs effectively. Whether you’re a computer enthusiast, a professional, or a casual user, these skills will prove invaluable in managing your storage devices efficiently.
Thank you for reading, and best of luck with your partition removal endeavors!