Introduction
Removing the keyboard off of an ultrabook is a task that may seem daunting at first, but with the right tools and a bit of patience, it can be accomplished by anyone. Whether you need to clean the keyboard, replace it with a new one, or access the internal components of your ultrabook, removing the keyboard is the first step. In this article, we will guide you through the process of safely removing the keyboard off of your ultrabook.
Before you begin, it’s important to note that every ultrabook model may have a slightly different keyboard removal process. Therefore, it’s recommended to consult your ultrabook’s user manual or search for specific instructions for your model online to ensure you follow the correct steps.
In this guide, we will provide you with a general overview of the steps involved in removing the keyboard from an ultrabook. We will cover the necessary tools, the preparation of your workspace, and the step-by-step process to safely detach the keyboard. Let’s get started!
Tools Required
Before you begin removing the keyboard off of your ultrabook, make sure you have the following tools handy:
- Small Phillips screwdriver
- Plastic pry tool or an old credit card
- Anti-static wrist strap (optional but recommended)
The small Phillips screwdriver will be used to remove the screws securing the keyboard in place. Make sure to select a screwdriver with the appropriate size to avoid damaging the screws or the surrounding components.
A plastic pry tool or an old credit card will help you safely separate the keyboard from the ultrabook’s frame. These tools can be used to gently lift the keyboard without scratching the surface or causing any damage.
While not mandatory, wearing an anti-static wrist strap can prevent static electricity from damaging sensitive electronic components. This is particularly important if you are working in a dry environment or on a carpeted surface.
Having these tools ready will ensure that you can proceed smoothly with the keyboard removal process and minimize the risk of accidents or damage to your ultrabook.
Step 1: Power off and unplug the ultrabook
The first step in removing the keyboard from your ultrabook is to ensure that it is powered off and unplugged from any power sources. This will help prevent any electrical shocks or damage while working on the device.
Start by shutting down your ultrabook properly. Save any unsaved work and close all open applications. Then, locate the power button, usually located on the side or top of the ultrabook, and press and hold it until the device turns off. Alternatively, you can choose the “Shut Down” option from the operating system’s shutdown menu.
Once the ultrabook is powered off, unplug it from the wall outlet and disconnect any peripherals or cables that may be connected to it, such as the power adapter, USB devices, or external monitors. This will ensure that there is no electrical connection while you work on removing the keyboard.
It’s also a good idea to remove any memory cards or flash drives from the ultrabook to prevent accidentally damaging them during the keyboard removal process.
Double-check that the ultrabook is completely powered off and disconnected from any power sources before proceeding to the next steps. It’s essential to prioritize your safety and the safety of your device during this process.
Step 2: Prepare the Workspace
Before you begin removing the keyboard, it’s important to prepare your workspace to ensure you have a clean and organized area for the task.
First, find a well-lit and spacious area where you can comfortably work on your ultrabook. Make sure you have a clean and stable surface, such as a desk or table, to set your ultrabook on.
Next, gather all the tools you will need for the keyboard removal process, as mentioned earlier. Having them within reach will save you time and make the process more efficient.
Consider placing a soft cloth or an anti-static mat on your workspace. This will provide a protective surface to place your ultrabook on and prevent any scratches or damage during the procedure.
If available, it’s recommended to wear an anti-static wrist strap to discharge any built-up static electricity and prevent potential damage to sensitive internal components.
Finally, gather any documentation or guides you may need, such as the ultrabook’s user manual or specific keyboard removal instructions for your model. Having reference materials readily available will help you navigate the process more effectively.
By preparing your workspace properly, you create an environment that promotes concentration and organization, ultimately ensuring a smoother and more successful keyboard removal process.
Step 3: Remove the Bottom Cover
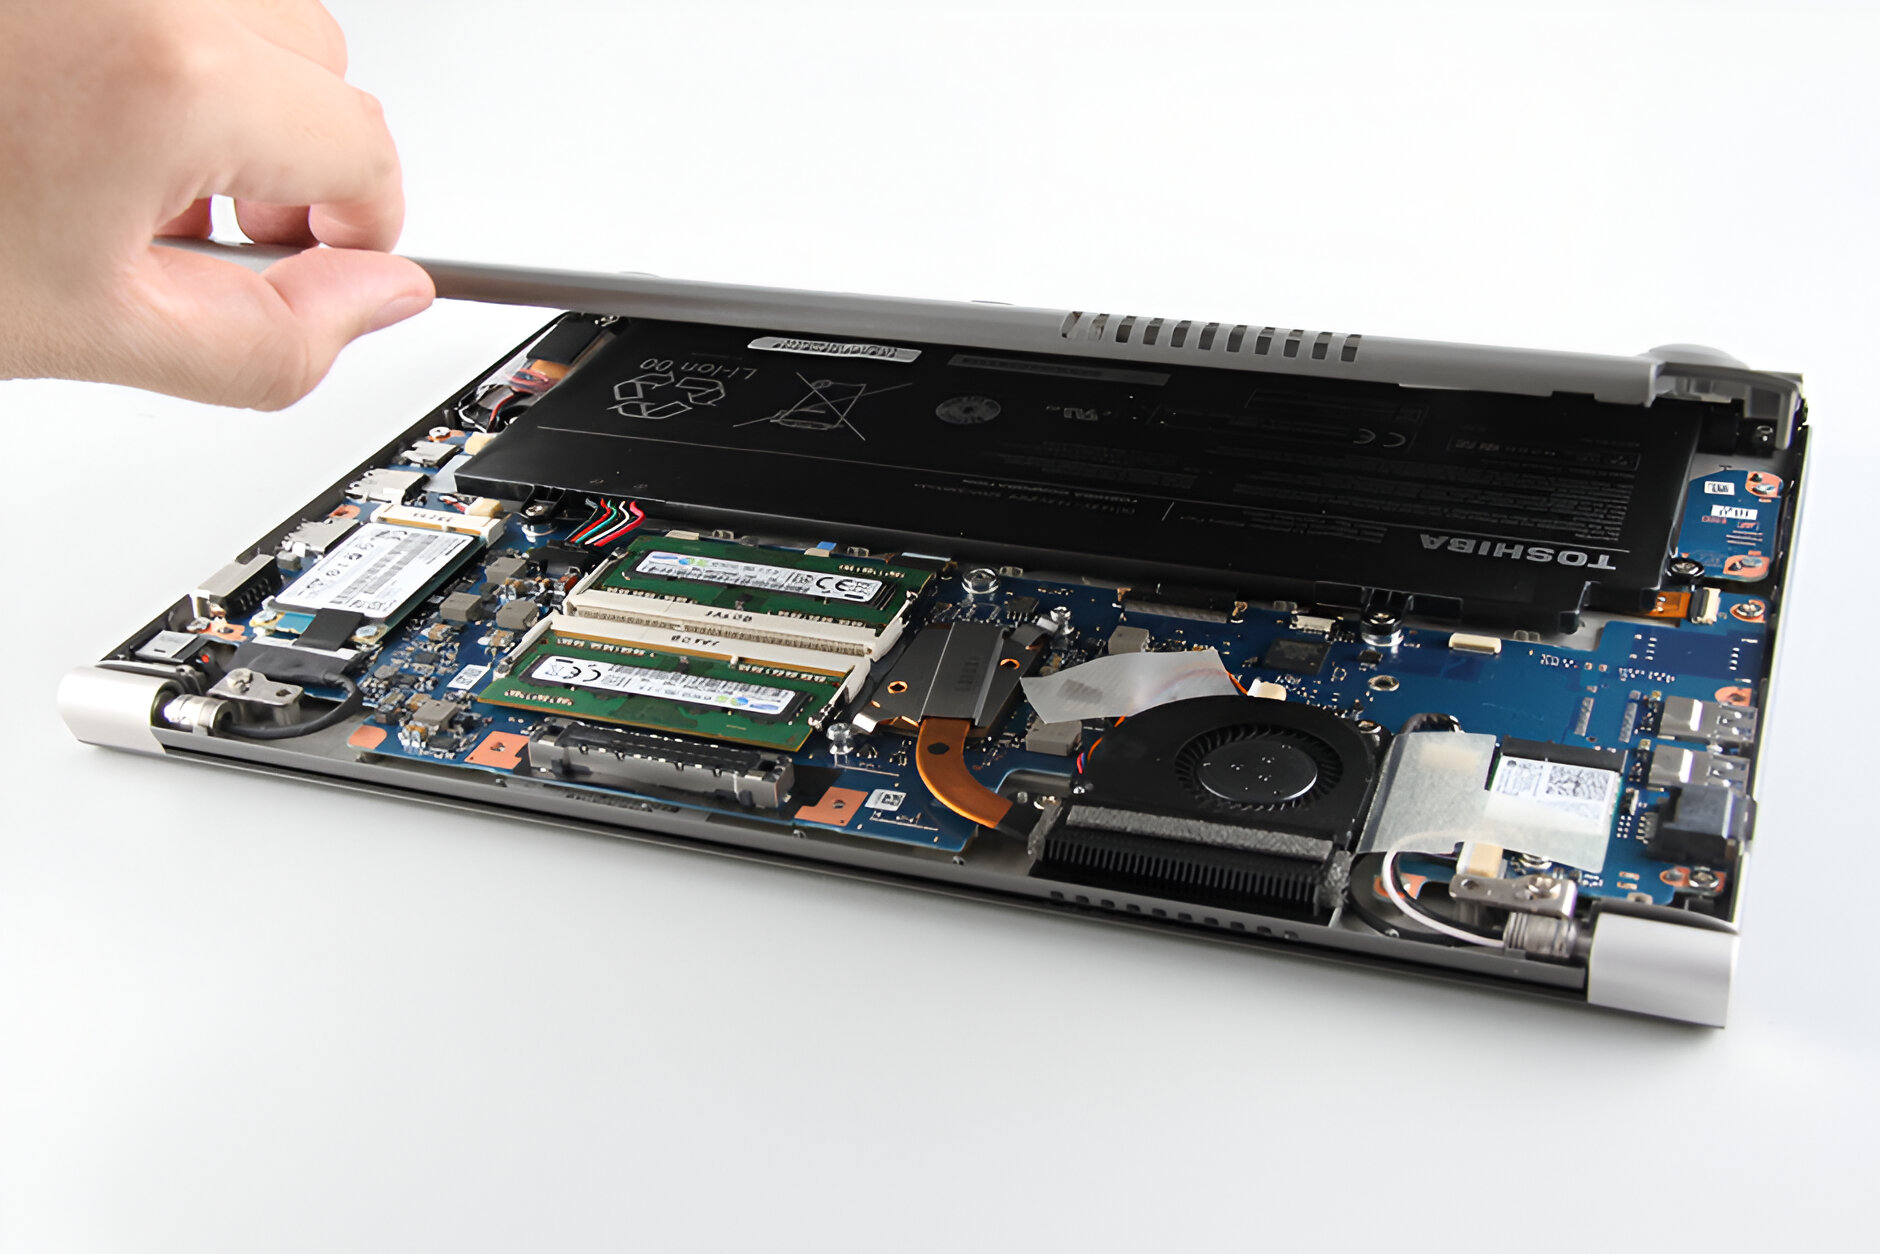
With your workspace prepared, it’s time to remove the bottom cover of your ultrabook. The bottom cover provides access to the internal components, including the keyboard.
Start by flipping your ultrabook over so that the bottom side is facing up. Look for the screws or tabs securing the bottom cover in place. These may be located along the edges, corners, or underneath rubber feet.
Using a small Phillips screwdriver, carefully remove the screws securing the bottom cover. Keep the screws in a safe place to ensure you don’t lose them during the process.
If your ultrabook has tabs instead of screws, use a plastic pry tool or an old credit card to gently lift and separate the bottom cover from the rest of the device. Start at one corner and work your way around, applying even pressure to avoid bending or damaging the cover.
Once all the screws or tabs have been released, slowly lift the bottom cover away from the ultrabook. Take care not to force it as there may be connectors or cables still attached.
If you encounter any resistance, stop and double-check for any screws or tabs that may have been missed. Removing the bottom cover should be done with caution and patience to avoid causing any damage to the internals of your ultrabook.
With the bottom cover removed, you now have better access to the keyboard and other internal components. Proceed to the next step to disconnect the battery before continuing with the keyboard removal process.
Step 4: Disconnect the Battery
Before you start removing the keyboard from your ultrabook, it’s crucial to disconnect the battery to prevent any potential electrical mishaps.
Locate the battery connector, which is usually located near the center of the ultrabook’s motherboard. The connector may be labeled or color-coded for easy identification.
Using your fingers or a plastic pry tool, gently lift the battery connector straight up to disconnect it from the motherboard. Take your time and ensure the connector is fully detached.
If your ultrabook has a removable battery, follow the manufacturer’s instructions to remove it completely. This may involve sliding or releasing clips to release the battery from its compartment.
Disconnecting the battery is an essential step as it eliminates the risk of accidental electrical discharge during the keyboard removal process. It also helps protect the delicate electronic components of your ultrabook from potential damage.
Take note that some ultrabooks may have built-in batteries that cannot be easily disconnected. In such cases, exercise caution and avoid directly handling the battery or any exposed wiring.
Now that the battery is safely disconnected, you can proceed with the keyboard removal process. The following steps will guide you through the process of removing the keyboard and replacing it if necessary.
Step 5: Remove Screws Securing the Keyboard
Now that the battery is disconnected, it’s time to remove the screws securing the keyboard in place.
Inspect the top side of the keyboard for screws. These screws are typically located near the top edge of the keyboard or underneath small rubber covers that can be gently lifted or pried off.
Using a small Phillips screwdriver, carefully remove the screws one by one, keeping them in a safe place. Take note of the location and number of screws as this will be essential for reassembly.
As you remove the screws, be aware that some screws may be longer or shorter than others. Keep track of the screw lengths to ensure they are correctly reinstalled later.
If you encounter any additional components or brackets securing the keyboard, carefully remove them as well, following any specific instructions provided by the manufacturer.
It’s important to proceed with caution and avoid using excessive force when removing the screws. If a screw feels stuck or resistant, double-check to ensure all the necessary screws have been removed before proceeding further.
Once all the screws and additional components are removed, you are ready to disconnect the keyboard ribbon cable in the next step. Properly removing the screws is a vital step in ensuring a successful and hassle-free keyboard removal process.
Step 6: Disconnect the Keyboard Ribbon Cable
After removing the screws securing the keyboard, the next step is to disconnect the keyboard ribbon cable, which connects the keyboard to the motherboard of the ultrabook.
Locate the keyboard ribbon cable connector on the motherboard. It is typically a thin, flat connector with a locking mechanism. Take note of its position for reassembly.
Gently lift the locking tab or flap on the connector. This will release the tension and allow you to remove the keyboard ribbon cable.
Using your fingers or a plastic pry tool, carefully pull the keyboard ribbon cable straight out of the connector. Avoid any excessive bending or tugging to prevent damage to the cable or the connector.
If you encounter any difficulties in disconnecting the ribbon cable, double-check to ensure the locking mechanism is completely lifted. Some connectors may require a small amount of force to detach.
Once the keyboard ribbon cable is disconnected, set it aside in a safe place. Be mindful not to twist or kink the cable, as this could cause damage and impact functionality.
Disconnecting the keyboard ribbon cable effectively separates the keyboard from the motherboard, allowing you to remove it completely in the next step. Take your time and handle the cable and connector with care to avoid any potential issues.
Step 7: Lift and Remove the Keyboard
Now that the keyboard ribbon cable is disconnected, it’s time to lift and remove the keyboard from your ultrabook.
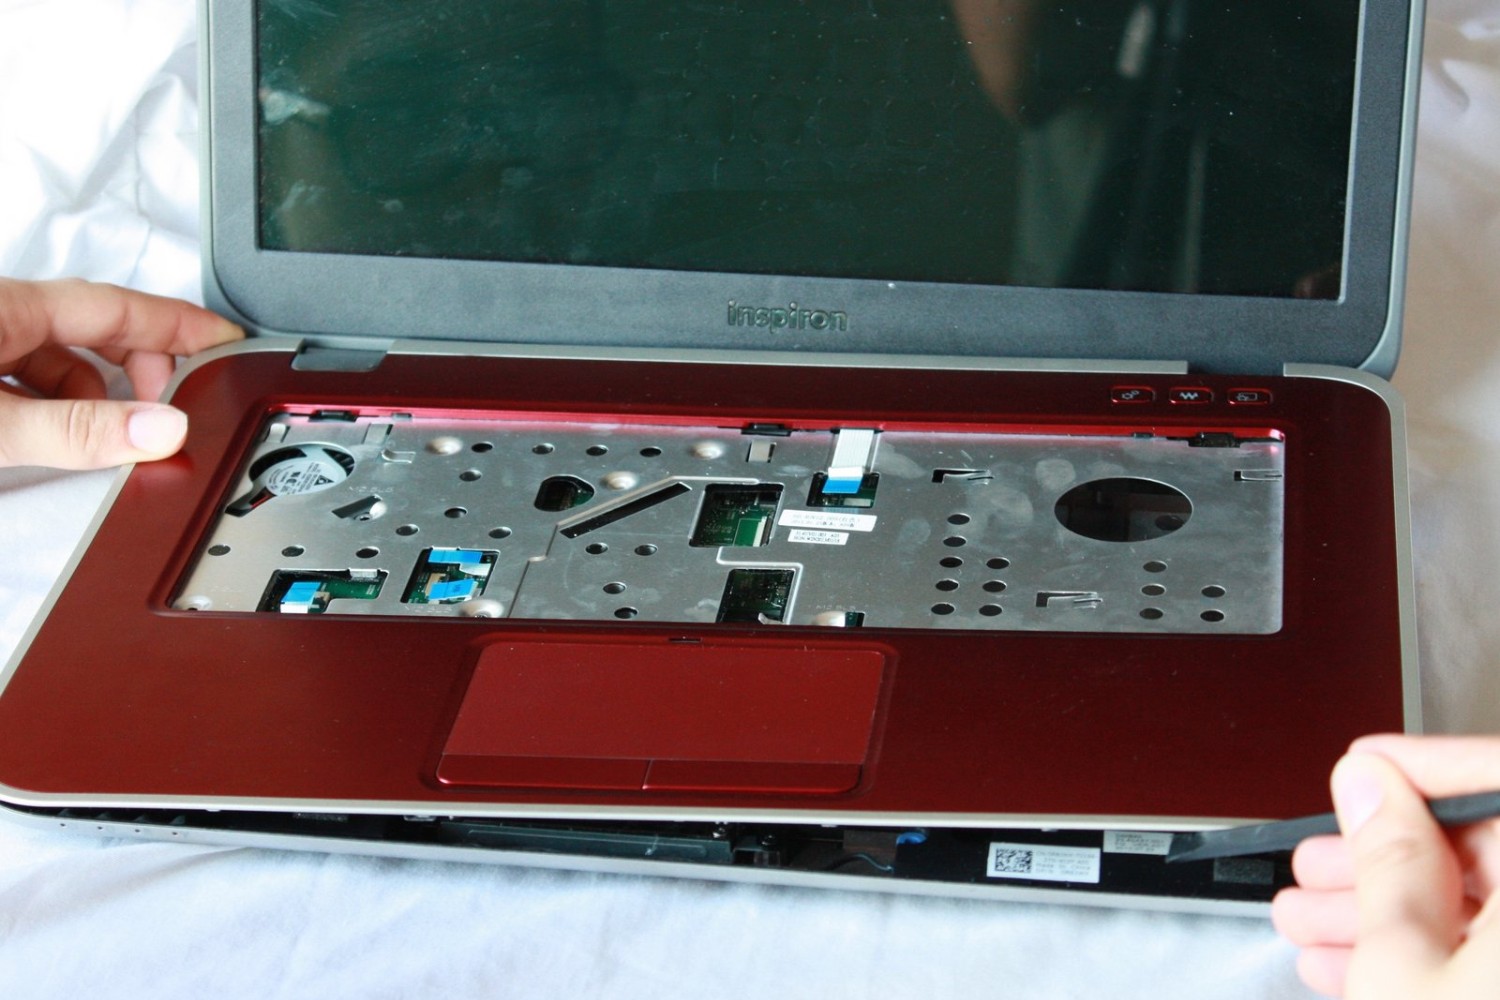
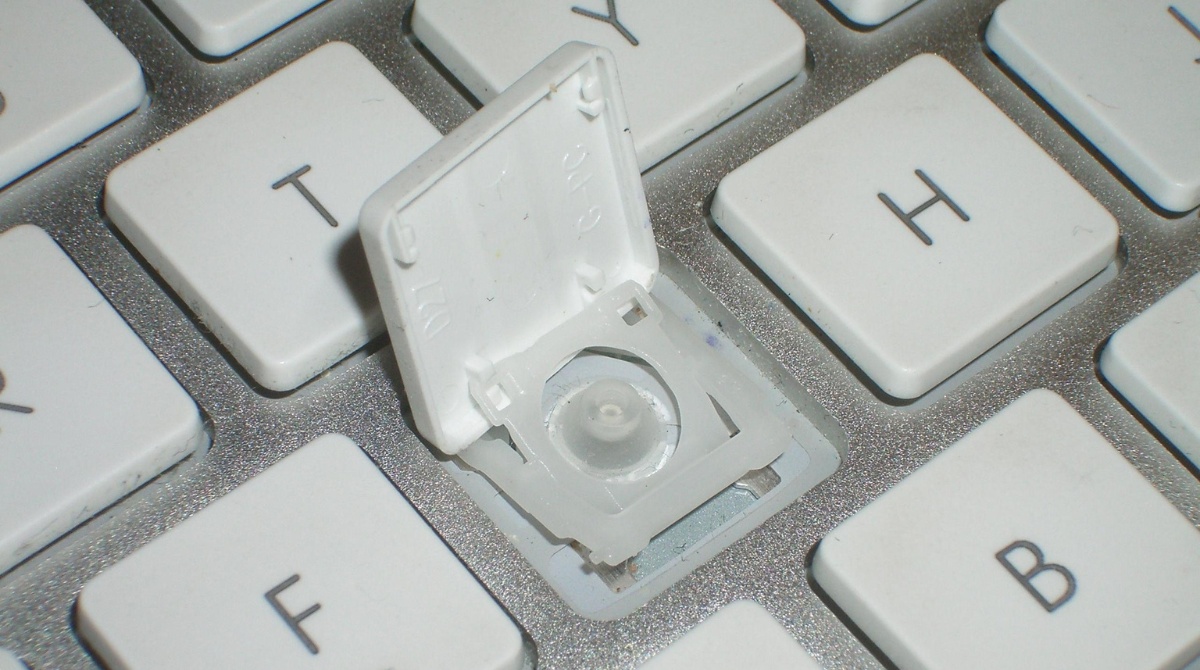
Start by gently lifting one edge of the keyboard using a plastic pry tool or your fingers. Be careful not to apply too much pressure to avoid damaging the keyboard or the surrounding components.
Slowly and evenly lift the keyboard, working your way towards the opposite edge. Pay attention to any adhesive or clips that may be holding the keyboard in place, and gently release them as you lift.
As you lift the keyboard, be mindful of any cables or connectors that may still be attached to the back of the keyboard. Take note of their locations for reassembly.
If you encounter any resistance or the keyboard feels stuck, double-check for any hidden screws or clips that may still be securing it to the ultrabook. Ensure that all screws and connectors have been properly removed before continuing.
Once the keyboard is lifted and free from any attachments, carefully remove it from the ultrabook. Set it aside in a safe place, making sure to protect it from any potential damage.
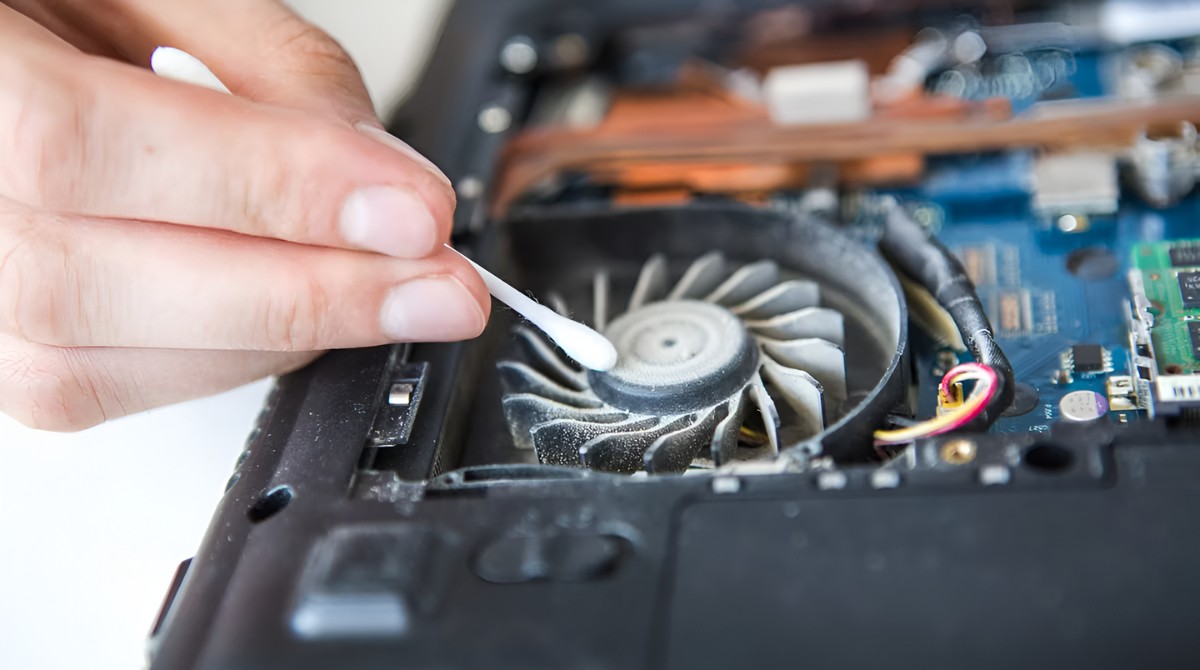
Inspect the keyboard and the area beneath it for any debris or dust. If needed, use compressed air or a soft brush to clean the surface before proceeding with further actions.
With the keyboard successfully removed, you have completed a significant step in the keyboard removal process. Proceed to the next steps if you need to install a new keyboard or make any repairs before reassembling your ultrabook.
Step 8: Install the New Keyboard (Optional)
If you are replacing the keyboard with a new one or making repairs, this step will guide you through the process of installing the new keyboard.
Start by carefully aligning the new keyboard with the available space on your ultrabook. Ensure that the keyboard is positioned correctly, with the keys facing up and the connectors aligned with the corresponding slots on the motherboard.
Gently lower the new keyboard into place, making sure it lays flat and is snug against the frame of the ultrabook. Take your time to align it properly, ensuring that no keys are sticking out or obstructing the installation.
If the new keyboard comes with adhesive strips or clips, carefully attach them to the ultrabook’s frame to secure the keyboard in place. Follow any specific instructions provided by the manufacturer for the best results.
If there are any cables or connectors that need to be reattached to the new keyboard, carefully connect them to their corresponding slots or ports. Ensure a secure and proper connection without bending or damaging the cables.
Once everything is aligned and connected, gently press down on the keyboard to ensure it is firmly seated. Pay attention to any click or locking mechanism that signifies a secure installation.
If needed, refer to the user manual or specific instructions for your ultrabook model to ensure the correct installation process and any additional steps specific to your device.
Installing a new keyboard is not always necessary, but if you are doing so, take your time and ensure a proper and secure installation for optimal functionality.
Step 9: Reconnect the Keyboard Ribbon Cable
After installing the new keyboard or completing any necessary repairs, the next step is to reconnect the keyboard ribbon cable to the ultrabook’s motherboard.
Locate the keyboard ribbon cable connector on the motherboard. It should be in the same position as the previous keyboard ribbon cable connection.
Ensure the connector is clean and free from any debris or obstructions that could interfere with the connection. Align the keyboard ribbon cable with the connector, making sure it is aligned with the pins or contacts.
Gently insert the keyboard ribbon cable into the connector straight and evenly. Avoid any excessive force or bending that could cause damage to the cable or the connector.
Once the cable is fully inserted, press down on the connector to secure the connection. Ensure that it is locked or engaged properly to prevent the cable from coming loose during use.
Double-check the keyboard ribbon cable connection to ensure that it is secure and properly aligned. Any loose connections can lead to keyboard malfunction or unresponsiveness.
Take a moment to inspect the area surrounding the keyboard ribbon cable and ensure that no other cables or components are obstructing or interfering with the connection.
With the keyboard ribbon cable reconnected, you have successfully restored the connection between the keyboard and the motherboard. Proceed to the next step to secure the keyboard with screws.
Step 10: Secure the Keyboard with Screws
Now that the keyboard ribbon cable is reconnected, it’s time to secure the keyboard in place by reinstalling the screws.
Refer to the notes or markings you made earlier to ensure that the screws are placed back in their original positions. Using a small Phillips screwdriver, insert and tighten each screw one by one.
Ensure that each screw is tightened securely but avoid overtightening, as this can strip the threads or cause damage to the ultrabook’s frame.
If you had removed any additional components or brackets during the disassembly process, now is the time to reattach them using the appropriate screws or fasteners.
As you reinstall the screws, pay attention to any specific guidelines outlined in the manufacturer’s instructions or your ultrabook’s user manual. Following these guidelines will help ensure proper alignment and installation.
Double-check that all screws are tightened evenly and that the keyboard is firmly secured to the frame. This will prevent any potential issues such as keyboard wobbling or loose connections.
With the keyboard securely fastened with screws, the physical installation of the keyboard is now complete. Proceed to the next steps to reconnect the battery, replace the bottom cover, and finalize the reassembly of your ultrabook.
Step 11: Reconnect the Battery
Now that the keyboard is secured, it’s time to reconnect the battery to power up your ultrabook.
If you had removed the battery earlier, carefully reinsert it into its compartment. Make sure it is properly aligned and securely placed. Follow the manufacturer’s instructions if you need any guidance.
If the battery is built-in and not removable, skip this step and proceed to the next one.
Locate the battery connector on the motherboard, which should be near the center or bottom of the device. Align the connector on the battery with its corresponding slot on the motherboard.
Gently push down on the battery connector to firmly reestablish the electrical connection. Ensure that the connector is fully engaged and locked in place.
Take a moment to inspect the area around the battery connector and ensure that no cables or components are obstructing or interfering with the connection.
With the battery reconnected, your ultrabook is ready to receive power once again. Proceed to the next step to replace the bottom cover and complete the reassembly process.
Note: If you had not disconnected the battery earlier, make sure that your ultrabook is still powered off and unplugged throughout the entire process for safety purposes.
Step 12: Replace the Bottom Cover
The final step in reassembling your ultrabook after keyboard removal is to replace the bottom cover.
Take the bottom cover and align it with the edges and screw holes on the ultrabook. Make sure it is positioned correctly and flush with the rest of the device.
If your ultrabook’s bottom cover is secured with screws, start by inserting and tightening each screw, ensuring they are properly aligned with the corresponding holes. Use a small Phillips screwdriver to tighten the screws, but be careful not to overtighten and risk damaging the threads or the cover.
If your ultrabook has tabs instead of screws, press down on the cover along each edge, ensuring that the tabs click into place securely. Work your way around the edges, applying even pressure until the cover is fully snapped back into position.
Once the bottom cover is in place and secured, give it a gentle press to ensure it is properly seated. Check that it sits flush and there are no gaps or areas where the cover may be loose or uneven.
Take a quick visual inspection of the ultrabook’s exterior to ensure that the bottom cover is symmetrical and aligned with the rest of the device. It should blend in seamlessly.
With the bottom cover successfully replaced, your ultrabook is now fully reassembled. You can now power it on and enjoy the functionality of the newly installed or repaired keyboard.
Congratulations! You have completed the process of removing and replacing the keyboard on your ultrabook. Take a moment to admire your successful accomplishment!
Conclusion
Removing the keyboard from an ultrabook may initially seem like a daunting task, but with the right tools, patience, and guidance, it can be accomplished by anyone. Whether you need to clean the keyboard, replace it with a new one, or access the internal components of your ultrabook, following the step-by-step process outlined in this guide will help you safely remove and reinstall the keyboard.
Remember to always consult your ultrabook’s user manual or search for specific instructions for your model to ensure you are following the correct steps. Additionally, take the time to gather the necessary tools mentioned earlier, create a clean and organized workspace, and proceed with caution to avoid any potential damage to your ultrabook or yourself.
By following the steps outlined in this guide, you can successfully remove and replace the keyboard on your ultrabook, giving it a renewed functionality and aesthetics. Enjoy the satisfaction of a job well done and the enhanced typing experience that comes with a properly functioning keyboard.
Remember, if you are uncertain or uncomfortable with performing these steps yourself, it is always recommended to seek professional assistance to avoid any potential damage to your ultrabook.
With the keyboard removed and reinstalled, you have gained the necessary knowledge and skills to take on future keyboard-related tasks. Whether it’s for maintenance purposes, upgrades, or repairs, you can now confidently navigate through the process with ease.
Now that you’ve successfully completed the keyboard removal process, take a moment to pat yourself on the back for a job well done. With your newly acquired knowledge, you can tackle more projects and continue to maintain and improve your ultrabook in the future.


