Introduction
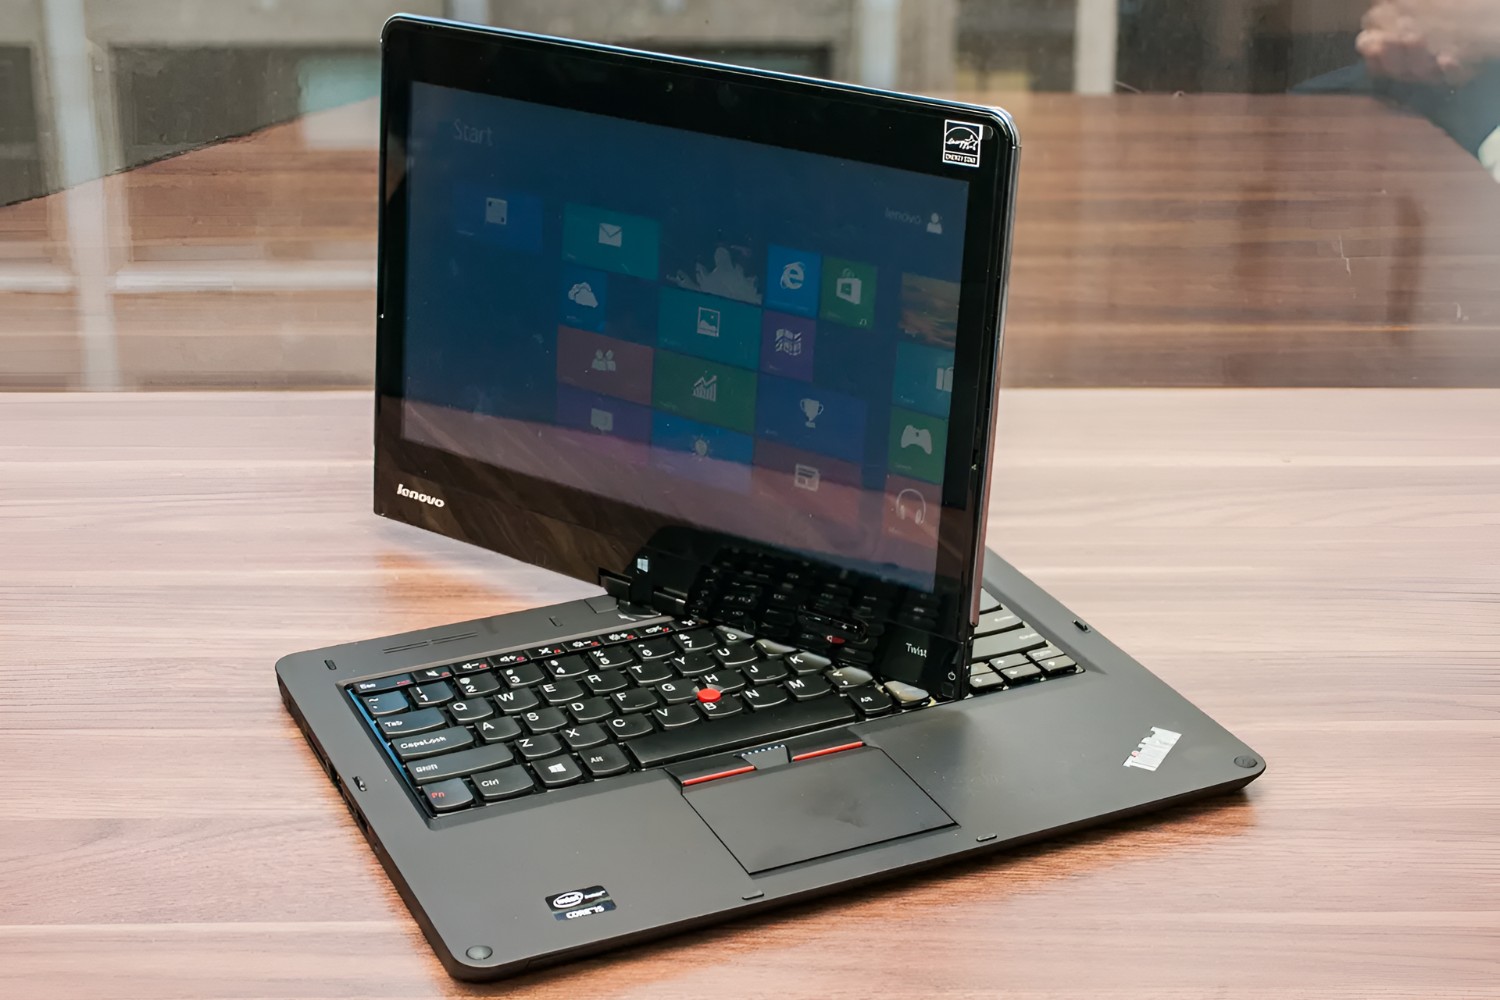
Lenovo Ultrabooks are known for their sleek design, powerful performance, and innovative features. One of the standout features in most Ultrabooks is the touch screen functionality, which allows users to interact with their devices using their fingertips instead of a mouse or keyboard. However, there may be instances where you want to disable the touch screen on your Lenovo Ultrabook.
There could be several reasons why you would want to disable the touch screen. For some users, the touch screen may become unresponsive or erratic, making it difficult to use. Others may find that they accidentally touch the screen while typing or performing other tasks, causing frustration or interruptions. Additionally, some users may simply prefer to use a traditional mouse and keyboard setup, especially for tasks that do not require touch screen input.
In this article, we will explore three methods you can use to disable the touch screen on your Lenovo Ultrabook. These methods are suitable for various Lenovo Ultrabook models and can help you regain control over your device’s input method.
Why would you want to disable the touch screen on your Lenovo Ultrabook?
While the touch screen functionality of Lenovo Ultrabooks offers a convenient and intuitive way to interact with your device, there are several scenarios where you might want to disable it:
- Accidental touches: If you frequently find yourself accidentally touching the screen while typing or performing other tasks, disabling the touch screen can prevent unwanted interruptions and ensure smoother workflow.
- Preference for traditional input methods: Some users simply prefer using a mouse and keyboard for certain tasks, especially when working on productivity-oriented applications or software that rely heavily on precise mouse movements.
- Reducing power consumption: Touch screens consume additional power compared to traditional display methods. Disabling the touch screen can help conserve battery life and extend the overall runtime of your Lenovo Ultrabook.
- Improving responsiveness: In some cases, touch screens may become unresponsive or experience issues due to driver conflicts or hardware problems. Disabling the touch screen temporarily can help troubleshoot and identify the root cause of the problem.
- Preventing unintentional input: Some users may inadvertently trigger actions or inputs on the touch screen while holding or carrying their device. Disabling the touch screen can prevent these unintended interactions and enhance the overall user experience.
By understanding the reasons behind disabling the touch screen on your Lenovo Ultrabook, you can make an informed decision about whether it’s the right choice for you. The next sections will outline three methods you can use to disable the touch screen, providing you with flexibility and control over your device’s input options.
Method 1: Disabling touch screen through Device Manager
If you want to disable the touch screen on your Lenovo Ultrabook, one of the most straightforward methods is to use the Device Manager. Here’s how you can do it:
- Press the Windows key + X on your keyboard to open the Power User Menu, and select Device Manager from the list.
- In the Device Manager window, look for the Human Interface Devices category and expand it.
- Locate the Touch screen entry in the list. The name may vary depending on your device model.
- Right-click on the Touch screen entry and select Disable device from the context menu.
- A confirmation dialog will appear. Click Yes to disable the touch screen.
Once you’ve completed these steps, the touch screen functionality of your Lenovo Ultrabook will be disabled. Restart your device for the changes to take effect, and you can now use your Ultrabook without touch screen input.
If you ever want to re-enable the touch screen in the future, simply follow the same steps outlined above. When you reach step 4, instead of selecting Disable device, choose Enable device to reactivate the touch screen functionality.
Please note that the option to disable the touch screen through Device Manager may not be available on all Lenovo Ultrabook models or configurations. If you cannot locate the Touch screen entry in the Device Manager or do not have the Disable device option, you can explore alternative methods discussed in the next sections.
Method 2: Using the Device Properties settings
If the previous method didn’t work for your Lenovo Ultrabook or if you prefer an alternative approach, you can disable the touch screen through the Device Properties settings. Follow the steps below:
- Press the Windows key + X on your keyboard and select Settings from the Power User Menu.
- In the Settings window, click on Devices.
- From the left sidebar, select Touchpad or Pen & Windows Ink, depending on your device model.
- In the main panel, click on Additional settings. This will open the Device Properties window.
- Navigate to the Device tab and locate the Touch screen section.
- Click on the Disable button.
- A warning dialog box will appear asking if you’re sure you want to disable the touch screen. Click Yes to proceed.
Once you’ve completed these steps, the touch screen on your Lenovo Ultrabook will be disabled. Reboot your device for the changes to take effect, and you can now use your Ultrabook without touch screen input.
If you ever decide to re-enable the touch screen in the future, follow the same steps outlined above, but in step 6, click on the Enable button instead of Disable.
It’s important to note that not all Lenovo Ultrabook models or configurations may have the Device Properties settings accessible through the Settings menu. If you don’t find the appropriate options, you can try the next method discussed in the following section.
Method 3: Using the Registry Editor
If the previous methods didn’t work for your Lenovo Ultrabook or if you prefer a more advanced approach, you can disable the touch screen using the Registry Editor. However, exercise caution when making changes to the Registry, as improper modifications can cause system instability. Follow these steps:
- Press the Windows key + R on your keyboard to open the Run dialog box.
- Type regedit and hit Enter to open the Registry Editor.
- In the Registry Editor window, navigate to the following path: HKEY_CURRENT_USER\Software\Microsoft\Wisp\Touch.
- On the right side of the window, locate the TouchGate registry entry.
- Double-click on TouchGate to modify its value.
- In the Value data field, change the existing value from 1 to 0.
- Click OK to save the changes.
Once you’ve completed these steps, the touch screen on your Lenovo Ultrabook will be disabled. Restart your device for the changes to take effect, and you can now use your Ultrabook without touch screen input.
If you ever want to re-enable the touch screen in the future, follow the same steps outlined above, but in step 6, change the value from 0 back to 1.
Please be cautious when editing the Registry, as incorrect modifications can cause system issues. It’s recommended to create a backup of your Registry before making any changes or consult with a knowledgeable technician if you feel uncertain about the process.
Conclusion
Disabling the touch screen functionality on your Lenovo Ultrabook can be useful in various situations, such as preventing accidental touches, reducing power consumption, improving responsiveness, and accommodating personal preferences for traditional input methods. In this article, we explored three methods you can use to disable the touch screen on your Lenovo Ultrabook.
Method 1 involved using the Device Manager to disable the touch screen device. This method is straightforward and accessible to most users. Method 2 involved using the Device Properties settings, which can be convenient for those who prefer a graphical interface. Method 3, using the Registry Editor, offers a more advanced approach for tech-savvy users who need greater control over their system.
It’s important to note that the availability of these methods may vary depending on your Lenovo Ultrabook model and configuration. If one method doesn’t work for you, try the alternative methods discussed in this article.
Remember, if you ever change your mind and want to re-enable the touch screen functionality, you can easily follow the same steps outlined in each method and reverse the disable settings.
We hope these methods have provided you with the necessary information to disable the touch screen on your Lenovo Ultrabook. By disabling the touch screen, you can tailor your device’s input options to suit your preferences and enhance your overall user experience.
As always, if you have any concerns or encounter difficulties, it’s advisable to consult the official Lenovo support documentation or reach out to their customer support for further assistance.