Introduction
Welcome to this guide on the Lenovo Ultrabook! If you recently purchased a Lenovo Ultrabook or are considering getting one, you may be wondering about its microphone location. In this article, we will explore the various aspects of the Lenovo Ultrabook’s microphone, including its location and how to enable it.
The Lenovo Ultrabook is a powerful and sleek device that combines the portability of a laptop with the performance of a desktop. It is designed for users who need a reliable and versatile device for their everyday tasks, whether it’s for work, entertainment, or creative endeavors.
One of the essential features of any laptop is its microphone, which allows you to communicate through voice or record audio. Whether you want to make video calls, participate in online meetings, or record podcasts, having a functional microphone is crucial.
Knowing the exact location of the microphone can save you time and frustration when you need to use it. Additionally, understanding how to enable the microphone and troubleshoot any issues that may arise will ensure that you can effectively utilize this important tool.
In the following sections, we will delve into the specifics of the Lenovo Ultrabook’s microphone and guide you through the process of finding it, enabling it, and troubleshooting any microphone-related problems you may encounter. So, without further ado, let’s dive in and explore the Lenovo Ultrabook’s microphone features!
Understanding the Lenovo Ultrabook
Before we delve into the specifics of the Lenovo Ultrabook’s microphone, it is important to have a basic understanding of this remarkable device. The Lenovo Ultrabook is a line of slim and lightweight laptops that deliver powerful performance and exceptional portability.
Lenovo Ultrabooks are designed with the latest technology and innovative features to provide users with a seamless computing experience. They boast impressive specifications, including high-resolution displays, fast processors, generous storage options, and long-lasting battery life.
One of the key selling points of the Lenovo Ultrabook is its sleek and slim design. These laptops are incredibly thin and lightweight, making them easy to carry around and perfect for on-the-go productivity. Whether you’re a frequent traveler, a student, or a professional who needs to work from different locations, the Lenovo Ultrabook is a reliable companion.
In terms of performance, the Lenovo Ultrabook offers impressive capabilities, allowing you to handle demanding tasks with ease. Whether you need to run resource-intensive applications, multitask efficiently, or create multimedia content, these laptops are equipped to handle it all.
Furthermore, the Lenovo Ultrabook features a range of connectivity options to keep you connected wherever you are. With built-in Wi-Fi and Bluetooth capabilities, you can easily connect to the internet, transfer files, and connect your favorite peripherals, such as headphones or external microphones.
Another noteworthy aspect of the Lenovo Ultrabook is its user-friendly interface and intuitive operating system. Whether you’re familiar with Windows or prefer the flexibility of using Linux, Lenovo Ultrabooks support multiple operating systems to suit your preferences.
Overall, the Lenovo Ultrabook is a powerful and versatile device that combines style, performance, and portability. Its lightweight design, impressive specifications, and user-friendly interface make it an excellent choice for a wide range of users.
Now that we have gained a comprehensive understanding of the Lenovo Ultrabook, let’s move on to exploring the microphone’s location and functionality.
Location of the Microphone on the Lenovo Ultrabook
When it comes to using the microphone on your Lenovo Ultrabook, it’s essential to know its precise location. While the exact placement may vary depending on the specific model, there are some common locations to look for.
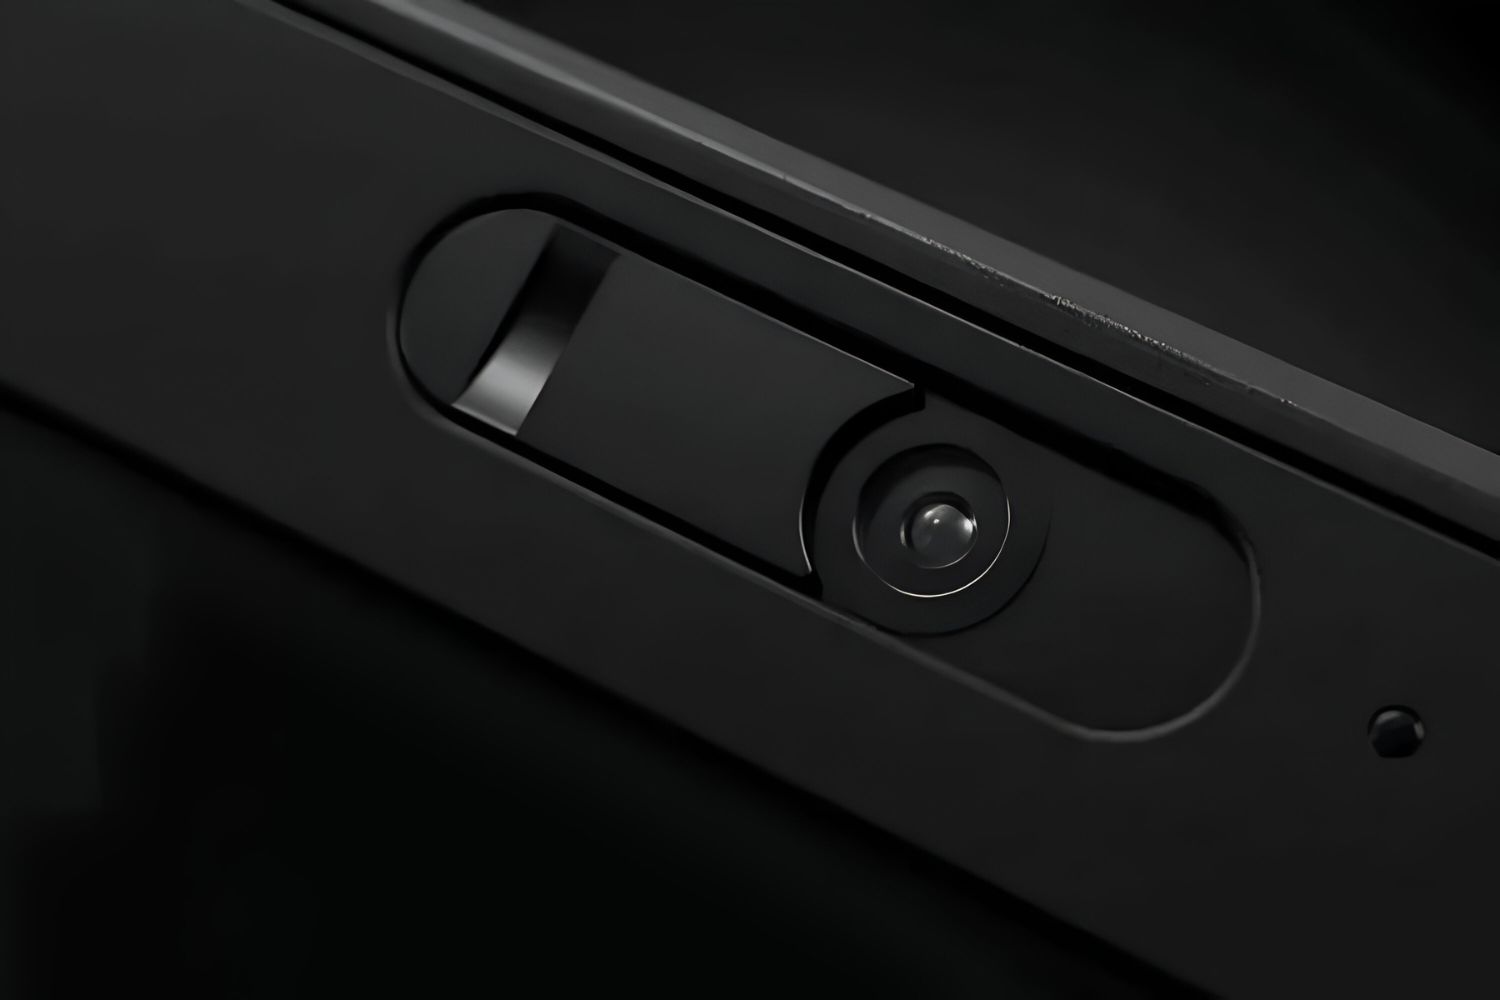
Typically, the built-in microphone on the Lenovo Ultrabook is situated near the top of the device, usually above the display. Look for a small pinhole or a row of tiny holes on the screen’s bezel. This design allows the microphone to capture audio clearly while minimizing background noise.
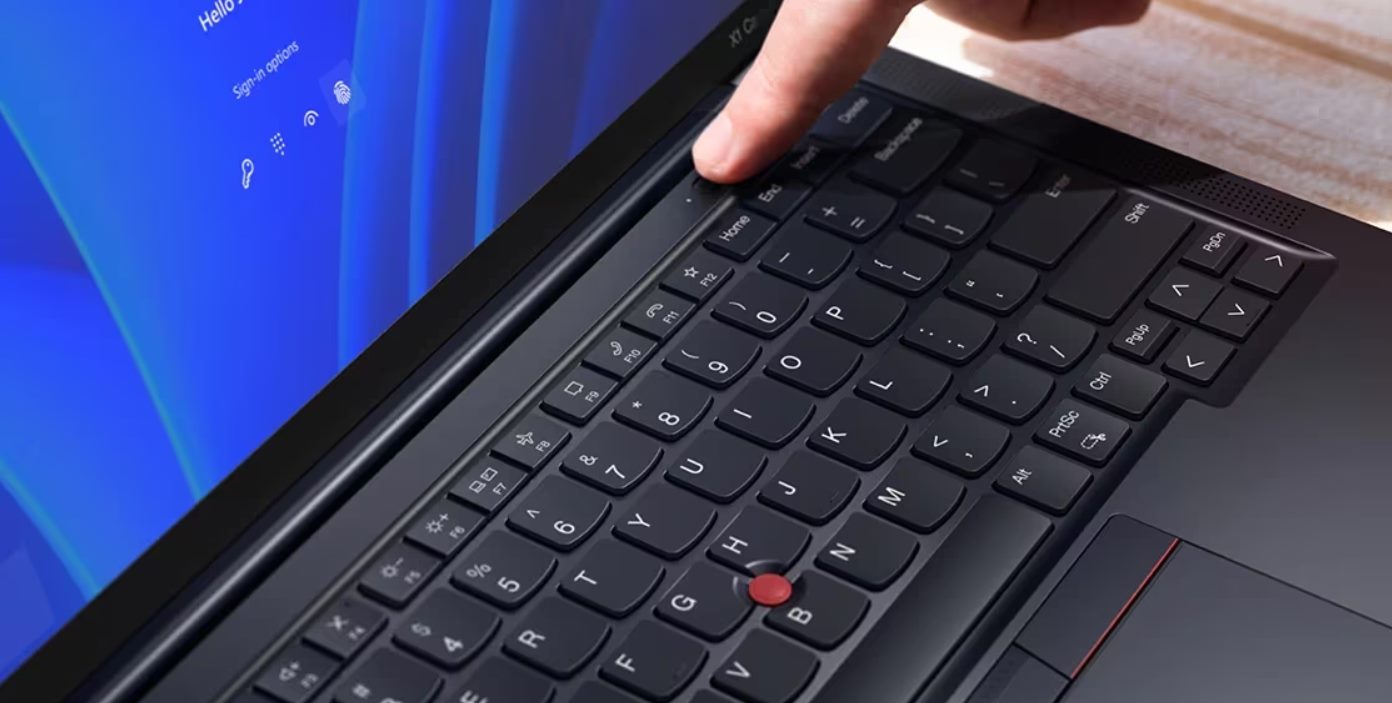
In some models, you may find the microphone located on the keyboard deck, near the trackpad or function keys. It is important to check the user manual or specifications of your specific Lenovo Ultrabook model to ensure you locate the microphone correctly.
If you’re using an external microphone, it can typically be connected to one of the USB ports or the audio jack on the side or back of the Ultrabook. Some newer models may also offer USB Type-C ports, which can be used for audio input.
Regardless of the microphone’s location, it is crucial to position yourself adequately in relation to the laptop for optimal audio recording or voice communication. Make sure you are within a reasonable distance and facing the microphone to ensure clear and accurate sound capture.
Now that you know where to find the microphone on your Lenovo Ultrabook, let’s proceed to the next section to learn how to enable it and make the most out of its functionality.
Finding the Internal Microphone
Locating the internal microphone on your Lenovo Ultrabook is essential for utilizing its functionality. Follow these steps to find and access the internal microphone on your device:
- Start by locating the microphone icon on your taskbar. It’s usually represented by a small microphone symbol.
- Right-click on the microphone icon and select “Recording devices” from the context menu that appears. This will open the Sound settings.
- In the Sound settings window, navigate to the “Recording” tab. Here you will find a list of available recording devices.
- Look for the internal microphone in the list. It might be labeled as “Internal Microphone” or something similar. If you do not see it, ensure that the “Show Disabled Devices” and “Show Disconnected Devices” options are checked.
- Once you locate the internal microphone, right-click on it and select “Enable” if it’s currently disabled. This will activate the microphone and make it ready for use.
If you are unable to find the internal microphone in the Sound settings, there are a few troubleshooting steps you can try:
- Ensure that the necessary audio drivers are installed on your Lenovo Ultrabook. Visit the Lenovo support website and download the latest drivers specific to your model.
- Check if the microphone is physically obstructed by any dirt or debris. Clean the area around the microphone carefully using a soft cloth.
- Restart your Ultrabook. Sometimes, a simple restart can resolve minor software glitches that may be causing the microphone to be unrecognized.
- If the issue persists, consider reaching out to Lenovo customer support for further assistance. They can provide specific troubleshooting steps or guide you through any hardware-related concerns.
Once you have successfully located and enabled the internal microphone, you can proceed to the next section to learn how to adjust its settings and ensure optimal performance.
How to Enable the Microphone
Enabling the microphone on your Lenovo Ultrabook is a straightforward process. Once you have located the internal microphone through the Sound settings, follow these steps to enable it:
- Right-click on the internal microphone in the Sound settings and select “Properties” from the menu that appears.
- In the Properties window, navigate to the “General” tab.
- Check the box that says “Enable this device” to activate the microphone.
- Click on the “Apply” or “OK” button to save the changes.
Once the microphone is enabled, you can adjust its settings to optimize its performance:
- To adjust the microphone volume, you can use the slider in the Recording tab of the Sound settings. Move the slider up or down according to your preference, but ensure that it does not peak or distort the sound.
- For additional microphone settings, go to the “Enhancements” tab in the Properties window. Here you can enable features like noise suppression or echo cancellation, depending on your requirements.
It is essential to test the microphone after enabling it to ensure it is functioning correctly. You can use the “Test Microphone” option in the Sound settings or any compatible application that requires microphone input.
If you are using an external microphone, ensure that it is properly connected to your Ultrabook. Some microphones may require additional software or drivers to be installed to work correctly. Refer to the manufacturer’s instructions for proper setup and configuration.
By following these steps, you can easily enable and optimize the microphone on your Lenovo Ultrabook, allowing you to engage in clear voice communication and record high-quality audio.
Troubleshooting Microphone Issues
While enabling and using the microphone on your Lenovo Ultrabook is typically a smooth process, there may be instances where you encounter issues. Here are some common microphone problems you may face and the troubleshooting steps to resolve them:
1. No sound or low volume:
- Ensure that the microphone volume is not muted or set too low. Adjust the volume settings in the Sound settings.
- Check the physical connection of the microphone if you’re using an external one. Make sure it is securely plugged into the appropriate port.
- If using an external microphone, try using it with a different device to determine if the issue is with the microphone itself.
2. Background noise or static:
- Make sure there are no nearby sources of noise, such as fans or other electronic devices, that may interfere with the microphone’s audio capture.
- Consider using a noise-canceling microphone or enabling noise suppression features in the microphone settings.
- If possible, try recording or communicating in a quieter environment to minimize background noise.
3. Microphone not detected:
- Check that the microphone is properly connected to your Lenovo Ultrabook, especially if you’re using an external microphone.
- Update the audio drivers for your Ultrabook from the Lenovo website to ensure compatibility and optimal performance.
- Restart your Ultrabook to refresh the system and potentially resolve software-related issues.
4. Microphone not working in specific applications:
- Check the application’s audio settings to ensure it is set to use the correct microphone as the input device.
- Make sure that the microphone is not blocked or disabled by the application’s privacy or security settings.
- Update the application to its latest version to ensure compatibility with your Lenovo Ultrabook.
If you have tried these troubleshooting steps and are still experiencing microphone issues, it may be helpful to seek assistance from Lenovo customer support or consult online forums for further guidance. They can provide more in-depth troubleshooting specific to your Ultrabook model and help resolve any persistent problems.
Remember, proper maintenance and regular software updates can help prevent microphone issues and ensure optimal performance. By addressing and resolving any microphone-related problems, you can fully enjoy the microphone’s functionality on your Lenovo Ultrabook.
Conclusion
In this guide, we explored the microphone features of the Lenovo Ultrabook, including its location, enabling it, and troubleshooting common issues. The Lenovo Ultrabook is a powerful and portable device that offers exceptional performance for various tasks, making it a popular choice among users.
Understanding the location of the internal microphone is crucial for leveraging its capabilities. By locating the microphone above the display or on the keyboard deck, you can position yourself adequately for clear and accurate audio recording or voice communication.
Enabling the microphone on your Lenovo Ultrabook is a simple process through the Sound settings. By right-clicking on the microphone and selecting “Enable,” you can activate the microphone and adjust its settings as needed.
If you encounter any microphone issues, such as low volume, background noise, or microphone not detected, there are troubleshooting steps you can follow. From adjusting volume settings to updating drivers, these solutions can often resolve common problems and ensure optimal microphone functionality.
However, if the issues persist, it is recommended to contact Lenovo customer support or seek assistance from online forums. They can provide more specialized guidance and help troubleshoot any persistent problems you may be experiencing.
In conclusion, the Lenovo Ultrabook’s microphone is a valuable tool for communication, audio recording, and various other tasks. By familiarizing yourself with its location, enabling it correctly, and troubleshooting any issues, you can make the most out of this essential feature and enjoy seamless audio experiences on your Lenovo Ultrabook.