Introduction
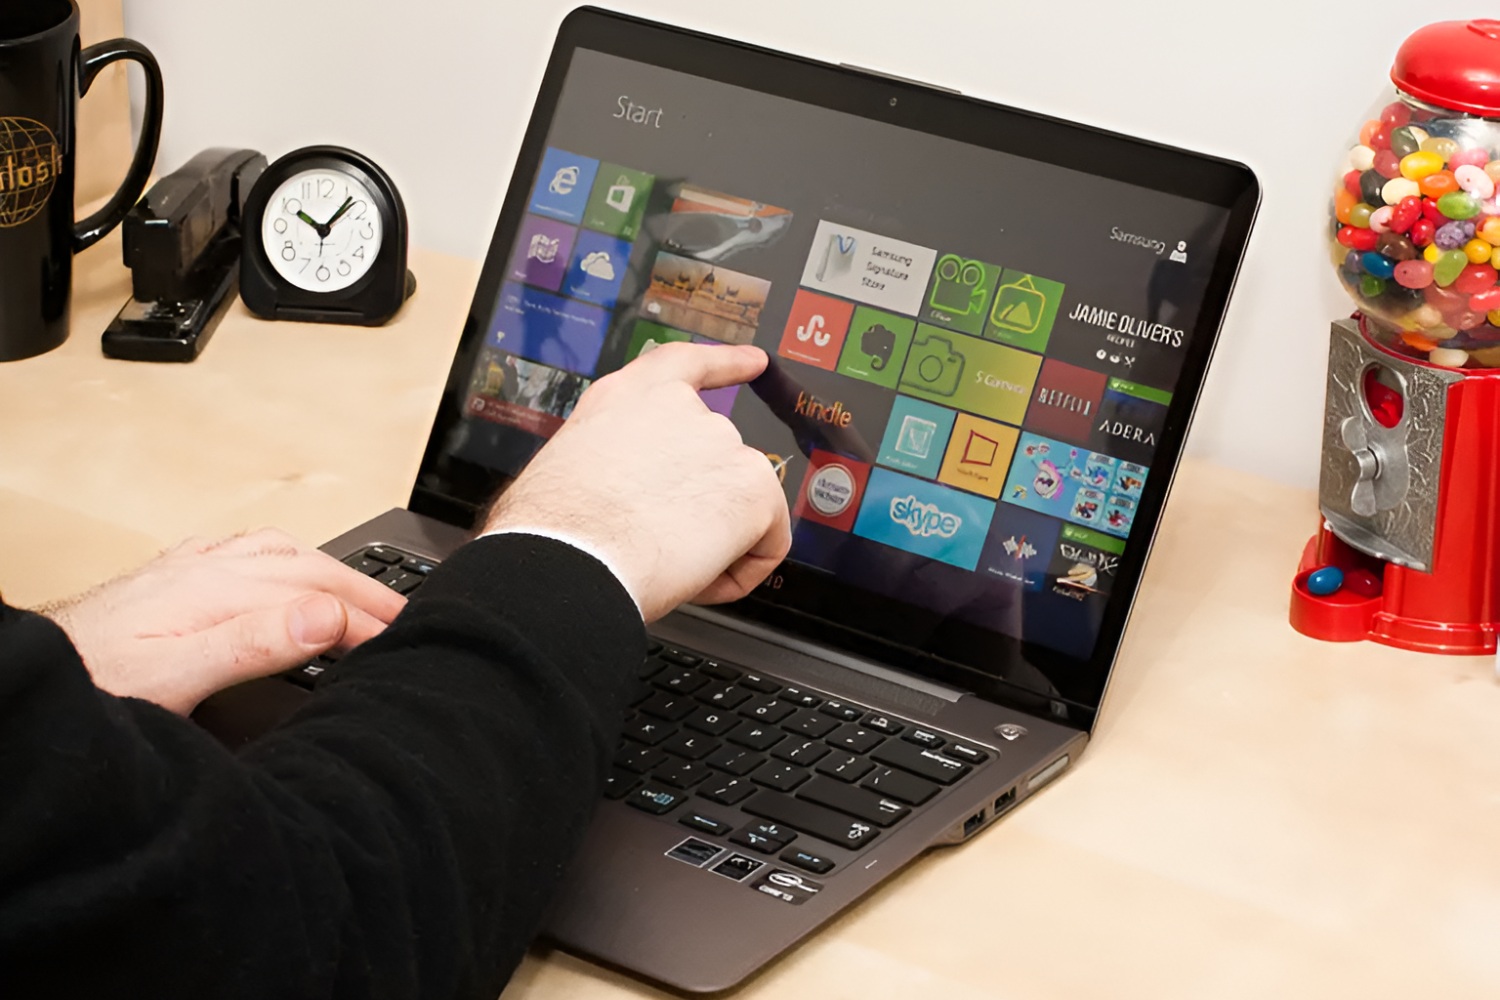
Welcome to the tutorial on how to put back keyboard keys in a Samsung Ultrabook! If you’ve accidentally removed one of your keyboard keys or if it has become loose over time, don’t worry – fixing it is easier than you might think. With just a few simple steps, you can have your keyboard looking and functioning as good as new.
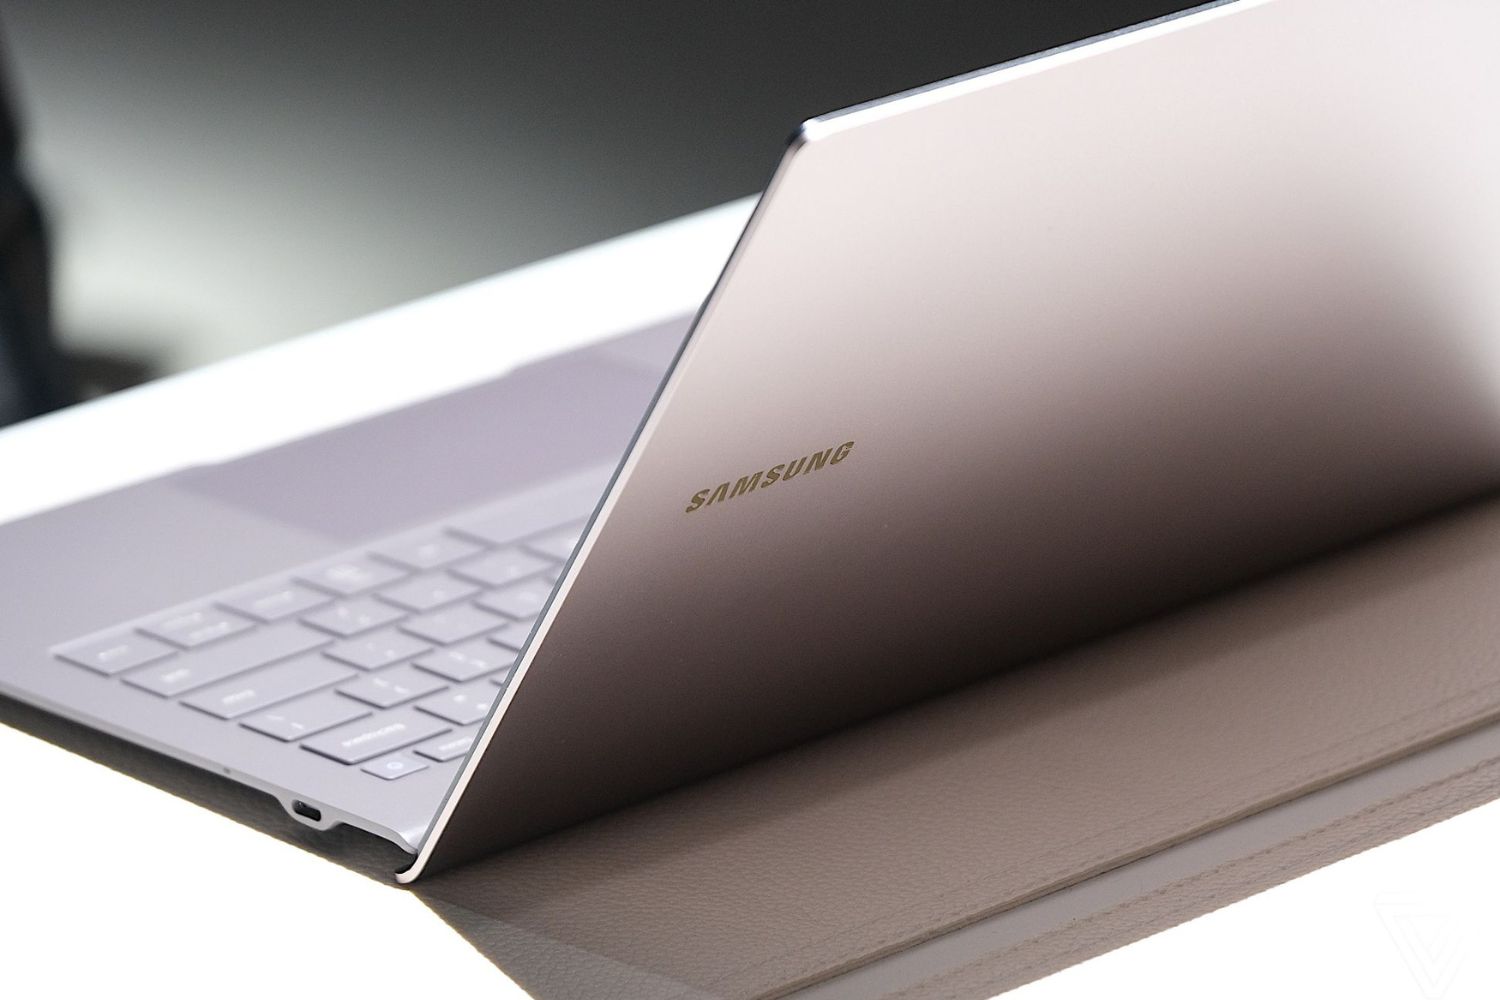
Before we begin, it’s important to note that this tutorial is specifically for Samsung Ultrabooks. While the general process might be similar for other laptop models, we recommend referring to the manufacturer’s instructions or seeking professional assistance if you’re working on a different brand or model.
Throughout this tutorial, we’ll guide you through the process, step by step. You’ll need a few tools to complete the task, but don’t worry – they’re readily available and affordable. We’ll cover everything from removing the old key to testing the key’s functionality once it’s back in place.
So, if you’re ready to give your Samsung Ultrabook’s keyboard a much-needed fix, let’s jump right in and get started!
Tools you will need
Before you begin the process of putting back a keyboard key in your Samsung Ultrabook, it’s important to gather the necessary tools. Having these tools ready will make the whole process much easier and more efficient. Here’s what you’ll need:
- Screwdriver: A small Phillips head screwdriver is essential for removing screws that hold the laptop’s keyboard in place. Make sure you have a screwdriver that fits well and is comfortable to use.
- Tweezers: Tweezers can be handy for handling small parts and positioning the key accurately. It’s best to use a pair of fine-tipped tweezers that can provide better control.
- Compressed air: Dust and debris can accumulate under the keys over time, affecting their functionality. A can of compressed air will help you clean the area before you put the key back in place. Make sure to use a can with a thin nozzle for better precision.
- Cleaning solution: In case there are sticky residues on the key or the surrounding area, a mild cleaning solution or rubbing alcohol can come in handy. Make sure to use a soft cloth or cotton swabs to apply the solution.
- Replacement key (optional): If the key is damaged beyond repair or lost, you may need a replacement key. You can find replacement keys online or contact Samsung for assistance.
Having these tools at your disposal will ensure that you can proceed with the repair process smoothly and efficiently. So, gather them up and let’s move on to the next steps!
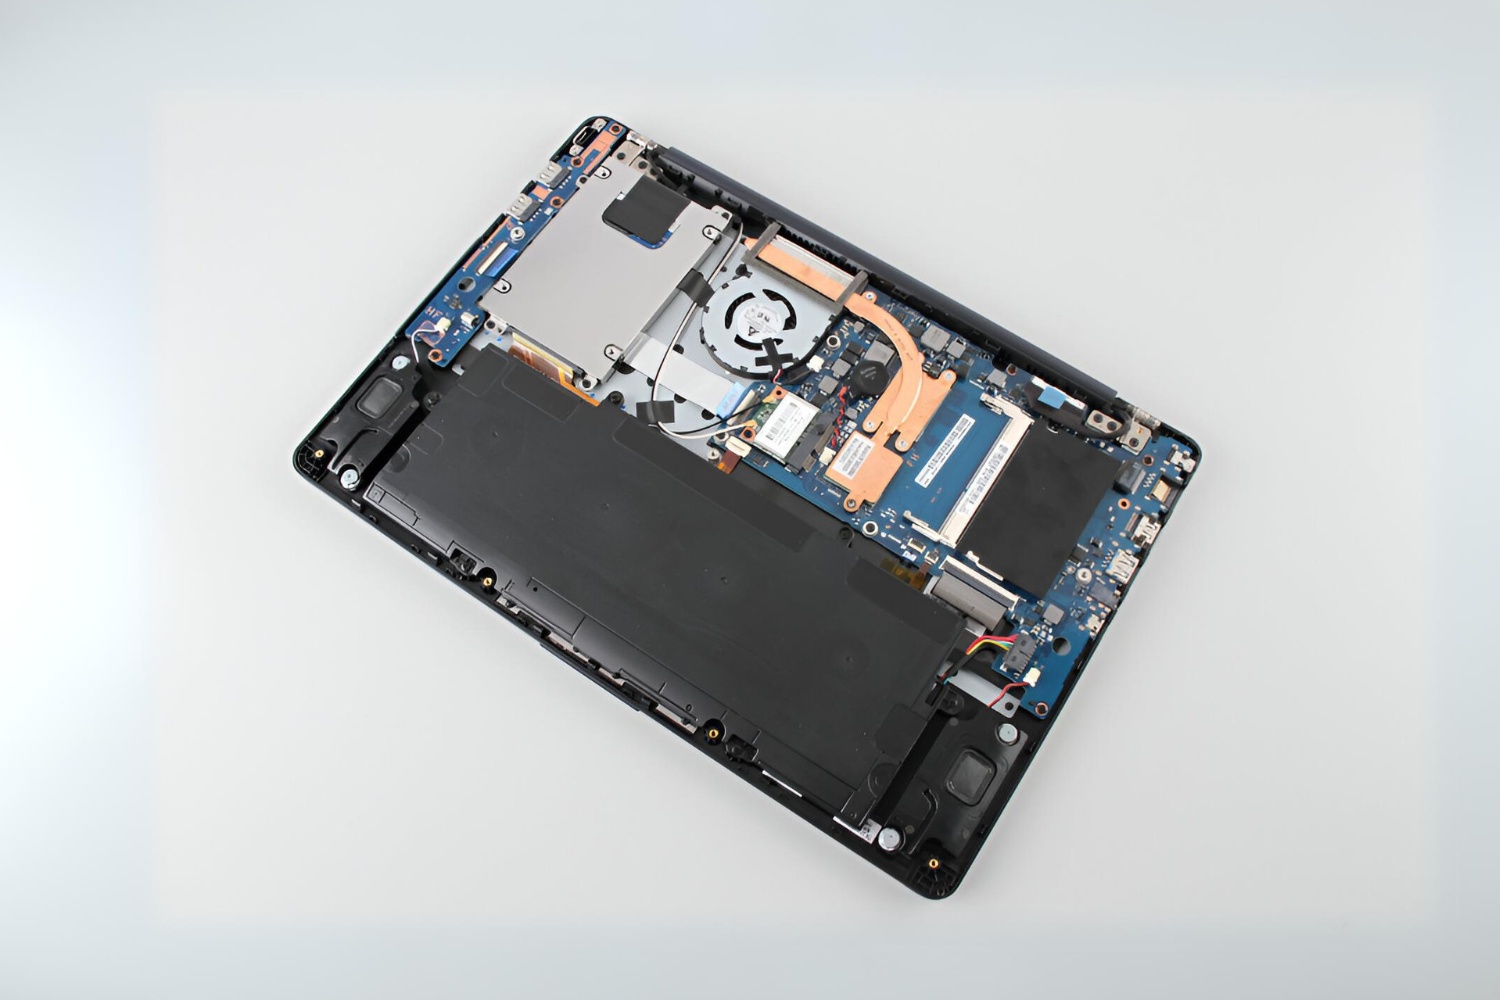
Step 1: Remove the old key
Before you can put the keyboard key back in, you’ll first need to remove the old key. Follow these steps to remove the key safely:
- Power off the laptop: Make sure to turn off your Samsung Ultrabook and unplug it from any power sources. This will prevent any accidental damage or data loss.
- Locate the key: Identify the key that you want to remove. Take note of its position and any surrounding keys that might interfere with the removal process.
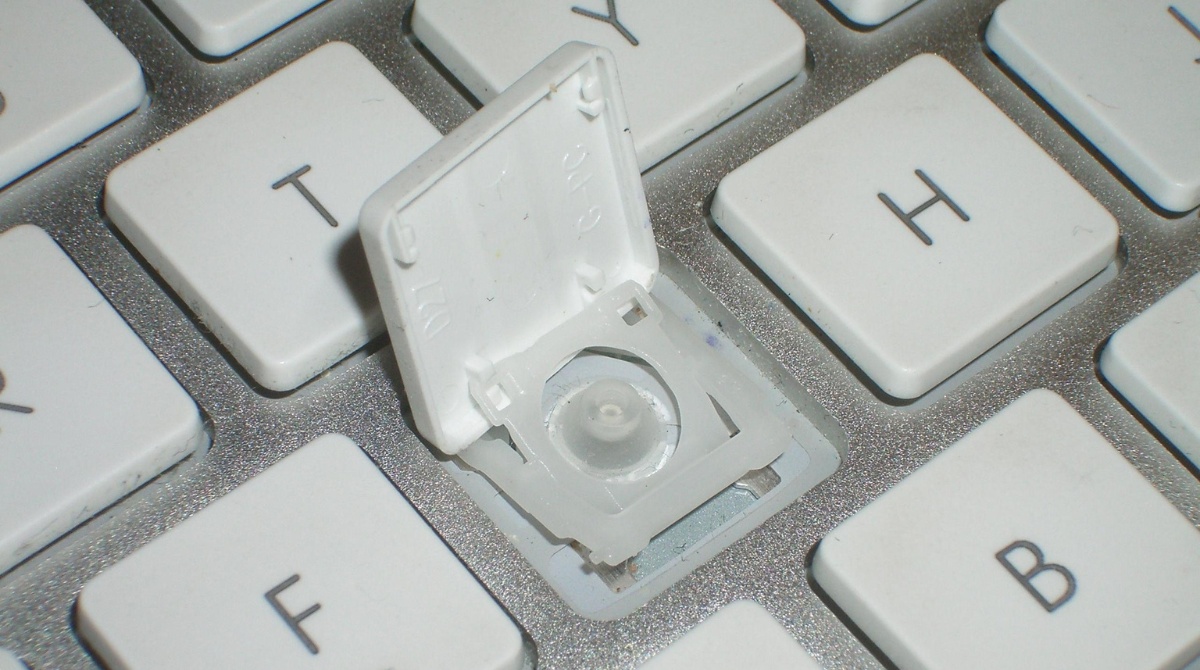
- Use a screwdriver: Gently insert the tip of the screwdriver under one corner of the key. Apply slight pressure to lift the key and disengage it from the keyboard.
- Slowly lift the key: Once you’ve lifted one corner, continue to lift the key using a gentle, upward motion. Be careful not to apply too much force, as this could damage the key or the keyboard itself.
- Detach the key: With the key lifted, you’ll notice a small plastic hinge or retention clip. Carefully detach the key from this hinge or clip, ensuring that you remember its position for later.
- Repeat if necessary: If there are other keys you need to remove, follow the same steps for each individual key.
By following these steps, you should be able to successfully remove the old key from your Samsung Ultrabook’s keyboard. Remember to handle the key and other components with care to avoid causing any further damage.
With the old key removed, you’re now ready to proceed to the next step: cleaning the area to ensure a smooth reinstallation.
Step 2: Clean the area
Once you have successfully removed the old key, it’s essential to clean the area thoroughly before putting the key back in place. Dust, debris, and sticky residue can accumulate under the keys, affecting their functionality. Follow these steps to clean the area:
- Prepare compressed air: Take the can of compressed air and hold it upright. Ensure that you are using the can with a thin nozzle for better precision.
- Blow out debris: Position the nozzle close to the area where the key was removed and press the trigger to release short bursts of compressed air. This will help dislodge any dust or debris that may have accumulated.
- Use cleaning solution: If there are any sticky residues on the key or the surrounding area, dampen a soft cloth or cotton swab with a mild cleaning solution or rubbing alcohol. Gently wipe the area to remove the residue. Avoid using excessive liquid to prevent damage to the keyboard.
- Let it dry: Allow the cleaned area to air-dry for a few minutes to ensure that there is no moisture remaining.
By cleaning the area, you ensure that the key will sit properly and function optimally once it is placed back on the keyboard. The removal of debris and residue also helps prevent future issues with the key’s functionality.
Now that the area is clean, it’s time to move on to the next step: positioning the new key or reattaching the old key, depending on your situation.
Step 3: Position the new key
If you have a replacement key, position it correctly on the keyboard following these steps. If you’re reattaching the old key, skip to Step 4.
- Inspect the hinge or retention clip: Take a close look at the plastic hinge or retention clip that was previously detached from the old key. Ensure it’s in good condition and not damaged.
- Align the key: Match the replacement key or old key with the hinge or retention clip. Align the key with the surrounding keys and ensure it sits flush with the keyboard layout.
- Gently press the key: Use your fingertips or a pair of tweezers to apply gentle pressure on the key, ensuring it’s in the correct position. Press down until you hear or feel a slight click, indicating that the key is in place.
If you are reattaching the old key, carefully position it back onto the hinge or retention clip in the same orientation as before. Ensure that the key is aligned properly with the surrounding keys.
Avoid using excessive force when positioning the key to prevent any damage to the hinge or the keyboard itself. Take your time to ensure that the key is securely in place and aligned correctly.
With the new key or reattached old key properly positioned, you’re now ready to move on to the next step: snapping the key back in place.
Step 4: Snap the key back in place
With the new key positioned or the old key reattached, it’s time to snap it back into place on your Samsung Ultrabook’s keyboard. Follow these steps to ensure a secure installation:
- Align the key with the keyboard: Double-check that the key is properly aligned with its corresponding location on the keyboard. Ensure that it sits evenly and matches the height and angle of the surrounding keys.
- Apply gentle pressure: Using your fingertips, apply even and gentle pressure to the key. Press down firmly until you hear or feel a satisfying click, indicating that the key has snapped back into place.
- Test the stability: After securing the key, check its stability by pressing it a few times. It should feel firm and not wobble or move excessively. If the key feels loose, try removing it and repeating the previous steps to ensure a proper fit.
It’s important to be careful when applying pressure to avoid damaging the key or the keyboard. Take your time and ensure that the key is properly aligned and firmly snapped back into place.
With the key now securely installed, it’s time to move on to the final step: testing the functionality of the key.
Step 5: Test the key’s functionality
After successfully snapping the key back into place, it’s crucial to test its functionality to ensure that it’s working as expected. Here’s how you can test the key on your Samsung Ultrabook’s keyboard:
- Power on the laptop: Turn on your Samsung Ultrabook and let it boot up completely.
- Open a text editor: Open a text editor program or any application where you can input text.
- Press the key: If you reattached the original key, press it a few times to check if it registers each key press accurately without any sticking or unresponsiveness.
- Type a test sentence: To further ensure the key’s functionality, type a test sentence using the key you repaired. Pay attention to the accuracy and responsiveness of the keystrokes.
- Test surrounding keys: Additionally, test the surrounding keys to ensure that the repair process did not inadvertently affect their functionality.
During the testing phase, be thorough and attentive to any irregularities. If you notice any issues, such as unresponsiveness, sticking, or erratic behavior, it may be necessary to repeat the previous steps to reposition or reinstall the key.
By testing the key’s functionality, you can confirm that the repair was successful and that the key is now fully operational.
Once you have verified the proper functionality of the key, you can now enjoy using your Samsung Ultrabook’s keyboard without any hindrance.
Conclusion
Congratulations! You have successfully learned how to put back a keyboard key in your Samsung Ultrabook. By following the steps outlined in this tutorial, you were able to remove the old key, clean the area, position the new key (or reattach the old key), snap it back in place, and finally, test its functionality.
Repairing or replacing a keyboard key may seem daunting at first, but with the right tools and a systematic approach, it can be a straightforward process. Taking the time to fix a loose or missing key can greatly improve your typing experience and prevent further damage to the keyboard. Plus, it saves you the cost and inconvenience of having to replace the entire keyboard.
Remember to exercise caution throughout the process and handle the key and other components with care. Applying gentle pressure and ensuring proper alignment will help prevent any accidental damage to the key or surrounding keys.
If you encounter any difficulties or if the key’s functionality is still not satisfactory after following this tutorial, it’s always a good idea to seek professional assistance or contact Samsung Support for further guidance.
We hope this tutorial has been helpful and that you can now enjoy using your Samsung Ultrabook with a fully functional keyboard. Happy typing!