Introduction
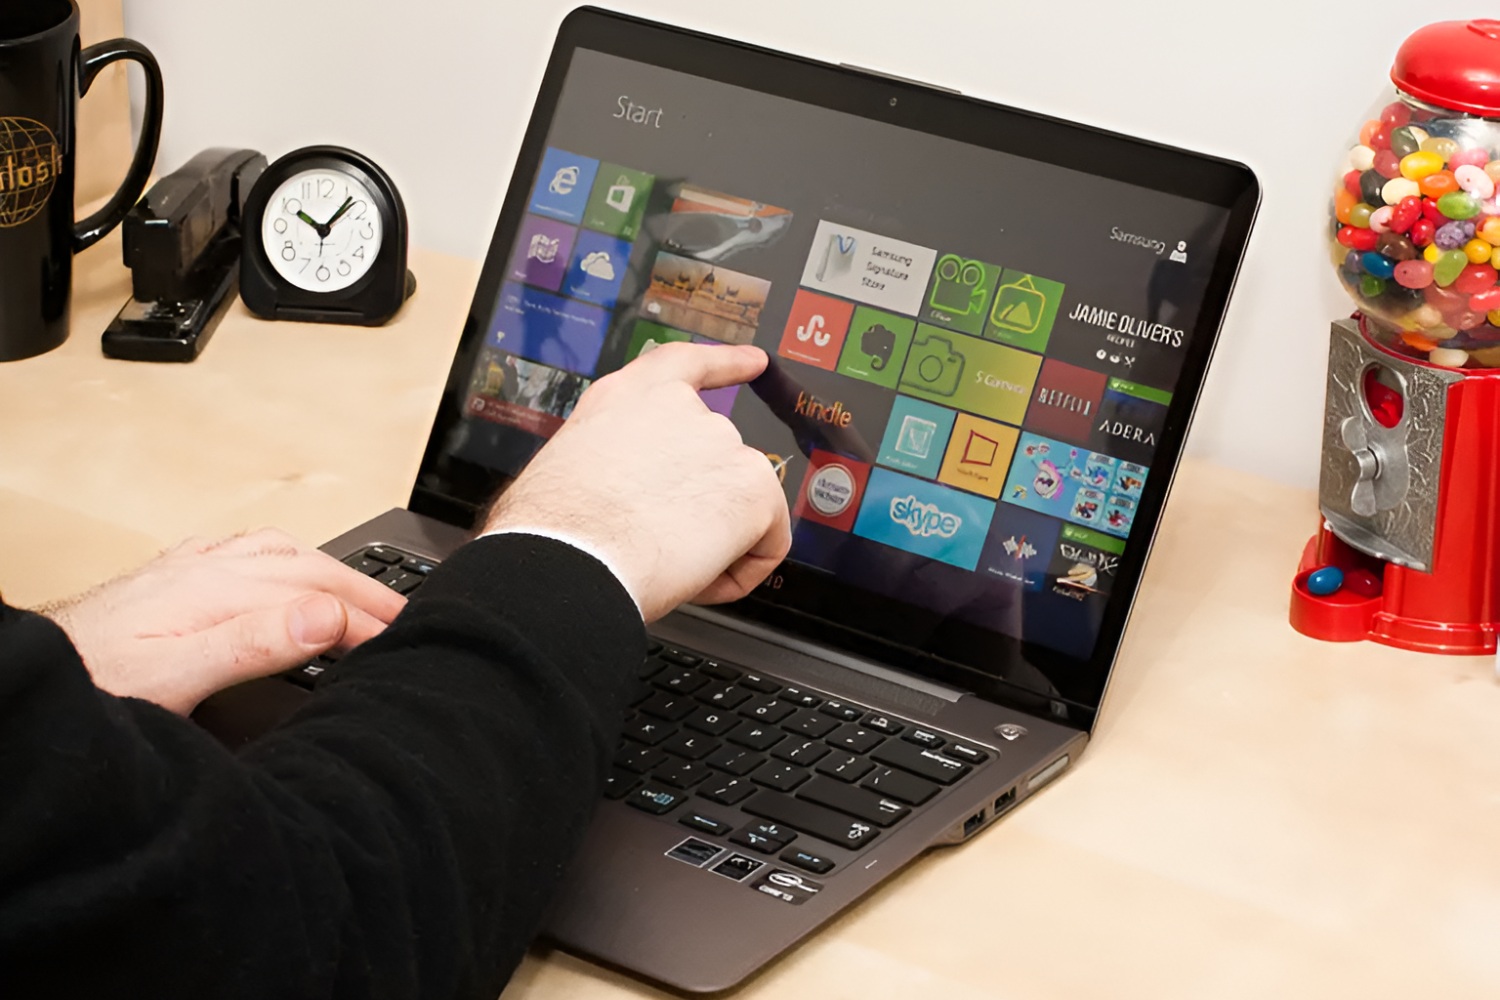
Welcome to our guide on how to remove the password from your Samsung Series 9 Ultrabook. If you’ve forgotten your password or simply want to remove it for convenience, you’ve come to the right place. This step-by-step tutorial will walk you through the process of disabling the password and regaining access to your Ultrabook smoothly.
The Samsung Series 9 Ultrabook is known for its sleek and lightweight design, making it a popular choice among on-the-go professionals and tech enthusiasts. However, dealing with a forgotten password can be frustrating and can prevent you from fully utilizing your device. Thankfully, the process of removing the password is relatively straightforward and can be done by following a few simple steps.
It is important to note that removing the password from your Ultrabook will eliminate the need to enter it each time you power on or wake up your device. While this can be convenient, it also means that anyone who has physical access to your Ultrabook will be able to use it without restriction. Therefore, it is crucial to consider the security implications before proceeding with this tutorial.
Before we dive into the steps, it is recommended to have a backup of any important files or data stored on your Ultrabook, just to be on the safe side. This will ensure that your information is not lost or accidentally deleted during the process.
Now that you understand the importance of removing the password and have taken the necessary precautions, let’s get started with the step-by-step instructions on how to remove the password from your Samsung Series 9 Ultrabook.
Step 1: Restart your Samsung Series 9 Ultrabook
The first step in removing the password from your Samsung Series 9 Ultrabook is to restart the device. This will allow you to access the BIOS setup menu, where you can make the necessary changes. To restart your Ultrabook, follow these simple steps:
- Save any unsaved work and close all open applications on your Ultrabook.
- Click on the “Start” menu located in the bottom left corner of the screen.
- From the Start menu, click on the “Power” button.
- Select the “Restart” option from the power menu that appears.
- Your Ultrabook will now begin the restart process. Wait for it to fully shut down and then power back on.
Once your Samsung Series 9 Ultrabook has restarted, it will be ready for you to access the BIOS setup menu. The restart process ensures that any previous settings are cleared, allowing you to make the desired changes to remove the password.
Note that the key or combination of keys to access the BIOS setup may vary depending on the specific model of your Samsung Series 9 Ultrabook. Common keys include F2, Del, Esc, or F10. During the reboot process, pay close attention to the screen for any prompts or instructions on which key to press to enter the BIOS setup.
Now that you have successfully restarted your Ultrabook, it’s time to move on to the next step of entering the BIOS setup menu and removing the password.
Step 2: Enter the BIOS setup menu
Entering the BIOS setup menu is the next step in removing the password from your Samsung Series 9 Ultrabook. The BIOS (Basic Input/Output System) is a firmware interface that allows you to access and configure various hardware settings of your device. To enter the BIOS setup menu, follow these steps:
- As your Ultrabook restarts, pay close attention to the screen for any prompts or instructions on which key to press to enter the BIOS setup. Common keys to enter the BIOS include F2, Del, Esc, or F10. Press the specified key(s) as soon as you see the prompt to enter the BIOS.
- The BIOS setup menu will then appear on your screen. It is important to note that the BIOS interface may vary depending on the manufacturer and model of your Ultrabook.
- Use the arrow keys on your keyboard to navigate through the options in the BIOS setup menu. Look for the option that allows you to manage the security settings or passwords.
- Once you have located the appropriate option, press Enter to access the password settings.
If you are unsure about navigating through the BIOS setup menu, refer to the user manual or support documentation provided by Samsung for your specific model. These resources will often provide detailed instructions on how to access and navigate the BIOS setup.
Now that you have successfully entered the BIOS setup menu, you are ready to proceed to the next step of navigating to the Security tab to disable the password.
Step 3: Navigate to the Security tab
In this step, you will navigate to the Security tab within the BIOS setup menu to find the option that allows you to disable the password on your Samsung Series 9 Ultrabook. Follow the instructions below to complete this step:
- Using the arrow keys on your keyboard, navigate through the options in the BIOS setup menu until you find the “Security” tab or a similar tab related to security settings.
- Press Enter to access the Security tab.
- Look for the option that manages the passwords or security features of your Ultrabook. The specific name and location of this option may vary depending on the BIOS version and Ultrabook model.
- Once you have located the password or security settings option, select it using the arrow keys and press Enter.
Inside the Security tab, you will find various options related to security settings, including password management. These settings allow you to control the password protection on your Samsung Series 9 Ultrabook. By accessing this tab, you are one step closer to disabling the password and regaining access to your device without the need to enter a password.
It’s important to note that the exact location and appearance of the Security tab may vary depending on the BIOS version installed on your Ultrabook. However, most BIOS setups have a dedicated tab for security-related settings, making it relatively easy to find.
Now that you’ve successfully navigated to the Security tab, you’re ready to proceed to the next step of disabling the Supervisor password.
Step 4: Disable the Supervisor password
Now that you have accessed the Security tab within the BIOS setup menu, it’s time to disable the Supervisor password on your Samsung Series 9 Ultrabook. Follow these instructions to complete this step:
- Navigate through the options in the Security tab using the arrow keys on your keyboard.
- Look for the option that refers to the Supervisor password or the main password for accessing your Ultrabook.
- Select the Supervisor password option and press Enter.
- You will be prompted to enter the current Supervisor password. If you have already forgotten the password, you can try using a default password provided by Samsung or consult the user manual or support documentation for your specific model.
- After entering the current Supervisor password, leave the new password field blank or type in a new password if you prefer.
- Press Enter to save the changes and disable the Supervisor password.
Disabling the Supervisor password removes the need to enter a password when accessing your Samsung Series 9 Ultrabook. This step effectively allows you to bypass the password requirement and regain access to your device without providing any credentials.
It’s important to remember that by disabling the Supervisor password, anyone who has physical access to your Ultrabook will be able to use it without any restrictions. Therefore, it’s essential to consider the security implications and ensure that your device is protected in other ways, such as by enabling other security features or using encryption methods.
Now that you have successfully disabled the Supervisor password, it’s time to move on to the next step of saving the changes and exiting the BIOS setup.
Step 5: Save the changes and exit the BIOS setup
After disabling the Supervisor password in the previous step, it’s important to save the changes you made and exit the BIOS setup menu on your Samsung Series 9 Ultrabook. Follow these instructions to complete this step:
- Once you have disabled the Supervisor password, navigate to the option that allows you to save the changes. This option is usually named “Save & Exit” or something similar.
- Select the “Save & Exit” option using the arrow keys and press Enter.
- A confirmation prompt will appear, asking you to verify if you want to save the changes and exit the BIOS setup. Confirm your selection by choosing “Yes” or the equivalent option.
- The changes you made to disable the password will now be saved, and your Ultrabook will exit the BIOS setup menu.
By saving the changes and exiting the BIOS setup, you have successfully applied the modifications that disable the password on your Samsung Series 9 Ultrabook. This means that you will no longer be prompted to enter a password when accessing your device.
It’s important to note that if you ever want to enable password protection again, you can always access the BIOS setup menu and make the necessary changes. Additionally, it’s a good practice to keep your Ultrabook in a secure location or utilize other security measures to protect your device and its data.
Now that you have saved the changes and exited the BIOS setup, it’s time to restart your Ultrabook and verify that the password has been successfully removed.
Step 6: Restart your Ultrabook and verify the password removal
After saving the changes in the BIOS setup, it’s time to restart your Samsung Series 9 Ultrabook and confirm that the password has been successfully removed. Following these instructions will allow you to complete this final step:
- Click on the “Start” menu located in the bottom left corner of your screen.
- Select the “Power” button.
- Choose the “Restart” option from the power menu.
- Your Ultrabook will now initiate the restart process.
- Once your Ultrabook has restarted, it should automatically boot up without asking for a password.
- Enter your regular login credentials to access your device, such as your username and, if applicable, your Microsoft or local account password.
Upon successfully logging in without being prompted for a password, you can consider the password removal process complete. You have regained full access to your Samsung Series 9 Ultrabook without the need for a password.
It’s important to verify that the password removal has been successfully applied. Double-check that you can log in normally and that there are no unexpected issues or prompts asking for a password during the startup process.
By completing this step, you have effectively removed the password from your Samsung Series 9 Ultrabook, allowing for easier and more convenient access to your device without the need for a password.
Congratulations! You have successfully removed the password from your Samsung Series 9 Ultrabook. Enjoy the convenience of logging in hassle-free and make the most out of your device.
Conclusion
Removing the password from your Samsung Series 9 Ultrabook can provide you with greater convenience and make it easier to access your device without the need for a password. Throughout this guide, we have walked you through the step-by-step process of removing the password from your Ultrabook, ensuring that you can regain full access to your device smoothly.
Starting with restarting your Ultrabook and entering the BIOS setup menu, we guided you through navigating to the Security tab and disabling the Supervisor password. We then proceeded to save the changes and exit the BIOS setup. Finally, we instructed you to restart the Ultrabook and verify that the password removal was successful.
It’s important to remember that by removing the password, you are removing a layer of security from your Ultrabook. It is crucial to consider the potential risks and take other measures to ensure the security of your device and its data. This can include enabling other security features, using encryption methods, or maintaining physical control over your Ultrabook.
Should you ever wish to enable password protection again in the future, you can always access the BIOS setup menu and make the necessary changes. The ability to customize your password settings gives you full control over the security measures applied to your Ultrabook.
We hope that this guide has been helpful in assisting you with removing the password from your Samsung Series 9 Ultrabook. Enjoy the convenience of logging in without needing a password and make the most out of your device!