Introduction
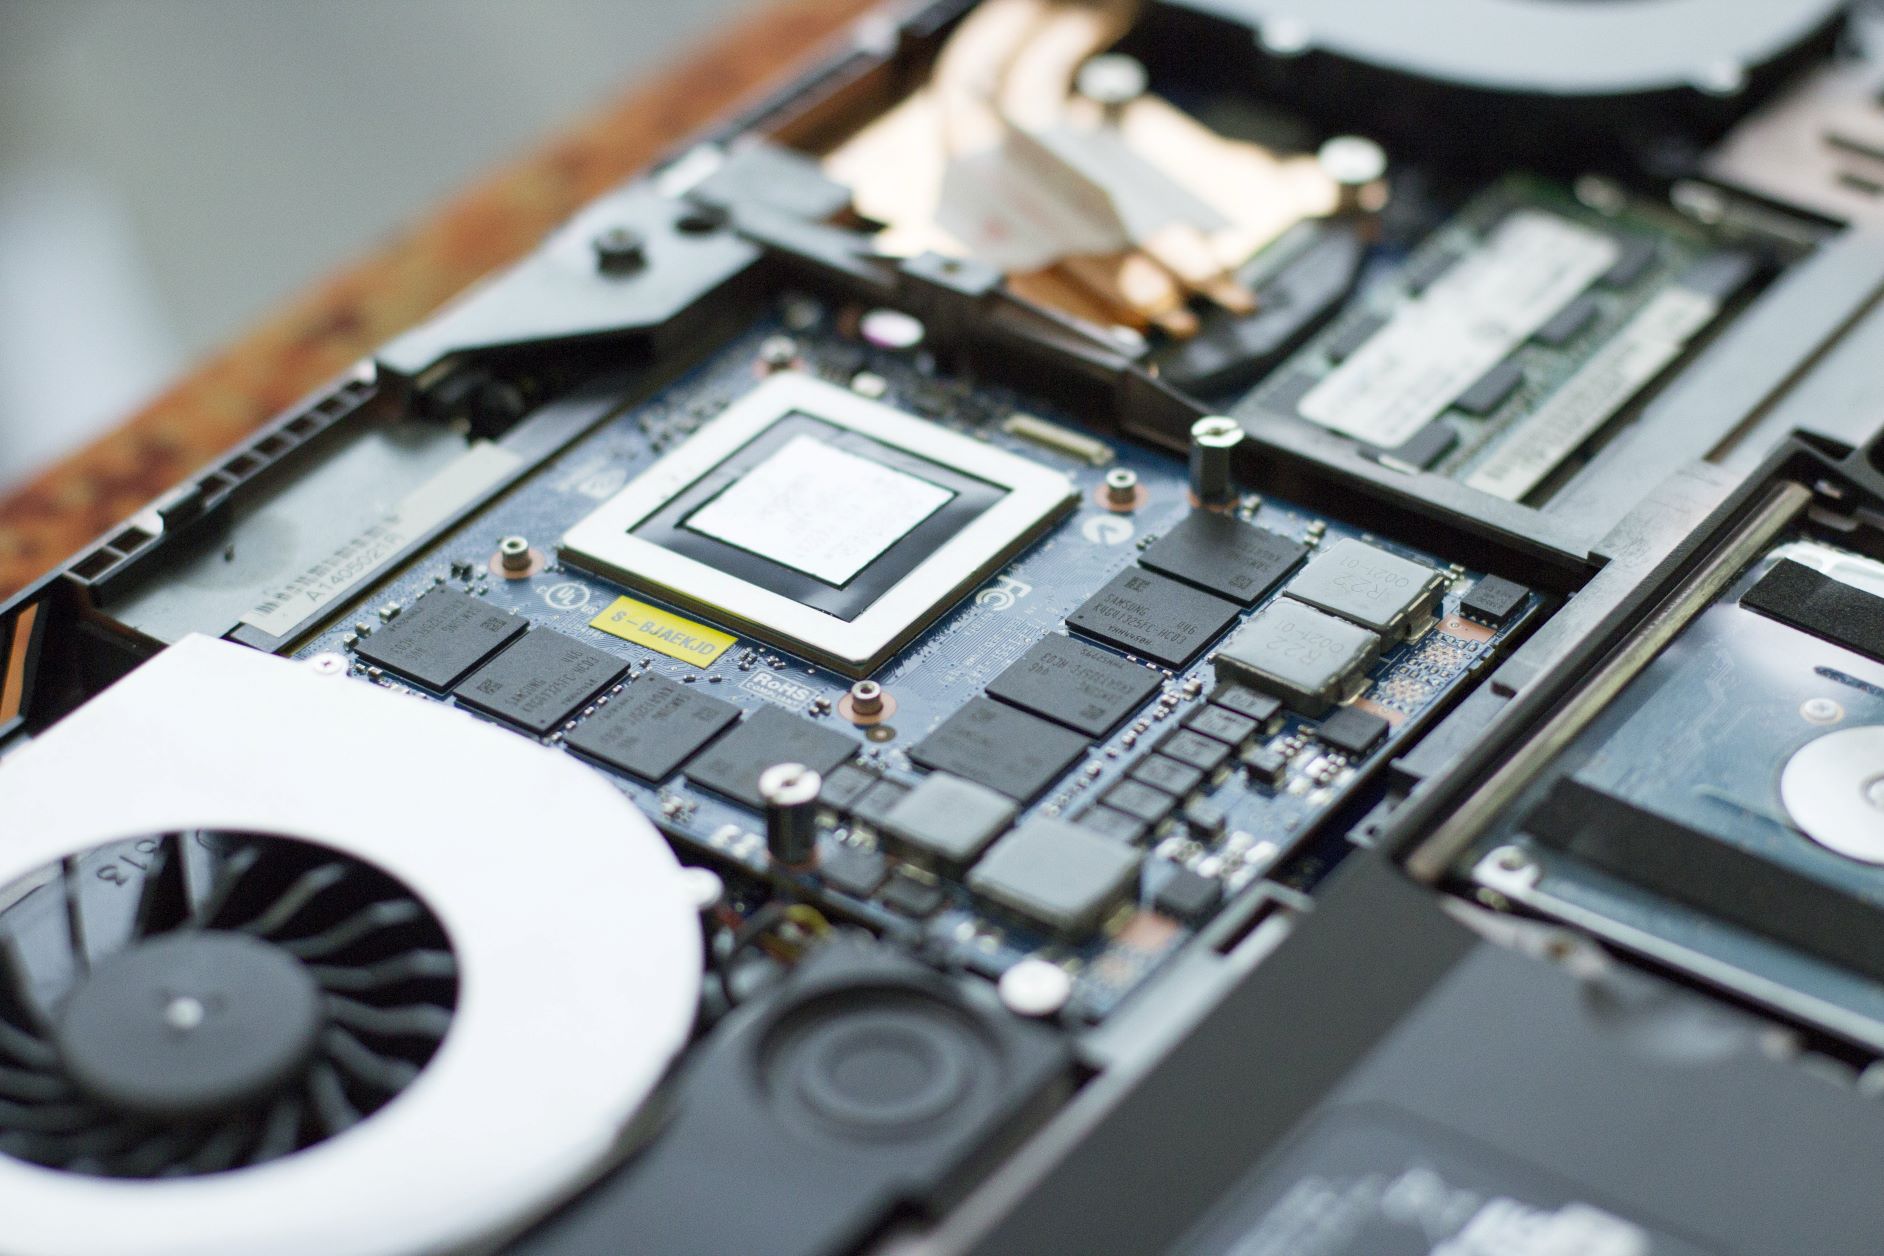
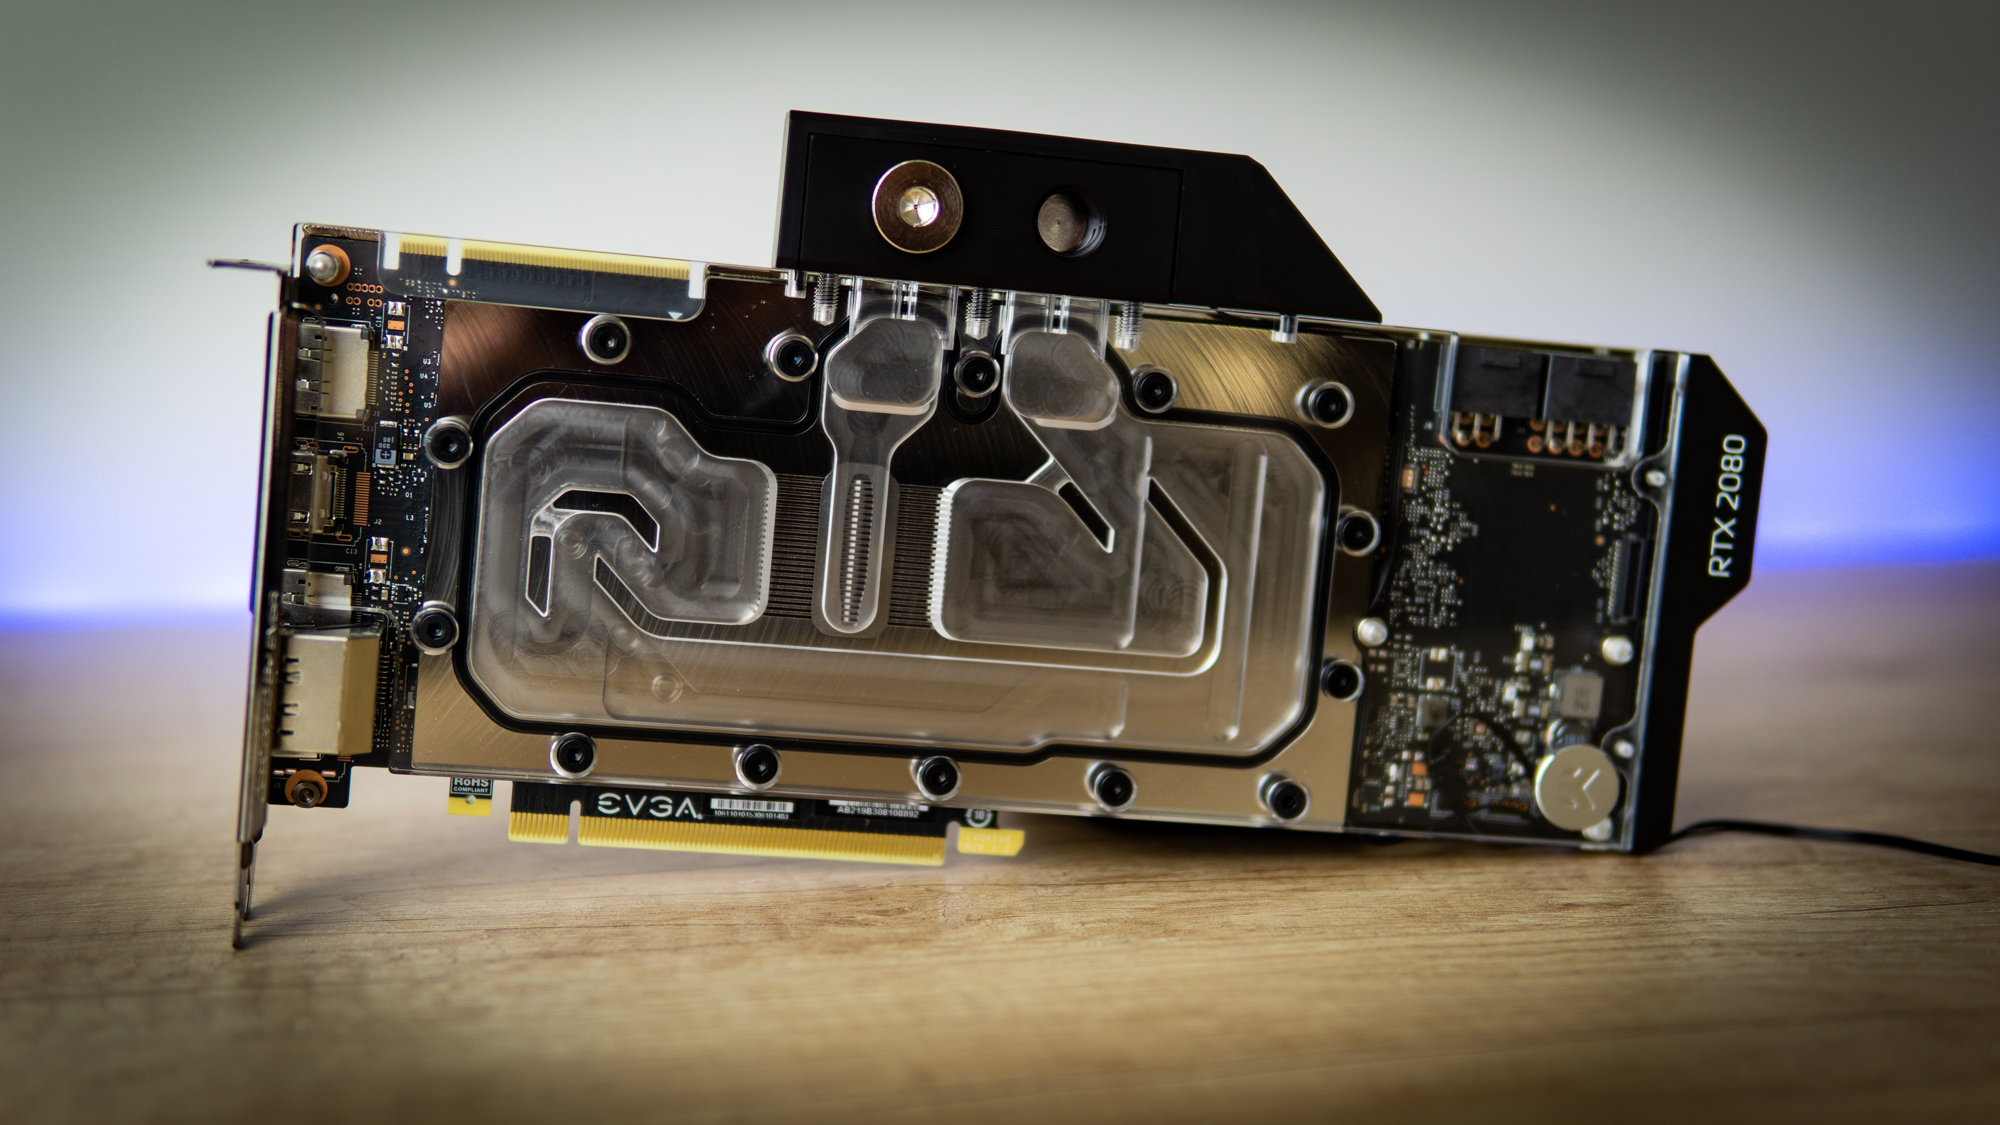
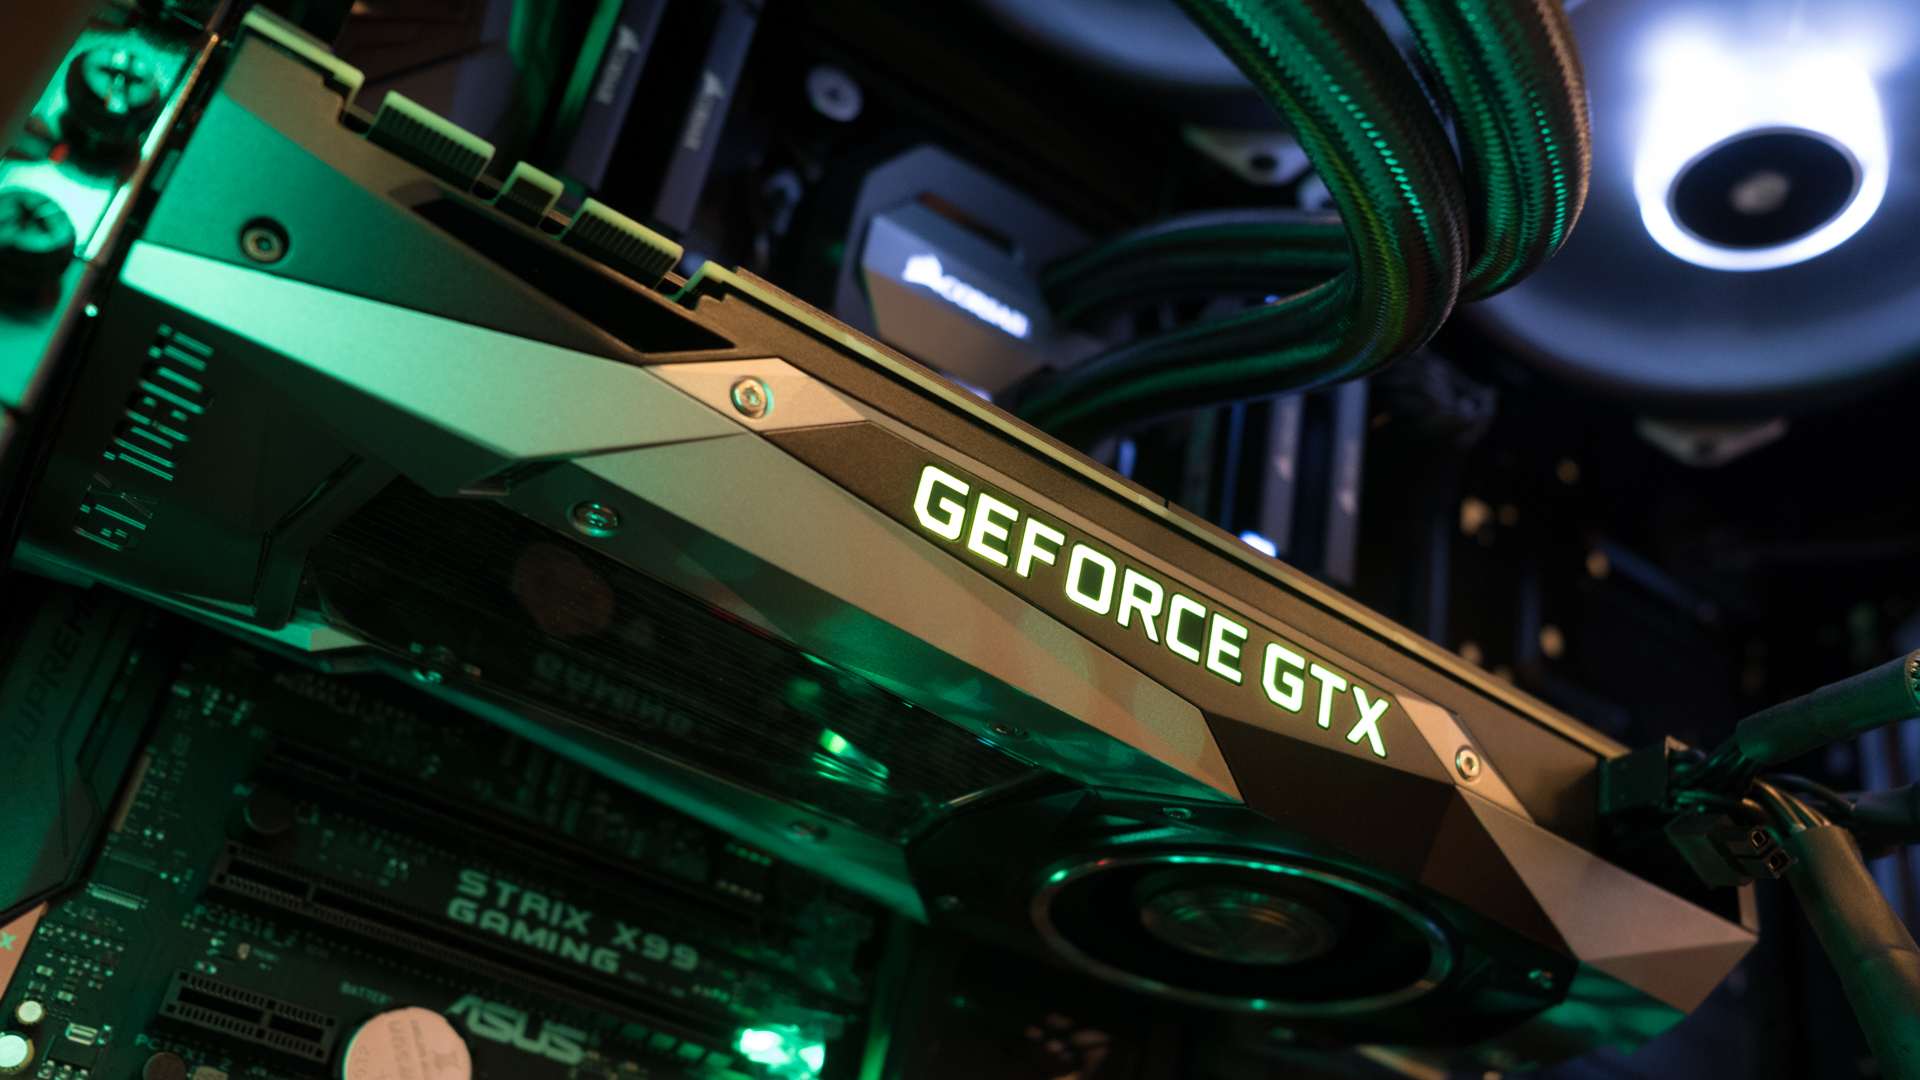
When it comes to upgrading your computer’s graphics card, one of the essential steps is to remove the drivers from your old graphics card. Drivers are software components that allow the operating system to communicate with the graphics card and ensure proper functionality. Failing to remove the old drivers can cause conflicts with the new graphics card, leading to performance issues and compatibility problems.
Removing drivers from an old graphics card may seem like a daunting task, but with the right guidance, it can be a straightforward process. In this article, we will walk you through the steps to remove drivers from an old graphics card and ensure a clean installation of a new one.
Before we delve into the steps, it’s important to note that the process may differ slightly depending on your operating system and the specific graphics card manufacturer. However, the general principles outlined here should apply to most scenarios.
It’s also worth mentioning that removing old drivers is not always necessary, especially if you are using the same graphics card manufacturer for your new card. In such cases, updating the existing drivers may be sufficient. However, if you are switching graphics card manufacturers or encountering driver-related issues, a clean uninstallation is recommended.
Now, let’s get started with the step-by-step process of removing drivers from an old graphics card.
Step 1: Uninstalling the drivers from the control panel
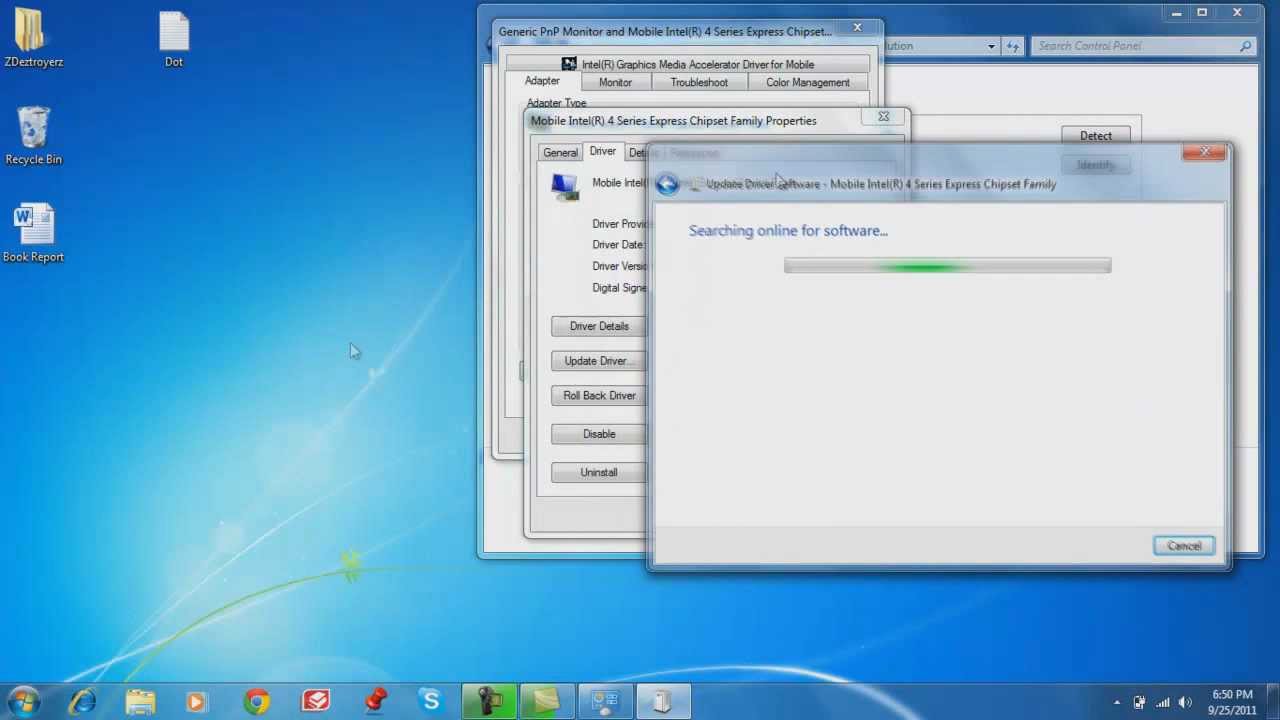
The first step in removing drivers from an old graphics card is to uninstall them from the control panel. This process may vary slightly depending on your operating system, but the basic steps are generally the same.
To begin, open the control panel on your computer. You can usually find it in the Start Menu or by searching for “Control Panel”. Once you have the control panel open, look for the “Programs” or “Programs and Features” option and click on it.
In the list of installed programs, locate the graphics card driver software. It may be listed under the name of your graphics card manufacturer, such as “NVIDIA” or “AMD”. Select the driver software and click on the “Uninstall” or “Remove” button.
Follow the on-screen prompts to complete the uninstallation process. You may be asked to confirm your action or provide administrative credentials. Once the uninstallation is complete, restart your computer to ensure that all remnants of the old drivers are removed from the system.
It’s important to note that some graphics card drivers come with additional software, such as control panels or utilities. If you prefer to remove all associated software, be sure to select the option to remove these components as well during the uninstallation process. However, if you find these tools useful and plan to continue using them with your new graphics card, you can choose to keep them installed.
After restarting your computer, it’s a good idea to check if the old drivers have been successfully uninstalled. You can do this by opening the “Device Manager” from the control panel or by right-clicking on the “My Computer” or “This PC” icon and selecting “Manage”. In the Device Manager, expand the “Display Adapters” category and check if the old graphics card is no longer listed. If it’s still present, you may need to proceed to the next step to remove any leftover driver files.
Step 2: Removing leftover driver files
Even after uninstalling the graphics card drivers through the control panel, there may still be leftover files and registry entries that can cause conflicts with the new graphics card. Removing these remnants is crucial to ensure a clean installation and optimal performance. Follow these steps to remove any leftover driver files:
1. Press the Windows key + R on your keyboard to open the Run dialog box. Type “devmgmt.msc” and hit Enter to open the Device Manager.
2. In the Device Manager, expand the “Display Adapters” category to see a list of installed graphics cards. Right-click on the old graphics card driver and select “Properties”.
3. In the Properties window, navigate to the “Driver” tab and click on the “Driver Details” button. This will display a list of driver files associated with the old graphics card.
4. Take note of the driver file names and their locations. Once you have the information, close the Properties window.
5. Next, open File Explorer and navigate to the locations where you found the driver files. Delete these files to remove any remnants of the old drivers. Be cautious not to delete any essential system files or files related to your new graphics card’s drivers.
6. After deleting the driver files, it’s recommended to clean the Windows registry to remove any leftover entries. To do this, type “regedit” in the Run dialog box and hit Enter.
7. In the Registry Editor, navigate to the following location: HKEY_LOCAL_MACHINE\SOFTWARE. Look for any subkeys related to the old graphics card manufacturer or specific driver versions, and delete them.
8. Once you have removed the driver files and cleaned the registry, restart your computer to complete the process. Your system should now be free of any leftovers from the old graphics card drivers.
It’s important to exercise caution when modifying the registry as deleting or modifying the wrong entries can cause system instability. If you’re unsure about making changes to the registry, it’s best to consult a professional or use a trusted registry cleaning tool.
Step 3: Using a driver uninstaller tool
If you’re still experiencing issues after uninstalling the drivers from the control panel and removing leftover files, another effective method is to use a dedicated driver uninstaller tool. These tools are designed to thoroughly remove graphics card drivers and associated software, ensuring a clean slate for the installation of new drivers. Here’s how you can use a driver uninstaller tool:
1. Research and choose a reputable driver uninstaller tool based on user reviews and recommendations. Examples include DDU (Display Driver Uninstaller) and AMD Clean Uninstall Utility for AMD graphics cards, or NVIDIA’s official GeForce Experience for NVIDIA graphics cards.
2. Download the driver uninstaller tool from the official website of the tool’s developer or a trusted source. Make sure to download the appropriate version for your operating system and graphics card.
3. Before running the tool, it’s a good idea to restart your computer in “Safe Mode”. This ensures that any active driver processes or services are stopped, allowing the uninstallation process to proceed smoothly. You can access “Safe Mode” by pressing the F8 key repeatedly during your computer’s startup.
4. Once in “Safe Mode”, run the driver uninstaller tool you downloaded. Follow the on-screen prompts to begin the uninstallation process. The tool will typically scan your system for installed drivers and provide options to remove them.
5. Select the old graphics card driver from the list and choose the option to uninstall it. The tool will then remove the driver and any associated files, ensuring a thorough removal.
6. After the uninstallation process is complete, restart your computer to finalize the changes. Once your system restarts, it should be free of any remnants of the old graphics card drivers.
Using a driver uninstaller tool can be a highly effective method, especially when dealing with stubborn drivers or complex driver configurations. However, it’s important to note that these tools should be used with caution and only obtained from reliable sources to avoid downloading malicious software.
By using a driver uninstaller tool, you’re ensuring that all traces of the old graphics card drivers are completely removed, allowing for a clean installation of the new drivers without any conflicts or compatibility issues.
Step 4: Cleaning the Windows registry
Cleaning the Windows registry is an important step in removing any remaining traces of old graphics card drivers. The registry is a database that stores configuration settings and information about installed software and hardware on your computer. Here’s how you can clean the Windows registry:
1. Press the Windows key + R on your keyboard to open the Run dialog box. Type “regedit” and hit Enter to open the Registry Editor.
2. Before making any changes, it’s crucial to back up your registry. To do this, click on “File” in the top-left corner of the Registry Editor window and select “Export”. Choose a location to save the backup file and provide a name for it. This allows you to restore the registry in case anything goes wrong.
3. In the Registry Editor, navigate to the following location: HKEY_LOCAL_MACHINE\SOFTWARE. Look for any subkeys related to the old graphics card manufacturer or specific driver versions, and delete them. To delete a subkey, right-click on it and select “Delete”. Exercise caution and ensure that you are only deleting the subkeys related to the old graphics card drivers.
4. After deleting the necessary subkeys, close the Registry Editor.
5. To ensure a thorough cleaning of the Windows registry, it is recommended to use a trusted registry cleaner tool. These tools scan the registry for leftover entries and invalid references, allowing you to safely remove them. Examples of popular registry cleaner tools include CCleaner, Wise Registry Cleaner, and Auslogics Registry Cleaner. Download and install the tool of your choice, following the instructions provided.
6. Once the registry cleaner tool is installed, open it and run a scan of your system’s registry. The tool will analyze the registry and present you with a list of entries that can be safely removed. Review the list and select the entries related to the old graphics card drivers. Proceed to clean the registry by removing those selected entries.
7. After the cleaning process is complete, it’s advised to restart your computer to allow the changes to take effect.
By cleaning the Windows registry, you are removing any lingering entries that may interfere with the installation and functioning of new graphics card drivers. This helps to ensure a smooth and error-free experience with your upgraded graphics card.
Step 5: Restarting the computer
After completing the previous steps to remove old graphics card drivers, it’s essential to restart your computer. Restarting allows the changes to take effect and ensures that your system is in a clean state to install the new graphics card drivers. Here’s why restarting is an important step:
1. Applied Changes: By restarting your computer, you ensure that all the changes you’ve made, such as uninstalling the old drivers and cleaning the Windows registry, are fully implemented. Restarting allows the system to recognize the changes and clear any lingering configurations or processes related to the old drivers.
2. Refreshed System: Restarting your computer provides a fresh start for your operating system. It clears any temporary files, resets system processes, and refreshes system memory. This can help eliminate any conflicts or issues that may have been caused by the old drivers or leftover files.
3. Driver Installation: After restarting, your computer will be ready for the installation of new graphics card drivers. The installation process typically requires a reboot to complete, so ensuring that your system is running smoothly beforehand is crucial for a successful installation.
4. Stability and Performance: Restarting your computer helps improve system stability and performance. It allows the operating system to optimize resources and ensure that all components are functioning correctly. This is particularly important when installing new hardware, such as a graphics card, as it ensures that your computer is in the best possible condition to support the new hardware and provide optimal performance.
After restarting your computer, you can proceed with the installation of the new graphics card drivers. Follow the manufacturer’s instructions for downloading and installing the drivers specific to your new graphics card model. Once installed, your system should be ready to enjoy the enhanced performance, features, and capabilities of your upgraded graphics card.
Remember, restarting your computer before and after the driver removal and installation processes is a critical step to ensure a clean and stable transition. By doing so, you minimize the chances of compatibility issues and maximize the performance of your new graphics card.
Conclusion
Removing old graphics card drivers is an important step when upgrading your graphics card or troubleshooting driver-related issues. By following the steps outlined in this guide, you can ensure a clean and smooth transition to new drivers, maximizing performance and compatibility with your upgraded hardware. Here’s a quick recap of the steps involved:
1. Uninstall the drivers from the control panel: Begin by opening the control panel, locating the graphics card driver software, and uninstalling it. Be sure to restart your computer afterward.
2. Remove leftover driver files: Manually delete any remaining driver files from your system to prevent conflicts and complications. Remember to clean the Windows registry to remove registry entries associated with the old drivers.
3. Use a driver uninstaller tool: If the manual removal process is not successful or if you’re dealing with stubborn drivers, consider using a dedicated driver uninstaller tool. These tools can thoroughly remove all traces of old drivers.
4. Clean the Windows registry: Employ a trusted registry cleaner tool to scan and remove any remaining entries related to the old graphics card drivers.
5. Restart the computer: Restarting your system ensures that all changes take effect, and your computer is ready for the installation of new drivers.
By following these steps, you can ensure a clean and optimal installation of new graphics card drivers, avoiding conflicts and improving overall system performance. Remember to download the latest drivers from the manufacturer’s website and follow the installation instructions specific to your new graphics card model.
Upgrading your graphics card can breathe new life into your computer, enhancing gaming experiences, and increasing graphics processing power. By properly removing old graphics card drivers, you pave the way for a seamless transition to new drivers, ensuring that your system is primed for the improved capabilities of your upgraded hardware.