Introduction
Upgrading your graphics card can greatly improve the performance and visual capabilities of your computer, whether you’re a gamer, a graphic designer, or simply looking to enhance your multimedia experience. A new graphics card can provide smoother gameplay, faster rendering times, and the ability to run the latest software and games with ease.
In this guide, we will walk you through the process of replacing your graphics card in your PC. We will cover the tools and equipment you’ll need, as well as step-by-step instructions on removing the old graphics card, installing the new one, and connecting the necessary cables. Additionally, we will provide troubleshooting tips for common issues that may arise.
Before we dive into the process, it’s important to note that upgrading your graphics card may require some technical knowledge and familiarity with your computer’s inner workings. If you’re uncomfortable with opening up your PC and handling the delicate components inside, it may be best to seek assistance from a knowledgeable friend or a professional.
That being said, if you’re ready to take the plunge and replace your graphics card, let’s gather our tools and equipment and get started on this exciting upgrade!
Gathering the necessary tools and equipment
Before you begin the process of replacing your graphics card, it’s essential to gather all the necessary tools and equipment. Having everything you need on hand will make the installation process smoother and more efficient. Here’s a list of items you’ll need:
- Screwdriver: Depending on your computer case, you may need a Phillips or a flathead screwdriver to open it up. Check your PC’s manual or examine the screws on the case to determine which type you’ll need.
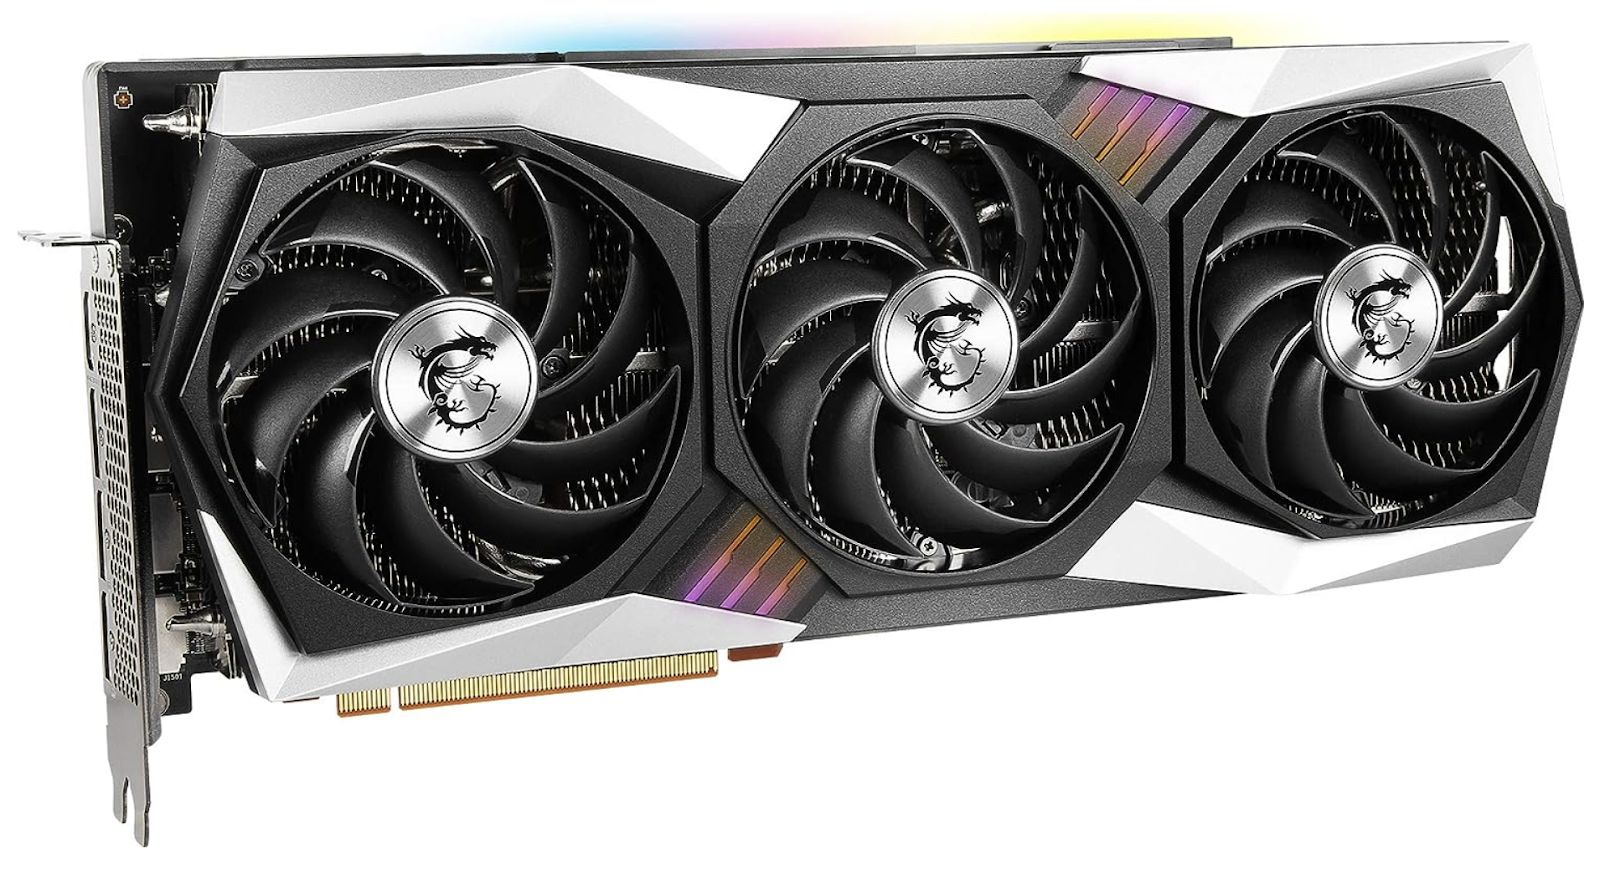
- New graphics card: Make sure you have purchased a compatible graphics card for your computer. Check the specifications of your motherboard and power supply to ensure compatibility with the new card.
- Anti-static wrist strap: Static electricity can damage sensitive computer components, so wearing an anti-static wrist strap will help protect your new graphics card during installation. If you don’t have a wrist strap, make sure to frequently touch an unpainted metal surface to discharge any static electricity.
- Cleaning cloth or compressed air: It’s a good idea to clean the area inside your computer case before installing the new graphics card. Use a microfiber cloth or compressed air to remove any dust or debris that could affect the performance of your components.
- Optional: Thermal paste: If you’re replacing an older graphics card that uses thermal paste to transfer heat to a heatsink, you may need to reapply thermal paste to the new graphics card. Check the manufacturer’s instructions for guidance on whether or not you need to apply thermal paste.
Once you have gathered all the necessary tools and equipment, you’re ready to move on to the next step: preparing your computer for the installation of the new graphics card.
Preparing your computer for installation
Before you begin the process of replacing your graphics card, it’s important to properly prepare your computer to ensure a successful installation. Follow these steps to get your computer ready:
- Power off your computer: Make sure your computer is turned off and unplugged from the power source. This will help prevent any electrical mishaps and keep you safe during the installation process.
- Open your computer case: Use a screwdriver to remove the screws securing your computer case. Gently slide off the side panel to access the internal components.
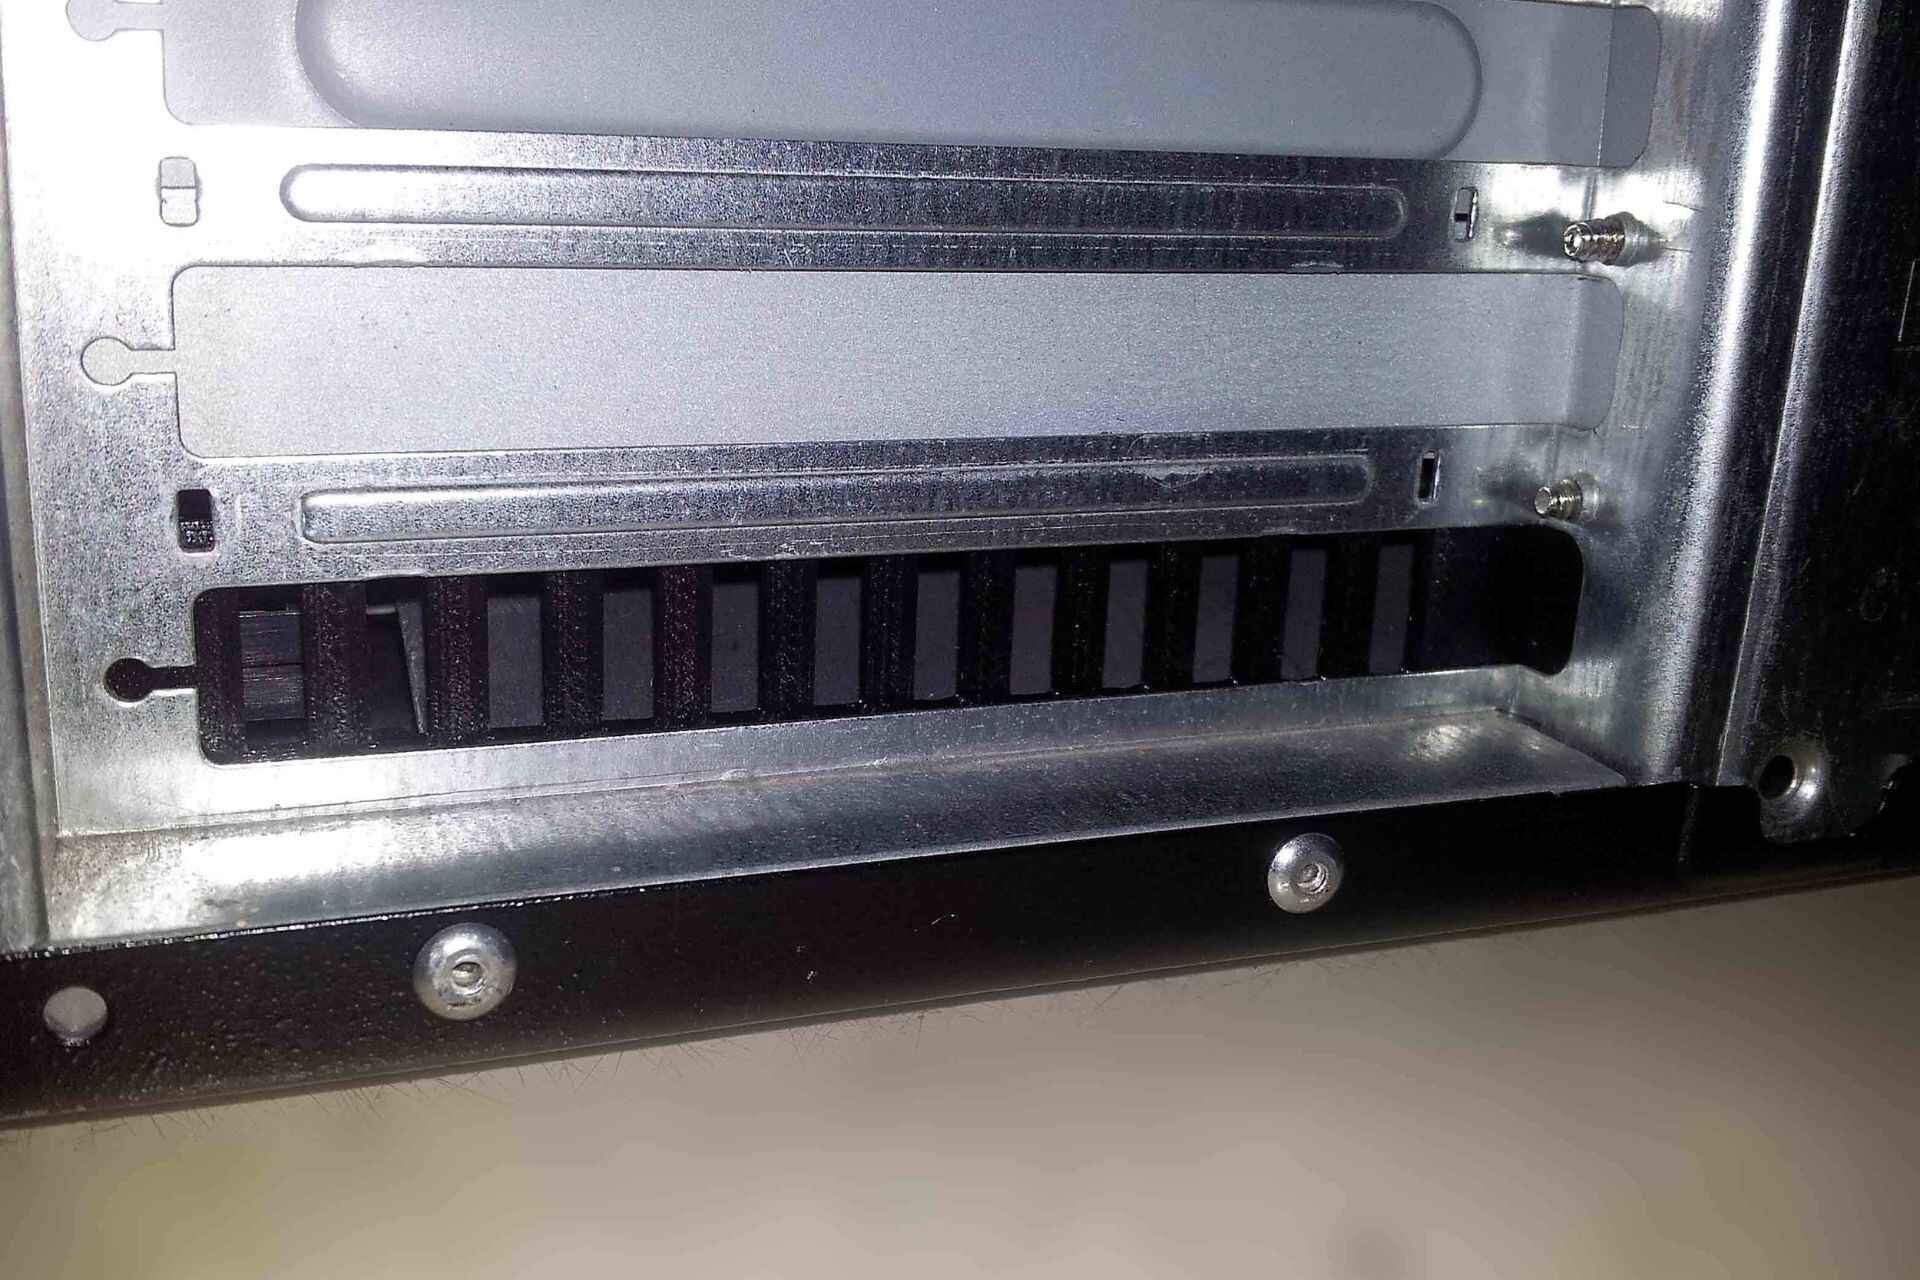
- Locate the current graphics card: Take a careful look inside your computer and locate the current graphics card. It should be inserted into a PCI Express slot on your motherboard. If you’re unsure, consult your computer’s manual for guidance.
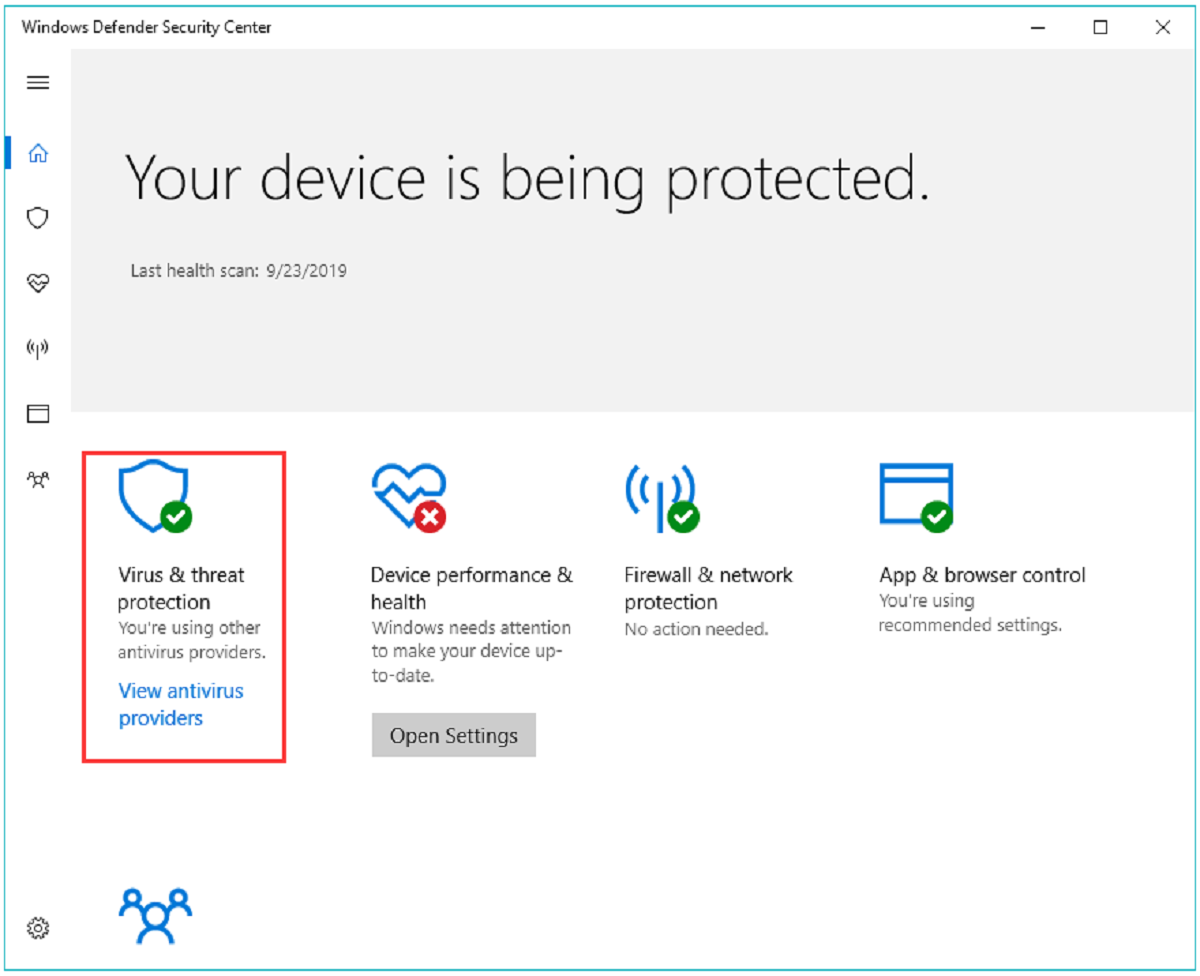
- Uninstall the old graphics card drivers: Before removing the old graphics card, it’s important to uninstall its drivers from your computer. This will ensure a clean installation of the new card and prevent any conflicts. Go to the Control Panel on your computer, select “Device Manager,” locate the display adapter, right-click on the old graphics card, and choose “Uninstall.”
- Disconnect power and cables: Carefully unplug any power cables and data cables attached to the old graphics card. Some graphics cards may have additional power connectors that need to be disconnected as well. Take note of where the cables are connected so you can easily reconnect them later.
- Remove the old graphics card: Gently press down on the release lever securing the graphics card to the PCI Express slot. Once released, carefully pull out the old graphics card from the slot. Be cautious not to use excessive force or damage any surrounding components.
With these steps completed, you have successfully prepared your computer for the installation of your new graphics card. In the next section, we will guide you through the process of removing the old graphics card.
Removing the old graphics card
Now that you have prepared your computer for the installation of a new graphics card, it’s time to remove the old one. Follow these steps to safely remove the old graphics card:
- Handle the graphics card with care: Before touching the graphics card, make sure to discharge any static electricity by touching an unpainted metal surface or wearing an anti-static wrist strap.
- Remove any securing clips or screws: Some graphics cards may have securing clips or screws that hold them in place. Check for any clips or screws and gently remove them using a screwdriver or your hands.
- Release the retention bracket: Most graphics cards have a retention bracket at the back of the PCI Express slot that holds them in place. Push down on the retention bracket to release it, allowing the graphics card to be removed.
- Remove the old graphics card: Carefully grip the edges of the graphics card and gently pull it straight out of the PCI Express slot. Avoid pulling at an angle or exerting excessive force, as this can damage the card or the slot.
- Inspect for any additional connectors: After removing the graphics card, check for any additional connectors that may be attached to it. Disconnect any remaining power cables or other connectors.
Once you have successfully removed the old graphics card, place it in a safe and static-free location or store it in its original packaging if you wish to keep it as a spare. Now, you’re ready to move on to the exciting part of installing your new graphics card!
Installing the new graphics card
With the old graphics card safely removed, it’s time to install the new one. Follow these steps to properly install your new graphics card:
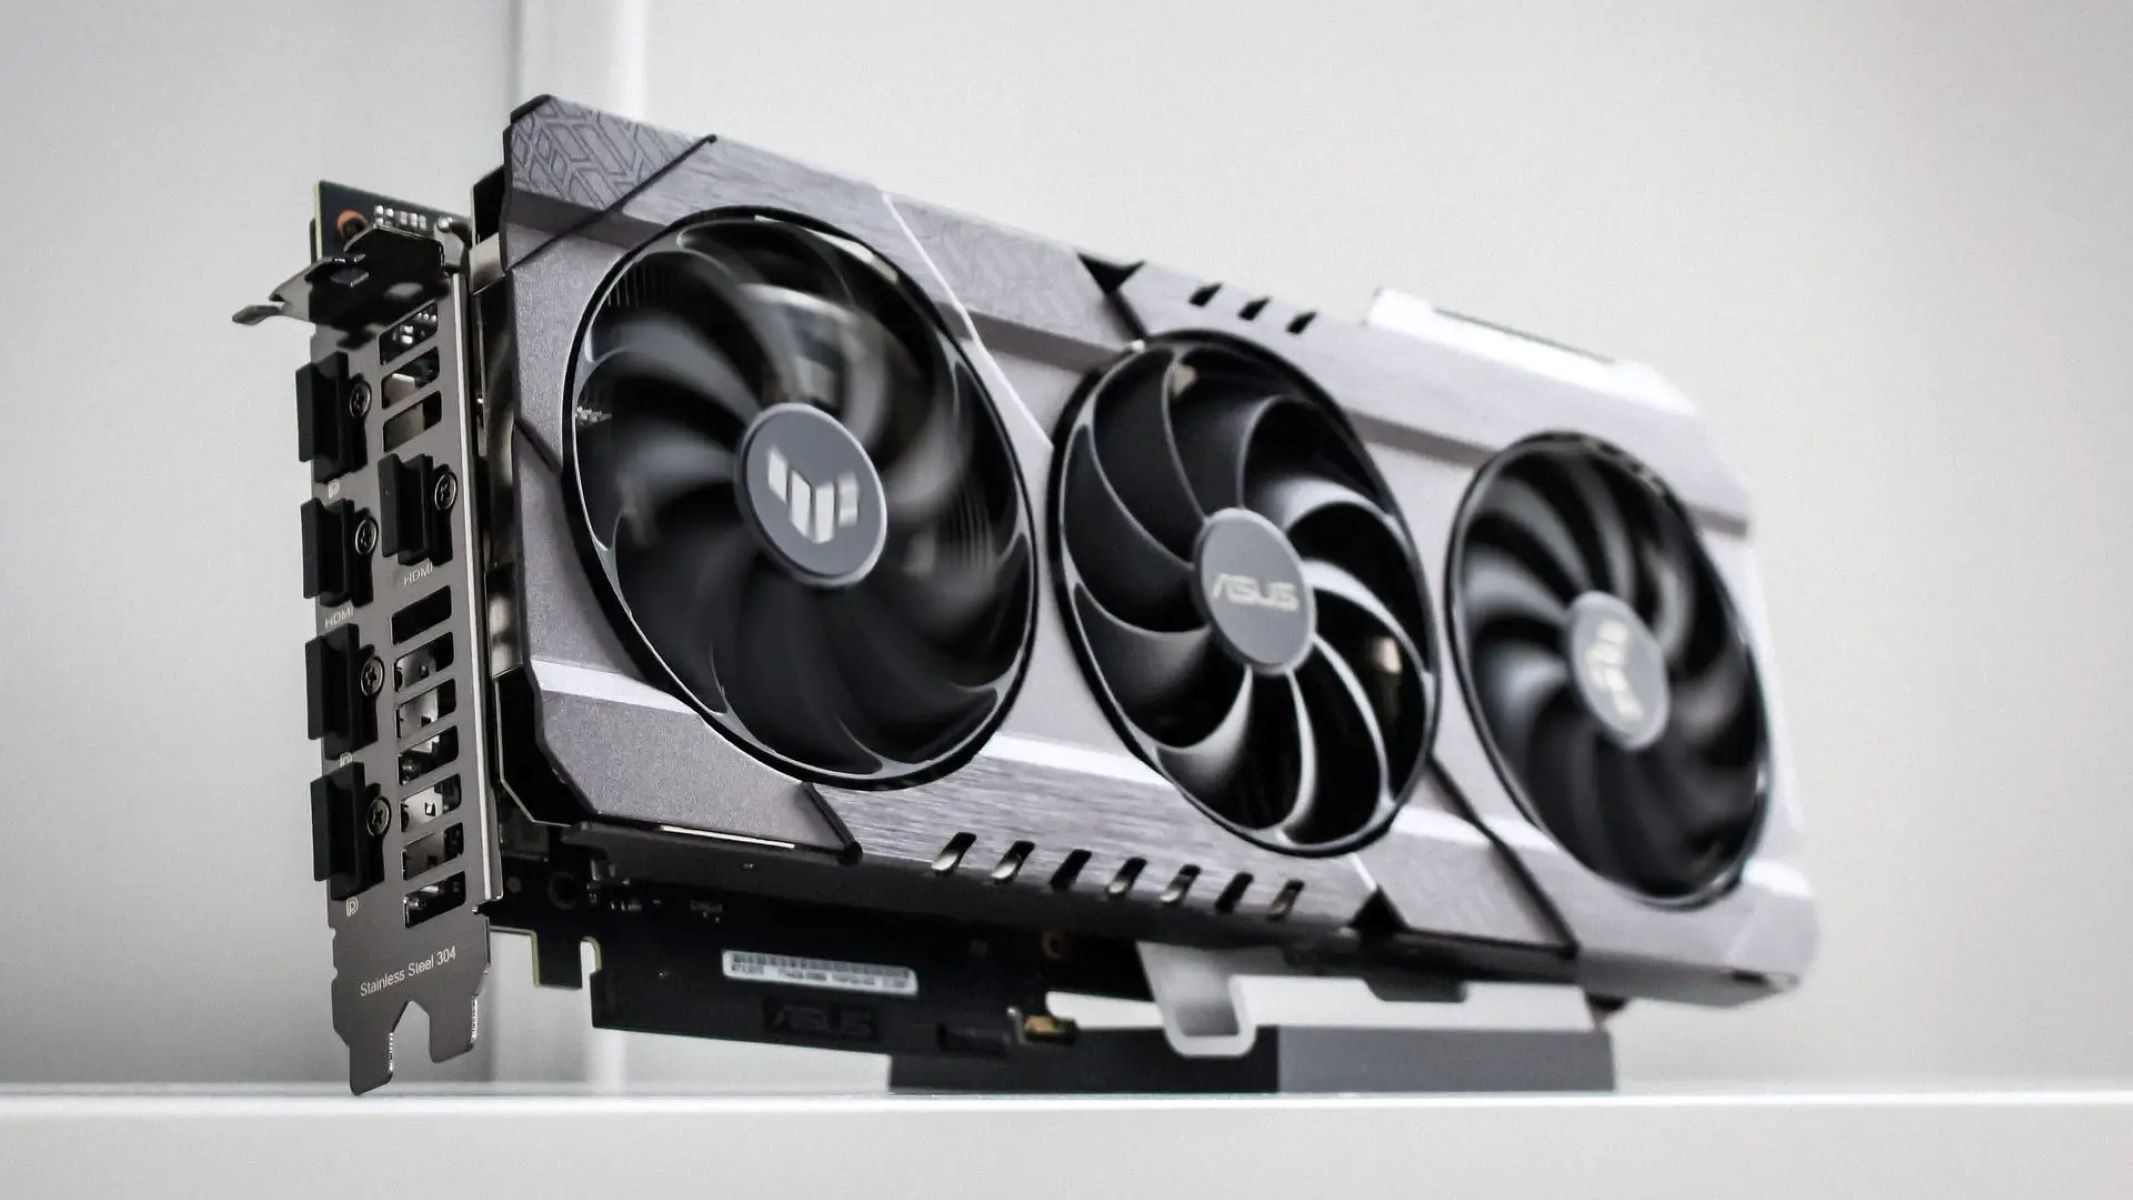
- Align the new graphics card: Hold the new graphics card by its edges and align it with the empty PCI Express slot on your motherboard. Ensure that the gold contacts on the bottom of the card are facing down and aligned with the slot.
- Insert the new graphics card: Gently and firmly push the new graphics card into the PCI Express slot. Make sure it is fully inserted and that the retention bracket locks into place.
- Secure the new graphics card: If your new graphics card has securing clips or screws, use the appropriate tools to secure it in place. Follow the manufacturer’s instructions for the specific requirements of your card.
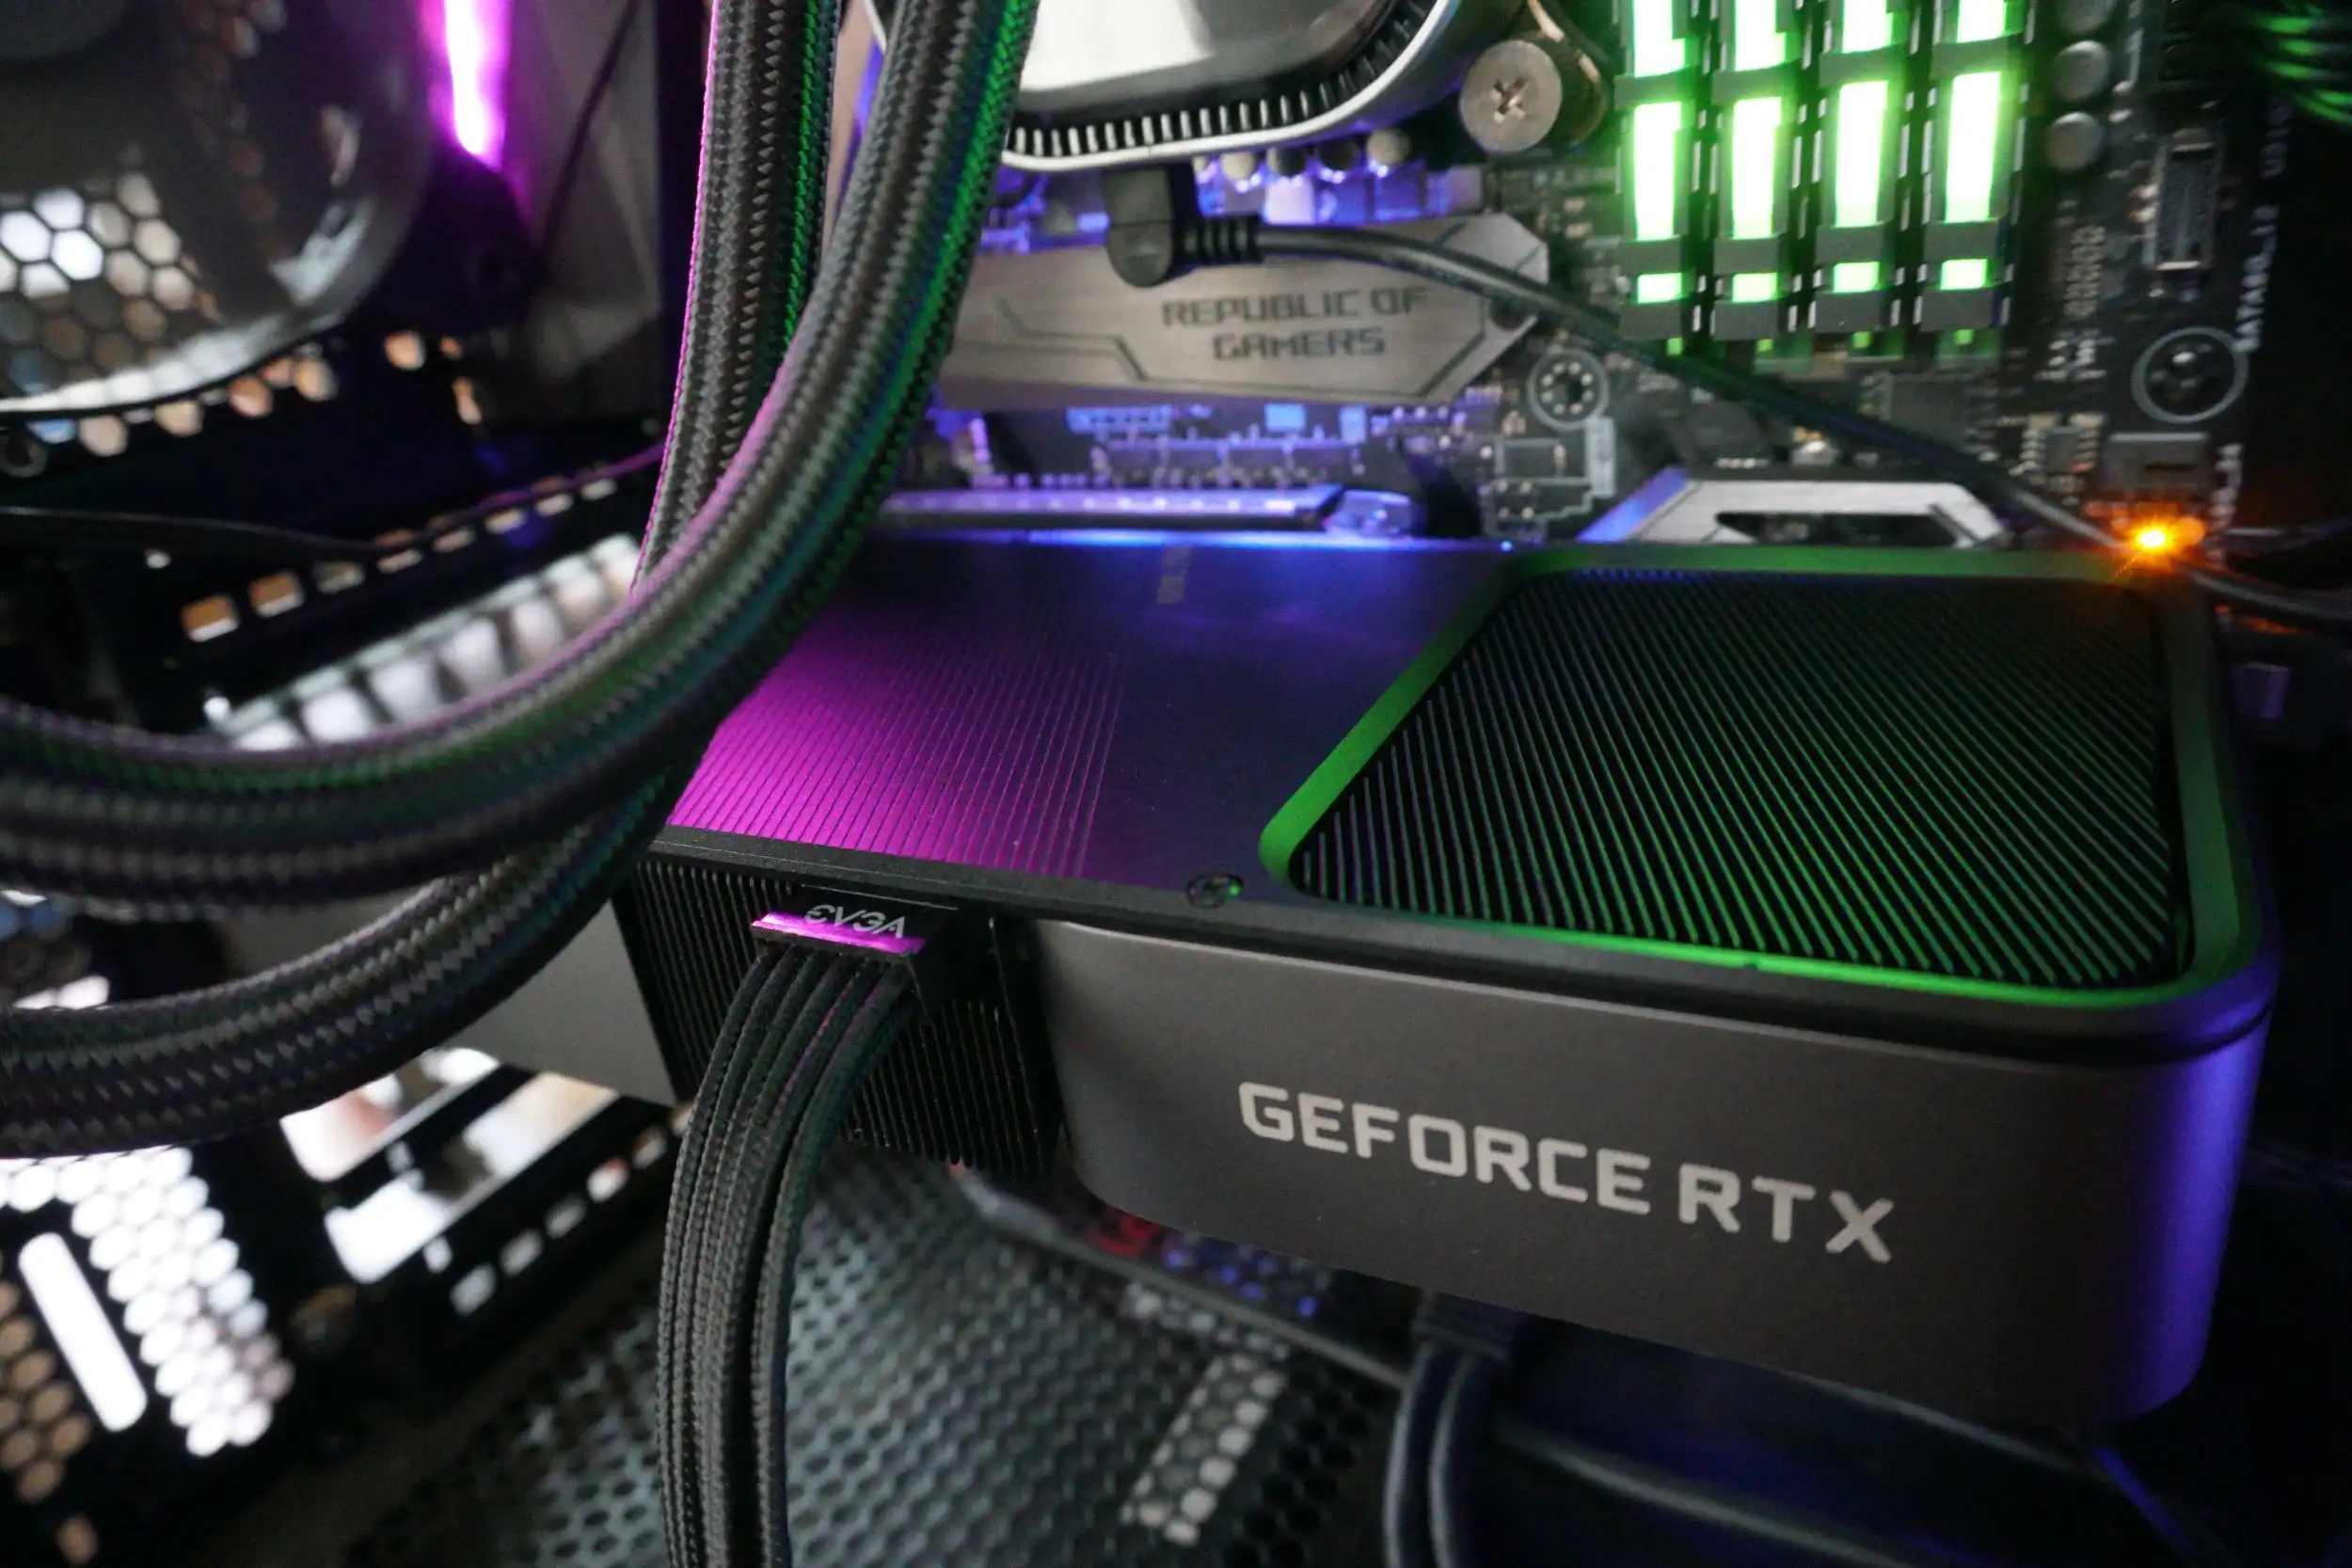
- Connect power cables: If your new graphics card requires additional power, locate the power connectors on the card and connect the corresponding power cables from your power supply. Ensure a secure connection.
- Close your computer case: Once the new graphics card is securely installed and all power cables are connected, carefully slide the computer case’s side panel back into place. Secure it with the screws you initially removed.
That’s it! You have successfully installed your new graphics card. Now, it’s time to move on to the next step: connecting the necessary power and data cables.
Connecting power and other cables
After installing your new graphics card, it’s crucial to ensure that all the necessary power and data cables are properly connected. Follow these steps to connect the essential cables:
- Connect power cables: Locate the power connectors on your new graphics card and connect the corresponding power cables from your power supply. Make sure to apply firm, even pressure to ensure a secure connection. If your graphics card has multiple power connectors, ensure that each one is connected.
- Connect data cables: If your new graphics card requires any additional data cables, such as HDMI, DisplayPort, or DVI, connect them to the appropriate ports on your graphics card. These cables will allow the transfer of video signals to your monitor.
- Verify other connections: Check that all other cables inside your computer case are securely connected. These may include cables for your hard drive, motherboard, and other components. Ensure that there are no loose or disconnected cables that could cause issues or prevent your system from operating properly.
- Double-check connections: Take a moment to double-check all your connections, both internally and externally. Ensure that the cables are firmly plugged in and properly aligned. A loose connection can lead to technical issues or poor performance.
Once you have successfully connected all the necessary power and data cables, you are ready to move on to the final step: powering up your computer and testing the new graphics card.
Powering up and testing the new graphics card
Now that you have successfully installed and connected your new graphics card, it’s time to power up your computer and test its functionality. Follow these steps to ensure everything is working properly:
- Power on your computer: Connect the power cord to your computer and plug it into a power outlet. Press the power button to turn on your computer.
- Check for system recognition: As your computer boots up, pay attention to any messages or prompts that come up on the screen. Your operating system should detect the new graphics card and start the installation process for the appropriate drivers.
- Install the new graphics card drivers: If prompted, follow the on-screen instructions to install the new drivers for your graphics card. These drivers are essential for optimal performance and compatibility with your system.
- Test your graphics card: Once the drivers are installed, you can test your graphics card by running graphic-intensive applications or games. Monitor its performance, check for any artifacts, glitches, or abnormalities that might indicate an issue. If everything appears to be functioning correctly, congratulations! You have successfully installed and tested your new graphics card.
In the event that you encounter any problems or the graphics card is not functioning as expected, refer to the troubleshooting section of this guide or seek assistance from the manufacturer’s support team.
Remember, it’s always a good practice to keep your graphics card drivers updated. Visit the manufacturer’s website regularly to check for any driver updates that can further improve performance and address any known issues.
With your new graphics card up and running, you can now enjoy enhanced graphics, smoother gameplay, and an overall improved visual experience on your computer. Congratulations on successfully replacing your graphics card!
Troubleshooting common issues
While the process of replacing a graphics card is typically straightforward, occasionally, issues may arise that require troubleshooting. Here are some common issues you might encounter and steps to address them:
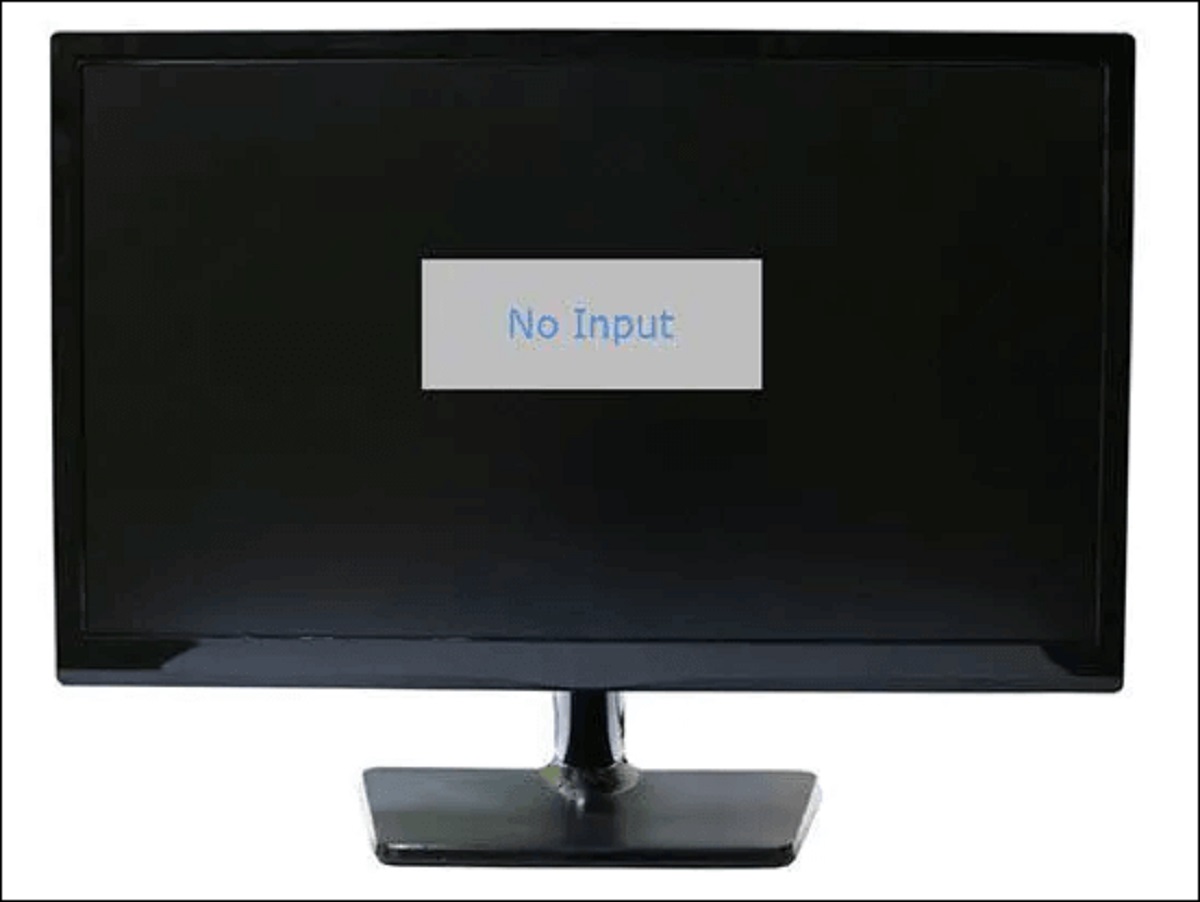
- No display or black screen: If your computer turns on but you’re not getting a display or experiencing a black screen after installing the new graphics card, first, ensure that all cables are securely connected. Check that the graphics card is properly seated in the PCI Express slot. If the issue persists, try connecting your monitor to a different port on the graphics card or using a different cable.
- Artifacting or visual glitches: If you notice visual artifacts, abnormalities, or glitches on your screen, it could indicate a problem with the graphics card. Check that the graphics card is properly connected and seated in the slot. Make sure you have installed the latest drivers for the graphics card from the manufacturer’s website. If the issue continues, consider contacting the manufacturer’s support for further assistance.
- Driver conflicts or system instability: If you experience system crashes, freezes, or instability after installing the new graphics card drivers, it’s possible there may be a conflict or compatibility issue. Uninstall the current drivers and try installing an older version or a different driver suite. You can find previous graphics card drivers on the manufacturer’s website. If the problem persists, consider reaching out to the manufacturer’s support team for guidance.
- Inadequate power supply: If you’re experiencing unexpected shutdowns, system instability, or the graphics card not functioning as expected, it could be due to an insufficient power supply. Ensure that your power supply meets the recommended requirements for the new graphics card. Consider upgrading to a higher-wattage power supply if necessary.
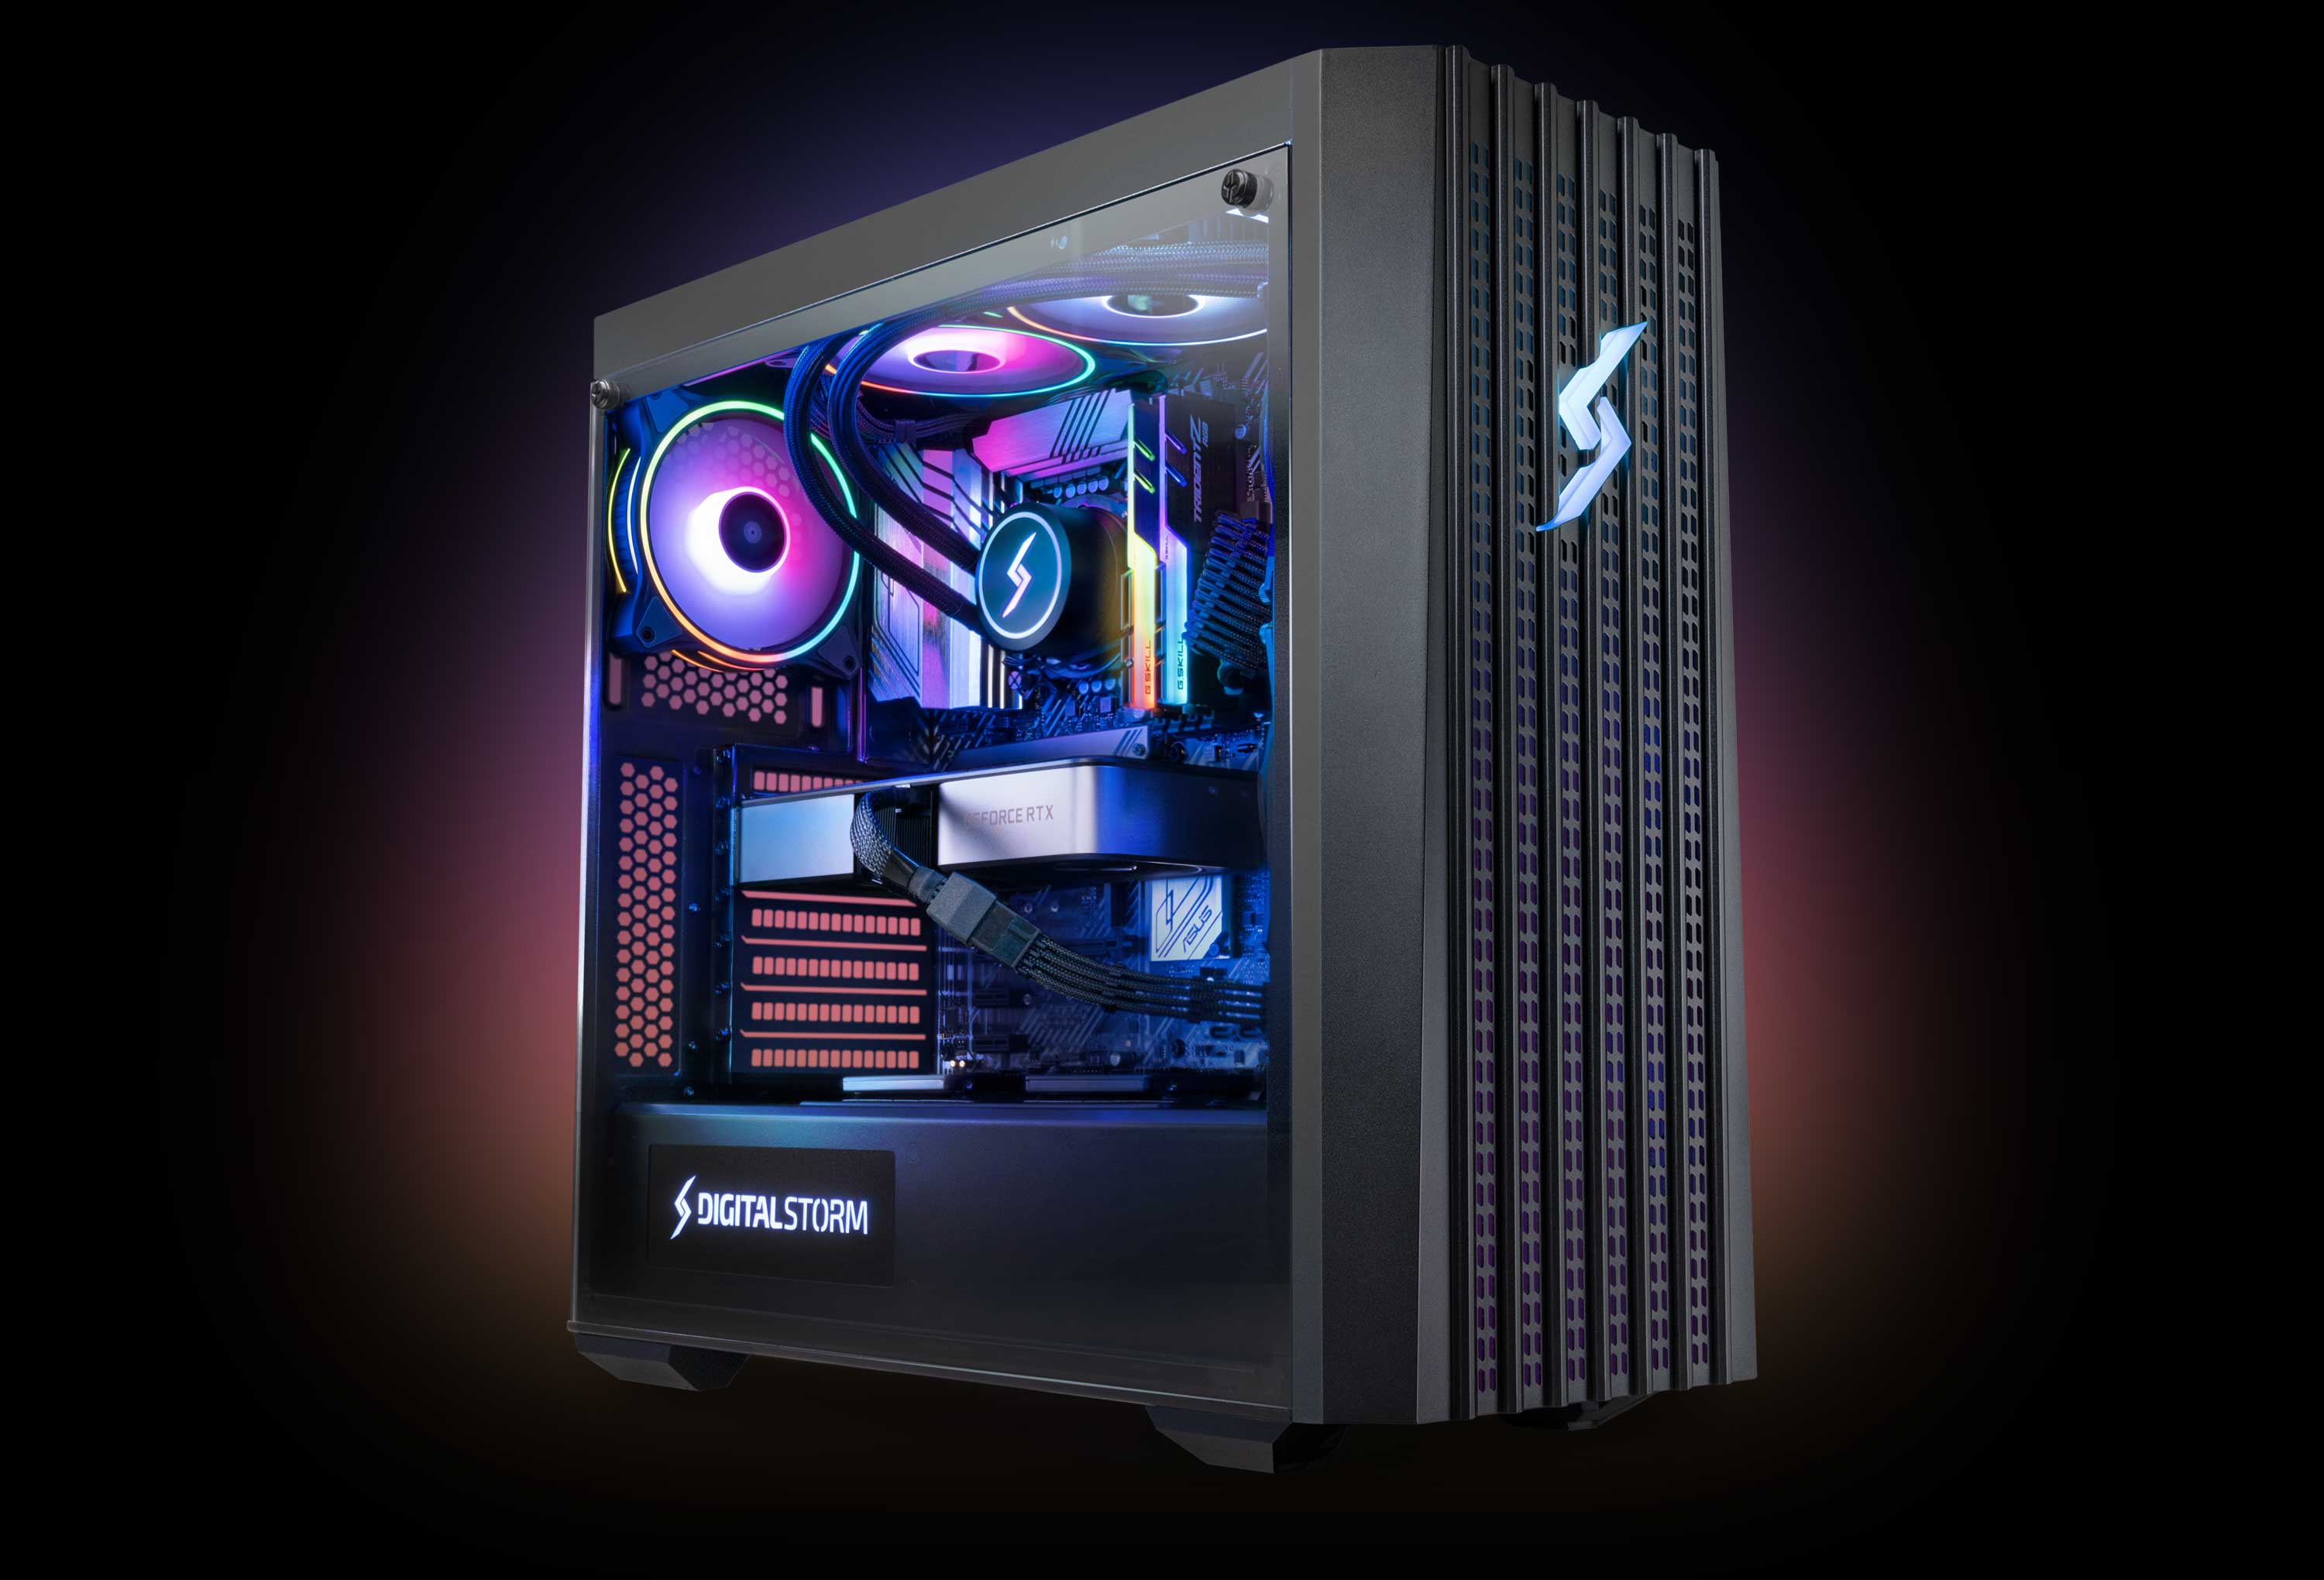
- Overheating: A common issue with graphics cards is overheating, which can lead to performance problems. Ensure that your computer case has proper airflow and that the fans are working correctly. Consider adding additional case fans or upgrading your cooling system if necessary. You may also need to reapply thermal paste between the graphics card and its heatsink if it is an older card.
If you encounter any other issues that are not mentioned here, consult the user manual of your graphics card or reach out to the manufacturer’s support team. They will be able to provide specific guidance and troubleshooting steps based on your graphics card model.
Remember, patience and attention to detail are crucial when troubleshooting. Take your time, double-check all connections, and follow instructions carefully. With persistence, you’ll be able to resolve most issues and enjoy a smooth experience with your new graphics card.
Conclusion
Congratulations! You have successfully learned how to replace a graphics card in your PC. Upgrading your graphics card can greatly enhance your computer’s performance, allowing you to enjoy smoother gameplay, faster rendering times, and improved visual quality.
Throughout this guide, we’ve covered everything you need to know, from gathering the necessary tools and equipment to preparing your computer, removing the old graphics card, installing the new one, and connecting the power and data cables. We’ve also provided troubleshooting tips for common issues that may arise.
Remember, when working with computer hardware, it’s essential to exercise caution, follow instructions carefully, and take proper safety measures. If you’re unsure or uncomfortable performing the installation yourself, it’s always a good idea to seek assistance from a knowledgeable friend or a professional.
With your new graphics card installed and functioning properly, you can now enjoy a more immersive gaming experience, achieve better productivity in graphic design or video editing, and benefit from improved visuals in your everyday multimedia activities.
Lastly, make sure to keep your graphics card drivers up to date by visiting the manufacturer’s website regularly. This will ensure optimal performance, compatibility with new software, and access to any additional features or enhancements released by the manufacturer.
We hope this guide has been helpful in guiding you through the process of replacing your graphics card. Don’t hesitate to refer back to it whenever you need a refresher. Happy gaming and computing!