Introduction
Installing a new graphics card in your PC is a great way to enhance your gaming or multimedia experience, and even boost the overall performance of your computer. Whether you’re a seasoned computer enthusiast or a novice looking to upgrade your graphics capabilities, this guide will walk you through the steps of installing a new graphics card in your PC.
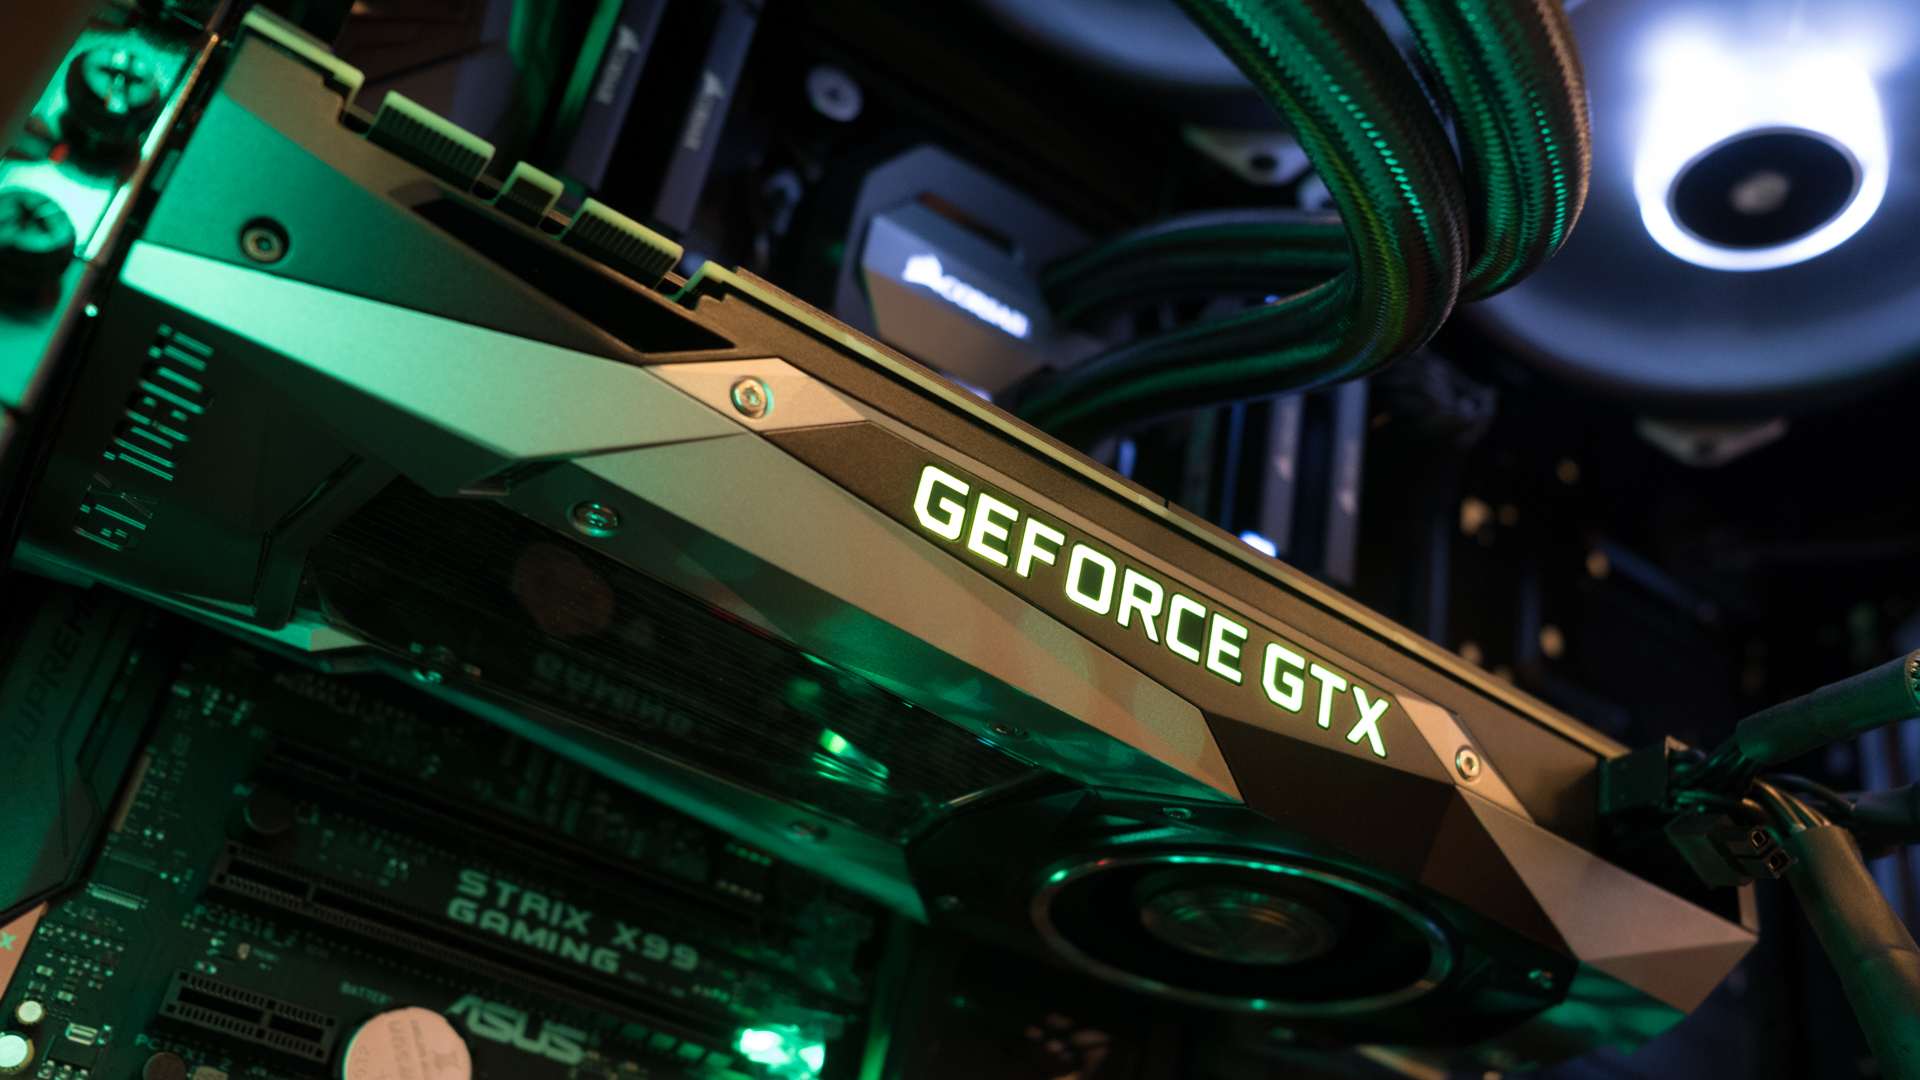
A graphics card, also known as a video card or GPU (Graphics Processing Unit), is responsible for rendering and displaying images, videos, and games on your monitor. Over time, graphics cards become outdated or may not meet the requirements of the latest games or software. That’s when it becomes necessary to replace your existing graphics card with a newer, more powerful one.
Before diving into the installation process, it’s important to note that every PC is different, and the specific steps may vary slightly depending on your computer’s make and model. Therefore, it’s always a good idea to consult your computer’s user manual or the manufacturer’s website for specific instructions. Additionally, be sure to take proper precautions and follow safety guidelines throughout the installation process to avoid damaging any components or putting yourself at risk.
In this guide, we’ll cover the general steps involved in installing a new graphics card in a desktop computer. If you’re using a laptop, the process may differ significantly, and it’s recommended to seek professional assistance or consult your laptop’s user manual.
Now, before we dive in, make sure you have the necessary tools and materials ready, as well as a basic understanding of computer hardware and software installation. Let’s get started!
Before You Begin
Before diving into the installation process, there are a few important things to consider and prepare. Following these steps will help ensure a smooth installation process and minimize any potential issues:
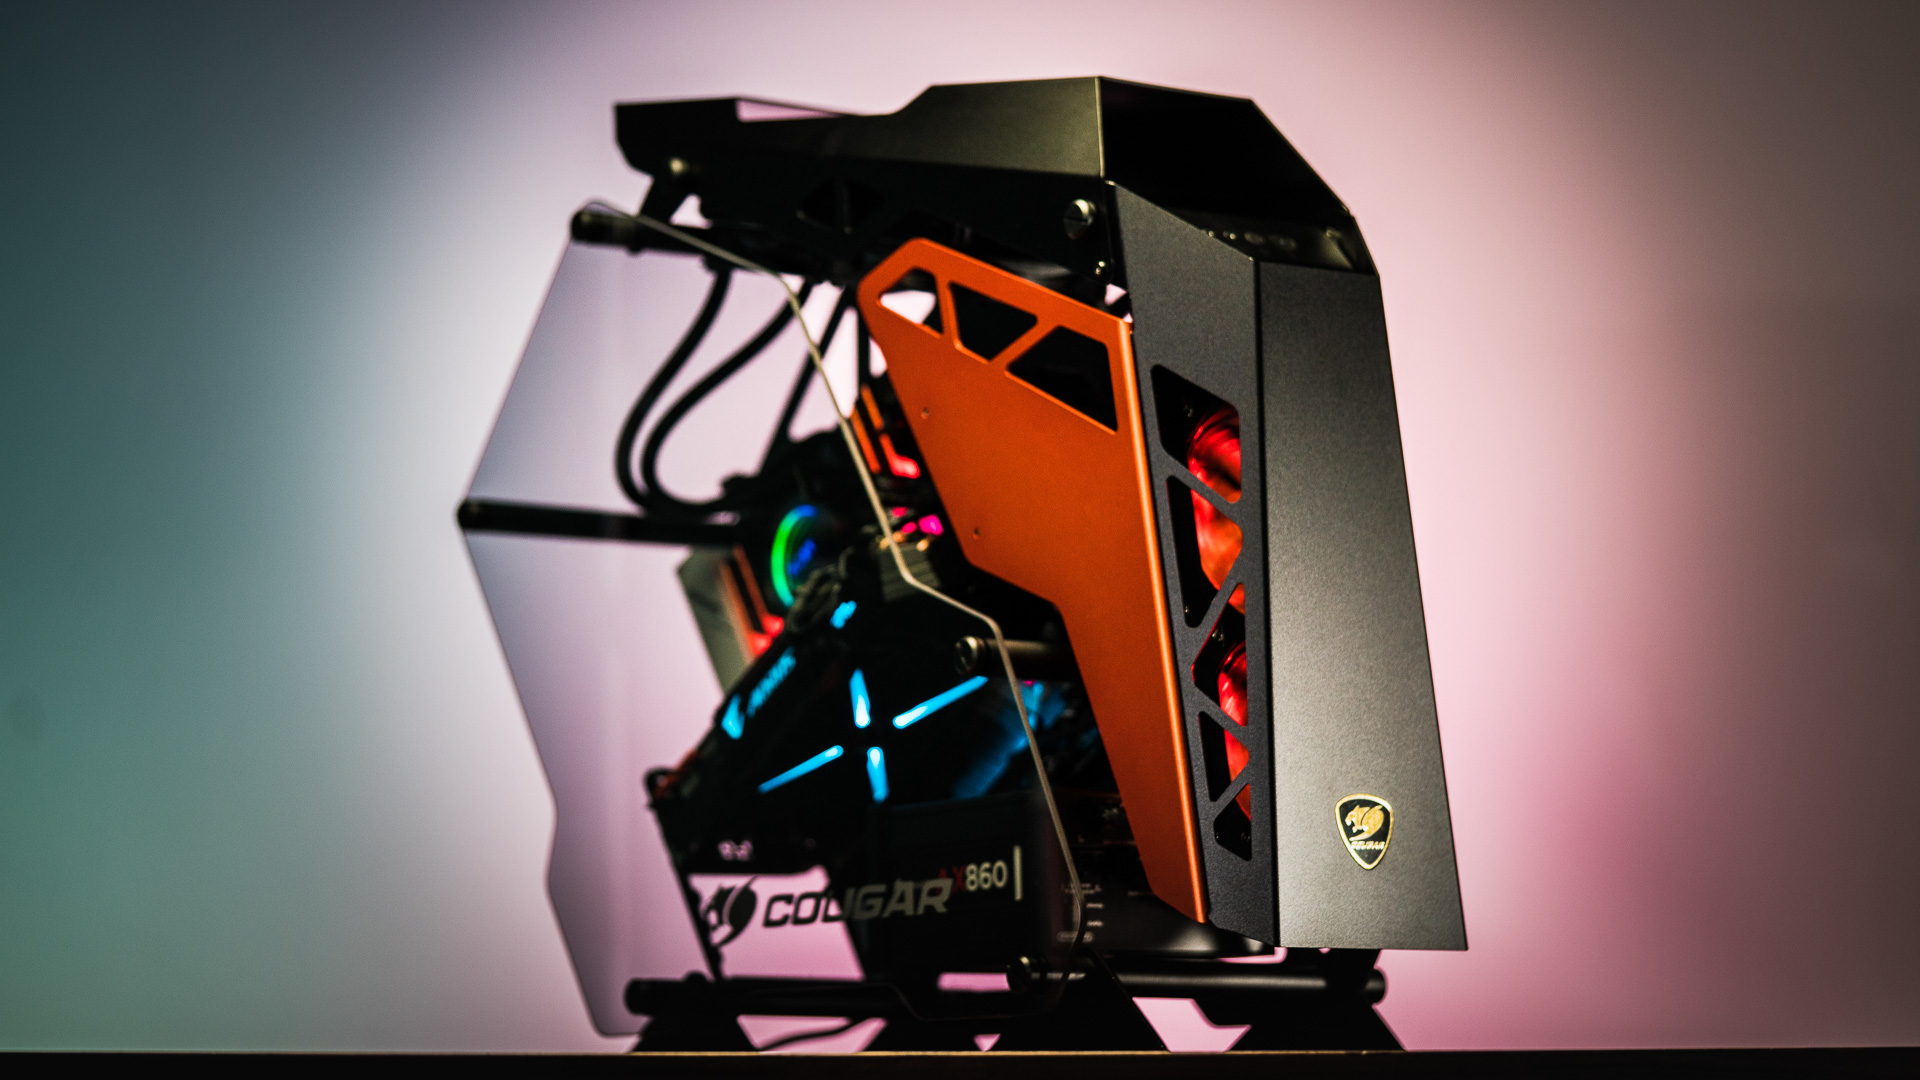
- Compatibility: Ensure that the new graphics card you have purchased is compatible with your computer. Check the specific requirements of the card, such as the necessary power supply, motherboard slot type (PCIe), and physical space available inside your PC case.
- Power supply: Your new graphics card may require additional power connections. Check if your power supply has the necessary connectors or if you need to upgrade to a more powerful one.
- Drivers: Download the latest drivers for your new graphics card from the manufacturer’s website before starting the installation. This will ensure that you have the most up-to-date software to fully utilize the features of your new card.
- Backup: As a precautionary measure, back up any important files or data on your computer. While the installation process itself won’t affect your data, it’s always better to be safe than sorry.
- Antistatic precautions: Static electricity can damage sensitive computer components. Before touching any internal parts of your computer, discharge any static electricity by touching a metal object, such as a doorknob or the metal frame of your computer case. Alternatively, you can use an antistatic wrist strap.
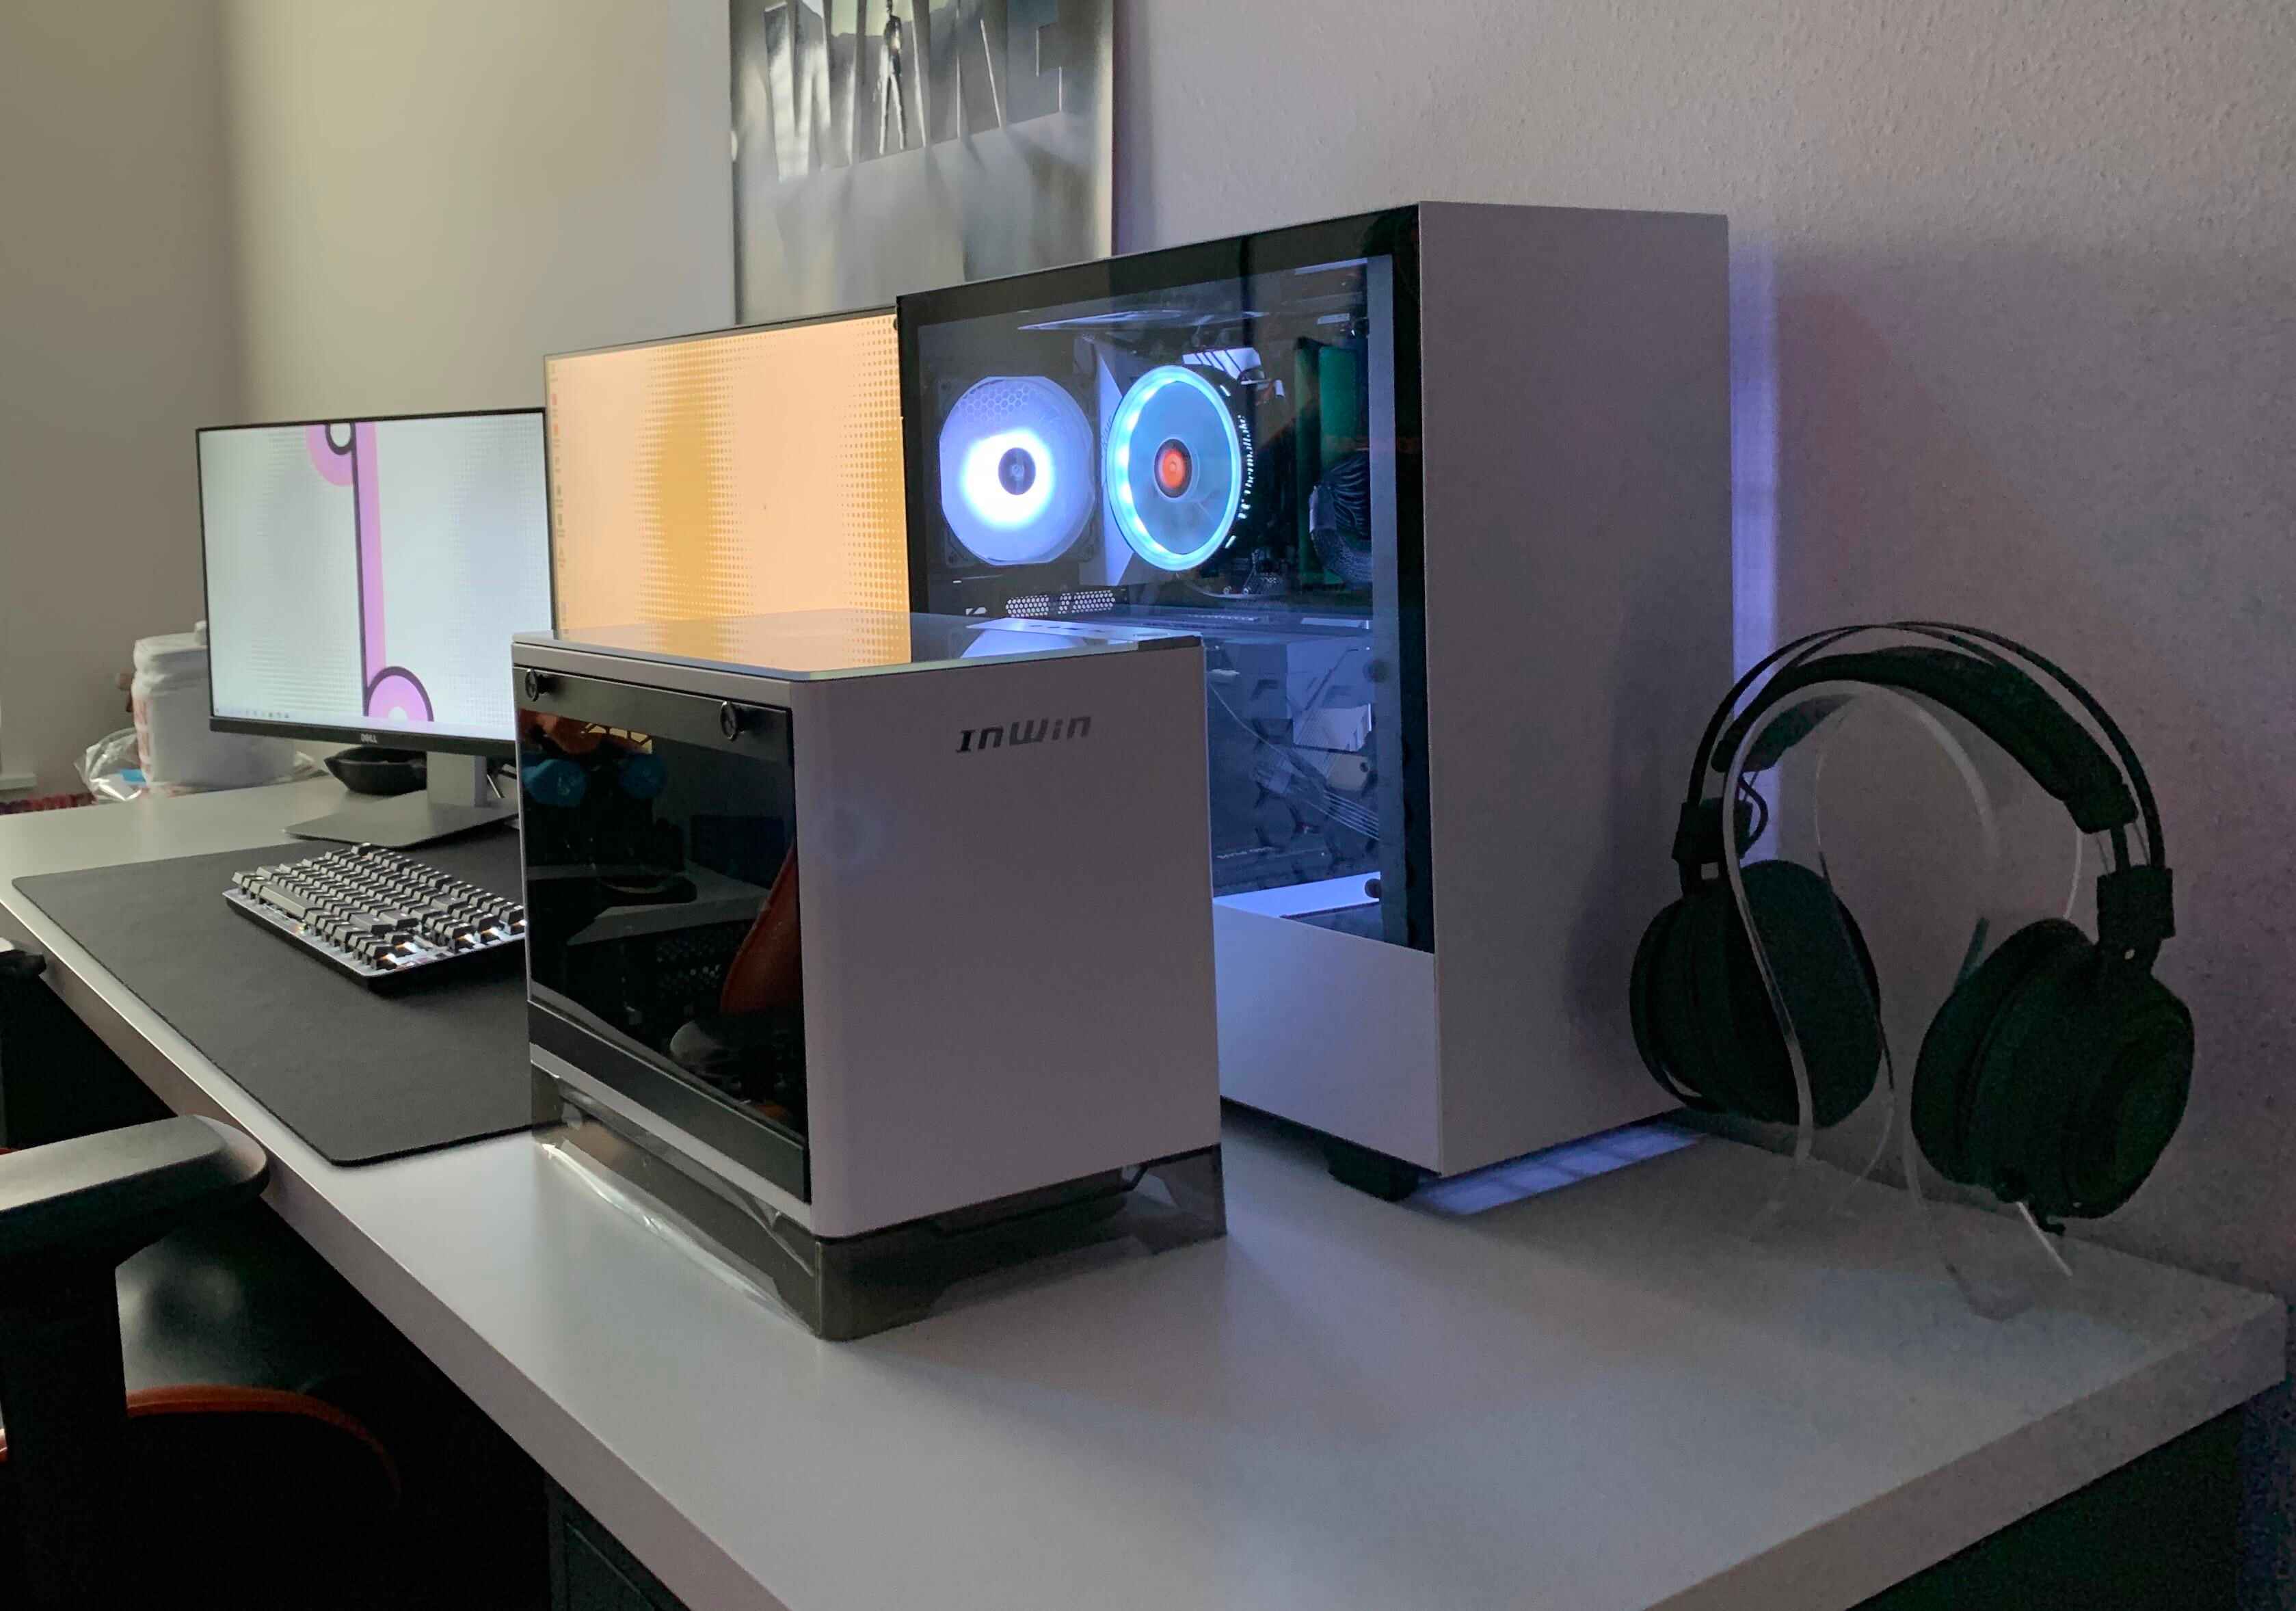
- Workspace: Choose a clean and well-lit workspace with ample room to work on your computer. Ensure that you have enough space to open your PC case and access internal components comfortably.
By taking these steps before you begin the installation process, you’ll be well-prepared and ready to proceed with confidence. Now that you have the necessary tools and information, let’s move on to the next step: gathering the necessary tools and materials!
Step 1: Gather Necessary Tools and Materials
Before starting the installation process, gather all the necessary tools and materials. Having everything at hand will make the process smoother and more efficient. Here’s a list of the essential tools and materials you’ll need:
- Screwdriver: Most PC cases require a Phillips screwdriver to remove the side panel and secure the graphics card. Make sure you have the appropriate size for your case.
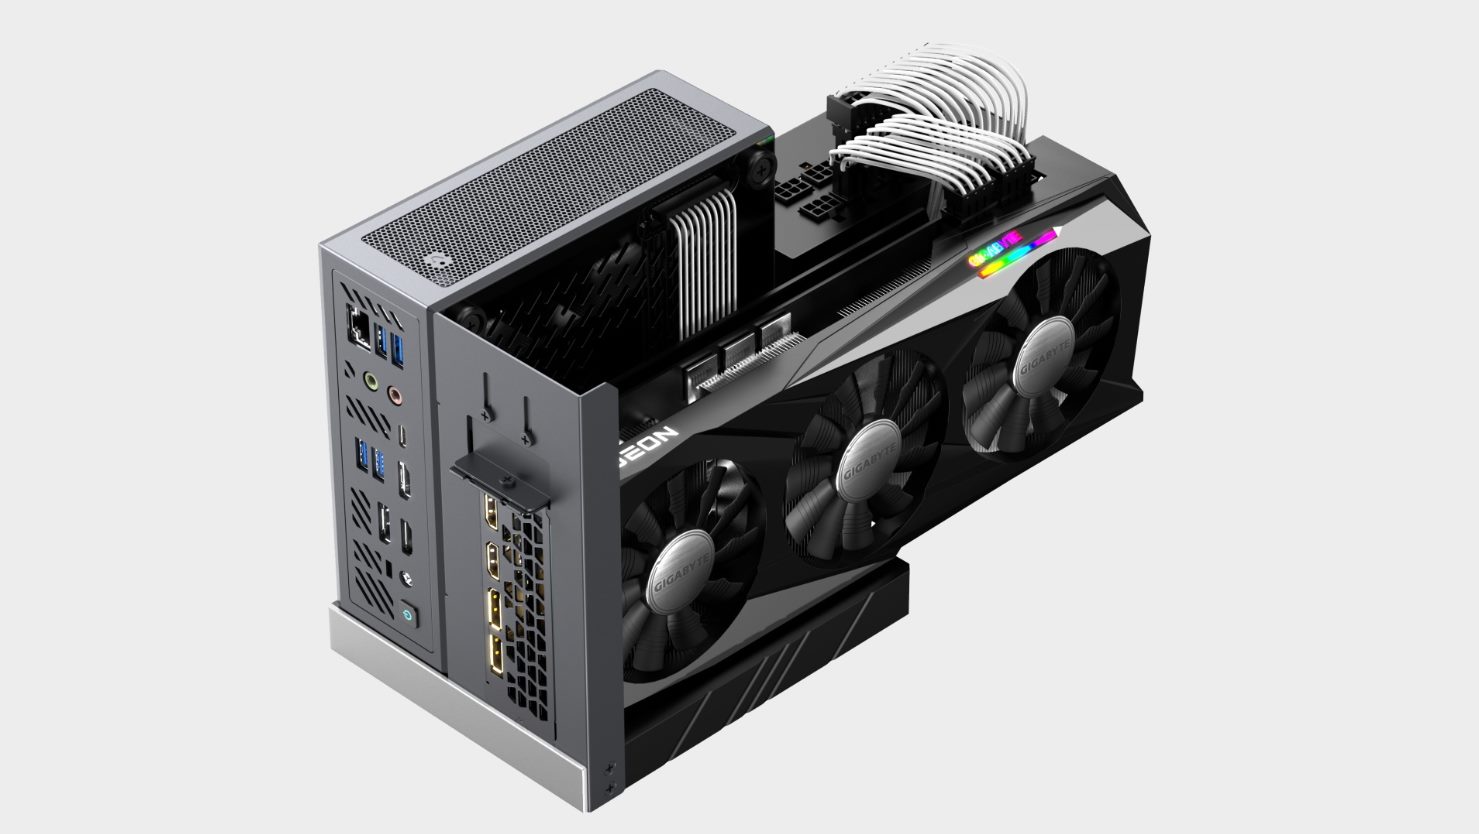
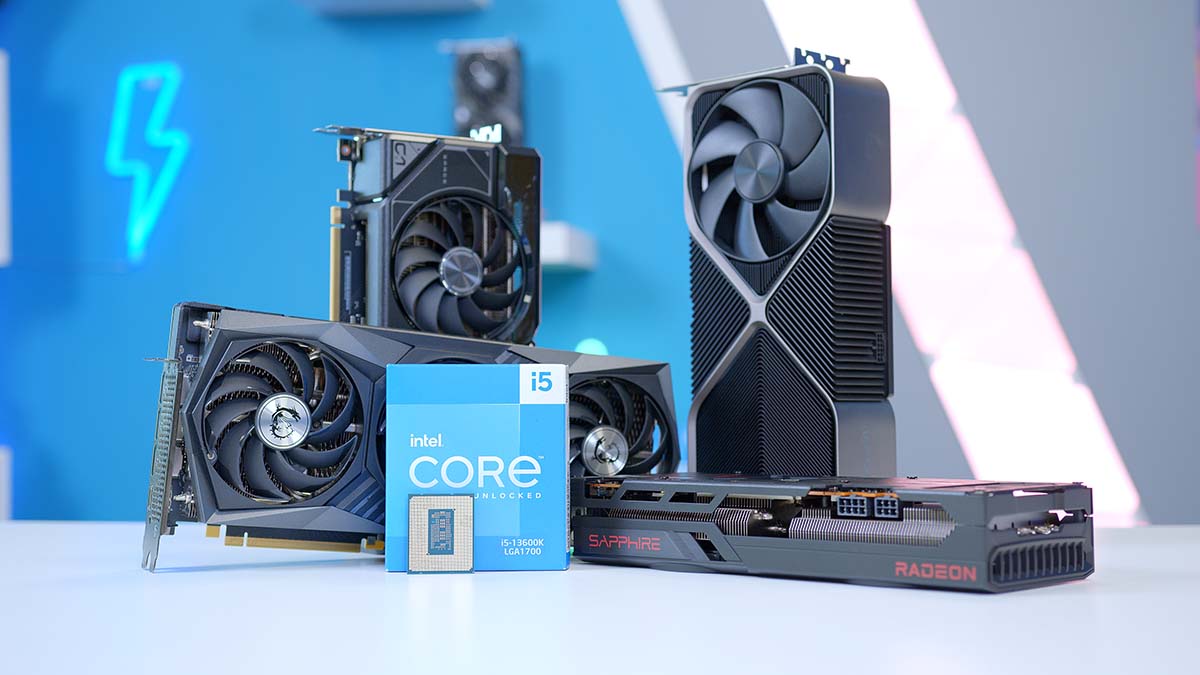
- New graphics card: Ensure you have the new graphics card that you want to install. Check its specifications and requirements to confirm compatibility with your PC.
- User manual: Keep the user manual for your new graphics card handy. It will provide specific installation instructions and troubleshooting tips.
- Antistatic wrist strap: Although optional, it’s highly recommended to wear an antistatic wrist strap or work on an antistatic mat to prevent electrostatic discharge that can damage your components.
- Additional power cables: Some high-end graphics cards require additional power connections. Check the requirements of your new graphics card and ensure you have the necessary power cables from your power supply.
- Display cables: Depending on the ports available on your new graphics card and monitor, prepare the appropriate display cables. This could be HDMI, DisplayPort, or DVI cables.
- Cable ties or zip ties: These can be handy for managing cables and keeping them organized inside your PC case.
By gathering these tools and materials upfront, you’ll have everything you need to successfully install your new graphics card. Now that you’re fully prepared, it’s time to move on to the next step: preparing your PC for the installation!
Step 2: Prepare Your PC
Before you start opening up your PC and installing the new graphics card, it’s important to prepare your computer for the process. Follow these steps to ensure a smooth and safe installation:
- Power down your computer: Shut down your computer properly and unplug the power cord from the wall outlet. This will prevent any accidental power surges or damage while working on the internal components.
- Ground yourself: To avoid static electricity, ground yourself by touching a metal object or wearing an antistatic wrist strap. This will help protect your computer’s sensitive components.
- Locate the PCIe slot: Open your PC case by removing the side panel. Look for the PCIe slot, where the graphics card will be inserted. It is usually a longer slot towards the bottom of your motherboard.
- Remove existing dust: Use a can of compressed air or an antistatic brush to carefully remove any dust or debris from the PCIe slot and surrounding areas. This will ensure a clean and secure connection for the new graphics card.
- Check for clearance: Take note of any components, such as cables or fans, that might obstruct the installation of the new graphics card. Make sure there is enough space for the card to fit properly without any obstructions.
- Remove backplate: Locate and remove the backplate from the rear of your PC case that aligns with the PCIe slot. This will allow access for the graphics card to be inserted into the slot.
By following these preparation steps, you’ll create the ideal setup for installing the new graphics card. With your PC properly prepared, you’re ready to move on to the next step: uninstalling the old graphics card drivers.
Step 3: Uninstall Old Graphics Card Drivers
Before installing your new graphics card, it’s important to remove the old graphics card drivers from your computer. This ensures a clean installation and prevents any conflicts between the old and new drivers. Follow these steps to uninstall the old graphics card drivers:
- Access Device Manager: Press the Windows key + X on your keyboard and select “Device Manager” from the menu that appears. Alternatively, you can search for “Device Manager” in the Windows search bar and open it from the search results.
- Expand Display Adapters: In the Device Manager window, locate the “Display Adapters” category and click the arrow next to it to expand the list of display adapters.
- Uninstall old drivers: Right-click on the old graphics card driver and select “Uninstall device” from the context menu. Follow the prompts to uninstall the driver. If you have multiple graphics devices listed, make sure to uninstall the driver for the old graphics card.
- Restart your computer: After uninstalling the old drivers, restart your computer to complete the removal process. This allows your computer to start fresh without any remnants of the old drivers.
It’s worth noting that some graphics card manufacturers provide their own driver uninstallation tools, such as NVIDIA’s “GeForce Experience” or AMD’s “Radeon Software.” These tools can simplify the driver uninstallation process and ensure a thorough removal. If you have these tools installed, you can use them instead of the Device Manager method mentioned above.
By uninstalling the old graphics card drivers, you’re preparing your computer for a clean installation of the new drivers that are compatible with your new graphics card. With the old drivers removed, you can now proceed to the next step: removing the old graphics card from your PC.
Step 4: Remove Old Graphics Card
Now that you’ve uninstalled the old graphics card drivers, it’s time to physically remove the old graphics card from your PC. Follow these steps to safely remove the old graphics card:
- Power down your computer: Shut down your computer properly and unplug the power cord from the wall outlet. This ensures that you’re working on the internal components safely.
- Ground yourself: To prevent any static electricity from damaging your components, ground yourself by touching a metal object or wearing an antistatic wrist strap.
- Locate the old graphics card: Inside your PC case, locate the old graphics card. It will be seated in the PCIe slot on the motherboard.
- Disconnect power cables: If your old graphics card requires additional power cables, disconnect them from the card. These cables are usually located on the side or top of the card.
- Release the retention bracket: Carefully locate the retention bracket or latch that holds the graphics card in place. Release or unscrew it to unlock the graphics card.
- Remove the old graphics card: Gently pull the old graphics card straight out from the PCIe slot. Be cautious not to apply too much force or damage any surrounding components.
Once you’ve successfully removed the old graphics card, place it in a safe location or follow proper procedures for recycling or disposing of electronic waste. Now, with the old graphics card out of the way, you can proceed to the next step: inserting the new graphics card into your PC.
Step 5: Insert New Graphics Card
With the old graphics card removed, it’s time to insert your new graphics card into your PC. Follow these steps to properly install the new graphics card:
- Prepare the new graphics card: Take your new graphics card out of its packaging and remove any protective covers or stickers. Take note of any additional power connectors or cables that need to be connected to the card.
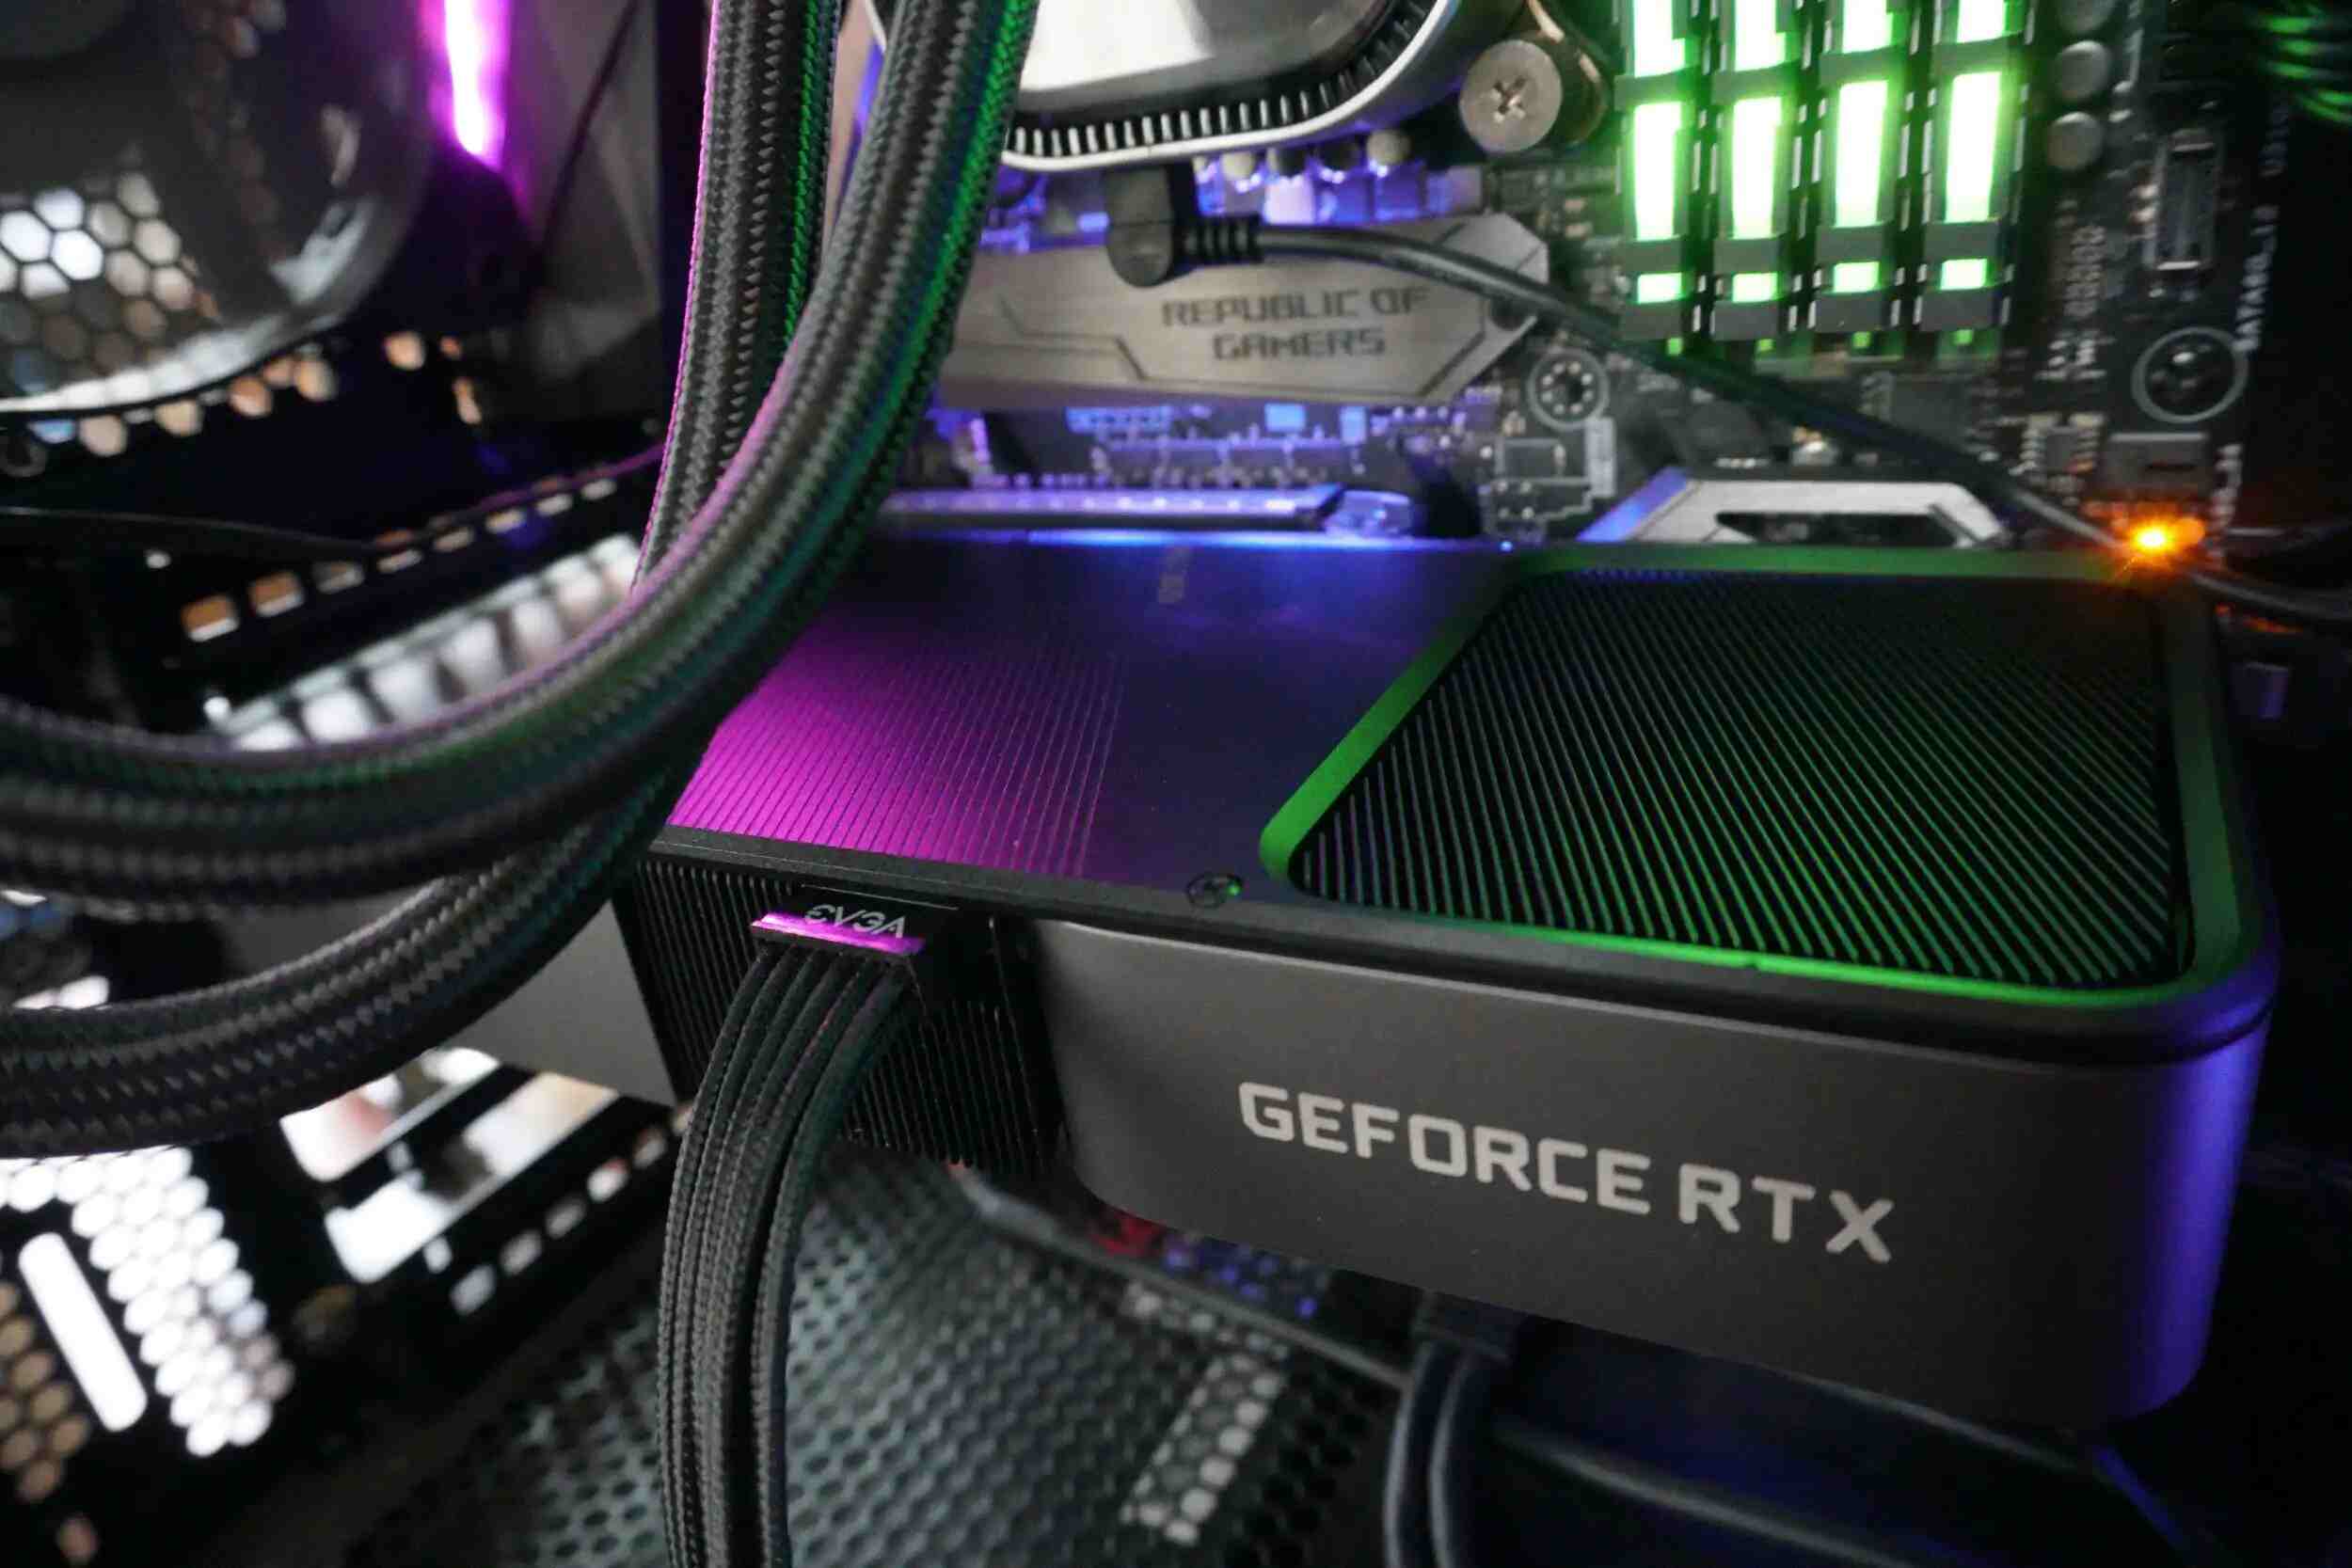
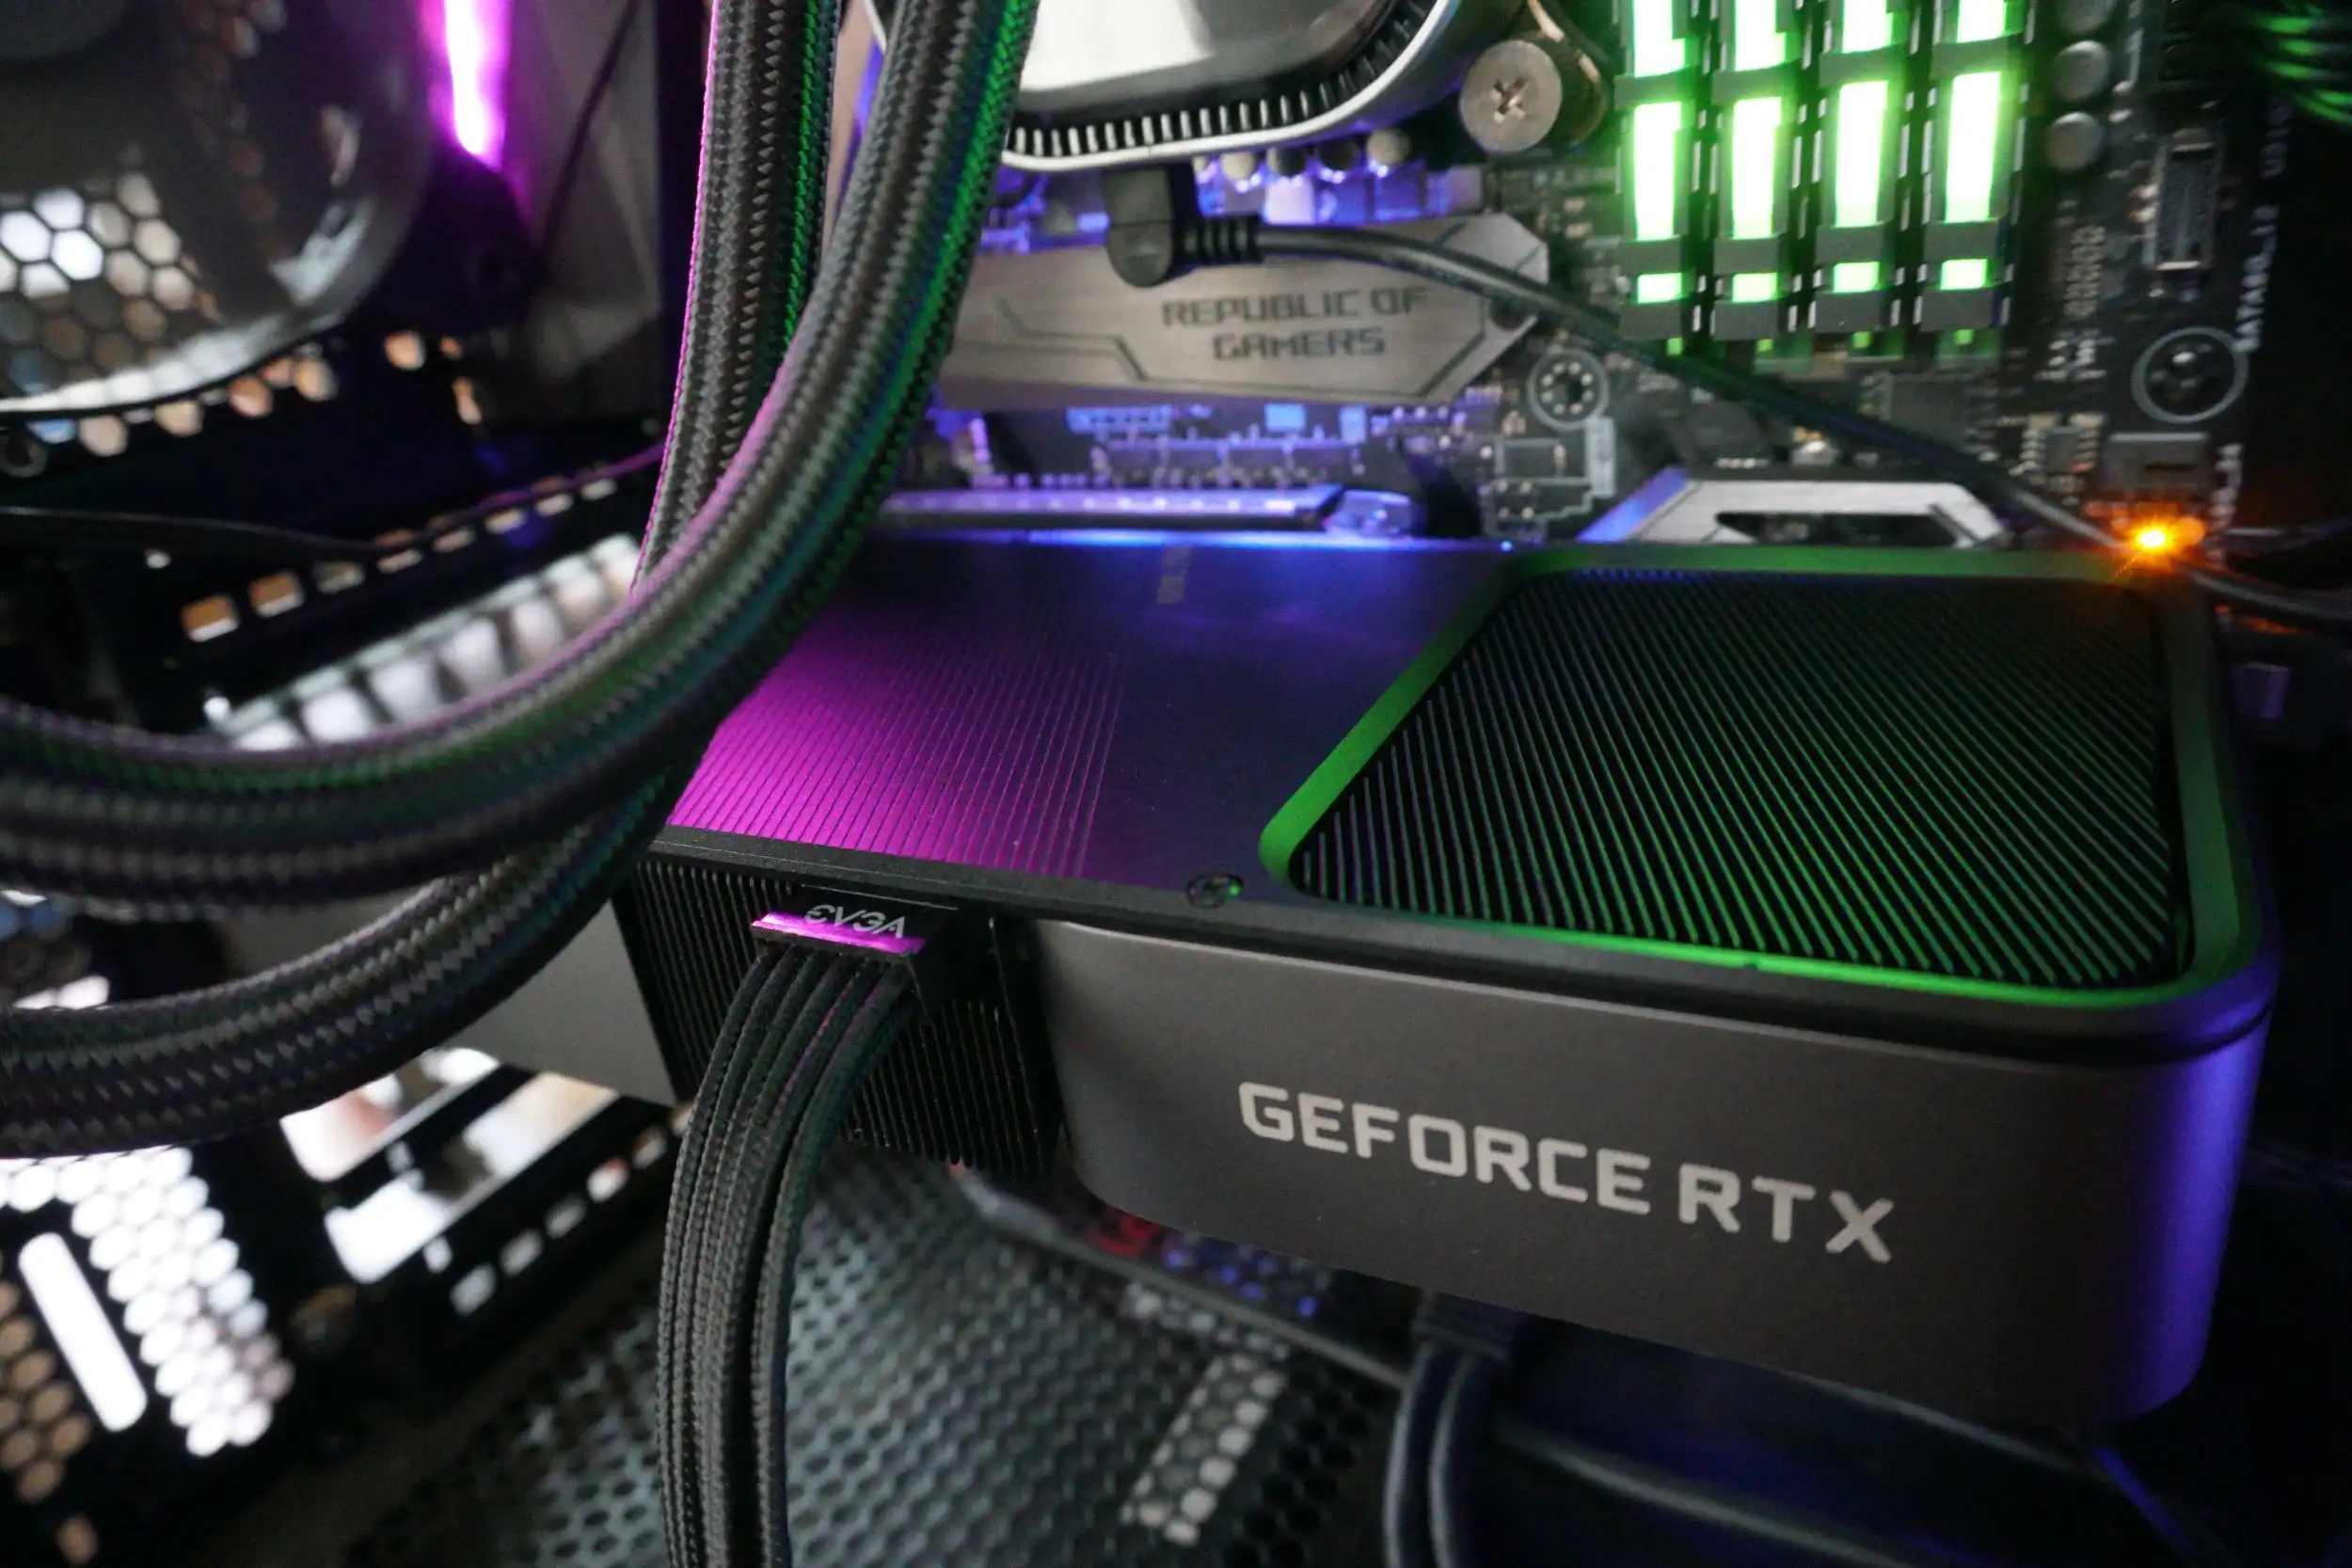
- Align the card with the PCIe slot: Hold the new graphics card by its edges and align it with the PCIe slot on the motherboard. The gold contacts on the bottom of the card should be facing downwards, and the backplate of the card should align with the opening in the rear of the PC case.
- Insert the card: Gently and firmly push the new graphics card into the PCIe slot. Apply equal pressure on both ends of the card until it is fully seated in the slot. The retention bracket or latch should click into place, securing the card.
- Secure the graphics card: If your PC case requires screws to secure the graphics card, use the screws provided with your case to secure the card to the case. Insert the screws into the holes on the bracket of the graphics card and tighten them gently.
- Connect power cables: If your new graphics card requires additional power, connect the appropriate power cables from your power supply to the connectors on the card. Ensure that the connections are secure and in the correct orientation.
Once you have properly inserted and secured the new graphics card, you’re one step closer to enjoying improved graphics performance. In the next step, we will connect the necessary power cables to the new graphics card.
Step 6: Secure the New Graphics Card
Now that you have successfully inserted the new graphics card into the PCIe slot, it’s important to ensure that it is securely fastened inside your PC case. Follow these steps to properly secure the new graphics card:
- Tighten the screws: If your PC case includes screws or brackets to secure the graphics card, use a screwdriver to tighten them. Place the screws into the designated holes on the bracket of the graphics card and gently tighten them. Be careful not to overtighten, as it may damage the card or the PCIe slot.
- Verify a snug fit: Check that the graphics card is firmly seated in the PCIe slot and has a snug fit. Gently push on the card to ensure it doesn’t move or wobble inside the slot. A secure fit is essential for proper functionality.
- Ensure proper alignment: Take a moment to double-check that the backplate of the graphics card aligns with the opening in the rear of the PC case. This allows for proper airflow and ensures the connectors on the card are easily accessible.
- Check for clearance: Once the graphics card is secured, verify that there is enough space around it for proper airflow and that it doesn’t obstruct any other components or cables inside the PC case. Proper clearance is crucial for optimal performance and cooling.
By securely fastening the new graphics card, you not only ensure its stability but also prevent any potential damage or disconnection during normal use. Now that your new graphics card is securely in place, it’s time to move on to the next step: connecting the power cables to the new graphics card.
Step 7: Connect Power Cables
Now that the new graphics card is securely installed in your PC, it’s time to provide it with the necessary power by connecting the power cables. Follow these steps to properly connect the power cables to your new graphics card:
- Locate the power connectors: Examine your new graphics card and locate the power connectors. These connectors are usually located on the side or top of the card and may vary depending on the specific model.
- Check your power supply cables: Ensure that your power supply has the necessary cables and connectors to match the power requirements of your new graphics card. The cables typically have six or eight-pin connectors.
- Connect the power cables: Take the appropriate power cables from your power supply and plug them into the corresponding power connectors on your graphics card. Ensure that the connectors are properly aligned and securely inserted. You may hear a click or feel a solid connection when they are properly seated.
- Tidy the cables: Once the power cables are connected, carefully route and organize the cables inside your PC case. Use cable ties or zip ties to secure the cables and keep them tidy. This will improve airflow and prevent cables from obstructing other components or fans.
Properly connecting the power cables ensures that your new graphics card receives the necessary power to function optimally. It’s essential to check the power requirements of your specific graphics card and ensure that your power supply can adequately meet those requirements.
With the power cables connected, your new graphics card is now ready to be fully utilized. In the next step, we will install the drivers for the new graphics card to ensure proper functionality and performance.
Step 8: Install New Graphics Card Drivers
Now that your new graphics card is correctly installed and powered, it’s time to install the latest drivers to ensure optimal performance and compatibility. Follow these steps to install the new graphics card drivers:
- Visit the manufacturer’s website: Open your web browser and visit the website of the graphics card manufacturer (e.g., NVIDIA, AMD, Intel). Navigate to the driver download section of the website.
- Search for your graphics card model: Use the provided search or selection tools on the website to find the appropriate drivers for your specific graphics card model. Be sure to choose the correct operating system version as well.
- Download and run the driver installer: Once you’ve identified the appropriate drivers, download the installer file to your computer. Locate the downloaded file and run it to initiate the driver installation process.
- Follow the installation prompts: The driver installer will guide you through the installation process. Follow the on-screen prompts, agree to any license agreements, and choose the desired installation options, if applicable.
- Allow the installation to complete: The driver installation process may take a few minutes to complete. Ensure that you don’t interrupt the process or turn off your computer during installation.
- Restart your computer: After the driver installation is complete, restart your computer. This will apply the changes and allow the new drivers to take effect.
Installing the latest drivers helps ensure that your new graphics card can deliver optimal performance and take advantage of its full capabilities. Updated drivers often include bug fixes, performance improvements, and compatibility enhancements.
After restarting your computer, your new graphics card will be ready to deliver an immersive visual experience. In the final step, we will test and troubleshoot to ensure that everything is functioning as expected.
Step 9: Test and Troubleshoot
After installing the new graphics card and its drivers, it’s important to test and troubleshoot to ensure that everything is functioning correctly. Follow these steps to test and troubleshoot any potential issues:
- Boot up your computer: Turn on your computer and allow it to fully boot up. Ensure that the startup process proceeds smoothly without any error messages or unusual behavior.
- Check device manager: Open the Device Manager and navigate to the “Display Adapters” section. Verify that your new graphics card is listed and displayed without any warning symbols or error messages.
- Run benchmark tests: Use benchmark testing software, such as 3DMark or FurMark, to stress test your new graphics card and evaluate its performance. Monitor the temperatures and performance to ensure that they are within acceptable ranges.
- Check for artifacts or anomalies: Open graphic-intensive applications or games and closely observe the display for any visual anomalies, such as artifacts, screen flickering, or unusual colors. If you notice any abnormalities, it may indicate a compatibility or hardware issue.
- Update drivers if needed: If you encounter any issues or instability during testing, it may be necessary to update your graphics card drivers to the latest version. Visit the manufacturer’s website and download the most recent drivers for your graphics card model.
- Consult support resources: If you encounter persistent issues or are unsure how to resolve them, consult the support resources provided by the graphics card manufacturer. These resources may include troubleshooting guides, forums, or live support options.
- Consider professional assistance: If you have exhausted all troubleshooting options and are still experiencing problems, it may be necessary to seek professional assistance. Contact a certified technician or the manufacturer’s support team to obtain expert guidance and assistance.
Testing and troubleshooting are crucial steps to ensure that your new graphics card is functioning properly and providing the desired performance. By addressing any issues or inconsistencies early on, you can avoid potential problems and maximize the benefits of your new graphics card.
After thorough testing and troubleshooting, you can enjoy your upgraded graphics capabilities, whether it’s for gaming, multimedia editing, or other graphically intensive tasks. Congratulations on successfully installing and setting up your new graphics card!
Conclusion
Installing a new graphics card in your PC can significantly enhance your computer’s performance, especially when it comes to gaming, multimedia editing, and graphics-intensive tasks. By following the step-by-step guide outlined in this article, you can successfully install a new graphics card and enjoy the benefits of improved visuals and smoother gameplay.
Throughout the installation process, it’s important to remember key factors, such as compatibility, proper grounding, and the uninstallation of old drivers. Gathering the necessary tools and materials, preparing your PC, removing the old graphics card, and securely inserting the new card are vital steps to ensuring a successful installation.
After the physical installation, installing the latest drivers for your new graphics card is essential to optimize its performance and compatibility with your system. Testing and troubleshooting the graphics card, such as benchmarking and checking for any anomalies, allows you to identify and address any issues early on.
If you encounter any difficulties during the installation process or encounter persistent issues after installation, it is always recommended to consult the manufacturer’s resources, support forums, or seek professional assistance. They can provide further guidance and support tailored to your specific situation.
By successfully installing a new graphics card and following these steps, you can enjoy an enhanced visual experience, improved gaming performance, and the capability to handle graphically demanding applications. Now, it’s time to sit back, relax, and enjoy your newly upgraded PC!