Overview
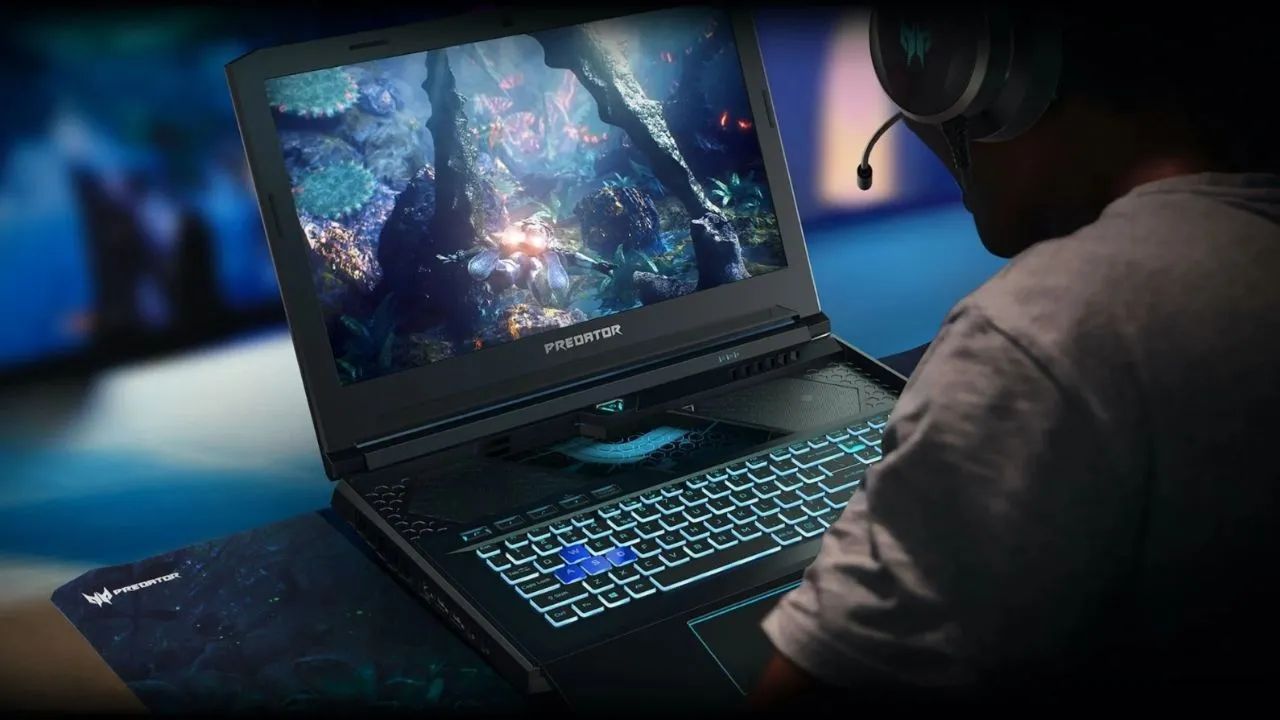
Adding a graphic card to a Mini PC can significantly enhance its graphics processing capabilities. Whether you’re a gamer wanting to unlock higher resolutions and smoother frame rates or a graphic designer working with resource-intensive software, upgrading your Mini PC’s graphic card can unlock a whole new level of performance. This guide will take you through the necessary steps to successfully install and add a graphic card to your Mini PC.
Before you begin, it is important to note that not all Mini PCs are compatible with external graphic cards. You’ll need to check the specifications and limitations of your Mini PC to ensure it can accommodate the additional hardware. Additionally, adding a graphic card may require advanced technical knowledge and it may void your warranty, so proceed with caution.
The process of adding a graphic card involves determining compatibility, selecting the right card, preparing the Mini PC, installing the card, connecting necessary cables, updating drivers and software, and finally testing the new card. Following these steps will help you successfully integrate a graphic card into your Mini PC setup. Now, let’s dive into the details of each step.
Requirements
Before you embark on the journey of adding a graphic card to your Mini PC, make sure you have the following requirements in place:
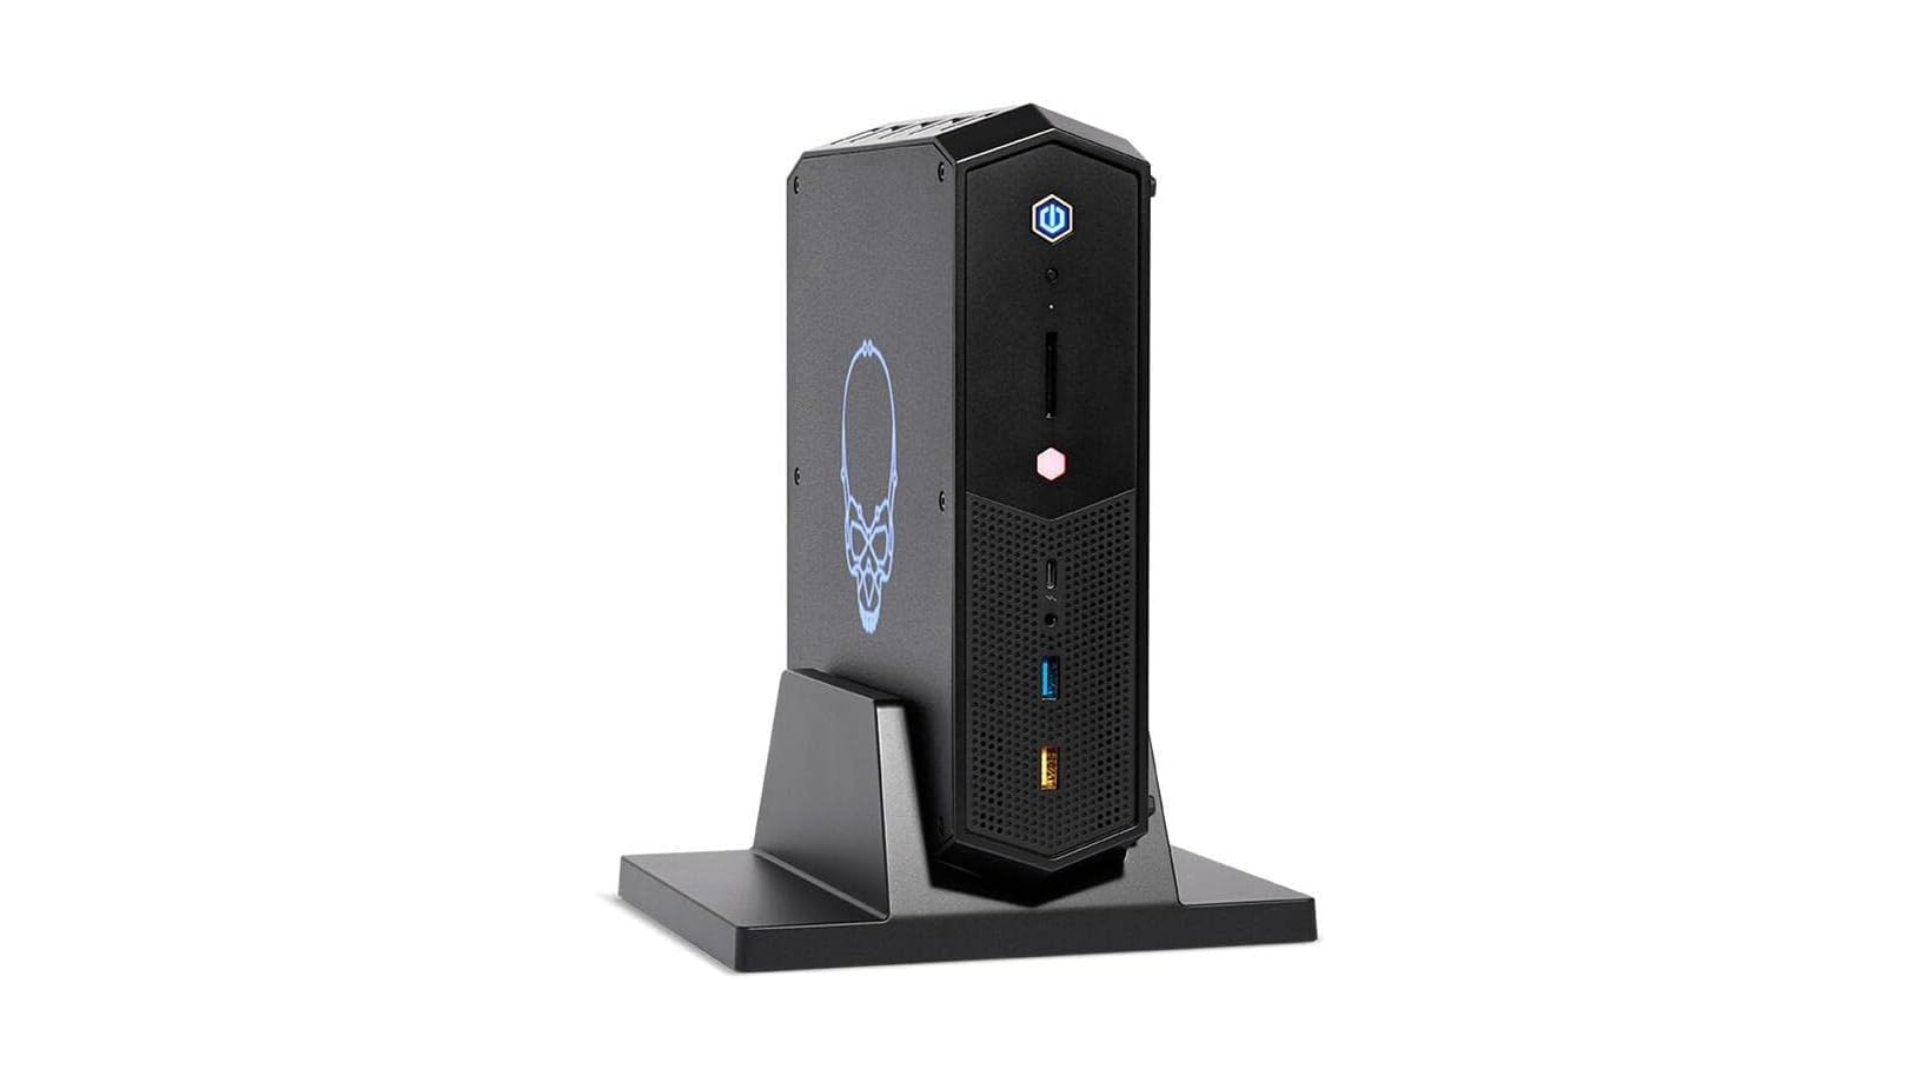
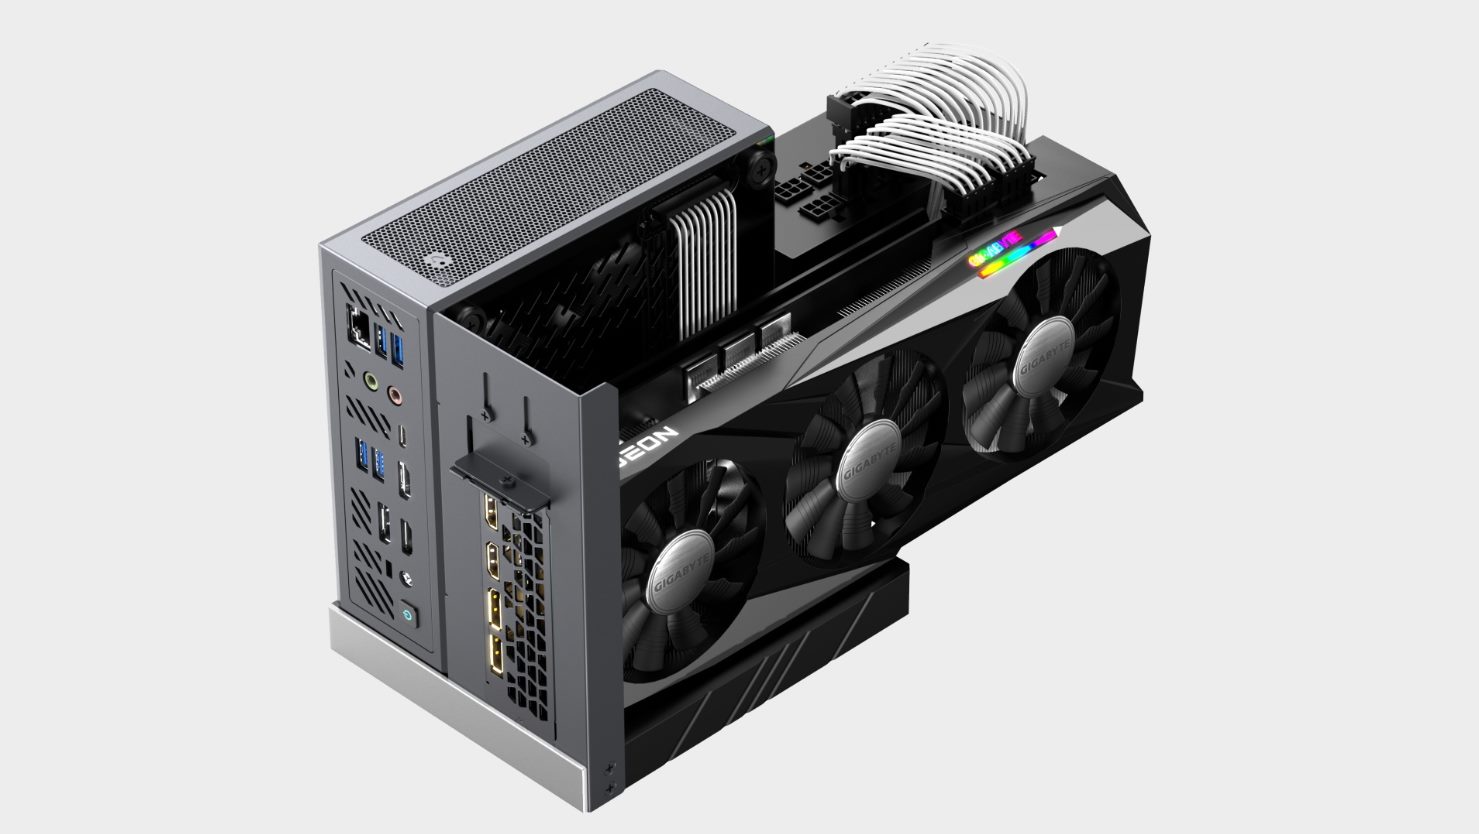
- A compatible Mini PC: Not all Mini PCs are designed to support external graphic cards. Check the specifications of your Mini PC to ensure it has an available PCIe slot or Thunderbolt port to accommodate the graphic card.
- A suitable graphic card: Research and choose a graphic card that meets your requirements and is compatible with your Mini PC. Consider factors such as power consumption, dimensions, and performance.
- Adequate power supply: Upgrading to a graphic card may require more power than your Mini PC’s current power supply can provide. Make sure you have a suitable power supply unit (PSU) with enough wattage to support the graphic card.
- Proper cooling: Graphic cards can generate a significant amount of heat. Ensure that your Mini PC has proper cooling solutions in place, such as fans or liquid cooling systems, to prevent overheating.
- Tools: You may need some basic tools, such as a screwdriver and thermal paste, to install the graphic card properly.
- Driver and software updates: Check the manufacturer’s website for the latest drivers and software updates for the graphic card. This ensures optimal performance and compatibility.
Before proceeding with the installation, it’s important to double-check that you have all the necessary requirements to ensure a smooth and successful process. Familiarize yourself with the specifics of your Mini PC and the graphic card you’ve chosen, and gather all the necessary tools and components. With everything in place, you’ll be ready to move on to the next step: determining compatibility.
Step 1: Determine Compatibility
The first step in adding a graphic card to your Mini PC is to determine if your Mini PC is compatible with an external graphic card. This is crucial to ensure a successful upgrade without any compatibility issues. Here are the key considerations for compatibility:
- Check the available expansion slots: Your Mini PC should have an available PCIe slot or a Thunderbolt port to accommodate the graphic card. Consult the manual or specifications of your Mini PC to identify the available slots.
- Verify power supply and wattage: Upgrading to a graphic card may require additional power. Check the power supply unit (PSU) of your Mini PC and ensure it has enough wattage to support the new graphic card. If necessary, upgrade the PSU accordingly.
- Consider size and form factor: Graphic cards come in various sizes, and it’s essential to ensure that the dimensions of the card are compatible with the available space in your Mini PC’s chassis. Measure the available space and cross-reference it with the dimensions of the graphic card you intend to purchase.
- Check compatibility with the operating system: Ensure that the graphic card is compatible with the operating system running on your Mini PC. Visit the manufacturer’s website to confirm compatibility and download the necessary drivers if required.
- Review cooling capabilities: Adding a new graphic card can generate additional heat. Assess the cooling solution within your Mini PC and ensure it can handle the increased thermal load. If needed, consider upgrading the cooling system to prevent overheating.
Carefully reviewing these compatibility factors will help you determine if your Mini PC can support an external graphic card. If any incompatibilities arise, it may be necessary to consider alternative options or upgrade your Mini PC’s hardware. Once you’ve confirmed compatibility, you can move on to the next step: selecting a suitable graphic card that meets your requirements.
Step 2: Choose a Suitable Graphic Card
Once you have determined the compatibility of your Mini PC, the next step is to choose a suitable graphic card that meets your needs and aligns with your Mini PC’s capabilities. Here are the key factors to consider when selecting a graphic card:
- Performance requirements: Assess your intended use for the graphic card. Are you a gamer who wants to play the latest AAA titles at high settings? Or are you a designer in need of a card that can handle complex rendering tasks? Define your performance requirements to guide your selection process.
- Budget: Set a budget for your graphic card purchase. Determine how much you are willing to spend while considering the required performance. Remember to account for any potential additional costs, such as power supply upgrades or cooling solutions.
- Compatibility: Verify that the graphic card you choose is compatible with your Mini PC, taking into consideration the available expansion slots, power requirements, and form factor limitations.
- Manufacturer and model reputation: Research the reputation of different manufacturers and models to ensure you select a reliable and well-regarded graphic card. Read reviews, consider customer feedback, and consider the warranty and customer support provided by the manufacturer.
- Future-proofing: Future-proofing is important to ensure that your graphic card can handle upcoming technologies and software updates. Consider the card’s compatibility with DirectX versions, OpenGL, and Vulkan to ensure longevity and compatibility with software advancements.
By considering these factors, you can narrow down your options and find a graphic card that provides the performance and features you desire within your budget. Take the time to compare different models, read expert reviews, and make an informed decision. Once you have chosen the ideal graphic card, you can proceed to the next step: preparing your Mini PC for installation.
Step 3: Prepare the Mini PC for Installation
Before installing the graphic card into your Mini PC, it is essential to properly prepare the system to ensure a smooth and successful installation. Follow these steps to prepare your Mini PC:
- Power off and unplug the Mini PC: Before making any changes to your Mini PC, shut it down and disconnect the power cable. This will prevent any electrical mishaps and ensure your safety during the installation process.
- Ground yourself: To avoid damaging the sensitive electronic components, ground yourself by touching a metal surface or using an anti-static wrist strap. This will discharge any static electricity that could harm the system.
- Open the Mini PC’s case: Depending on the design of your Mini PC, you may need to remove screws, latches, or panels to gain access to the internal components. Refer to your Mini PC’s manual for specific instructions on how to open the case.
- Locate the PCIe slot or Thunderbolt port: Once the case is open, identify the vacant PCIe slot or Thunderbolt port where you will install the graphic card. Ensure that the slot is free from any obstructions or dust.
- Remove any existing components: If there are any existing components occupying the PCIe slot or obstructing the installation, remove them carefully. This may include an older graphic card, network card, or sound card.
- Prepare the PCIe slot: If you are installing a graphic card into a PCIe slot, ensure that the latch is in the open position. In some cases, you may need to remove a metal bracket covering the PCIe slot to insert the card.
- Apply thermal paste (if necessary): Depending on the instructions provided by the graphic card manufacturer, it may be necessary to apply a small amount of thermal paste to the GPU. This paste helps improve heat transfer and prevent overheating.
By properly preparing your Mini PC for installation, you minimize the chances of any complications or damage during the process. Ensuring a clean and accessible installation location, as well as taking precautionary measures, will make the overall installation process smoother. Once you have completed these steps, you can proceed to the next stage: installing the graphic card into your Mini PC.
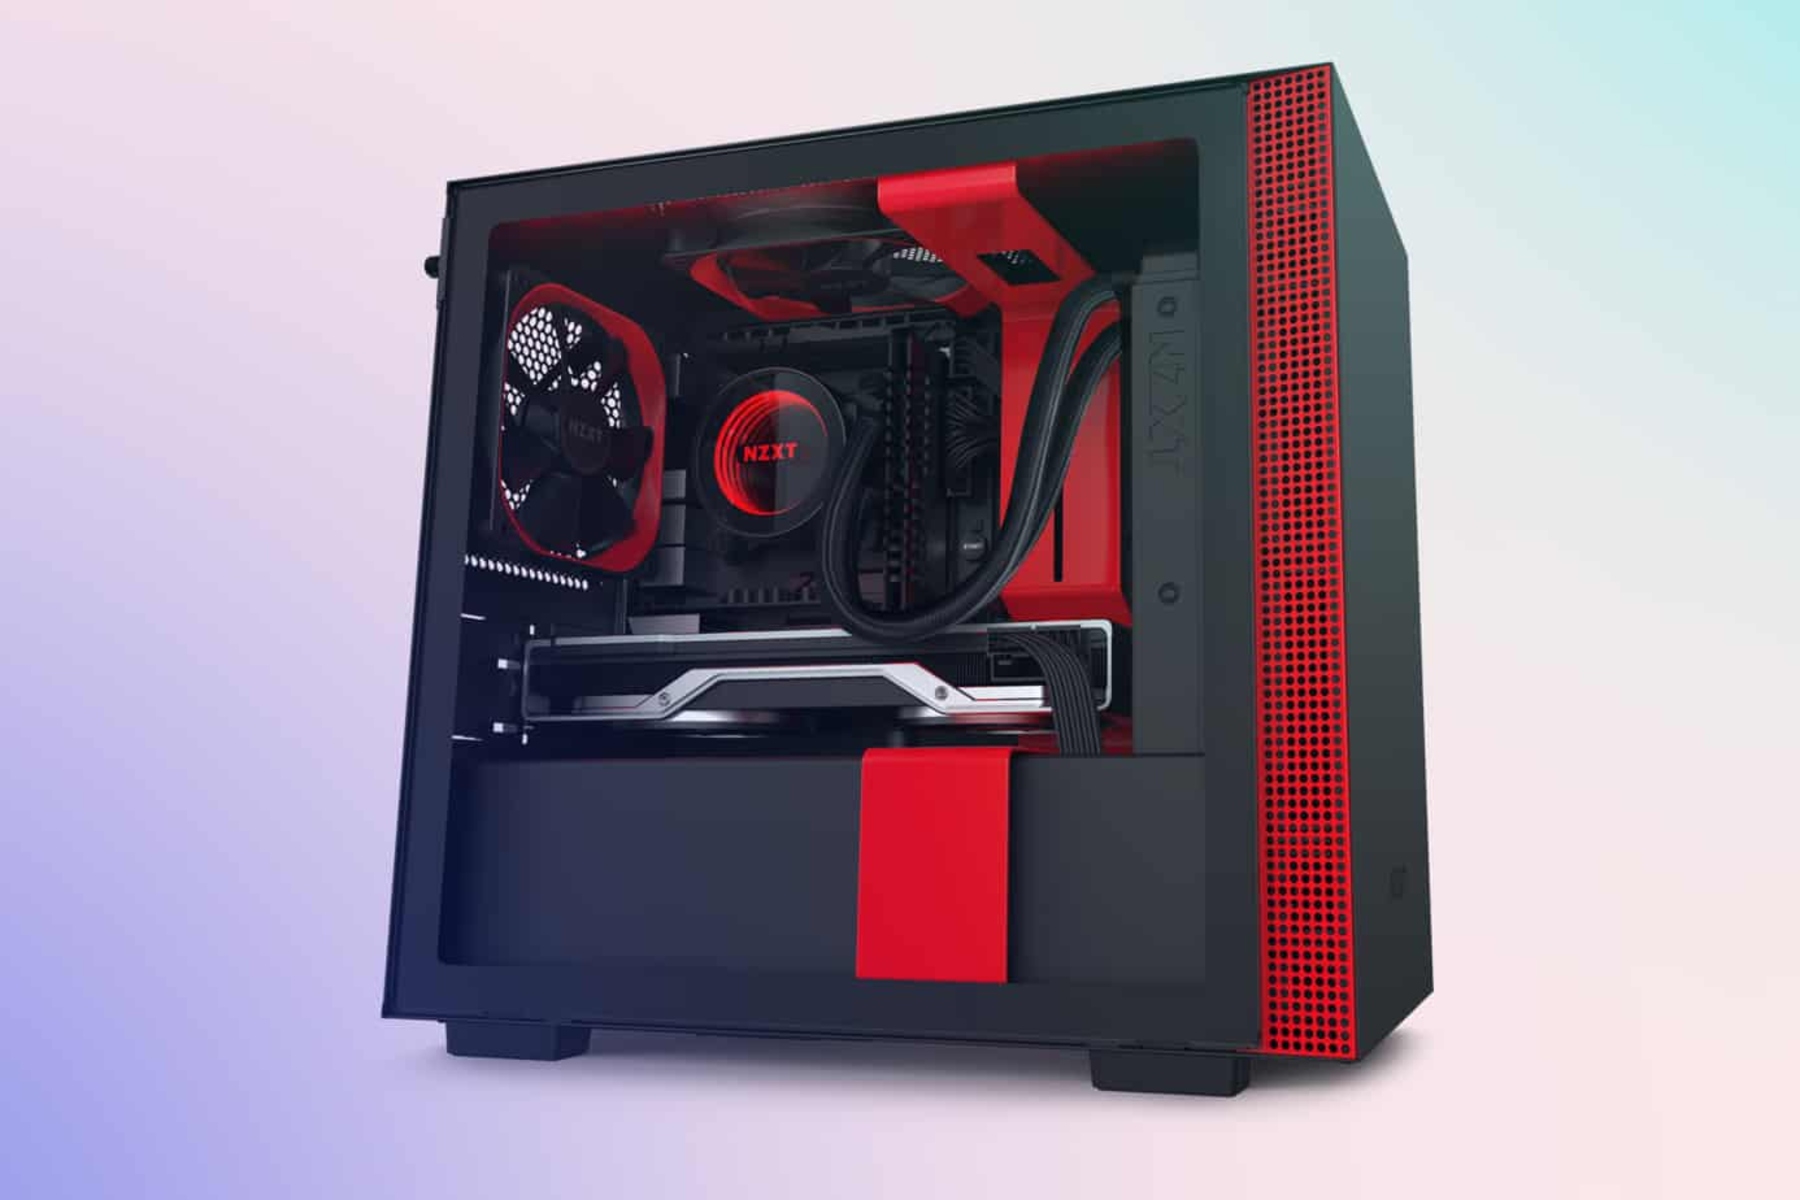
Step 4: Install the Graphic Card
With your Mini PC prepared, it’s time to install the graphic card into the available PCIe slot or Thunderbolt port. Follow these steps to install the graphic card properly:
- Handle the graphic card with care: Hold the graphic card by the edges and avoid touching the metal contacts or any sensitive circuitry. This will help prevent any damage caused by static electricity or accidental mishandling.
- Align the card with the slot: Carefully align the graphic card with the PCIe slot or Thunderbolt port. Ensure that the card’s connector aligns with the slot on the motherboard or expansion card bracket.
- Insert the graphic card: Gently push the graphic card straight into the slot until it is fully seated. Apply even pressure and avoid using excessive force, as this could damage the card or the motherboard.
- Secure the card: Depending on your Mini PC’s design, you may need to use screws or latches to secure the graphic card in place. Refer to the manual for specific instructions on securing the card, if necessary.
- Close the Mini PC’s case: Once the graphic card is securely installed, carefully close the Mini PC’s case and fasten any screws or latches that hold the case together.
After installing the graphic card, double-check that it is properly seated and securely fastened. Ensure that all connections are secure and that there are no loose cables obstructing the card. With the graphic card successfully installed, it’s time to move on to the next step: connecting the necessary cables.
Step 5: Connect the Necessary Cables
Connecting the necessary cables is a crucial step to ensure proper functioning of your newly installed graphic card. Follow these steps to connect the required cables:
- Power cables: Some graphic cards require additional power connections to function properly. Check the power requirements of your graphic card and connect the necessary power cables from the power supply unit (PSU) to the card. Make sure the connections are secure.
- Monitor cable: Connect your monitor or display to the graphic card using the appropriate cable. Depending on the available ports on your graphic card, you may need to use an HDMI, DisplayPort, or DVI cable. Ensure the cable is securely connected to both the graphic card and the monitor.
- Additional cables: Depending on your specific setup, you may need to connect additional cables, such as audio cables for sound output or USB headers for front panel connections. Consult your Mini PC’s manual and the instructions provided with your graphic card for any additional cable connections.
Ensure that all cables are connected securely and properly seated. Double-check the connections to prevent any signal or power interruptions. Once all the necessary cables are connected, you can proceed to the next step: updating the drivers and software.
Step 6: Update Drivers and Software
To ensure optimal performance and compatibility, it is crucial to update the drivers and software for your newly installed graphic card. Follow these steps to update the necessary drivers and software:
- Visit the manufacturer’s website: Go to the website of the graphic card manufacturer and navigate to the support or downloads section. Look for the drivers and software specifically for your graphic card model and operating system.
- Download the latest drivers: Locate the latest drivers for your graphic card and download them to your Mini PC. Ensure that you download the correct drivers for your specific operating system.
- Install the drivers: Once the drivers are downloaded, run the installation file and follow the on-screen instructions to install the drivers. Reboot your Mini PC if prompted to do so.
- Additional software: Some graphic cards come with additional software or utility programs that can enhance performance or provide additional features. Optionally, install any recommended software provided by the manufacturer to take full advantage of your graphic card’s capabilities.
- Verify installation: After installing the drivers and optional software, verify that the installation was successful. Check the device manager or the manufacturer’s software to confirm that the graphic card is recognized and functioning as expected.
Regularly check for driver updates from the manufacturer’s website, as new updates can provide performance improvements and bug fixes for your graphic card. Keeping your drivers and software up to date ensures the best experience with your newly added graphic card. After updating the drivers and software, you can proceed to the final step: testing the new graphic card.
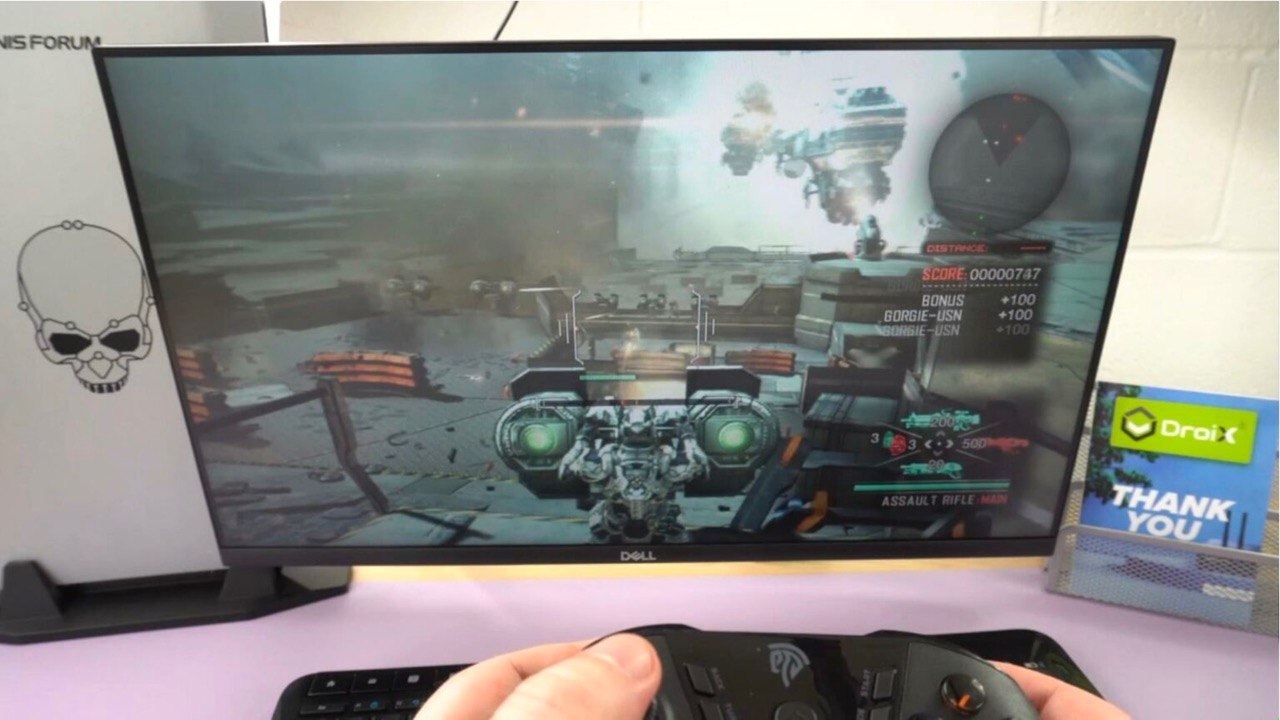
Step 7: Test the New Graphic Card
After completing the installation and updating the necessary drivers and software, it’s time to test the performance of your newly installed graphic card. Follow these steps to ensure everything is functioning as expected:
- Power on your Mini PC: Turn on your Mini PC and let it boot up to the operating system.
- Display settings: Go to your operating system’s display settings and make sure it recognizes the new graphic card. Adjust the resolution, refresh rate, and other display settings as needed.
- Benchmark tests: Run benchmark tests or performance monitoring software to evaluate the performance of your graphic card. These tests will assess the card’s capabilities under different workloads and help identify any issues or bottlenecks.
- Testing software: Use graphic-intensive software or games to test the performance and stability of your new graphic card. Run graphically demanding applications and observe for any artifacts, crashes, or performance issues.
- Temperature monitoring: Use software tools to monitor the temperature of your graphic card during testing. Ensure that the temperature stays within safe limits and that cooling is adequate.
- Update if necessary: If you encounter any issues or notice suboptimal performance, check for any new driver updates from the manufacturer’s website. Install the latest drivers if available, as they may address issues or improve performance.
By performing these tests and monitoring the performance of your new graphic card, you can fine-tune its settings, identify any potential issues, and ensure optimal performance. If everything is functioning as expected, congratulations! You have successfully added and tested a new graphic card in your Mini PC setup.
Conclusion
Congratulations on successfully adding a graphic card to your Mini PC! This upgrade opens up a world of possibilities, whether you’re a gamer looking for better graphics or a professional in need of enhanced rendering capabilities. By following the steps outlined in this guide, you have ensured proper compatibility, selected a suitable graphic card, prepared your Mini PC, installed the card, connected the necessary cables, updated drivers and software, and tested the new graphic card’s performance.
Throughout the process, it’s essential to follow safety precautions and consult the manuals and guidelines provided by your Mini PC and graphic card manufacturers. Remember to double-check compatibility, choose a reputable manufacturer, and consider future-proofing your setup. Regularly updating drivers and software is crucial to maintain optimal performance and compatibility with the latest software updates and technologies.
As you enjoy your newly upgraded Mini PC with the added graphic card, continue to monitor its performance and ensure it stays within safe temperature limits. Regularly update drivers and software to benefit from the latest improvements and features provided by the manufacturer. Should any issues arise, consult troubleshooting guides, reach out to customer support, or seek help from reputable online communities.
Adding a graphic card to your Mini PC is an exciting and rewarding experience that can revolutionize your computing experience. Whether you’re gaming, multimedia editing, or utilizing graphics-intensive applications, the enhanced performance and capabilities provided by the graphic card can take your Mini PC to new heights.
Remember, each Mini PC setup is unique, and your experience may vary. Take the time to understand your specific requirements, research thoroughly, and make informed decisions throughout the process. With careful planning, attention to detail, and a little technical know-how, you can unleash the full potential of your Mini PC with an added graphic card.
Additional Tips and Troubleshooting
Adding a graphic card to your Mini PC can sometimes come with challenges or require additional adjustments. Here are some additional tips and troubleshooting steps to help you overcome any potential issues:
- Ensure proper power supply: Verify that your Mini PC’s power supply is capable of supplying enough power to both the graphic card and the rest of the components. Insufficient power can cause stability issues or unexpected shut downs.
- Check for BIOS updates: Visit your Mini PC manufacturer’s website and check for any BIOS updates. These updates may include fixes or optimizations related to graphic card compatibility.
- Monitor temperatures: Keep an eye on the temperatures of your graphic card during long gaming sessions or heavy workloads. If temperatures are reaching unsafe levels, consider improving the cooling solutions within your Mini PC.
- Remove old drivers: If you previously had a different graphic card in your Mini PC, make sure to uninstall the old drivers before installing the new ones. Lingering drivers can cause conflicts or instability.
- Disable integrated graphics: In some cases, you may need to disable integrated graphics in the BIOS settings of your Mini PC to prioritize the dedicated graphic card.
- Consider adding additional cooling: If your Mini PC’s cooling system feels inadequate, consider adding extra fans or upgrading to an aftermarket cooling solution to maintain optimal temperatures.
- Consult the manufacturer: If you encounter any issues or have specific questions related to your Mini PC or graphic card, reach out to the respective manufacturer’s customer support for assistance.
- Join online communities: Engage in online forums and communities to connect with experienced users who can provide advice, tips, and troubleshoot specific issues you may encounter.
Remember, troubleshooting can sometimes require specific knowledge or technical expertise. If you are unsure about any steps or if issues persist, it’s always best to seek help from professionals or experienced individuals in the field. Take the time to research and understand your setup, read user manuals, and follow instructions diligently to make the most of your added graphic card.
By incorporating these additional tips and troubleshooting steps, you can overcome common challenges and ensure a smooth and successful integration of the graphic card into your Mini PC setup. Enjoy the enhanced performance and visuals that the graphic card brings to your computing experience!