Introduction
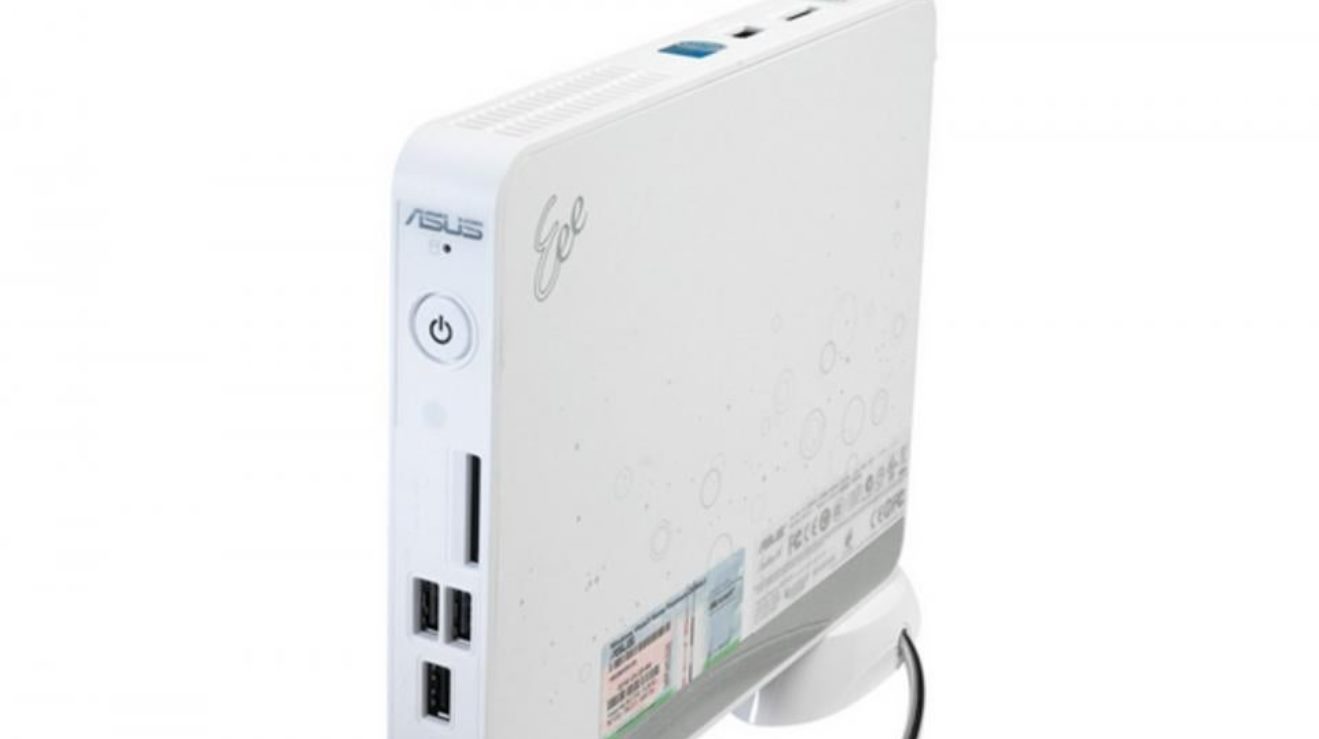
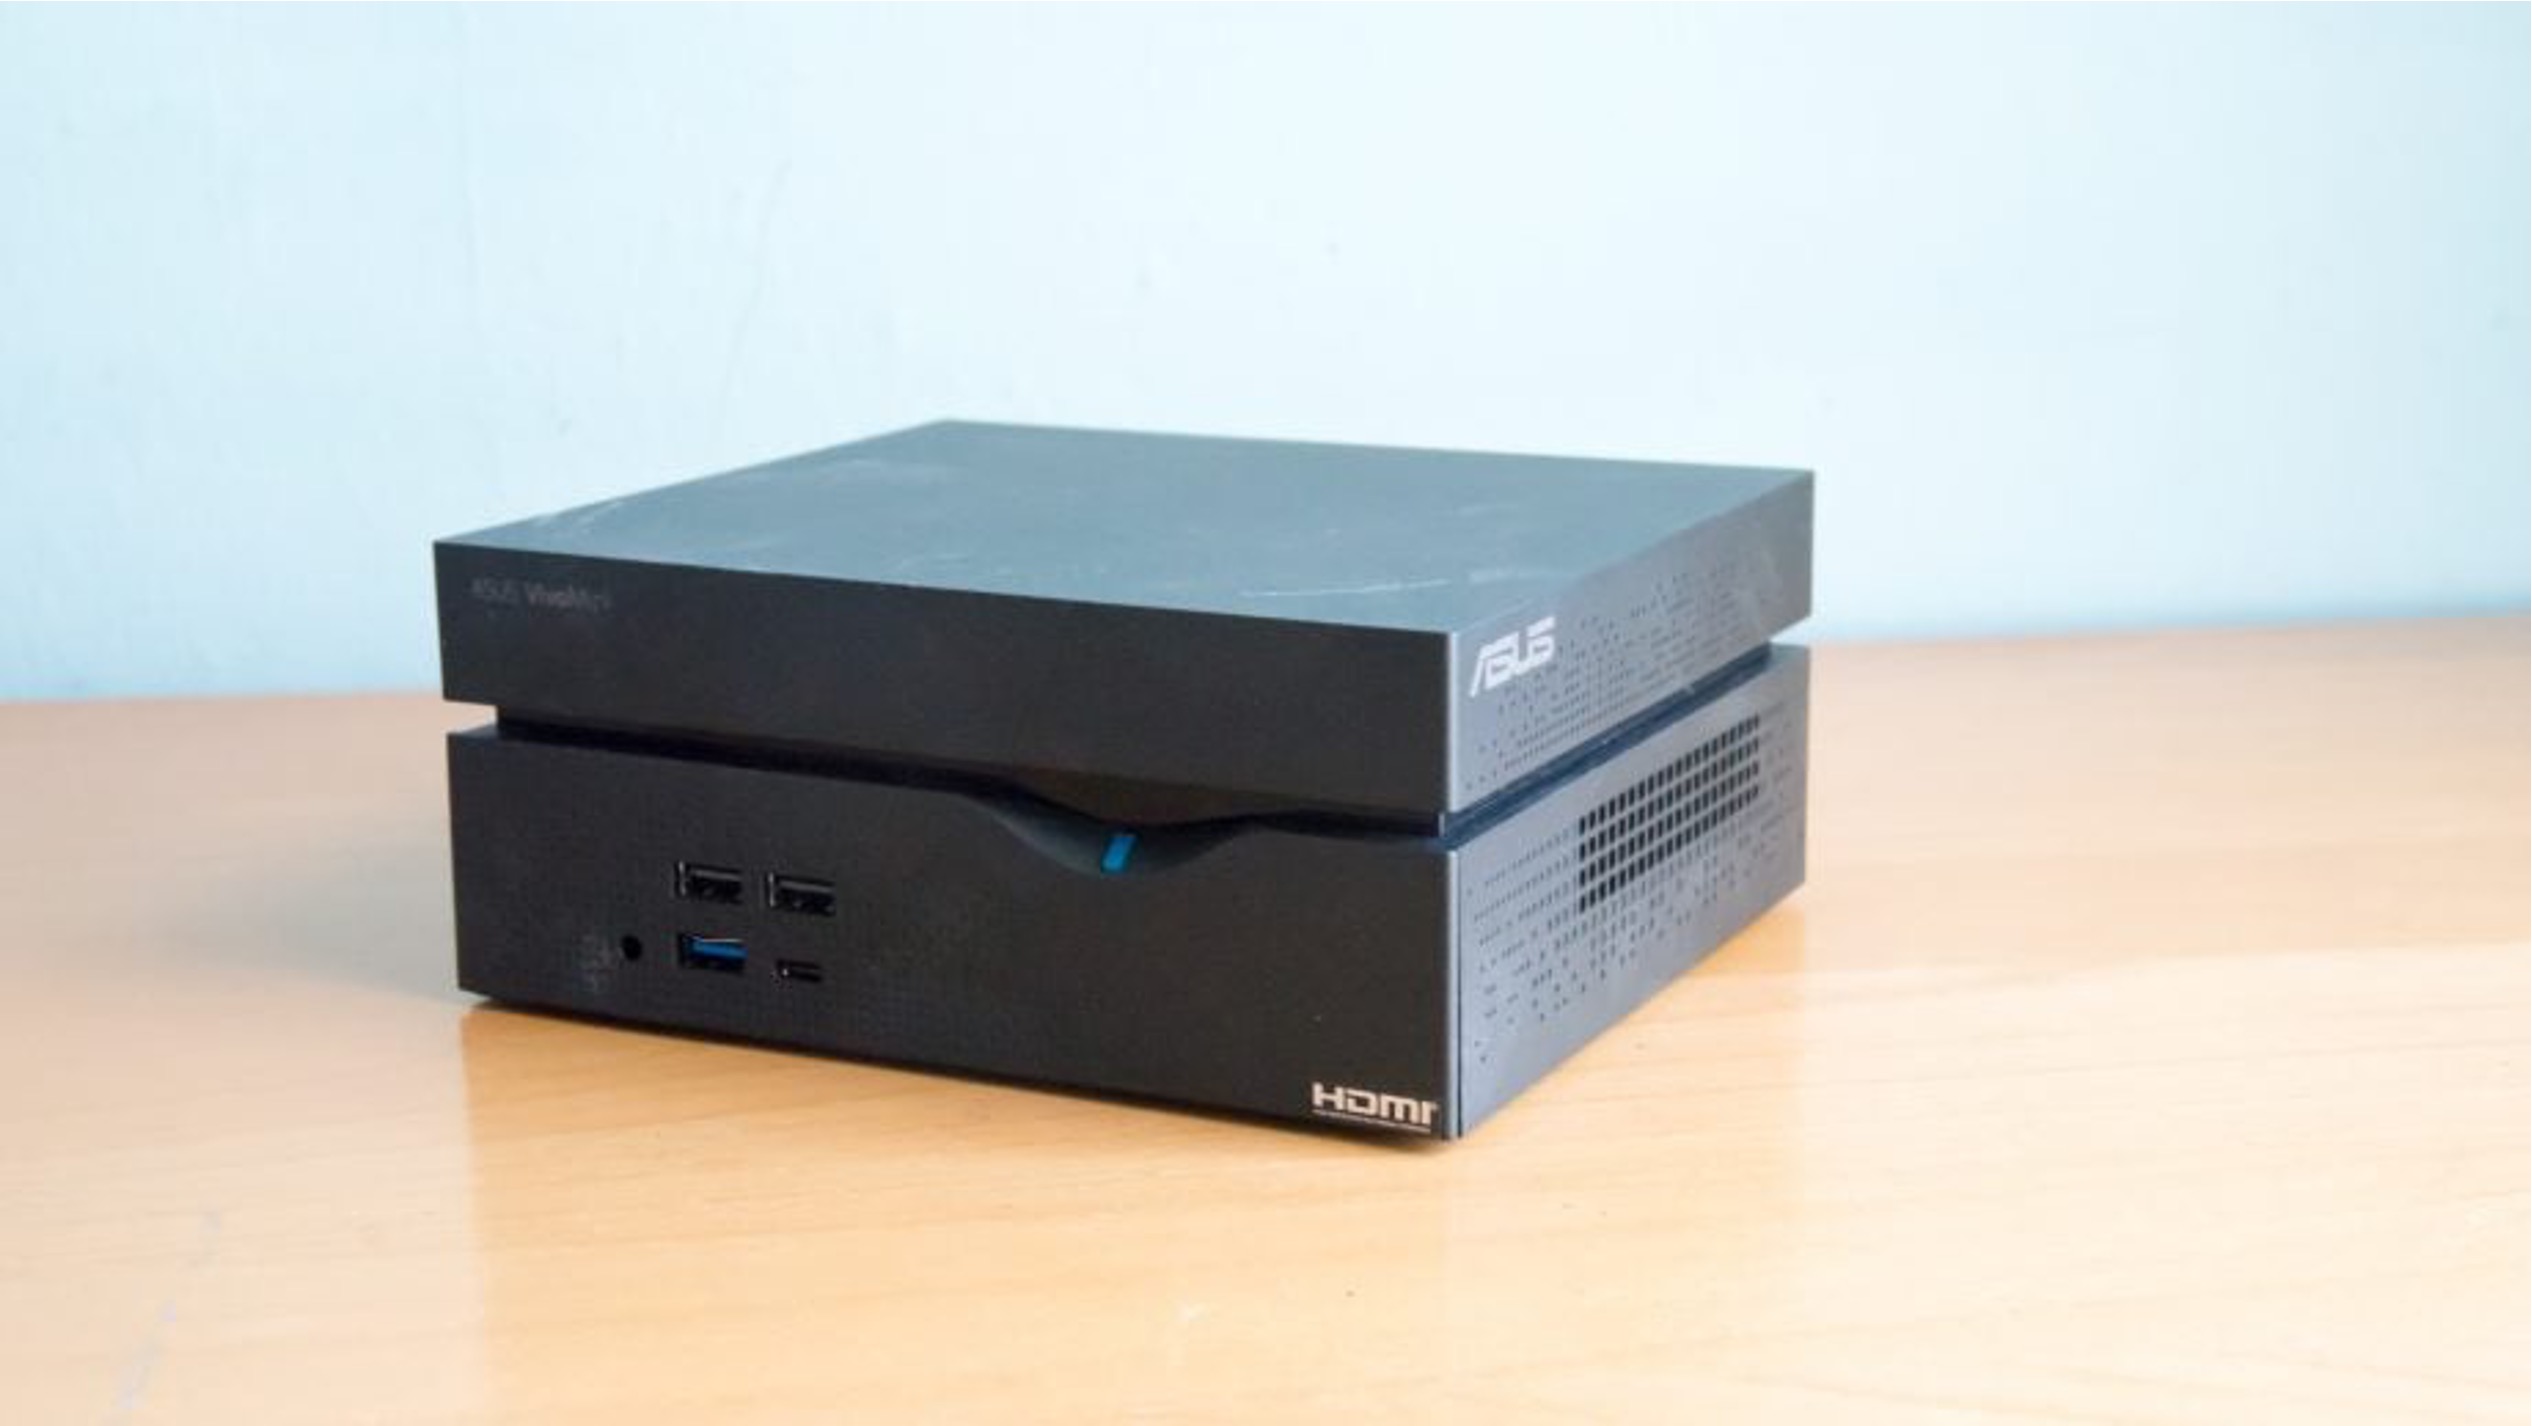
Welcome to this guide on how to boot into an Asus Box Eee Mini PC EB1012P with no hard drive. The Asus Box Eee Mini PC EB1012P is a compact and portable desktop computer that offers powerful performance despite its small size. However, there may be instances where you need to boot the device without a hard drive, such as when troubleshooting or installing a new operating system.
In this article, we will walk you through the steps to boot into the Asus Box Eee Mini PC EB1012P using a bootable USB drive. This method allows you to access the computer’s BIOS settings and change the boot order, enabling you to boot from the USB drive instead of the internal hard drive.
Before we begin, it is important to note that performing these steps will require you to have a bootable USB drive with the desired operating system or diagnostic tool. Additionally, ensure that you have backed up any important data on the device, as changing the boot order may impact the existing data on the internal hard drive.
Now, let’s dive into the step-by-step instructions on how to boot into an Asus Box Eee Mini PC EB1012P without a hard drive.
Step 1: Prepare a bootable USB drive
The first step to boot into an Asus Box Eee Mini PC EB1012P without a hard drive is to prepare a bootable USB drive. This USB drive will contain the operating system or diagnostic tool that you want to boot from.
To create a bootable USB drive, you will need a blank USB drive with a capacity of at least 4GB. Additionally, you will need a computer with internet access and a tool for creating bootable USB drives, such as Rufus or UNetbootin.
Follow these steps to prepare the bootable USB drive:
- Connect the blank USB drive to your computer.
- Open the tool for creating bootable USB drives.
- Select the USB drive from the available device list.
- Choose the operating system or diagnostic tool that you want to use from the tool’s options.
- Click on the “Start” or “Create” button to begin the process.
- Wait for the tool to format the USB drive and copy the necessary files onto it. This may take a few minutes.
- Once the process is complete, safely eject the USB drive from your computer.
Now, you have successfully prepared a bootable USB drive that contains the operating system or diagnostic tool of your choice. In the next step, we will access the BIOS settings of the Asus Box Eee Mini PC EB1012P.
Step 2: Access the BIOS settings
Now that you have prepared a bootable USB drive, the next step is to access the BIOS settings of the Asus Box Eee Mini PC EB1012P. The BIOS (Basic Input/Output System) is a software program embedded on the motherboard that controls various hardware settings.
Follow these steps to access the BIOS settings:
- Make sure the Asus Box Eee Mini PC EB1012P is turned off.
- Connect the bootable USB drive to one of the available USB ports.
- Press the power button to turn on the device.
- As the device starts up, press the F2 or Del key repeatedly until the BIOS setup utility appears on the screen. The specific key may vary depending on the manufacturer.
- Once you enter the BIOS setup utility, you will see a menu with various options. Navigate through the menu using the arrow keys on your keyboard.
- Look for the “Boot” or “Boot Priority” section in the BIOS setup utility. This section contains settings related to the boot order of the device.
- Take note of the current boot order configuration, as you will need to change it to boot from the USB drive.
Now that you have successfully accessed the BIOS settings of the Asus Box Eee Mini PC EB1012P, you are ready to proceed to the next step: changing the boot order to boot from the USB drive.
Step 3: Change the boot order
After accessing the BIOS settings of the Asus Box Eee Mini PC EB1012P, the next step is to change the boot order to prioritize booting from the USB drive. This will ensure that the computer boots from the USB drive instead of the internal hard drive.
Follow these steps to change the boot order:
- Navigate to the “Boot” or “Boot Priority” section in the BIOS setup utility.
- Locate the option that controls the boot order. This option is often labeled as “Boot Order,” “Boot Sequence,” or “Boot Device Priority.”
- Select the option and press Enter to enter the boot order configuration.
- Using the arrow keys, move the USB drive option to the top of the boot order. This will set the USB drive as the first boot device.
- If necessary, you can also adjust the boot order of other devices by moving them up or down using the arrow keys.
- Once you have rearranged the boot order according to your preference, save the changes and exit the BIOS setup utility. This is typically done by pressing the F10 key and confirming the changes.
- The Asus Box Eee Mini PC EB1012P will now prioritize booting from the USB drive.
Now that you have successfully changed the boot order, you can proceed to the final step: connecting the USB drive to the Asus Box Eee Mini PC EB1012P and booting from it.
Step 4: Connect the USB drive to the Asus Box Eee Mini PC EB1012P
Now that you have changed the boot order in the BIOS settings, the final step is to connect the USB drive to the Asus Box Eee Mini PC EB1012P and boot from it. This will allow you to access the operating system or diagnostic tool stored on the USB drive.
Follow these steps to connect the USB drive and boot from it:
- Make sure the Asus Box Eee Mini PC EB1012P is turned off.
- Locate one of the available USB ports on the device.
- Insert the prepared bootable USB drive into the USB port.
- Turn on the Asus Box Eee Mini PC EB1012P by pressing the power button.
- As the device starts up, it will detect the bootable USB drive and automatically boot from it.
- Depending on the operating system or diagnostic tool on the USB drive, you may be prompted to follow further instructions for installation or troubleshooting.
- Proceed with the necessary steps to complete the process.
By connecting the USB drive to the Asus Box Eee Mini PC EB1012P and booting from it, you have successfully accessed the desired operating system or diagnostic tool without a hard drive.
Remember to remove the USB drive once you have finished using it and wish to boot from the internal hard drive again. This will prevent the device from booting from the USB drive every time it starts up.
That concludes the steps to boot into an Asus Box Eee Mini PC EB1012P without a hard drive using a bootable USB drive. Following these instructions will enable you to troubleshoot issues or install a new operating system on your device.


