Introduction
Welcome to our guide on how to remove a case fan when the screws are stuck. Case fans play a critical role in keeping your computer’s components cool and ensuring optimal performance. However, it can be frustrating when the screws holding the fan in place become stuck, making it difficult to remove or replace the fan. If you find yourself in this situation, don’t worry – we’ve got you covered!
In this article, we will walk you through various methods to help you remove a case fan with stuck screws. Whether the screws have become stripped, rusted, or simply won’t budge, we have solutions that will save you time and headaches. By following these techniques, you’ll be able to safely remove the fan without damaging your computer or the fan itself.
Before we dive into the methods, it’s important to understand why the screws may become stuck in the first place. Over time, screws can accumulate dirt, dust, or debris, which can cause them to seize up. Additionally, exposure to moisture or humidity can lead to rust formation, making it even more challenging to remove the screws. By knowing the potential causes, you’ll have a better idea of how to approach the situation.
Throughout this guide, we’ll provide step-by-step instructions along with the necessary tools to carry out each method. From using a screwdriver to applying heat or using pliers, we’ve compiled a range of techniques that cater to different scenarios. Feel free to try the methods in the order that suits your situation best or start with the one you feel most comfortable with.
Now that we’ve covered the basics, let’s explore the various methods you can use to remove a case fan with stuck screws. Don’t let those stubborn screws get in your way – let’s get started!
Why are the screws stuck?
If you’ve encountered a situation where the screws of your case fan are stuck, it’s essential to understand why this may have occurred. Several factors can contribute to stuck screws, and recognizing these causes will help you determine the best approach for removal.
1. Accumulated debris: Over time, dust, dirt, and other particles can accumulate around the screw heads, making them difficult to turn. This buildup can create friction and prevent the screws from loosening, resulting in a stuck situation. Regular maintenance, including cleaning the fan area, can help prevent this issue.
2. Rust formation: Moisture, humidity, or exposure to water can cause screws to rust, especially if they are made of ferrous metals. Rust formation not only makes the screws harder to turn but also weakens their structure, making them more susceptible to breaking. If you live in a humid environment or if your computer has had contact with liquids, rusted screws could be the culprit.
3. Over-tightened screws: It’s possible that the screws were initially tightened too tightly, which can make them challenging to remove later on. This can happen if excessive force or improper tools were used during the initial installation. Over-tightening can cause the screws to get stuck, as they essentially become “frozen” in place.
4. Stripped screw heads: If you’ve attempted to remove the screws without the proper tools or technique, it’s easy for the screw heads to become stripped. A stripped screw head occurs when the grooves or slots meant for a screwdriver or other tools become damaged or worn-down. This makes it extremely difficult to grip the screws and turn them.
5. Low-quality screws: In some cases, the issue may lie with the screws themselves. Low-quality or poorly manufactured screws can have inconsistent threading or weak construction, making them prone to getting stuck. If you suspect this to be the case, replacing the screws with higher-quality ones may be a worthwhile solution.
By understanding why the screws are stuck, you can choose the most appropriate method for removing them. Whether it’s cleaning out debris, combating rust, dealing with stripped heads, or addressing overtightening, there are solutions available to get those stuck screws out safely.
Tools you will need
Before you start removing a case fan with stuck screws, it’s important to gather the right tools to ensure a smooth and successful process. Having the appropriate tools on hand will make the task easier and help prevent any unnecessary damage to the fan or your computer components.
Here are the essential tools you will need:
- Screwdriver set: A set of precision screwdrivers with various head sizes is a must-have for removing stuck screws. Make sure to choose the correct type and size of screwdriver that matches the screws on your case fan.
- Needle-nose pliers: Pliers with long, thin jaws are useful for gripping and turning small screws, especially if the screwheads are stripped. They provide a better grip and increased leverage when attempting to loosen stubborn screws.
- Heat source: Applying heat can help loosen stuck screws. You can use a hairdryer or a heat gun on a low setting to heat up the area around the screws. Be cautious when applying heat and avoid overheating sensitive components.
- Penetrating oil: WD-40 or a similar penetrating oil can be effective in loosening rusted screws. Apply a small amount to the stuck screws and allow it to penetrate for a few minutes before attempting to remove them.
- Rubber bands: Rubber bands can provide additional grip and traction when turning stuck screws. Wrap a rubber band around the screw head to improve grip and reduce the chances of the screwdriver slipping or stripping the screw further.
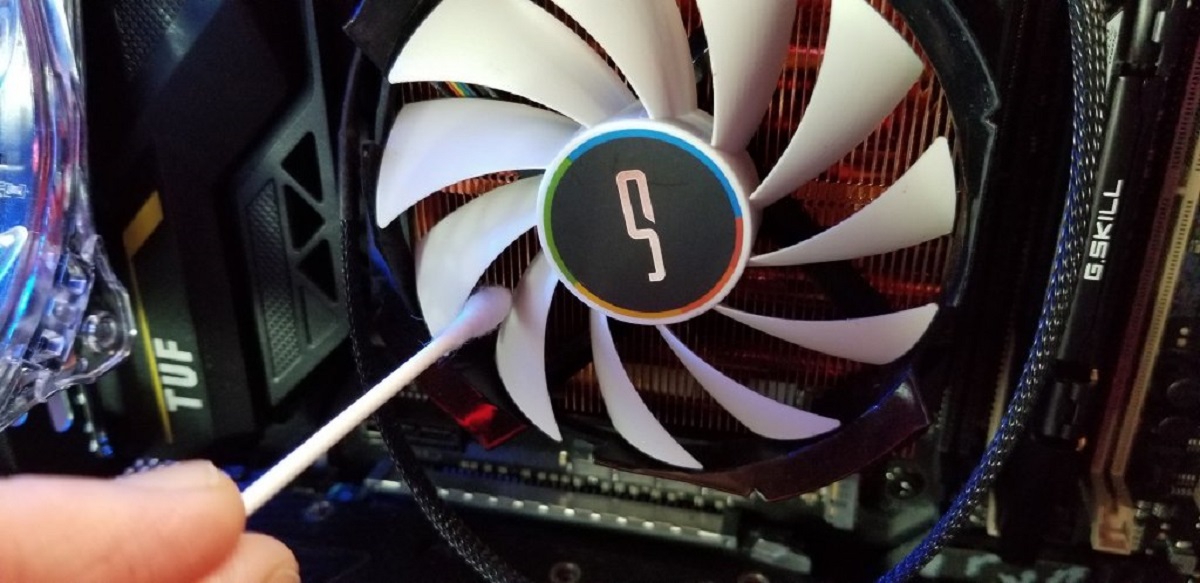
- Clean cloth or brush: Having a clean cloth or brush handy will allow you to remove any debris or dust from the fan area before attempting to remove the screws. Cleaning the area helps minimize the chances of additional friction or damage.
By having these tools within reach, you’ll be well-prepared to tackle the task of removing stuck screws from your case fan. Choosing the right tool for the specific situation will increase your chances of success and help you complete the process smoothly.
Method 1: Using a screwdriver
Using a screwdriver is the most common method for removing stuck screws from a case fan. Here’s a step-by-step guide on how to use this method effectively:
- Ensure you have the correct size and type of screwdriver that matches the screws on your case fan.
- If the screwheads are dirty or filled with debris, clean them using a clean cloth or brush to provide a better grip.
- Place the screwdriver firmly into the screw head and apply gentle pressure in an anti-clockwise direction (lefty-loosey) to loosen the screw. Be mindful not to apply excessive force, as it can strip the screw or damage the fan.
- If the screw is not turning easily, try applying downward pressure while turning to increase grip and leverage.
- For stubborn screws that won’t budge, tap the handle of the screwdriver gently with a small hammer. The vibration can help loosen the screw’s grip.
- If the screwhead becomes stripped, you can try using a larger-sized screwdriver that provides a better fit in the stripped grooves. Alternatively, switch to using needle-nose pliers to grip the screwhead and rotate it.
- Once the screw is loosened, continue turning it until it can be removed easily. If it remains stuck, apply a small amount of penetrating oil to the screw and allow it to sit for a few minutes before trying again.
- Repeat these steps for each stuck screw until all have been successfully removed.
Remember to take your time and be patient while using the screwdriver method. Rushing or applying excessive force can cause damage to the fan or strip the screws further. If this method proves unsuccessful, don’t worry – we have several more approaches to try.
Now that you’re familiar with the screwdriver method, you can confidently attempt to remove stuck screws from your case fan. Proceed to the next method if needed, and let’s continue troubleshooting!
Method 2: Applying heat
If the screws of your case fan are still stuck after attempting to remove them with a screwdriver, applying heat can help loosen their grip. Follow these steps to use this method effectively:
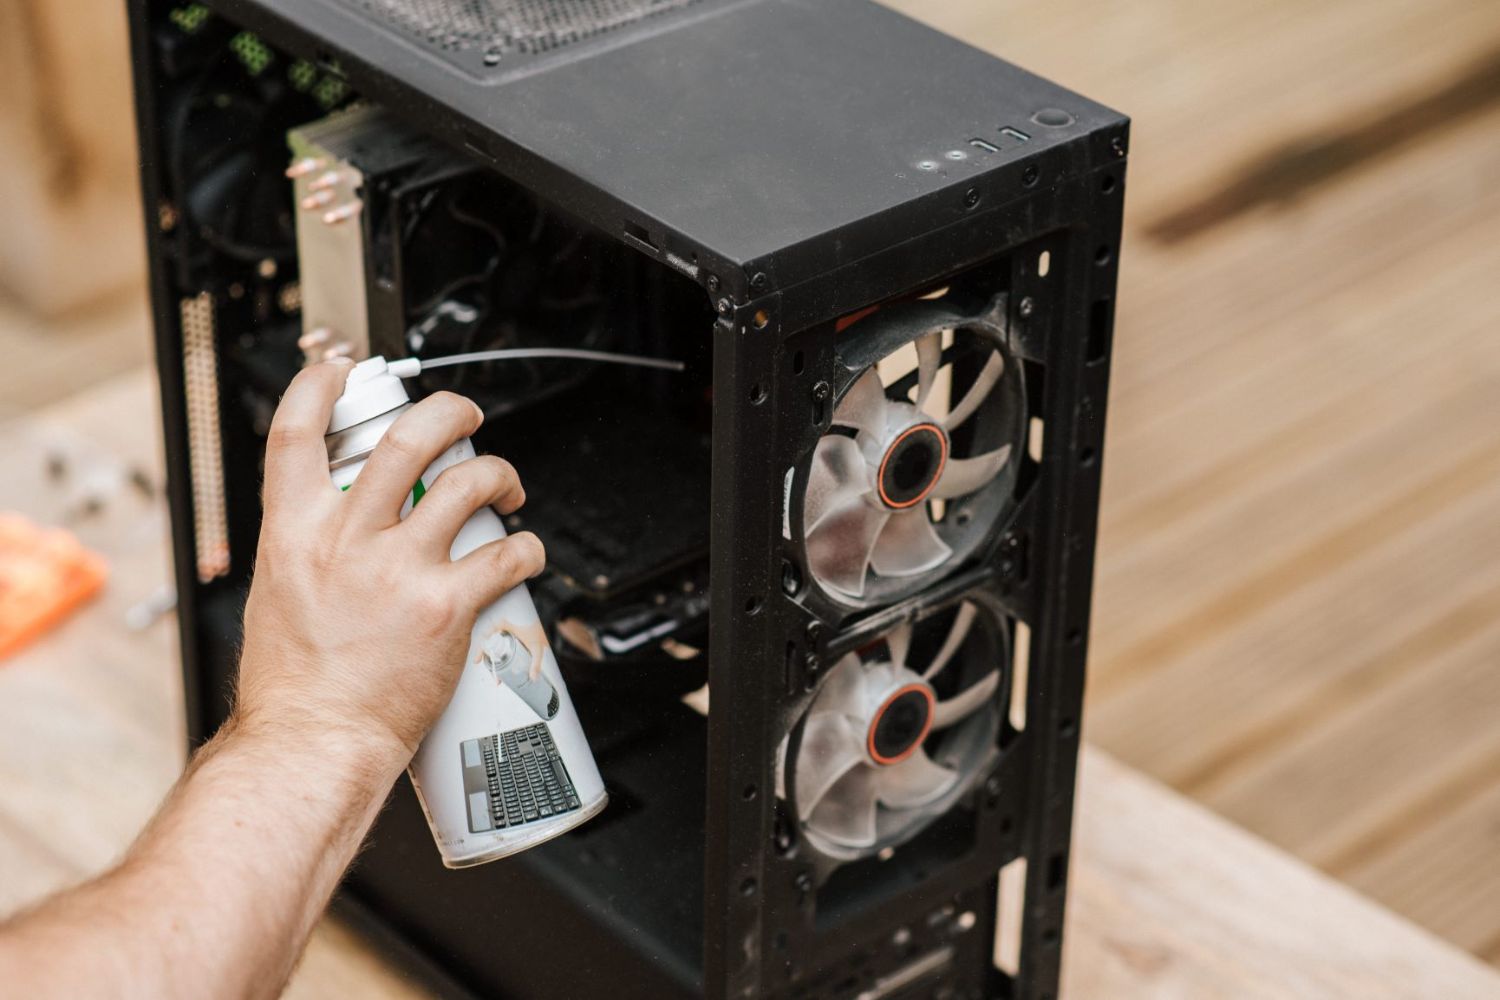
- Ensure your computer is turned off and disconnected from the power source to prevent any accidents or damage.
- Identify a heat source that you can safely use near your case fan. A hairdryer on a low setting or a heat gun can work well for this purpose.
- Direct the heat towards the area around the stuck screws, keeping the heat source a few inches away from the fan and other sensitive components.
- Move the heat source back and forth to distribute the heat evenly and prevent overheating in one spot.
- Continue applying heat for a few minutes to allow the expansion of the metal components, making it easier for the screws to loosen.
- After applying heat, use a screwdriver or pliers to attempt to turn the screws in an anti-clockwise direction (lefty-loosey).
- If the screws are still stuck, try gently tapping the screwdriver or pliers with a small hammer while attempting to turn the screws.
- If the heat method doesn’t work initially, you can repeat the process a few times to gradually increase the chances of success.
- Once the screws start to loosen, continue turning them until they can be fully removed. If they still won’t budge, consider using other methods or seeking professional assistance.
Remember to exercise caution when applying heat near electronic components. Overheating can cause damage, so it’s essential to keep the heat source at a safe distance and avoid excessive exposure.
Applying heat can help break the bond between the stuck screws and the case fan, making removal easier. If this method doesn’t yield the desired results, don’t worry – we still have more methods to explore.
Proceed to the next method with optimism and let’s get those stuck screws out!
Method 3: Using pliers
If the screws of your case fan are still stubbornly stuck, using pliers can provide the extra grip and leverage needed to loosen them. Follow these steps to utilize this method effectively:
- Ensure you have a pair of needle-nose pliers with long, thin jaws handy.
- Clean the screwheads to remove any dirt or debris that might hinder the pliers’ grip.
- Gently grip the screwhead firmly with the pliers, ensuring a secure hold.
- Apply steady pressure in an anti-clockwise direction (lefty-loosey) to attempt loosening the screw. Be careful not to apply excessive force to avoid damaging the fan or stripping the screw further.
- If the screwhead is stripped and the pliers aren’t providing sufficient grip, try using a larger pair of pliers or adjustable wrench to get a better hold.
- While exerting pressure with the pliers, try tapping the end of the pliers gently with a small hammer. The vibrations can help break the bond between the screw and the case fan.
- For rusted screws, consider applying a small amount of penetrating oil to the screw and allowing it to sit for a few minutes before attempting to loosen it with the pliers.
- Continue turning the screw in an anti-clockwise direction until it is loosened enough to be removed. If it remains stuck, try other methods or seek professional help.
Remember to use pliers with care to avoid causing damage to the fan or other components. Applying steady, controlled pressure and using the right-sized pliers or adjustable wrench can greatly improve your chances of success.
If the pliers method doesn’t work initially, don’t get discouraged. Proceed to the next method, and with persistence, those stubborn screws will soon be a thing of the past!
Method 4: Applying penetrating oil
If the screws of your case fan are stuck due to rust or corrosion, using a penetrating oil can help loosen them by breaking down the rust. Follow these steps to effectively use this method:
- Ensure you have a can of penetrating oil, such as WD-40, on hand.
- Clean the screwheads to remove any dirt or debris that may hinder the application of the oil.
- Shake the can of penetrating oil to ensure the contents are well-mixed.
- Apply a small amount of the penetrating oil directly onto the stuck screw, ensuring it reaches the area where the screw threads into the case fan.
- Allow the oil to penetrate the rusted screw for a few minutes. This will help break down the rust and corrosion, making it easier to loosen the screw.
- Using a screwdriver or pliers, attempt to turn the screw in an anti-clockwise direction (lefty-loosey) to loosen it.
- If the screw is still stuck, repeat the process of applying penetrating oil and waiting for a few minutes.
- Apply gentle pressure while turning the screw, and consider tapping the handle of the screwdriver or pliers with a small hammer to help break the rust bond.
- Continue turning the screw until it is loosened, and then remove it completely.
Remember to use penetrating oil in a well-ventilated area, and avoid getting it on other components of your computer. Additionally, be cautious of any flammable materials near the work area.
If the penetrating oil method does not yield immediate results, be patient and repeat the process as necessary. Stubborn rusted screws may require multiple applications for the oil to effectively break down the rust.
Now that you’re armed with the knowledge of using penetrating oil, let’s move on to the next method and conquer those stuck screws!
Method 5: Using a rubber band
If the screws of your case fan are stripped or have worn-out grooves, using a rubber band can provide the extra grip needed to loosen them. Follow these steps to effectively use this method:
- Ensure you have a rubber band available for this method.
- Clean the stripped screwheads to remove any dirt or debris.
- Wrap a rubber band tightly around the screwhead, ensuring it covers as much surface area as possible.
- Insert the screwdriver into the cross-section of the rubber band, applying downward pressure to secure the rubber band in place and provide extra grip.
- While maintaining downward pressure, attempt to turn the screwdriver in an anti-clockwise direction (lefty-loosey) to loosen the screw.
- If the screw is still stuck, make sure the rubber band is securely wrapped around the screwhead and the screwdriver is inserted properly.
- Apply additional downward pressure and try tapping the handle of the screwdriver gently with a small hammer to help break the bond.
- Continue turning the screw until it is loosened enough to be removed completely.
Using a rubber band can provide a surprisingly effective grip when dealing with stripped screwheads. The rubber band fills in the gaps and helps the screwdriver maintain a better connection with the screw, increasing your chances of success.
If the rubber band method doesn’t initially work, try adjusting the tightness of the rubber band or using a thicker rubber band for better grip. Persistence and experimentation may be required to find the optimal solution for your specific stuck screw situation.
Now that you know how to use a rubber band to your advantage, let’s move on to the next method and continue troubleshooting those stubborn screws!
Conclusion
Dealing with stuck screws on a case fan can be frustrating, but armed with the right techniques and tools, you can successfully remove them without causing damage. In this guide, we’ve explored five methods to help you in this process: using a screwdriver, applying heat, using pliers, applying penetrating oil, and utilizing a rubber band.
Whether the screws are stuck due to dirt, rust, overtightening, or stripped heads, each method offers a specific approach to tackle the problem. It’s important to exercise patience and apply the techniques carefully to prevent any damage to your case fan or computer components.
Remember to gather the necessary tools and take the appropriate precautions before embarking on the removal process. Clean the screwheads, apply penetrating oil if necessary, and try different methods if one doesn’t yield results initially.
If you find yourself unable to remove the stuck screws or are uncomfortable attempting the methods described, it’s always recommended to seek professional assistance. They have the expertise and specialized tools to troubleshoot the issue effectively.
We hope this guide has provided you with valuable insights and techniques to remove stuck screws from your case fan. Don’t let those stubborn screws hold you back from maintaining or upgrading your computer. With perseverance and the right methods, you’ll soon have your case fan back in working order.
Good luck, and happy troubleshooting!