Introduction
Welcome to this step-by-step guide on how to install the Corsair Air Series CO-9050016-RLED 120mm Red LED Case Fan. If you are looking to enhance the airflow and aesthetics of your computer case, this guide will provide you with the necessary instructions to successfully install this powerful and stylish case fan.
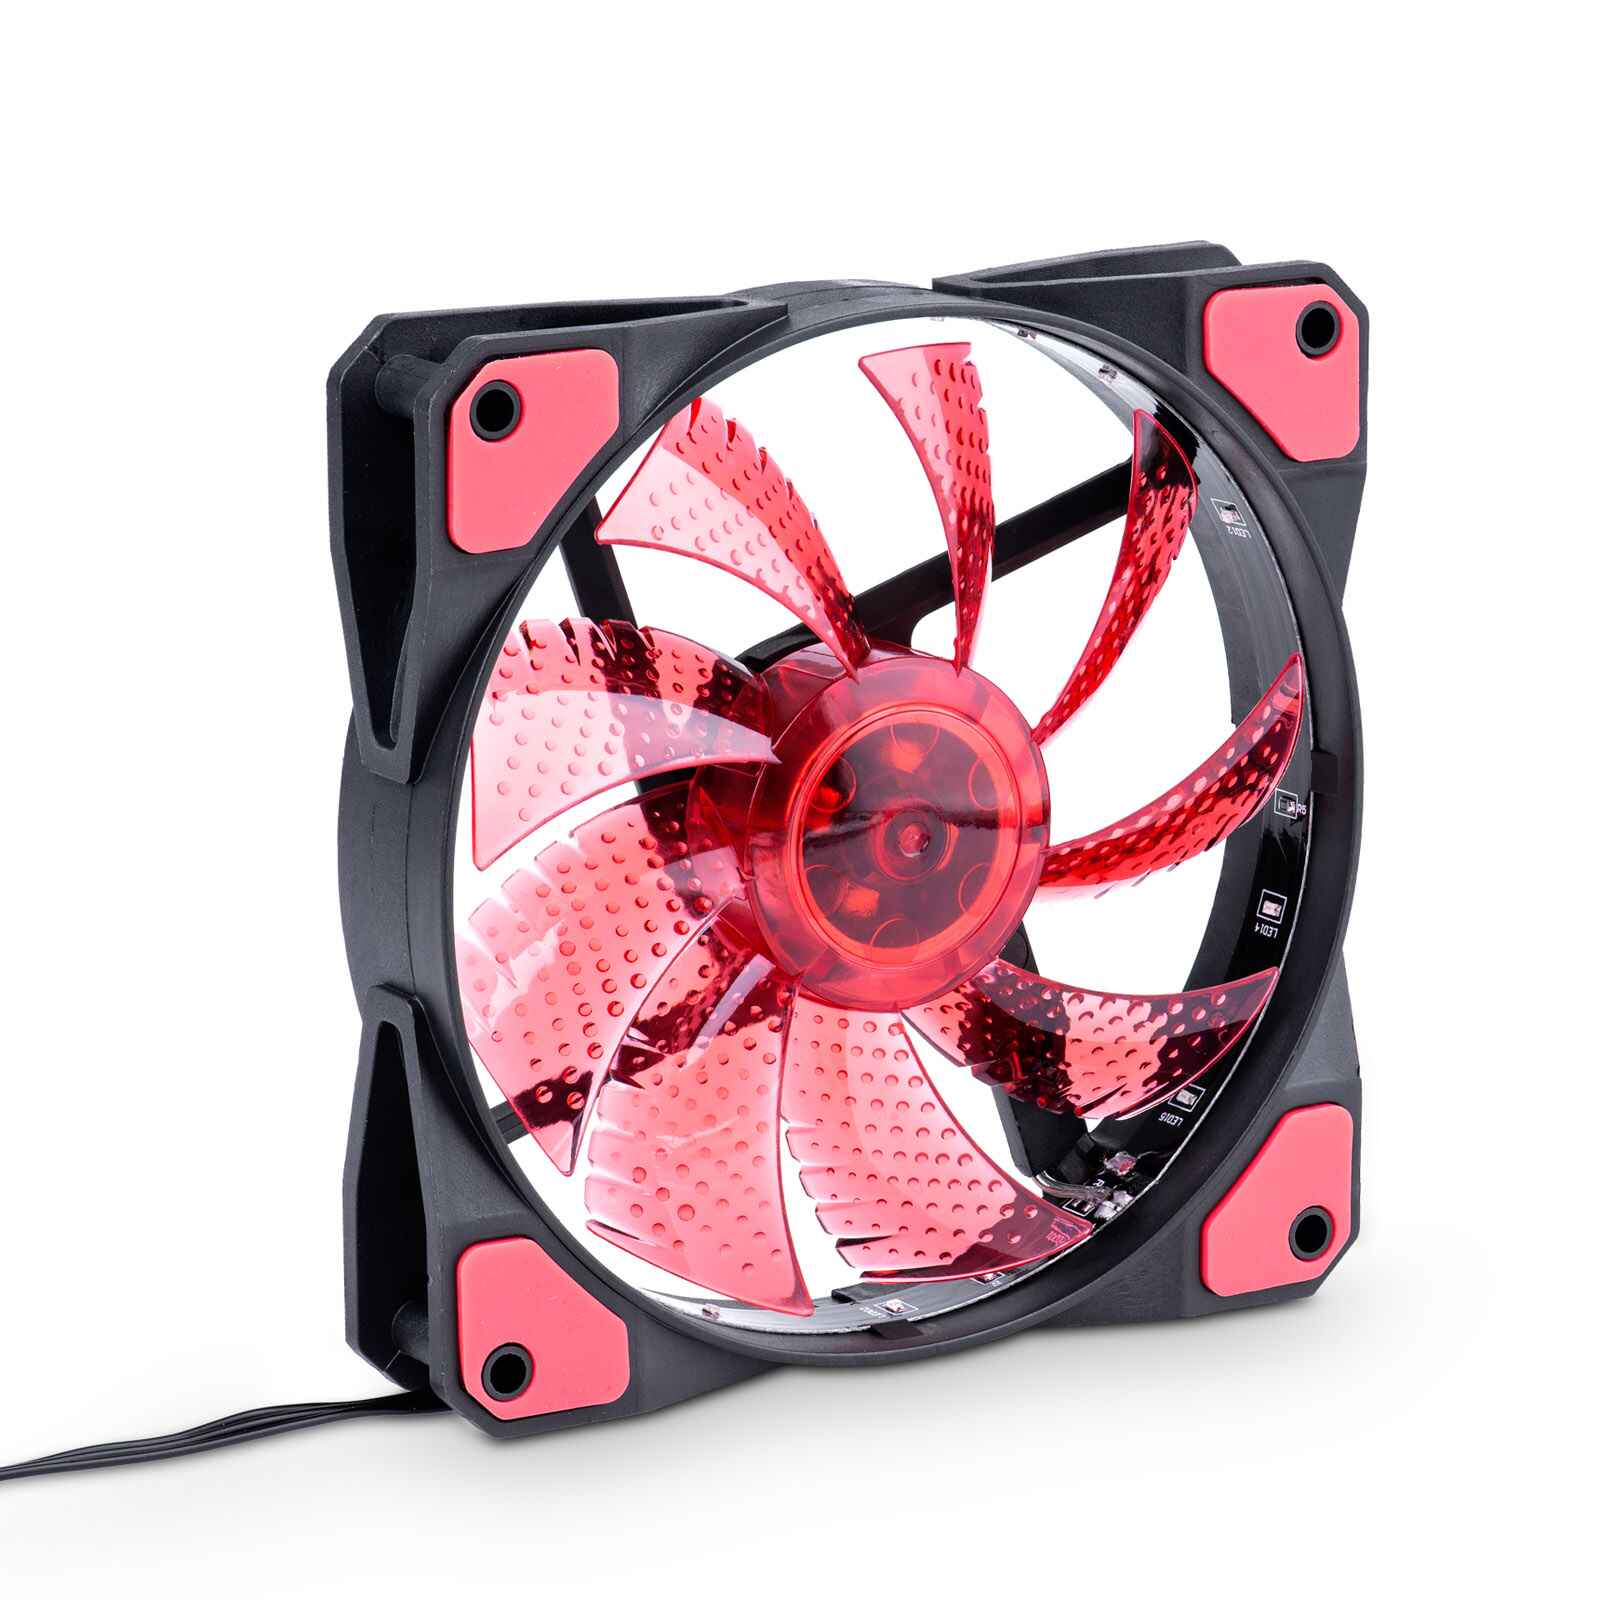
The Corsair Air Series CO-9050016-RLED 120mm Red LED Case Fan is a popular choice among enthusiasts and gamers due to its excellent cooling performance and eye-catching red LED lighting effects. With its optimized blade design and high static pressure, this fan ensures maximum airflow, keeping your system cool and preventing overheating even during intense gaming sessions.
Before we dive into the installation process, let’s quickly go over the tools and materials you’ll need to complete this project:
- A screwdriver (typically, a Phillips head screwdriver is the most common type required)
- Thermal paste (if you’re removing a CPU cooler)
Once you have gathered these tools and materials, you’ll be ready to embark on the process of installing the Corsair Air Series CO-9050016-RLED 120mm Red LED Case Fan. Whether you are a seasoned DIY enthusiast or a newcomer to computer building, this guide will provide clear and comprehensive instructions to ensure a successful installation.
So, without further ado, let’s get started with the first step: preparing for the installation of the Corsair Air Series CO-9050016-RLED 120mm Red LED Case Fan.
What is the Corsair Air Series CO-9050016-RLED 120mm Red LED Case Fan?
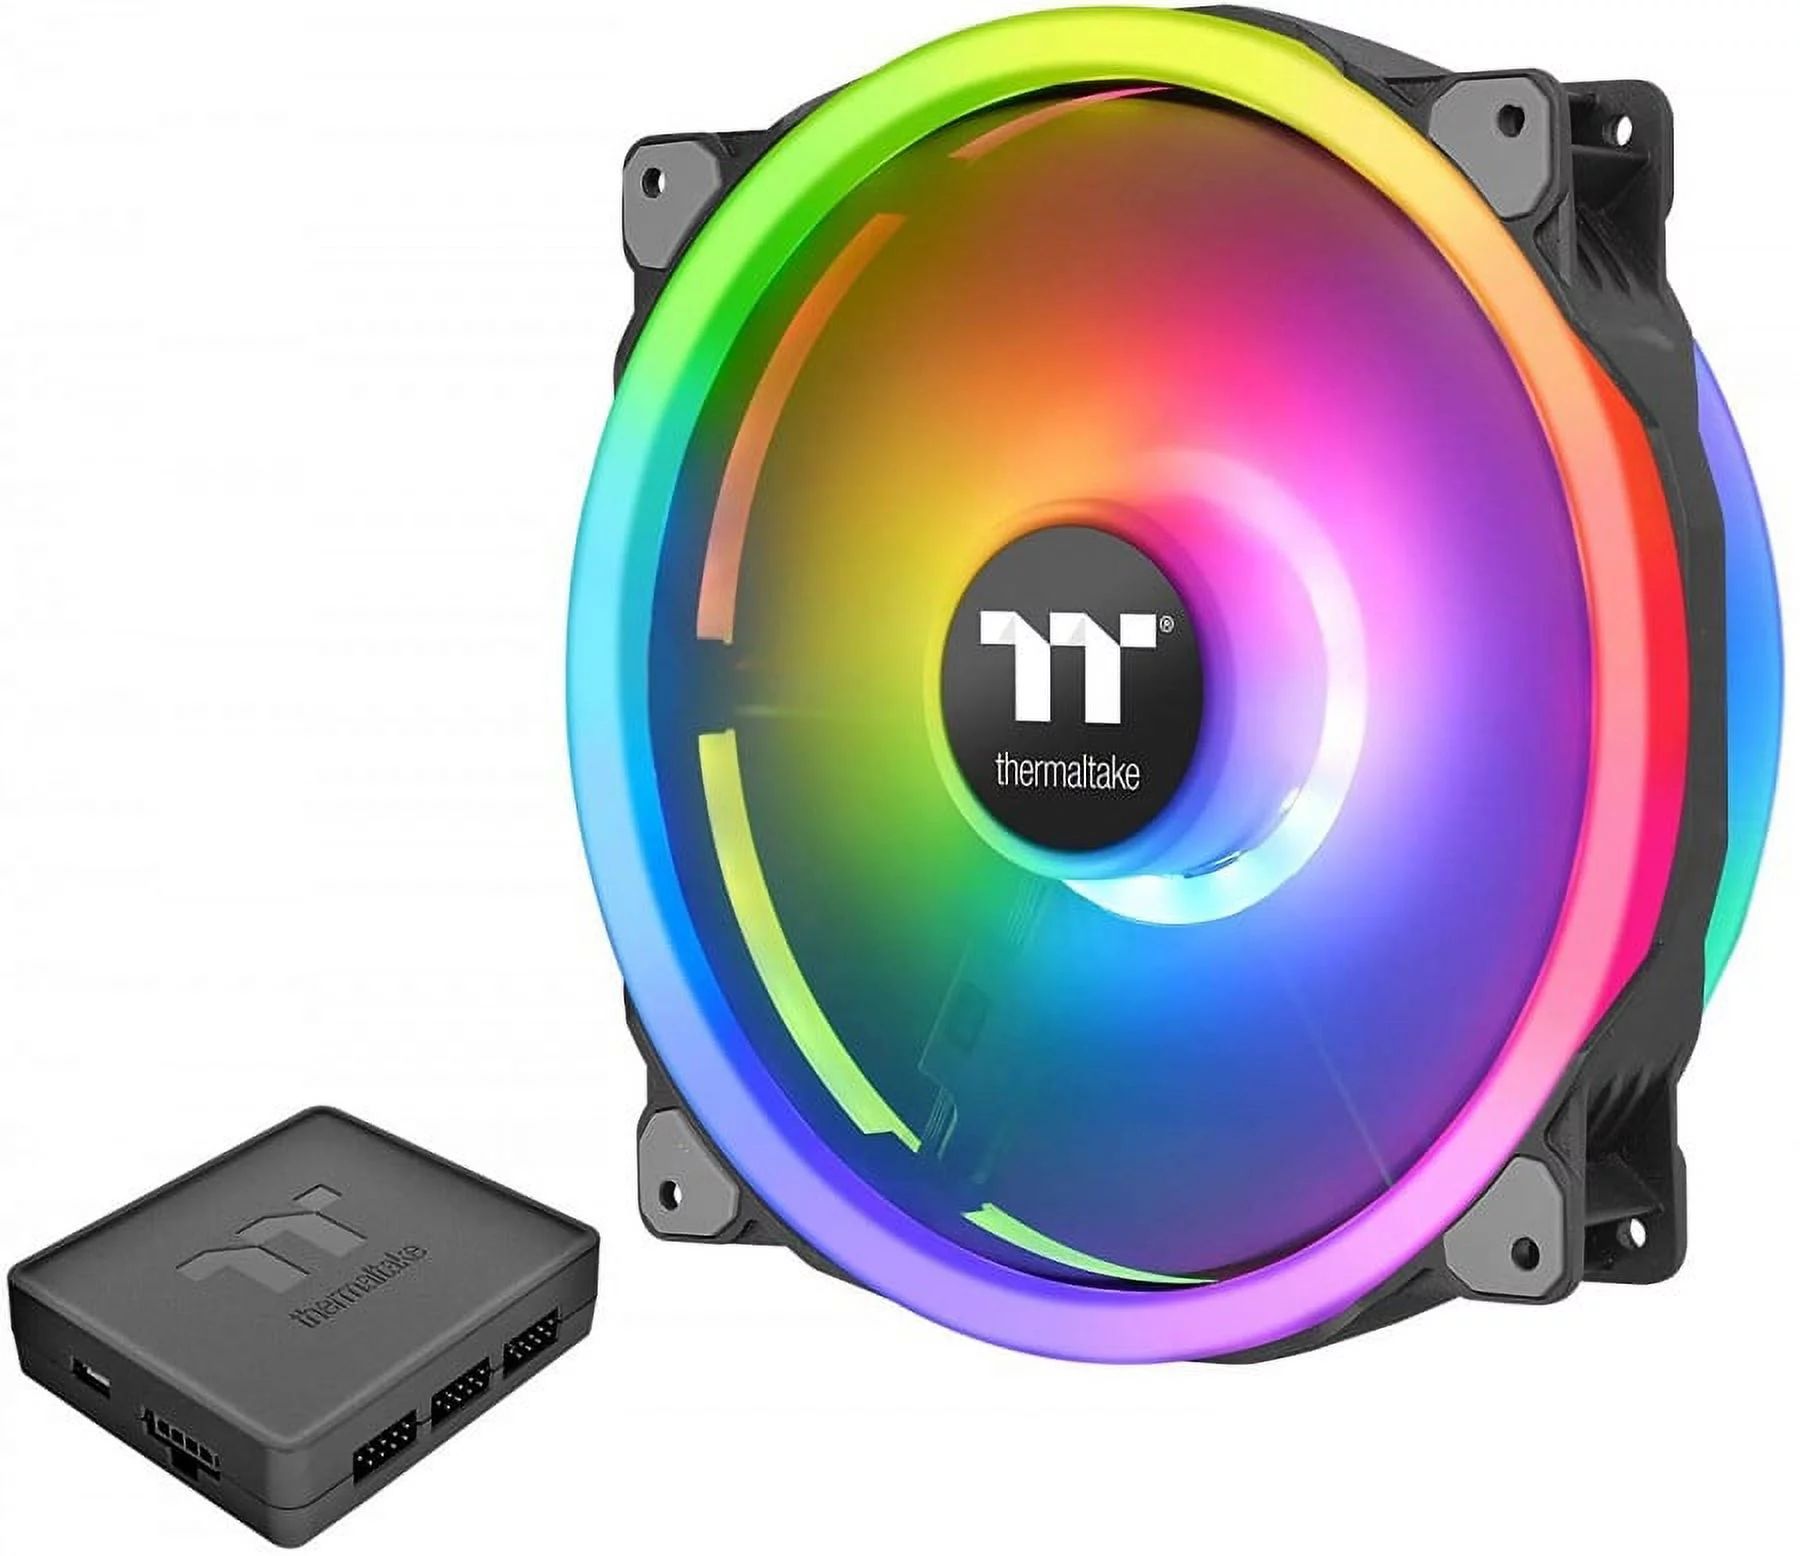
The Corsair Air Series CO-9050016-RLED 120mm Red LED Case Fan is a high-performance cooling fan specifically designed for computer cases. It offers not only efficient cooling capabilities but also stunning red LED lighting effects, adding a touch of style to your gaming rig or workstation.
Featuring a 120mm size, this fan is the ideal choice for most computer cases, fitting snugly into the standard mounting points. Its compact design allows for easy installation and compatibility with various case types.
One of the standout features of the Corsair Air Series CO-9050016-RLED 120mm Red LED Case Fan is its optimized blade design. The fan blades are engineered to maximize airflow while minimizing noise, striking the perfect balance between cooling performance and quiet operation. This makes it an excellent choice for those who prioritize both cooling efficiency and a quiet computing experience.
In addition to its cooling capabilities, the Corsair Air Series CO-9050016-RLED 120mm Red LED Case Fan also offers eye-catching red LED lighting. These vibrant LEDs provide a visually appealing glow, making your computer case stand out and adding a touch of personalization to your setup. The lighting effects can be particularly impressive when combined with other LEDs or RGB lighting components in your system.
With its high static pressure, the Corsair Air Series CO-9050016-RLED 120mm Red LED Case Fan excels at pushing air through restricted spaces, such as radiator fins or densely packed heatsinks. This is especially beneficial for users who have liquid cooling setups or require additional cooling for their CPU or GPU.
Overall, the Corsair Air Series CO-9050016-RLED 120mm Red LED Case Fan is a reliable and visually stunning cooling solution for your computer case. Its superior cooling performance, optimized blade design, and vibrant LED lighting make it a top choice for gamers, content creators, and PC enthusiasts alike.
Tools and Materials Needed
Before you start the installation process for the Corsair Air Series CO-9050016-RLED 120mm Red LED Case Fan, make sure you have the following tools and materials prepared:
- A screwdriver: You’ll need a screwdriver to remove any screws holding your old fan in place and to secure the new fan.
- Thermal paste (if you’re removing a CPU cooler): If you’re replacing a CPU cooler fan, you’ll need thermal paste to ensure proper heat transfer between the CPU and the cooler.
Having these tools and materials on hand will ensure a smooth and hassle-free installation process. The screwdriver should be appropriate for the type of screws used in your computer case. Most cases use Phillips head screws, but it’s always a good idea to check before you begin.
If you’re replacing a CPU cooler fan, you’ll need thermal paste to ensure optimal heat dissipation. Thermal paste helps fill the microscopic gaps between the CPU and the cooler, improving heat transfer and preventing overheating. If you’re not replacing a CPU cooler fan, you can skip the thermal paste.
It’s important to note that the Corsair Air Series CO-9050016-RLED 120mm Red LED Case Fan comes with the necessary screws and connectors to attach it to your computer case or motherboard. You won’t need any additional mounting hardware, as everything required for installation is included.
Now that you have the necessary tools and materials handy, you’re ready to move on to the next step: preparing for the installation of the Corsair Air Series CO-9050016-RLED 120mm Red LED Case Fan.
Step 1: Prepare for Installation
Before you begin the installation process for the Corsair Air Series CO-9050016-RLED 120mm Red LED Case Fan, it’s essential to prepare your workspace and gather the necessary components. Follow these steps to ensure a smooth installation:
- Power Off and Unplug: Shut down your computer and unplug it from the power source. This step is crucial to avoid any electrical accidents and ensure a safe installation process.
- Ground Yourself: Before handling any computer components, ground yourself to prevent damaging sensitive hardware with static electricity. You can do this by touching a metal surface or using an anti-static wristband.
- Clean the Work Area: Clear your workspace of any clutter and dust. A clean area will minimize the chance of dirt or debris interfering with the installation process and keep your components free from potential damage.
- Review the Manual: Familiarize yourself with the installation instructions provided in the Corsair Air Series CO-9050016-RLED 120mm Red LED Case Fan’s manual. Take note of any specific requirements or recommendations mentioned in the manual to ensure a successful installation.
- Identify Mounting Points: Locate the appropriate mounting points for the fan in your computer case. These mounting points are typically found on the front, rear, or top panel of the case and are usually labeled or indicated in the case manual.
By following these preparatory steps, you’ll create an optimal environment for the installation of the Corsair Air Series CO-9050016-RLED 120mm Red LED Case Fan. Taking the time to prepare and review the instructions will make the overall installation process more efficient and help prevent any potential issues. Once you’ve completed these steps, you’re ready to proceed to the next section and begin the installation process.
Step 2: Locate the Appropriate Fan Mounting Point
The second step in installing the Corsair Air Series CO-9050016-RLED 120mm Red LED Case Fan is to locate the appropriate mounting point for the fan in your computer case. By identifying the correct position, you’ll ensure proper airflow and optimal cooling performance. Follow these guidelines to find the ideal fan mounting point:
- Refer to the Case Manual: Consult your computer case manual for specific instructions on locating the fan mounting points. The manual will typically provide detailed diagrams or descriptions that indicate where the fans can be mounted.
- Consider the Case Design: Take note of the case’s design and airflow path. Most computer cases have dedicated fan mounting points on the front, rear, or top panel. If your case allows for multiple fan placements, consider the airflow direction and plan accordingly to maximize cooling efficiency.
- Clear Obstructions: Ensure that there are no obstructions, such as cables or components, blocking the fan mounting points. Clearing the area will allow for easy installation and prevent any interference with the fan’s operation.
- Determine the Fan Orientation: Decide on the orientation of the fan based on your specific cooling requirements. For intake, place the fan in a position that directs airflow into the case. For exhaust, position the fan to push hot air out of the case. This decision may depend on factors like the placement of other fans or components within your case.
Locating the appropriate fan mounting point is essential for efficient cooling and ensuring proper airflow within your computer case. By consulting the case manual, considering the case design, clearing any obstructions, and determining the fan orientation, you’ll be well-prepared to proceed with the installation of the Corsair Air Series CO-9050016-RLED 120mm Red LED Case Fan in the most effective position. Once you’ve identified the ideal mounting point, you can move on to the next step and remove the old fan (if applicable).
Step 3: Remove the Old Fan (if applicable)
If you’re replacing an existing fan, the third step in installing the Corsair Air Series CO-9050016-RLED 120mm Red LED Case Fan is to remove the old fan. Removing the old fan will make way for the installation of the new fan and ensure a smooth transition. Follow these steps to remove the old fan:
- Disconnect Power: Before starting, ensure that your computer is powered off and unplugged from the electrical outlet. This will prevent any accidental damage or electrical hazards.
- Locate the Fan Screws: Identify the screws securing the old fan in place. Generally, these screws are present on the corners of the fan or in some cases, on a mounting bracket.
- Use a Screwdriver: Select the appropriate size and type of screwdriver and remove the screws holding the old fan in place. Depending on the design of the case and fan, you may need to remove two or four screws. Carefully set aside the screws for later use.
- Disconnect Fan Power Cable: Locate the power cable of the old fan and unplug it from the motherboard or the power supply unit (PSU). Be gentle when disconnecting the cable to avoid any damage to the connectors or wires.
- Remove the Old Fan: With the screws and power cable disconnected, gently lift and remove the old fan from its mounting point. Take care not to damage any other components or cables inside your computer case.
By following these steps, you’ll successfully remove the old fan in preparation for the installation of the Corsair Air Series CO-9050016-RLED 120mm Red LED Case Fan. Remember to keep the screws and any other components in a safe place, as you may need them for installing the new fan. Now that you’ve removed the old fan, you can proceed to the next step and prepare the new fan for installation.
Step 4: Prepare the New Fan for Installation
After successfully removing the old fan, it’s time to prepare the new Corsair Air Series CO-9050016-RLED 120mm Red LED Case Fan for installation. Proper preparation will ensure a smooth and seamless installation process. Follow these steps to get your new fan ready:
- Inspect the Fan: Carefully examine the new fan for any visible defects or damage. Check the fan blades, frame, and connectors to ensure everything is in proper condition.
- Remove Protective Covers: If there are any protective covers or films on the fan blades or LED lights, gently peel them off. This will ensure unobstructed airflow and optimal performance.
- Check Fan Orientation: Determine the desired orientation of the new fan based on your cooling needs. Decide whether you want it to intake cool air into the case or exhaust hot air out of the case. This decision may depend on the airflow direction and the position of other fans or components within your system.
- Attach Any Included Screws or Rubber Mounts: Depending on the mounting system of your case, the Corsair Air Series CO-9050016-RLED 120mm Red LED Case Fan may include screws or rubber mounts for installation. Attach these to the fan if necessary, following the instructions provided in the fan’s manual.
- Position the Fan’s Cable: Ensure that the fan’s power cable is accessible for connection to either the motherboard or the power supply unit (PSU). Position the cable in a way that allows for easy and secure connection in the next step.
By completing these steps, you’ll have the new Corsair Air Series CO-9050016-RLED 120mm Red LED Case Fan prepared for installation. Double-check that the fan is in good condition, remove any protective covers, determine the desired orientation, attach any included screws or rubber mounts, and position the fan’s cable appropriately. With the new fan now ready, you can move on to the next step and install it in your computer case.
Step 5: Install the New Fan
Now that you have prepared the Corsair Air Series CO-9050016-RLED 120mm Red LED Case Fan, it’s time to install it into your computer case. Follow these steps to ensure a proper and secure installation:
- Locate the Mounting Point: Refer to the location you identified as the appropriate mounting point in Step 2. Align the screw holes of the fan with the corresponding holes or clips in the mounting point.
- Secure the Fan with Screws or Clips: Depending on your case and the type of mounting system, use screws or clips to secure the fan in place. Insert the screws into the holes and tighten them until the fan is firmly seated. If your case uses clips, carefully snap them into place to secure the fan.
- Ensure Proper Alignment: Pay attention to the orientation of the fan. If you determined it should be an intake fan, position it accordingly to draw cool air into the case. If it’s an exhaust fan, align it to expel hot air out of the case.
- Verify the Fan’s Stability: Gently wiggle the fan to make sure it is securely attached and does not move excessively. A stable and well-secured fan will prevent any unwanted vibrations or noise during operation.
- Check Clearance: Double-check that the installed fan does not interfere with any other components in your computer case. Ensure there is sufficient clearance for proper airflow and no obstructions that can impede the fan’s performance.
Following these steps will ensure a successful installation of the Corsair Air Series CO-9050016-RLED 120mm Red LED Case Fan. By securely attaching the fan, aligning it properly, and verifying its stability, you’ll enjoy optimal cooling performance and minimal disruption in your computer case. With the new fan installed, you’re almost ready to power on your computer. Before doing so, proceed to the next step and connect the fan to the power supply or motherboard.
Step 6: Connect the Fan to the PSU or Motherboard
After successfully installing the Corsair Air Series CO-9050016-RLED 120mm Red LED Case Fan, you need to connect it to either the power supply unit (PSU) or the motherboard to ensure proper functionality. Follow these steps to connect the fan:
- Determine the Connection Type: Check the type of connector on the fan’s power cable. Most case fans will either have a 3-pin or 4-pin connector.
- Connect to the PSU: If your fan has a Molex connector (large connector with multiple pins), you can connect it directly to an available Molex connector from your power supply unit. Ensure the connector is aligned properly and securely plugged in.
- Connect to the Motherboard: If your fan has a 3-pin or 4-pin connector, it can be connected to an available fan header on your motherboard. Refer to the motherboard manual for the location of fan headers and their specific labeling.
- Align the Connector: Align the connector pins with the corresponding slots on the fan header or PSU connector. Be gentle when inserting or removing the connector to avoid bending any pins.
- Secure the Connection: Once you have aligned the connector, push it gently until it is securely in place. Ensure it is tightly connected to guarantee a reliable electrical connection.
- Repeat for Additional Fans: If you have installed multiple fans, repeat this process for each fan to ensure they are all properly connected.
By following these steps, you will ensure a proper power connection for the Corsair Air Series CO-9050016-RLED 120mm Red LED Case Fan. Whether connecting to the power supply unit or the motherboard, aligning the connector, and securing the connection will guarantee the fan receives the necessary power to operate efficiently. Once the fan is connected, it’s time for the final step: testing the fan’s functionality.
Step 7: Test the Fan
Now that you have installed and connected the Corsair Air Series CO-9050016-RLED 120mm Red LED Case Fan, it’s essential to test its functionality before fully securing your computer case. Follow these steps to ensure the fan is working as expected:
- Power On Your Computer: Plug in your computer and power it on using the appropriate switch. Allow your computer to boot up to the operating system.
- Monitor the Fan’s Operation: Pay close attention to the fan’s performance as your computer starts up. Observe whether the fan is spinning smoothly and producing the expected airflow. Listen for any abnormal noises that could indicate a problem.
- Check LED Lighting: If your Corsair Air Series CO-9050016-RLED 120mm Red LED Case Fan features LED lighting, ensure that the LEDs are illuminating correctly. Confirm that the vibrant red LED lights are glowing as intended and adding a visually appealing element to your computer case.
- Monitor Temperatures: Keep an eye on your computer’s temperature readings using monitoring software or the BIOS. Check for any noticeable improvements in cooling performance with the newly installed fan.
- Ensure Fan Control: If your motherboard or software allows for fan control, adjust the fan speed to test different RPM settings and observe the impact on cooling performance and noise levels.
- Perform Extended Testing (Optional): For a thorough assessment, consider running stress tests or running resource-intensive tasks to gauge the fan’s performance under heavier loads. Monitor temperatures closely during these tests.
By conducting these tests, you can verify that the Corsair Air Series CO-9050016-RLED 120mm Red LED Case Fan is operating correctly and meeting your cooling needs. If any issues arise during the testing process, double-check the connections and ensure all components are installed properly. Troubleshooting steps may involve reseating the fan, checking fan control settings, or examining the power connections. Once you are satisfied with the fan’s functionality, you can proceed to secure your computer case and enjoy optimal cooling performance.
Conclusion
Congratulations! You have successfully installed the Corsair Air Series CO-9050016-RLED 120mm Red LED Case Fan into your computer case. By following the step-by-step guide provided, you have enhanced the airflow and aesthetics of your system while ensuring excellent cooling performance.
The Corsair Air Series CO-9050016-RLED 120mm Red LED Case Fan offers a powerful and stylish solution for cooling your computer. With its optimized blade design, high static pressure, and eye-catching red LED lighting effects, this fan delivers both functionality and visual appeal.
Throughout the installation process, you prepared your workspace, identified the appropriate fan mounting point, removed the old fan (if applicable), prepared the new fan, installed it securely, connected it to the power supply or motherboard, and tested its functionality. These steps ensured a successful installation and proper operation of the fan.
Remember, maintaining proper cooling is crucial for the longevity and performance of your computer’s components. The Corsair Air Series CO-9050016-RLED 120mm Red LED Case Fan will help to prevent overheating and ensure a stable operating environment for your system.
We hope this guide has been informative and helpful in assisting you with the installation process. Enjoy the improved cooling performance and the captivating red LED lighting effects that the Corsair Air Series CO-9050016-RLED 120mm Red LED Case Fan brings to your computer case!